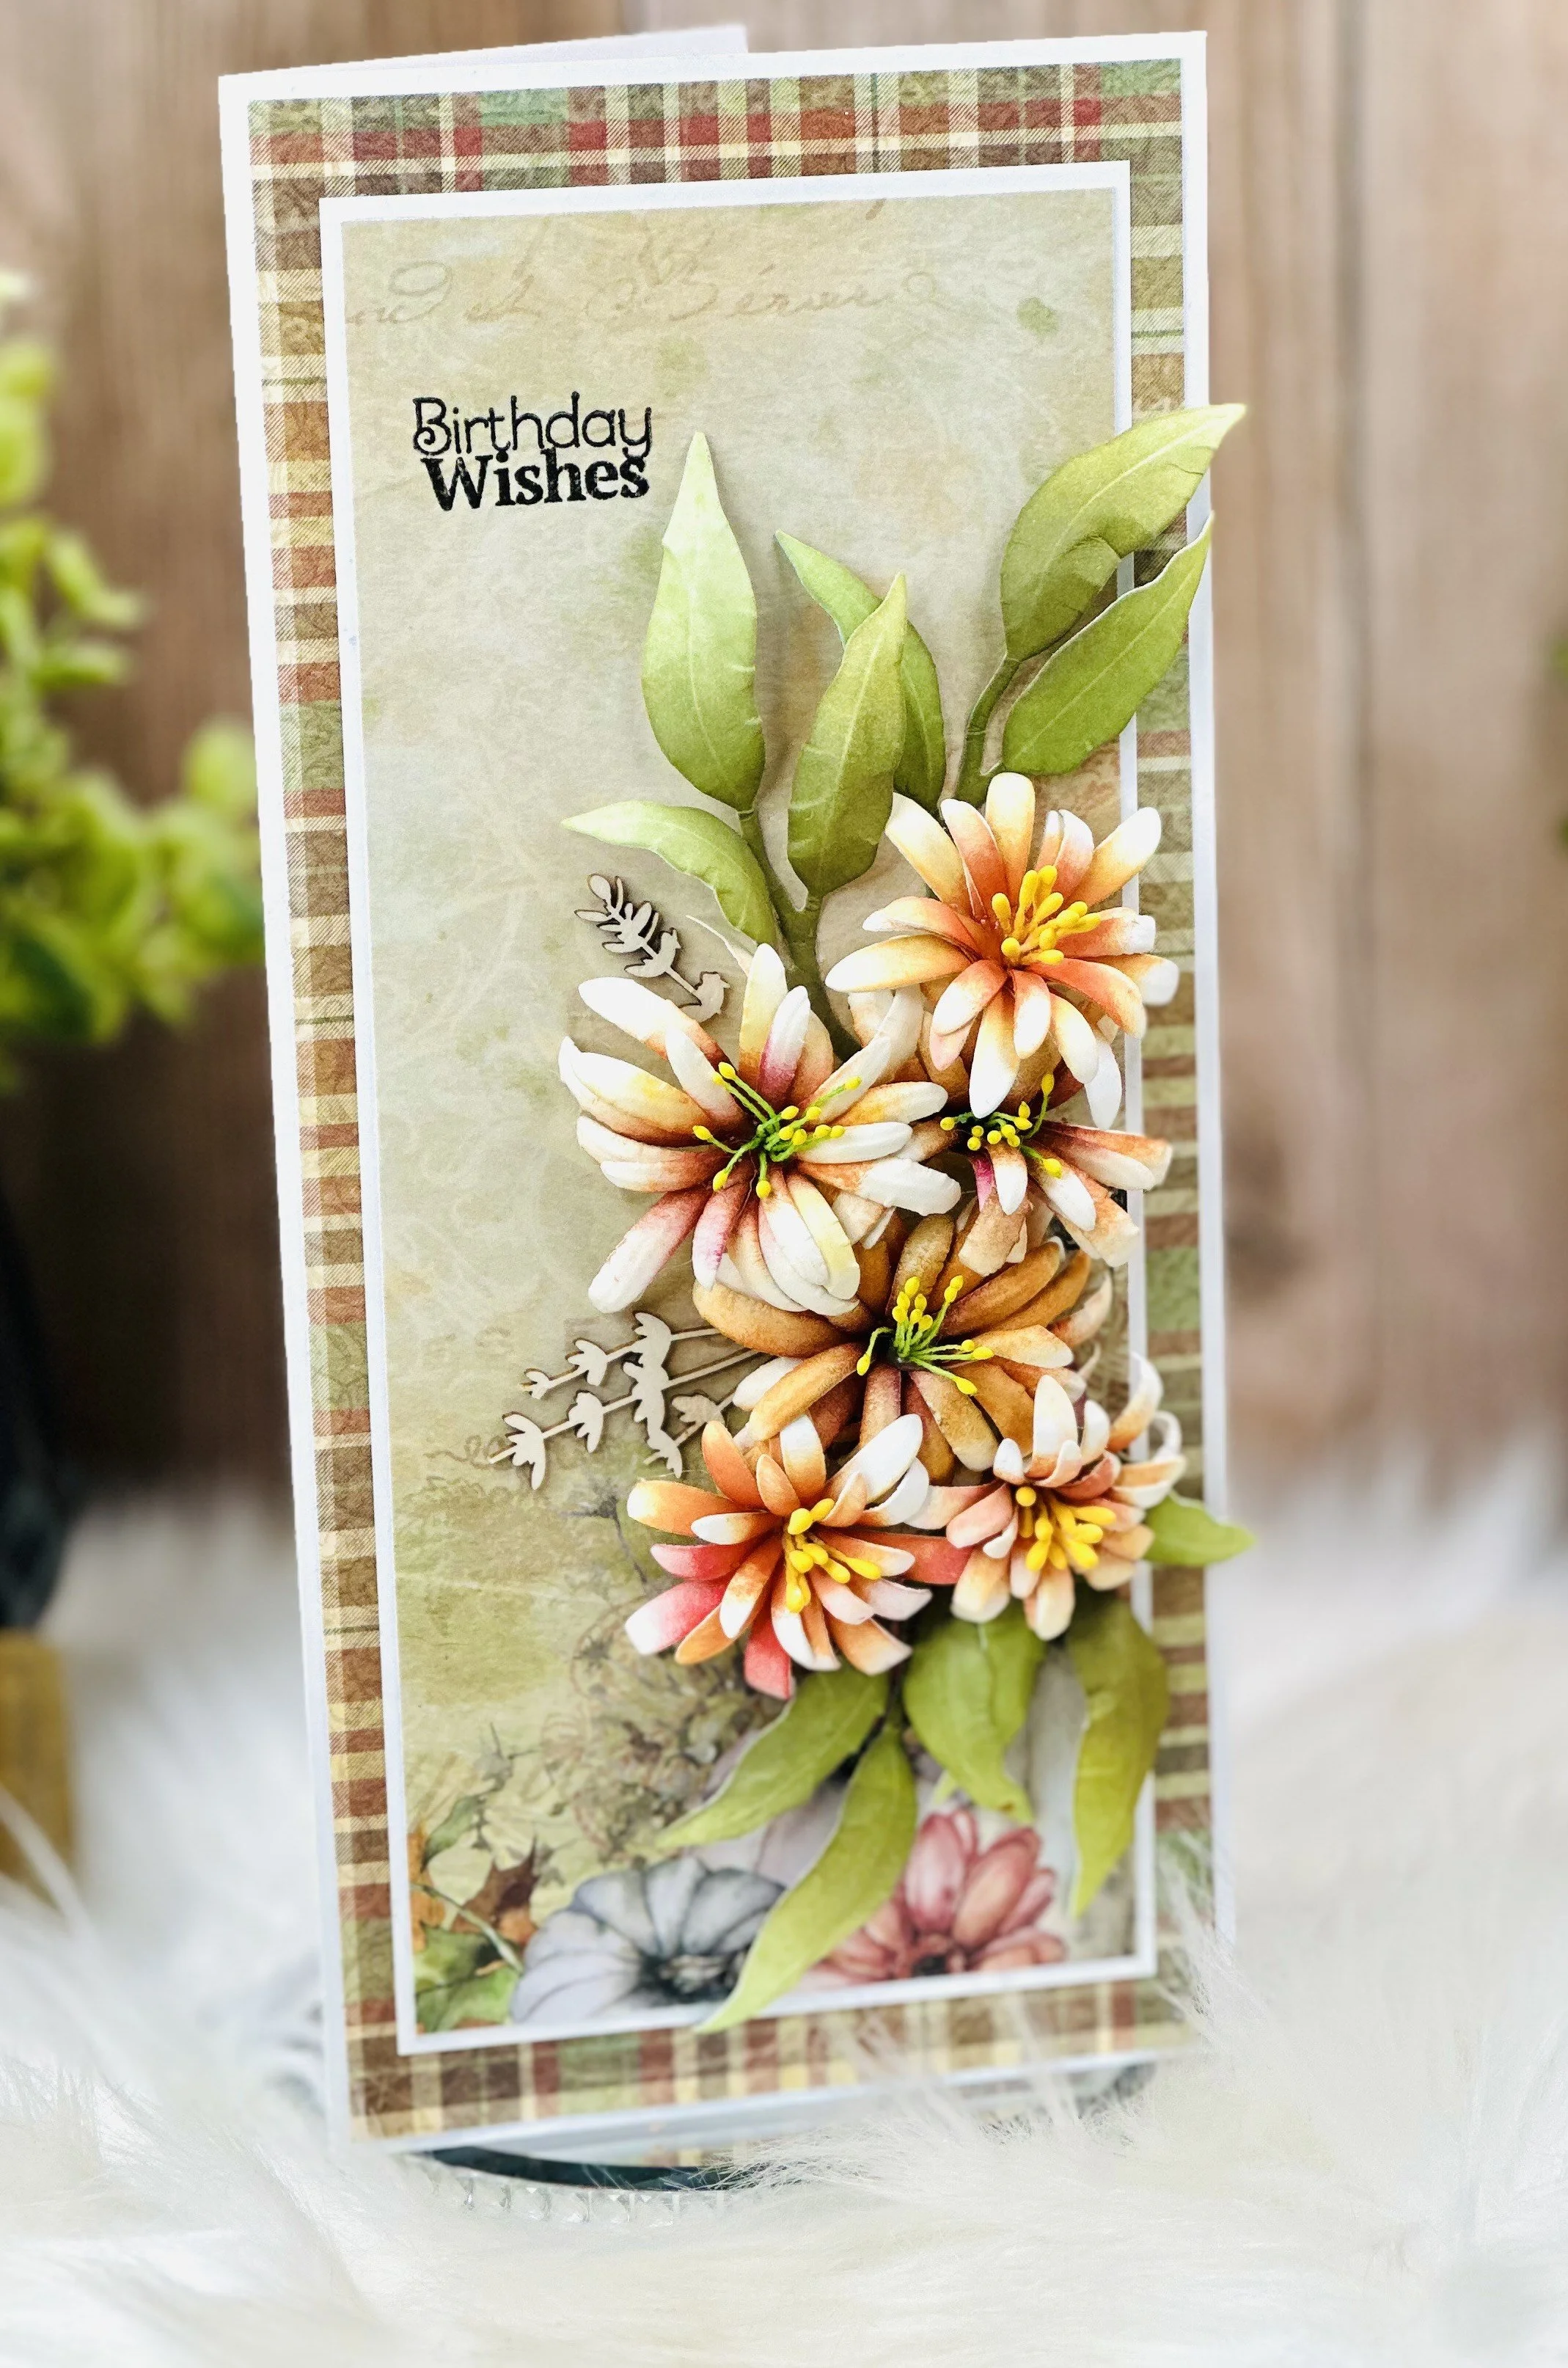
Tips to create a Floral Slimline Card!
Are you a crafter who loves to create floral cards and is looking for some inspiration? Join us an learn how to create your own slimline card with a stunning floral arrangement! Create an elegant card that you can use for any occasion PLUS…. You’ll be able to use this layout again and again.

Hello Crafting Family! I love making floral cards and have a elegant slimline card to share with you today.
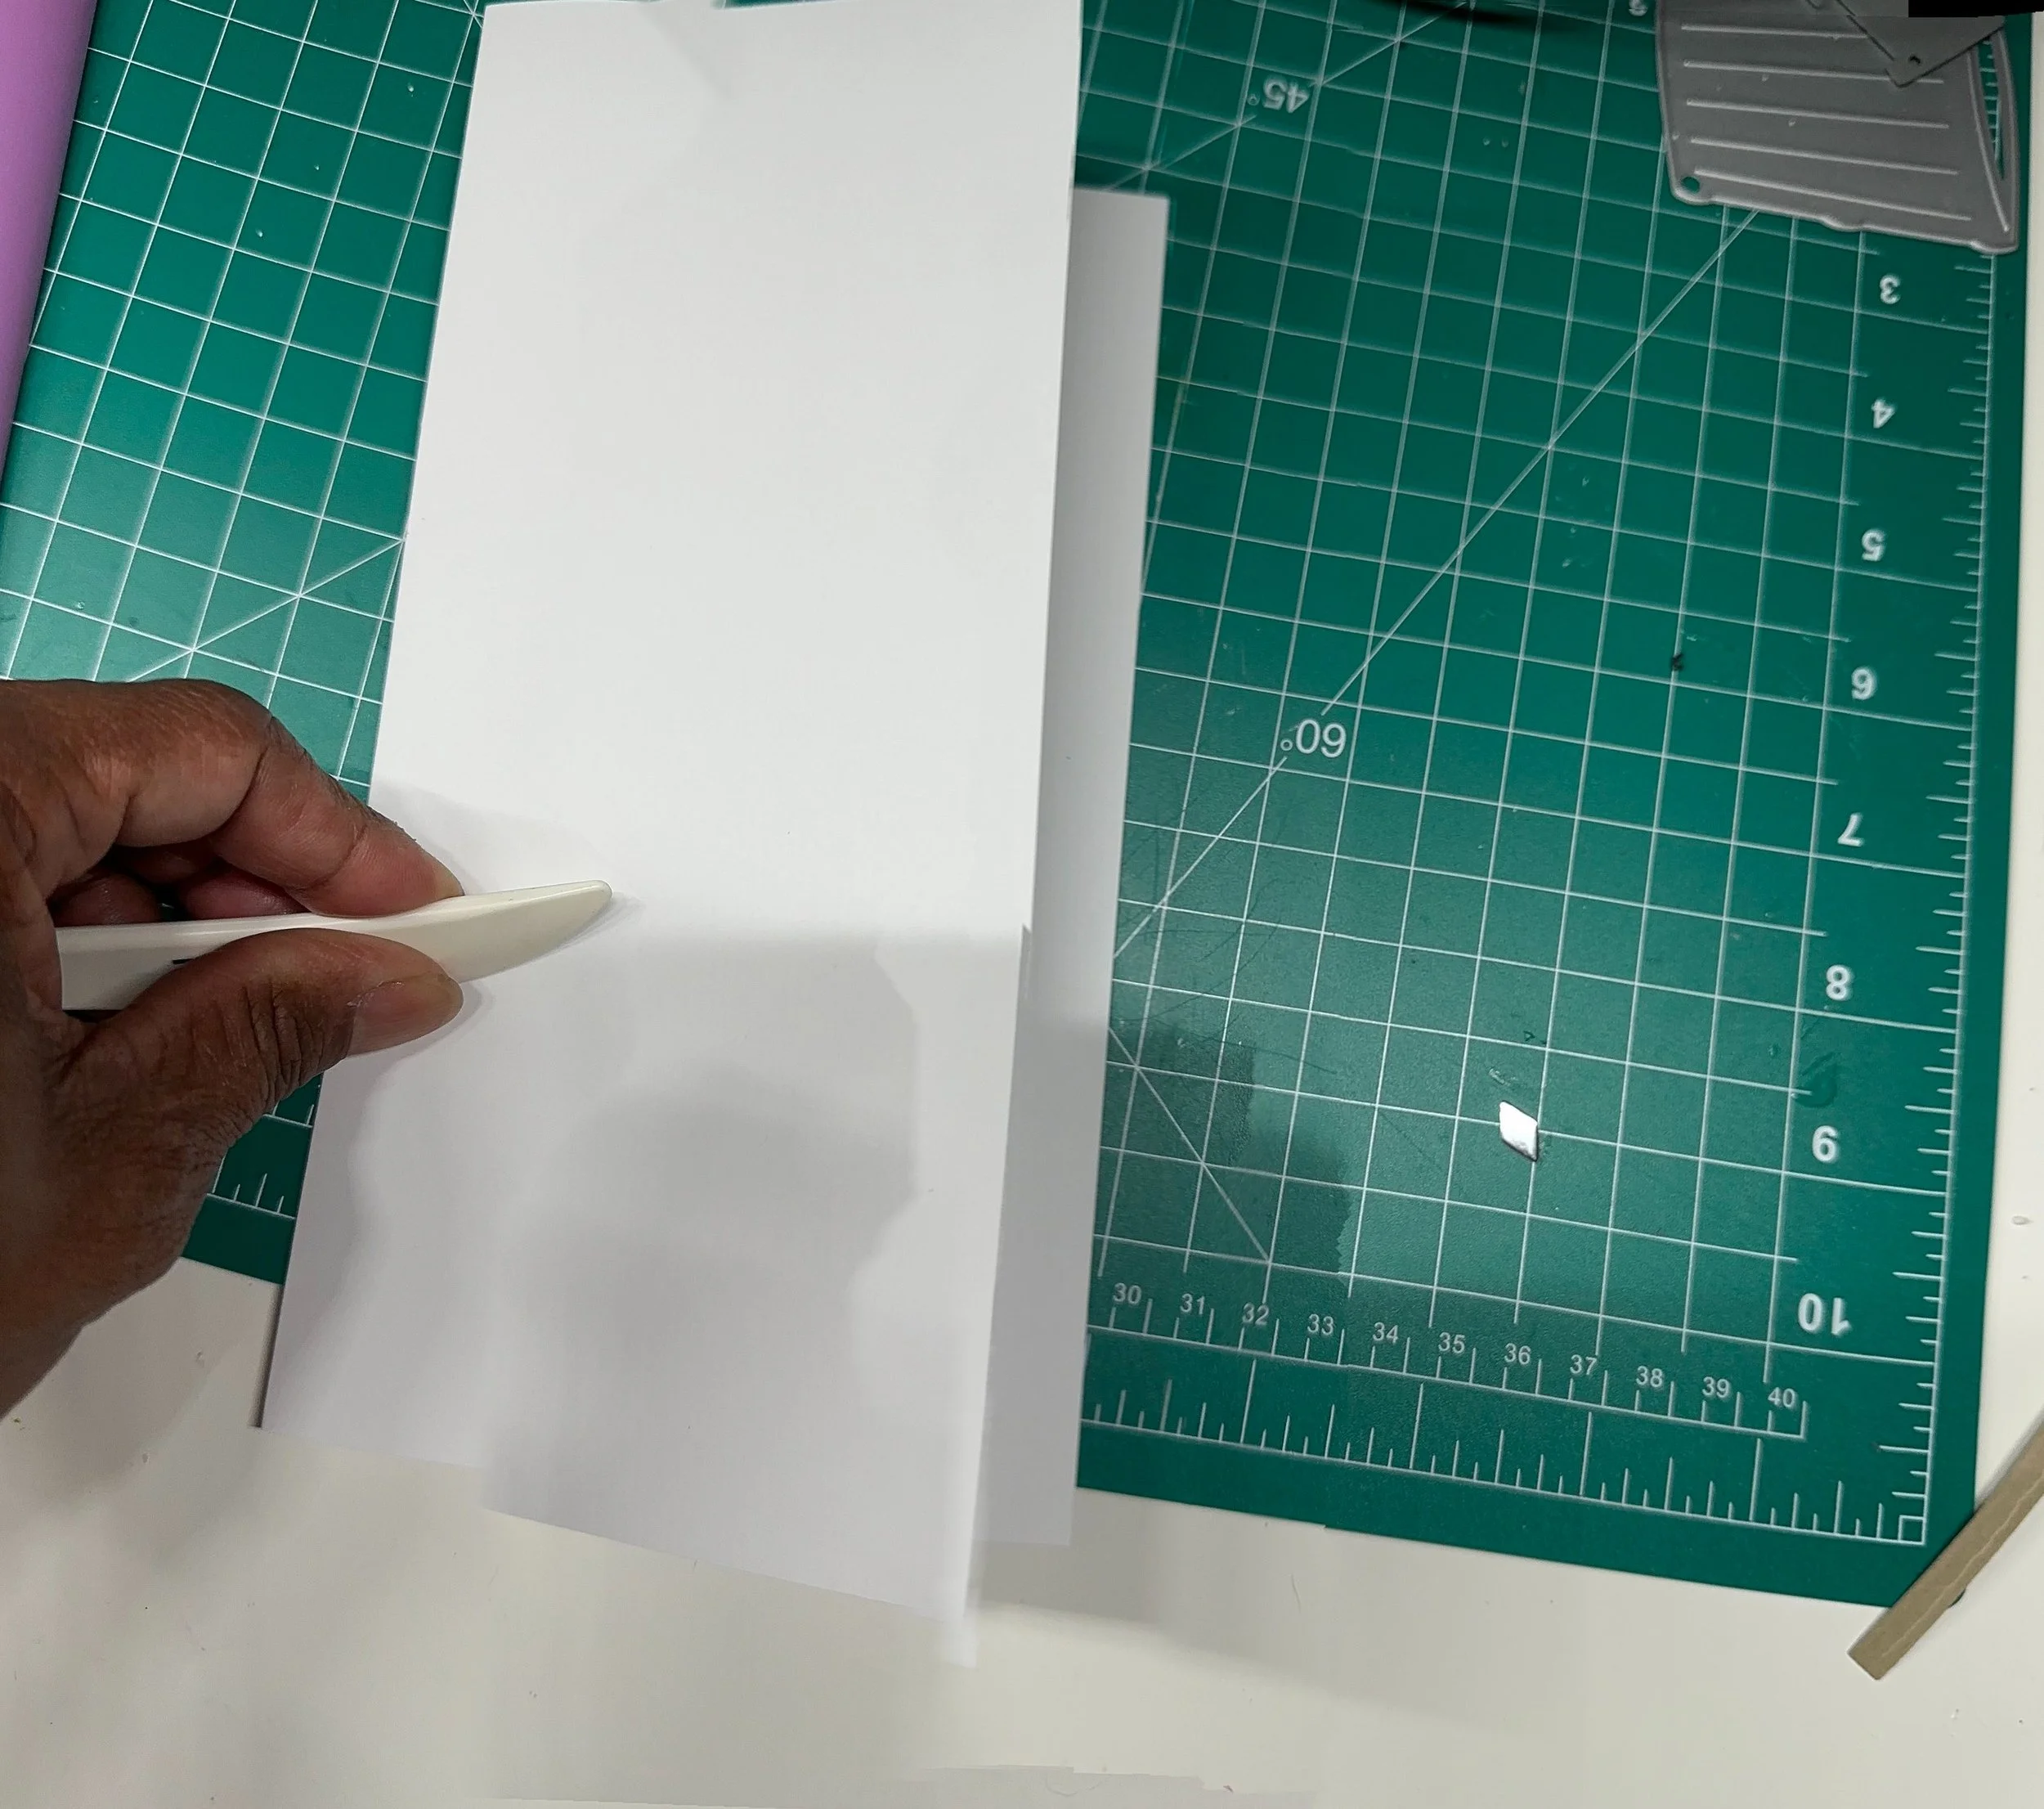
Step 1: Cut a white folded card base 4.5’ x 8.5’.
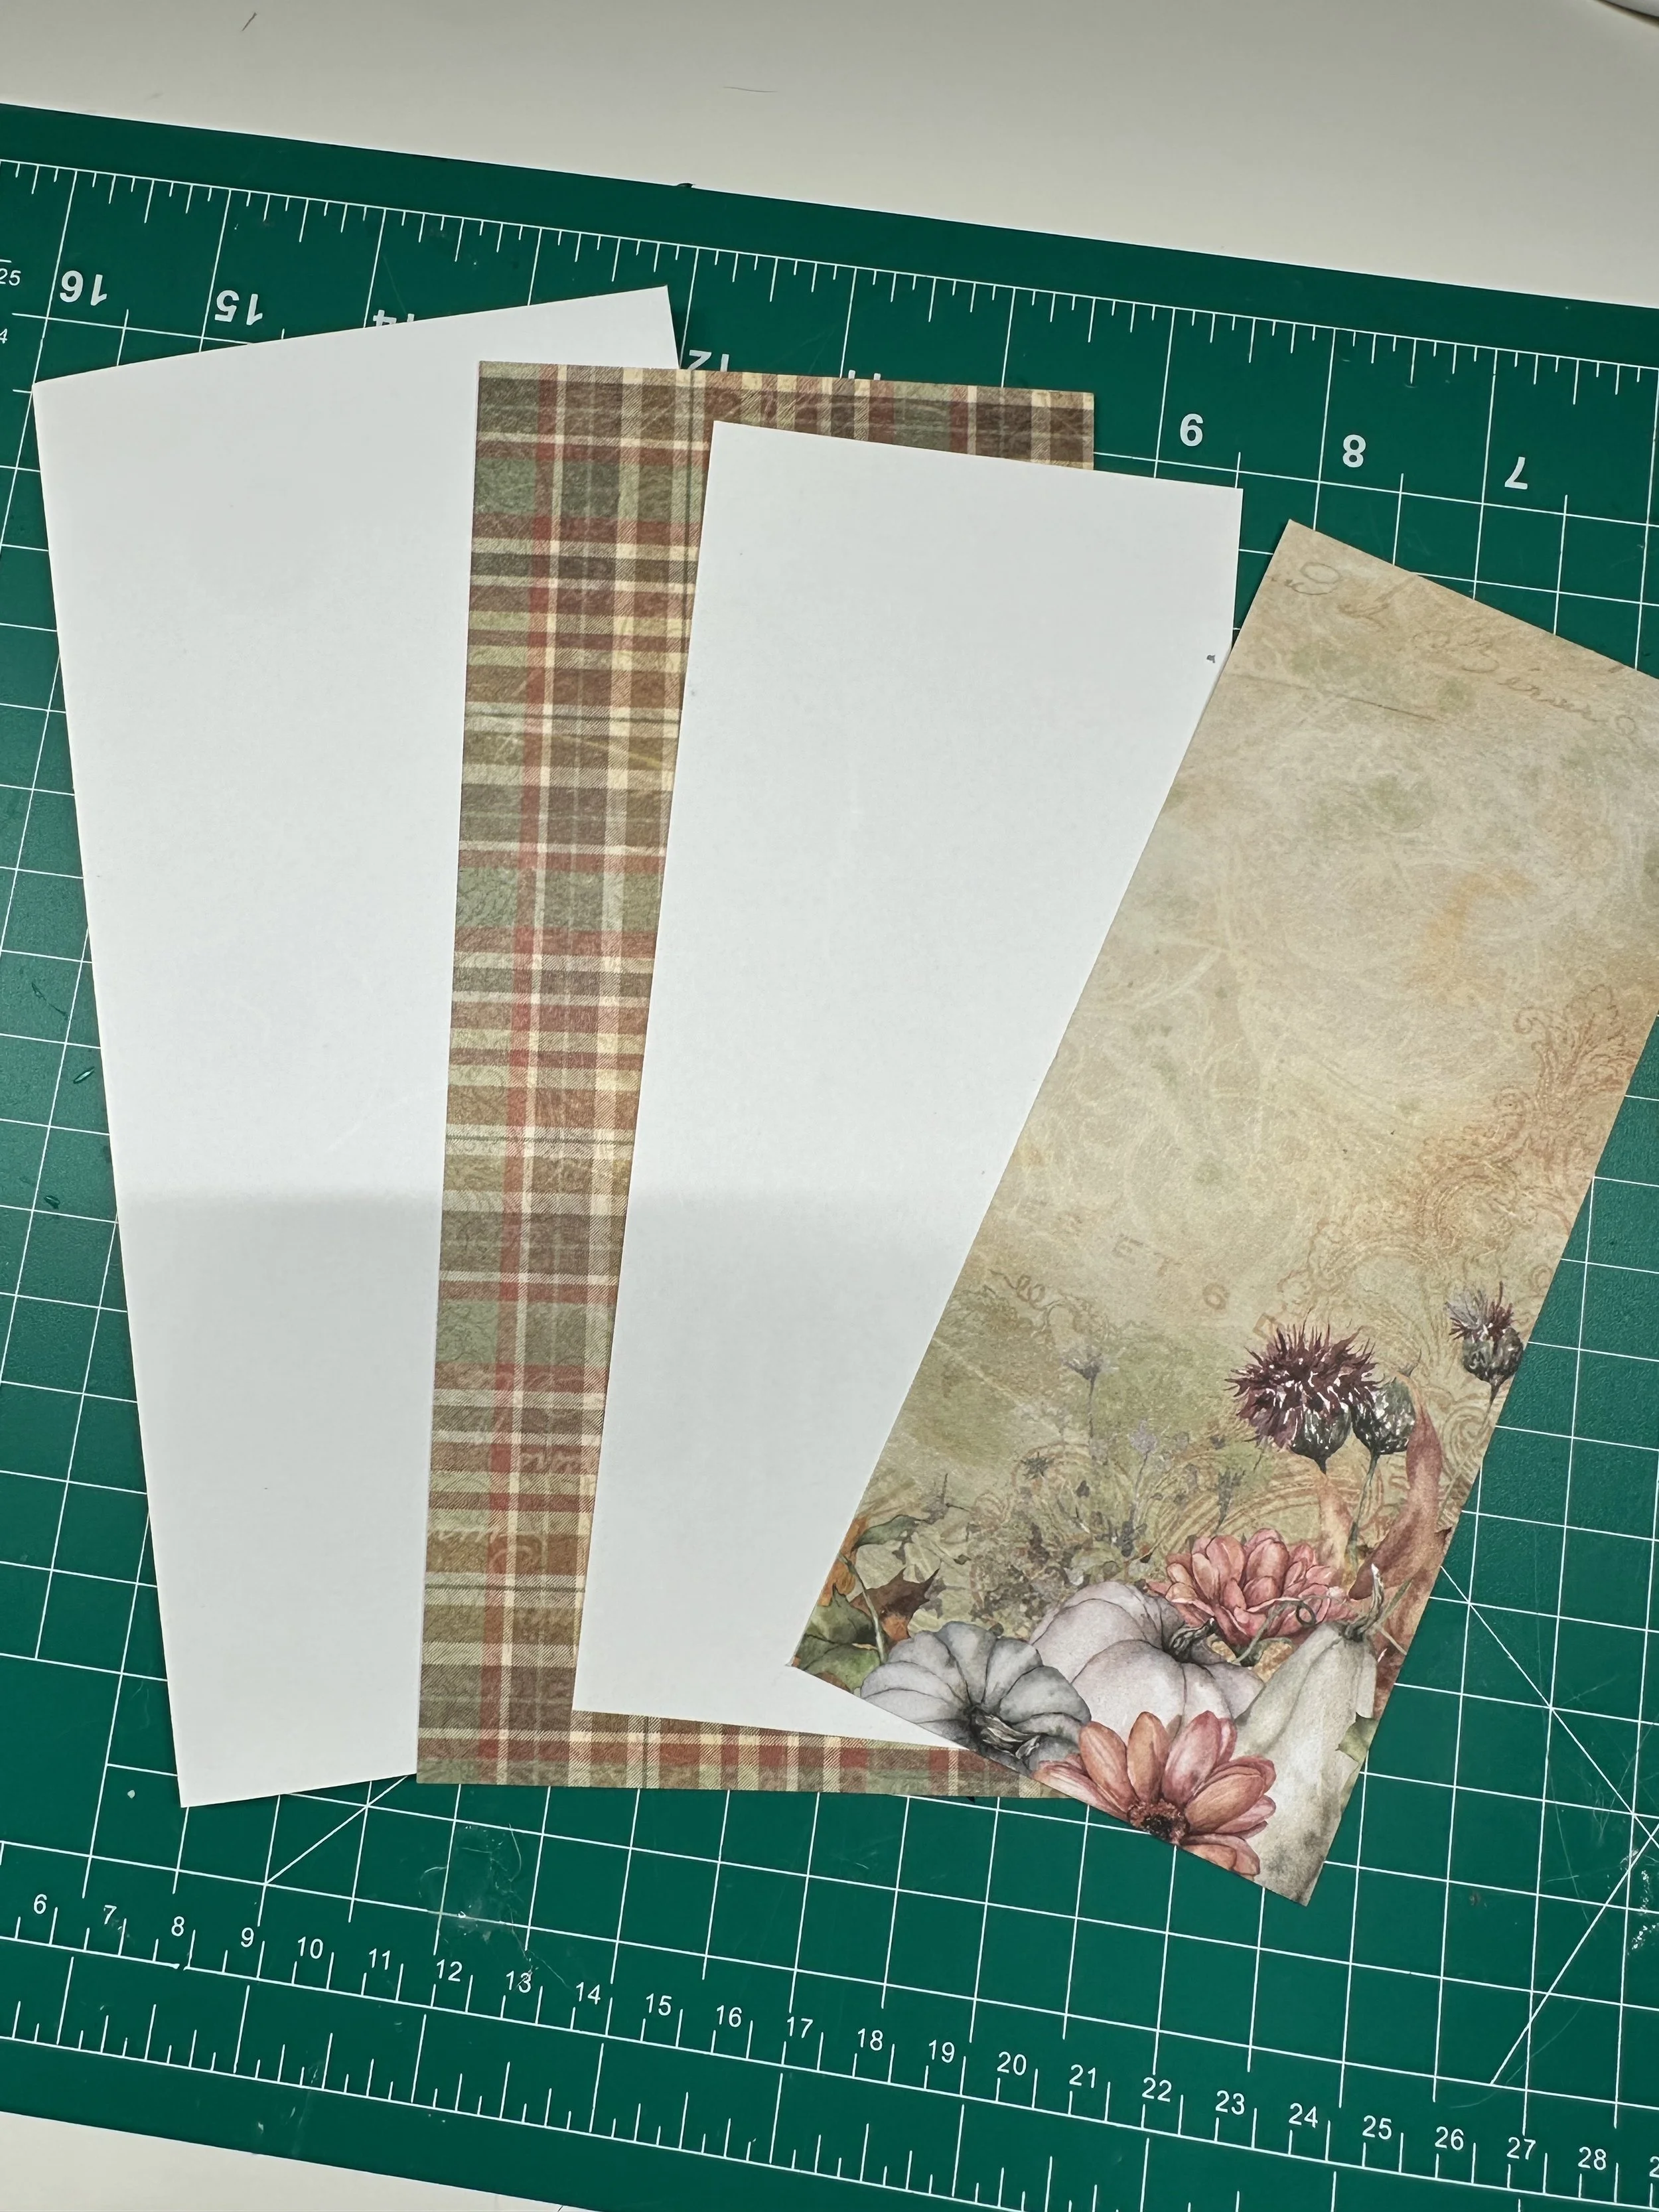
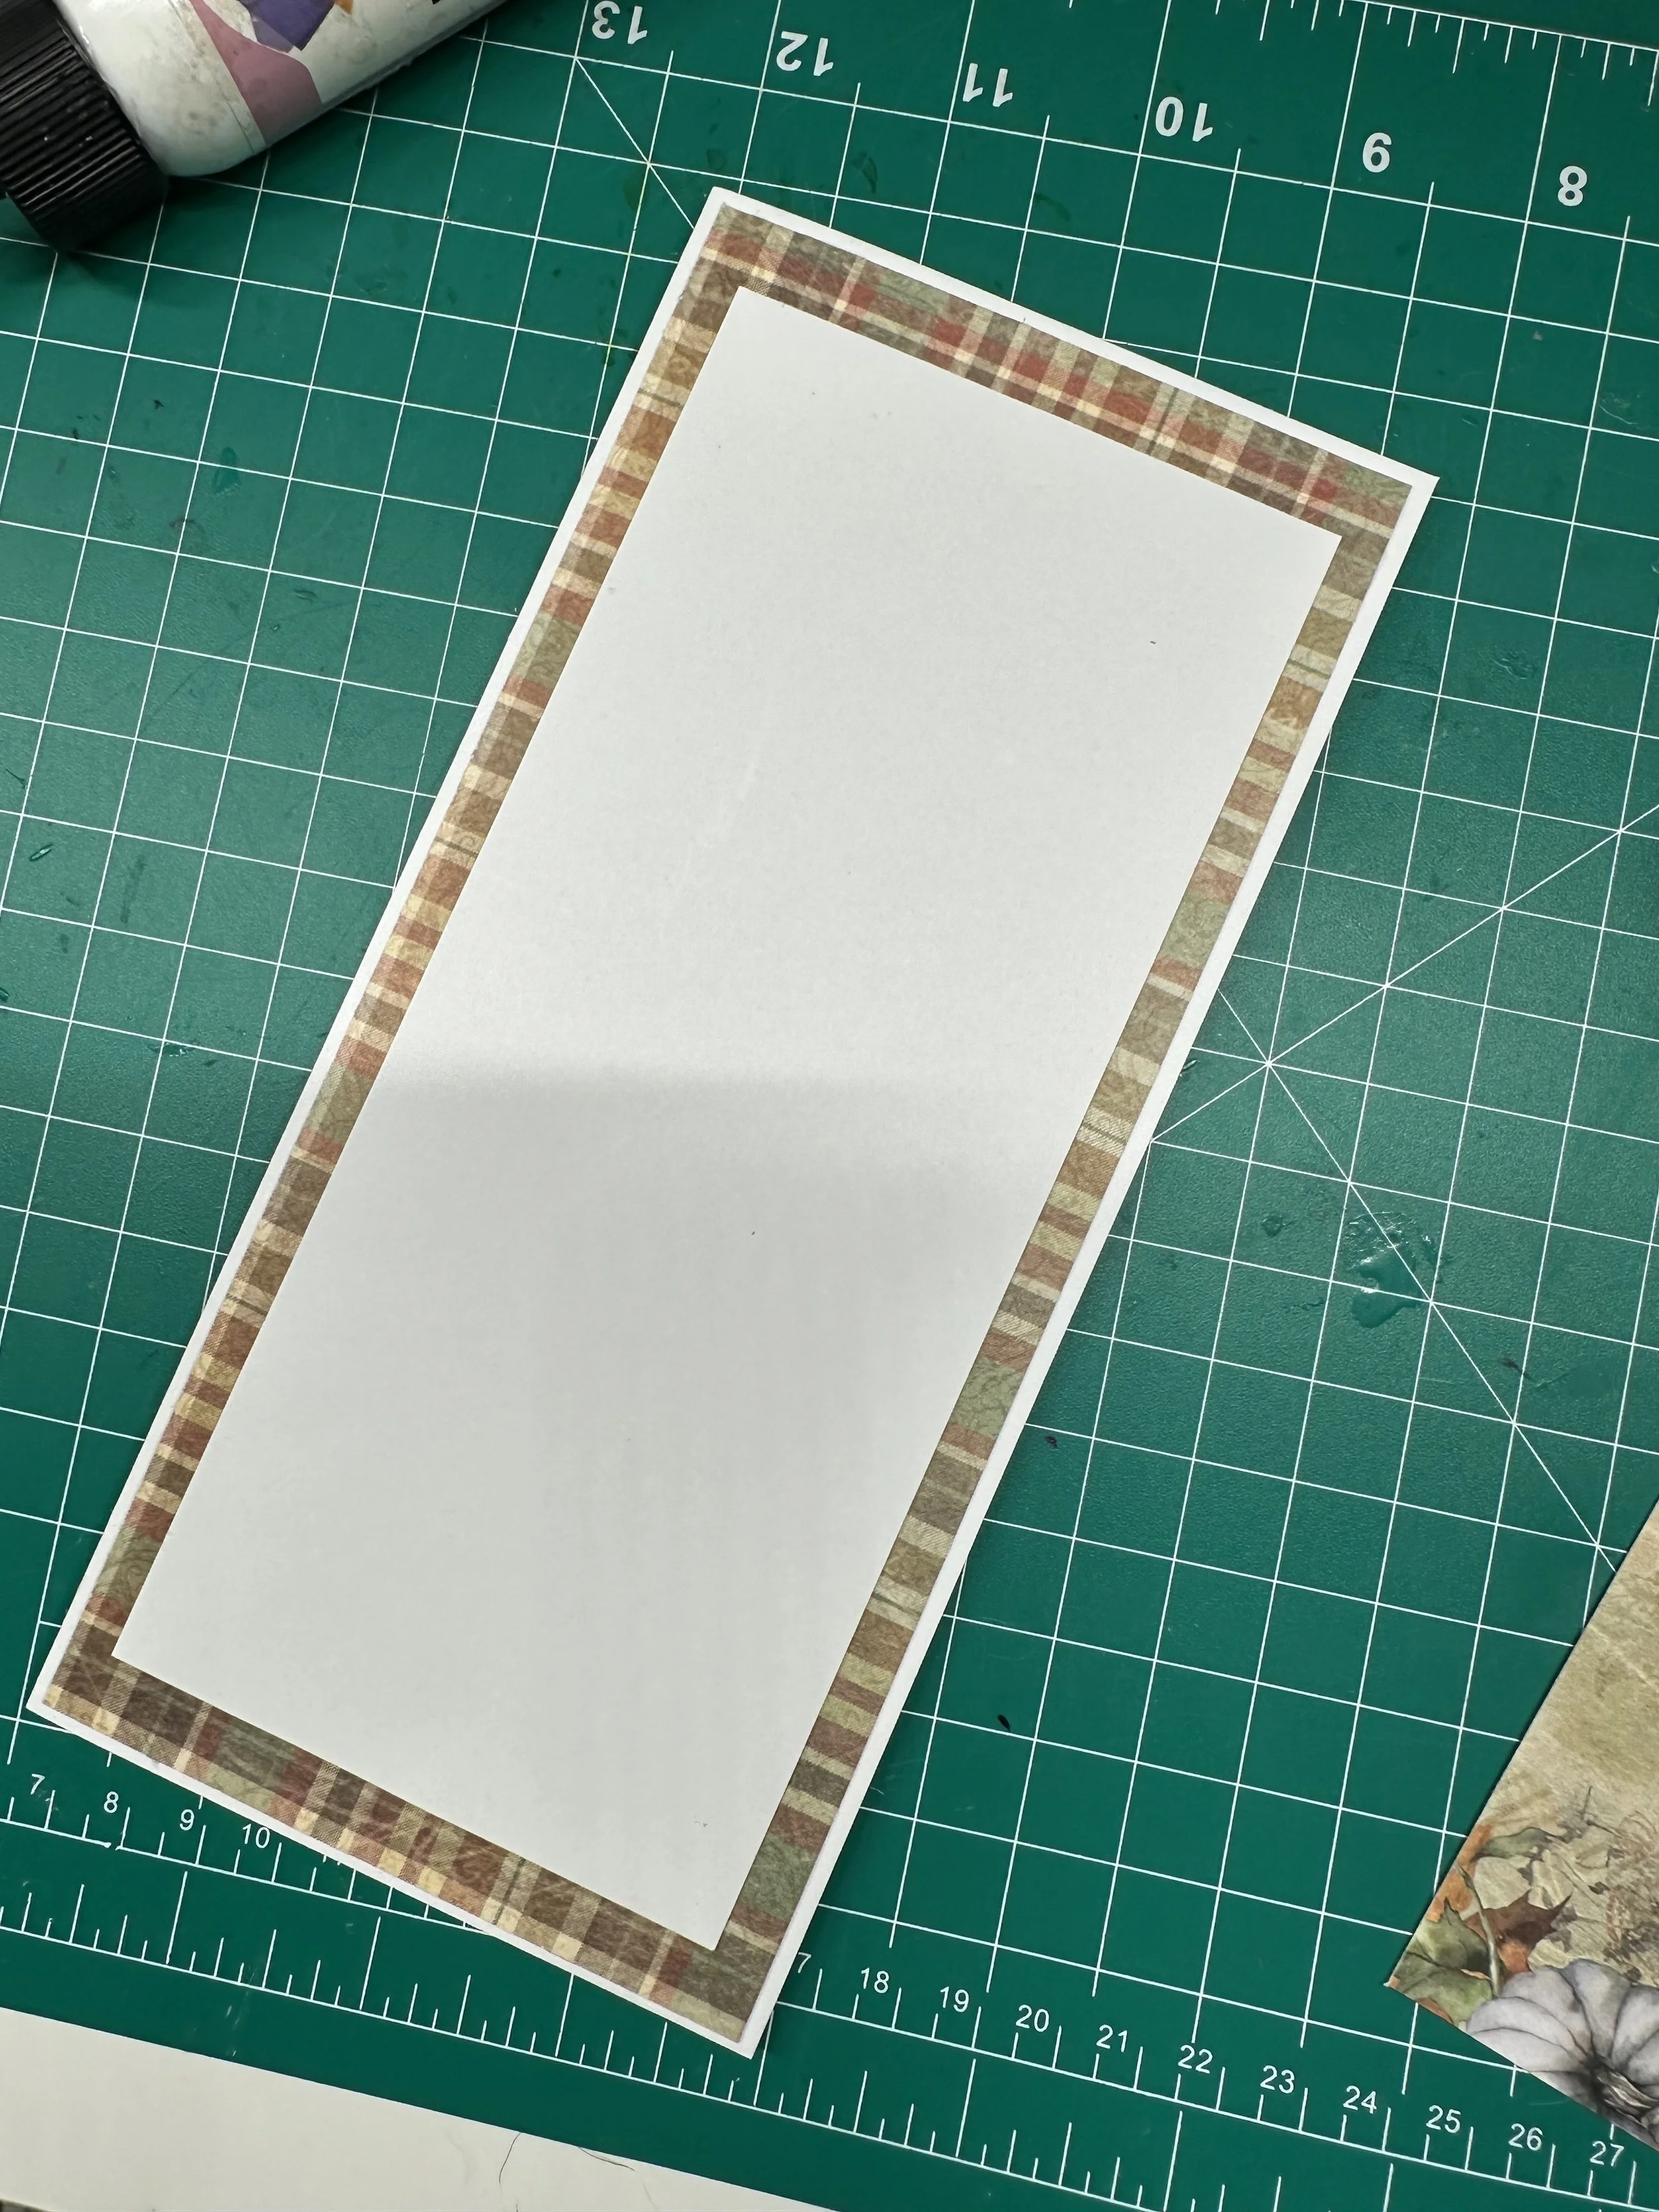
Step 2: Cut the layers that create the mat layers for the card front.
1 x 4.25” x 8.25” in patterned paper, 1 x 4’ x 8’ in white card and the final layer of patterned paper 3.75’ x 7.75’ Adhere all the layers together except the top one.

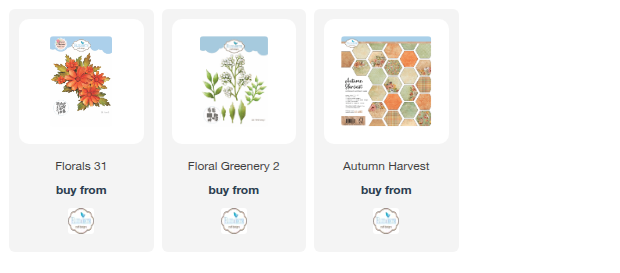
Step 3: Diecut Florals 32 using the largest floral die from the set. Cut a total of 18 flowers. Each complete 3D flower uses a total of 3 flower diecuts.
You can see how to create these flowers in the video here: https://www.youtube.com/watch?v=dc8c0hDS-Y0 Watch from 40mins onwards!
Step 4: Die cut your greenery and color with your favorite green inks.
Stamp your sentiment onto the top layer of paper for your card base and adhere.
Step 5: Adhere your florals in an arrangement down your card.