Create Adorable Scene Cards with Fun Fold Techniques
Are you a crafter who loves interactive cards with fun folds? Or maybe you’ve always wanted to create scenes for your mice and other cute characters and don’t know where to get started? Follow the steps and learn how you can make your own cards with fancy folds. This adorable card uses simple techniques, making it easy to create fun cards for any occasion, and you’ll be able to use these ideas again and again.
Hi everyone, Kate here.
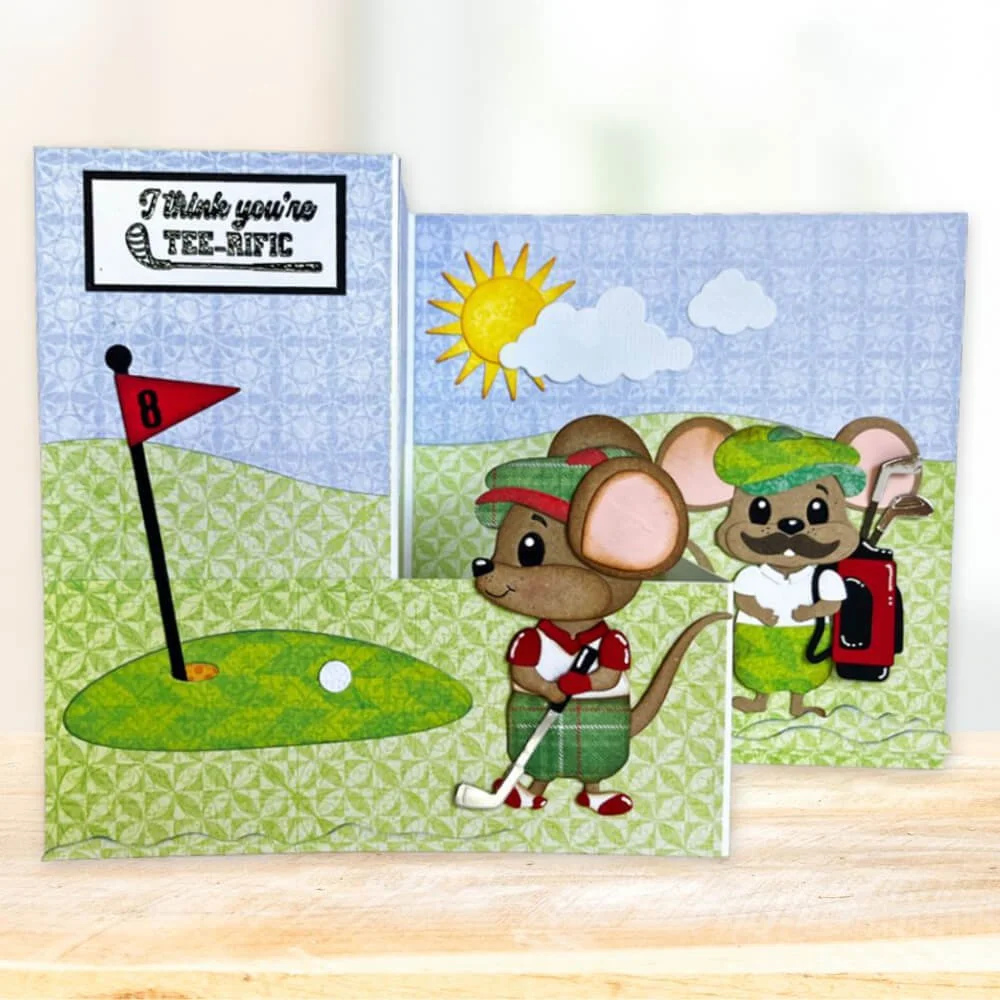
It’s my turn to share a cute little card with you. I made it using the Little Mouse and the Good Times Collection from Cute & Whimsical. This style of card is easy to make and perfect for creating scenic cards.
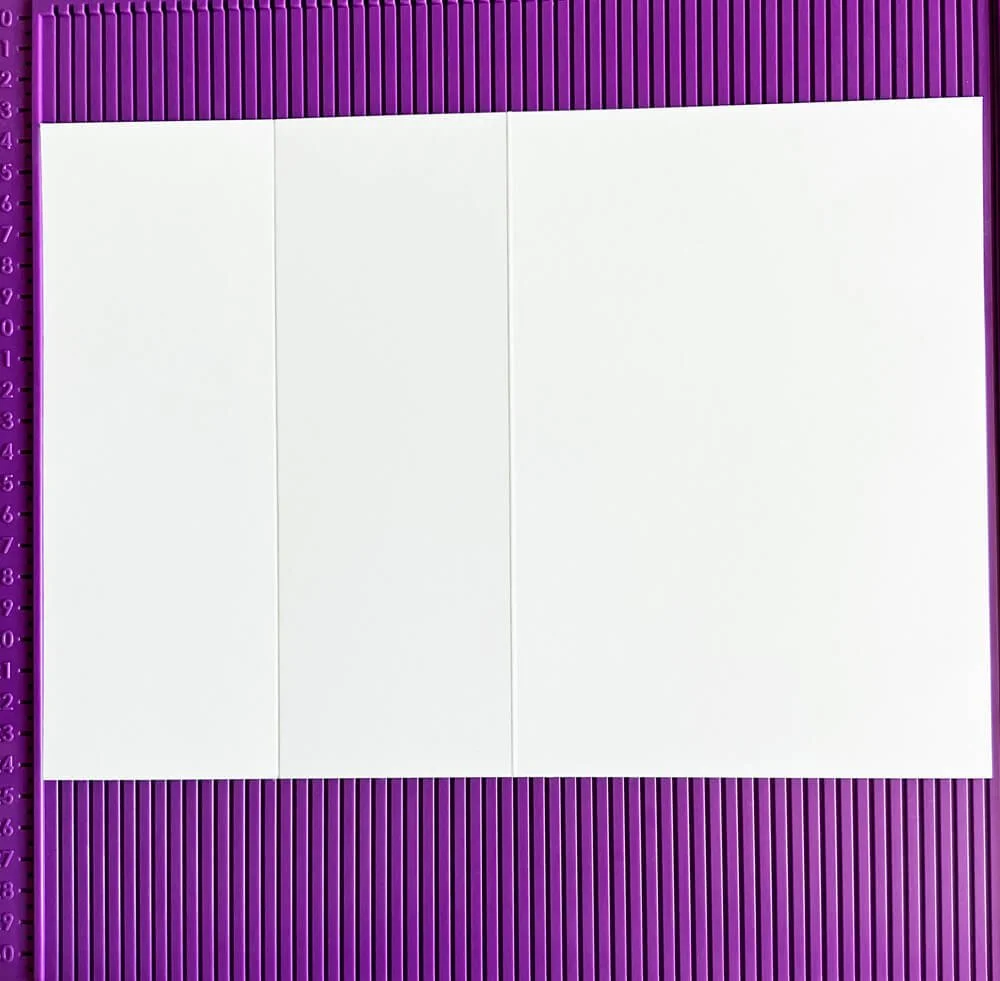
Step 1: You will need an A4 piece of white card, scored at 7.5 cm and 15 cm along the long edge. Fold and burnish to make a “fold-back“ card.
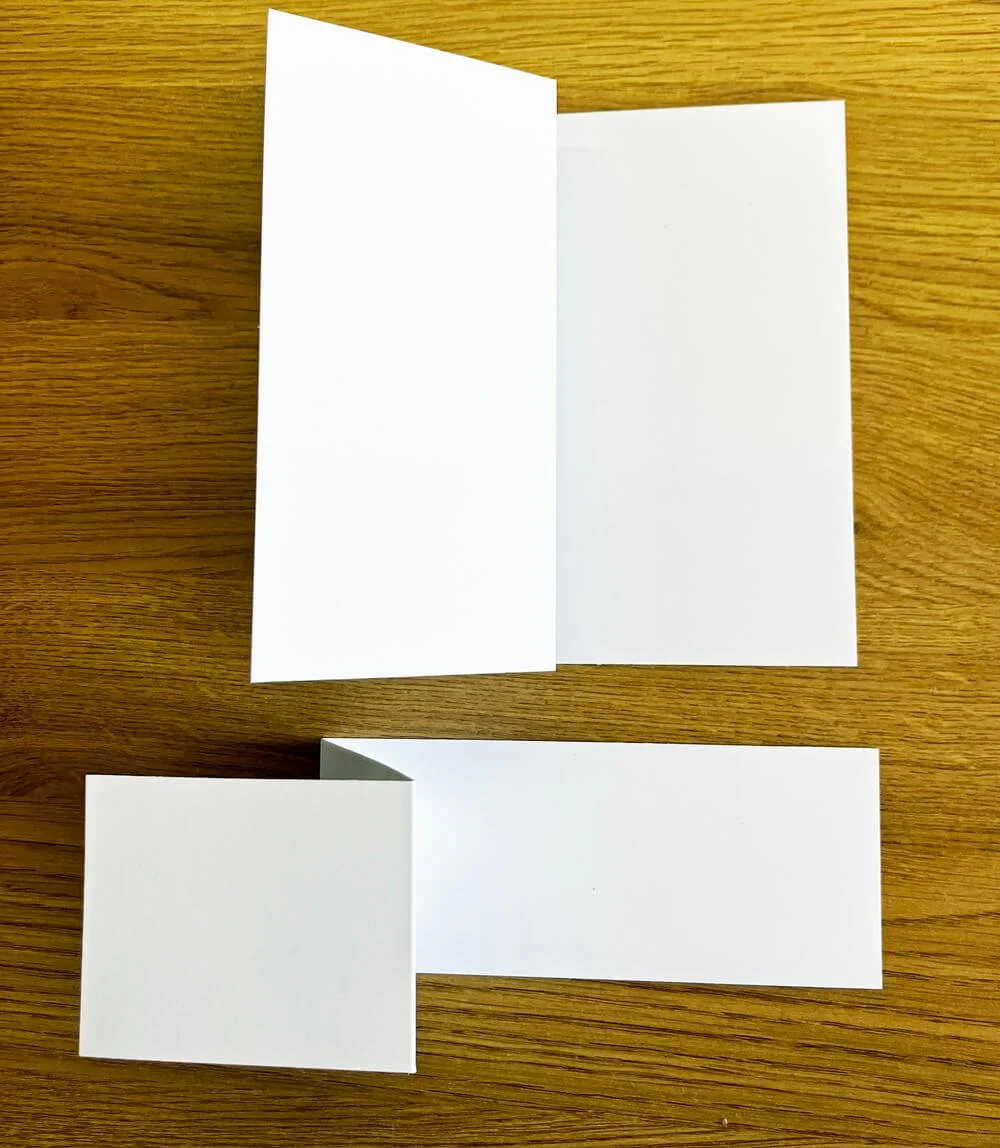
Rotate the card 90 degrees and trim 6cm off the bottom of your original card. Keep this strip of card! You should now have a 15 x 15cm card and a long strip measuring approximately 30 x 6cm (it will be slightly under if using A4).
Step 2: Choose some green and blue patterned paper (I used the Pretty Pastels paper pack). Cut one blue square measuring 15 x 15 cm, and cut two green squares measuring 15 x 15 cm. On the blue piece, either draw a slightly wavy line across the middle, or if you have a wavy curve die, use this to divide the blue piece of card in half. This will form the sky. Line them up as shown.
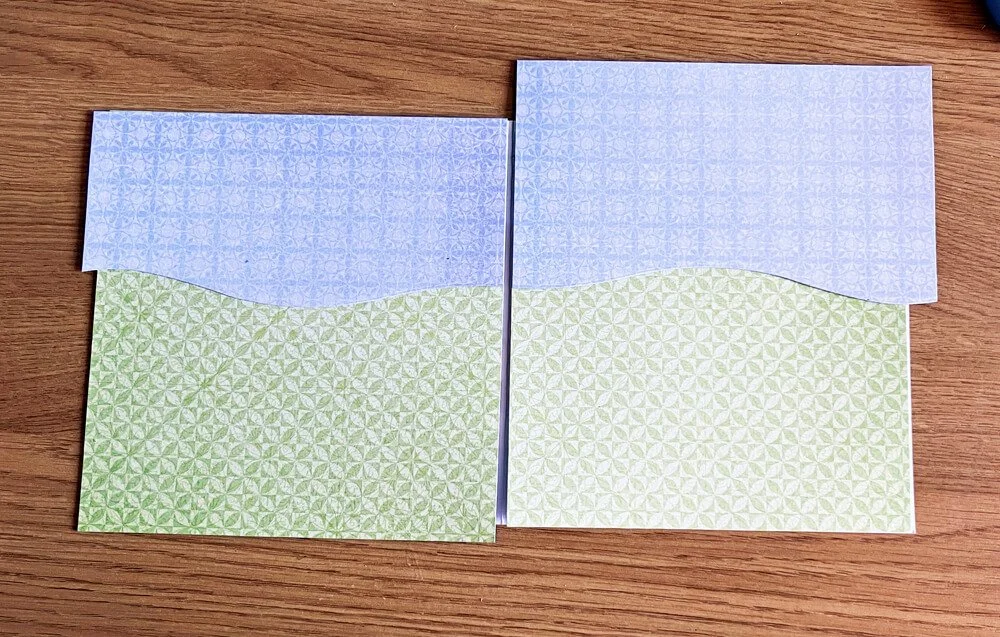


Adjust so that the “horizon” runs along in a single line. (If you want to ink the edges, now is the time to do so.) Glue the blue sky piece of card to the green piece. Turn the card over and trim the excess.
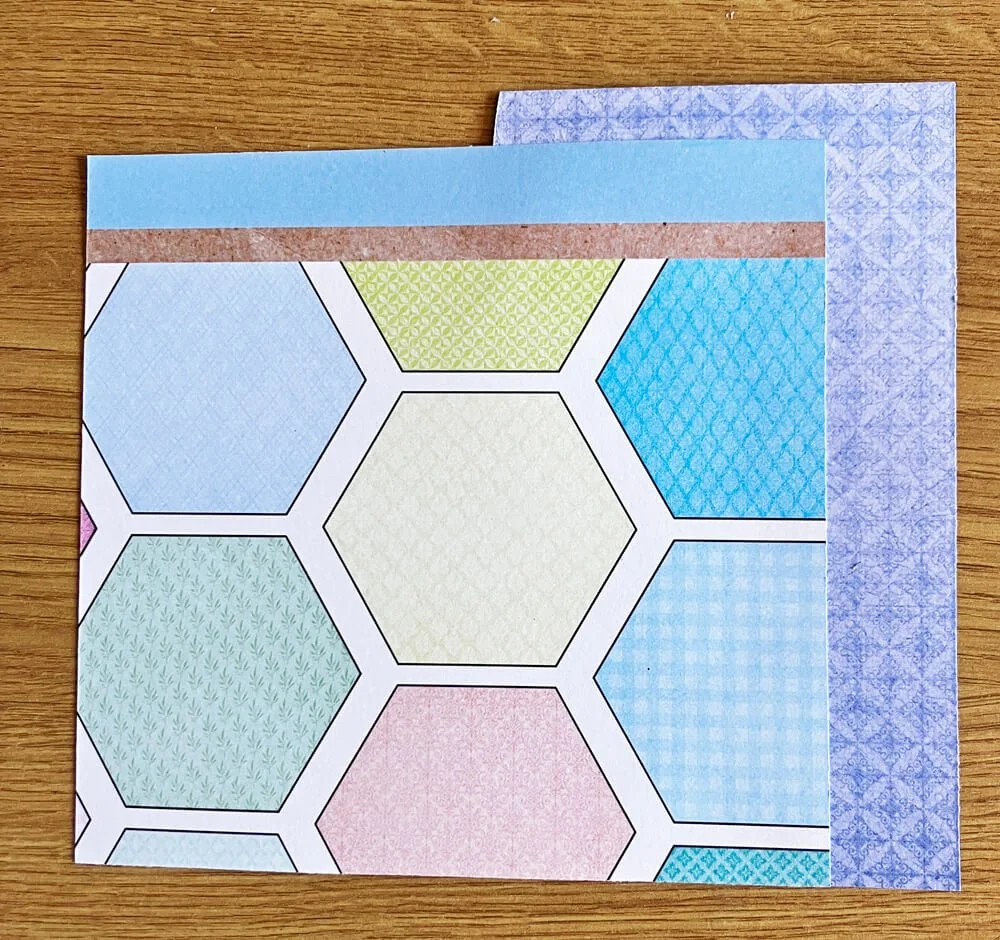
Ink the edges of your card. If you have used A4 card, you will find that the width of the right side of your base card is not quite 15 cm. So, you will need to measure and trim off a small piece in order to make it fit. Don’t butt it right up to the fold line. Leave approximately 2 mm to allow movement at the fold. With the left-hand side of the base card having a fold, trim the sections to 7.3 cm, which will allow for the fold. Ink the edges, then glue in place. Please don’t be tempted to glue it on as one piece and then score and fold it …it’s too bulky and leaves an ugly fold! (Yes, I tried that !!!).
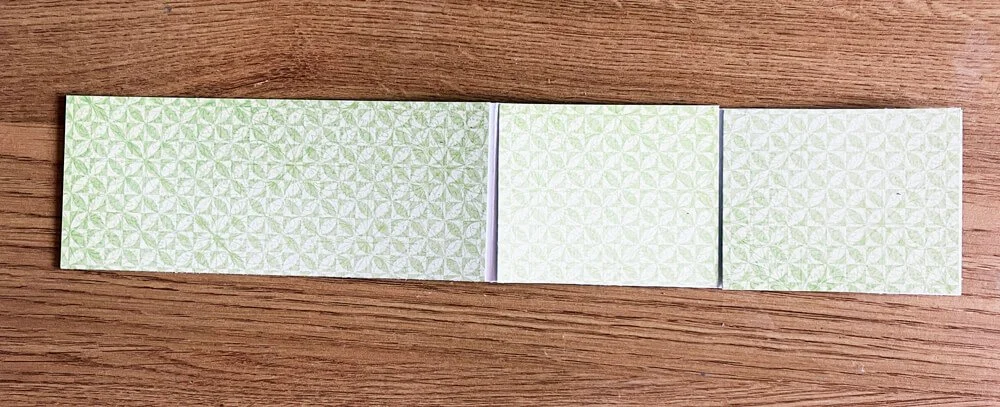
Step 3: Take the white strip of card and trim three pieces of green card to fit, again leaving a slight gap at the folds. Ink the edges, then glue in place.
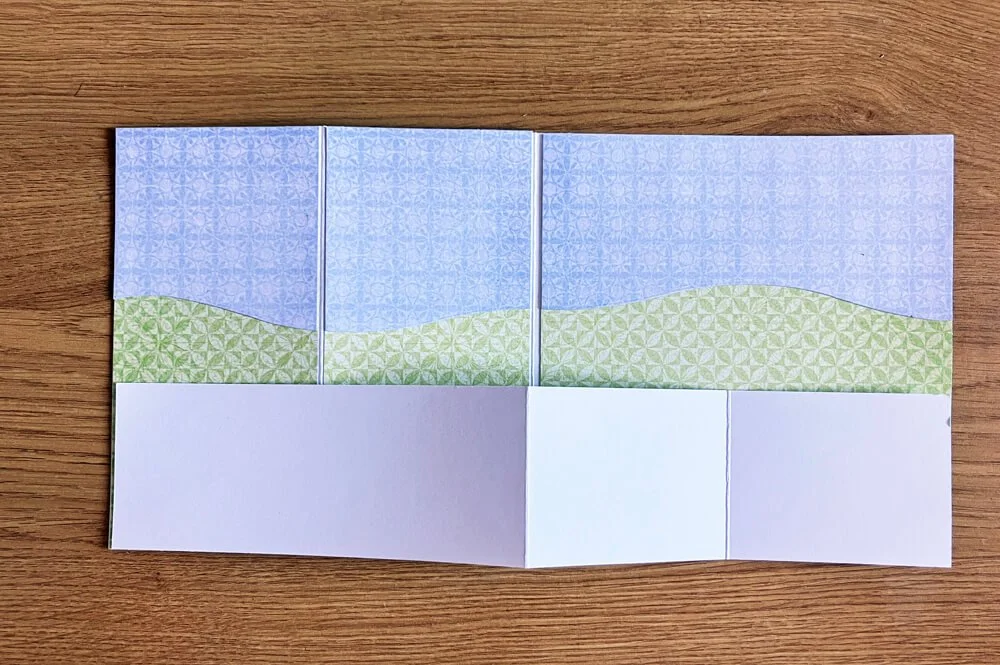
Step 4: VERY IMPORTANT! Look at the photo! The long edge of the strip attaches to the folded back section of the front of the card. Only put glue on the first part of the section. On the right-hand side of the strip, only put glue on the last section, up to the fold. Fold your card to help you see where the glue goes.
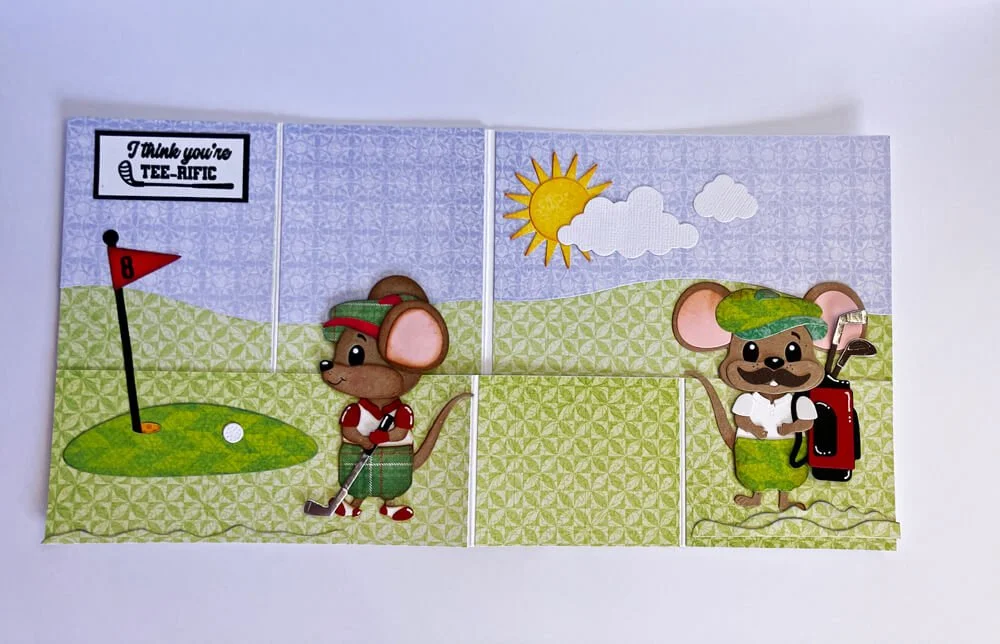
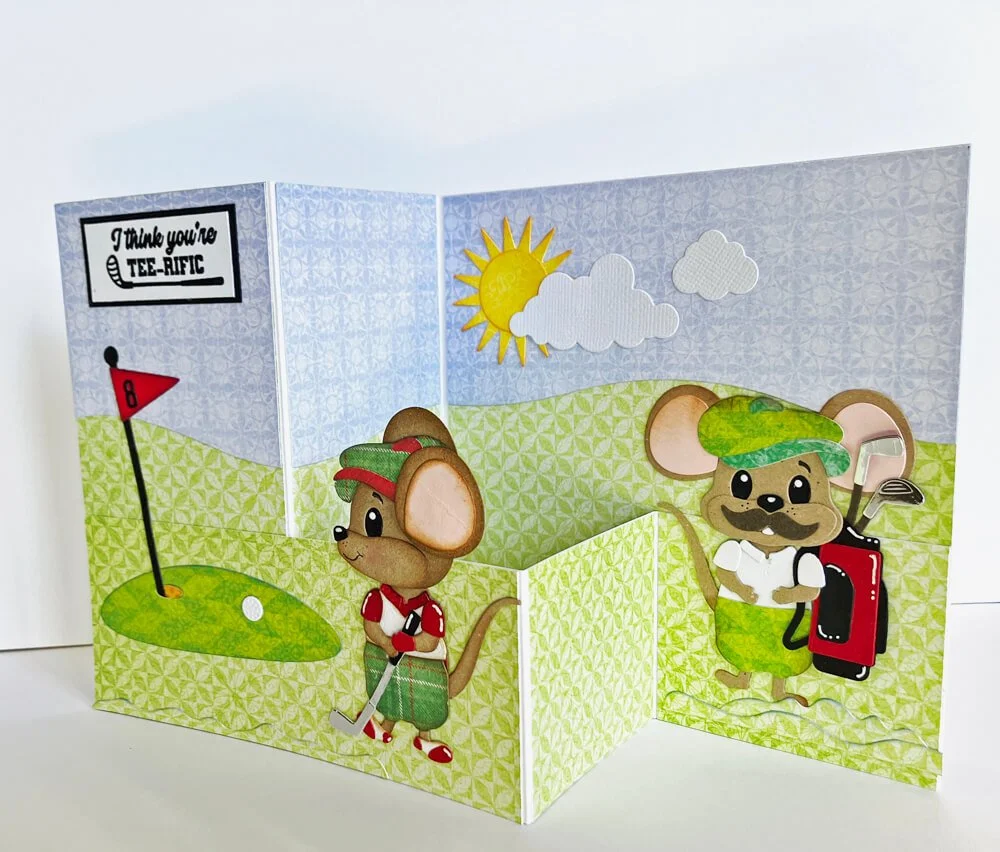
Step 5: Phew! Now to the fun part! Decorating your card. You have set a background scene, so now you can play around with your little characters to make a card. I chose these two handsome chaps playing golf. But also, use some of your other dies to help build up a picture. I’ve added a sun, some clouds, and some texture in the grass, as well as a stamped sentiment. I find it easier, at this stage, to work on my card in its folded position. This means I can check the card's composition and ensure I don’t stick things in the wrong place!
Well, I hope that you have enjoyed my tutorial; it sounds more complicated than it really is, I promise! Once you’ve made one, you’ll find that out. I can’t wait to see what you make. Please share them on the Elizabeth Craft Designs Family page on Facebook so that we can see your lovely creations.
Make sure you share your projects with us in our Facebook Group HERE. We love to see what you create!
Never miss a tutorial and sign up for our emails today HERE.
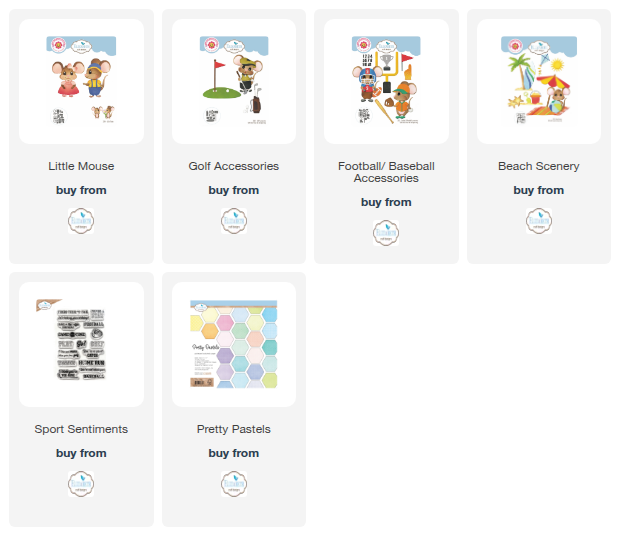
Elizabeth Craft Designs Products Used: