
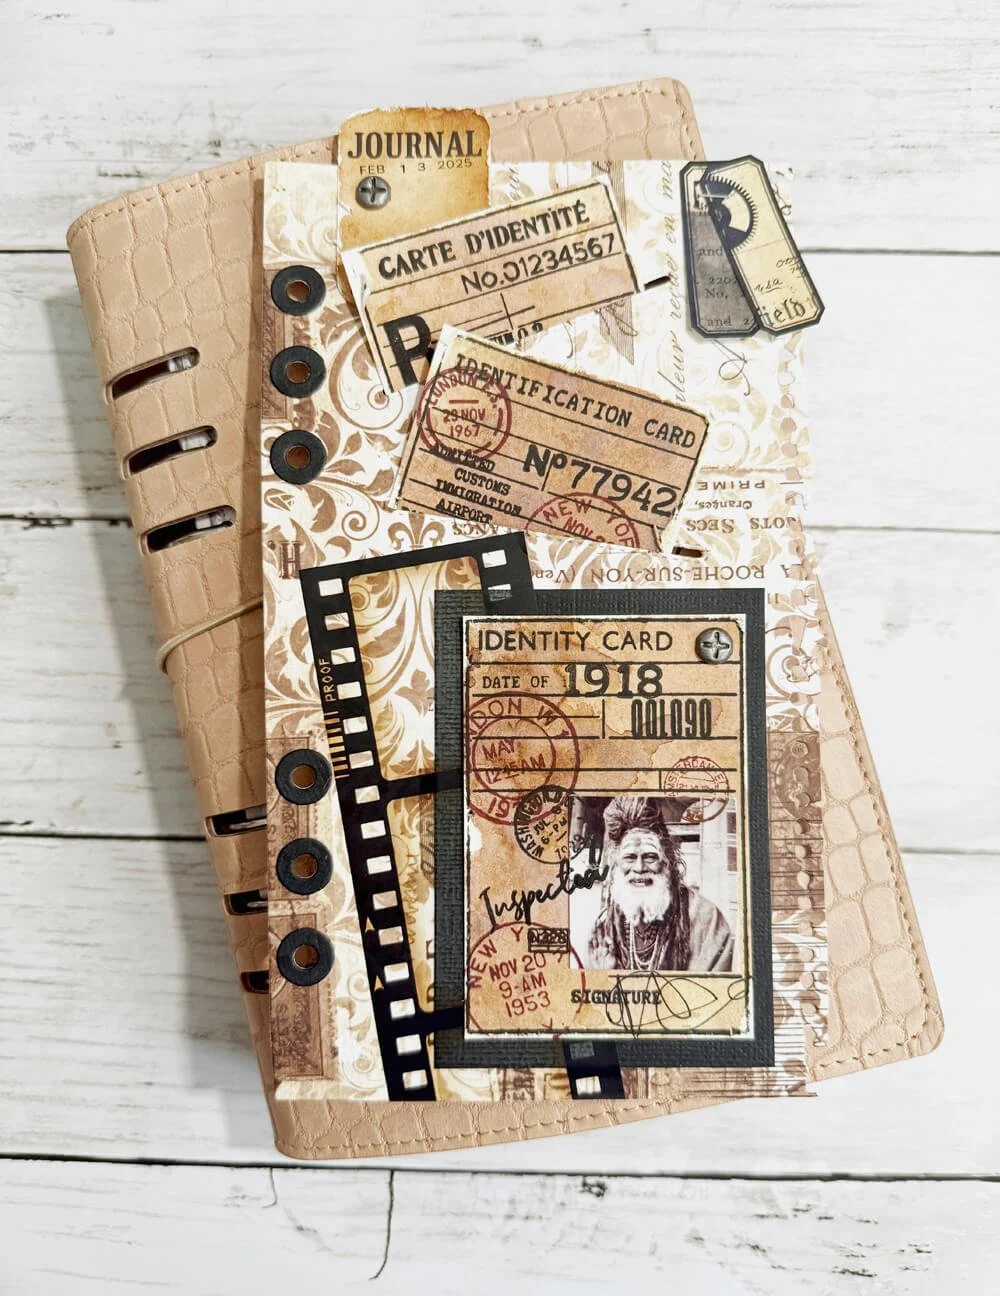
Vintage ID Cards for Planner Pages
Are you a crafter who loves planner pages with a vintage feel? Or maybe you’ve always wanted to know how to create distressed ID cards with layered stamping? Join us an learn how to create your own Vintage ID card ephemera to add photos to, documenting those special moments in life. This planner page uses simple techniques, making it easy to create vintage distressed papers for all of your planner pages. You’ll be able to use these ideas again and again.

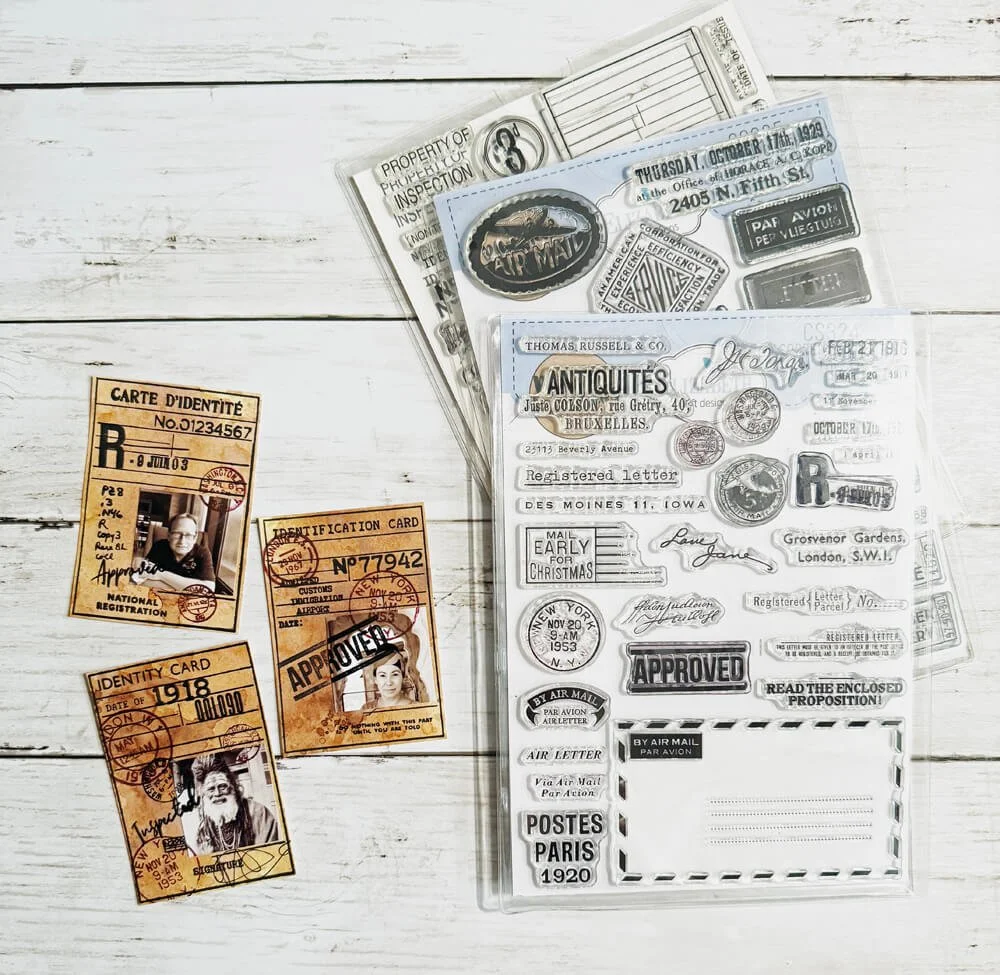
Hello Crafting Family! I love the timeless charm and limitless options of the Planner Essential collection, and the new ID cards allow you to add a one-of-a-kind ephemera that tells a story on every page. Here I have captured three images from our trip through Varanasi, India. If you’ve ever been, you know the magical hold it’ll have over you: the sights, the sounds, the tastes, it takes you back in time and brings peace to the soul. And if you’re brave enough, you’ll dip your toe into the Ganges! It's a magical place, and I wanted to capture it in a non-traditional way; these Identification Cards were perfect for just that!
Step 1: Create the base of your ID card(s) using the kissing method. I like to start with a slightly cream-colored cardstock. For the kissing method, use a non-absorbent surface, such as a glass mat. Tap your ink pad on the mat, and then spritz with water. The three colors I used were Distress Ink: Vintage Photo, Ground Espresso, and Tea Dye. The more water used, the more diluted the color will be. You may want to practice before you start. When you’re ready, “kiss” the card stock into the liquid on the mat. Continue kissing or adding ink as needed to achieve the desired look. Using a heat gun to dry the ink between layers will help to build the layers. Have fun and experiment!


Step 2: Once you’ve achieved the stained vintage look and ensured your paper has fully dried, you can either cut the page into smaller pieces, slightly larger than the ID Stamp, or stamp on the larger piece of cardstock. I opted to cut my page down in size as I prefer to use my mini stamping platform. Secure the cardstock into place before stamping, then stamp using black ink. Let dry.


Step 3: Prepare your photos. I used photos sized 1.4” x 1.4” square. I’m recommending you prepare your photos first before proceeding with adding additional stamped images, as you may wish to stamp over the photos. Remember to secure photos in place before stamping additional images.


Step 4: Using additional stamps from the stamp set, add to embellish your ID cards. For stamping over the photos, I used StazOn. Be sure to let dry!
Step 5: Distress the edges using sandpaper or a distressing tool of your choice and add them to a Planner page!

Other Supplies: VersaFine Clair Chianti Ink, VersaFine Clair Nocturne Ink, StazOn Jet Black Ink, Distress Ink Tea Dye, Distress Ink Vintage Photo and Distress Ink Ground Espresso