Quick and Easy Thank You Card
Do you love making handmade cards but sometimes need a quick card that still feels special? Join us to learn how to create this simple thank-you card. This easy yet elegant design is perfect for saying thank you, but with a change of sentiment, it would be great for any occasion. In just a few minutes, you’ll have a beautiful card that shows someone you appreciate them.

Hi everyone! Rebecca here.
Today I'm sharing a simple, elegant thank you card with the beautiful Romantic Revival collection from Everyday Elements.
Step 1: Cut a piece of black cardstock to 4 ¼” x 5 ½” to create the card base.

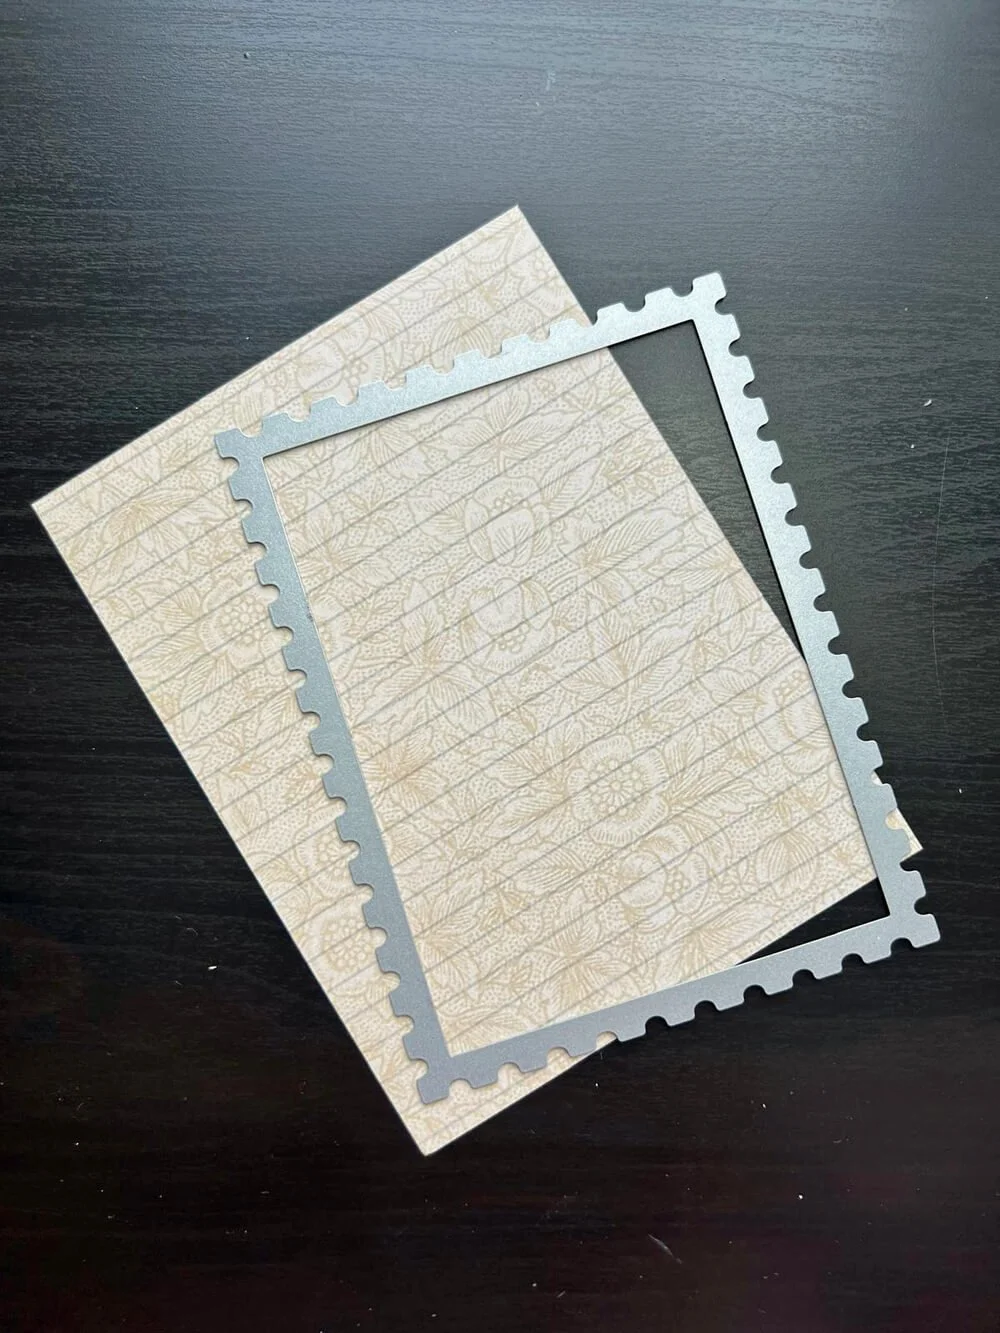
Step 2: Die-cut the base layer using the postage die from the Postage, Arches & Keys set, using paper from the Romantic Revival paper pack.
Step 3: Add extra detail to this base by stamping the music note stamp from the collection on top in any ink you like. You want to stamp the entire image in the center of the paper in a color that will stand out against the paper color.

Step 4: Die-cut all the pieces for the rose using the soft finished cardstock from ECD.

Step 5: Color each piece of the rose, including the leaves, with ink. Add depth to each piece by using a darker shade of ink on the edges.


Step 6: Die-cut the word ‘thanks’ in metallic and black cardstock. Glue the black cardstock to the metallic, leaving an edge. Die-cut the key and lock from the same metallic cardstock.


Step 7: Now we have all the elements, let's glue them into place and ink the edges of the postage die.


I hope you like this tutorial and be inspired to make this beautiful card
Kind regards,
Rebecca Quispel
Make sure you share your projects with us in our Facebook Group HERE. We love to see what you create!
Never miss a tutorial and sign up for our emails today HERE.
Elizabeth Craft Designs Products Used: