
Create an Elegant Christmas Card with 3D Poinsettias
Do you love making handmade cards with elegant 3D floral clusters, but need a little inspiration for those seasonal projects? Join us for a tutorial where you’ll learn how to create elegant Christmas cards with beautiful 3D floral clusters, perfect for those extra special cards for the holidays.

Hi everyone! Robin here, Today I'm sharing an elegant floral card with beautiful 3D poinsettias from Paper Flowers.
Step 1: Make a 7 1/4” X 10 1/2” card base from white cardstock folded in half to make 5 1/4” X 7 1/4” card. Then glue a gold layer measuring 5 1/8” X 7 1/8” and a white layer measuring 4 7/8” X 6 7/8” on top. Then, die cut 3 layers from the Festive Ornate Frame 2 from white and 1 from gold.


Step 2: Glue the frames together with the gold layer slightly offset. Keep the centers from these frames to use later.

Step 3: Glue the stack of Festive Ornate Frames to the card front.

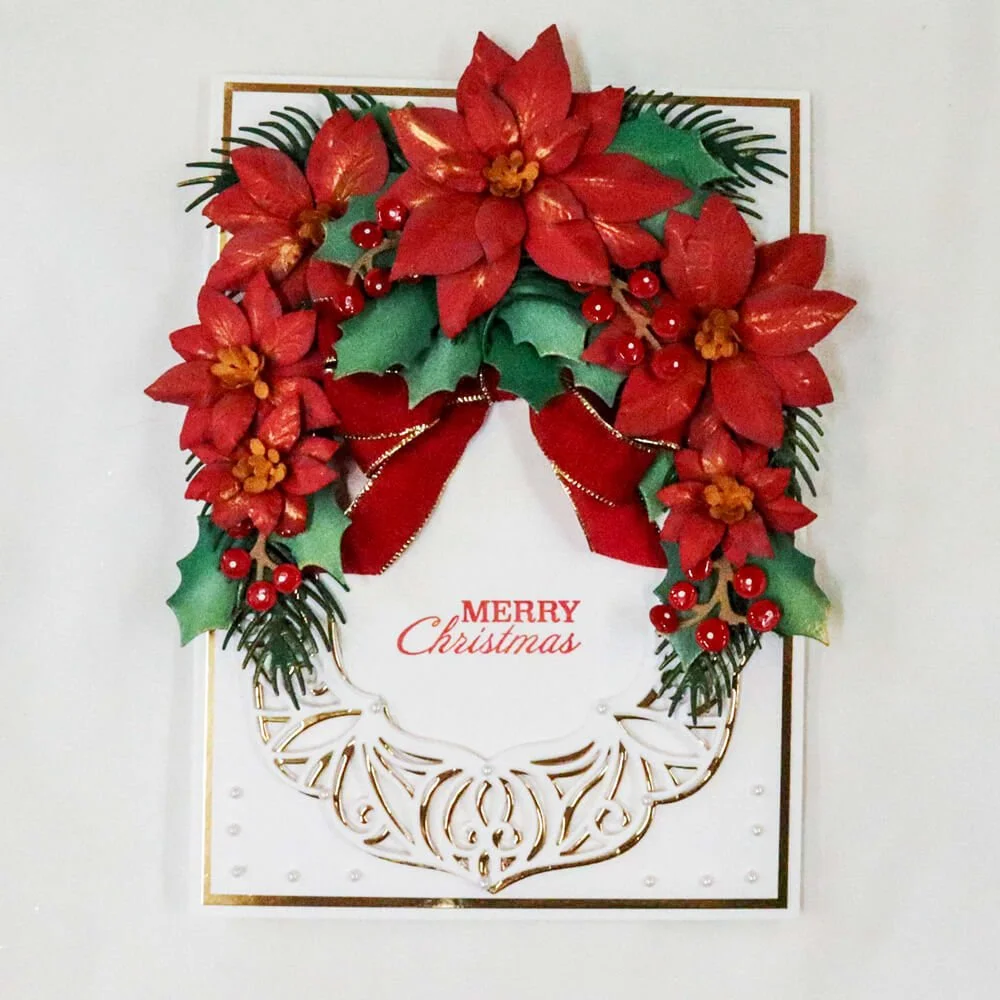
Step 4: Using red ink, stamp "Merry Christmas" onto one of the white centerpieces you kept earlier. Then, glue it inside the Ornate Frame on the card base. Set the card aside for now.

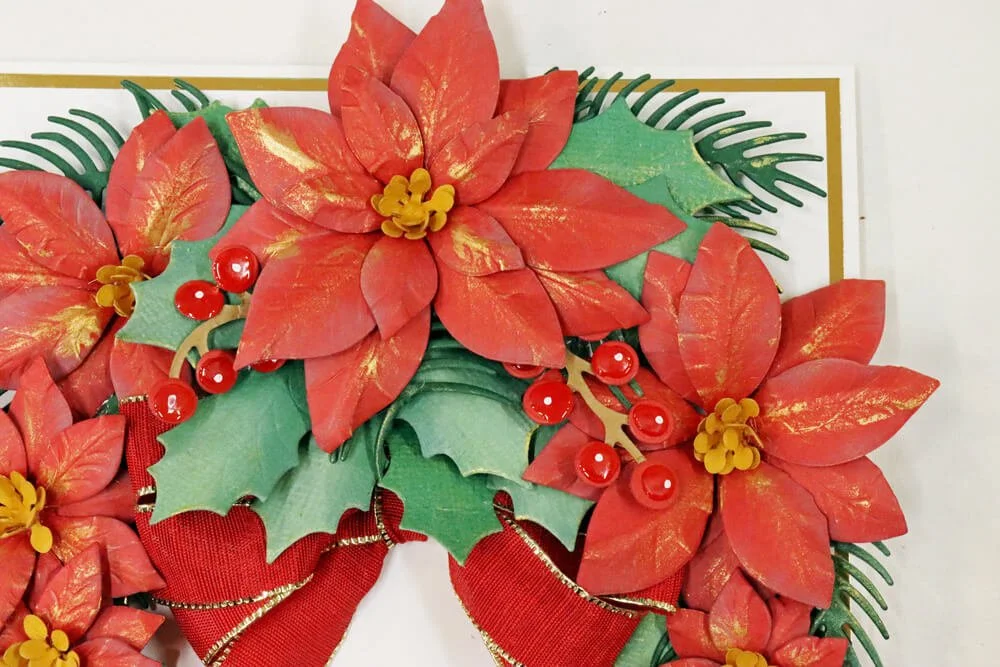
Step 5: Die cut poinsettias from red cardstock. Use a dry brush to add highlights to the petals, using gold paint. Use a light touch to add just a bit of gold, making sure the brush is dry is key to getting the right look. Shape the petals on a soft pad, then glue them together to create a poinsettia flower, and finish them off by gluing gold centers in each flower. You will need 6 flowers for this project in a mixture of sizes.


Step 6: Die cut leaves and boughs from 2 different green color cardstocks and add some shading and highlights with ink. You will need quite a few of these to create a nice full cluster on the card.


Step 7: Die cut berries from red card, and stems from brown. Glue them together and add Nuvo Crystal Glaze to the berries. When dry, dot each berry with white paint. I used a white Posca Pen. You will need 4 of these if you place them in the same positions I did, but you could add more to your finished card if you wanted to.


Step 7: Make a multi-loop bow from red ribbon

Step 9: Arrange leaves and flowers in an arch at the top of the Festive Ornate Frame, then add the bow underneath the leaves in the center of the arch. Finish with some white pearls at the bottom of the card.
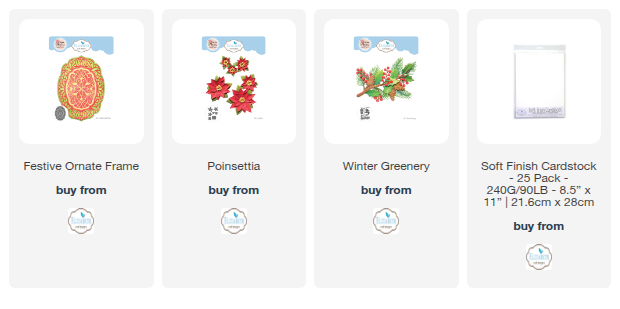
Other Products Used: Red, Green, and Gold Cardstock, Metallic Gold Cardstock, White Pearls, Nuvo Crystal Glaze, White Posca Pen, Gold Acrylic paint, and Red/gold ribbon.