Easy Vellum Pockets for Your Planner Card Box
Are you a crafter who loves adding delicate details to your planner cards? Or maybe you're looking for tips to create decorative and easy pockets, but aren’t sure how to get started? In this tutorial, you’ll learn how to make easy pockets with vellum details that are perfect for both your planner boxes and planners! Create lots of space to store and display all your photos and memory keeping.
Hi everyone, Ingrid here!
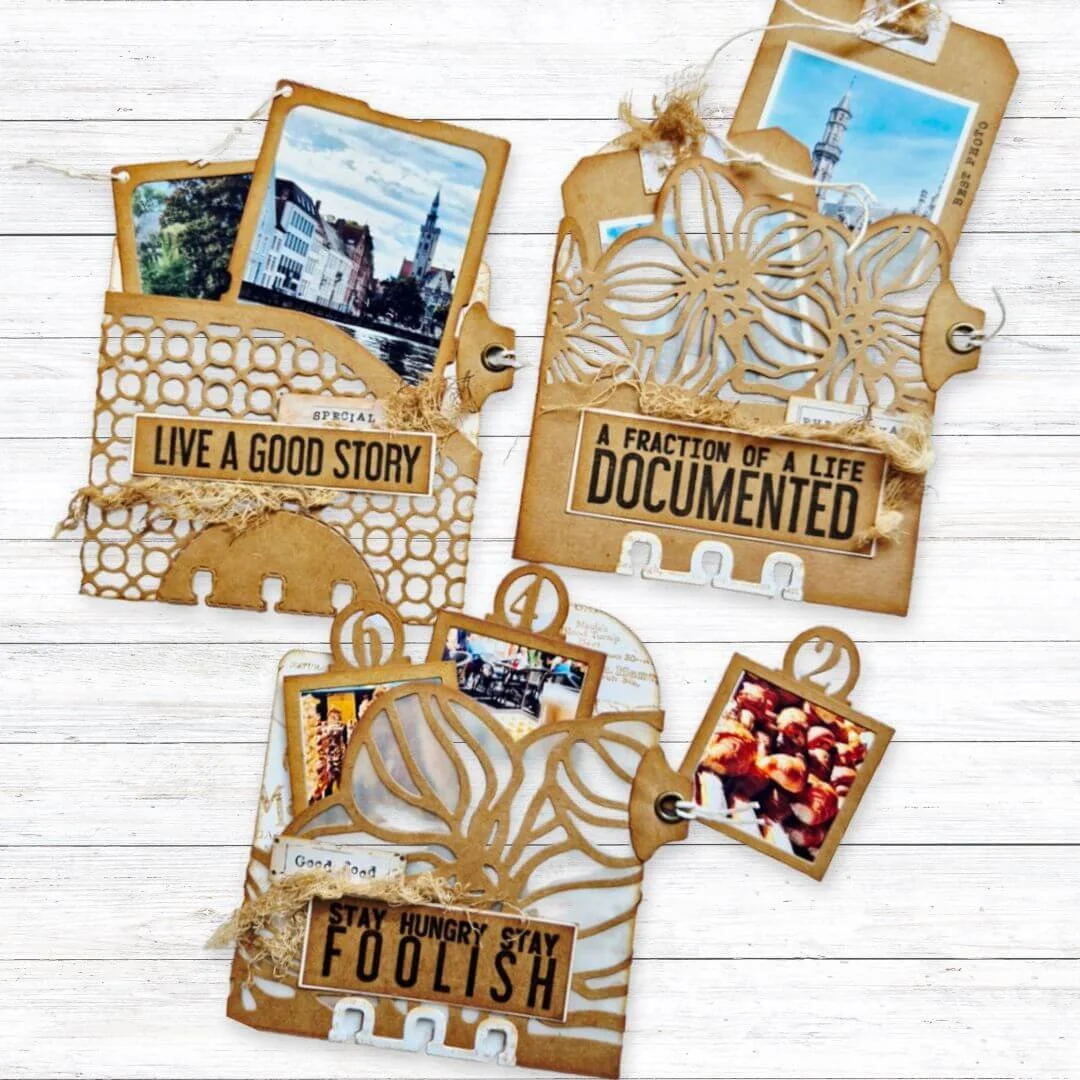
Welcome back to the Elizabeth Craft Designs Blog. Today I want to share a fun project with you: three creative pockets with a tag, designed to fit inside the Planner Card Box. I’ll walk you through each step, showing you how I combined different dies, vellum details, and stamped elements to create these pockets with a unique and delicate look.
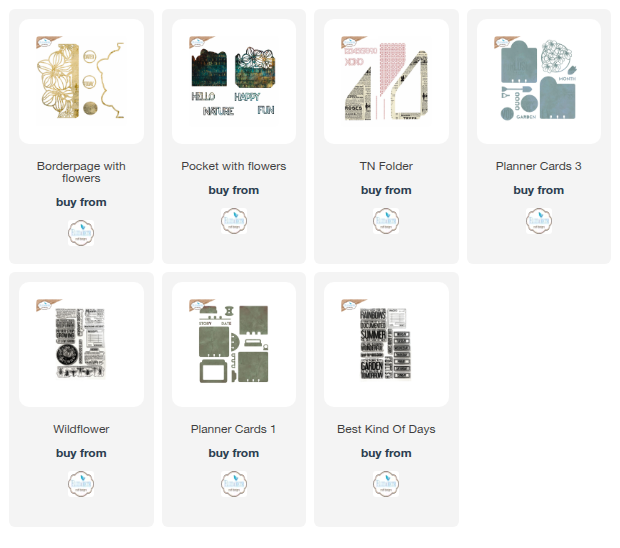
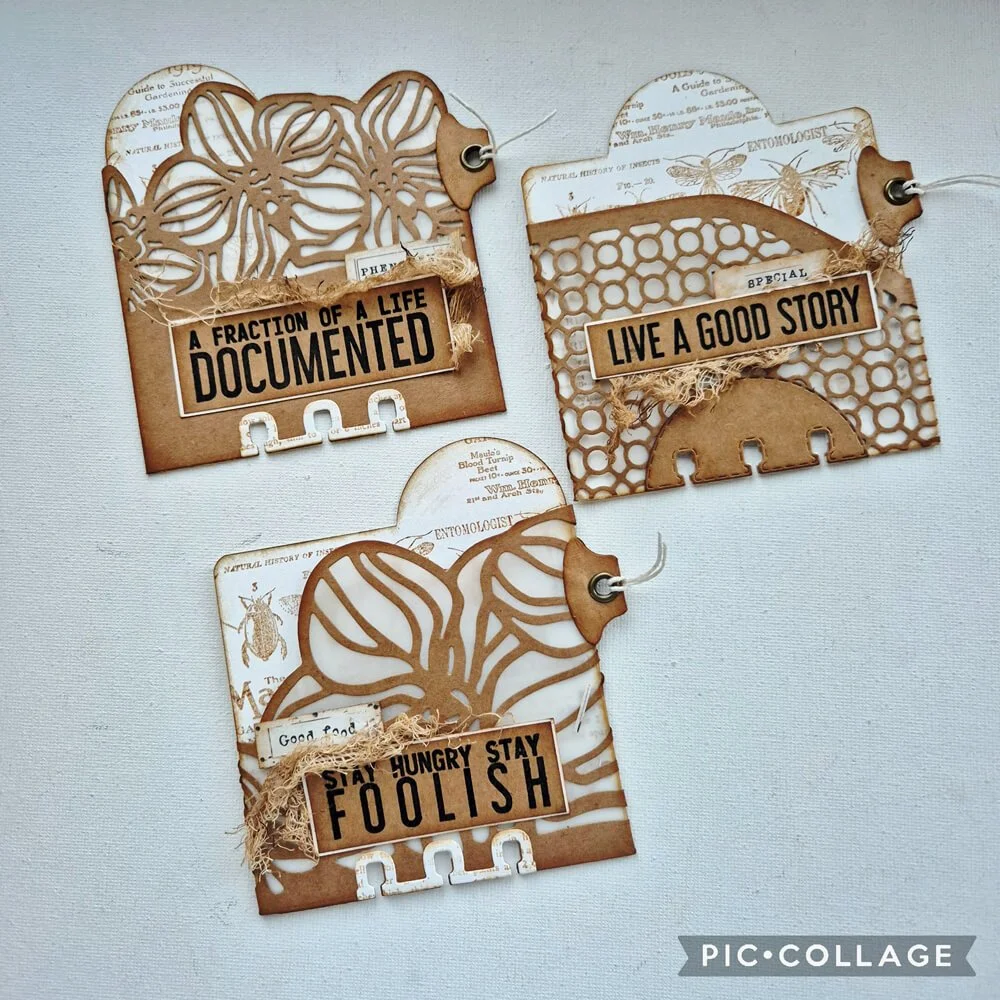
Step 1: As you can see in the photo, I die-cut several elements from the Botanical Blend release. I used: Border Page with Flowers (2277), Pocket with Flowers (2278), TN Folder (2279). Each of the first two dies also includes a solid piece, which I cut from vellum. I glued the vellum behind the flower cut-outs, as well as behind the element from the TN Folder, creating ‘closed’ elements and a softer, delicate look.
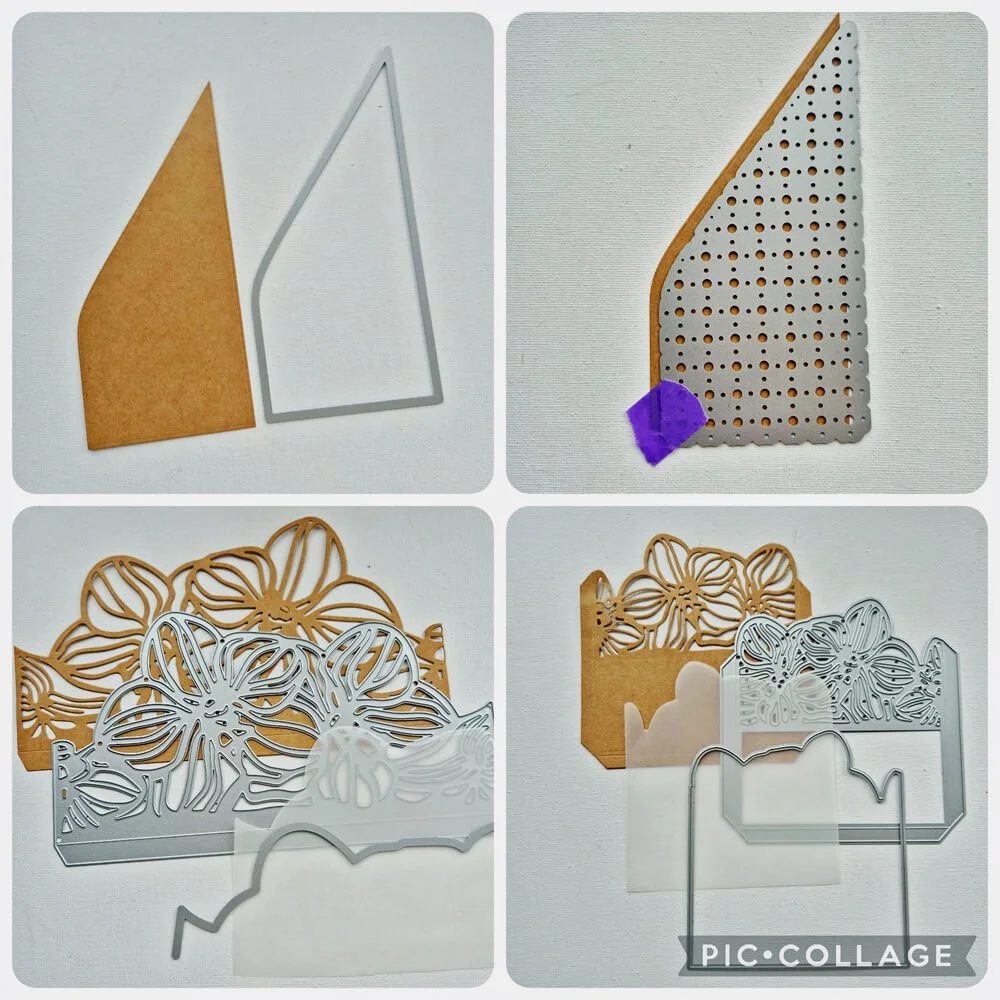
Step 2: I then die-cut the base cards from Planner Cards 3 (2225) using white cardstock, and stamped images from the Wildflower stamp set (CS419) using Vintage Photo, Distress Ink. I also inked the edges. I created pockets by wrapping the pieces die cut in step one around the base cards. Before gluing them in place, I used the loose die from Planner Cards 1 (2223) to add holes at the bottom, and trimmed the overlapping sides down to .5 cm, ensuring the cards fit perfectly into the Planner Card Box.
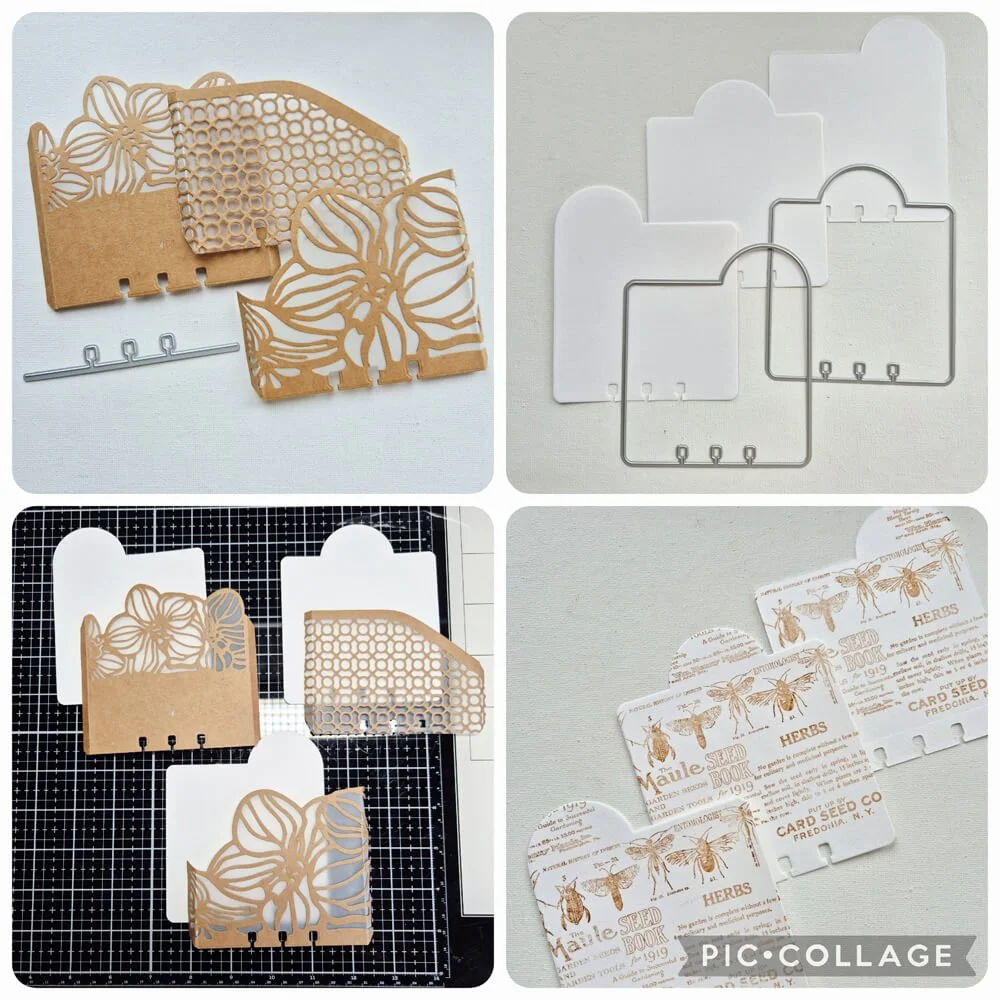
Step 3: You’ll notice that I added a few extra stamped details using the Best Kind of Days stamp set (CS420), again on matching cardstock and white paper, with black ink. For the reinforcers and small side label, I used additional elements from Planner Cards 1 (2223). After distressing the edges of all the pieces and gluing them in place, the pockets were finished!
Step 4: Now it’s time to create some small tags with photos. Here, I combined an older set, Tab 4 with Tags (2055), with elements from the Botanical Blend Collection. I shortened the larger tags slightly so they would fit neatly inside the pockets. Once they have dried, you can arrange them inside your pockets.

I really enjoyed creating these pockets for the Planner Card Box—they’re such a fun way to combine photos, different materials and stamped details into one project. I hope this inspires you to try making your own pockets and tags with the beautiful dies from Elizabeth Craft Designs. Don’t forget to share your creations—I’d love to see what you come up with!
Love, Ingrid