Journal Pages with Hinged to the Past
Ready to create a journal page with Rianne? In this post, she takes you through her journaling process, sharing how she used the Hinged to the Past collection to design beautiful pages.

Hello all,
Today, I want to share another fun blog tutorial with you. I got to work with Devid Roodenburg's latest collection, “Hinged to the Past.” It’s a versatile collection, and I have already created many fun journal pages with it. Have fun reading!
Step 1:
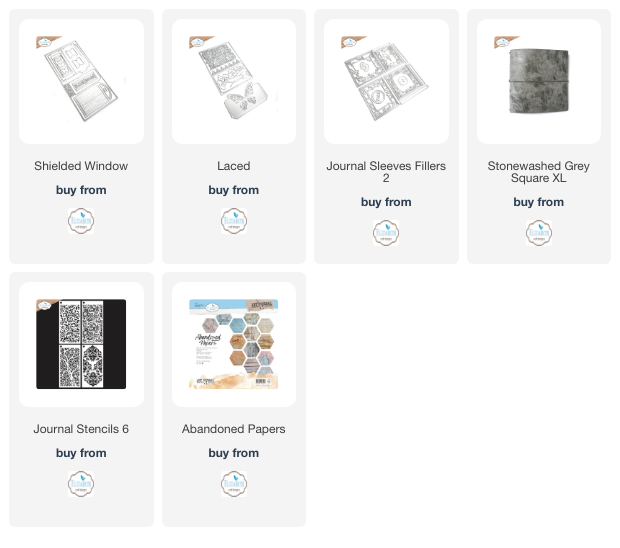
I’ve started by die-cutting my base page from Shielded Window 2211 using paper from the Abandoned paper pack

Step 2:
I then die-cut some elements from Laced 2210. I’ve die-cut the tag twice. These have been cut off at 5cm, so the tag is shorter. Then I creased it at 4 cm. I also creased the card at 1 cm, as this will become an adhesive strip.

Step 3:
For the tags, I wanted to alter them with embossing powder. I’ve applied embossing ink using the stencil from Journal Stencils 6 S055.


Step 4:
On the right page, I wanted to incorporate the lace element. This die is so detailed!
Before gluing this, I determined the height of my tags. I glued the tags so the adhesive strip fell below the lace element. This creates a nice finish. In addition, I placed the remaining card at the top of my page.

Step 5:
On the card at the top of the page, I incorporated one of the beautiful photo frames. In the frame I placed a photo from reminiscence book 8. Below the photo I created a cluster with the number element. I like it when these elements are recurring on my pages.

Step 6:
To hold this card in place, I made two small tabs, die-cut from Shielded window - 2211.

Step 7:
On the left page. Because I wanted to make it a whole, I used the same colors here. This way, the pages have a nice unity.

Step 8:
At the bottom, I used the beautiful butterfly pocket from Laced - 2210. I cut out the flower die twice and glued them on top of each other. Be careful not to glue the pocket shut. To prevent this, I left the top part of the flower open.

Step 9
For the pocket, I used the filmstrip from the planner essentials. I then die-cut this on one side with the tag die. This way, the beautiful jagged edge returns on the left side. As you can see, you can combine punches perfectly with each other to create a different look.

Step 9
Finally, it's time to add some small elements. Again, I made a small cluster for the bottom left corner of the pocket. Here and there, I added a stitching edge with my sewing machine. At the top of the page, I incorporated a tab from a die-cut kit and placed a half-film strip on both sides. I incorporated two more butterflies on the tags to create extra focal points.

I hope you liked how it turned out and that I was able to inspire you.
You can add fun photos on the back of the tags and the card.
I enjoyed working on it. If you liked and recreated the project, please share the result on our social media groups.
Hope to see you next time!
Creative greetings,
Rianne