
How To Make Easy Floral Cards For Any Occasion
Are you a crafter who loves pretty, clean designs? Or maybe you’ve always wanted to use your stamps to create elegant backgrounds? In this tutorial, we’ll show you how you can make your own card the EZ way, using inks, die-cut flowers, and stamps from the Spring Blossom Collection. With soft pink tones and simple techniques, this project is perfect for any occasion, and you’ll be able to use these ideas again and again.

Hello everyone,
Oksana here with a bright floral card using the latest ‘Spring Blossom’ release from Paper Flowers. We’ll use stamps, heat embossing, and make some dimensional flowers to create this pretty card!
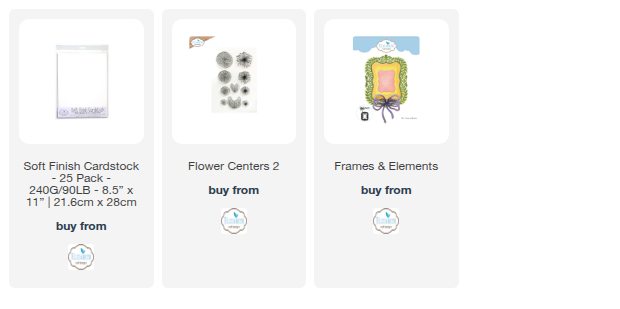
Step 1: Create a tent-fold card blank from white cardstock measuring 4 ¼” by 5 ¾” and cover the front with pink textured cardstock. Then, stamp the cherry blossom image using pink ink on a blank piece of soft-finish cardstock. When stamping, turn the stamp in different directions; this adds interest to the background and allows you to fill most of the space on the piece of card.


Step 2: Cut down the stamped piece to measure 4” by 5 ½”. Then gently ink around the edges using the same pink ink. This softens and blends in the edges. Adhere this to the card front.

Step 4: Stamp the Best Wishes sentiment onto white soft-finish cardstock using black ink and heat emboss using clear embossing powder. Die-cut the sentiment out using a label die. Create a mat from black cardstock and adhere the sentiment to it before cutting a mat from the same pink cardstock as earlier. The pink mat should fit the width of the card, and adhere all these to the card base.

Step 5: Die-cut a few of the cherry blossom flowers from white soft-finish cardstock. Blend pink ink around the edges on both sides and stamp the flower centre using light orange ink. Lightly spray with water and shape using a ball tool. When dry, adhere gems to the flower centers.

Step 6: Die-cut a bow using the same pink cardstock and glue it together. Make a double bow from gold string and attach it to the pink bow before adhering it to the card. To finish, adhere the flowers in place and add some no-hole sequins.


I hope you have been inspired to create this card using the products and techniques I have shared. Just by changing the sentiment, this card could be used for any occasion.
Make sure you share your projects with us in our Facebook Group HERE. We love to see what you create!
Never miss a tutorial and sign up for our emails today HERE.
Elizabeth Craft Designs Products Used:
Other products: No hole sequins, Gold String, Adhesives, Pink Card. Black Card.