
Create Journal Pages with a Gel Plate
Are you a crafter that loves mixed-media art journal pages? Or maybe you have always wanted to create an art journal page with mixed media techniques and don’t know where to start? Join us and learn how you can create this journal page, using acrylic paint, a Gel plate, and dies from the Art Journal Specials Mr. & Mrs. Collection. This page is full of color and personality with easy, fun techniques that you can use again and again in your art journals.

Hello everyone!
Spring has sprung, and so has the beautiful new “Mr. & Mrs.” Collection from Art Journal Specials. Today, I’m going to show you three different uses for one die on one page.
Step 1: Start by die-cutting the clock several times from foam sheets to create two ‘stamps’. How many you need to cut will depend on the thickness of your foam. I glued two layers together on the one I will use on my gel press, so that I can push it down firmly. Because we are printing on a gel plate, we want to ensure the numbers go the right way once we pull the print. For general printing, turn it over, so the numbers are back to front. Adhere the foam ‘stamps’ to some cardboard to make them stronger.


Step 2: Get your gel plate and put a layer of paint across the surface using a brayer, then straight away, while the paint is wet, use one of your foam die-cut stamps to make a pattern on the plate


Step 3: Leave this layer to dry or use a hairdryer on a cool setting to speed up the drying process. Then add another layer of paint with your brayer and smooth a piece of paper over the top. Make sure the paper is firmly pressed down and either walk away for a while or use a hairdryer on a cool setting to dry the paint before removing your print.


Step 4: Next, take your foam die-cut “stamp” that’s stuck onto packaging backwards, and stamp over the top of your print using archival ink or Stazon.

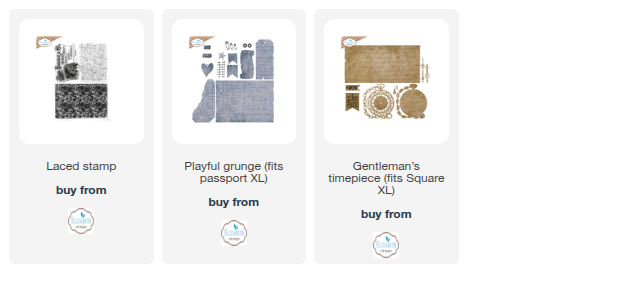
Step 5: Die-cut your journal page and any elements you want to use from the print. I used the Playful Grunge Die set for this.

Step 6: Put your page together; you can add extra elements at this point to add interest and layers. I used the laced stamp on fragments of paper in places to do this. When you are happy with the layout, sew around the edges with your sewing Machine. If you don’t have a sewing machine, you can glue the pieces in place and create a faux stitched edge with a black pen.

Step 7: Then, die-cut the clock and hands from cardstock, roughly press a Versamark ink pad over the top, and heat emboss. Don’t go for full coverage with this step, as that’s what gives it its grungy look. Then, using a brad, attach the piece to the page.


Step 8: Then, cut a tag. I used the one from the Playful Grunge set and added some colour to the tag using a brayer and acrylic paint. While that was drying, I die-cut some other pieces from the same set and decorated them for added interest. To finish, I added some stencilling, text, and ribbon.

Other products used: Gelli Press or Gel Plate, Acrylic Paints, Ink Pads