How to Make a Vintage Inspired Mixed Media Tag Folder
Do you love making folders? Or maybe you love making mixed media projects with a vintage feel? In this tutorial, you'll learn how to turn a journal base page into a tag folder with vintage-inspired colors using mixed media techniques. Plus bonus ideas for tags and decorative elements to fill it with. The perfect project for those looking for a fun addition to their journal pages.

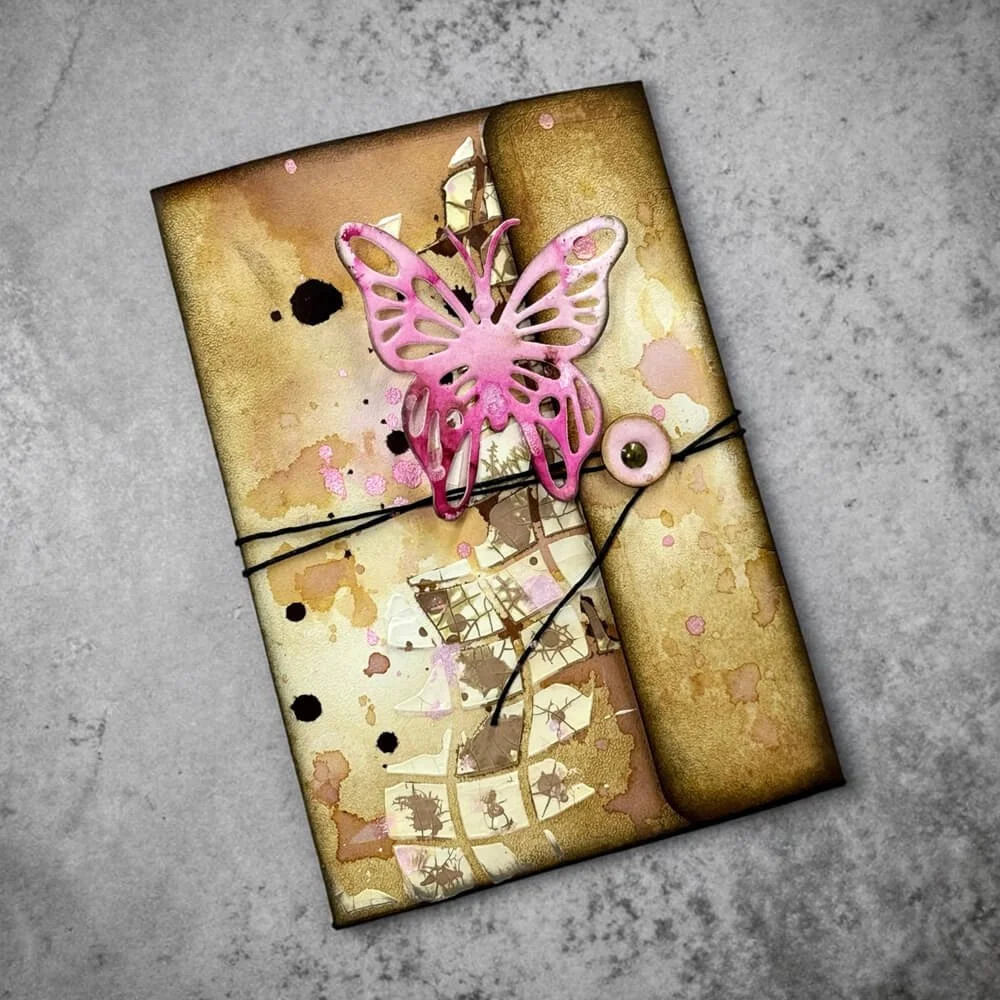
Hi everyone! Susanna here, sharing a new project with you today as part of the Art Journal Specials team. For this make, I created a little Mixed Media Tag Folder with soft layers, vintage tones, and delicate details. The base of the project starts from a Passport XL page, which I transformed into a smaller Passport-sized tag folder. It’s a fun way to turn a larger format into something more compact and interactive - perfect for holding tags and little treasures.
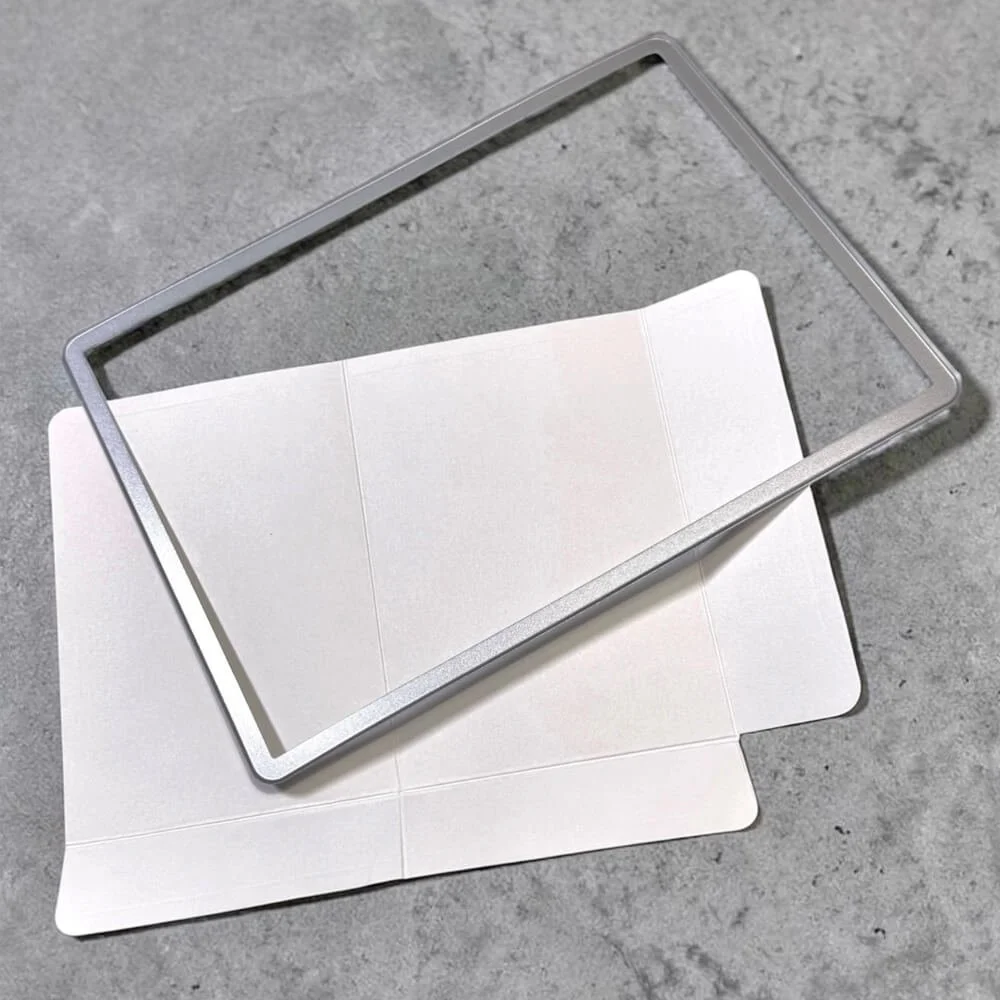
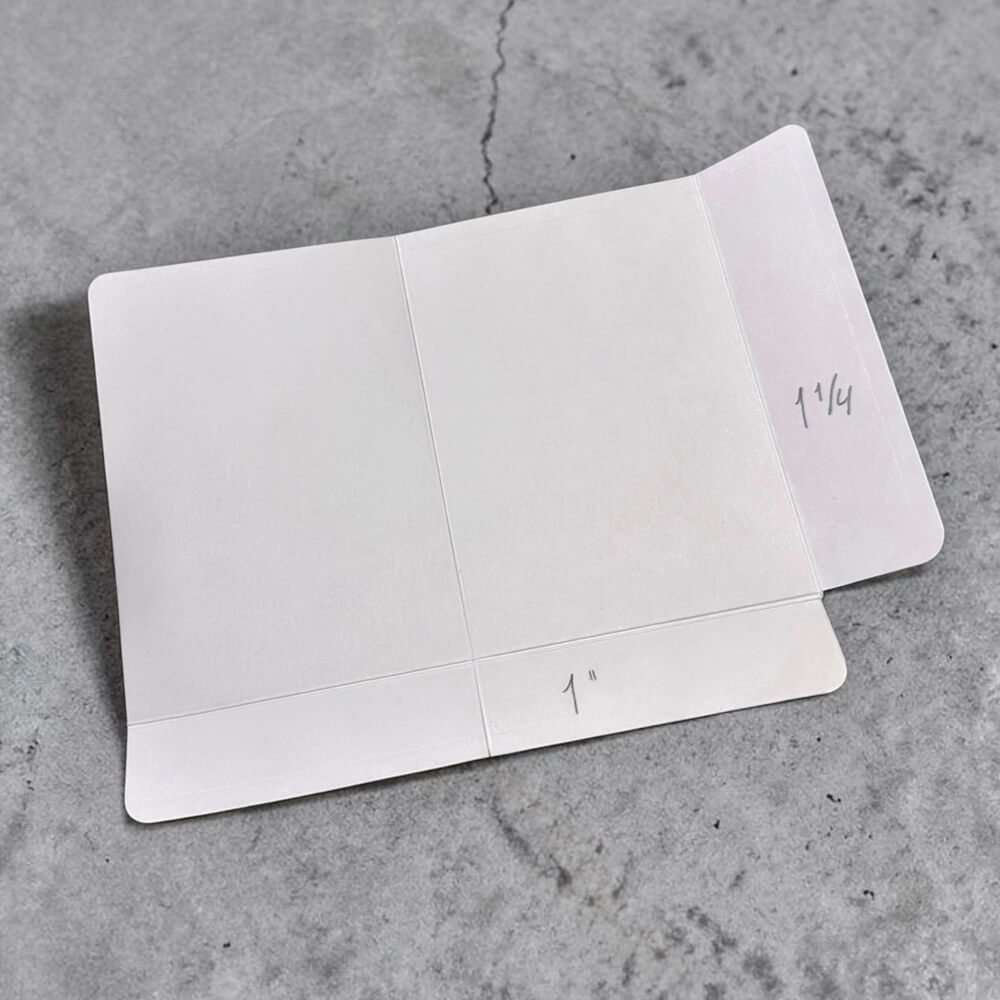
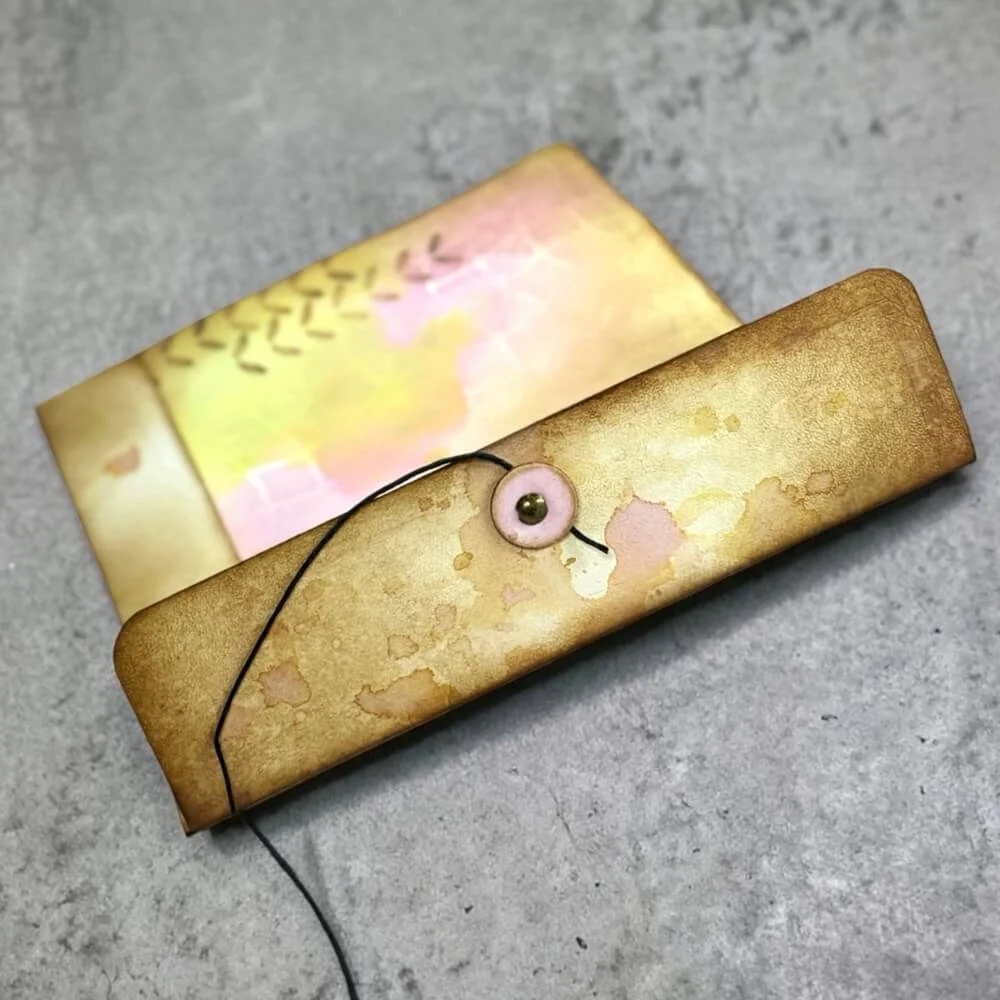
Step 1: I started by cutting my base using the Passport XL-sized die from the 2242 Doily Galore set. For the base, I used ECD Soft Finish Cardstock. To create the folder structure, I scored and folded the flaps: the shorter side was folded at 1 1/4”, and the longer side at 1”. This creates the pocket elements and helps form the tag folder shape. I trimmed away the excess piece from the bottom corner to allow the folds to sit neatly. If you like, you can round the corners to better match the page's shape.
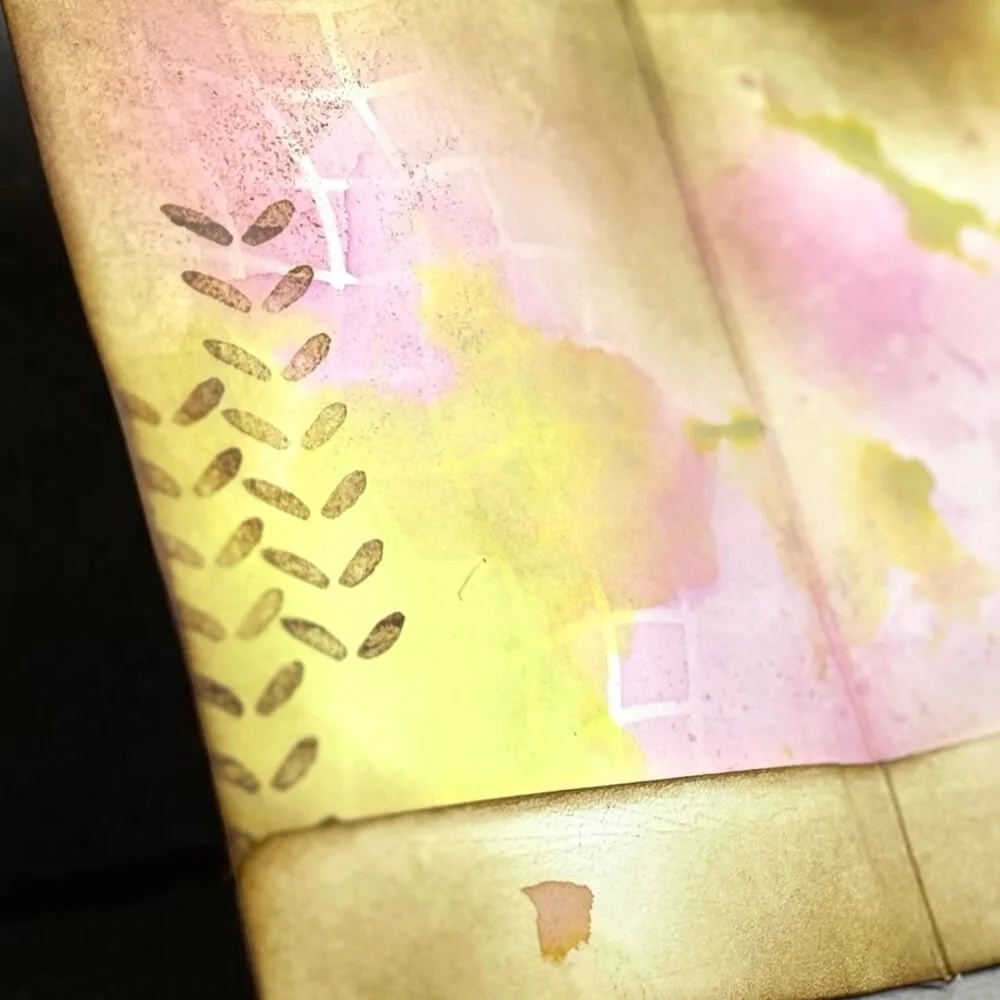
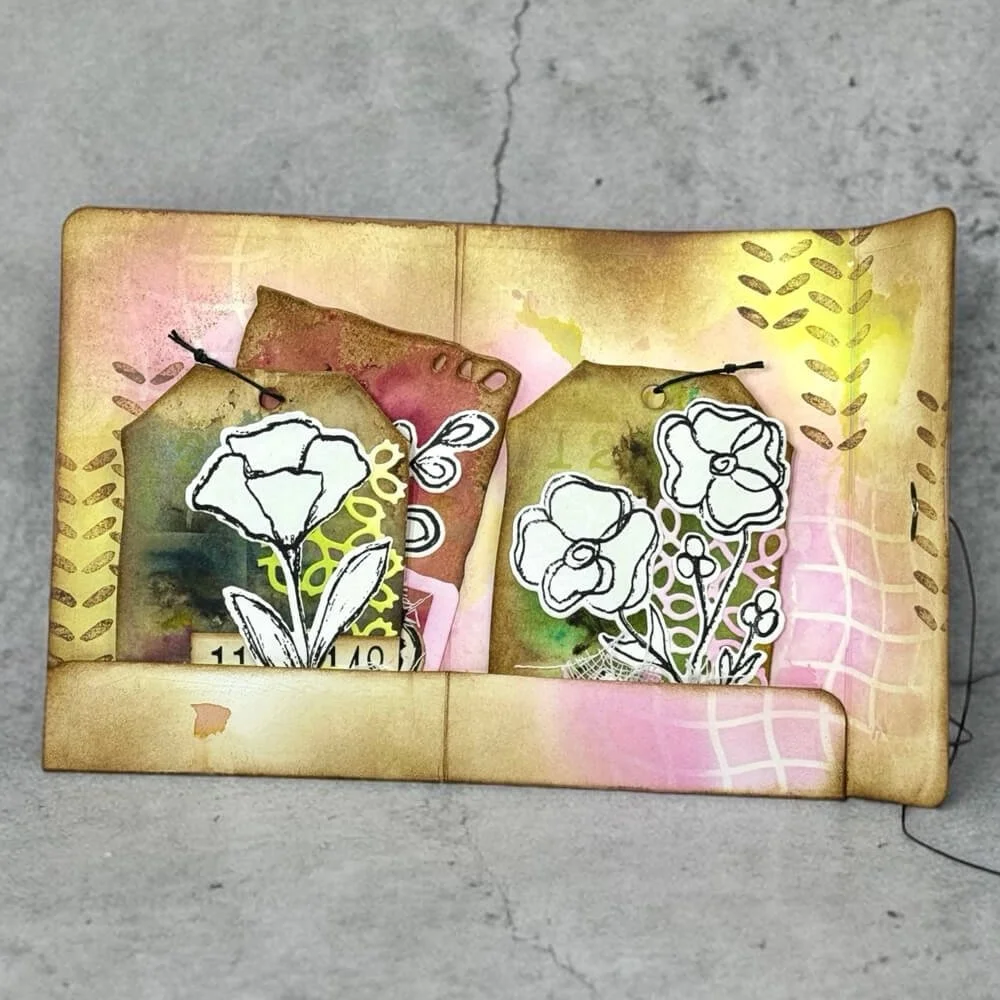
Step 2: Let’s create the background for the inside using Distress Oxide inks with the ink smooshing technique. I pressed the inks onto my work surface, spritzed a little water, and picked up the color with the cardstock, building up soft, layered tones. The colors I used were Kitsch Flamingo, Twisted Citron, and Vintage Photo. I dried the layers in between to keep the colors fresh and avoid muddiness. To add more interest, I applied Kitsch Flamingo through a stencil and stamped subtle details using Vintage Photo. I then finished the edges with Vintage Photo ink to frame the folder. Once everything was dry, I folded the bottom flap up to form a pocket and glued it in place along the sides and center. Next, I turned the folder over and worked on the cover. I used the same ink smooshing technique with two tones to keep the look cohesive. For extra texture, I added crackle paste

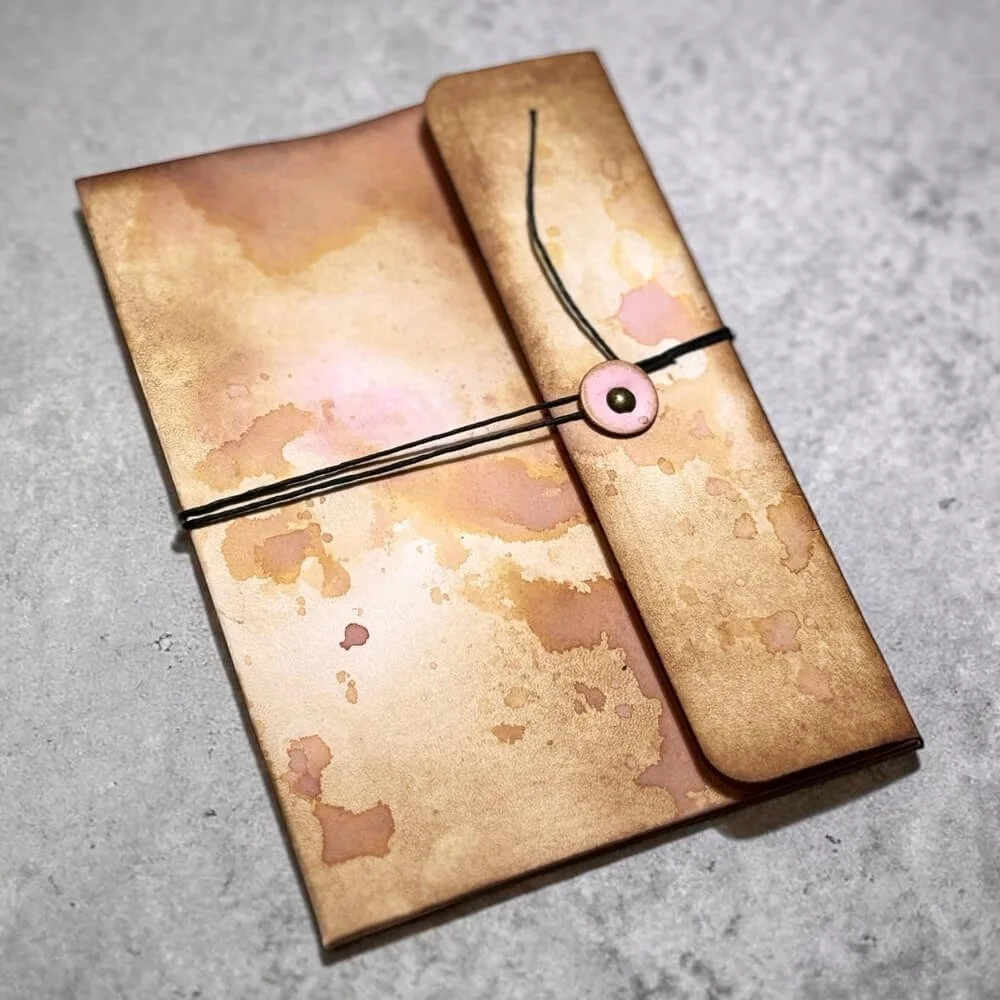
Step 3: To create the closure, I made a hole in the center of the folded flap on the shorter side. I attached a reinforcer using a brad, which helps strengthen the closure, and added a piece of string (I used a thin hemp cord) to wrap around the folder. I wrapped it around a couple of times to keep everything neatly in place. For the final decoration, I added a butterfly from the 2319 Split Tag Pocket Page set to the cover. To bring everything together, I finished the piece with splatters using Vintage Photo Spray Stain and Kitsch Flamingo Distress Spritz.
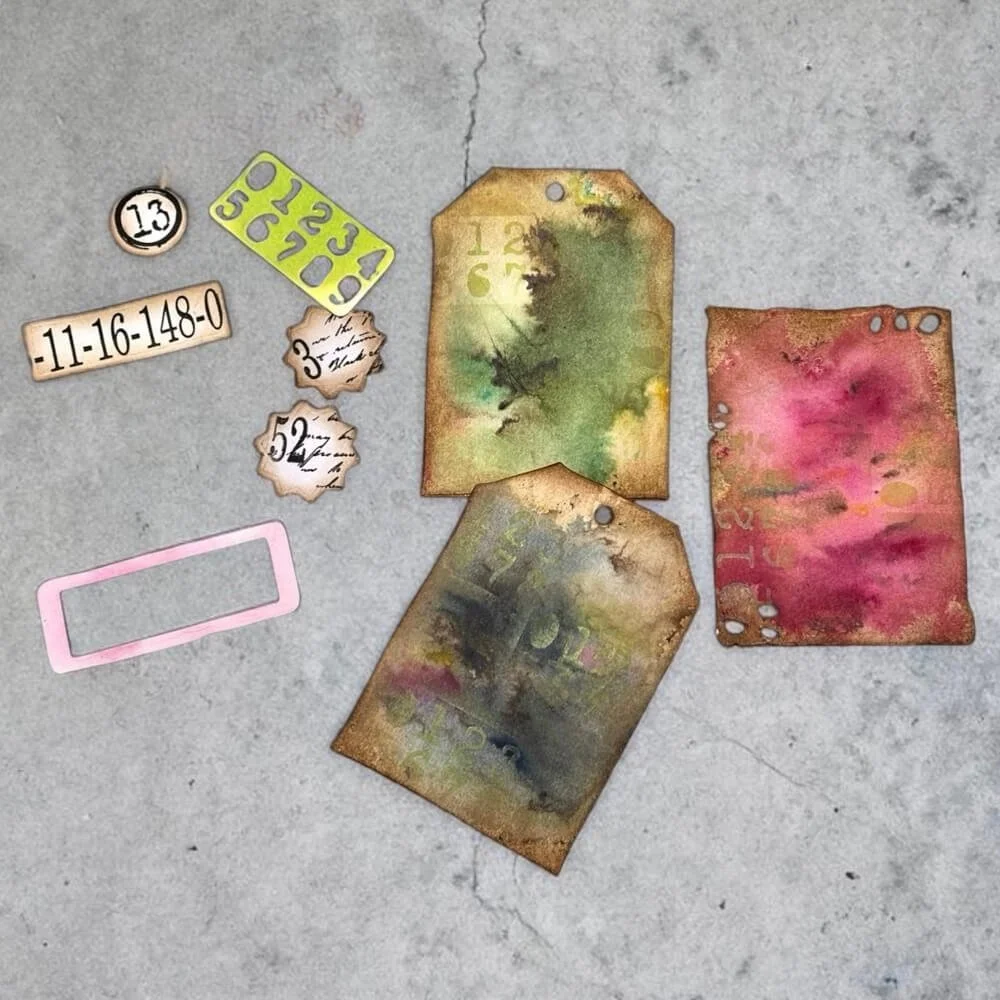
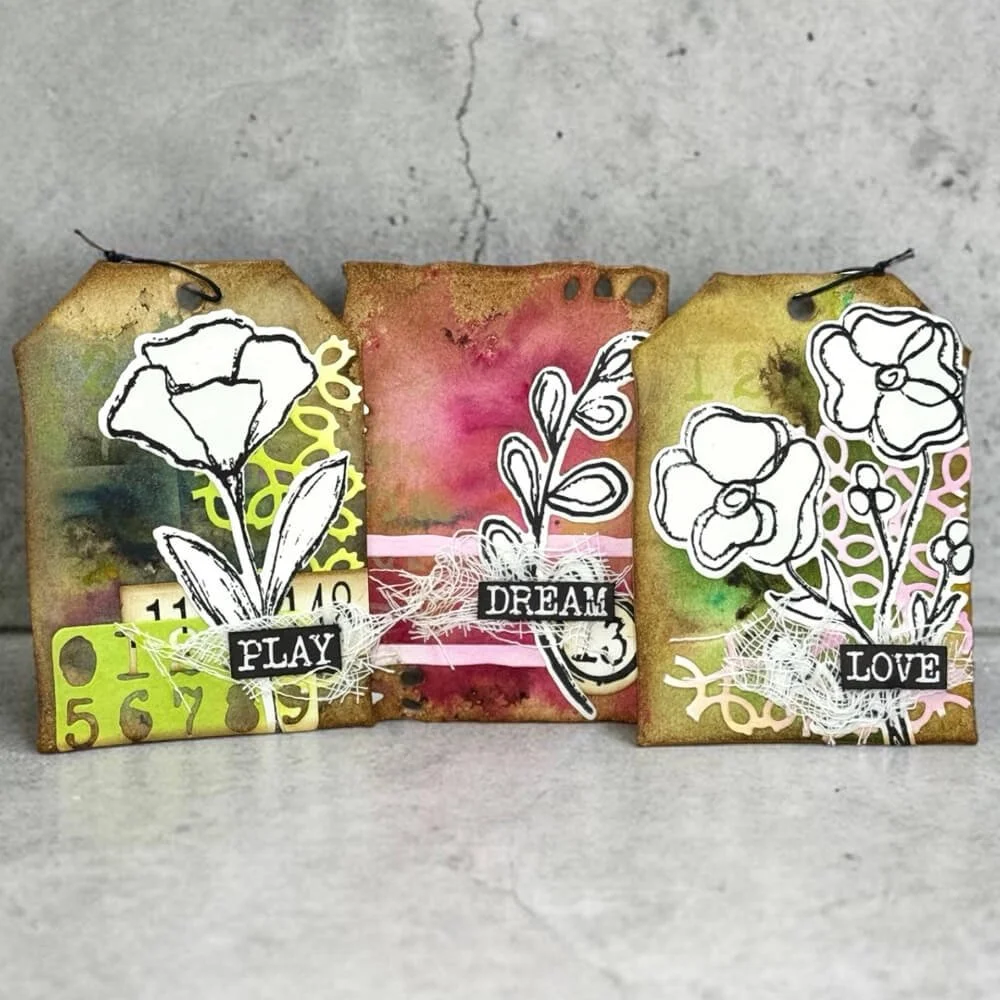
Bonus Step: To fill the pocket, I created a few coordinating tags. I cut the tags using the 2321 Tag Folding Trio set and an ATC using the 2344 Grunge Envelope set, which I also used for some of the ephemera pieces. Each background was made using PaperArtsy Infusions powders in the colors Are You Cerise, Emerald Isle, and Sleight Blue. I sprinkled the powders onto the cardstock, added a little water, and let the pigments spread and react to create organic, layered effects. Once dry, I stamped lightly using Twisted Citron Distress Oxide ink and added Vintage Photo to the edges for depth. For the ephemera, I used the same Distress Oxide colors as for the folder and stamped with the CS440 Scribbles stamp set to keep everything cohesive. I then layered the ephemera elements and added the floral focal points using the CSD441 Flower Scribbles set. For extra texture, I tucked in small pieces of cheesecloth between the layers.
I hope this project inspires you to play with layers, soft color combinations, and different textures. This little tag folder is a lovely way to turn a simple base into something interactive and full of detail. Thank you so much for stopping by, and happy creating!