How to Build the Good Times Scooter and Sidecar
Are you a crafter curious about the Scooter with Sidecar die set but aren’t quite sure where to begin? Join us and learn how you put together the pieces and create the Scooter with Sidecar ready to take your mice off on new adventures!

Hi everyone,
Rebecca here. Today, I’m going to show you how to assemble the Scooter with Sidecar 2259 from the new Good Times Collection from Cute & Whimsical.
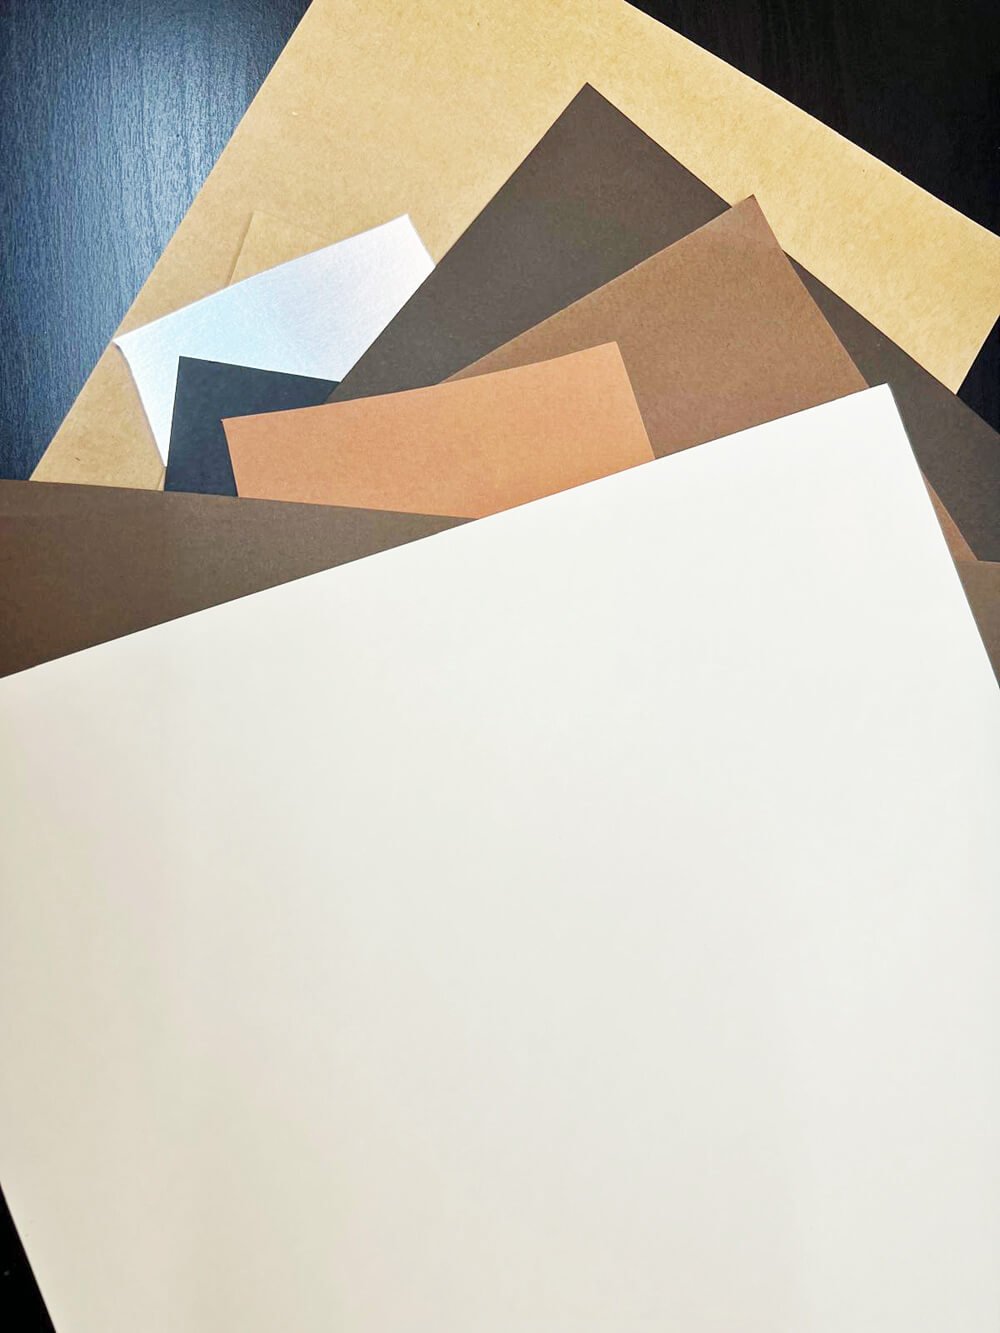
Step 1: First, we need to choose the colored cardstock we want to use for the scooter and sidecar. You will need a few different colors or shades of cardstock for all the different layers. I used about 8.
Step 2: Once you have chosen your cardstock, you’re ready to die-cut the pieces. In the photo, you can see which pieces need to be cut and which colors I used for each piece.

Now, I'll show you how to make the scooter. Later, we will work on the sidecar.
Step 3: We start with the base of the scooter, with the seat. Gluing each layer in place

Step 4: We will continue with the base layers.

Step 5: Where the tire will sit, we place the oval shape on the left side, the round corner square in the middle, and on the right side, we place the little circle.

Step 6: Glue the pieces you assembled in the last steps together.

Step 7: Now we are going to make the top layer of the scooter by gluing all the pieces in the photo below together.

Step 8: Now you can glue all the decorative finishing touches in place.

This is how it looks right now.

Step 9: The next step is to place the bar for the sidecar on your base. Use the embossed line to show you the right place to attach it.

You can now see how the scooter will look. I’m not gluing it together yet because I want to have the mouse in between later.

Step 10: Now let’s work on the sidecar and the other elements. I use a mica sheet for the glasses. You can also give the mouse a beard or mustache if you would like to.

Step 11: Layer and glue the pieces together.

Step 12: Now add the tire on the bar for the sidecar.

Step 13: Glue the sidecar on the bar.

Step 14: There are lots of ways to place the mouse arms on the scooter handles. This is the way I like to do it. I cut the hands off the arms so that I can position them on the handlebars where I want them.

Step 15: Position the mouse on the scooter and in the sidecar, and glue them in place. Then glue the hands on the handles.
Step 16: Now, glue the upper part of the scooter to the base layer.

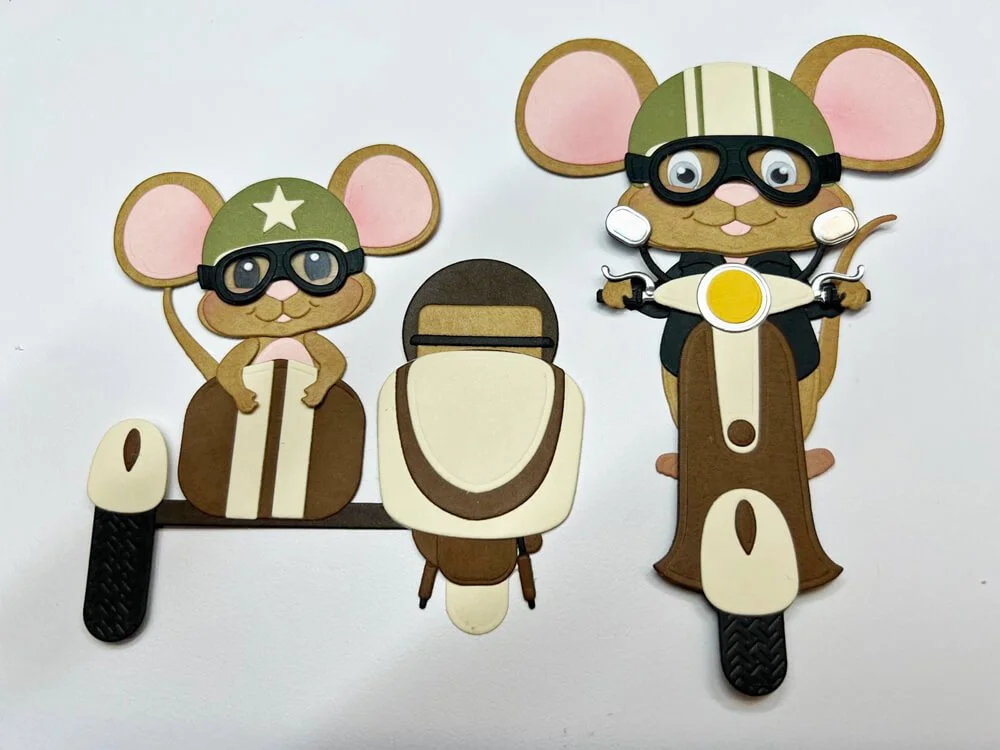
Now that your scooter and sidecar are finished, you can place them on your card. I made a simple background with patterned papers and a sweet sentiment.

I hope you like the tutorial and are inspired to make the scooter with a sidecar.
Kind regards,
Rebecca Quispel