
Easy Shaped Cards with a Colorful Hummingbird
Are you a crafter who loves shaped cards? Or maybe you’ve always wanted to create a card with a vibrant focal point but weren’t sure where to start? In this tutorial, we’ll show you how to make a circle-shaped card with a bright and beautiful hummingbird. Using dies, inks, and easy techniques, this card is sure to impress.

Hi everyone,
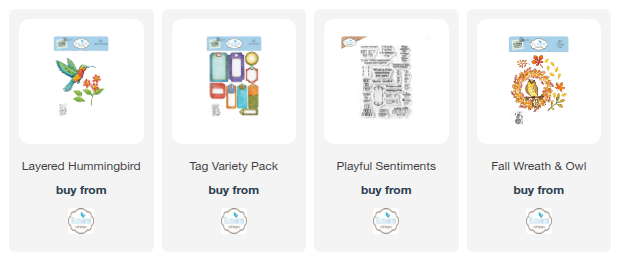
It's Teresa here today, and I want to share with you my way of coloring the hummingbird from the Everyday Elements Sunny Days Collection.
I decided to create a super colorful bird and a round card to show you how simple it is to make a card with this bird as the focal point!
Step 1: First, we need to make the card base.
Cut a round card base using the blue paper from the Colorful Collective collection.
Cut a smaller circle from white card; this needs to be glued onto one of the blue circles. This will be the front of the card, but before gluing in place, add a piece of ribbon between them. This adds a fun decorative element and acts as a closure.
On the back of the card blank, glue a matching piece of ribbon. This will be covered with the “Handmade Stamp” later on.


Step 2: Now, let's decorate the card.
Cut the wreath with a green sheet of decorative paper. I used one from the Colorful Collective Collection.
Glue the wreath on top of the white circle.


Step 3:
Cut all the pieces of the hummingbird and apply and blend the inks with brushes, as shown in the photos below.
Glue all the layers of the hummingbird together and glue onto the white bird base.


Step 4:
Using 3D foam adhesive, attach the bird on top of the card over the wreath.

Step 5:
Stamp the sentiment and cut it out with a shaped die. I used a tag die from the Sunny Days collection.
Distress around the edges with light blue distress ink.
Using 3D foam adhesive, glue the sentiment on top of the card, tucking it just behind the hummingbird’s feet,


Step 6:
Stamp a “handmade by” stamp if you have one or even a sentiment stamp to cover the ribbon on the back of the card.

Hope you find this card inspiring!
Wish you a very creative and colorful day!
Hugs
Teresa Cruz

Other Products Used: Distress Oxides, Distress Inks, 3D double-sided adhesive, liquid glue, White cardstock, black Versa Fine ink, and light blue ribbon.