Holiday Suitcase Gift Card Holder
Hello everyone!
Marianna here from the Netherlands. We are slowly getting into the festive season spirits when we meet family and friends from far and near. How about making a lovely suitcase to give your loved ones for the holidays, maybe to help them with the travel expenses? You can put any gift card inside using the EVERYDAY ELEMENTS Card Maker Special Kit from Annette with the special gift card holders.
Step 1:
TIP: Don’t convert the metric to the imperial system. I used a bit different sizes to make it easier. Imperial is written between ( ). The suitcase will open on the right, not the top.
1. a. Cut 2x [20.5 x 11.5cm] / 2x (8.125” x 4.5”) from basic cardstock.
1. b. Score both pieces at 15cm, +4cm, +1.5cm (6”, + 1.5”, + 0.625”)
1. c. Glue both pieces together lengthwise by gluing the 1.5 cm (0.625”) to the 11.5cm (4,5”) edge of the large part of the 2nd piece (see picture). The seam will be covert later. This will make a long, foldable piece of cardstock.
Step 2:
2. a. Cut 2x [18cm x 7] / ( 7”x 2.5”) also from basic cardstock.
b. Score these 2 pieces both lengthwise at 1.5cm , +15cm and +1.5cm (0.5”, 6”, 0.5”) and wide wise at 1.5, 4, 1.5 cm (0.5”, 1.5”, 0.5”). Cut the square corners from the sides.
Step 3: Add two sets of little magnets [about 1cm (0.5”) diameter] to the outside corners of the 15x11.5cm part (6”x 4.5”) from step 1b and the 1.5cm (0.625”) strip corners opposite. The small strip folds inwards, and the cover closes over the strip.
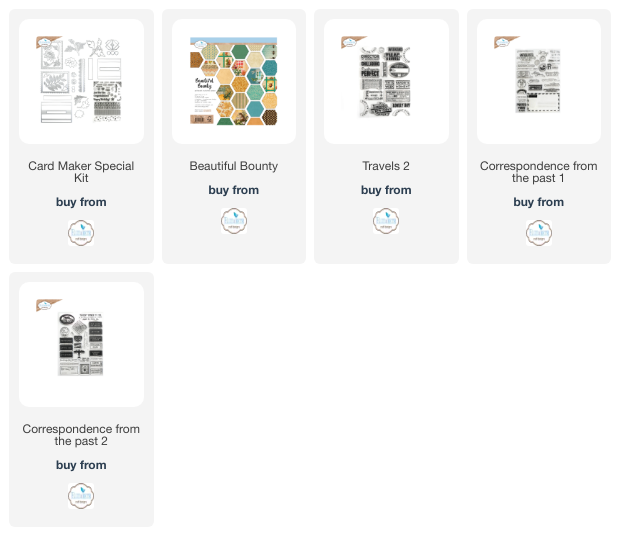
Step 4: Cover the basic cardstock with design paper/cardstock. This will cover the magnets from Step 3, too. I used Annette’s ‘Beautiful Bounty’ paper pack. Cut all pieces slightly (3 – 5 mm) smaller than the measurements given in steps 1 and 2.
Step 5: Take the large gift card holder from the Card Maker Special Kit and die-cut one holder from the same design cardstock that you used in Step 4. Fold in half and glue the side pieces. Fold the creases now up and back. Glue it to 1 of the pieces cut in step 2. Make sure it is attached to the inside part, design paper wise (see photo 8). This will be the bottom of the suitcase. Set aside for now.
Step 6: Decorate the inside and outside of the suitcase as you like. Keep in mind what will be the bottom and top of it in the end. I used elements from the Card Makers Special Kit. Stamps are used from Esther’s different Planner Essentials collections (see product list).
Step 7: For the handle, cut a strip 15cm x 2cm (6” x 0.75”) and score at 1.3cm (0.5”), +2.5cm (1”), +7.3cm (2.75”), +2.5cm (1”) and +1.3cm (0.5”). The strap is hand cut to make it more vintage looking. It is about 0.5”- 0.625” wide. Measure the length of your suitcase. Decorate as you desire.
Step 8: Assemble the suitcase now by gluing one of the large side parts from step 2b to the inside (back is laying flat) of the suitcase. After that, glue the two sides parts (from step 2b) to the left and right, to the 4cm wide sides of the suitcase. Make sure you add the small strip with the magnets over the ‘seam’ of the piece; see picture.
Final sizes suitcase: 15 x 11.5 x 4 cm / 6”x 4.5” x 1.5”


