Fancy Folds Decorative Card
Hello everyone!
Robin Clendenning here. Let’s make an amazing Fancy Fold card that is perfect to display using the Autumn Harvest collection. Guaranteed to wow anyone that receives it!
Pattern
The Cut lines are solid; the score lines are dashes
Step 1:
Cut decorative paper 1” in from the long edge from 5” to 11”, then cut the other side the same (Parallel to each long edge). On a scoreboard, with the long edge along the top, score card from top to bottom at 4” and 8”, score from cut edge to cut edge only at, 5”, 6 ½”, 9 ½”, and 11”.
Fold on score lines (be sure to only fold the card on score lines between cuts as in 5”, 6 ½”, 9 ½” and 11” the only score lines that run from top to bottom are 4” and 8”). The first fold is a valley fold, next mountain fold, then valley, mountain, valley, mountain.
Step 2:
Cut the border and corners out of color cardstock and then again out of gold cardstock. To make a continuous 12” border, place the top cutting plate so that it does not go over the end of the die after running through your machine. Move the die lining up cut lines with the cut border to continue the cut. Be sure to line up the die over part of the already cut border to get a complete 12” border without a break. Now glue the color cardstock to the gold cardstock so that it is slightly off-set.
Step 3: Glue the decorative border to the top of the card, making sure to allow room for the border to fold with the card. Tip: score the border at 4” and 8” to help with that. Glue the decorative corners to the bottom left and bottom right corners of the card.
Step 4: Cut out the back mat for the “Thoughtful” word from coordinating cardstock and the word itself from gold, then glue them together.
Step 5: Die cut, then color with multiple fall colors, leaves from Autumn Foliage, and the fall leaves from the Floral sets. (You may have a lot left over, but that just gives you a head start on another card).
Step 6: Die Cut, then color florals 31 with Worn Lipstick and Lumberjack.
Step 7: Cut, color, and shape Florals 32 using Scattered Straw and Carved Pumpkin, then, using a stylist, shape from the back on a foam mat. Glue several layers together, staggering petals.
Step 8: Shape florals 31 (pink flowers) using long nose tweezers or another tool to make the petals slightly tubular. Glue several layers together, off-setting each. Fill with Prills or other flower center such as stamen.
Step 9: After cutting, coloring, and shaping foliage and flowers, start arranging leaves and flowers how you want them on the card.
Step 10 Before gluing flowers and leaves to the card, it is best to glue “Thoughtful” on it so that you can be sure to see it when the card is finished.
Step 11 Finished card after gluing on all flowers and leaves as desired. Depending on how full and dimensional your flowers are, you may or may not be able to mail this card, so plan on it being hand delivered or placed in a gift bag or box with a gift.
Tip: if you want to mail a card like this, you could use the Autumn Pumpkins and/or the Autumn Harvest Stamp and Die Set instead of dimensional flowers.
Have lots of crafty fun creating your own Fancy Folds Cards!
Make sure you share your projects with us in our Facebook Group HERE. We love to see what you create!
Never miss a tutorial and sign up for our emails today HERE.
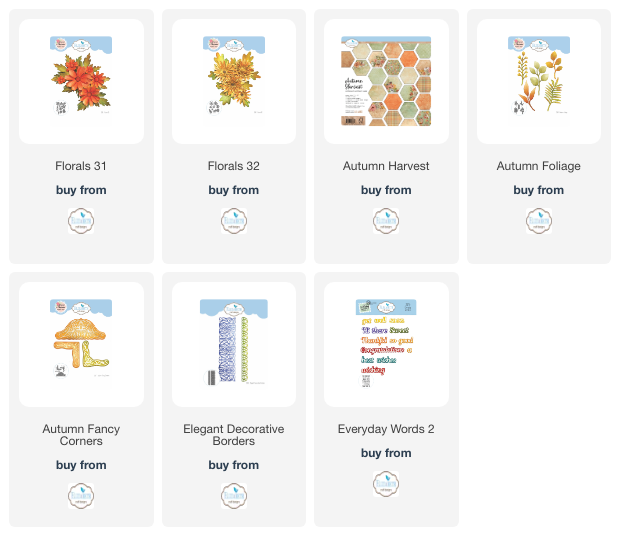
Elizabeth Craft Designs Products Used:


