Stunning Name Place Cards!
Hello everyone!
Susan Smit here. Together we will be making an adorable name place card using the Autumn Harvest collection. Guaranteed to be a totally fun project that you will make time and time again!
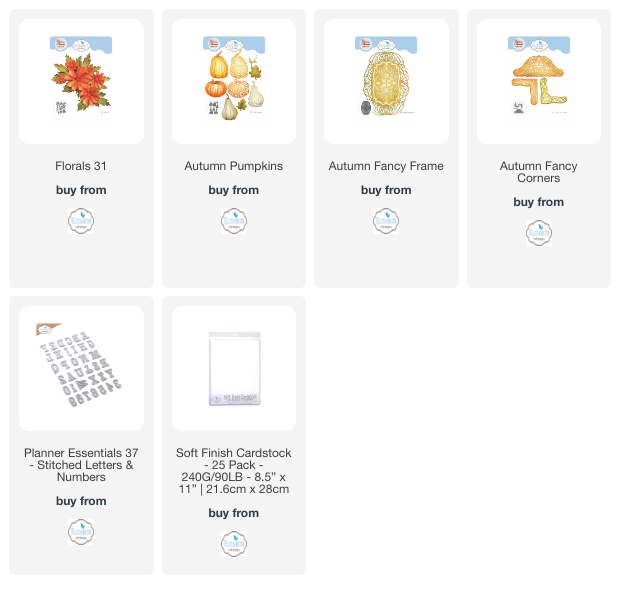
Step 1: To make the base stand of the name place card, take the fancy corner dies and the soft finish card stock and cut 10 of each. Fold in the cut pieces in half by making a fold line down the middle of the corner with the aid of the scoring board or bone folder and ruler. Adhere all the pieces together to form the stand. Using the hot glue gun, apply a little hot glue on the point of the base to keep the folds and arms of the stand in place. Using the small solid frame from the frame die set and cut once from a piece of soft finish, this will become the name card base. Ink around the edges with the peeled paint ink. Fold in half then adhere together. Taking the circle punch cut a little under ½ circle into the middle of the folded edge. Put aside.
Step 2: Next make the name, use the alphabet dies and cut x4 layers for the name you are wanting to use. Adhere the layers together to form chipboard letters. Bring color to the letters with the peeled paint ink. Cut a piece of soft finish card to size as a base for the name, ink around the edges. On this base, arrange the letters in place and adhere in place. Put aside. Adhere this to the folded name card. Adhere this card to the point of the fancy corner base and along the top of the edges so the card will be secured in place so it won’t move. (the photo is showing this when the project is finished)
Step 3: There are two flower sizes in this project, two large size and four of the smaller size. Each flower has x2 petal layers.
Step 4: There are eight leaves, all the same size, two for each side of the flowers. When divided, this will be enough for both sides of the name card. Die cut all the flowers, leaves, etc. from the cutting list. Use the seedless preserves and fossilized amber to color the flower petals.
Step 5: The flower centres are colored with the peeled paint and fossilized amber. Use the forest moss, peeled paint and rusty hinge to color the leaves and the swirls. Using the flower shaping tools and mat, bring shape to the flowers, leaves, swirls and flower centres.
Step 6: For the flower centres, apply a little adhesive to the base and dip into the mini beads. Apply the glitter to the elements where wanted then set aside to dry. (You will need the aid of tweezers to do all this.) By using the hot glue gun you can adhere the flower and leaves in place, arranging in place as you go to the card at the base. Flowers in the middle and the leaves and swirls to each side of the flowers. Do this on both sides of the card.
Have lots of crafty fun creating your own autumn leaves for all your fall projects this year!
Make sure you share your projects with us in our Facebook Group HERE. We love to see what you create!
Never miss a tutorial and sign up for our emails today HERE.
Elizabeth Craft Designs Products Used:


