Beautiful Autumn Folio
Hello everyone!
Ingrid here with the latest collection of the Planner Essentials, the Folio Special kit.
I hope to inspire you with this folio page.
Step 1:
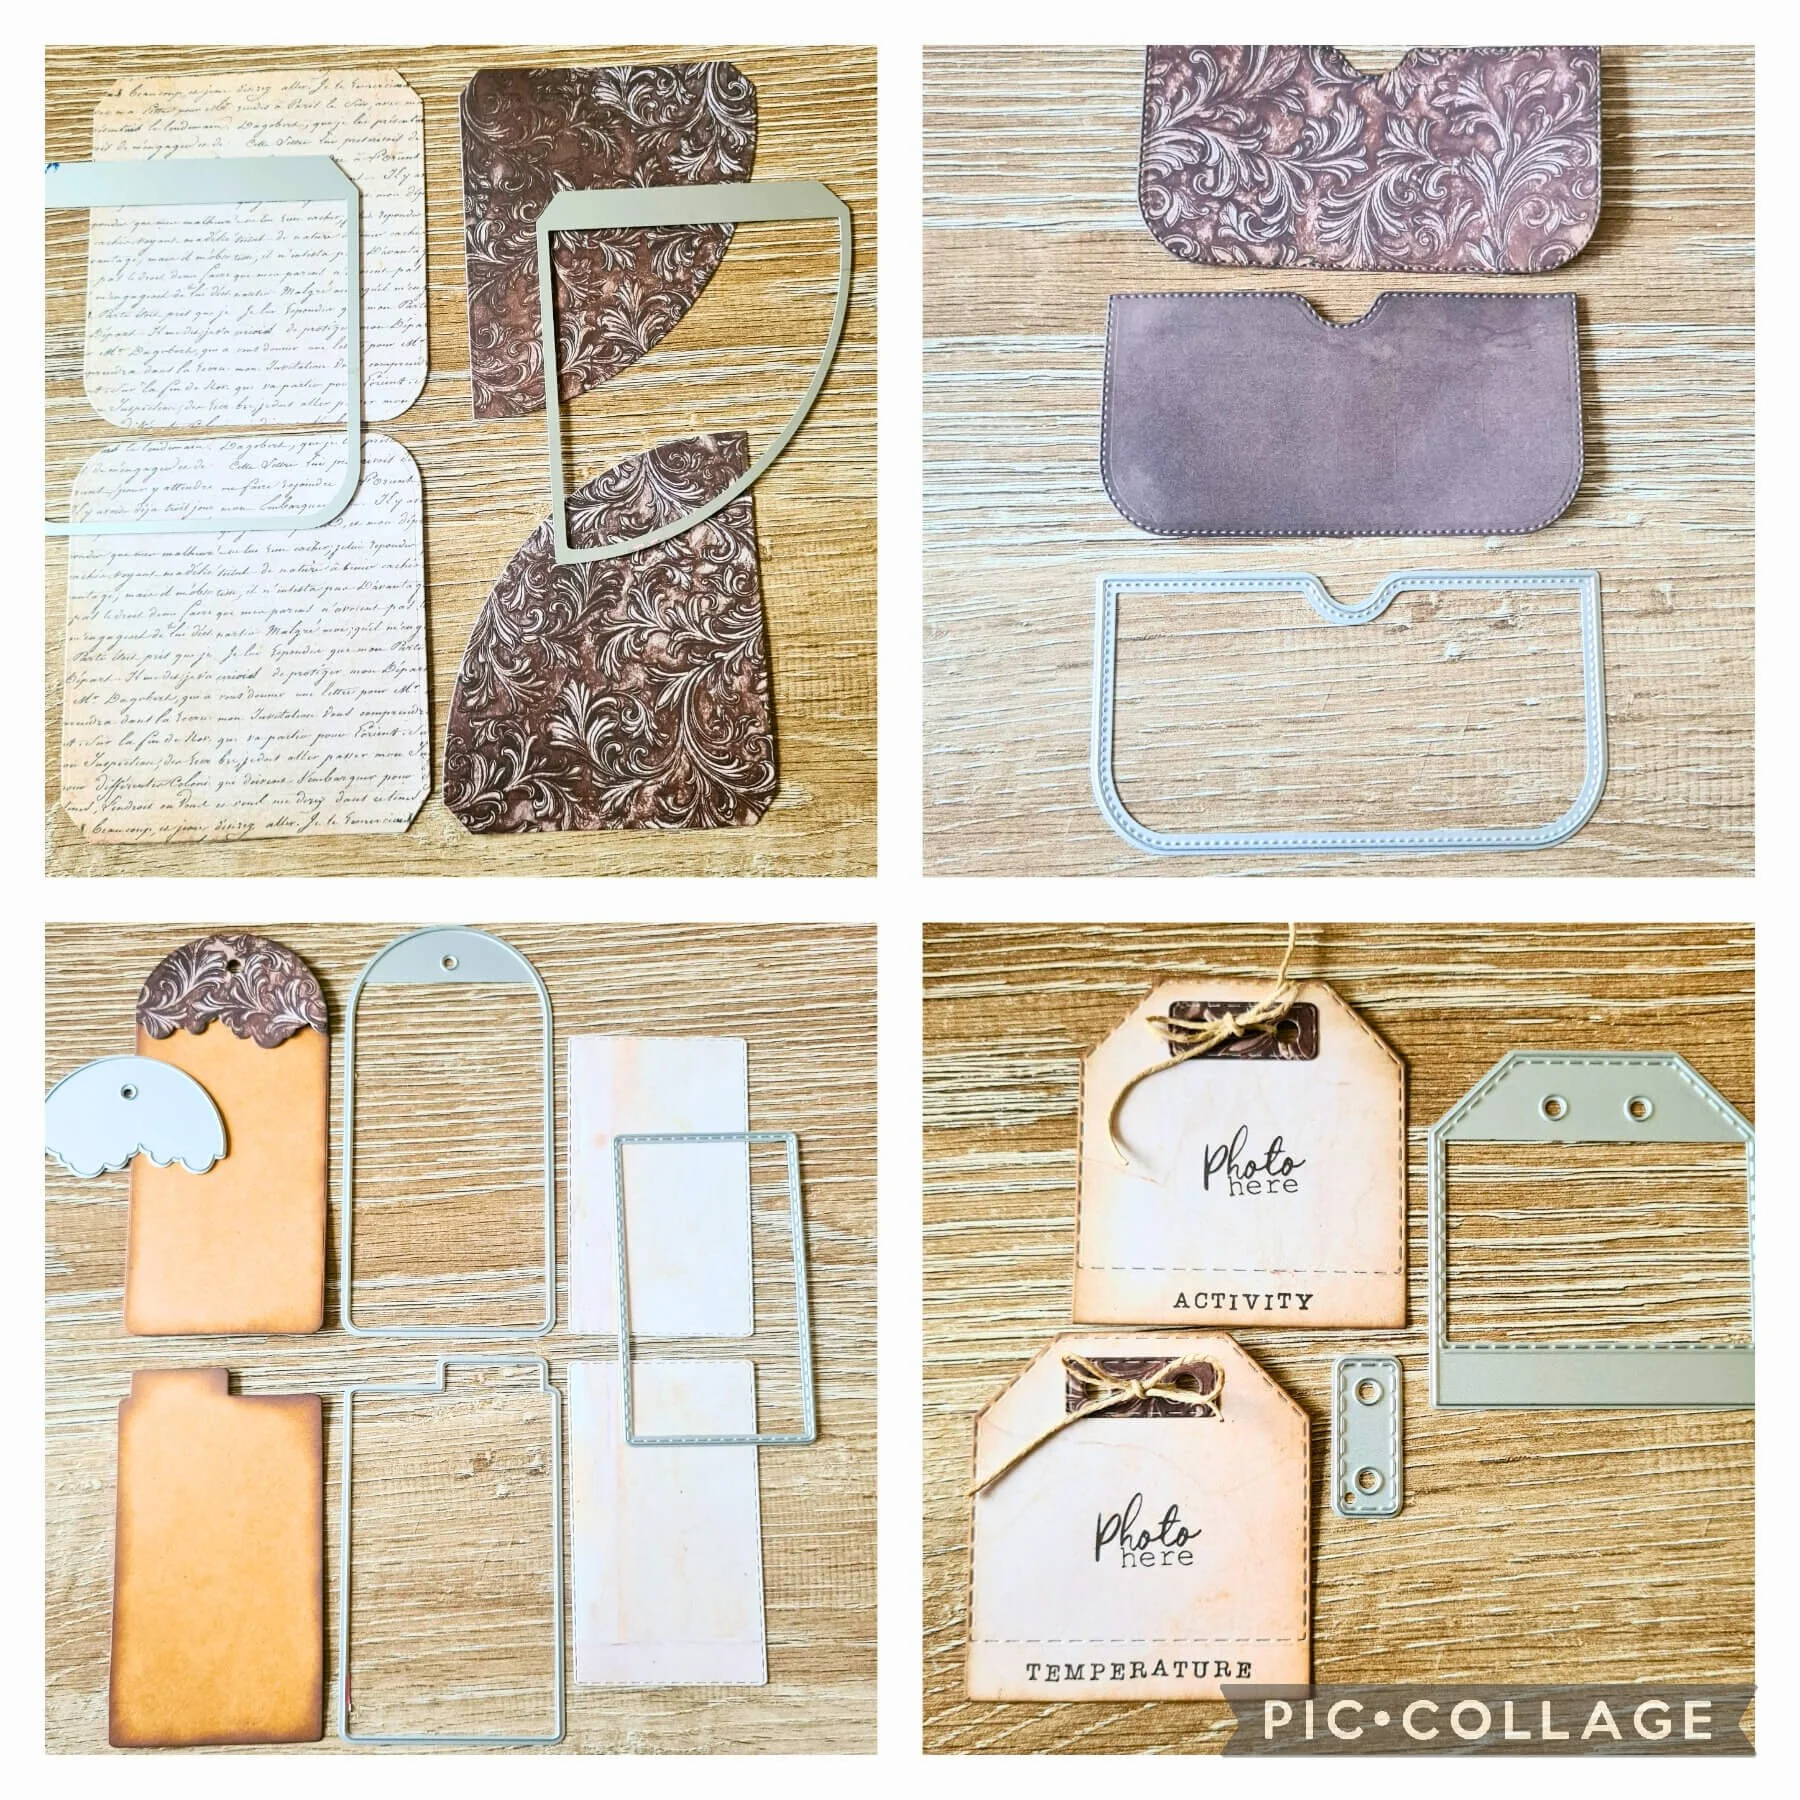
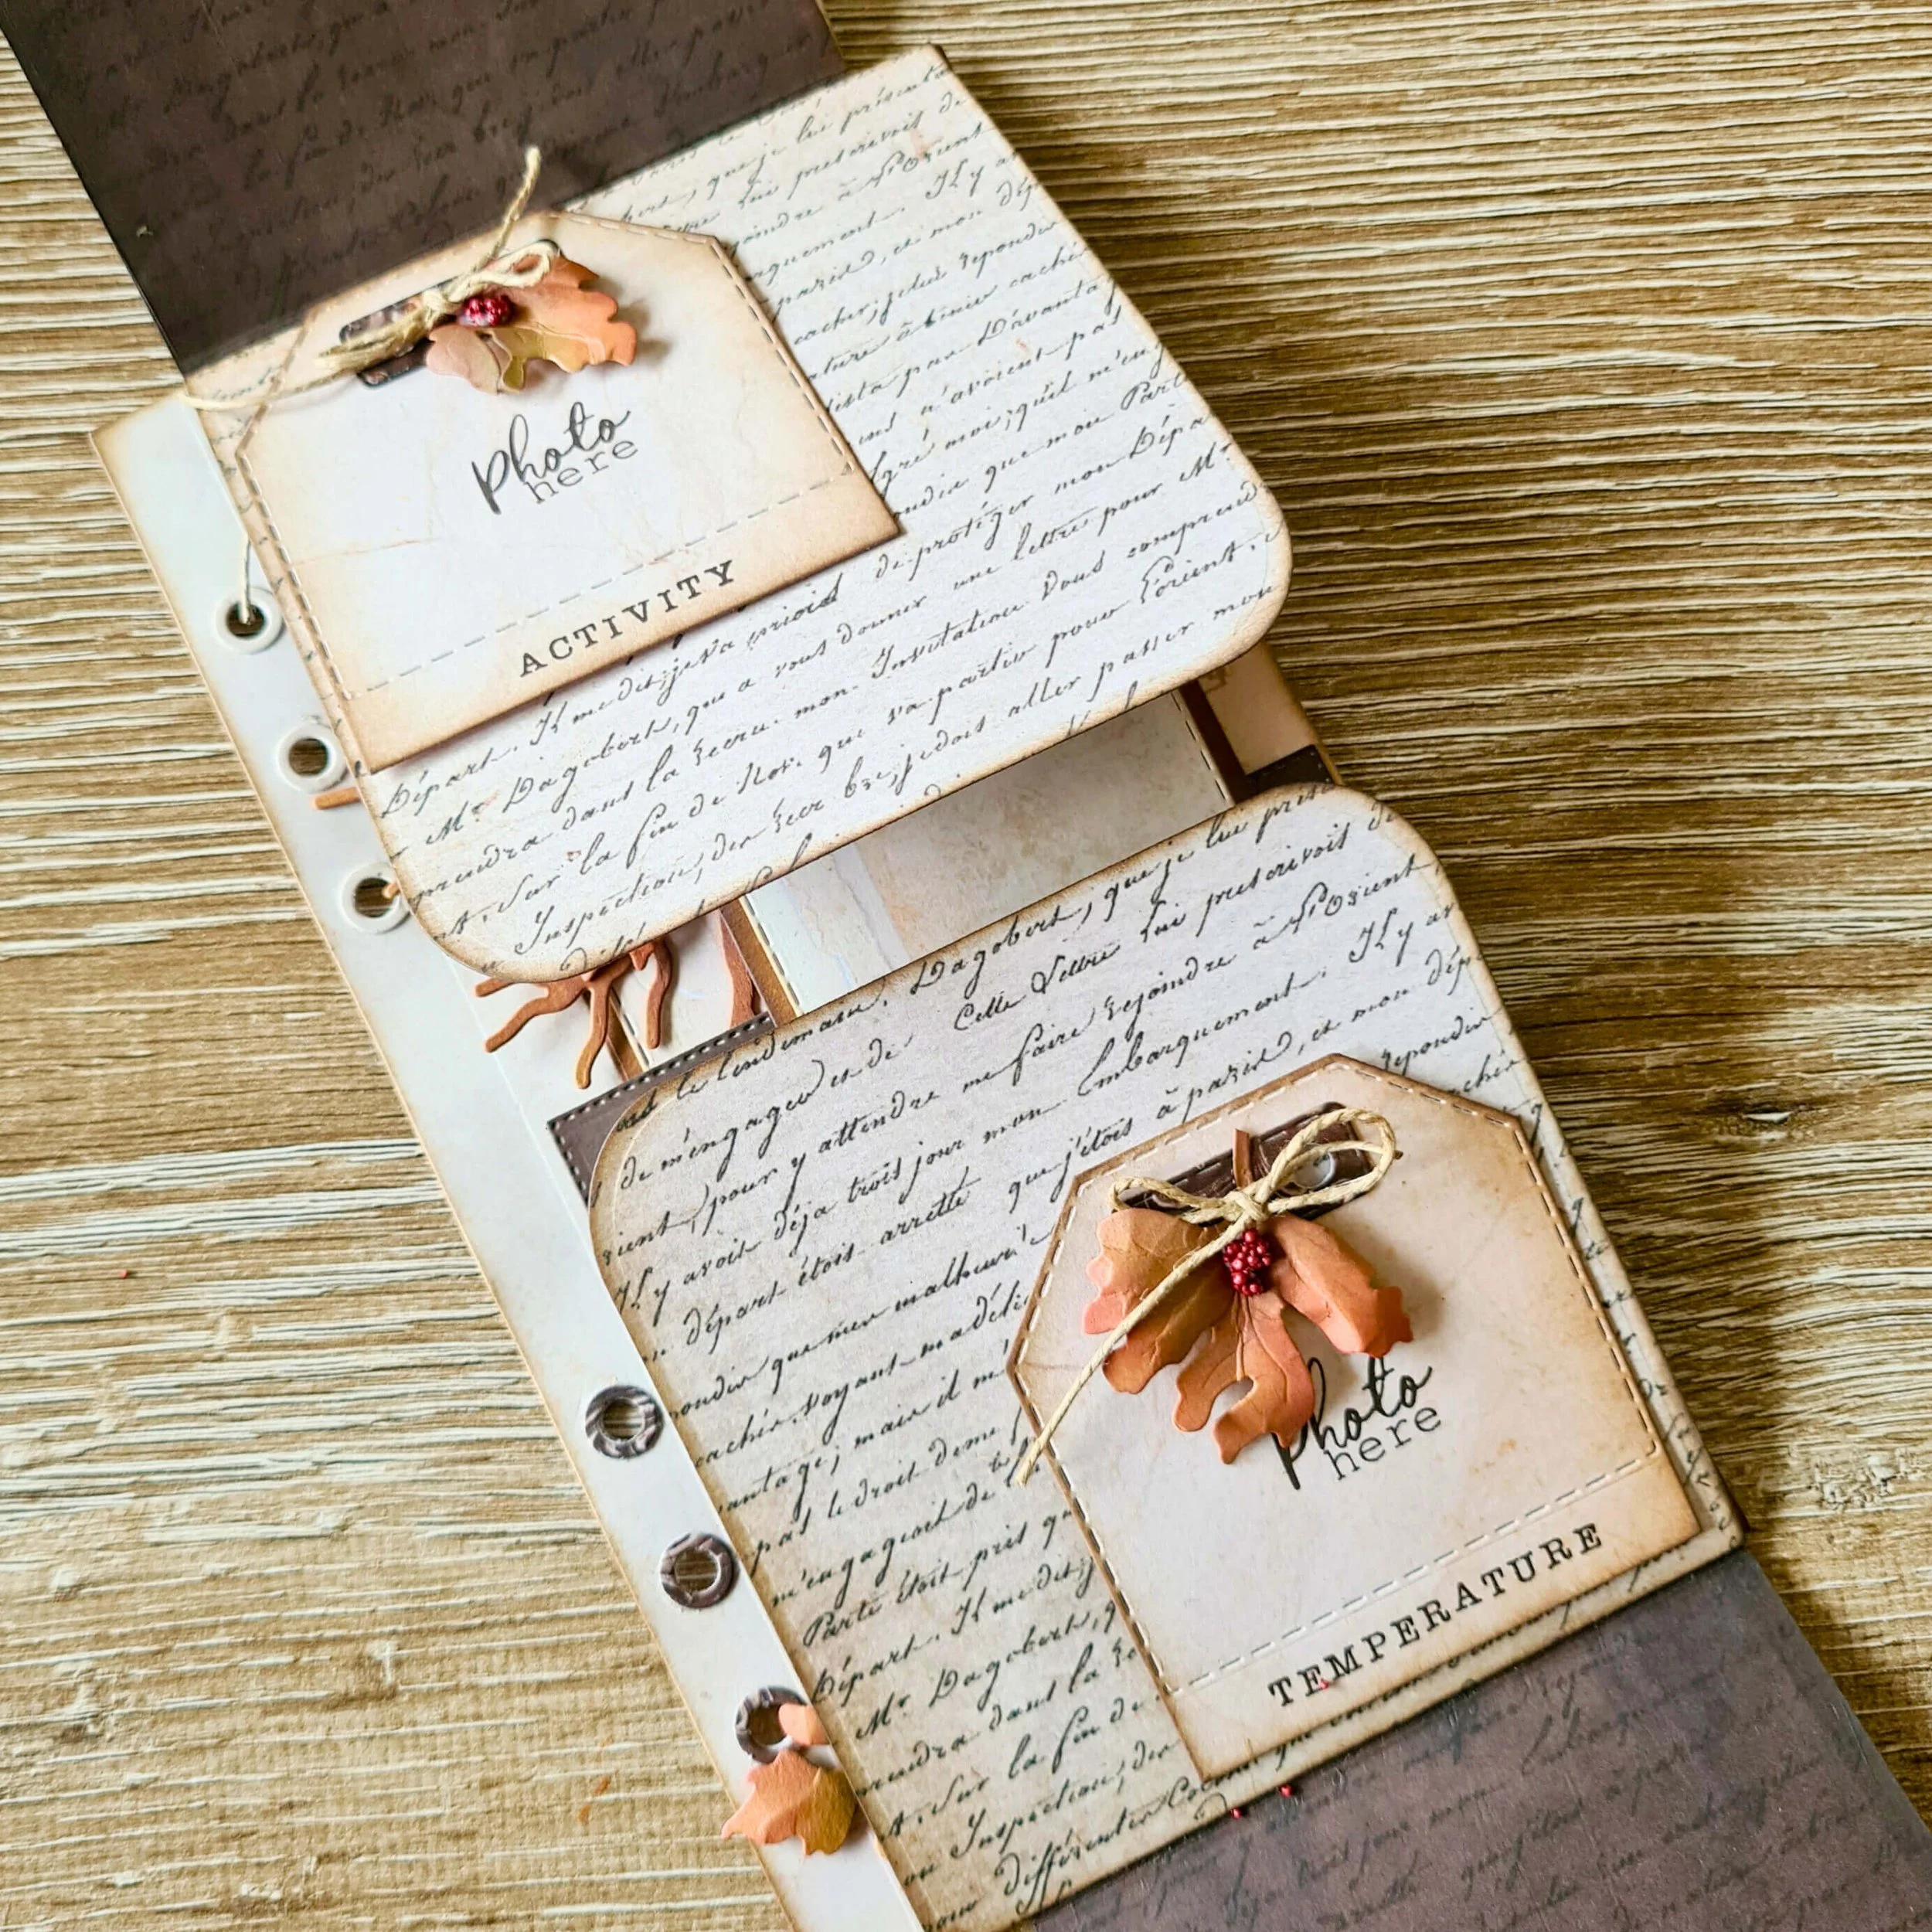
Cut out the basic shapes, as shown in the photo. Please note that when you use paper with text, you die-cut the paper so that the text is readable when you open the flap up or down.
Step 2:
You can now glue the basic shapes together on the folding walls. You can then attach them to the basepage. I used the basic page die for this. The pockets can now also be glued to the page.
Step 3: I cut out the circles from the kit for the closure, which I secured to the corners of the triangular flap with a cotter pin. I also cut out the texts twice to layer them and glued them on the bottom flap.
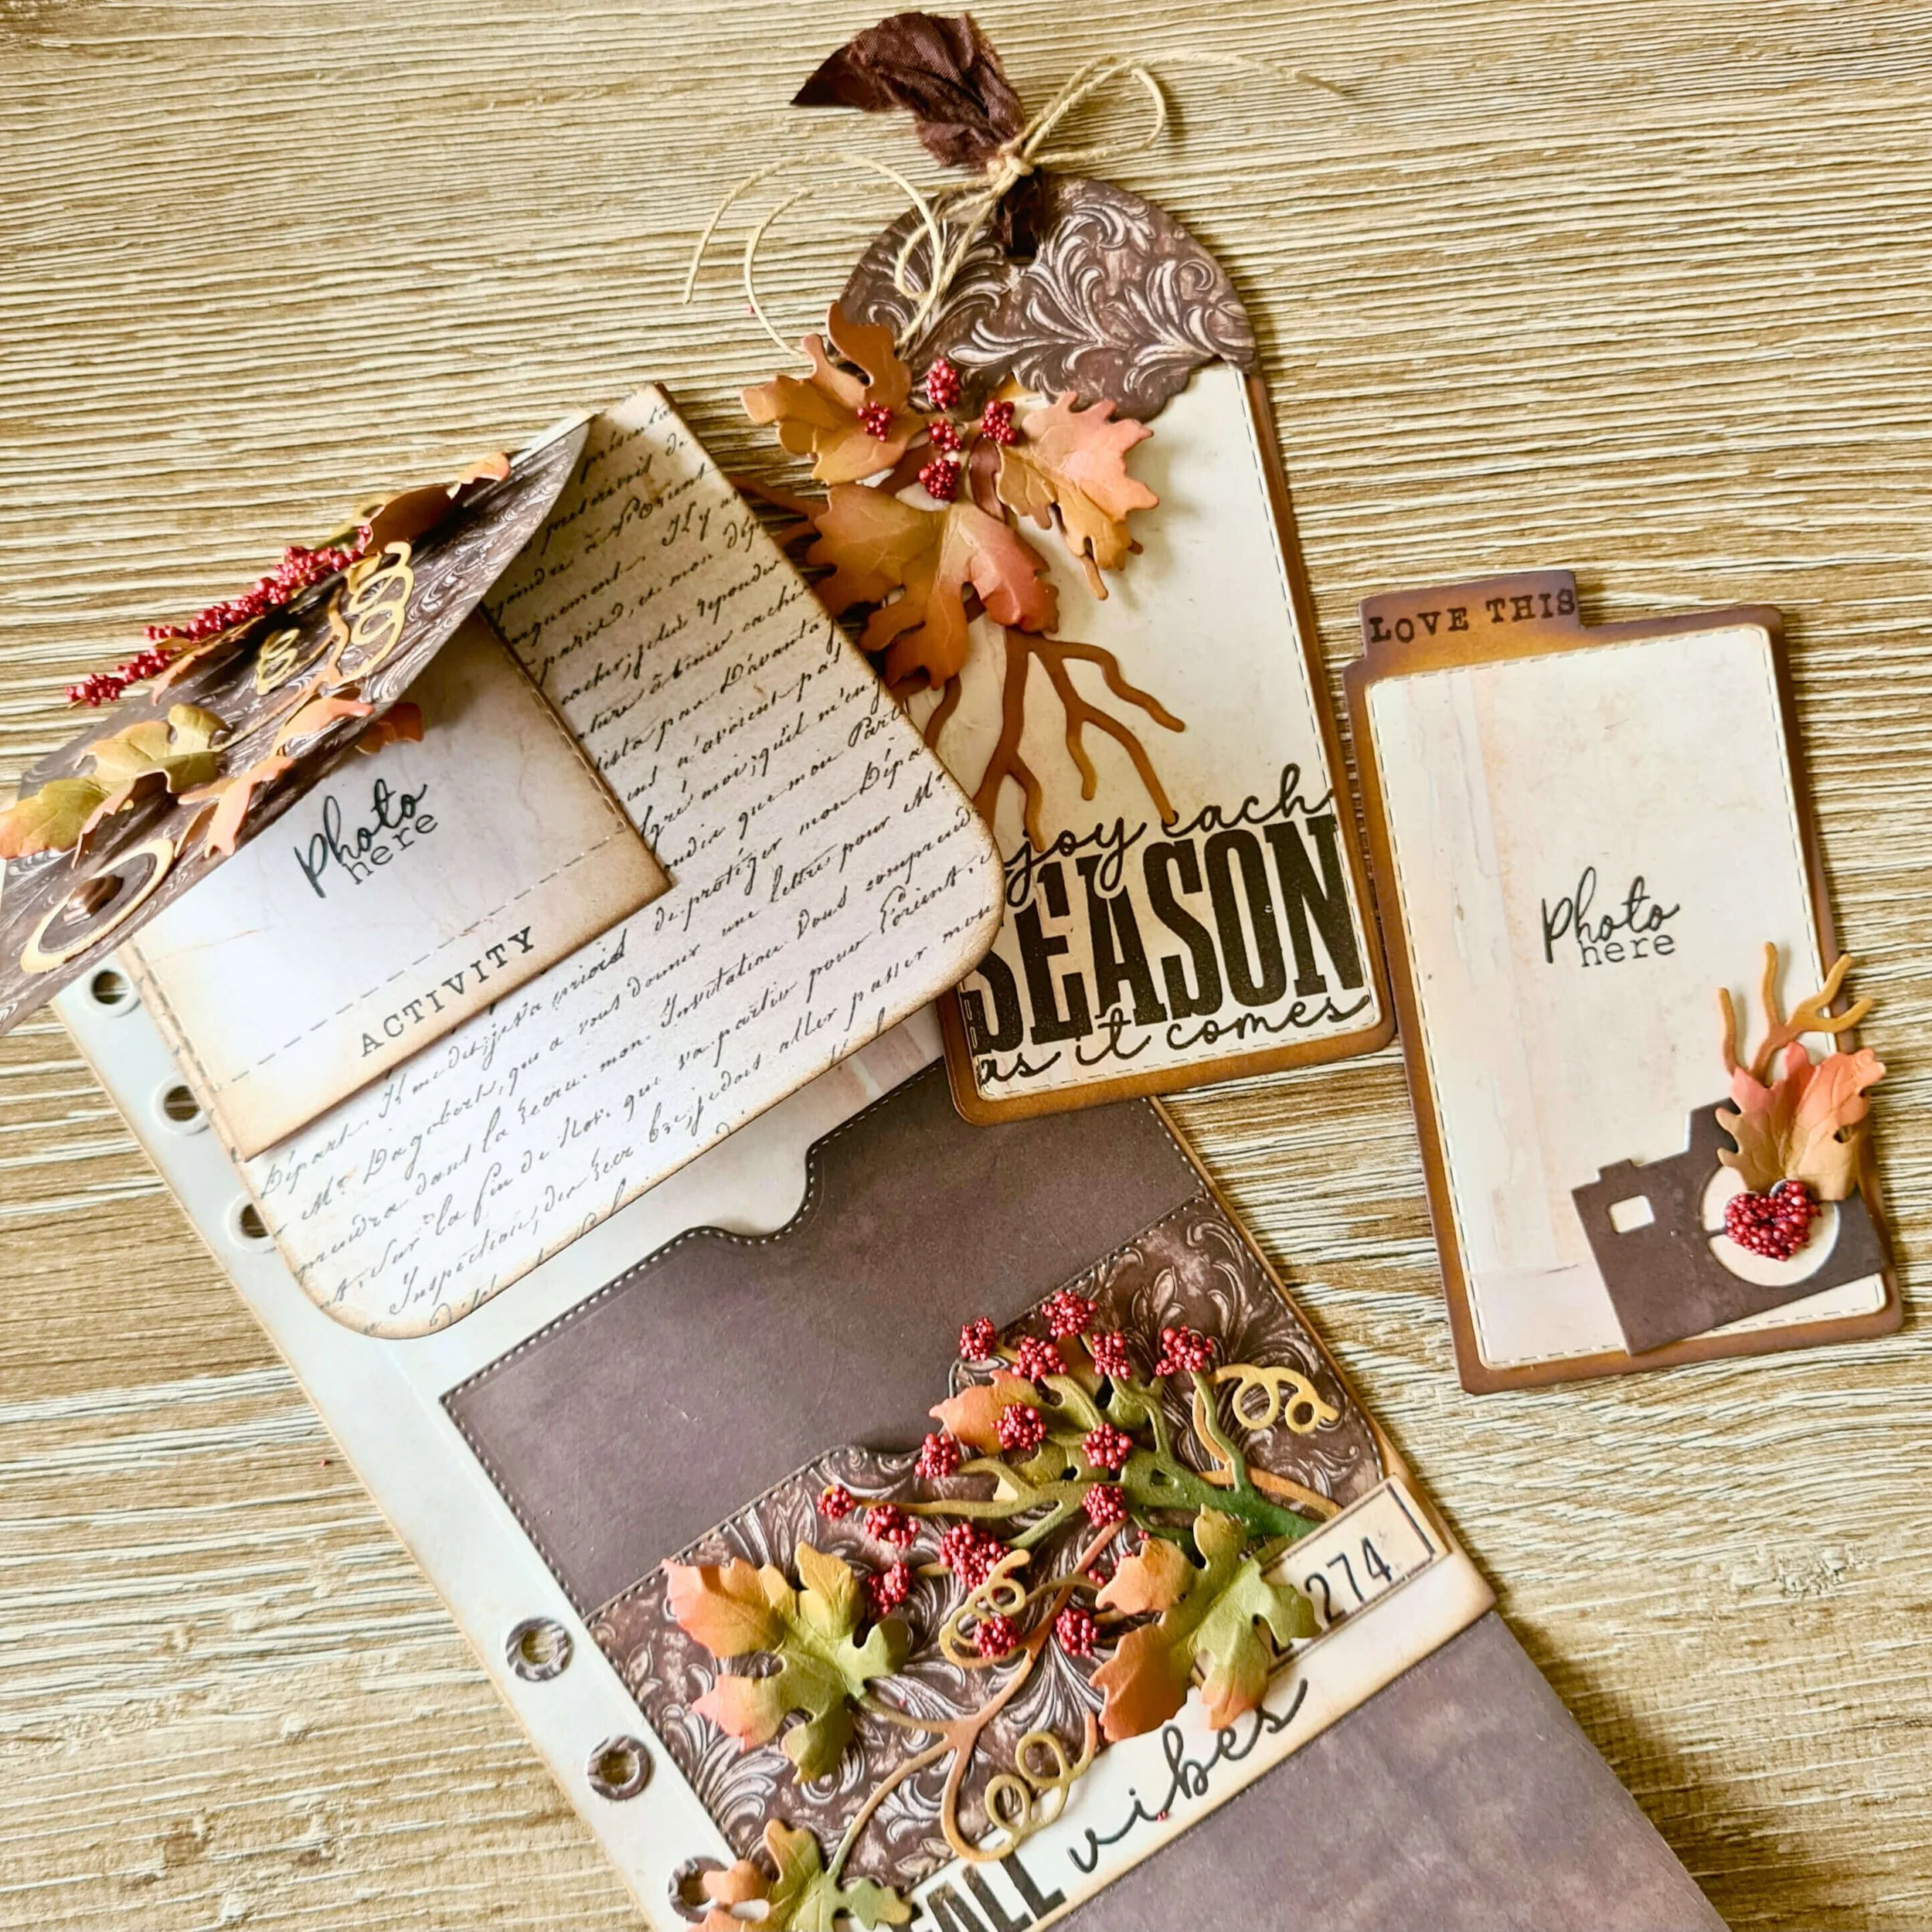
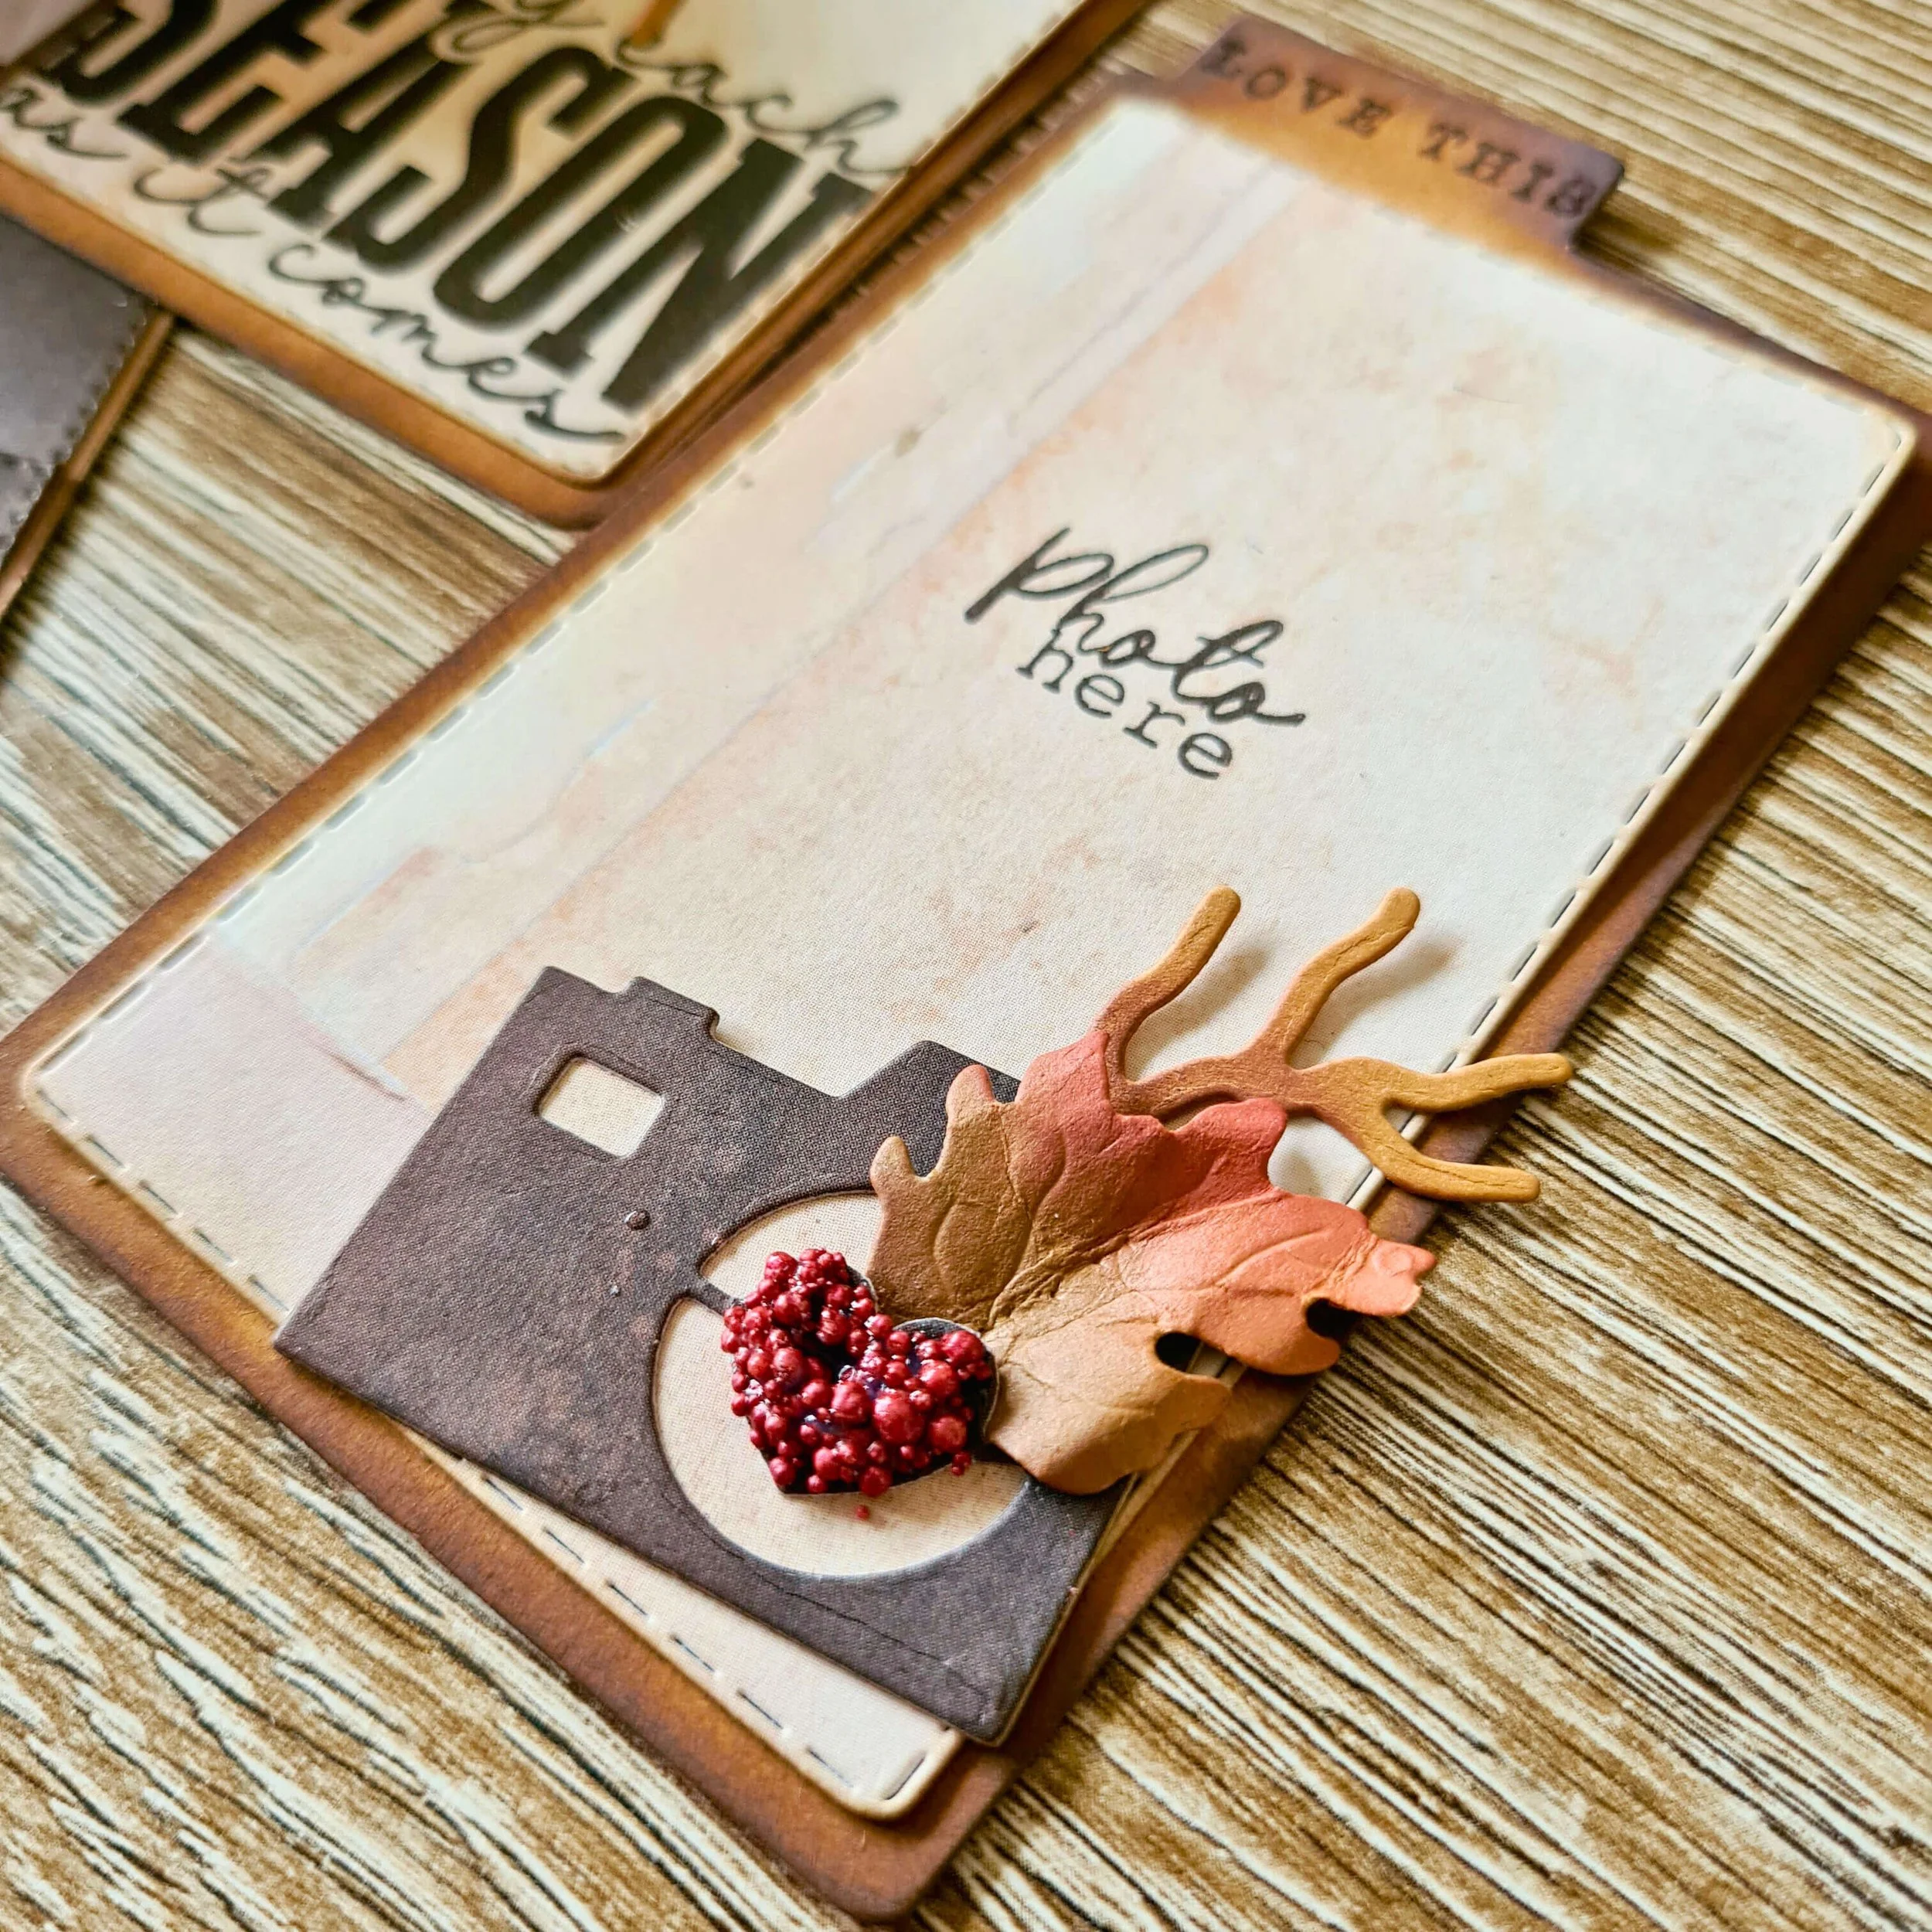
Step 4: Cut out some autumn leaves and color them with ink. , round the edges to shape them. I added prills to the twigs with a dot of glue.
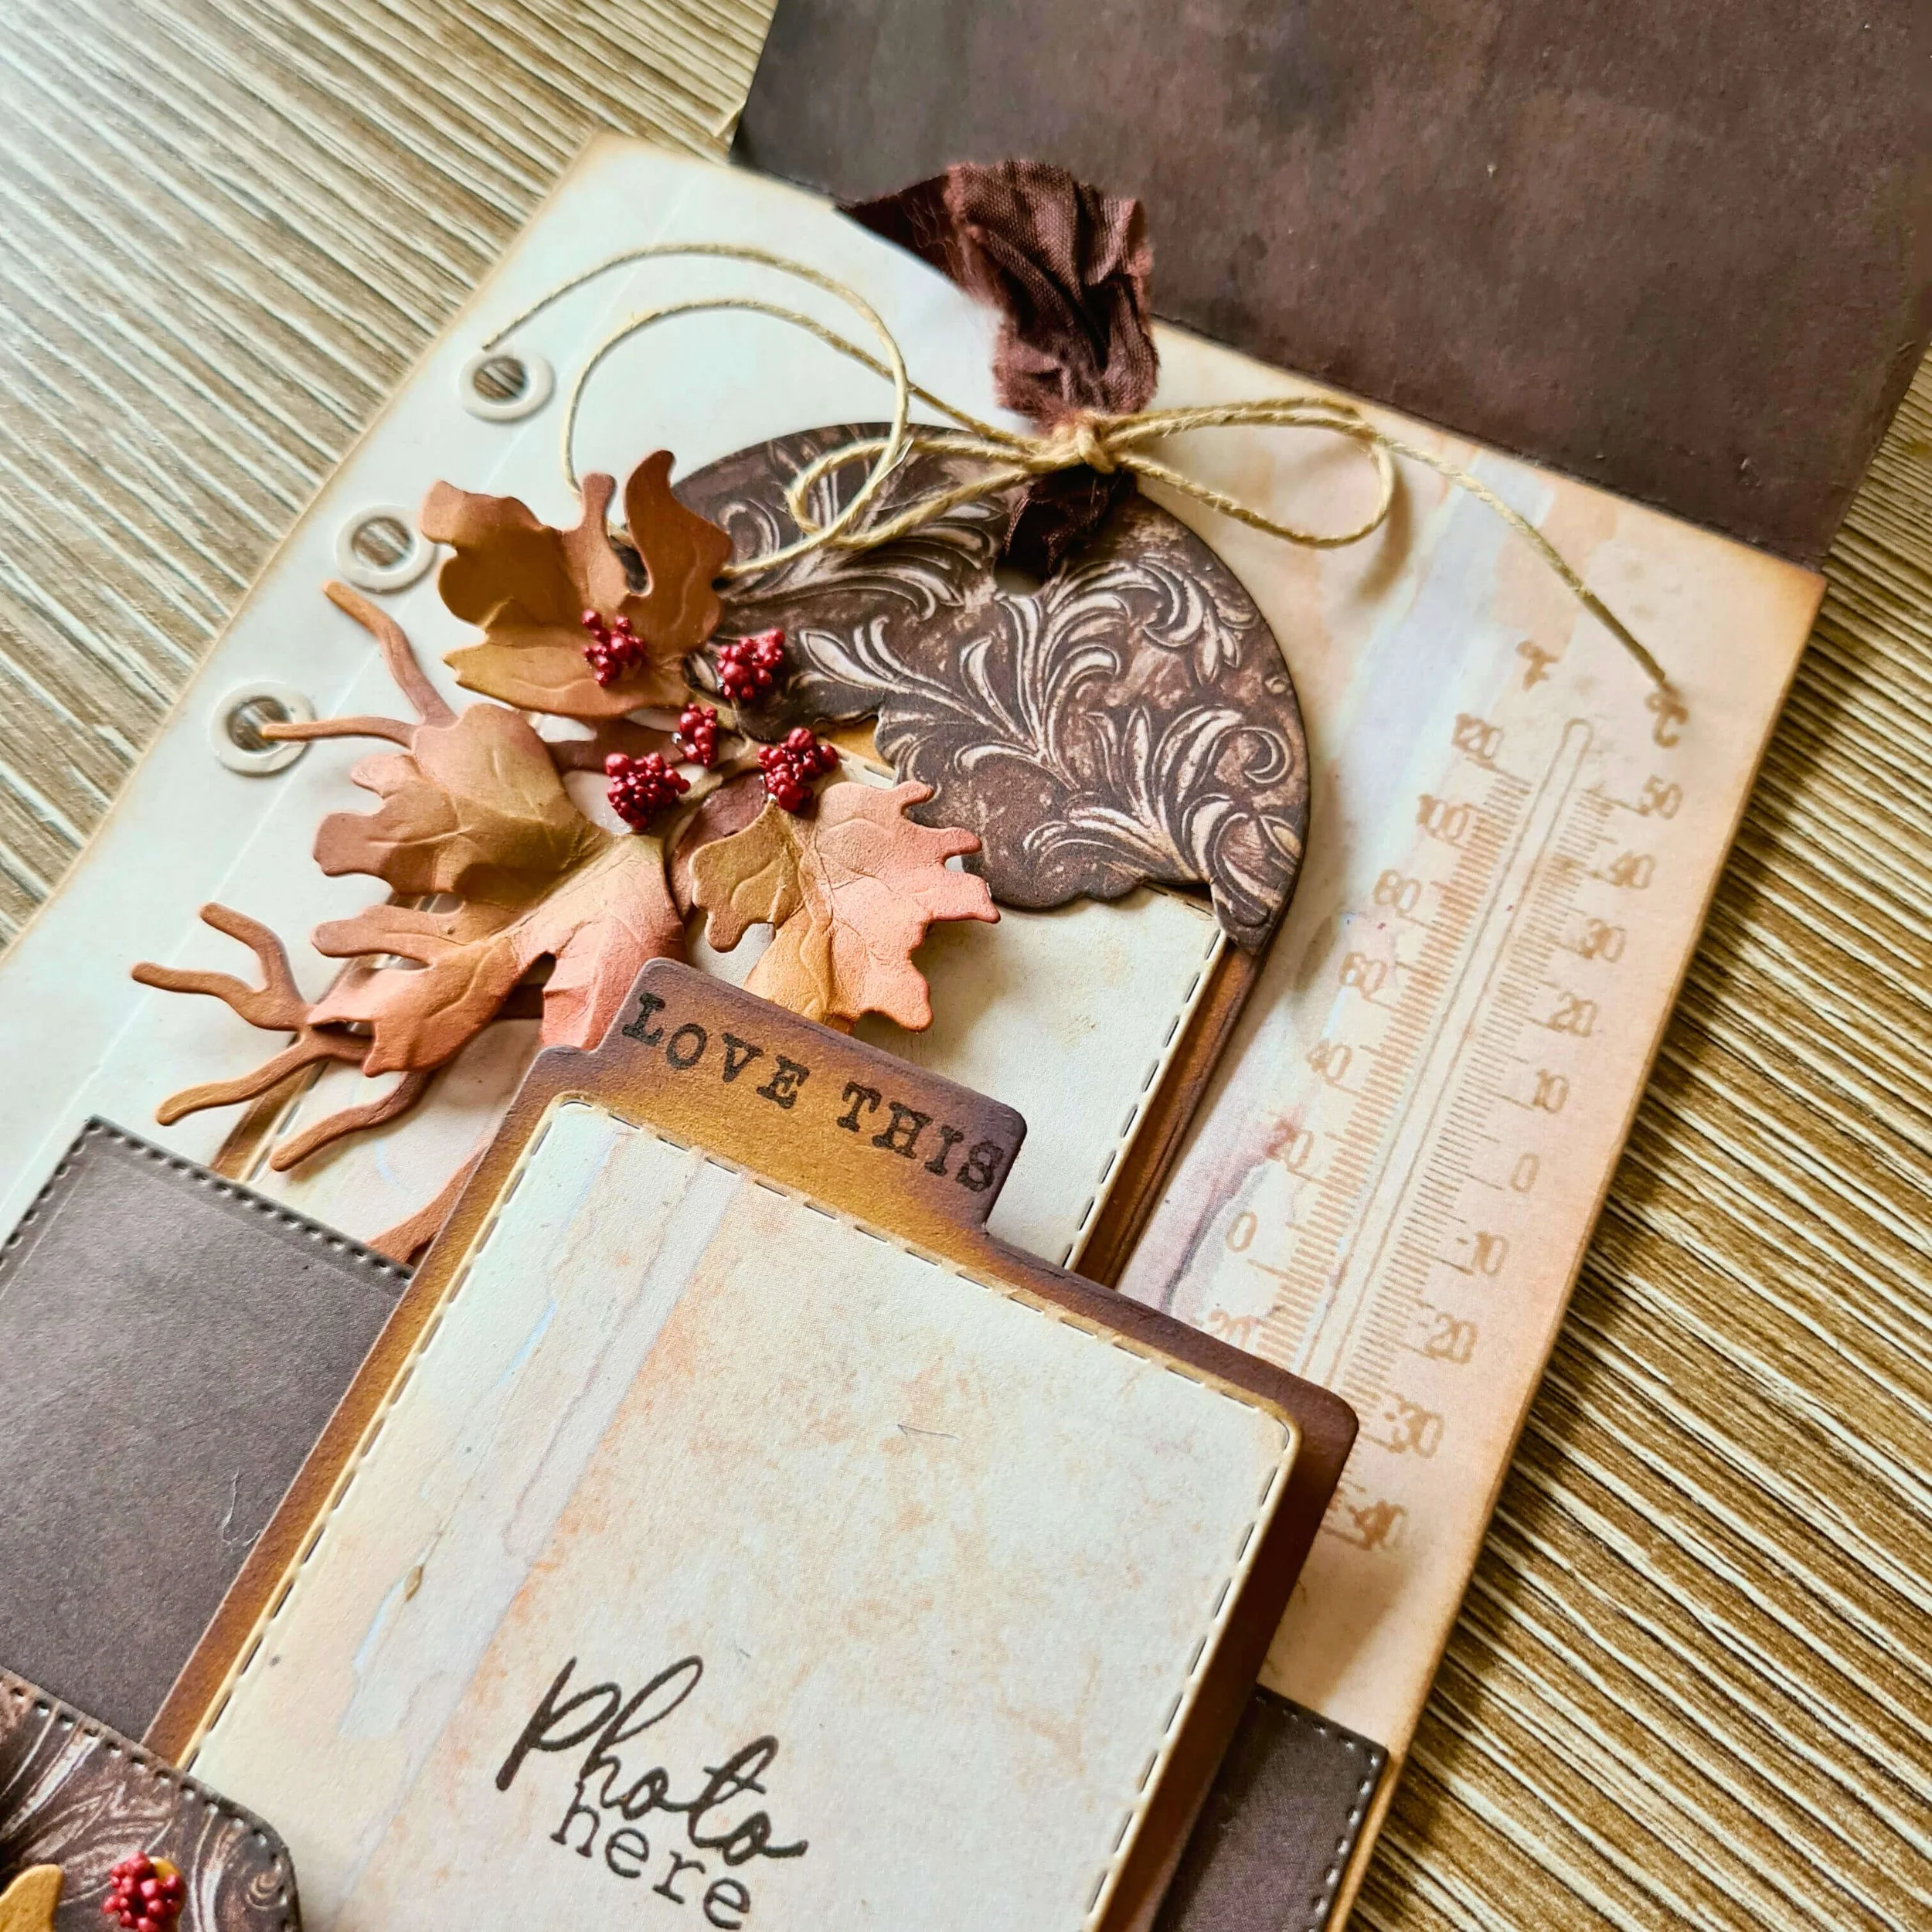
Step 5: Now, we can start decorating the tags. Add the mat layer first, then add a few twigs and/or the camera from the kit.
Step 6: I have now also added some branches to the top triangular flap and to the pockets.
Step 7: I adhered the small dies to the front of the square flap, to which we can add photos later.
Step 8: The tags can be placed in the pockets and you have a nice page.
I hope I have inspired you with this blog.
For more fun pages you can always take a look at my social media @ingrid_letters. Will I see you there?
Elizabeth Craft Designs Products Used:

