Create EZ Cards with the Meet The Mice Collection
Hi everyone, Katie here with today's creative blog post. When I received this cute collection, “Meet the Mice” and all the accessories that go with it, I instantly fell in love with the heart cheese. So, today's card is based all around the Cheese! Grab a hot beverage, and let’s get started.
Step 1: Cut your Mice from your favorite choice of 80 lbs card stock. I used Medium Grey, light pink, cream, dark brown, white, and yellow (for the cheese 😊)
Step 2: Ink your edges with Vintage Photo Distress ink for the mouse body and cheese; use Kitsch Flamingo Distress ink for the ears, nose, and mouth.
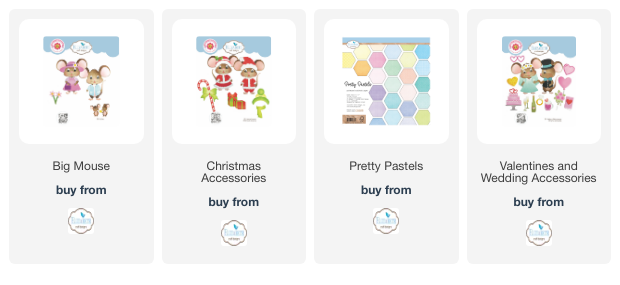
Step 3: Cut your scarf and hat from ECD Pretty Pastels #C014 and ink with Vintage Photo Distress ink.
Step 4: Start assembling your mice. “Tip” Using a foam dot pop-up, your mouse head gives your little critter a bit of depth.
Step 5: Take Broken China Oxide Ink, smoosh it onto your mixed media mat, and spritz it with some water. Next, take a 5 ¼ x 5 ¼ Heavyweight mixed media paper and dab it onto your paper until you get your desired look. Once it had dried, I speckled some more ink onto my page.
Step 6: While your mixed media base is drying, cut another base 5 ½ x 5 ½ for a darker border. I used a dark grey cardstock and a white card base 5 ¾ x 5 ¾ to fit into a 6x6 card envelope.
Step 7: Once all your card layers have been adhered and your mice have been put together, assemble your card as per your creativity, mine is only for inspiration.
Step 8: Last step, once your card has been assembled, the final touch is speckling with heavy white acrylic paint, and although it’s not really a step, can we just take a moment to have a closer look at that super cool Cheese Heart?


