Create a Vintage Distressed Vase with Paper Flowers
Are you a crafter who loves creating with mixed media? Or maybe you have always wanted to and don't know where to start? Join us and learn the steps to make your own beautiful vintage vase, filled with realistic 3D paper flowers. You’ll learn how to decorate an MDF vase for a lovely vintage look, as well as how to color and shape your paper flowers. This project is perfect for home decor, gifts, or adding a touch of beauty to your craft space.
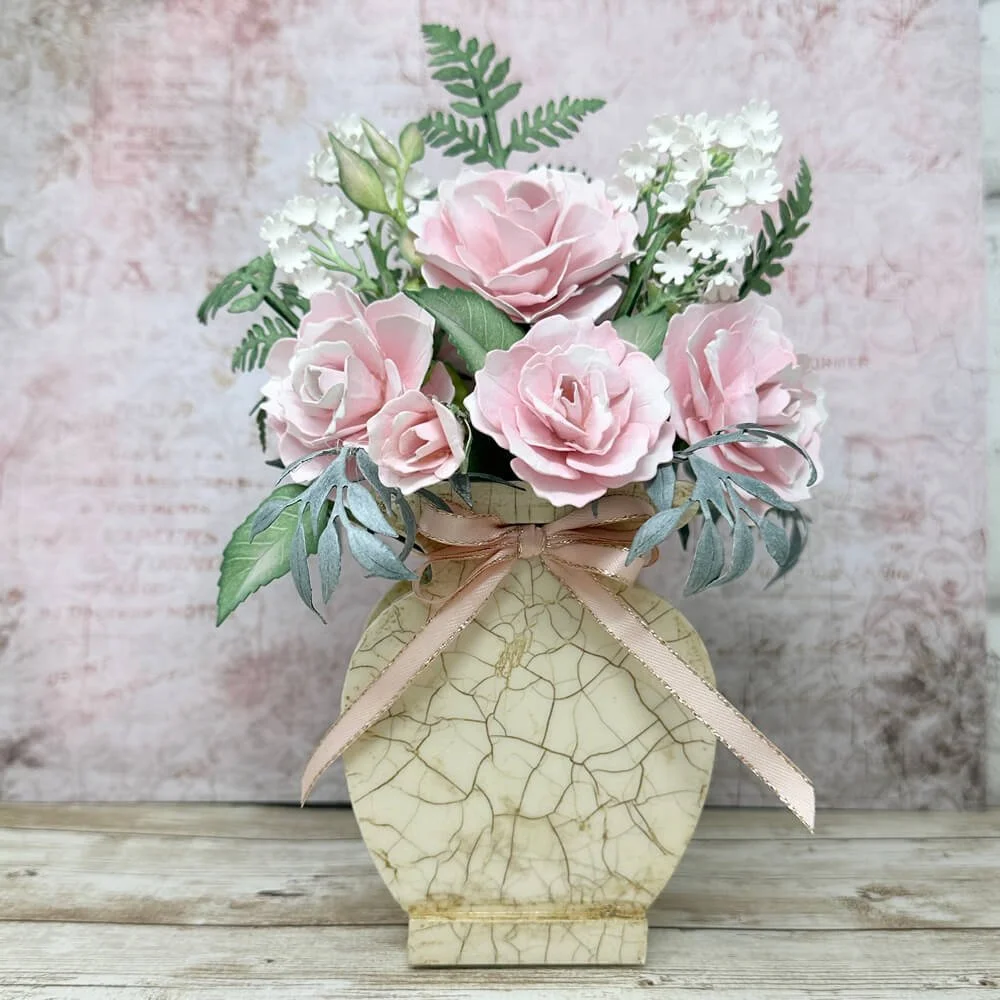
Hi crafty friends, Janet here with a pretty home decor piece using the newest Paper Flowers release, “Bohemian Rose”. Come craft with me and design a beautiful, distressed vintage vase that we’ll fill with elegant handmade paper roses. We’ll have lots of fun creating them together.
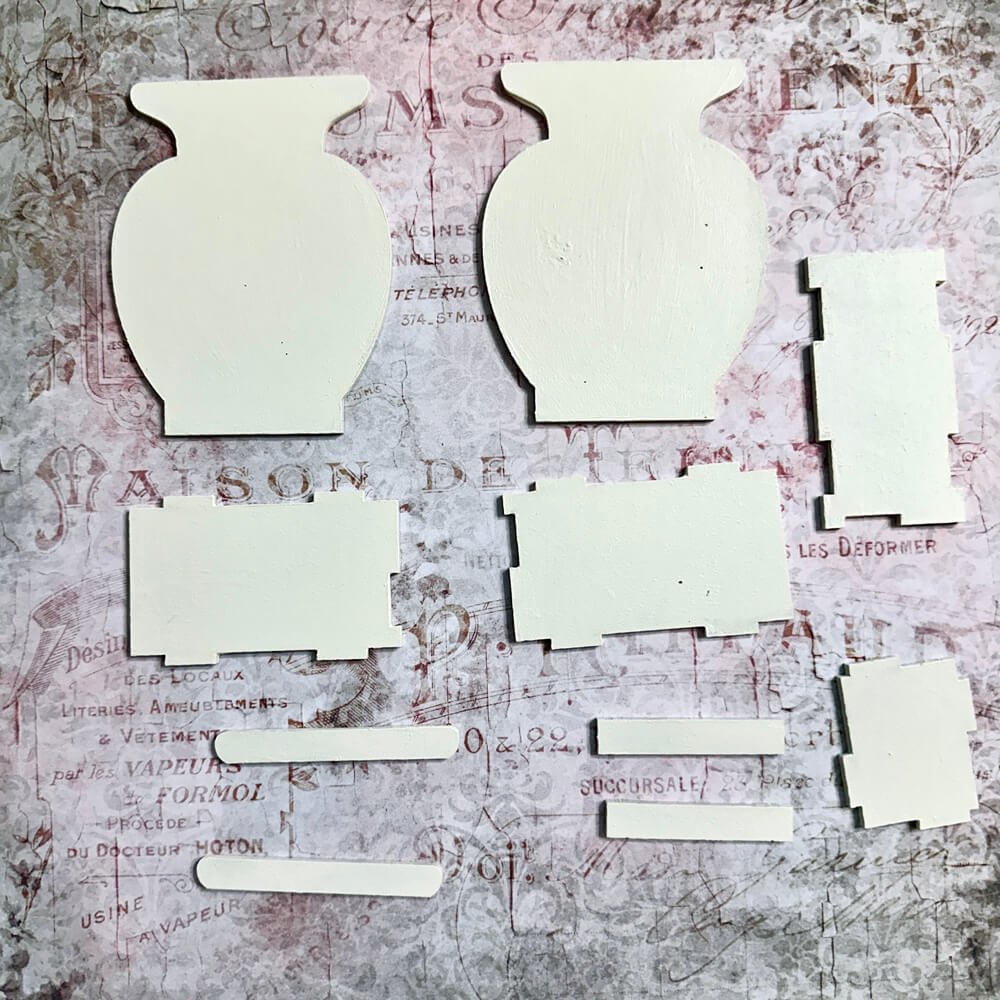
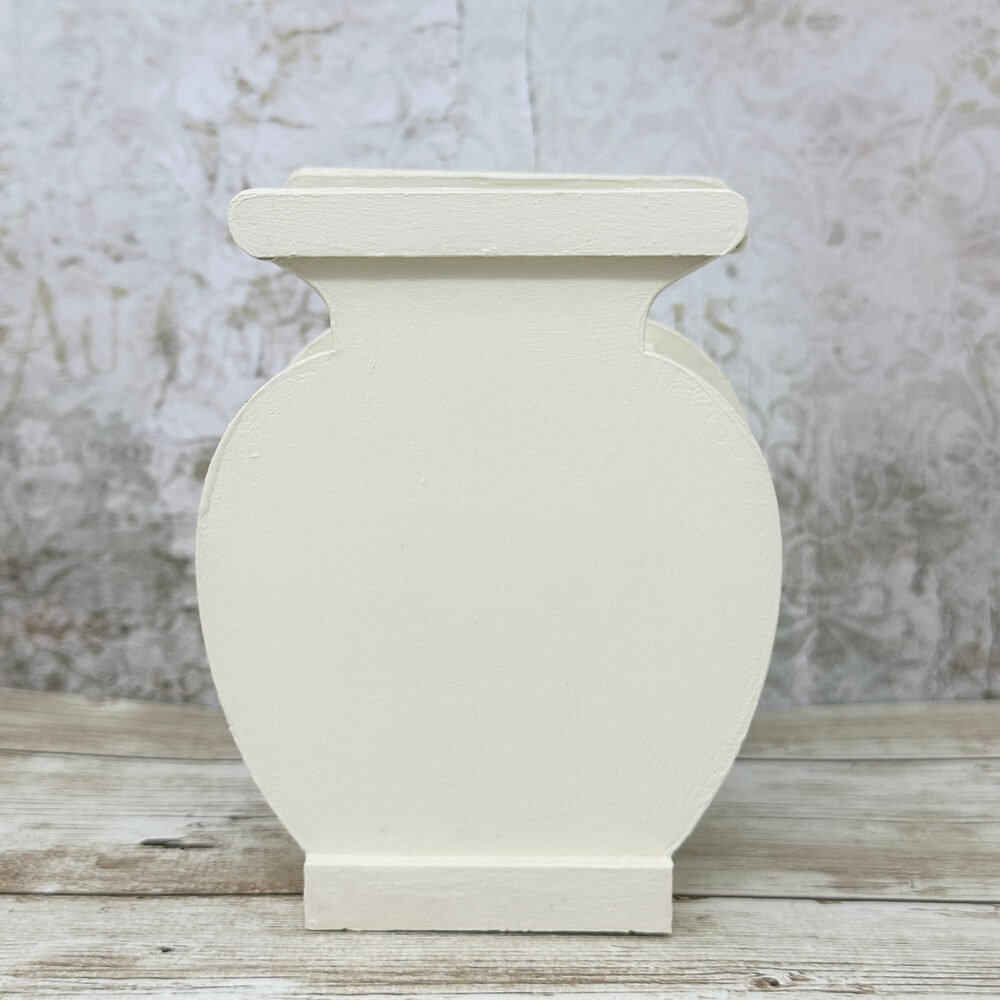
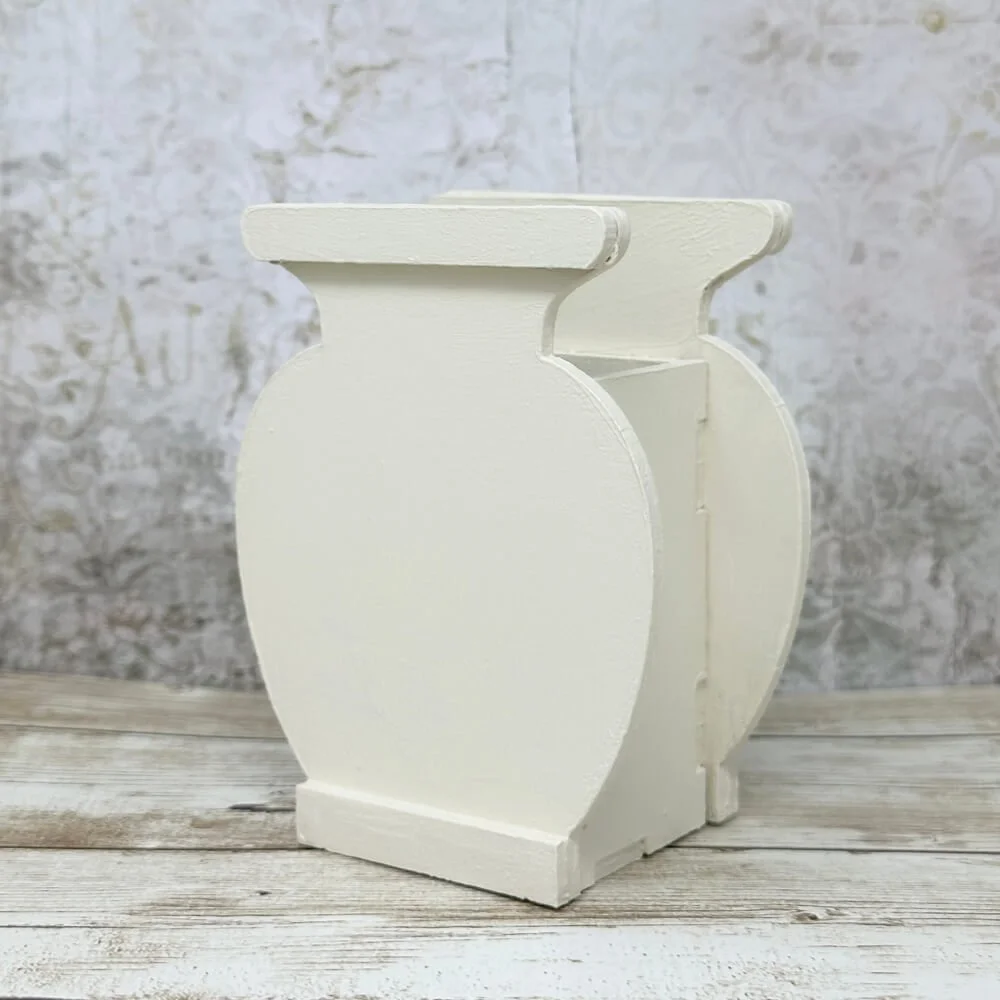
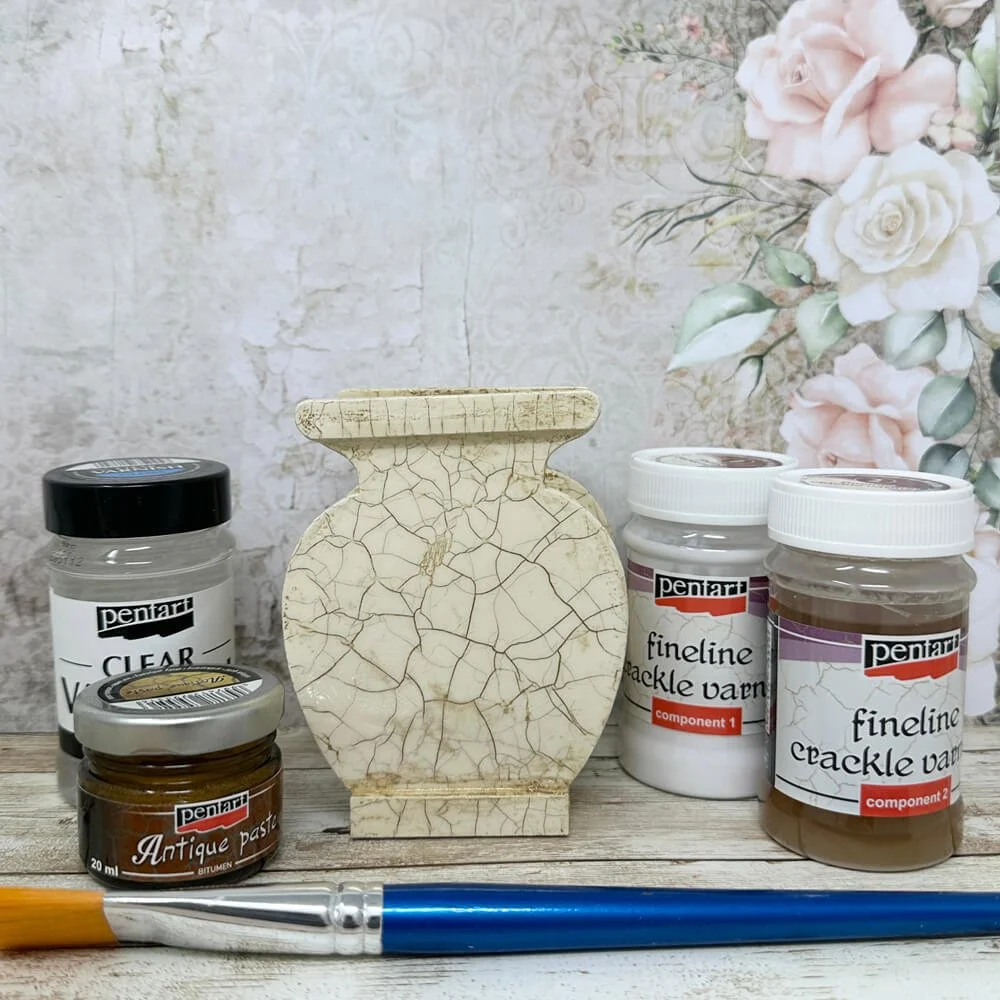
Step 1: Paint all the pieces of the vase using an ivory color paint. When dry, adhere the pieces together.
Top Tip: Use a strong wet glue like E6000 and add a little hot glue in spots for a quick grab. That enables you to adhere the pieces together quickly without waiting for the wet glue to dry.
Step 2: Apply decoupage medium to the entire vase using a good paintbrush and let it dry completely.

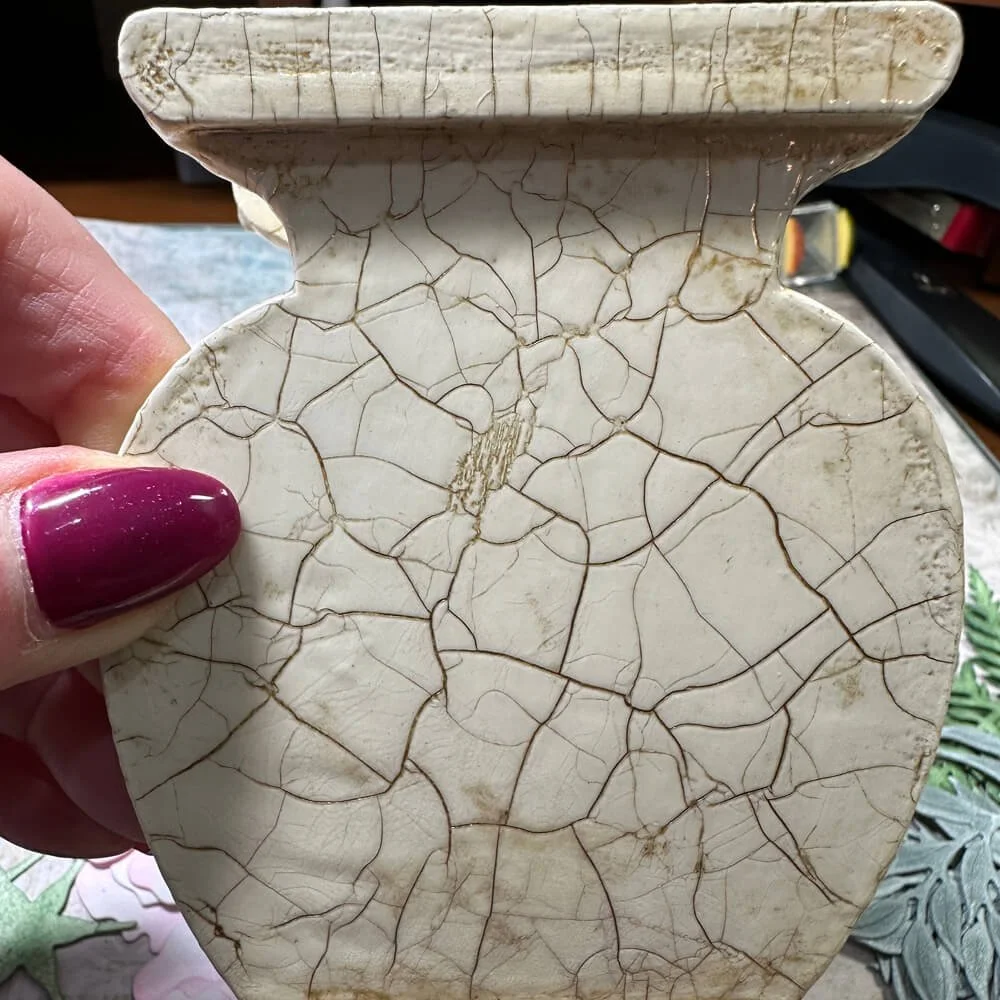
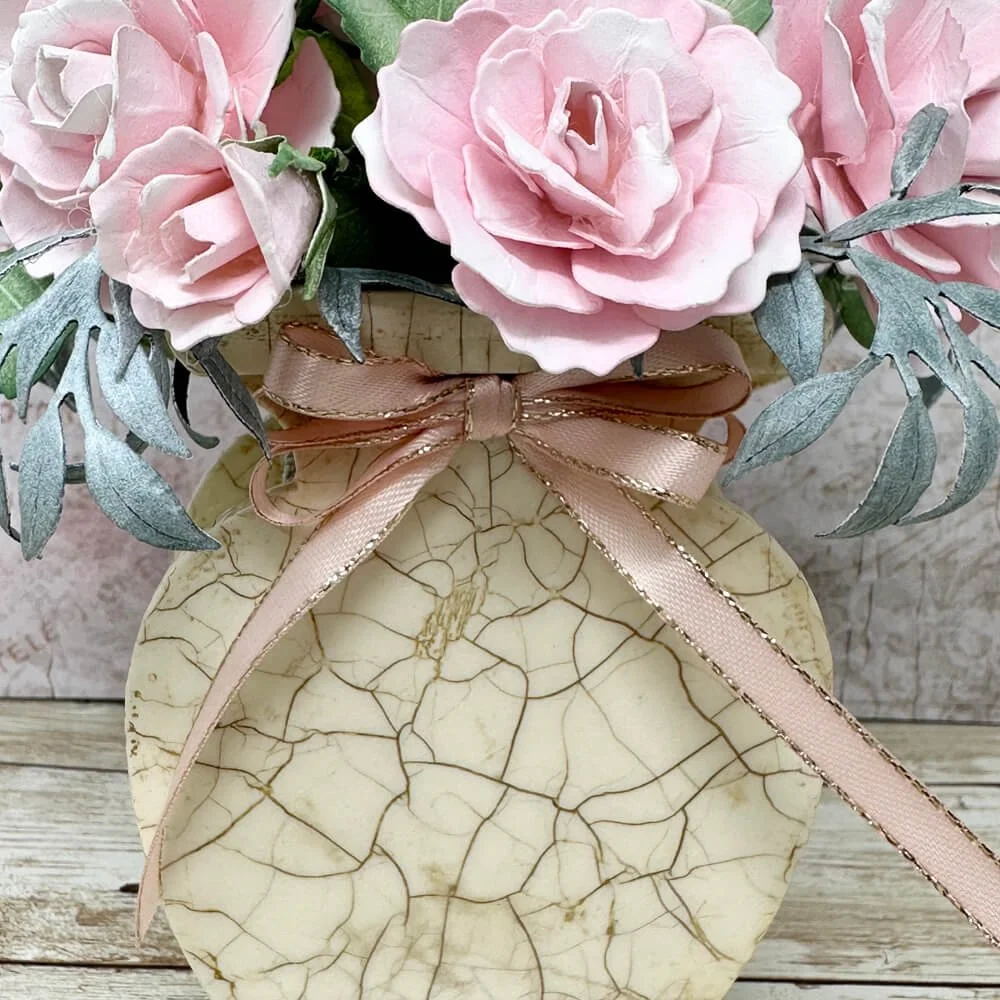
Step 3: Use a two-step fine-line crackle process to create that gorgeous, distressed, aged finish. Let step one dry naturally at least overnight, then apply step two. This step can be hurried along with a hairdryer or heat gun on a low setting. I love watching the cracks start to form when the heat is applied. When completely dry, rub on an antique paste a little at a time and buff off. When happy with the results, apply a coat of clear varnish.
Top Tip: To achieve a heavier, distressed, aged finish, sand in spots using a light sandpaper before applying the antique paste and varnish.
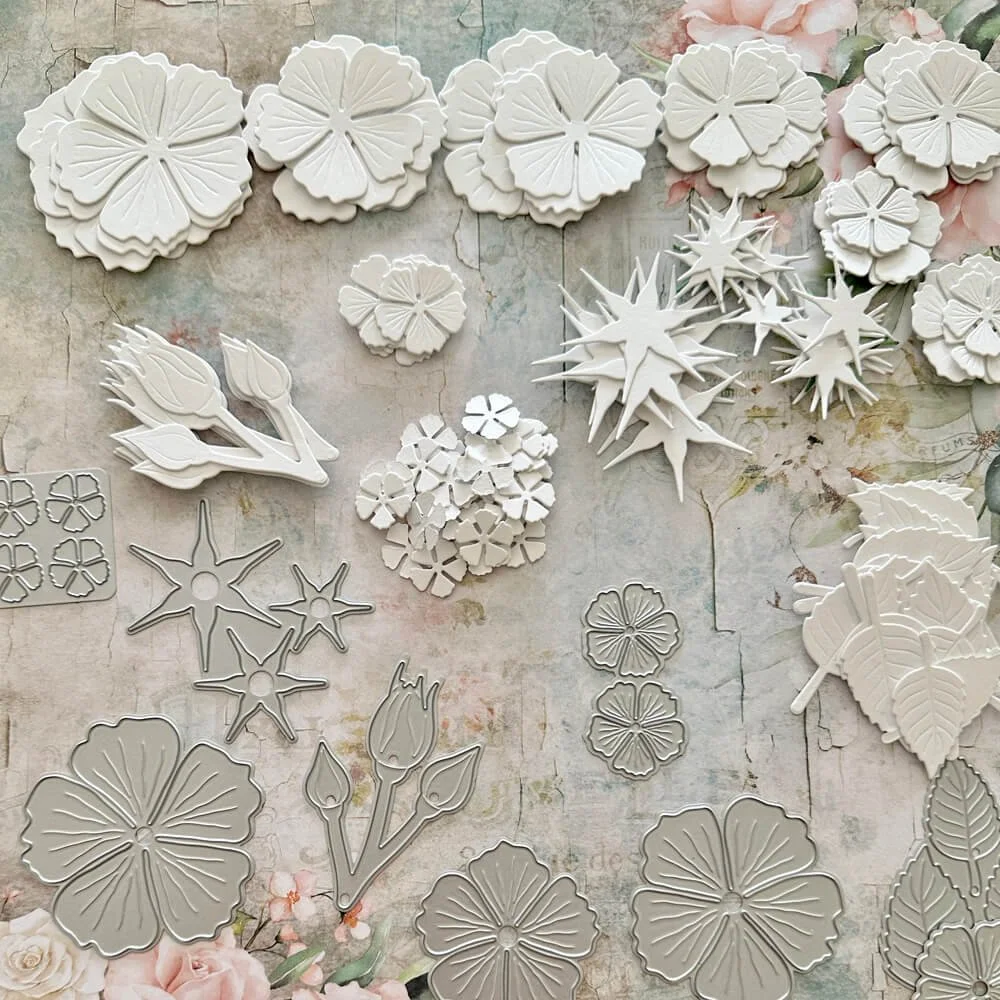
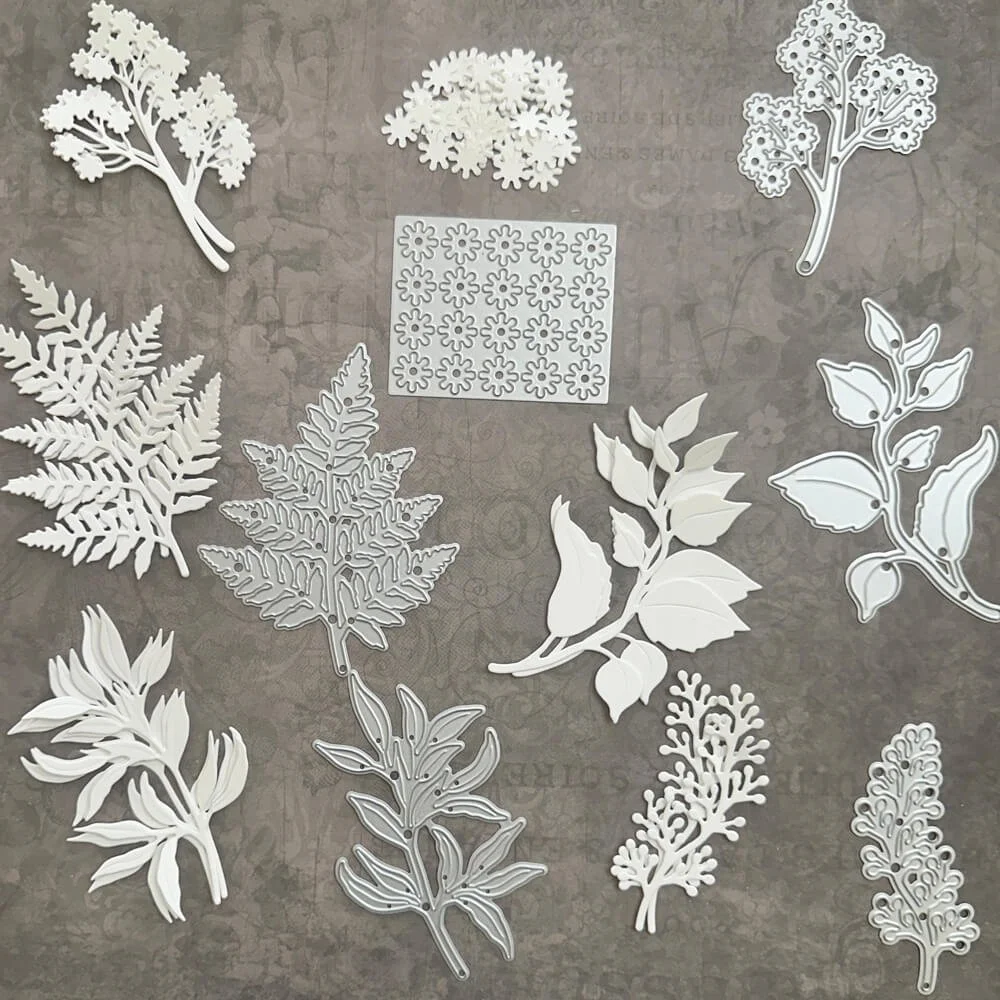
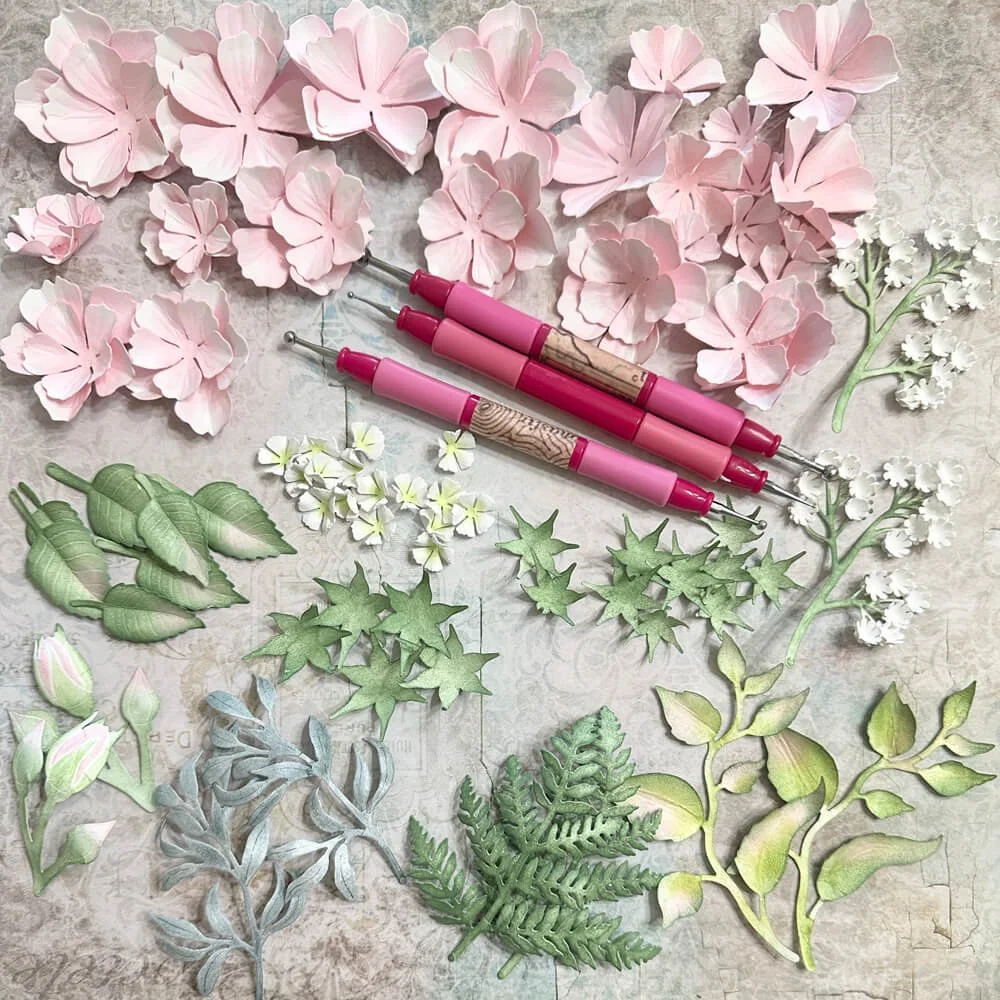
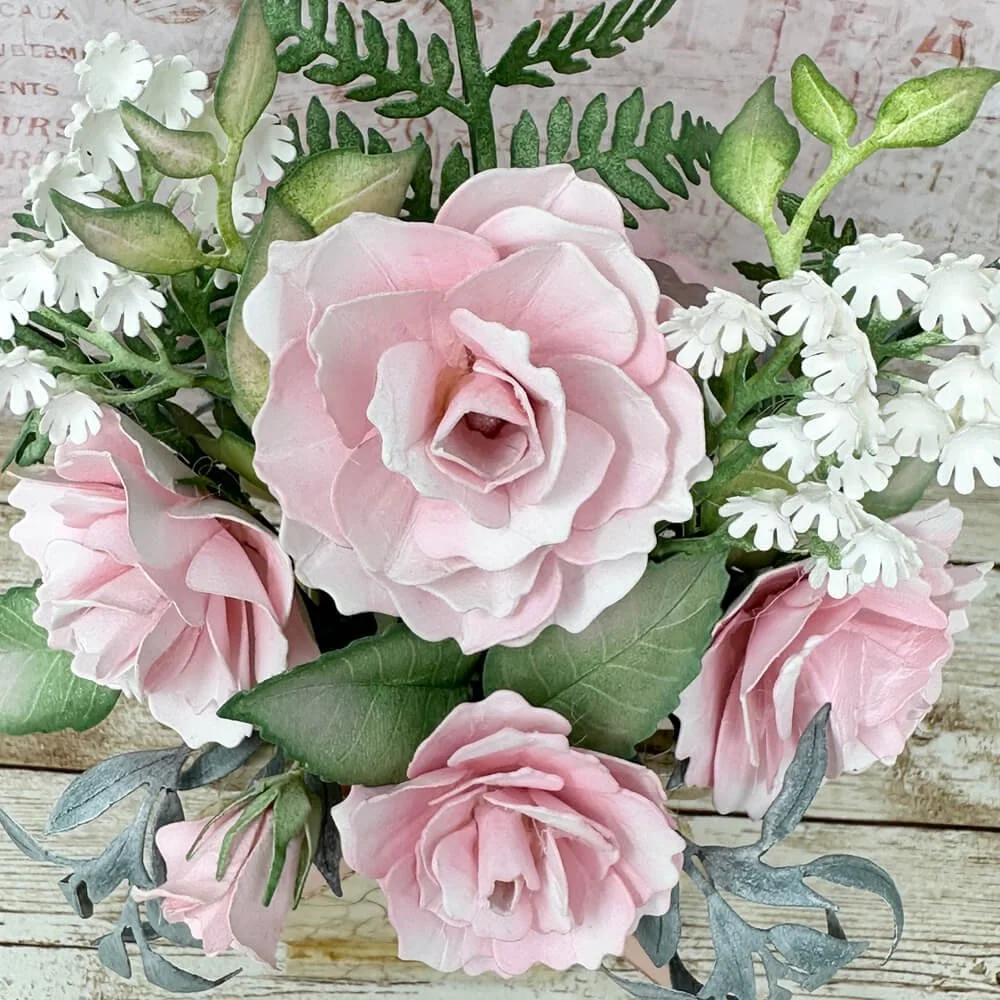
Step 4: Die-cut the Roses, their leaves, Ferns, and Greenery from Soft Finish cardstock. For each rose, use four flowers: two large and two that are one size smaller.
Step 5: Color the flowers, leaves, and greenery on both sides using Archival inks: Olive, Library Green, Leaf Green, and Pink Peony. Add a little frosty white ink to some of the greenery.

Step 6: Spritz the flowers, leaves, and greenery with water, then shape using flower-shaping tools.
Top Tip: Let the flowers dry completely before proceeding to the next step.
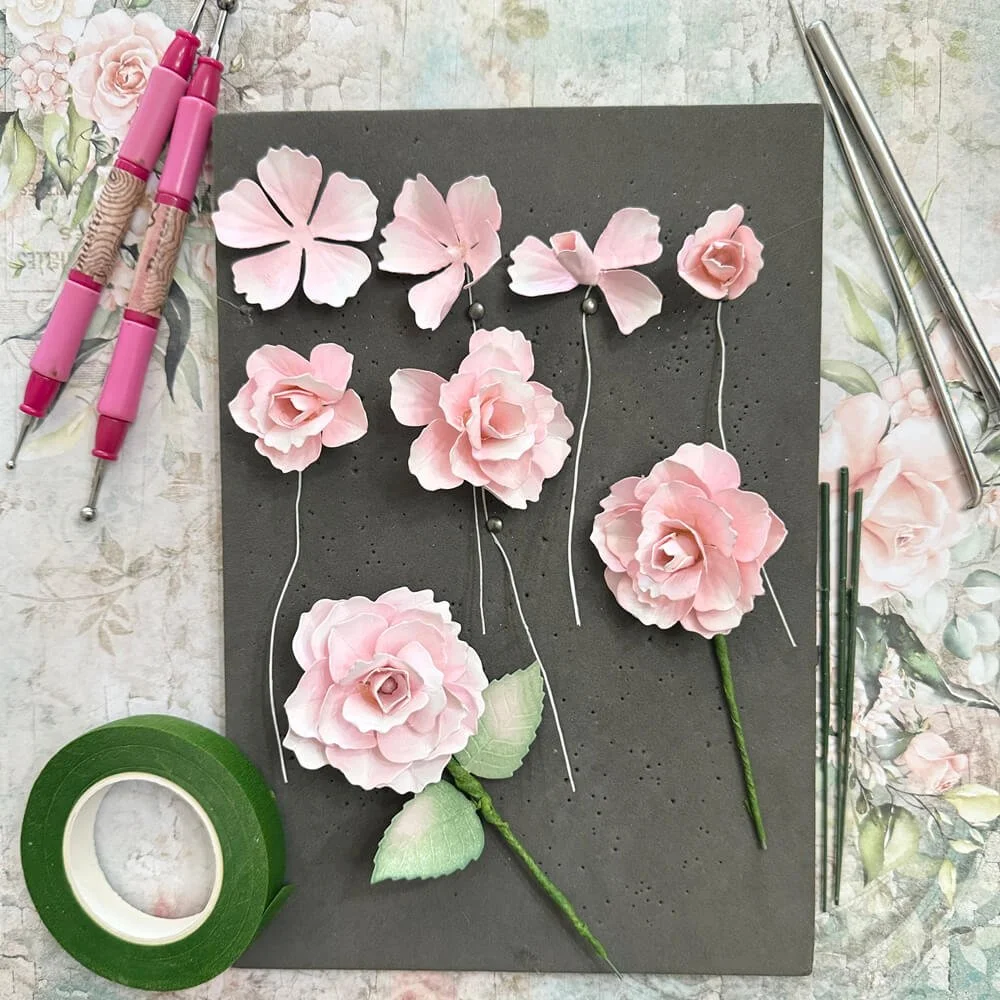
Step 7: Let’s create beautiful roses. Remember, we’re going to use two larger flowers and two smaller ones to create each rose. Using a piercing tool, pierce holes in the centers of all the flowers.
Thread one of the smaller flowers onto a wired stamen. Pull up two petals from opposite sides of the flower, add a little hot glue and wrap them around the stamen. Add a tiny bit of hot glue to the inside bottom of the remaining three petals, and gently pull them up one at a time. These petals should stay slightly more open than the center bud. Thread the second smaller flower onto the stamen. Add hot glue to the bottom of the first flower and push up the second flower, slightly offset. Follow the same procedure for the two large flowers, then use a thin, round shaping tool to add more shape to each rose petal.
Top. Tip: No two roses will turn out the same, but that’s the beauty of nature…every flower is unique in its own way.
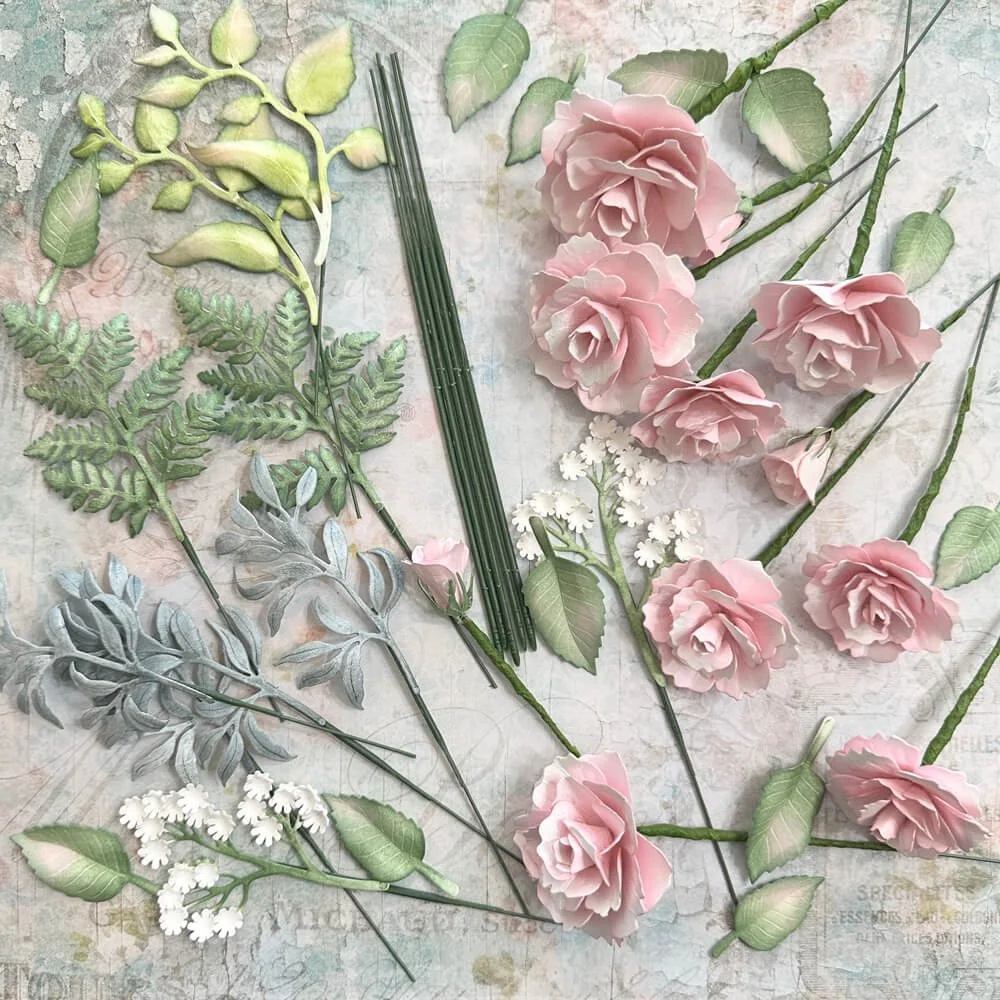
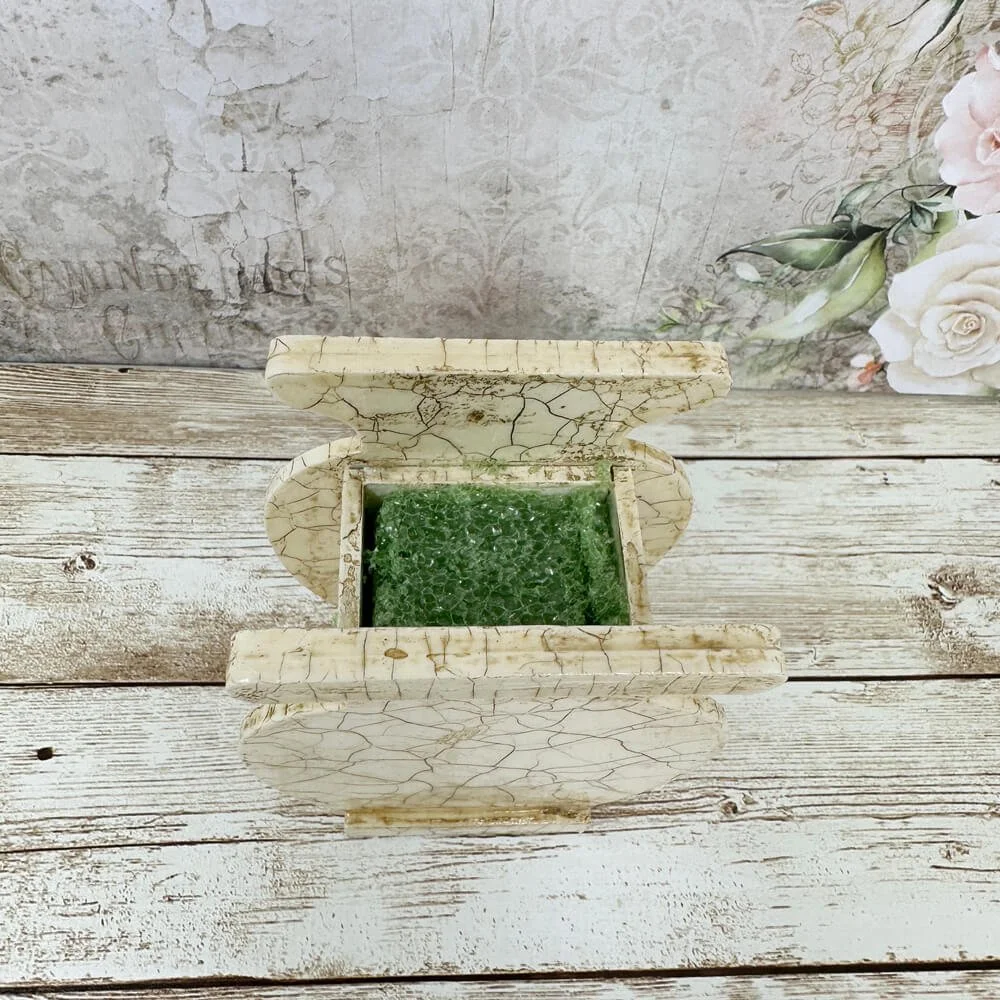
Step 8: Use a wire cutter to cut the floral picks to size. Then, for the roses, wrap the stamen wires around the picks and wrap with floral tape. Attach the leaves and greenery directly to the picks using hot glue. The picks can be bent to any shape you need. Add a little hot glue to the bottom of the floral vase, then fill it with green Styrofoam.
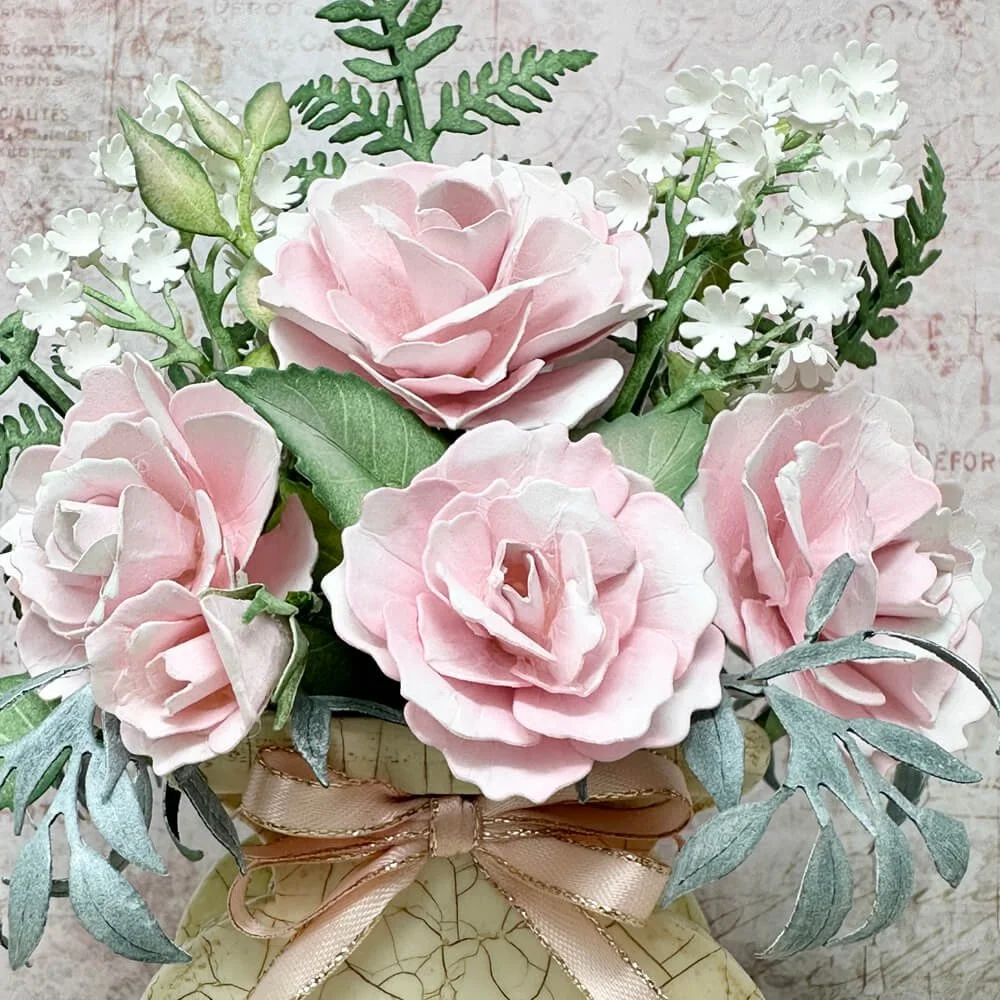
Step 9: Add the roses and greenery to the vase and create a beautiful arrangement.
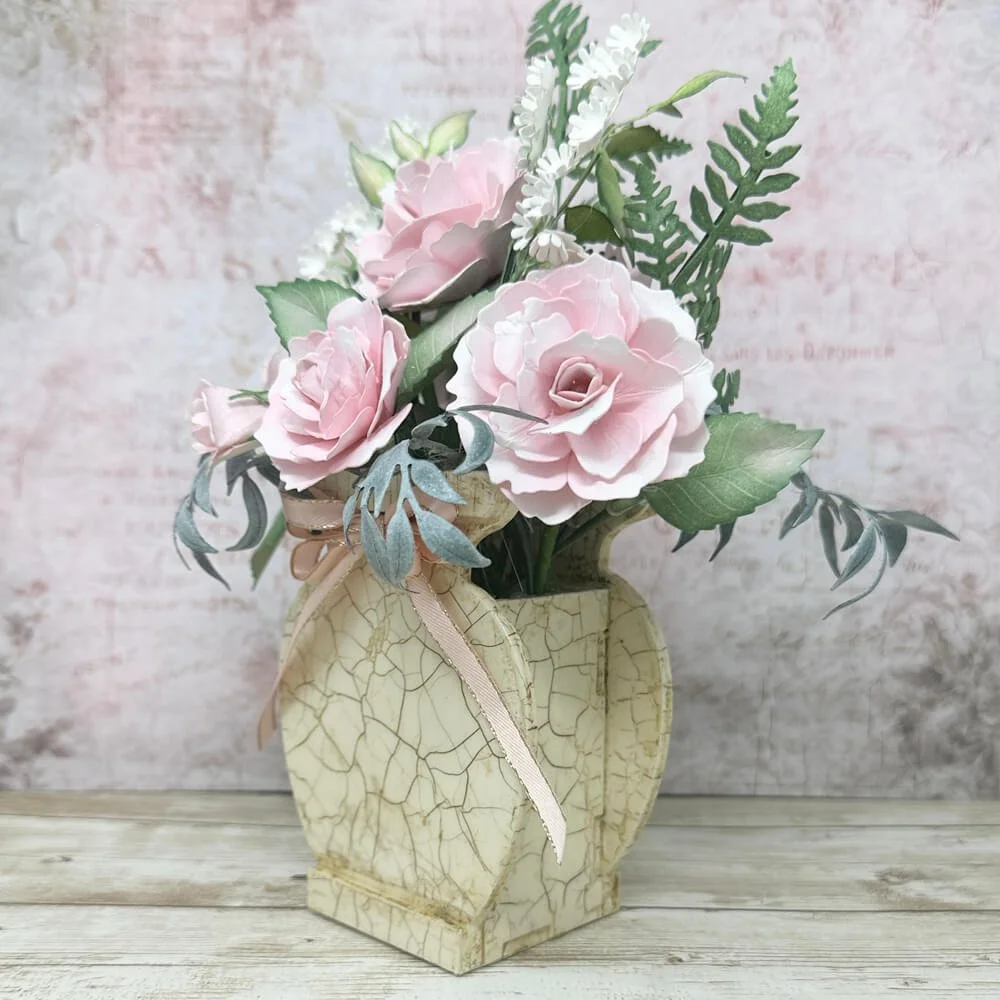
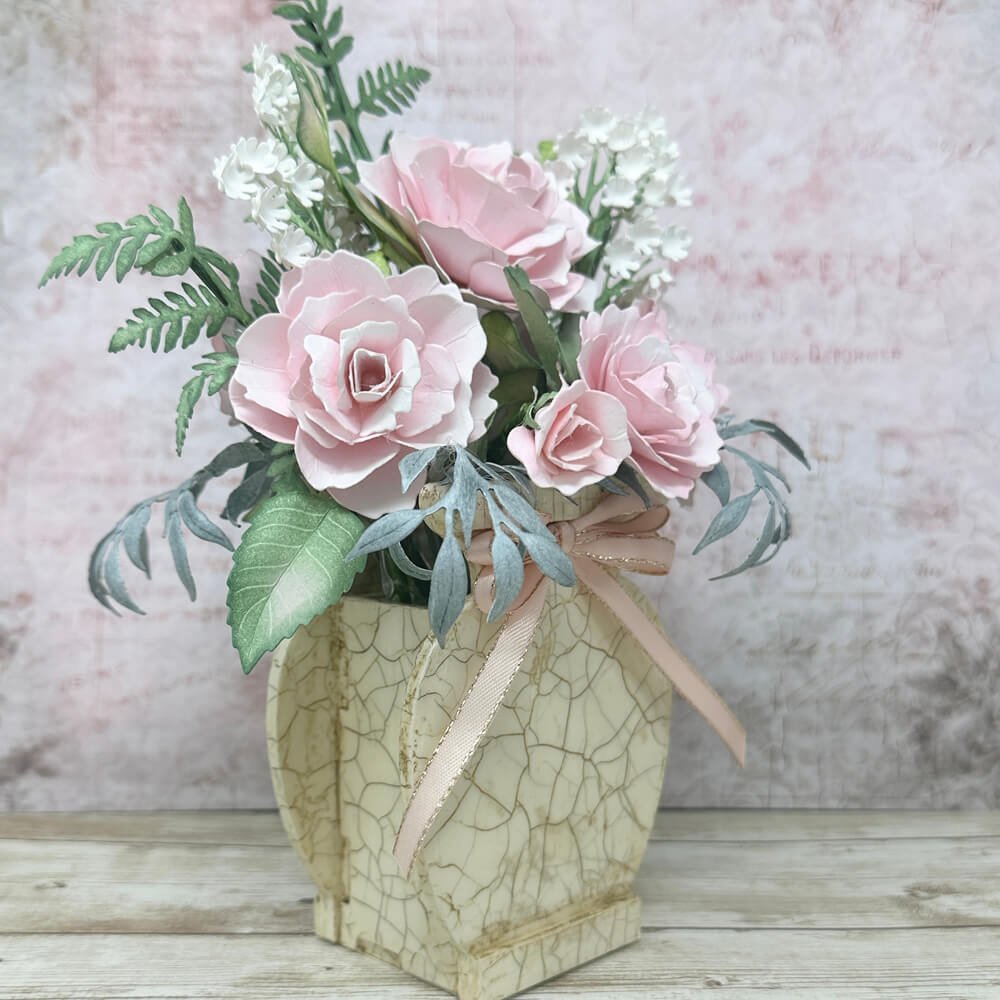
Step 10: Finish off your stunning floral décor by adhering a pretty bow to the top of the vase.

The possibilities are endless when you create with this fabulous new paper flowers release, and I really enjoyed creating with you today. Please share your designs on the Elizabeth Craft Designs Family Facebook page. I can’t wait to see all of them!
Have a beautiful day!
Crafty Hugs,
Janet Ssieva