Make an Easy Thanksgiving Card to Thank a Friend
Are you looking for easy, fall-themed thank-you cards for friends this Thanksgiving? Join us for a tutorial where Di shows you how to use the new Romantic Revival Collection to create pretty and easy thank-you cards that are sure to impress your friends this Thanksgiving!

Hi. It’s Di (a little bird crafts) with an autumn-inspired card to share using the new Everyday Elements Collection.
In the US, Thanksgiving is just a few days away, so I wanted to create something expressing gratitude. I’m so very thankful for my crafting friends. They are always so supportive and encouraging to me. Let’s get started.
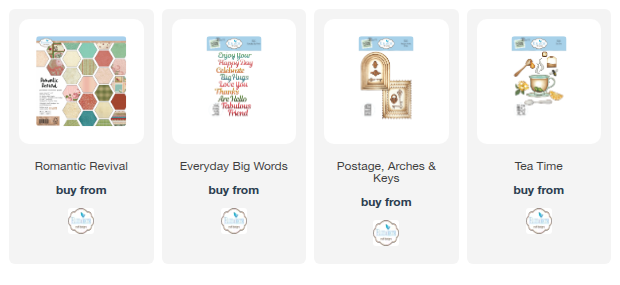
Step 1: Cut a piece of Romantic Revival paper with the largest Postage Stamp die. Lightly blend brown ink between the dashed frame lines and the outer edge of the die to accentuate the frame.
Top Tip: I used washi tape to mask off the inside of the postage stamp, to keep a straight line when inking.


Step 2: Using the Everyday Big Words dies, die-cut “Thanks”, “You”, and “Friend” from patterned paper, and cut off the s from “Thanks”. Cut a second set of the words using dark brown paper. Then adhere the dark brown words behind the patterned paper words, offsetting a bit to make a shadow, and attach them to the center of the panel you cut in step one.
Top Tip: Add double-sided adhesive to the back of the patterned paper before die-cutting your words, so they are easy to adhere in place.

Step 3: Use three pieces of watercolor paper, each approximately 6 x 4 inches. Paint orange watercolor onto a Kraft mat and thin with some water. Press a piece of watercolor paper into orange watercolor paint. Use another piece for green watercolor, and the third piece for yellow watercolor.


Step 4: Cut from the watercolor papers:
Three orange flowers and three orange flower centers (darken the centers by ink blending over with rust or brown), and five green leafy stems from Build A Bouquet.
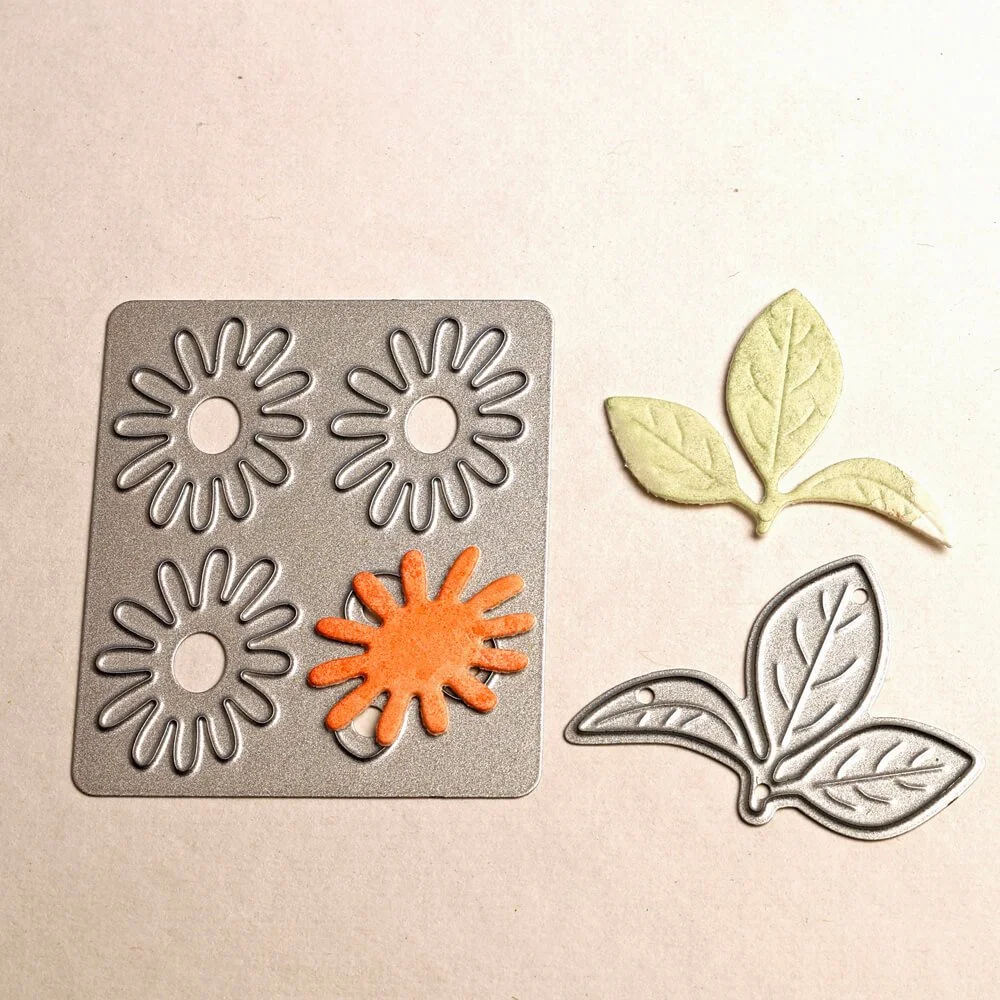
Three orange flowers, three yellow flower centers, and five green leaf bunches from Tea Time.
One pumpkin and one pumpkin vein from the orange watercolor paper. One green stem and three yellow sprigs of wheat from Festive Harvest.
Hint: While I enjoyed watercoloring the die-cuts, colored cardstock would have worked equally well.


Step 5: Adhere the flower centers to the flowers. Use a white gel pen to add white dot highlights on the flower centers. Build your arrangements, adding foam dots behind some pieces for dimension. I did go off the edge of the panel a bit since it is smaller than the card base.


Step 6: Adhere your panel to a white A2 card base and you are done!

This is a cheerful Thanksgiving or autumn-themed card that would make anyone feel appreciated. Is it a card design that you’ll make?
Happy Thanksgiving!
Di (a little bird crafts)