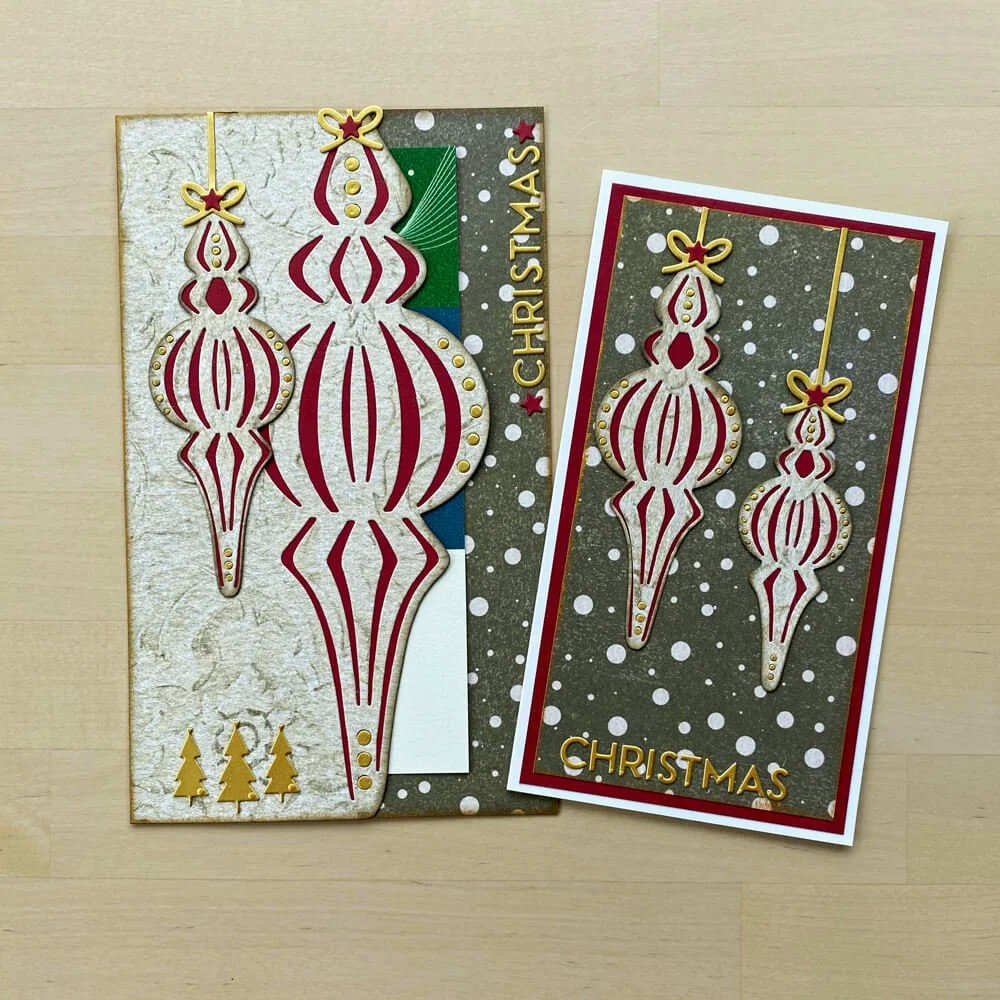
How to Make a Festive Wallet for Gift Cards
Are you a crafter who loves adding a personal touch to your holiday gifts? Or maybe you're looking for a creative way to present gift cards this Christmas? In this tutorial, you’ll learn how to make easy Christmas wallets for gift cards and ideas and techniques you can use again and again in all your Christmas projects!

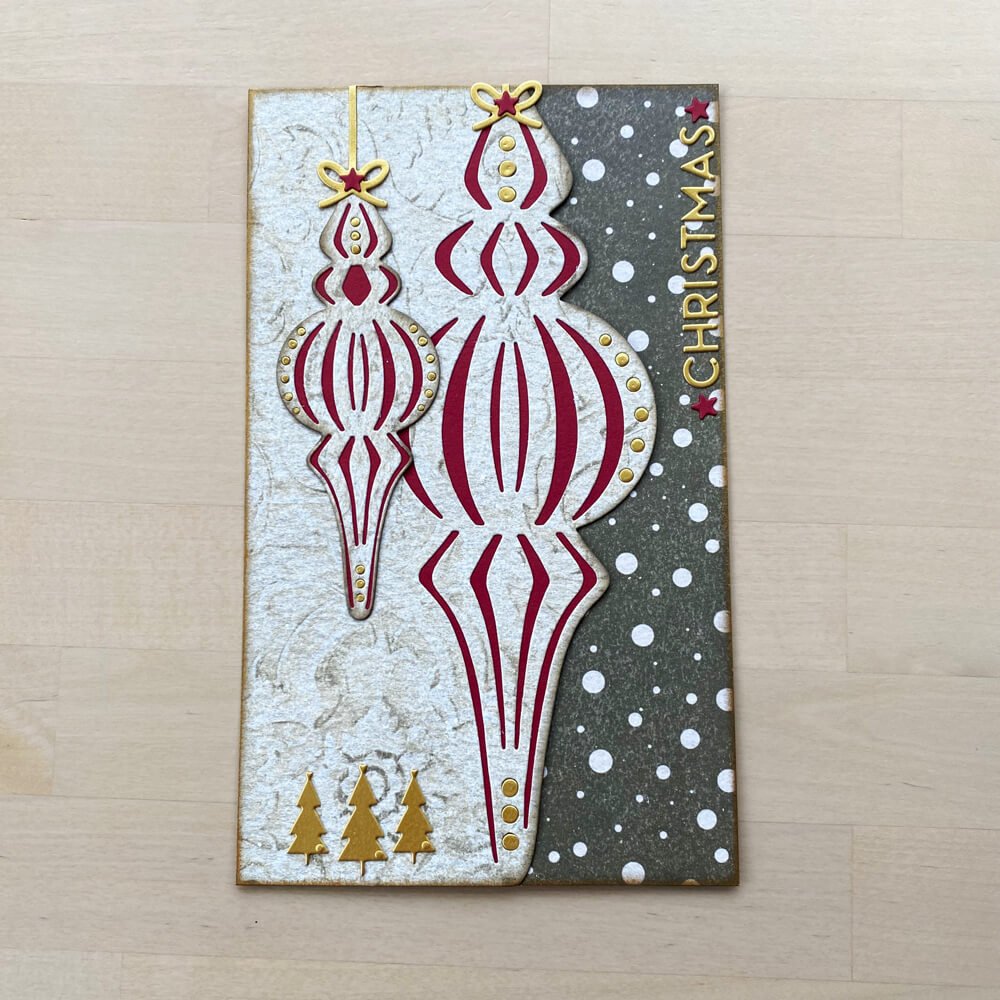
Hi, Julia here. With Christmas not too far away, I’m showing you how you can use the Planner Essentials, Christmas Bauble Page, to create a gift voucher wallet.
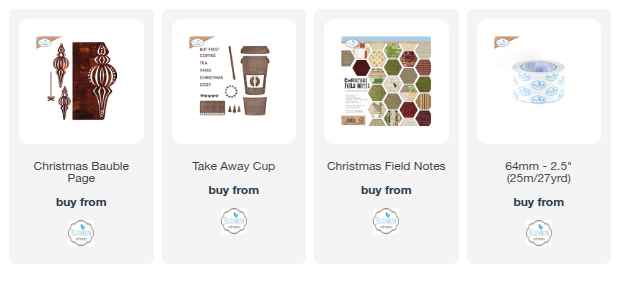
Step 1: Cut out the Christmas Bauble Page and trim off the holes. I’ve used paper from the Christmas Field Note paper pack
Draw around the bauble section of the die onto a piece of Red Card and cut out approximately 2mm inside the line – it’s actually only necessary to cut around the right-hand edge. Glue to the back of the bauble. Edge with brown ink. I used Scorched Timber Distress Oxide.

Step 2: Cut a coordinating paper to 8 ¼” x 5”—ink around the edges. Add glue to 3 sides of the bauble piece, then adhere it to coordinating paper to create a pocket. Edge with Gold Metallic paint using a small piece of sponge.
Cut the Christmas Bauble Page out of Gold Card. Glue the waste dots into the open dots on the bauble on the wallet, as shown.
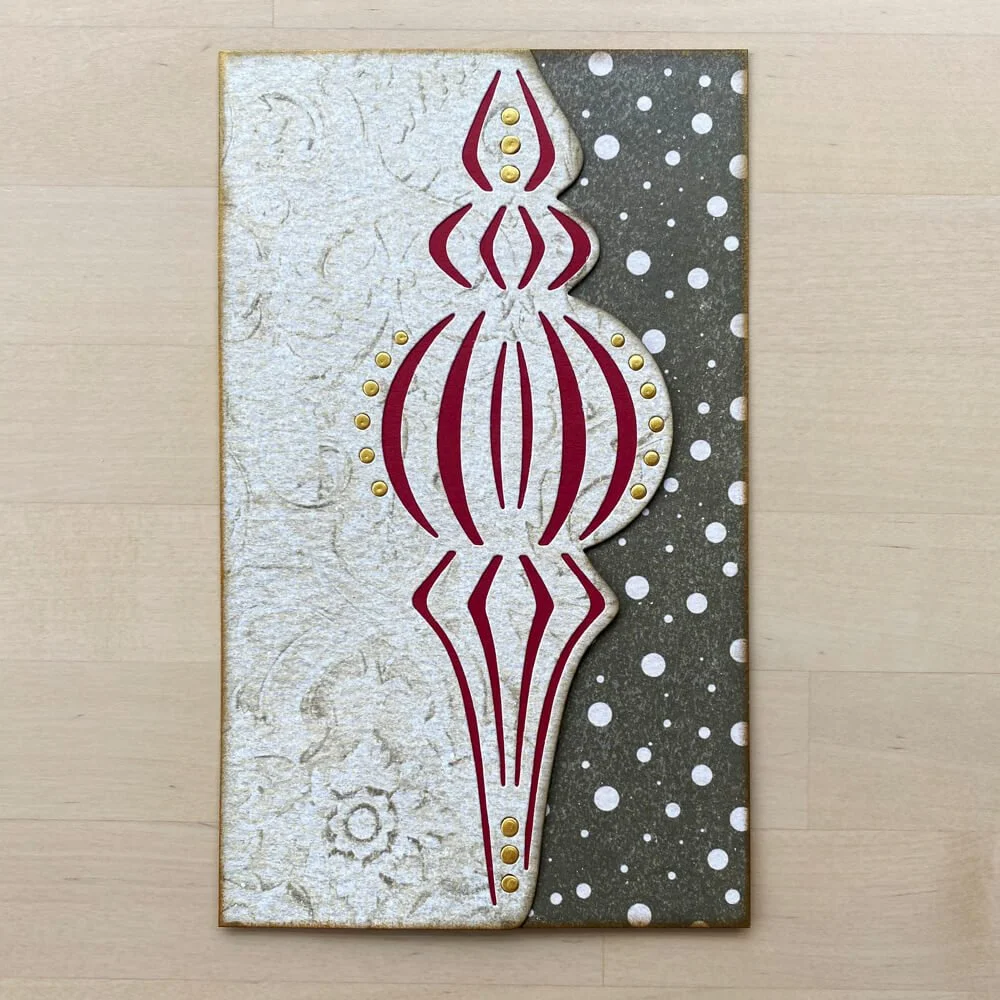
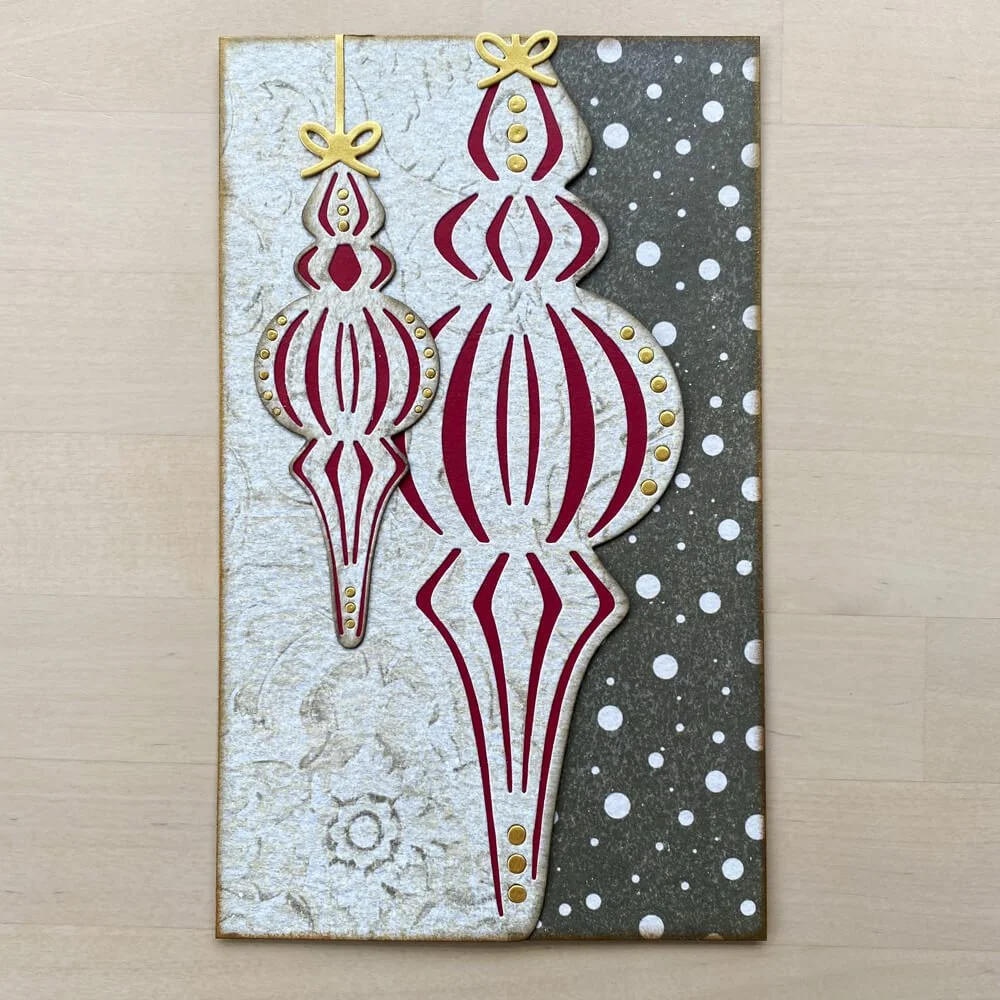
Step 3: Cut the largest of the 2 separate baubles in the set out of the same paper used for the bauble page. Using the waste from this cut, draw around the shape onto red card and cut out on the line this time. Glue to the back of the die-cut bauble—edge with brown ink. Cut the same bauble out of Gold Card and add the dots from the waste to the bauble as before.

Step 4: Glue the bauble to the front of the pocket. Cut the ribbon die out of Gold Card twice and add the baubles. Trim off the excess.
Step 5: Add some Double-Sided Adhesive to some gold card, then cut the trio of trees and the word CHRISTMAS from the Take Away Cup set. Add these to the wallet. Then cut the little stars from the set out of red card and add a star to each of the bauble ribbons and both sides of the word CHRISTMAS.
Why not make a coordinating card using the same techniques, too? My finished card measures 4” x 7 ¼” and fits inside the wallet, but it will also fit inside an A5 envelope.