Do you have an overwhelming stash of tiny paper scraps and ephemera you just can't bring yourself to throw away? In this tutorial, learn how to rescue those forgotten paper offcuts and give them a beautiful new life using everyday items from around your home, office, or craft room.
Grab your scrap bin, favorite adhesive, and basic tools, then follow the step-by-step guide and idea list below!
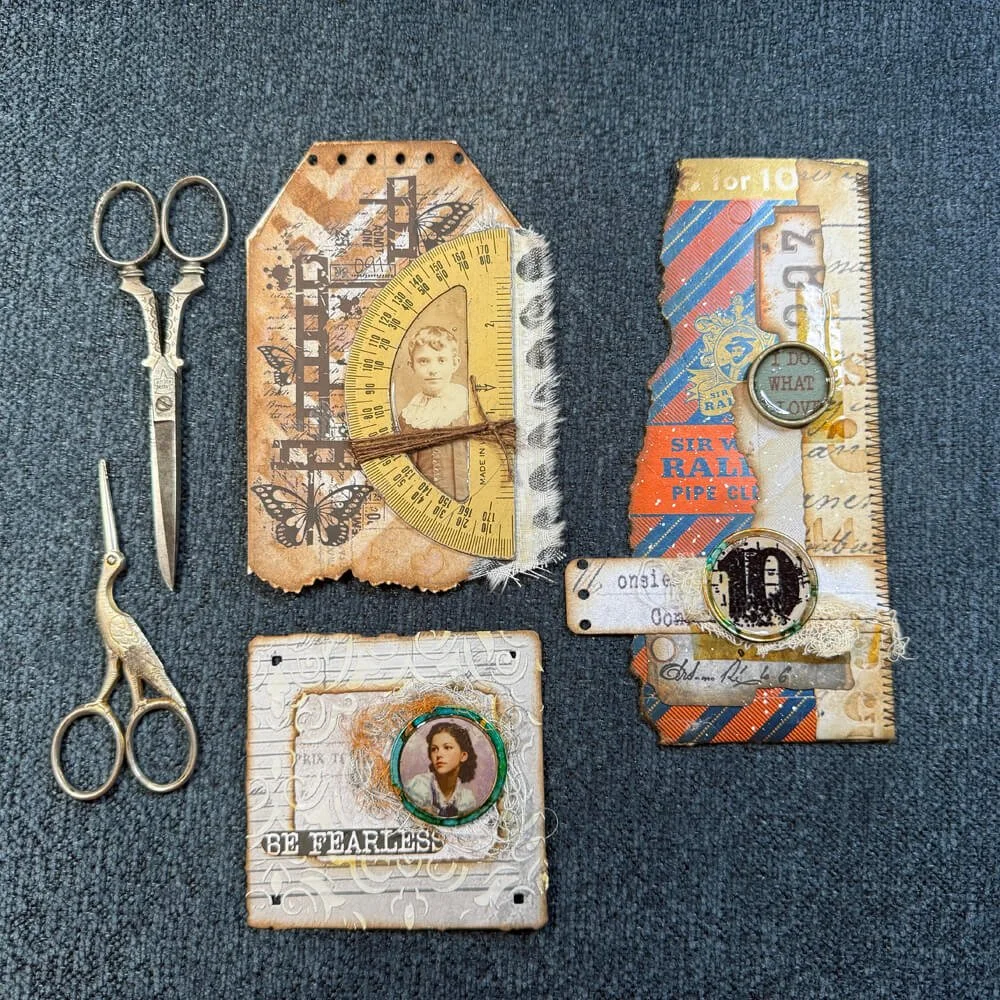
Hello, Janet here. Those small scraps or ephemera can be really overwhelming, right?! We don't want to throw them away because we might need that one piece for a future project. My favorite thing is always repurposing scraps to give them new life! So let me show you how to use them up with things you already have lying around in your office, home, or junk pile!
Follow along with me , and see just how easy this is.
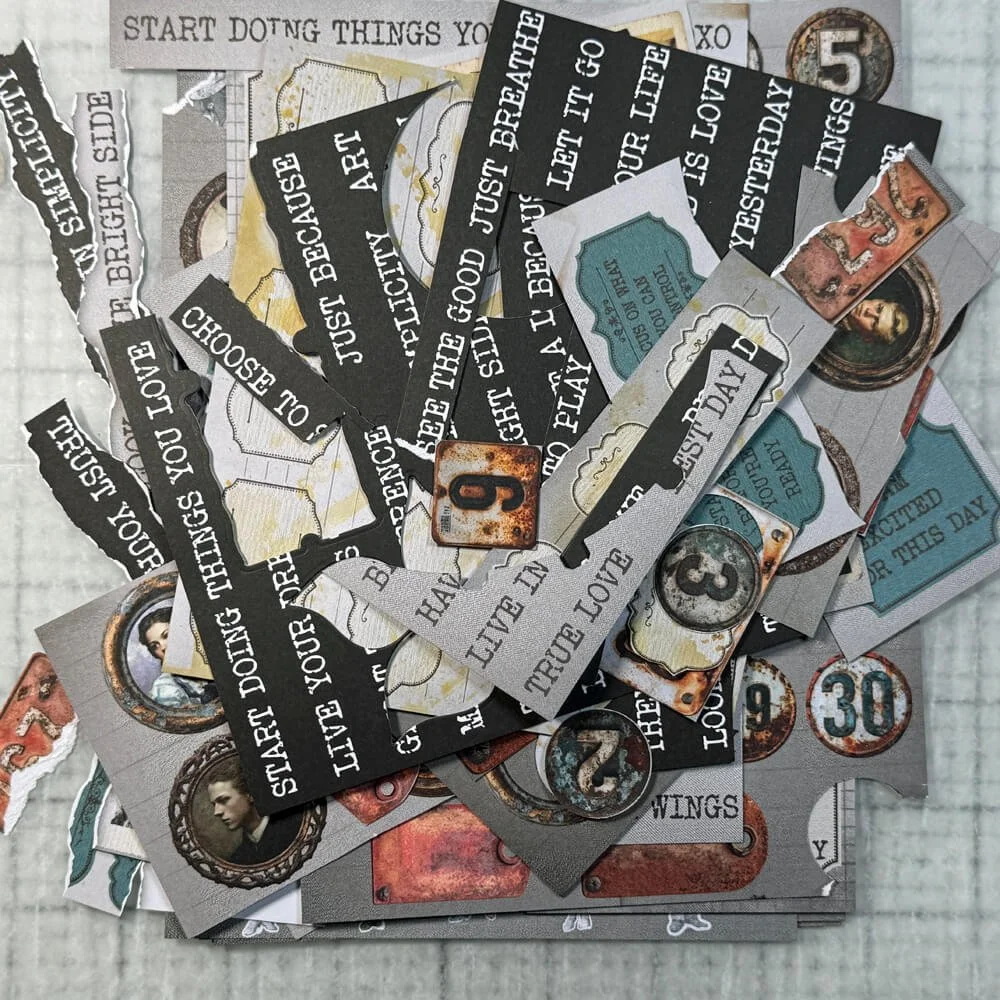
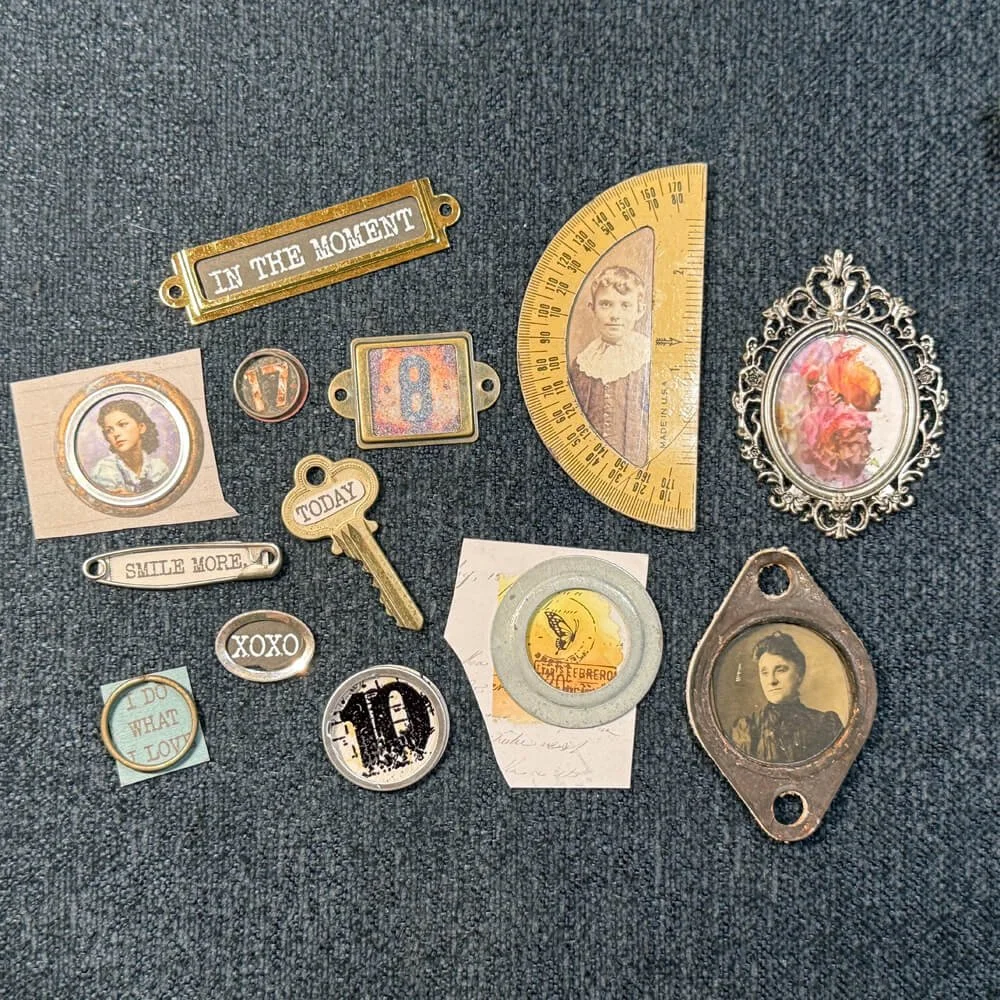
Step 1: I know we all have those leftovers from Devid's or Annette's ephemera packs that we are not really sure how to use. So gather them up along with some metal office supplies or even some discarded junk.
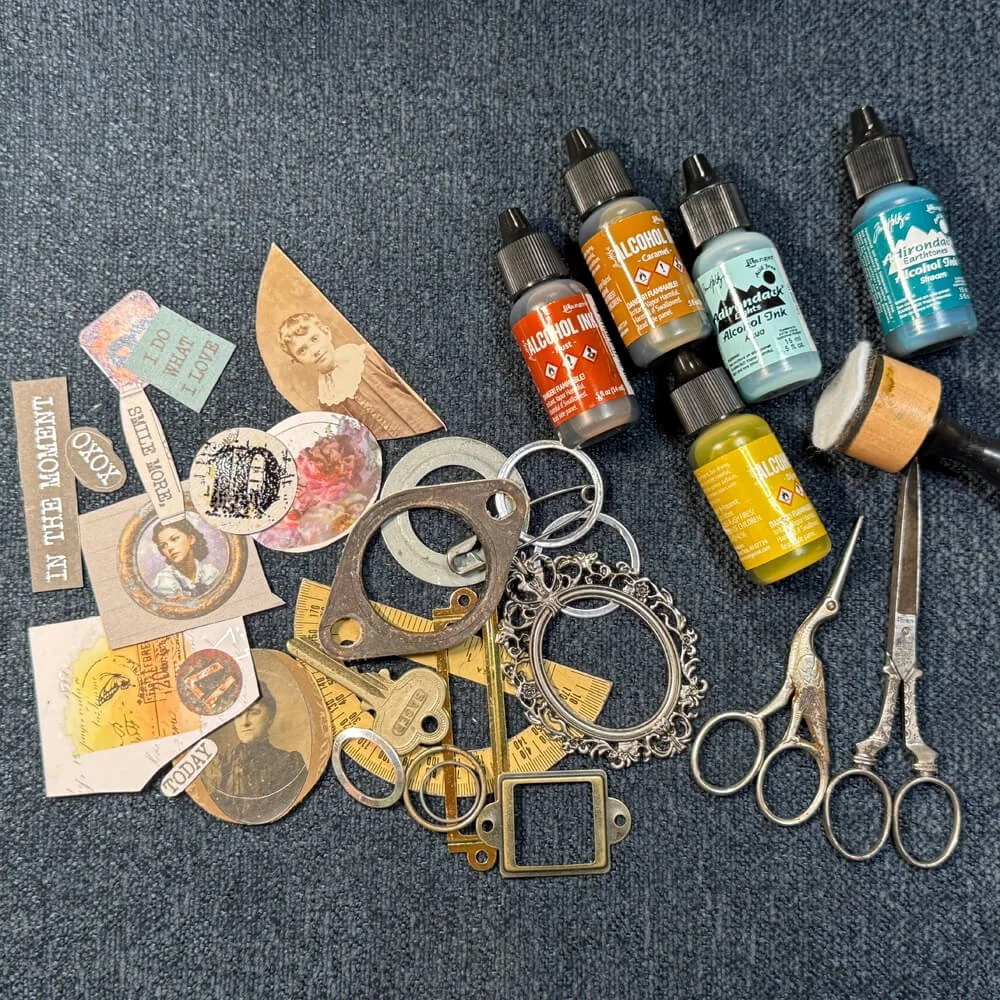
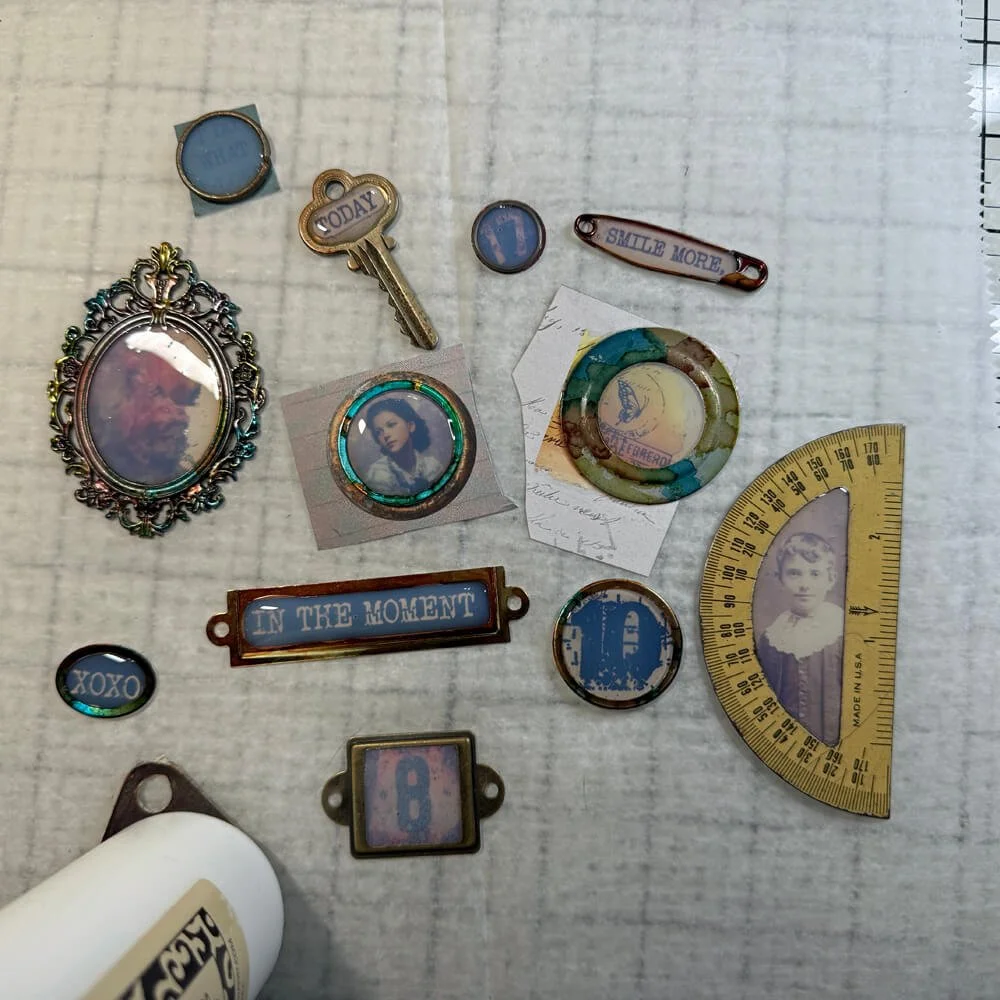
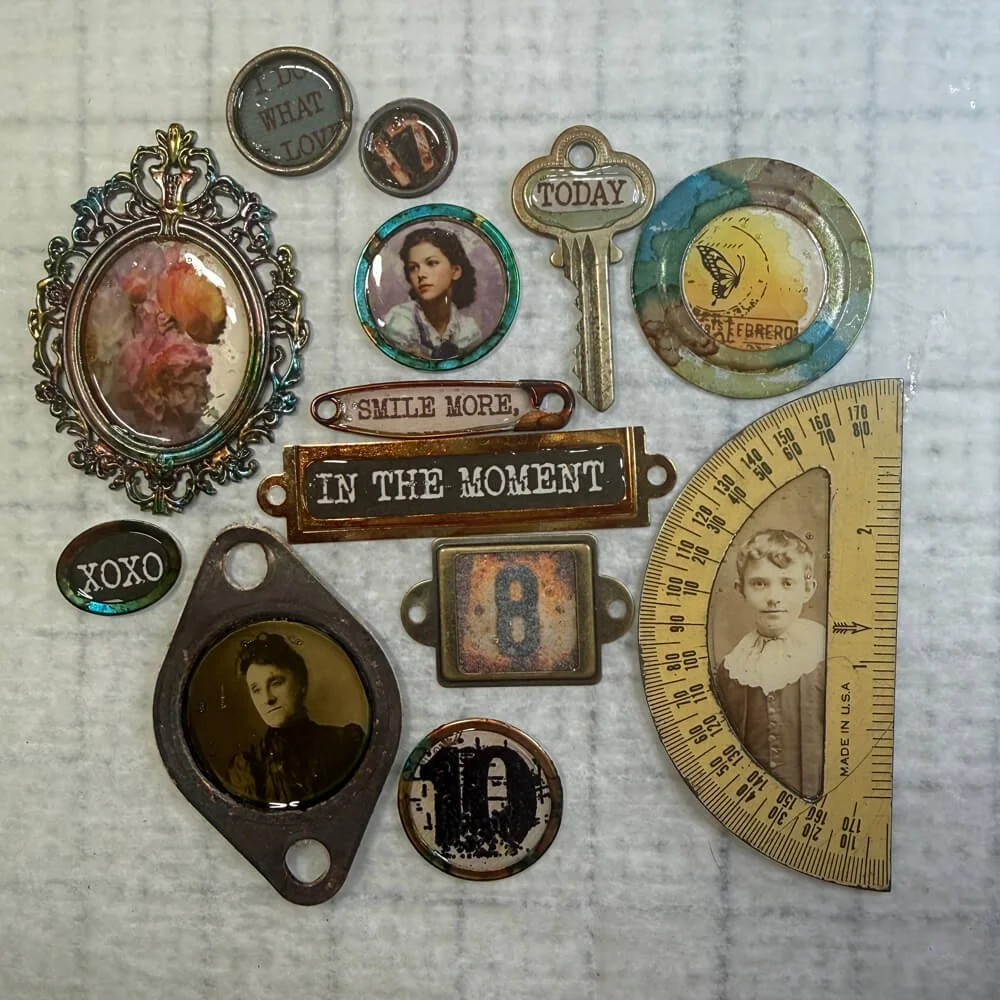
Step 2: I searched in my metal basket and came up with the metal washers, vintage keys, a child's protractor, a label holder, even a fairly clean vintage rubber seal, some metal rings from metal tags, and key ring holders. Anything you have that will hold the Glossy Accents is good. If some of those metal pieces are not the correct color, find your Alcohol Inks, felt, and dauber, and we can change that. (If you don't have the felt & dauber, that is ok; use what you have!) I even pulled out some leftover rub-ons to use under a metal washer.
Step 3: At this point, the hardest part is deciding what ephemera goes under the metal bits, whether it is a word, photo, or rub-on, or a stamped & embossed number. I even used the WOW Embossing Powder Sheen on a #8 to give it a really soft look. Cut those pieces down to overlap the openings on your metal pieces just a bit so that the Glossy Accents fills and seals the space. Glossy Accents is a quick glue also! There were 3 pieces I waited to trim after the Glossy Accents cured, to trim the paper. I wanted a good seal!
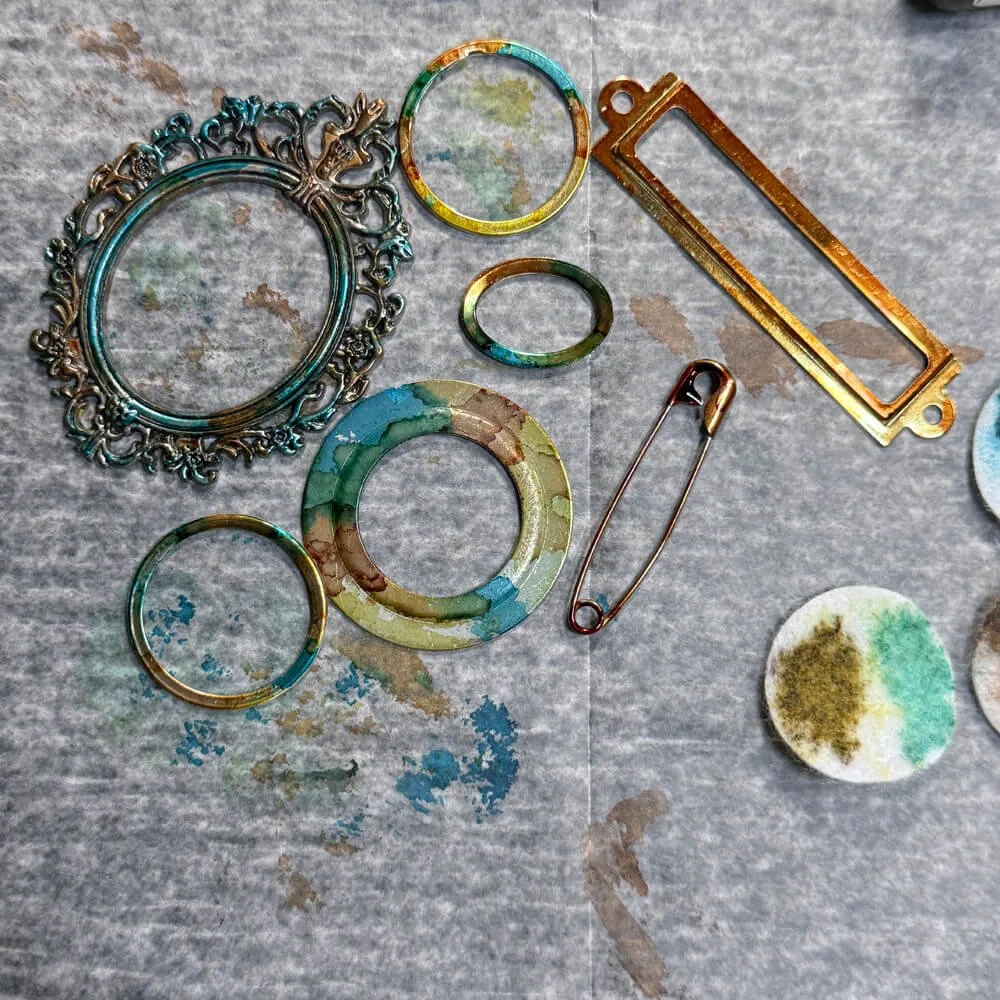
Step 4: At this point, I want to ink up those metal pieces that seemed a bit too shiny with Ranger Alcohol Ink. Any alcohol ink will work. I started with my lightest color and worked my way to the darkest. These are your pieces, so you get to decide the colors and how heavy-handed you go with the alcohol ink. If you do not have a felt piece and dauber, just drip the color on, and it will work. To lighten colors, you can always add Isopropyl alcohol to lift color. Let them dry for a few minutes.
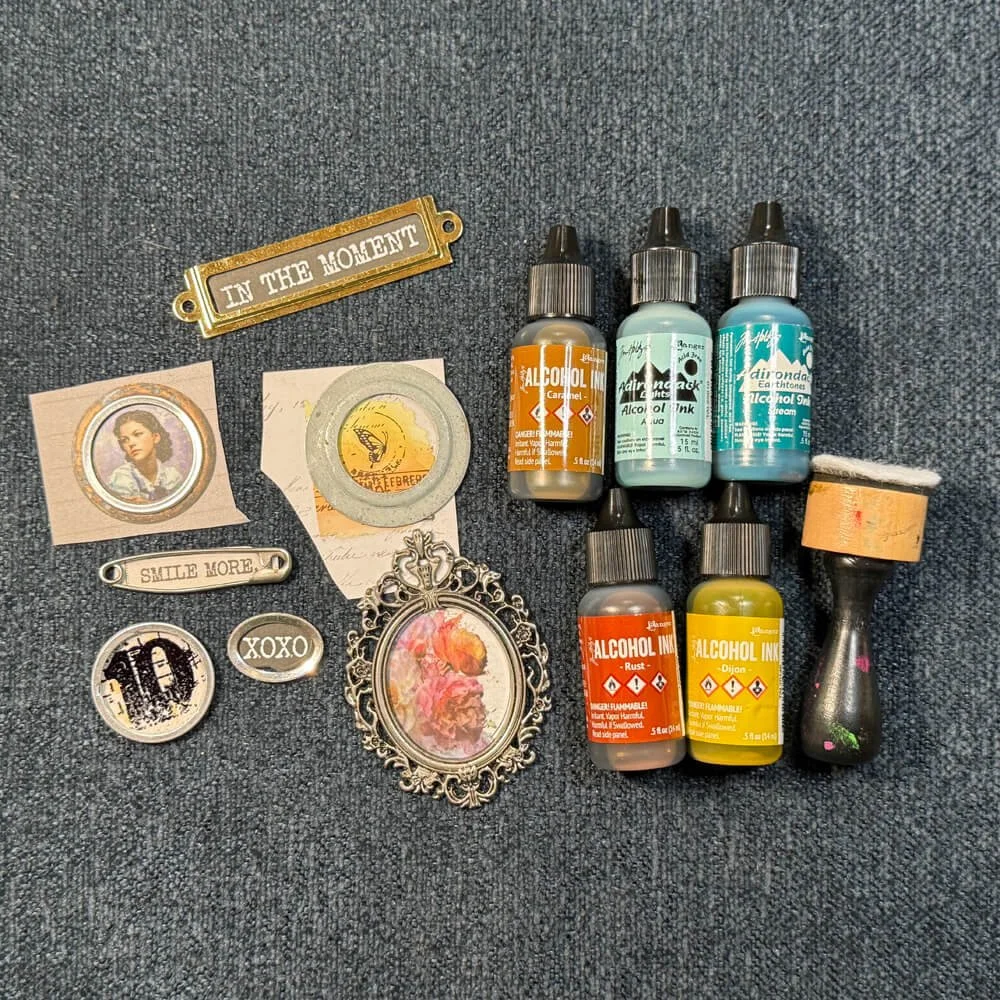
Step 5: Trim the paper close to the metal first to help seal up the gap so there will not be any spillage, especially if you have a metal drawer label holder. For example: 'In The Moment' piece, I trimmed the paper just so that it would fit nicely and flat. For the Ornate frame, I put the rub on a scrap piece of Devid's Backgrounds 5 paper before trimming it just a bit larger than the opening to help it seal.
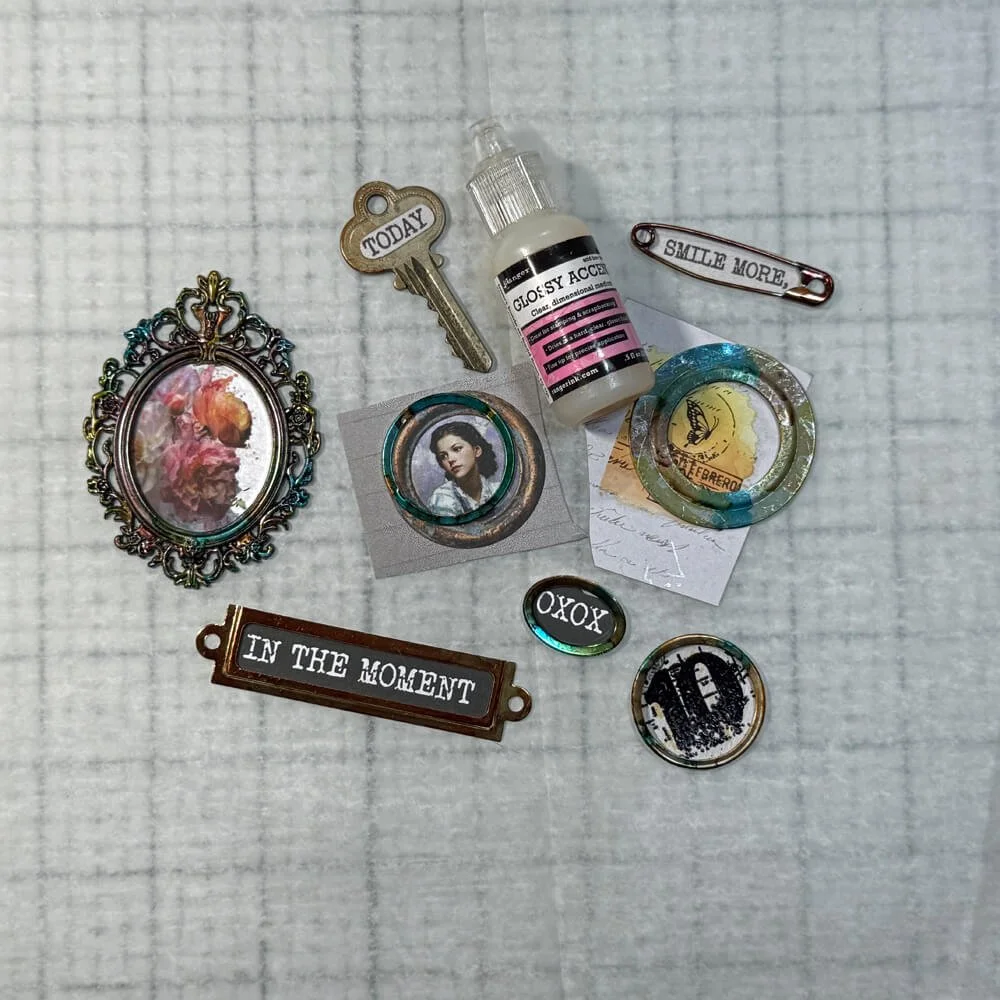
Step 6: I ran a thin line of Glossy Accents around the back edge of the metal piece that held the paper in place to help seal it before I added the main Glossy liquid to the front. Just an added step, but it does help with not-so-flat pieces like the safety pin.
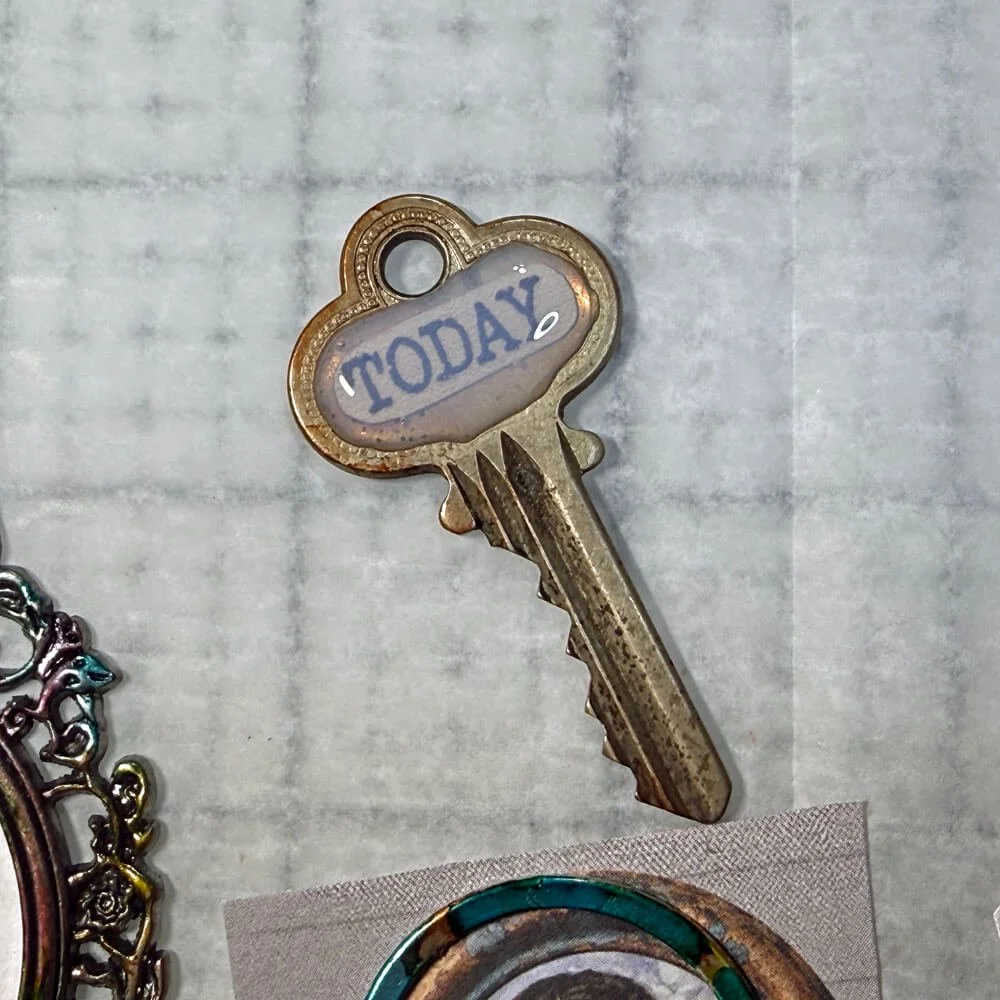
Step 7: This is where the fun begins with Glossy Accents! It is a self-leveling medium, a fairly thick one at that! So don't worry about it running off the edge. As with this key, I adhered the word 'TODAY' down with a very small drop of Glossy Accent, then covered it to fully seal it to the vintage key. I loved the natural darker coloring of the key so I didn't add anything else. Glossy Accent goes on cloudy but dries transparent like a resin.
Step 8: Adhere all your pieces together and top with Glossy Accents.
Step 9: Fully cure the pieces overnight, then trim the paper if needed.
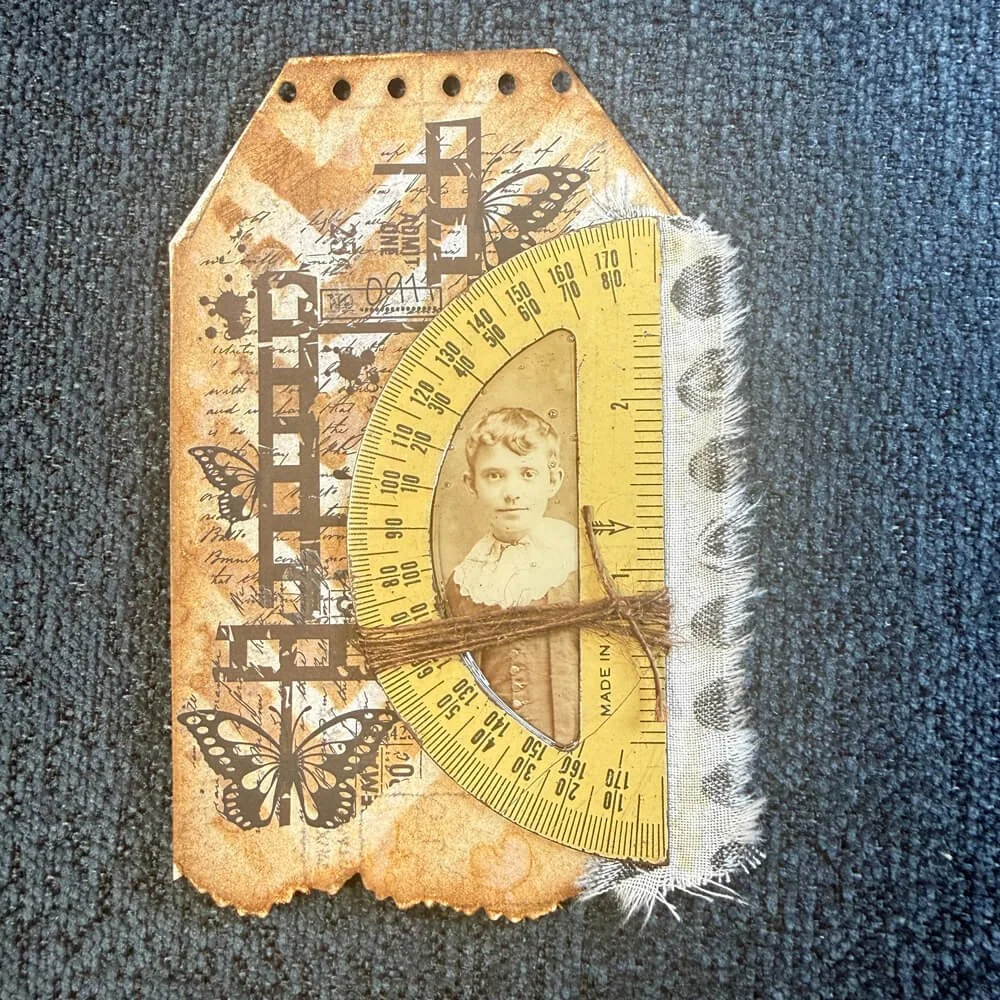
Now use the brand-new ephemera pieces to make new ephemera such as tags, or use them on journals, or cards, or whatever! I know I will have tags and tuck spot pieces already made for future journals! Hope this has inspired you to look at your supplies a bit differently and with new life and purpose! Take care!
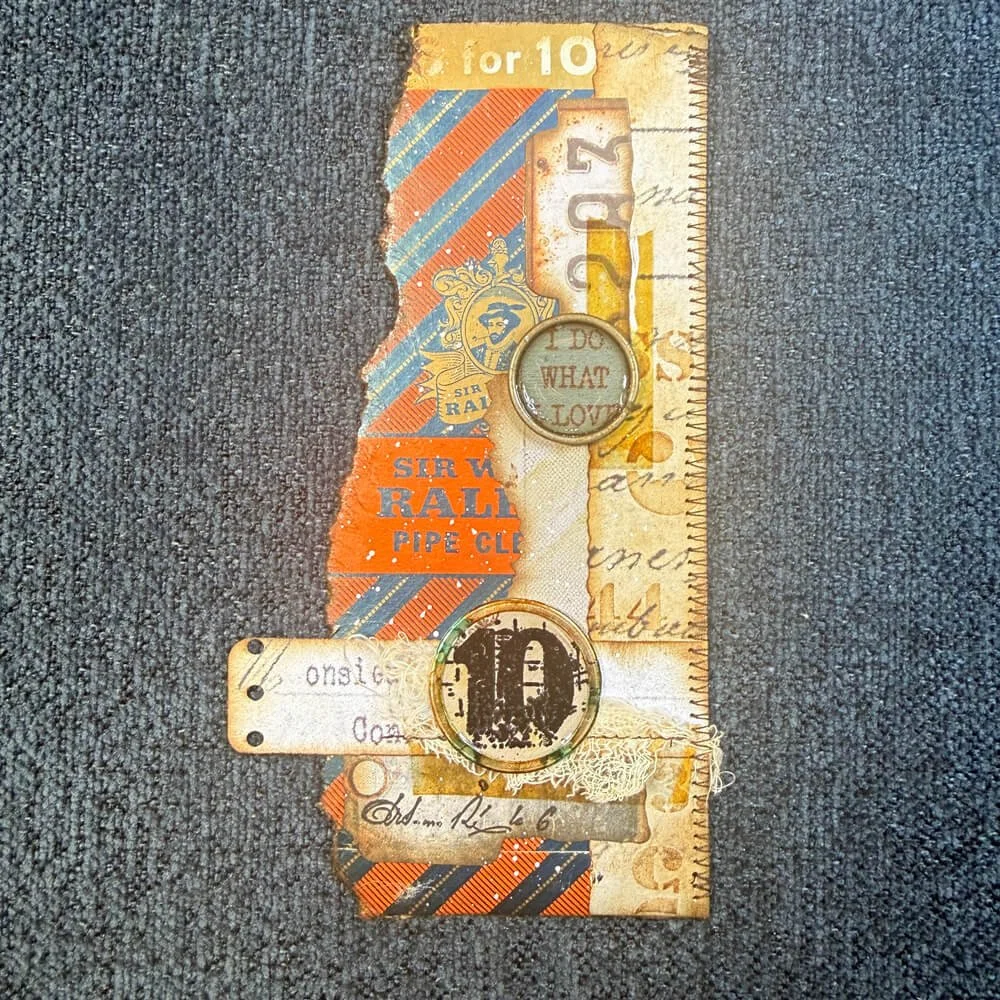
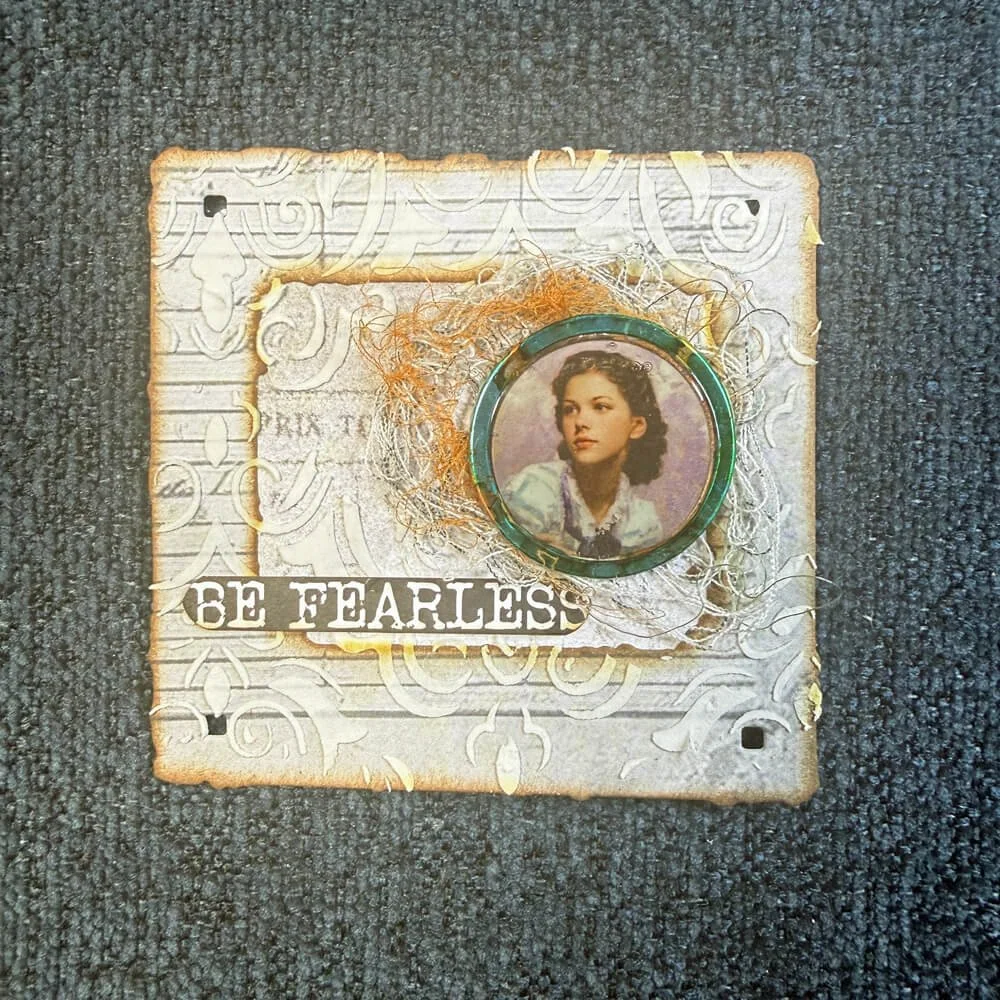
Make sure you share your projects with us in our Facebook Group HERE. We love to see what you create!
Never miss a tutorial and sign up for our emails today HERE.
Elizabeth Craft Designs Products Used:
Notebook Fragments Die (2368)
Where Wings Wander (CSD456)
Stamped & Worn (CS457)
Layers of Time Rub Ons (R001)
Journal Stencil 11 (S061)
Journal Ephemera 2 (PS04)
Backgrounds Volume 5 Paper (C044)