
Are you looking for vintage mixed-media inspiration, or do you love creating rich, textured insert cards to tuck into your handmade folios? In this tutorial, you’ll learn to combine textured stencil paste, ink distressing, and botanical elements to build your own multi-dimensional backgrounds with the new Treasured Layers Collection by Art Journal Specials and Elizabeth Craft Designs that you can use in all your art journal pages.
Grab your favorite mixed-media pastes, blending tools, and vintage ephemera, then follow the step-by-step guide and supply list below!
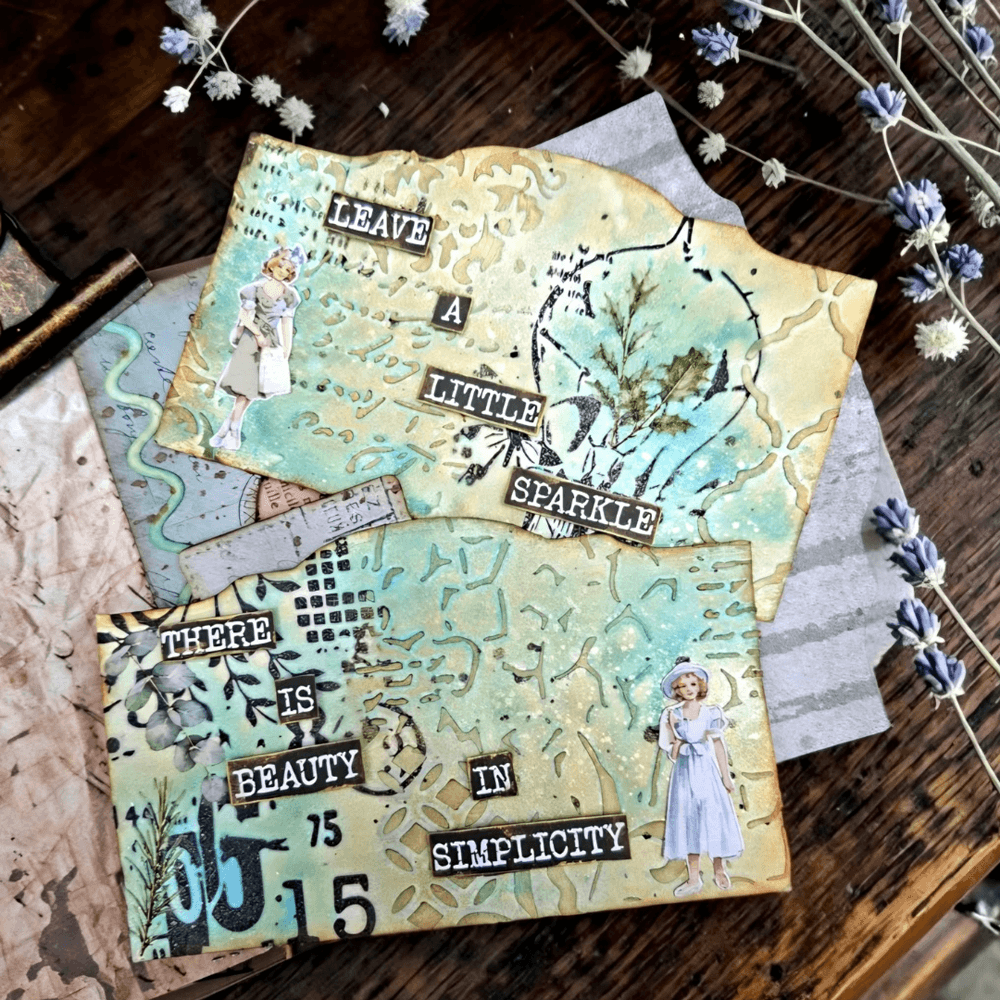
Hi everyone, this is José with a new blog post for Art Journal Specials. In this blog, I'll show you how to create a Vintage Folio page with products from the new ́ ́TreasuredLayers ́ ́ release. Let's get started!
Step 1: First, decide which art journal you want to use. You can create the Vintage Folio in the new Passport Max Art Journal or in the Passport XL. I am opting for the Passport XL Art Journal, so I am die-cutting a base page with the new Backgrounds Volume 6 paper using the page die from the 2403 – Ornate Pocket Ensemble set, as it includes a die that fits the Passport XL Art Journal.
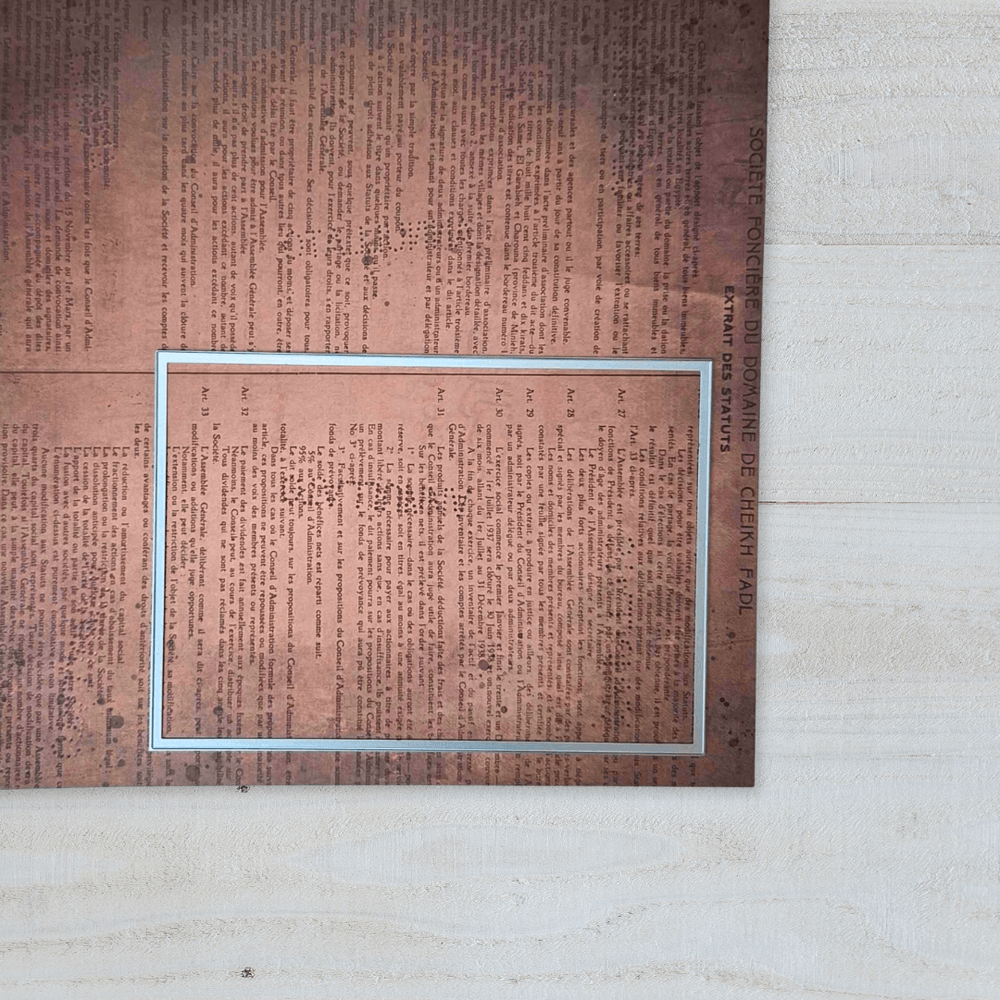
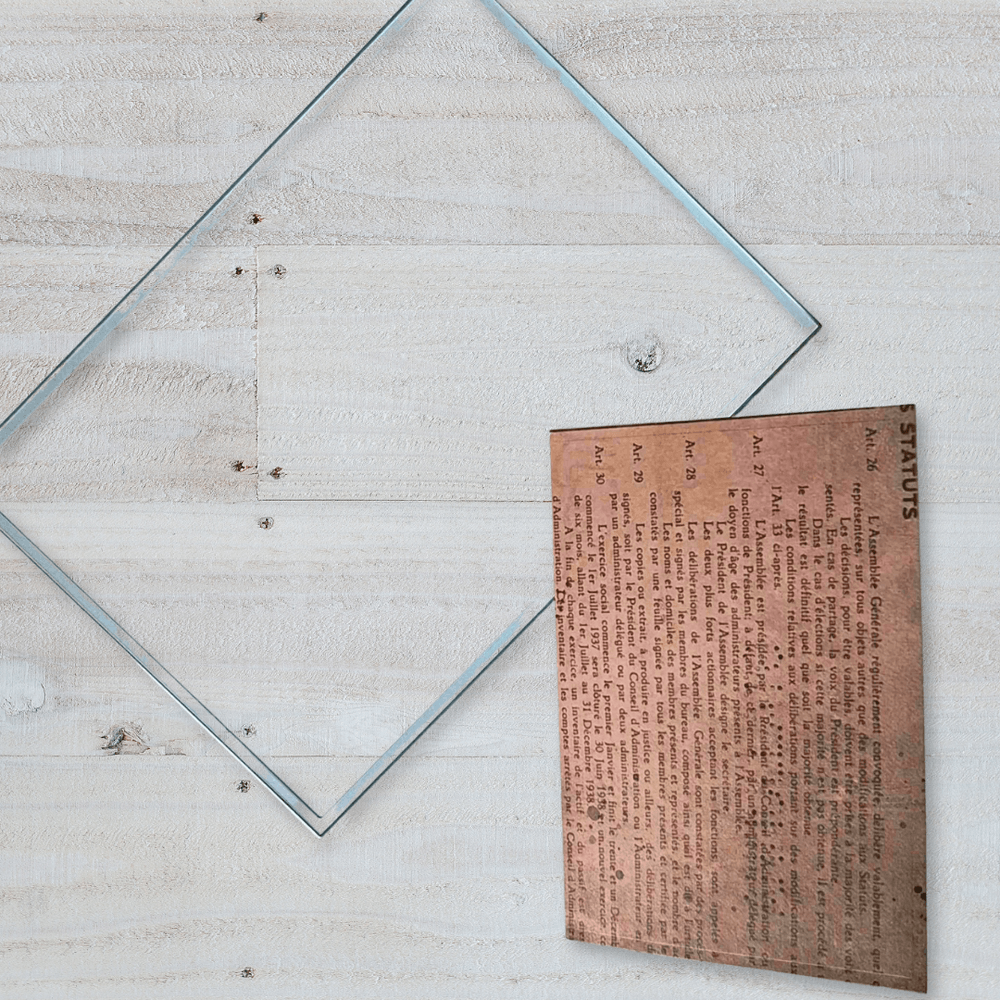
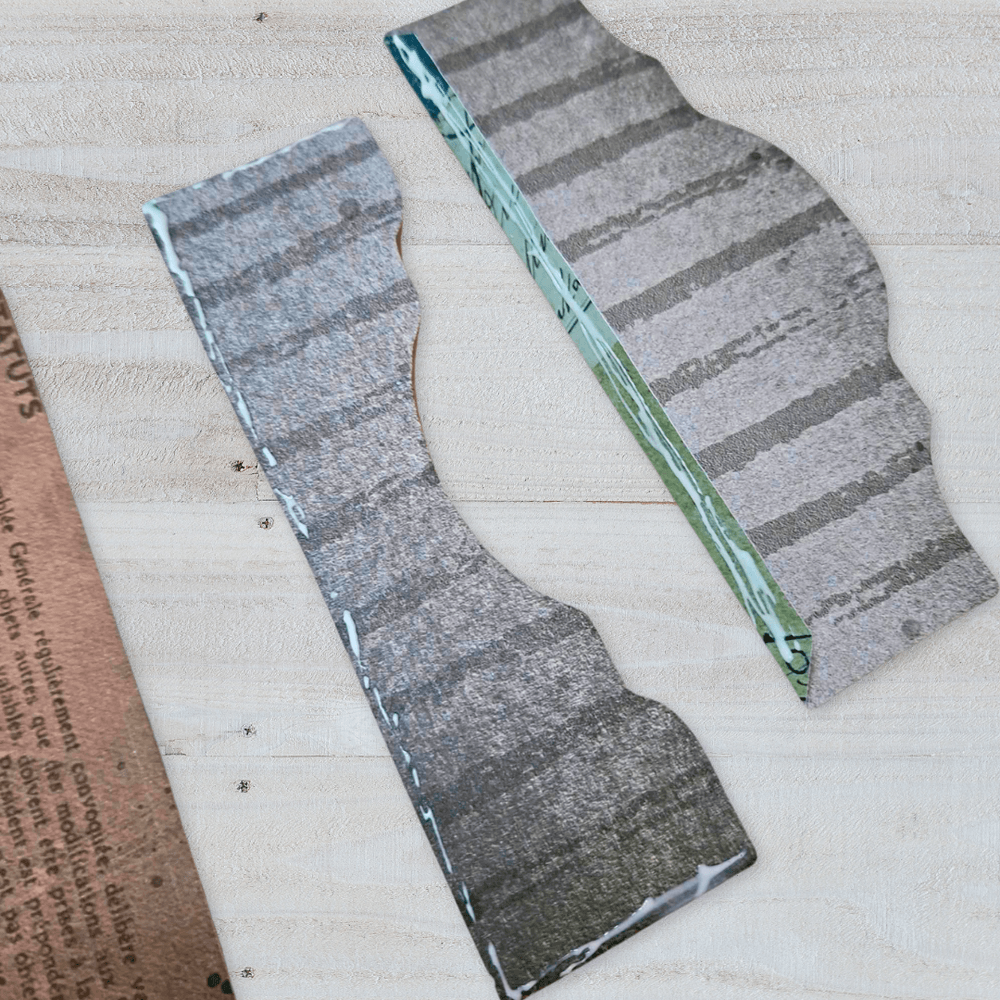
Step 2: I grab the 2404 – Vintage Folio Details set and select the smallest dies for the folio that fit the Passport XL Art Journal. I die-cut these pieces using the new Backgrounds Volume 6 paper. I also die-cut the small rectangle—which serves as the folio's closure—from this same paper. I cut this piece twice (once from the patterned paper and once from thicker cardstock), then adhere the patterned paper version onto the cardstock one to make the closure sturdier.
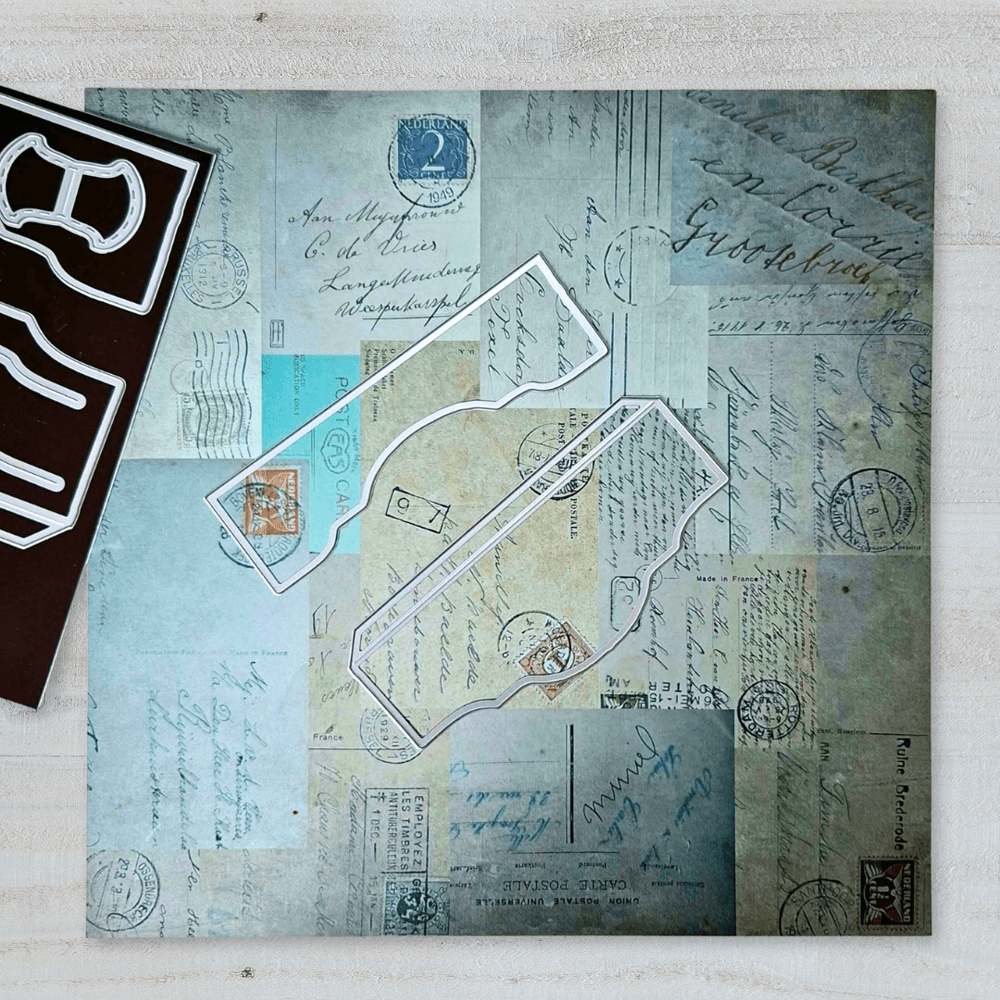
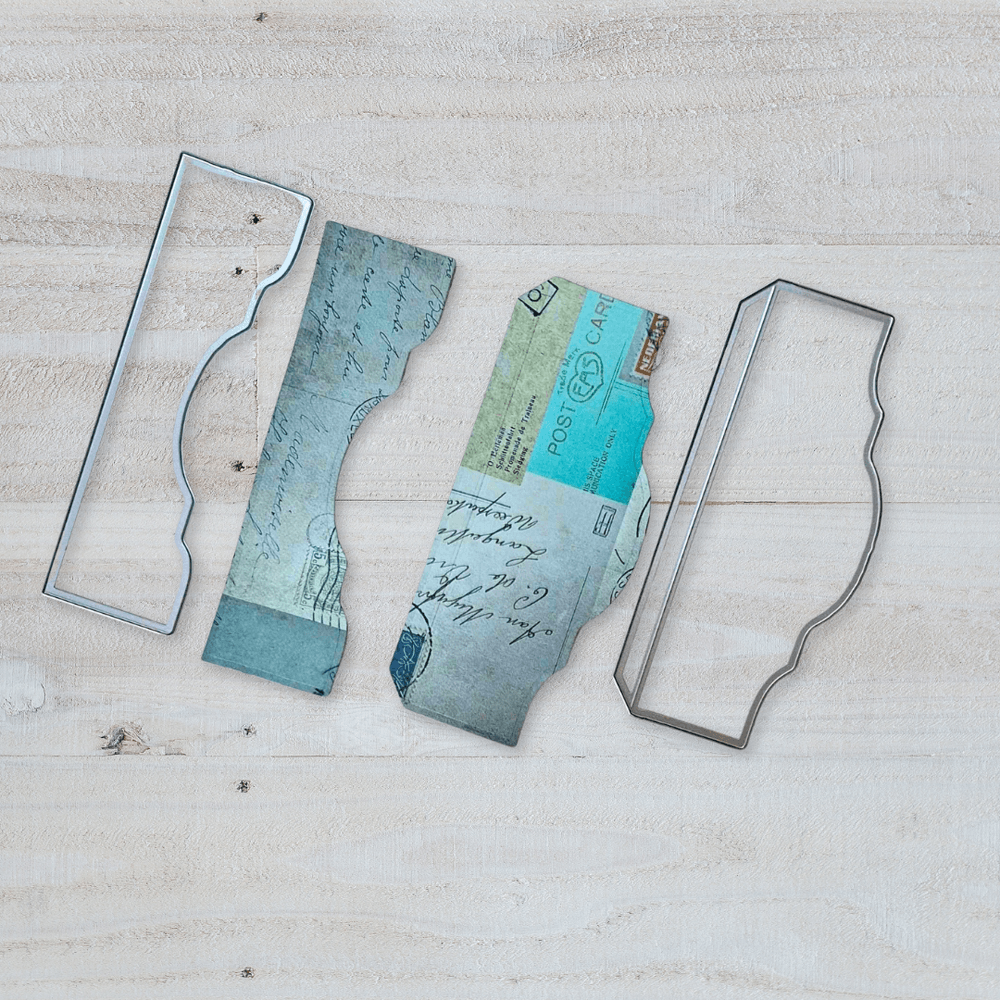
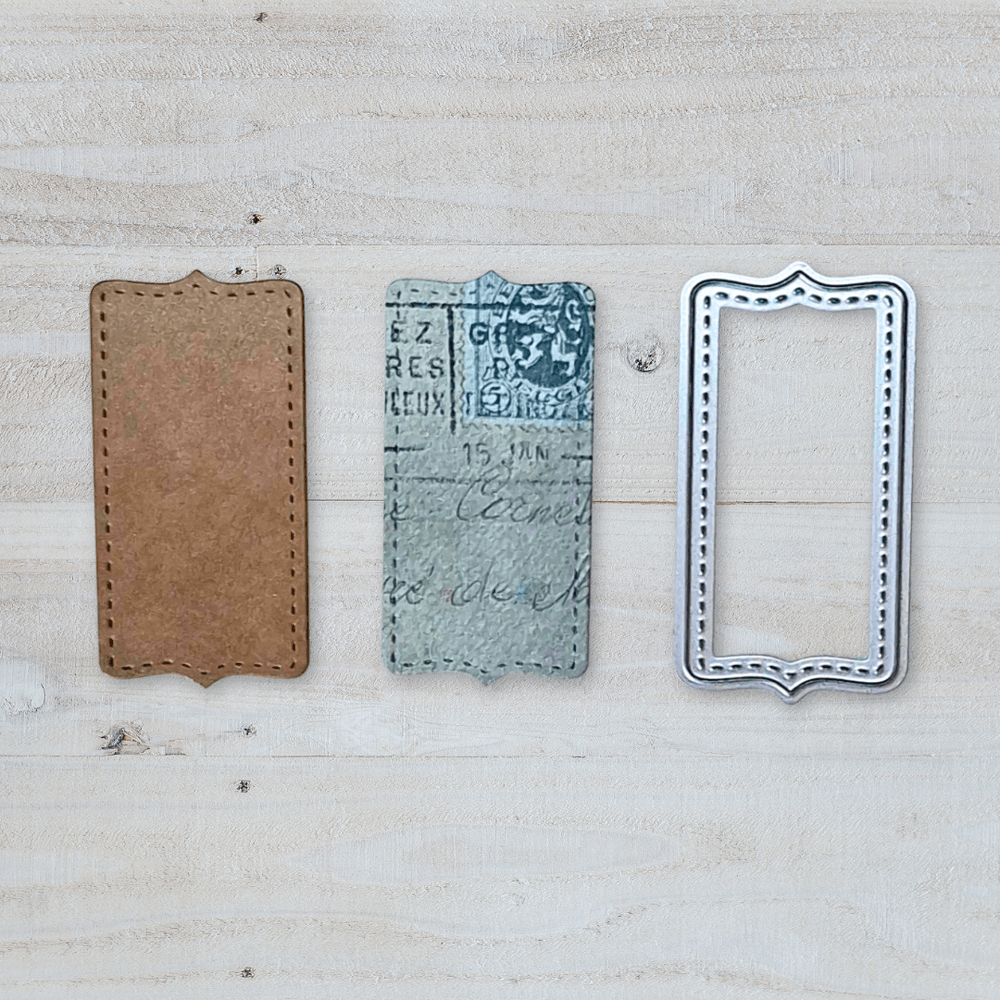
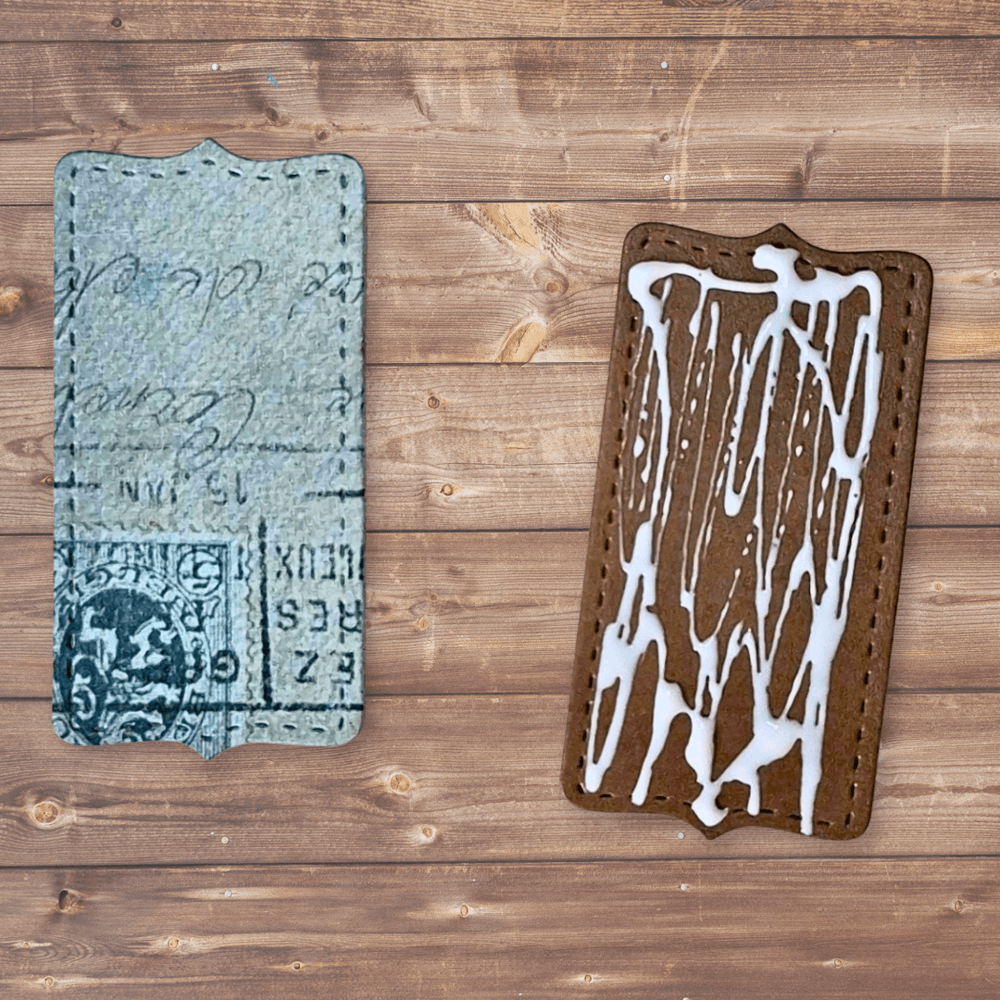
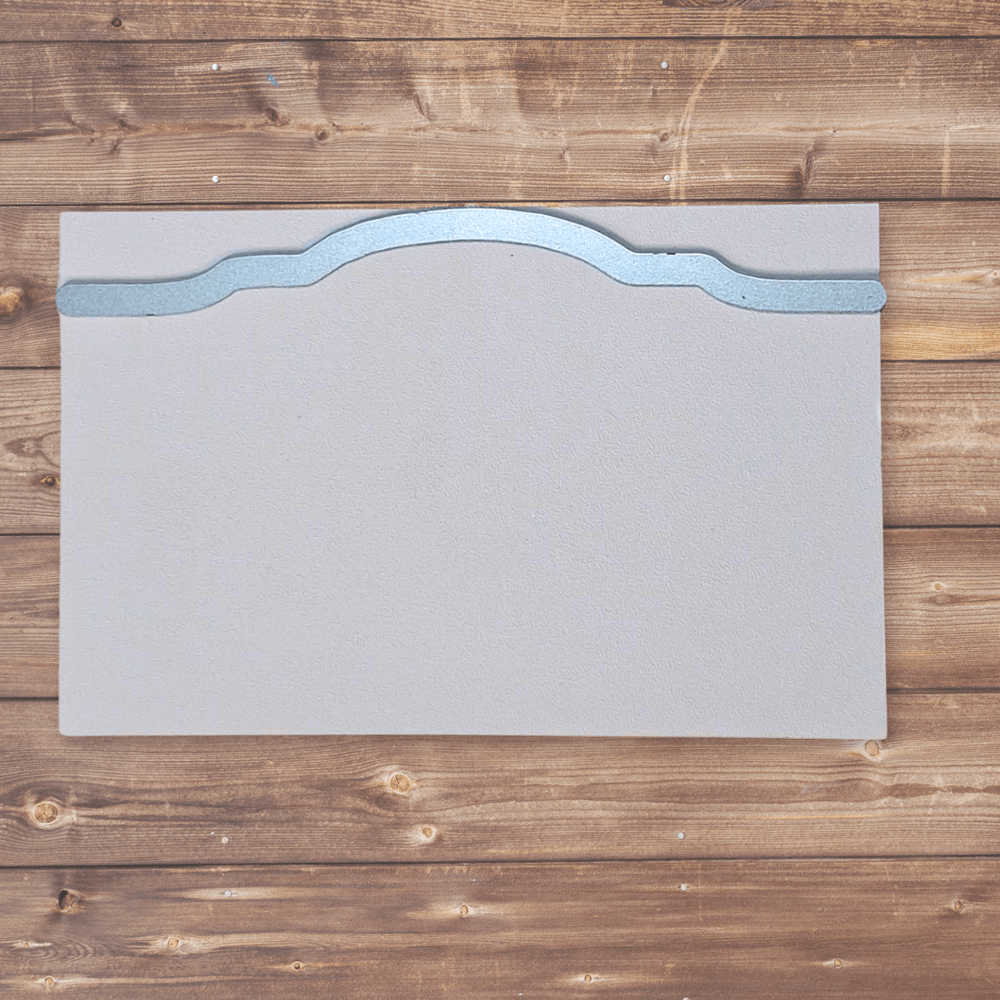
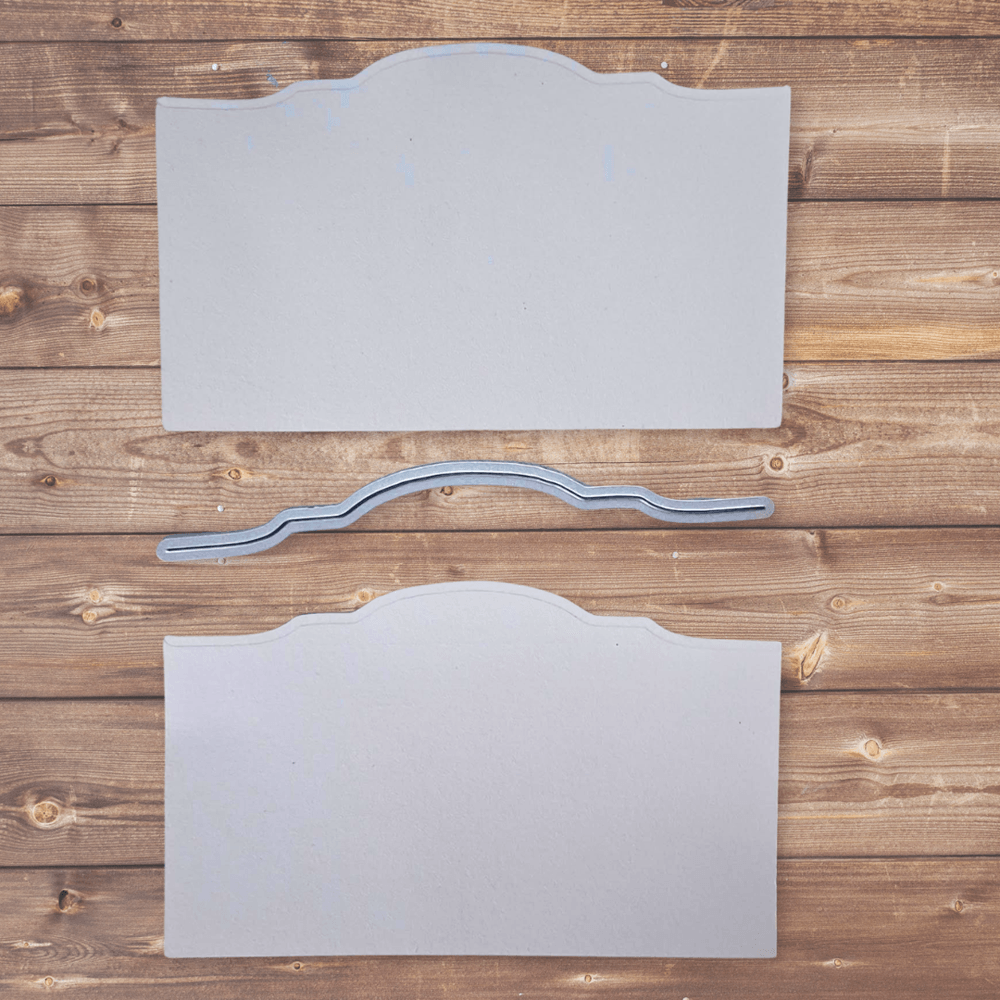
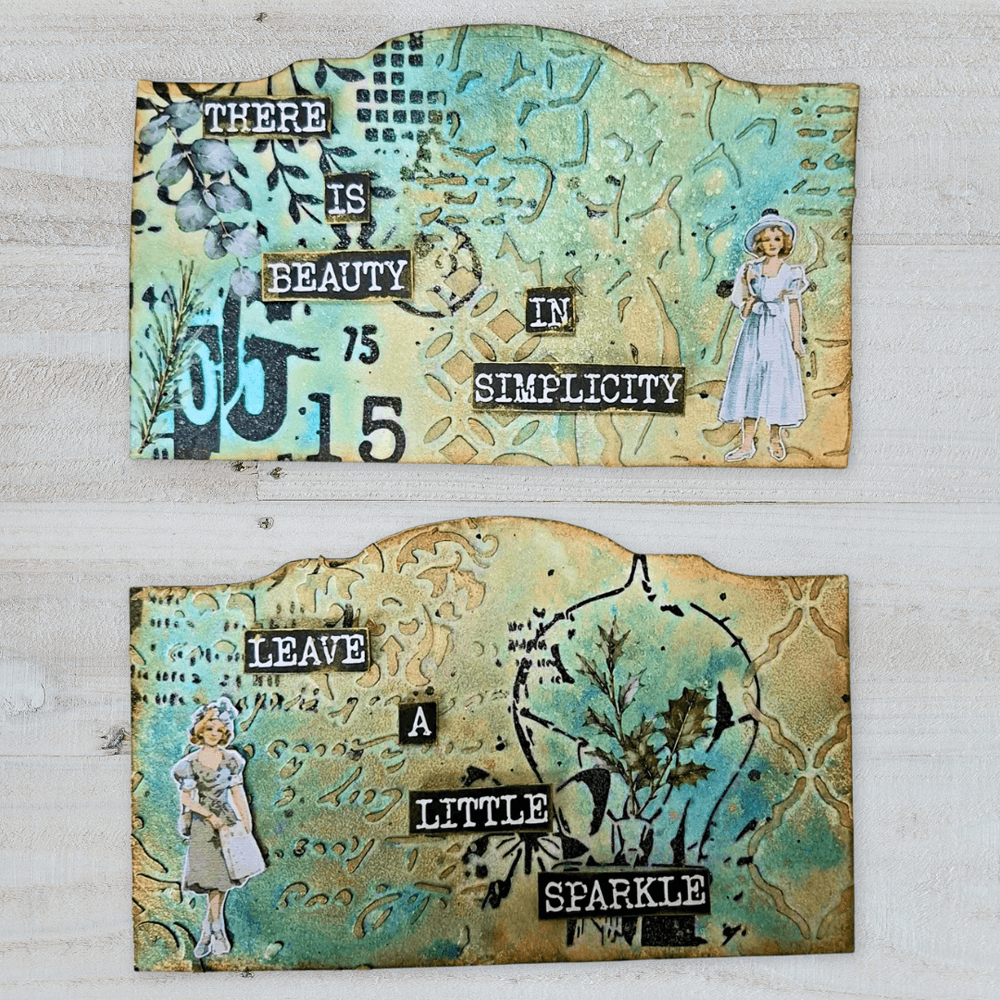
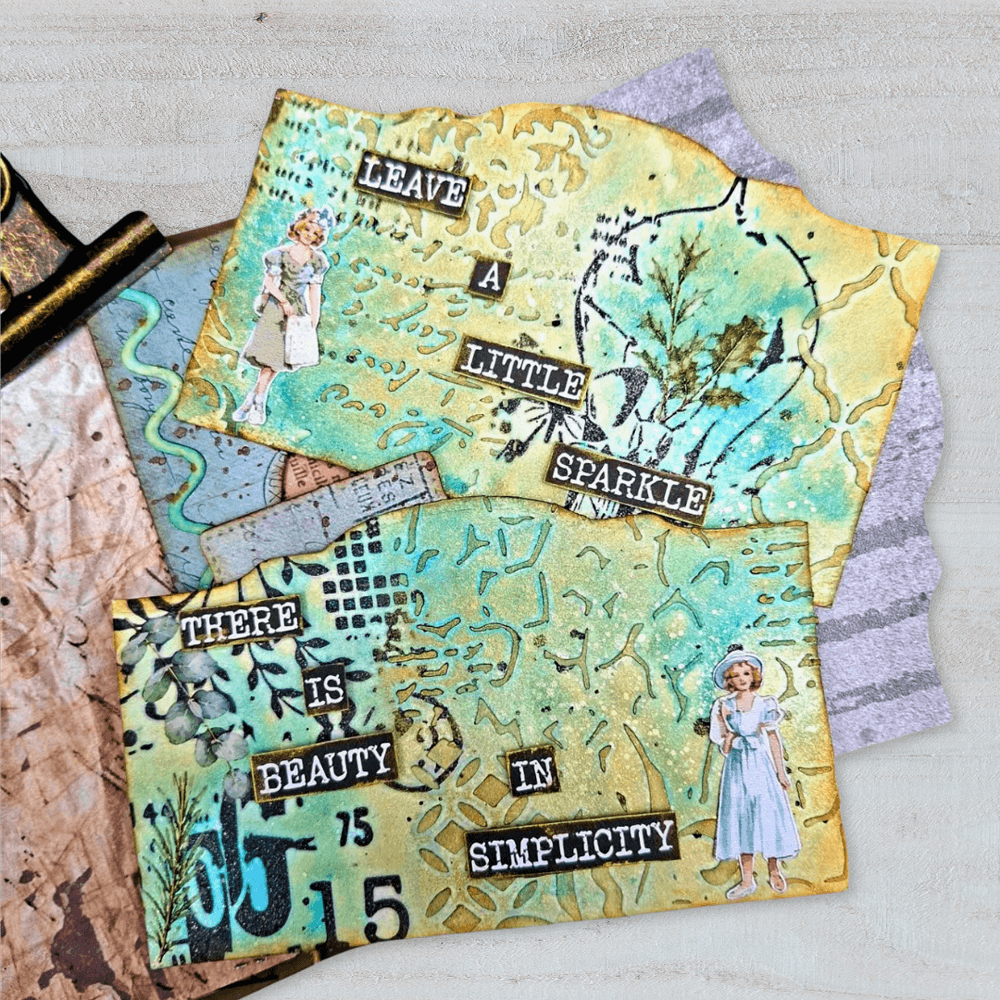
Step 3: I’m going to make two cards for the folio. To do this, I use my paper trimmer to cut two pieces of Soft Finish Cardstock to 14 x 9 cm, then add the lovely decorative edge from the Vintage Folio Details set. This instantly adds a nice touch to your cards.
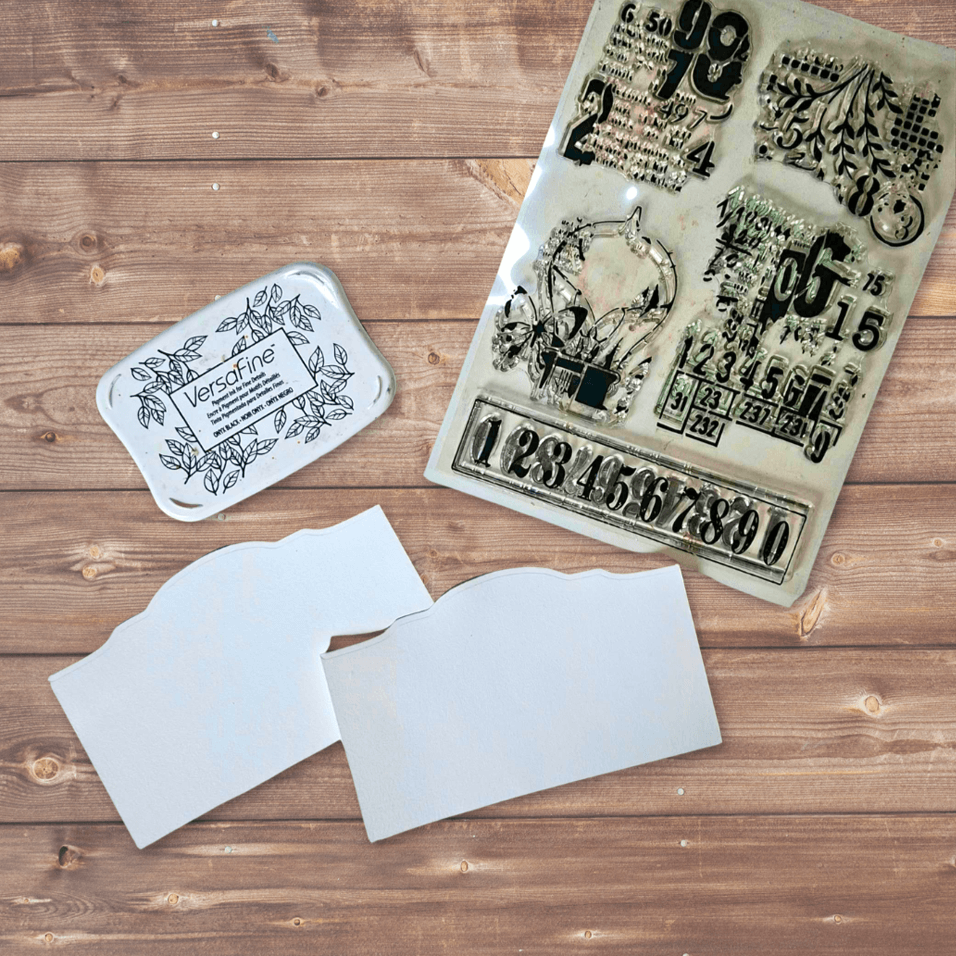
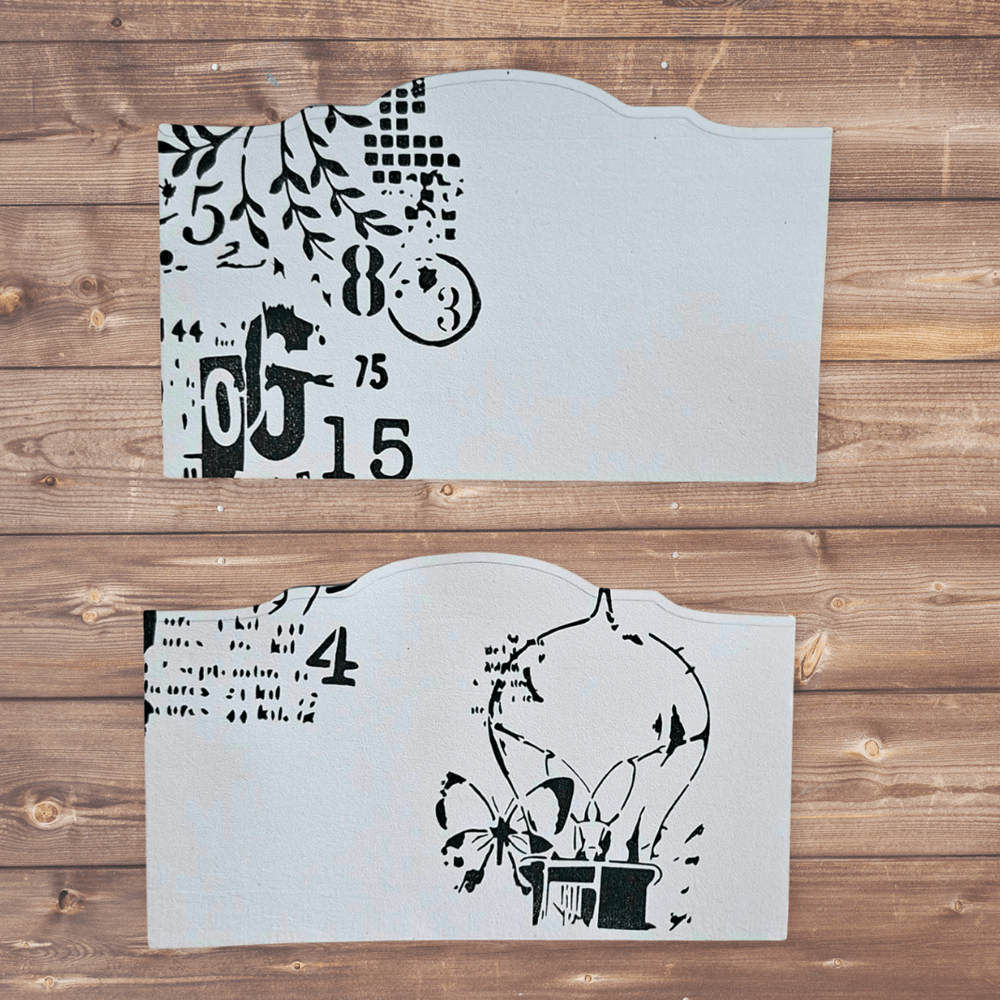
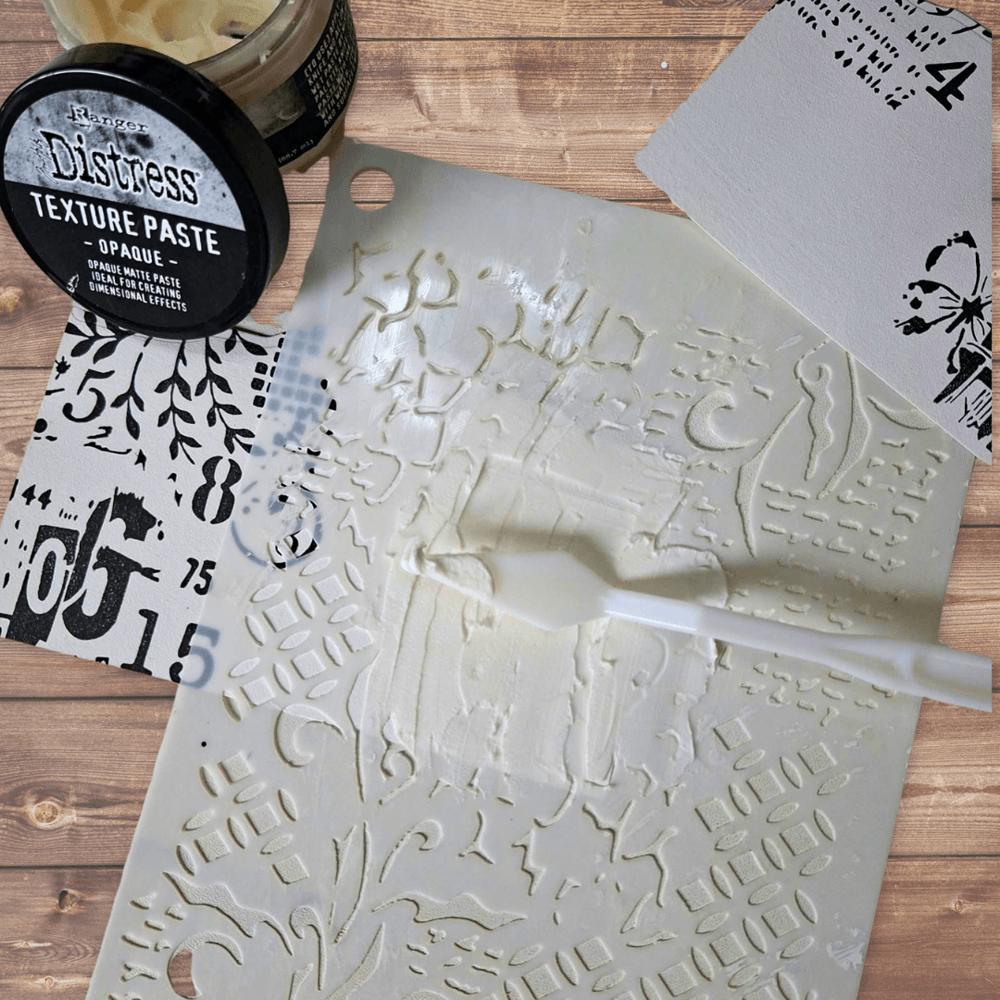
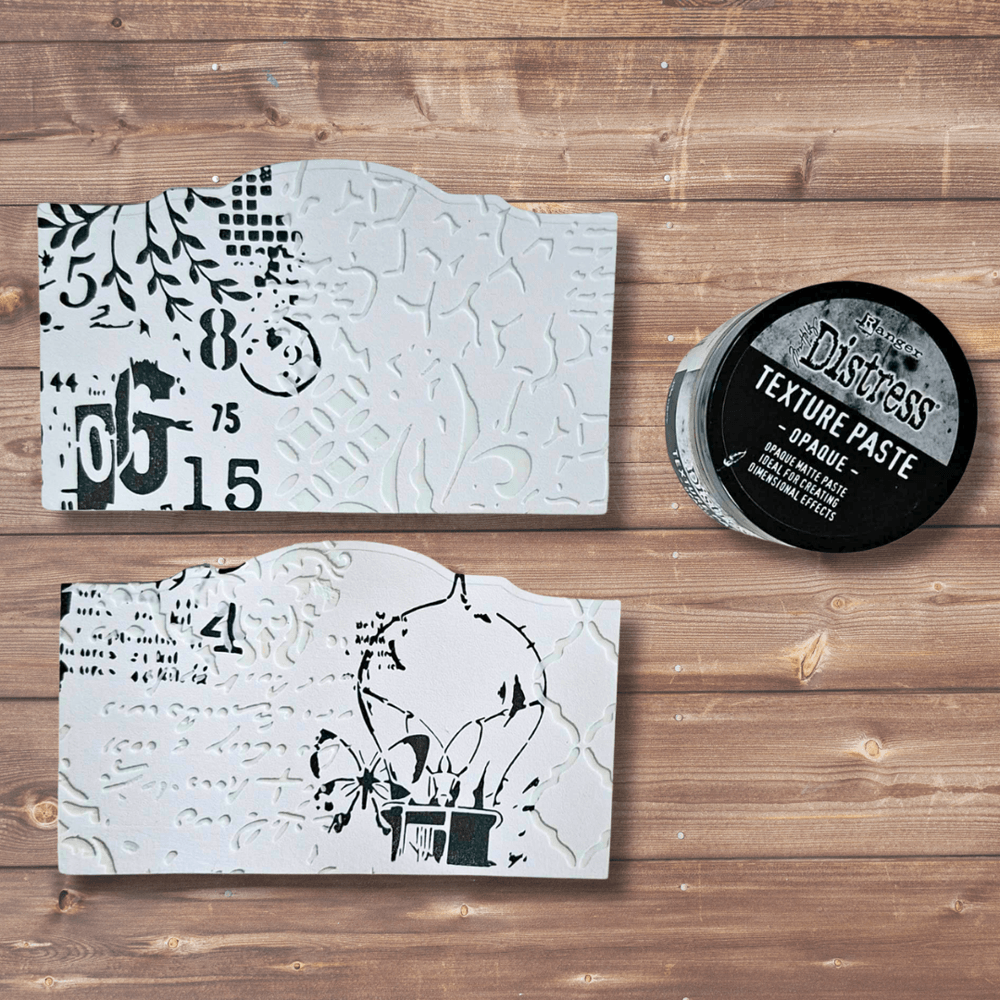
Step 4: To decorate, I start by stamping with the CS470 – Curated Fragments stamp set, using black pigment ink. Next, I create a layer using the new S062 Journal Stencils 12 in combination with Opaque Texture Paste. I keep the layer thin and then let it dry thoroughly.
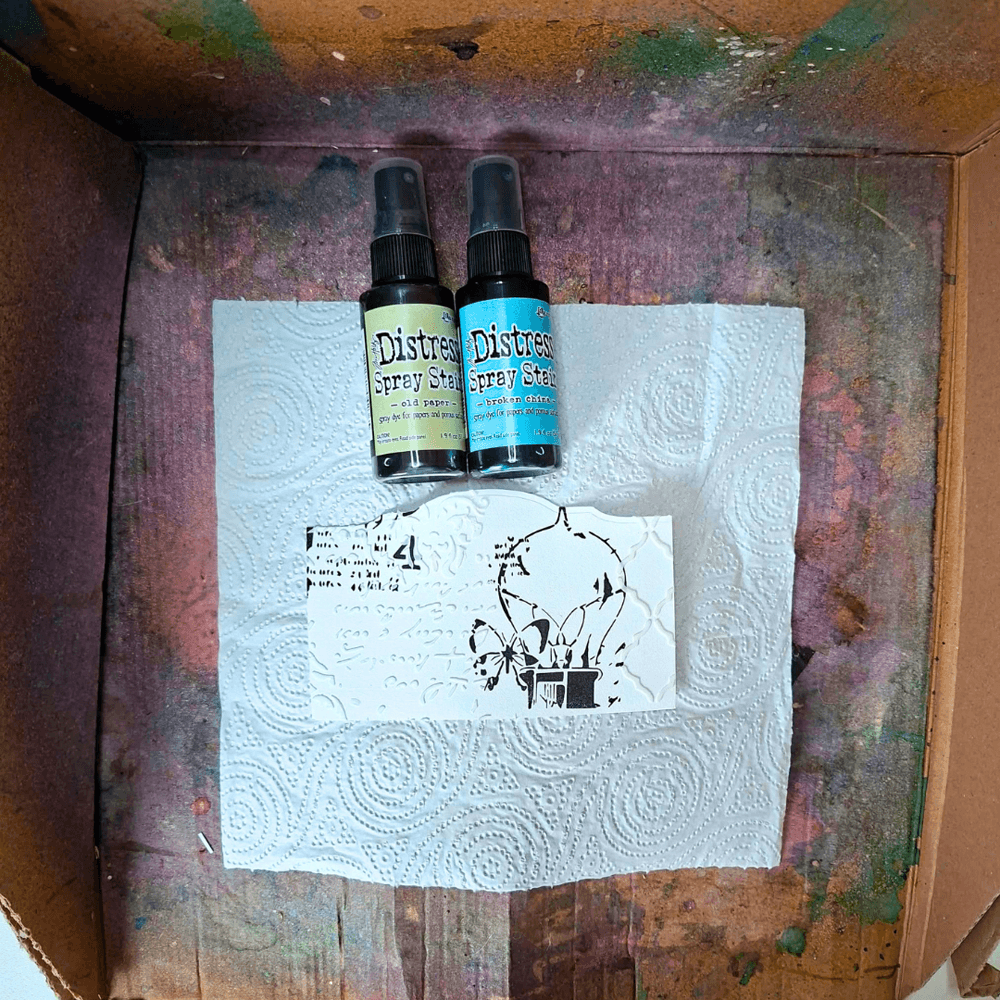
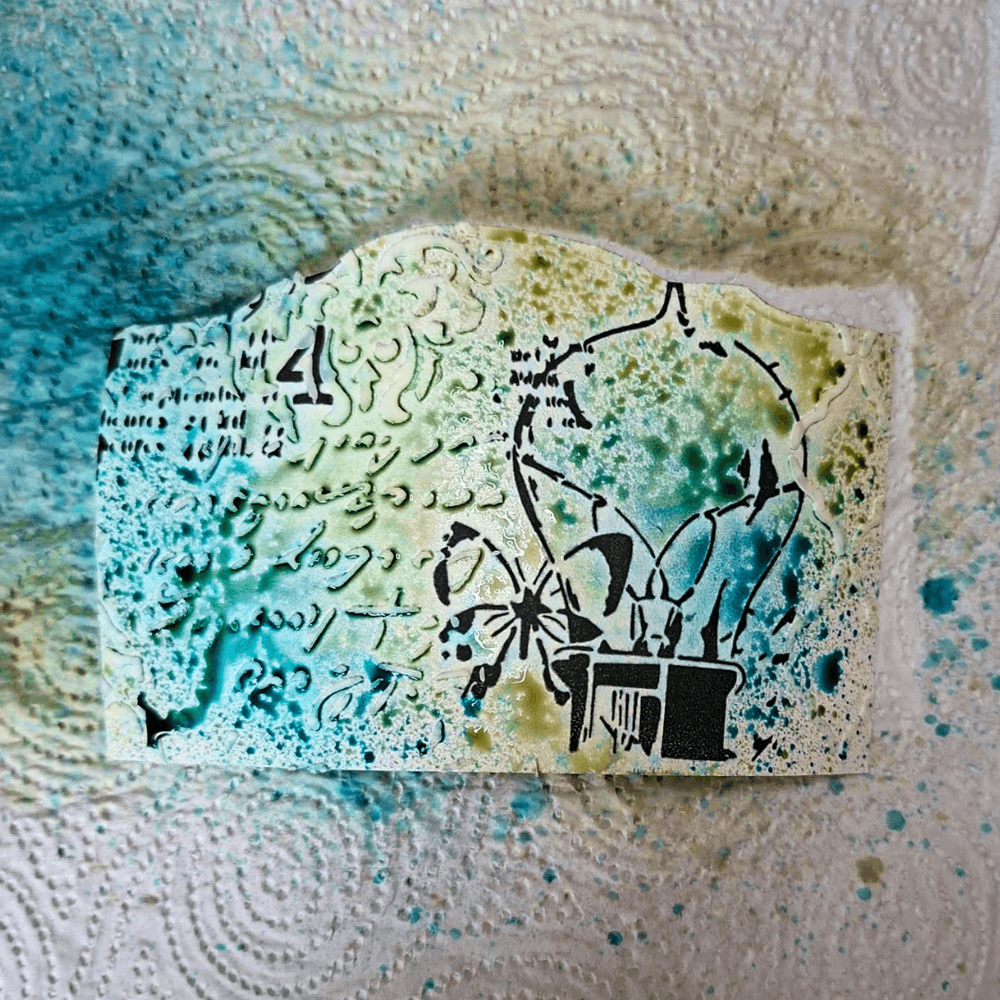
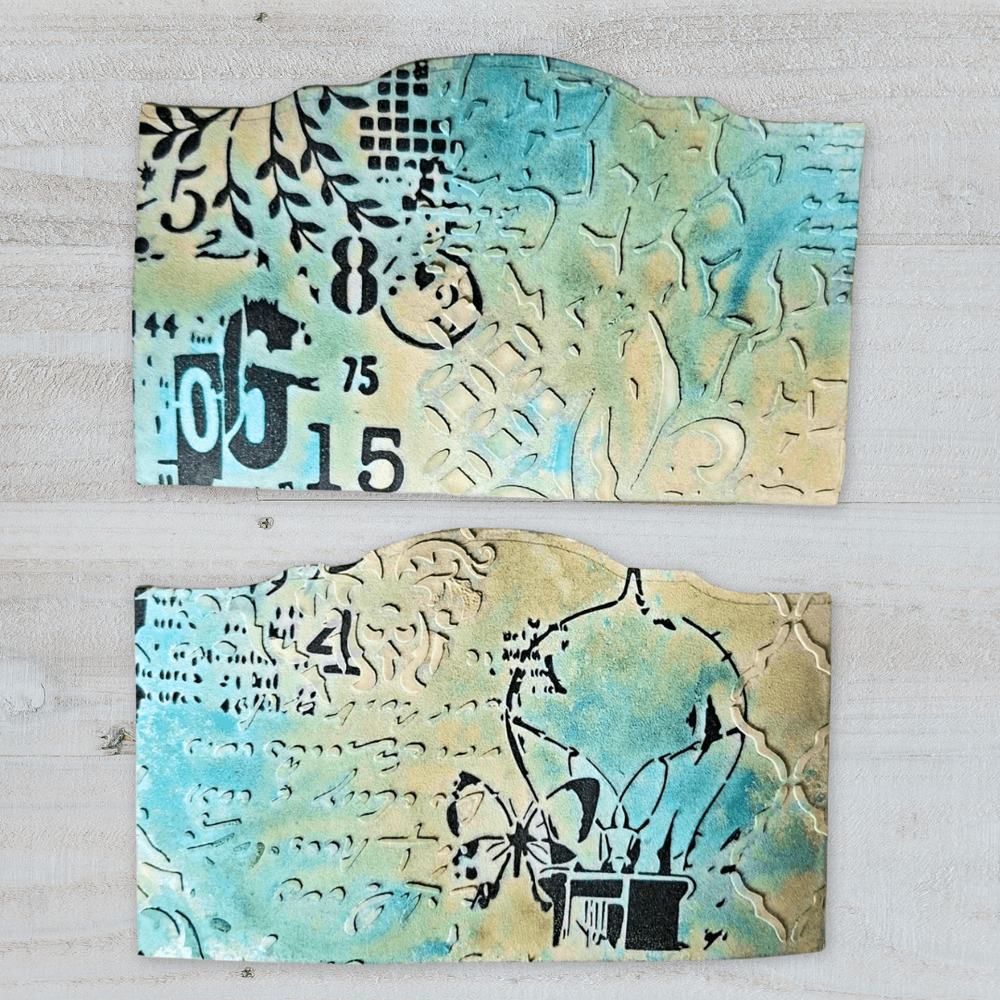
Step 5: Once it is dry enough, I get out my spray box and spray two colors of Distress Spray Stain (Broken China and Old Paper) over the cards. I let the colors blend a bit; I think it’s a really lovely combination. Then, I dry it thoroughly with the heat tool.
Step 6: There are such beautiful new Rub-Ons (RO002 Treasured Layers Rub-Ons) in this collection! I definitely want to use them. I cut out a few small sprigs to include on my cards. I rub them onto the areas where there is no texture paste.
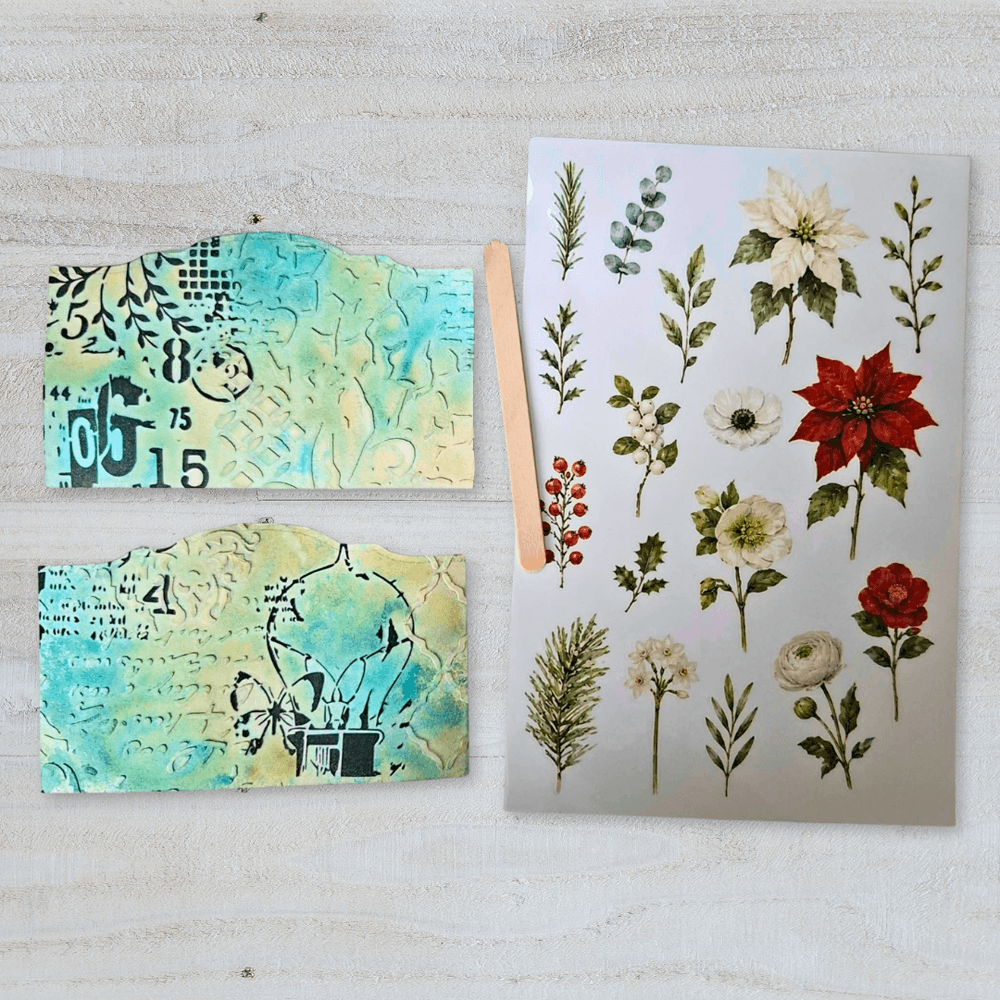
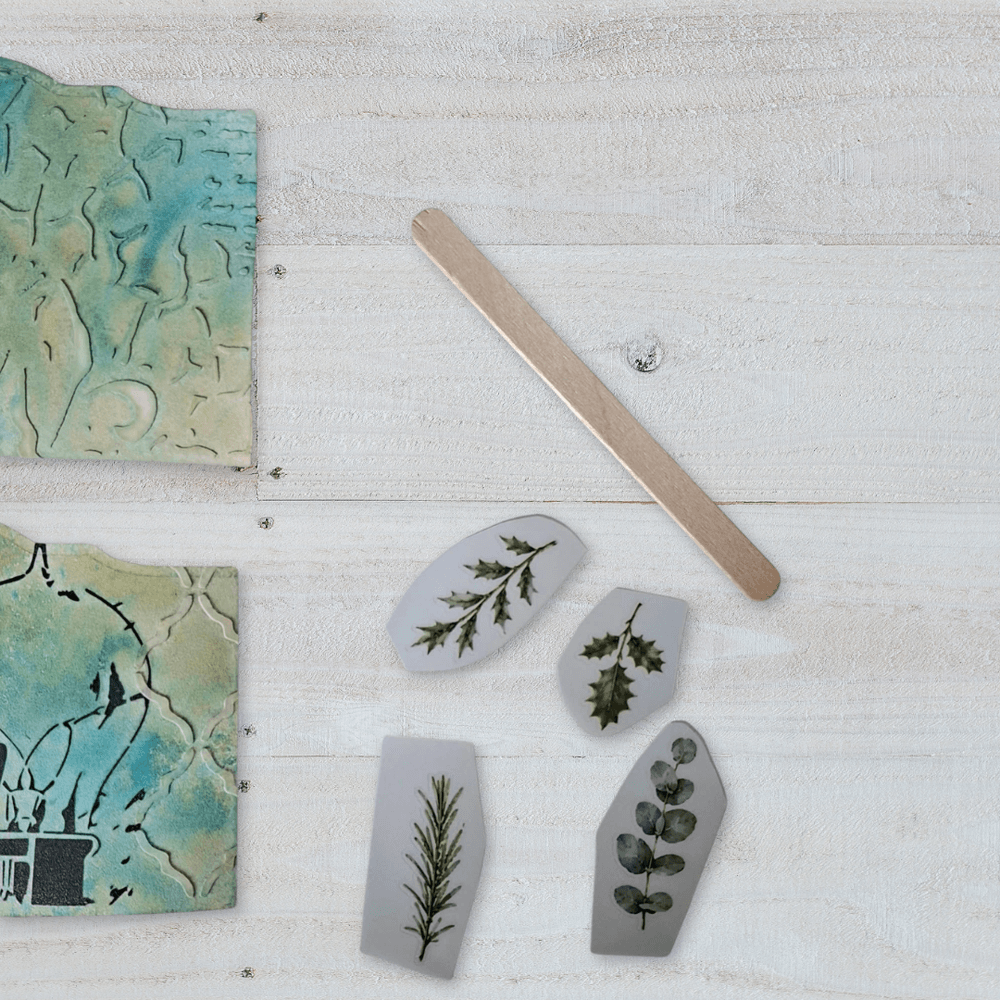
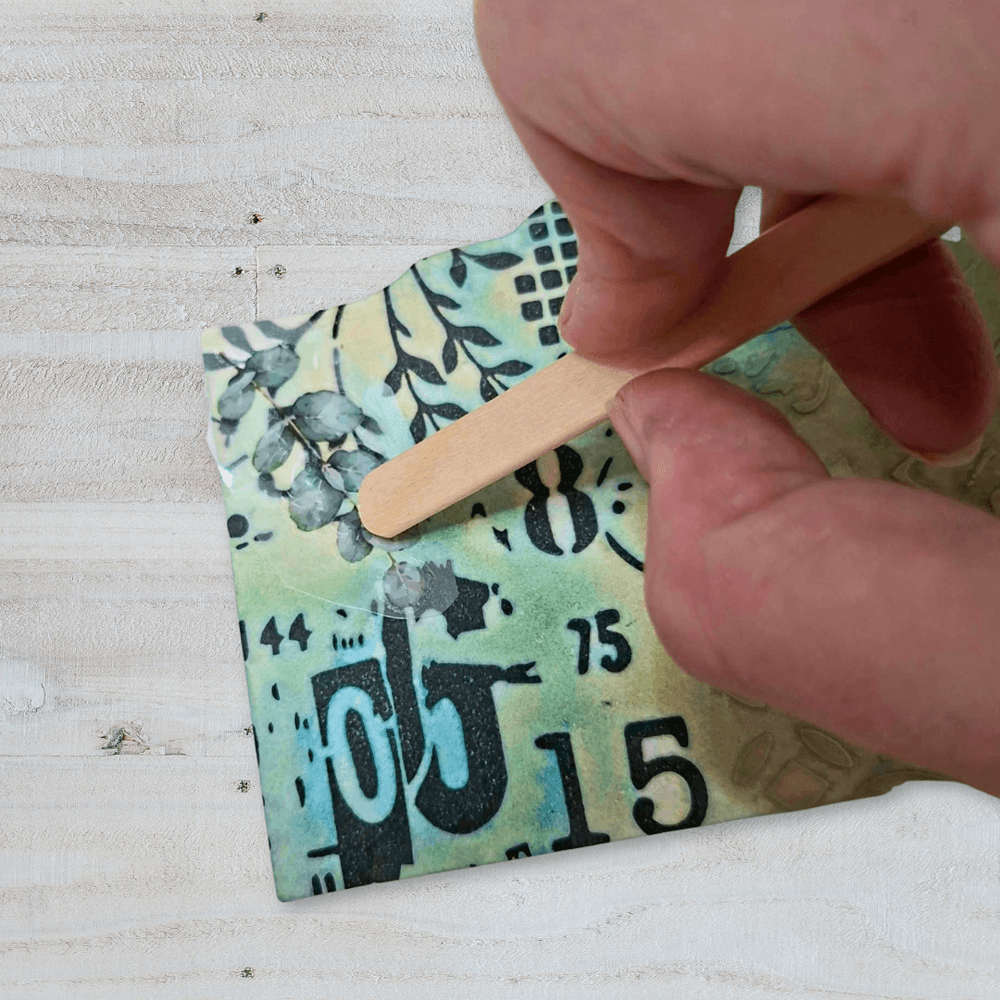
Step 7: As a finishing touch, I like to add a bit of shimmer to these cards. I use a small amount of Distress Spritz (Salvaged Patina and Antique Linen), and for contrast, I splatter a bit of black ink around.
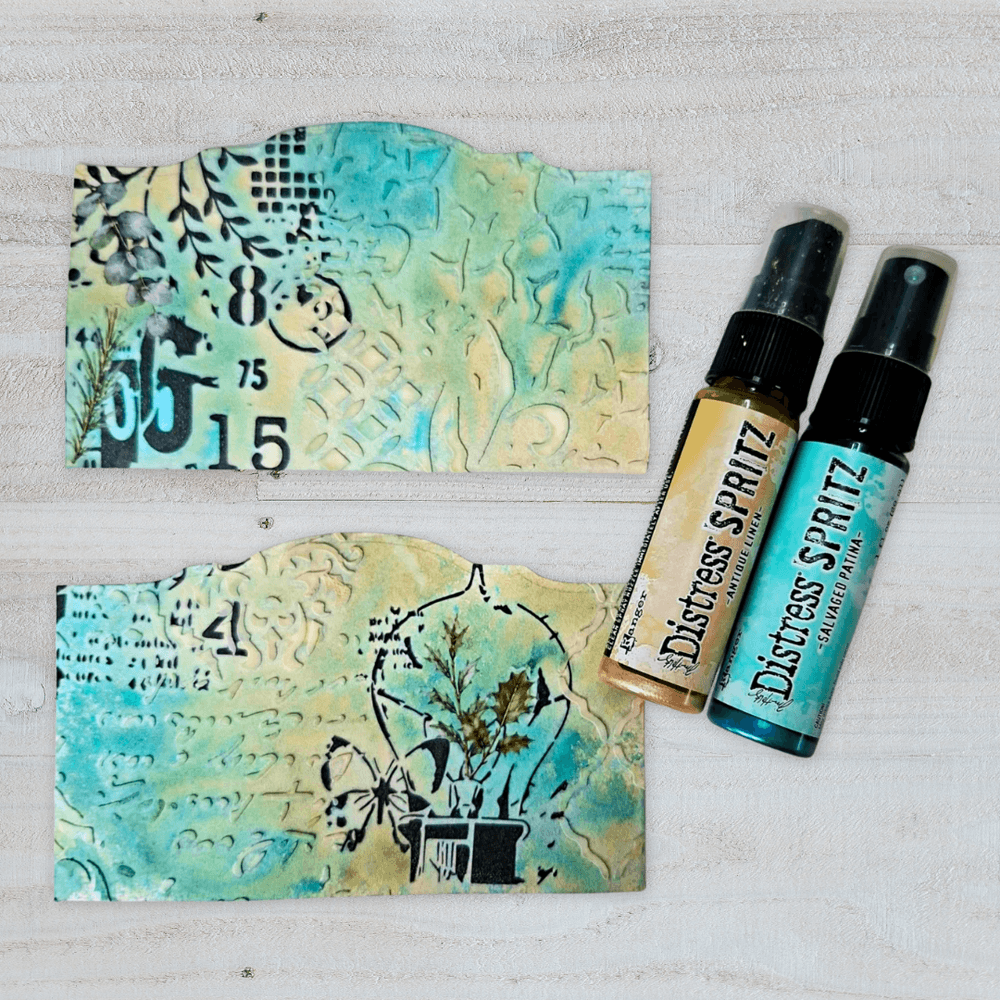
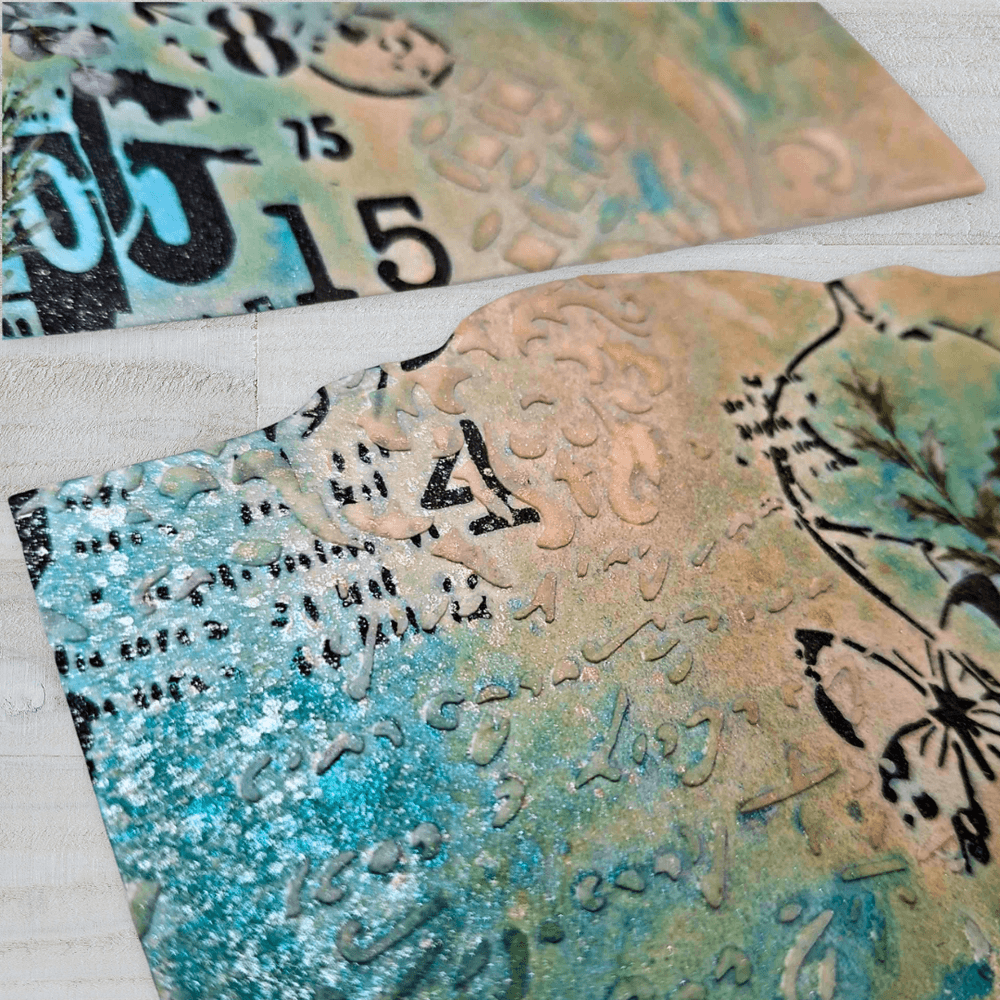
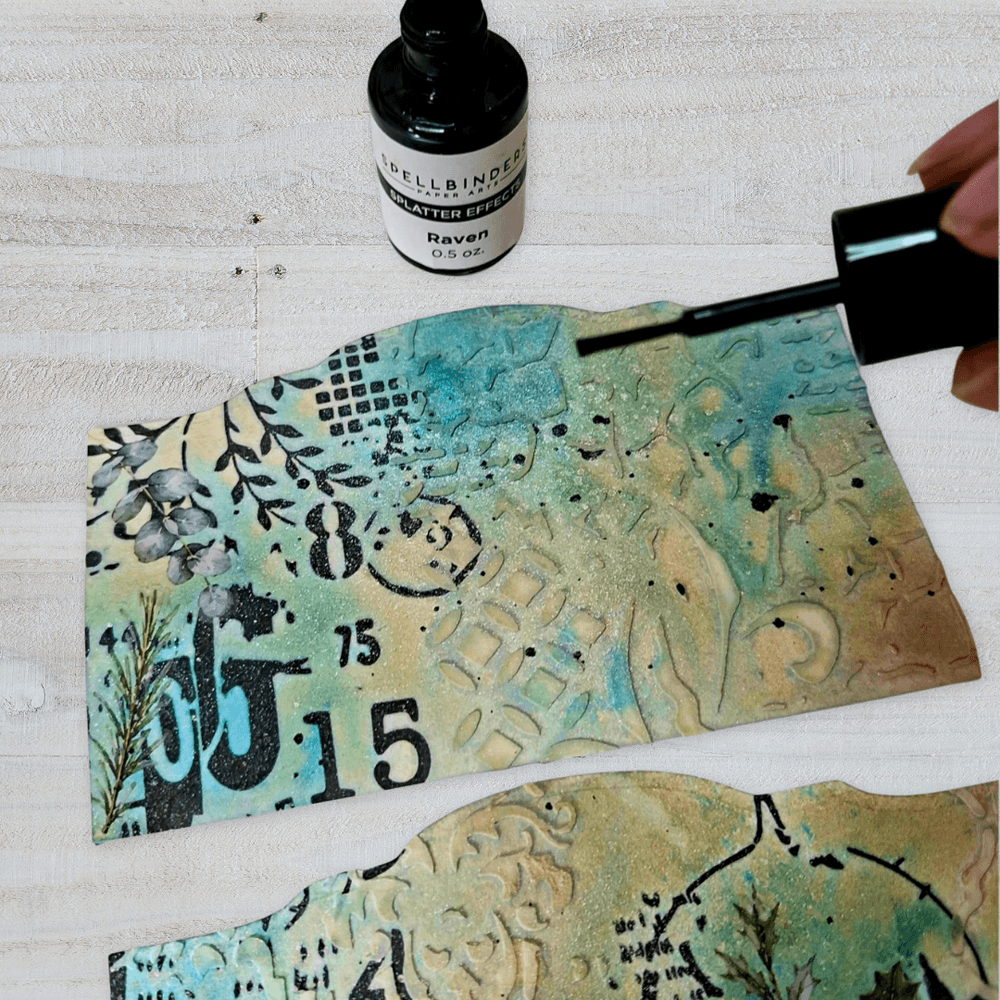
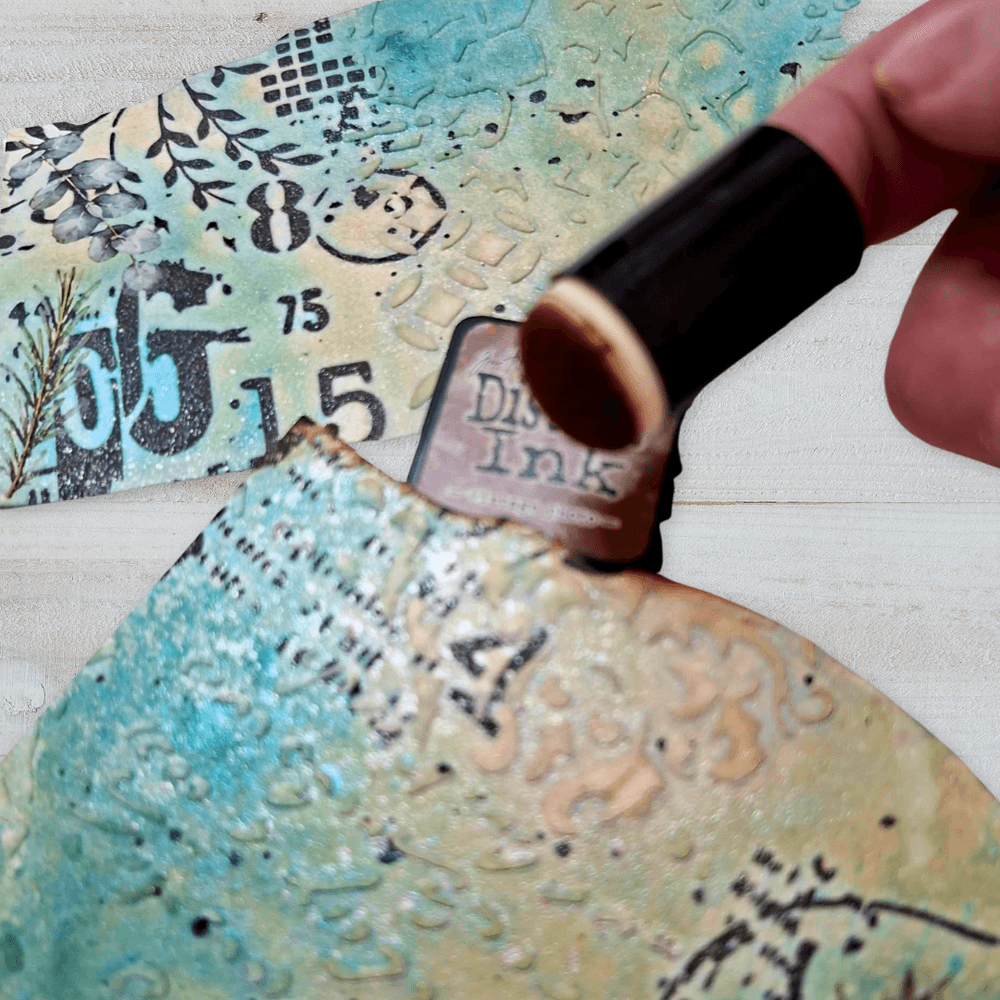
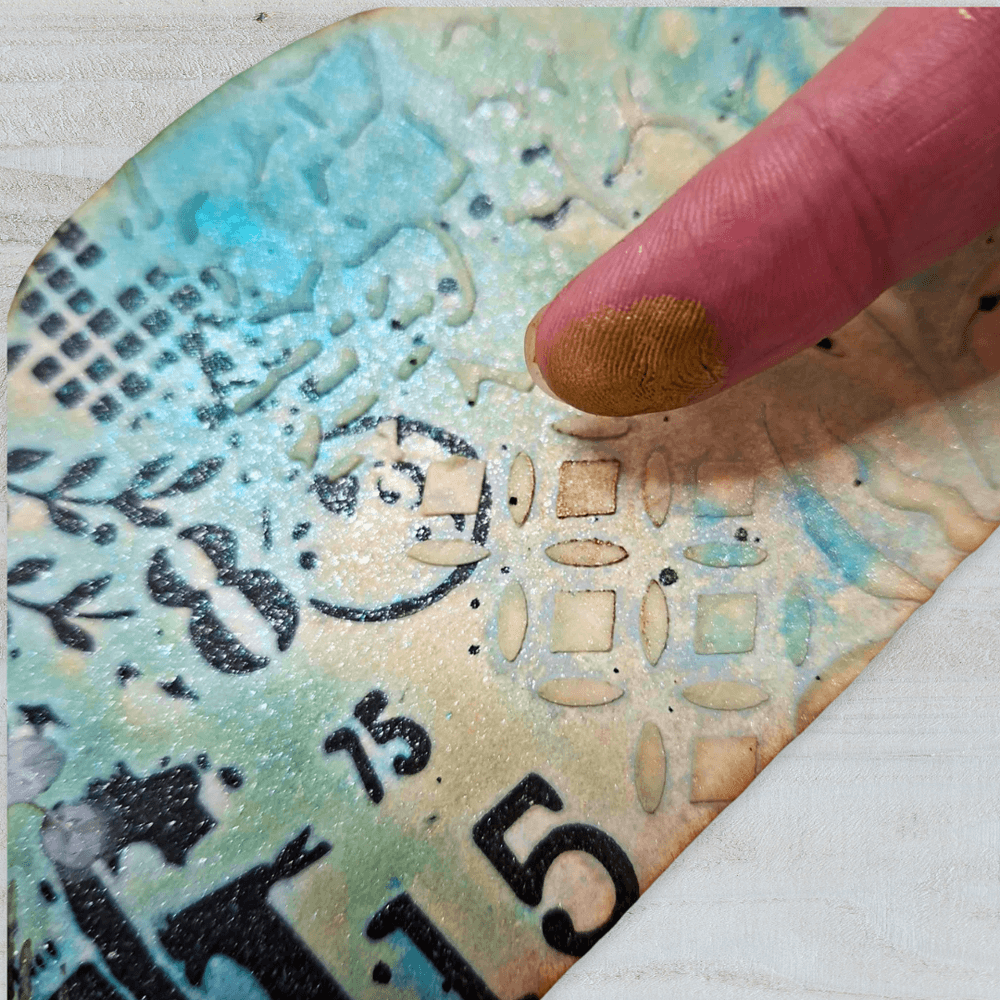
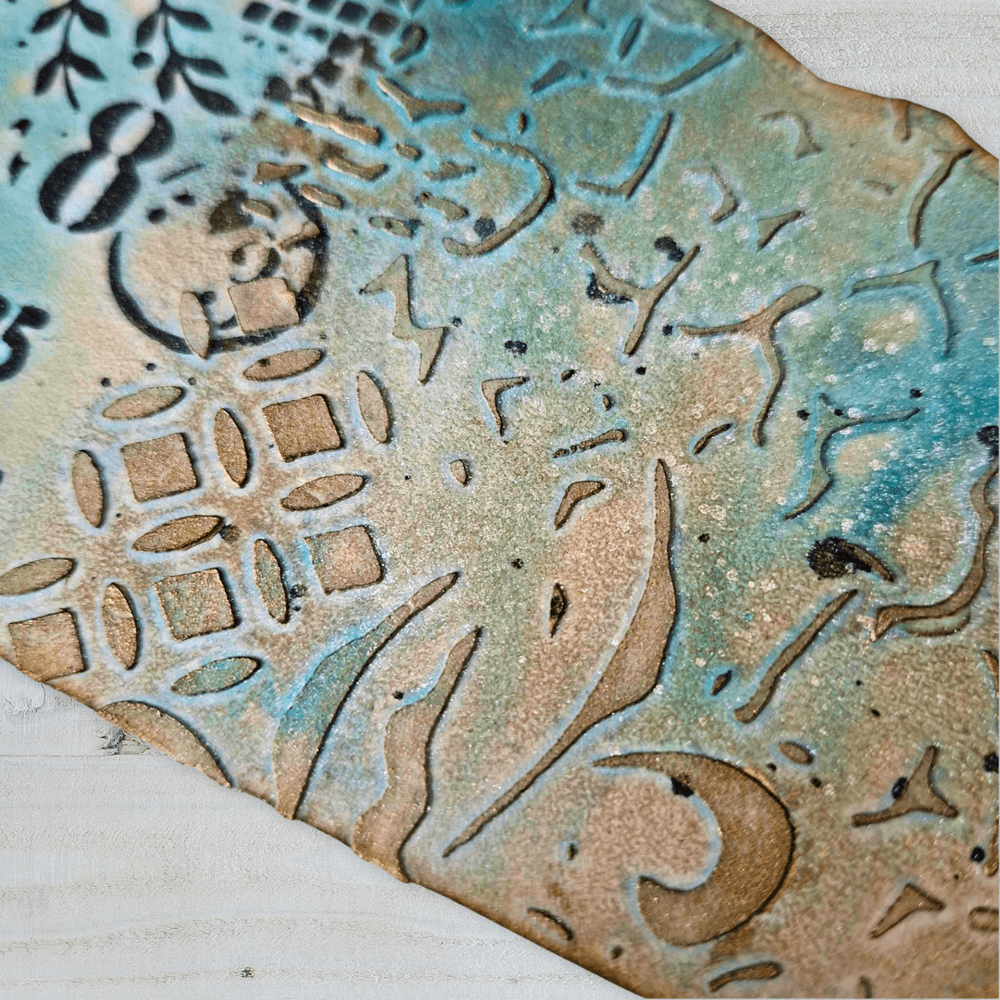
Step 8: I lightly touch up the edges of the cards with Distress Ink (Vintage Photo), then use my finger to apply gold wax over the texture paste to make the stencil stand out a bit more, and I love gold!
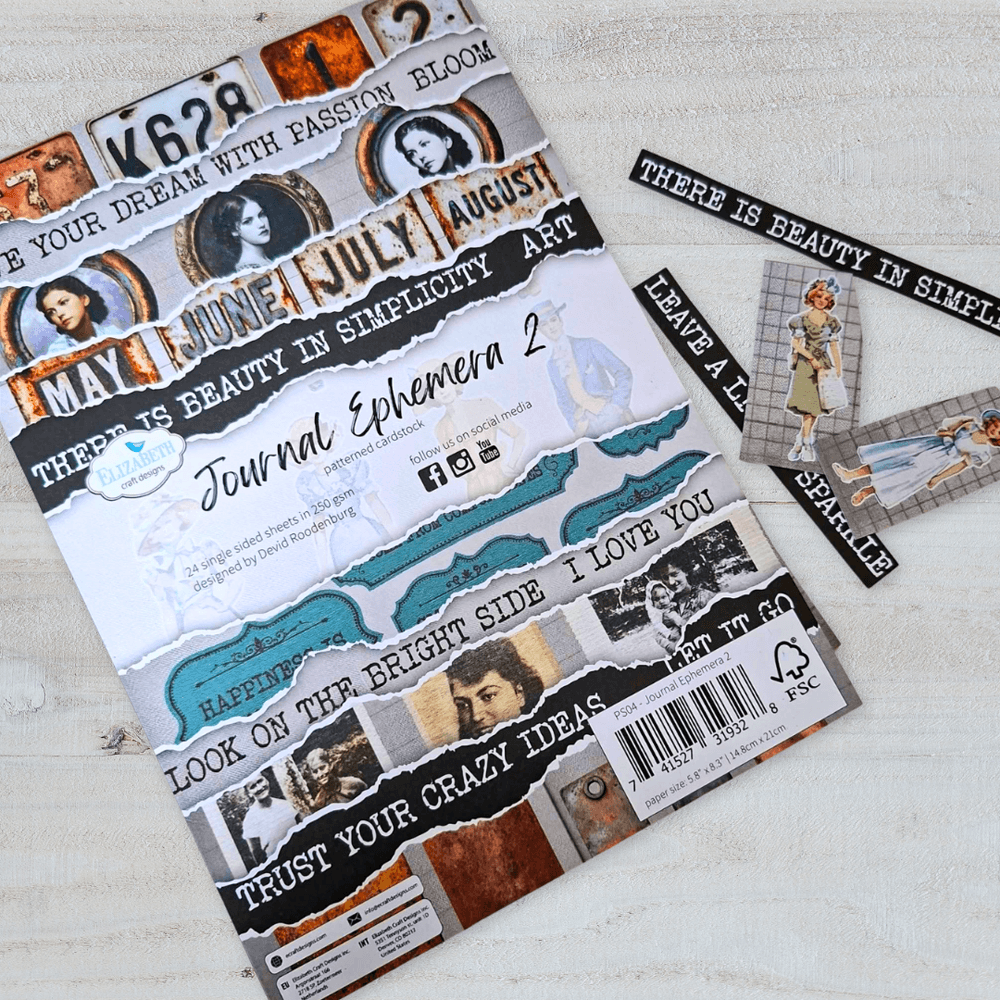
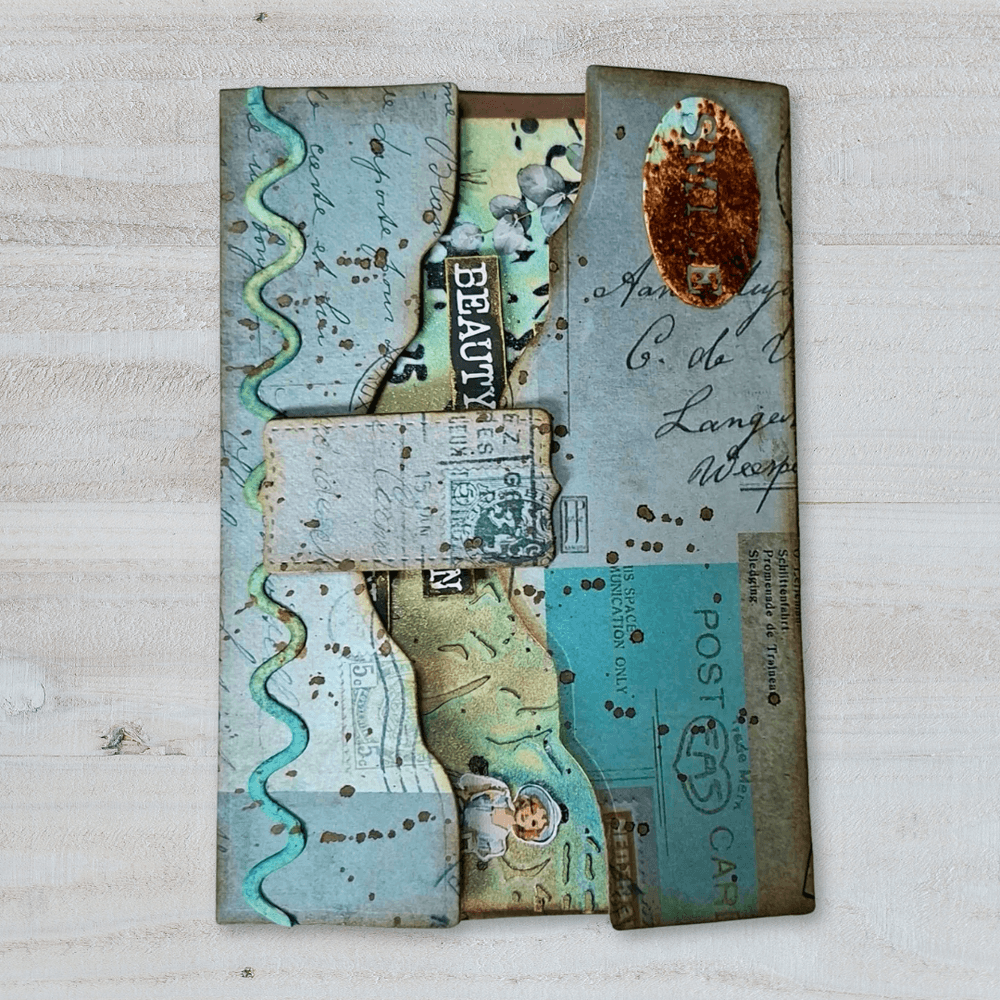
Step 9: I also want to include a nice little phrase and a paper doll on the cards. The Journal Ephemera 2 is perfect for that! I like cutting the words from the phrases apart and sticking them down in a playful way.
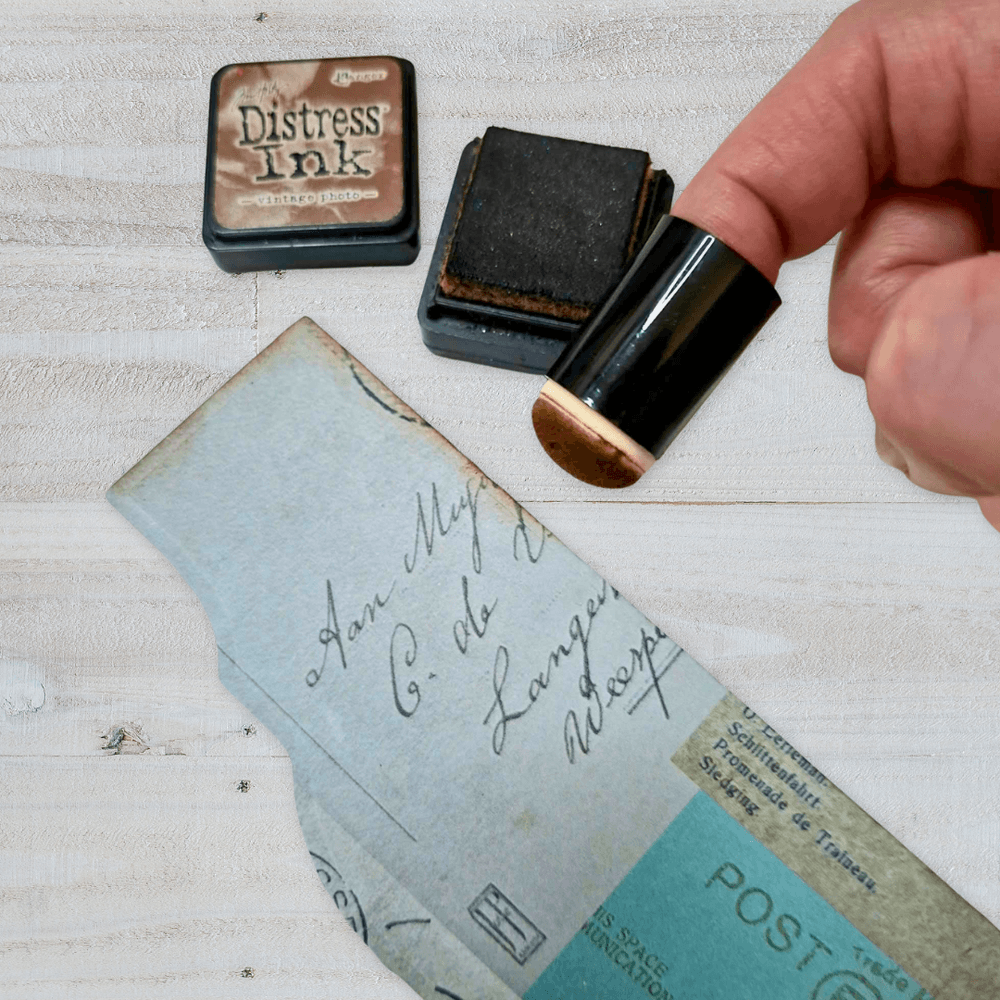
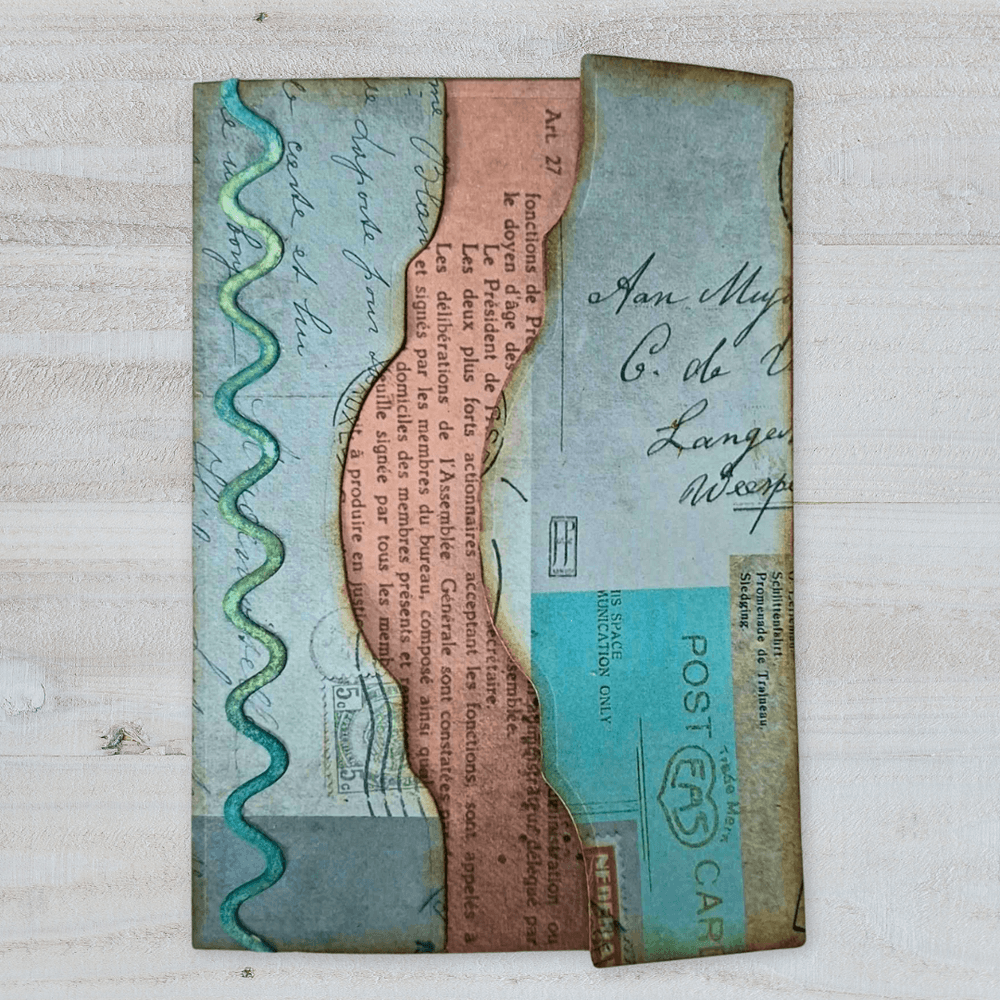
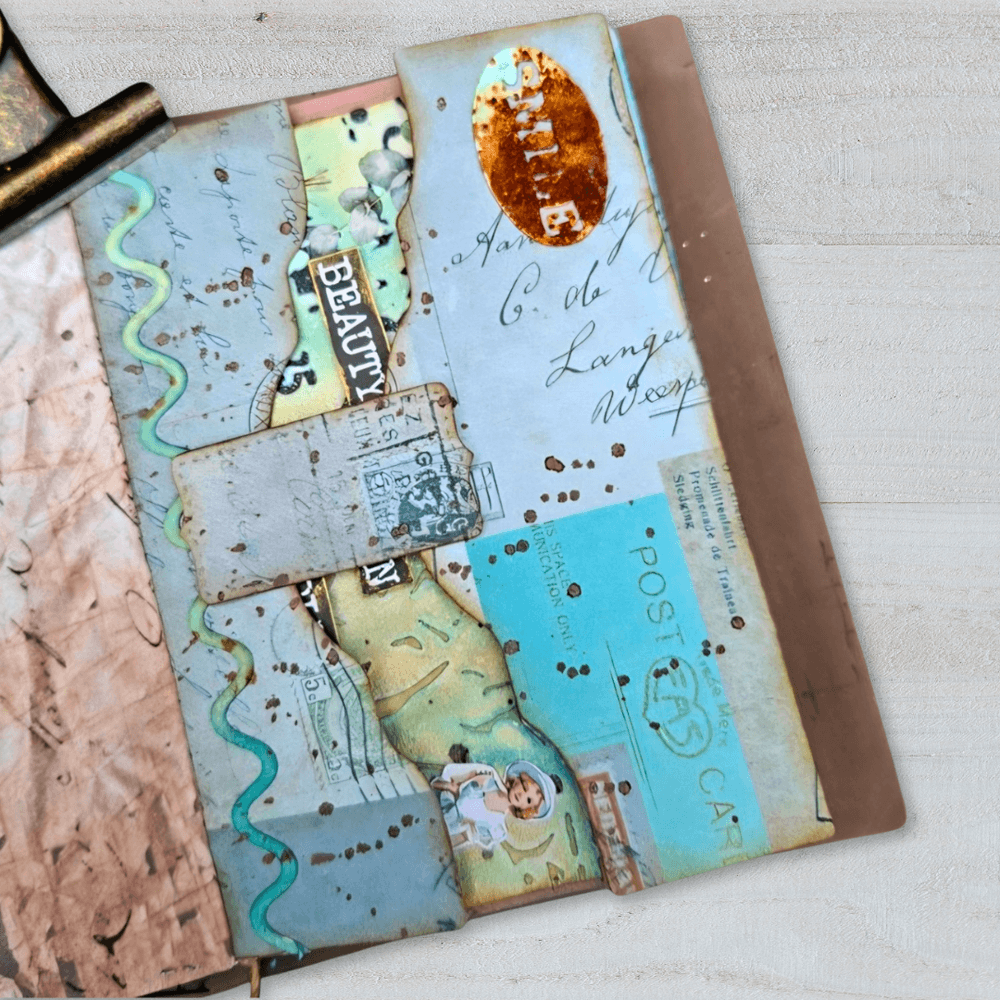
Step 10: Now it’s time to create the Vintage Folio that will hold the cards. First, distress the edges a bit with "Vintage Photo" Distress Ink to give them an aged look. For the flap, apply glue only to the narrow strip; for the "pocket," apply a little glue to the bottom and, optionally, the sides. Adhere it to your base page.
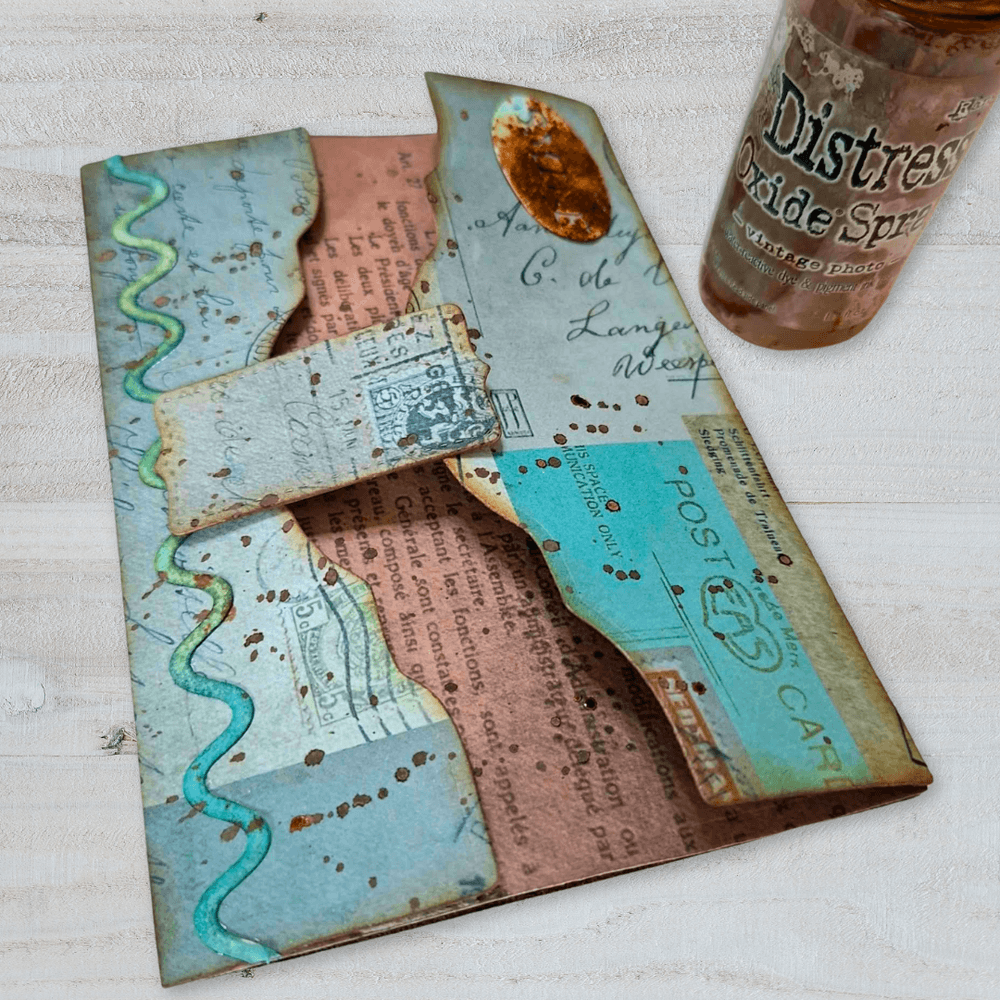
The "Vintage Folio Details" set includes a lovely decorative die-cut, which I’m adding too. I colored it using the same Distress Spray Stains I used for the cards: "Broken China" and "Old Paper."Attach the closure as well, but glue down only the bottom section so that you can fold the top flap underneath the closure, like an envelope. I also had a rusty element lying around from the "2400 – Passport Max Journey" set, so I’ve added that as well. For me, a project isn't complete without a touch of rust! ;)
To finish off, I added some splatters with Distress Oxide spray (Vintage Photo) to the folio—because splatters are a must, of course! The folio is now ready to be filled with your cards. It’s very simple to assemble and offers so many creative possibilities. It’s a wonderful way to store cards, ephemera, photos, and more in your journals.
Thanks for reading my blog. I hope you find it useful and give it a try yourself!
Make sure you share your projects with us in our Facebook Group HERE. We love to see what you create!
Never miss a tutorial and sign up for our emails today HERE.
Elizabeth Craft Designs Products Used:
Ornate Pocket Ensemble (2403)
Vintage Folio Details (2404)
Passport Max Journey (2400)
Treasured Layers Rub-Ons (RO002)
Curated Fragments (CS470)
Journal Ephemera 2 (PS04)
Journal Stencils 12 (S062)
Stonewashed Brown Passport XL (AJ09)
Backgrounds Volume 6 (C046)
Soft Finish Cardstock (PSF144)
Other Products: Distress Spray Stain: Broken China, Old Paper, Distress Mini Ink Pad:Vintage Photo, Distress Texture Paste: Opaque, Distress Oxide Spray Vintage Photo, Distress Spritz: Salvaged Patina, Antique Linen, Spellbinders Splatter Effects: Raven, Stamperia Ancient Wax: Metallic Gold and Versafine Ink Pad: Onyx Black