Travel Planner Page
I love to travel! Every year, I try to plan trips anywhere in the world that involve going on an airplane. I also love to do road trips and day trips – it’s all about experiencing the beauty of this world! For me, travel is something that soothes the soul while learning different cultures and the diversity the world has to offer. So what do I do to store my travelling adventures? The best way to showcase and keep those wonderful memories, is by placing all my photos and memorabilia into a Planner.
My husband is from Malta, so we travel there quite often to visit his parents and family. I’ve documented this trip in 2022 through my blog. Here, I show you how to create a simple yet full, Travel Planner page. I hope you enjoy it and thank you for taking the time to read my blog!
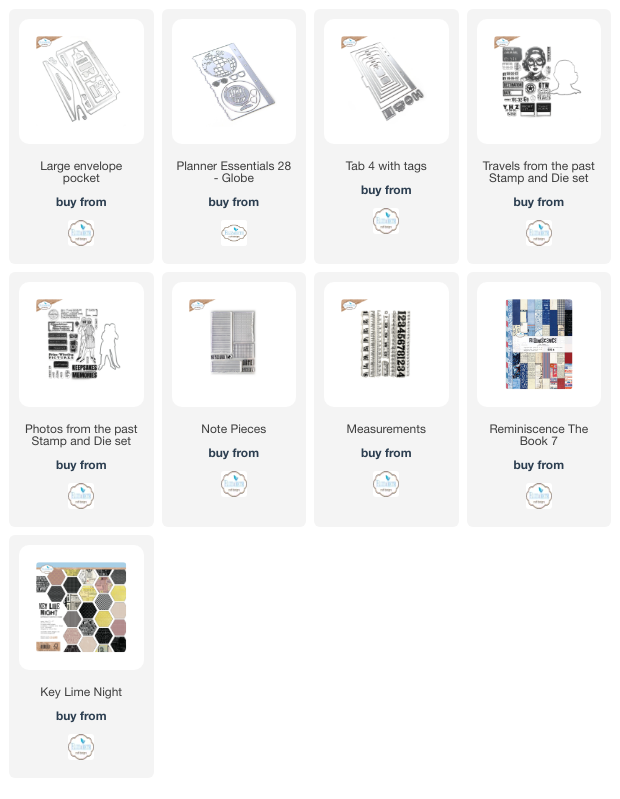
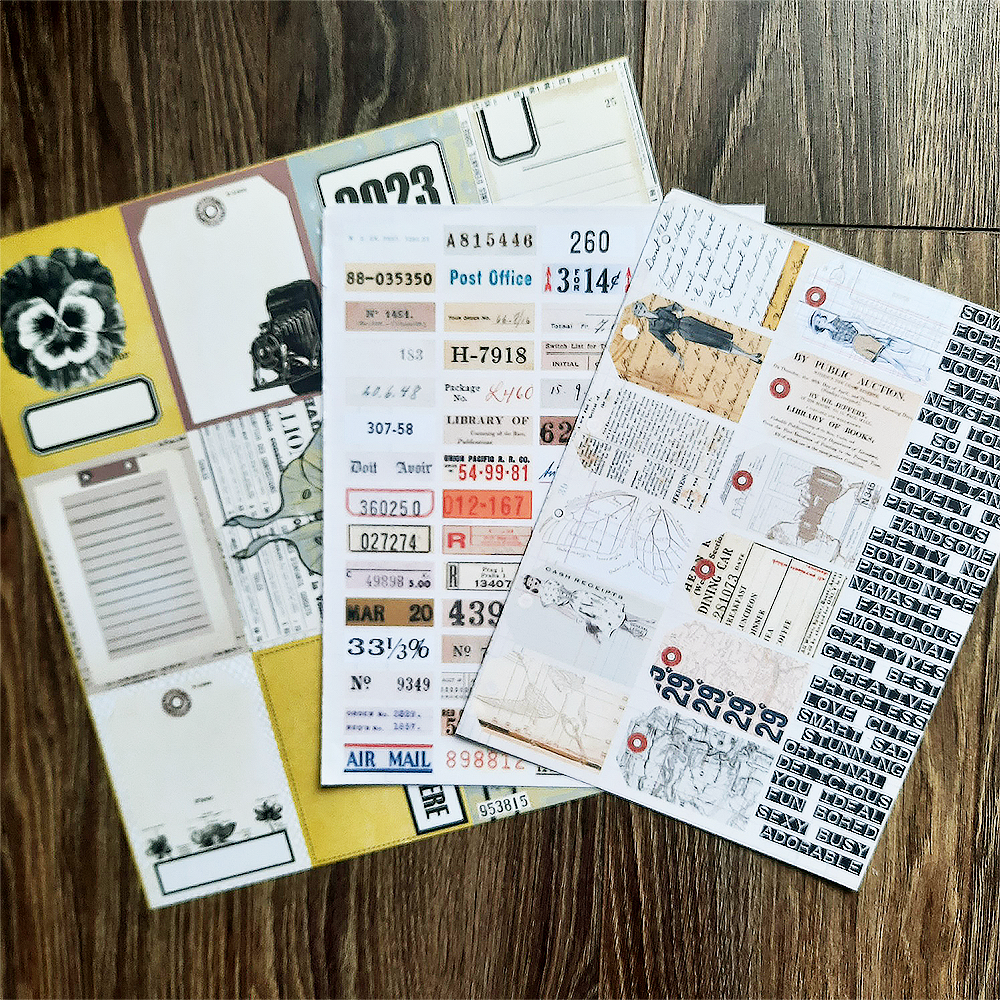
1. Beginning with the following ECD products:
Planner Essentials 28 (1803)
Tab 4 with Tags (2055)
Large Envelope Pocket (2142)
Reminiscence Book 7
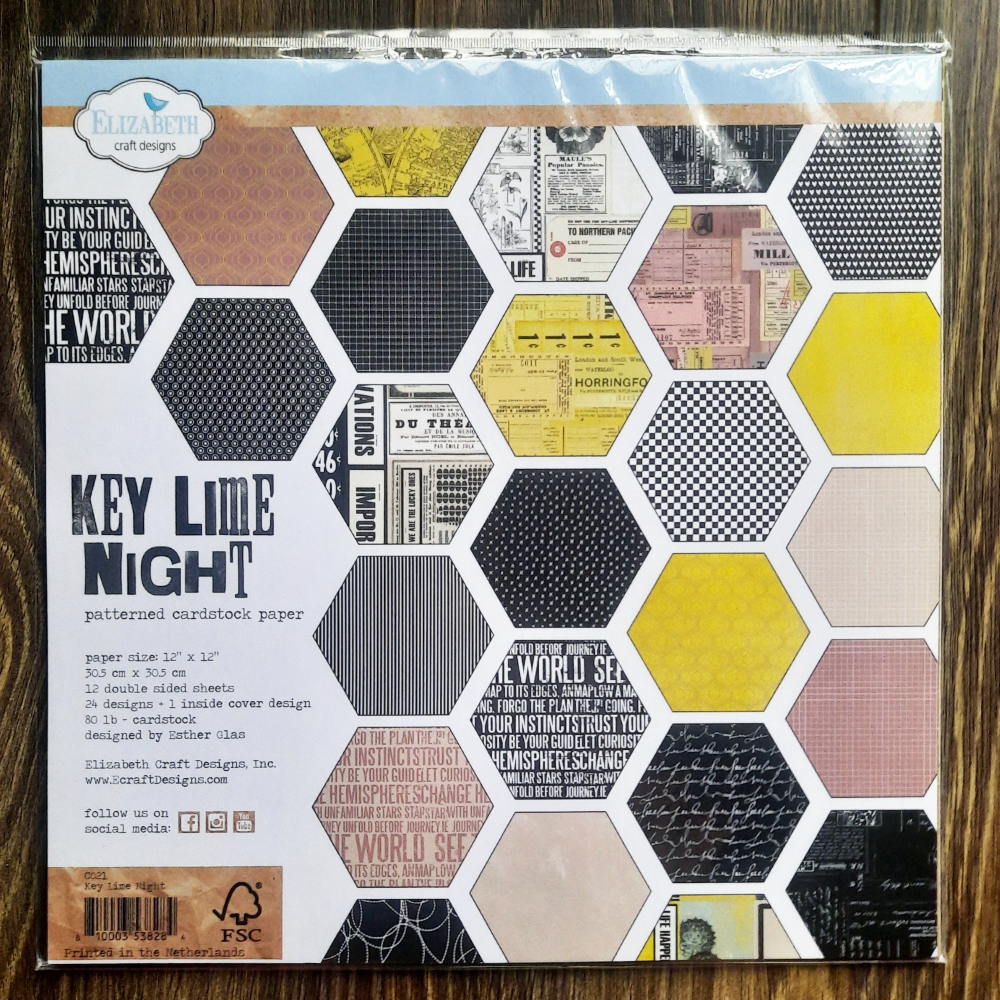
Key Lime Night Patterned Paper

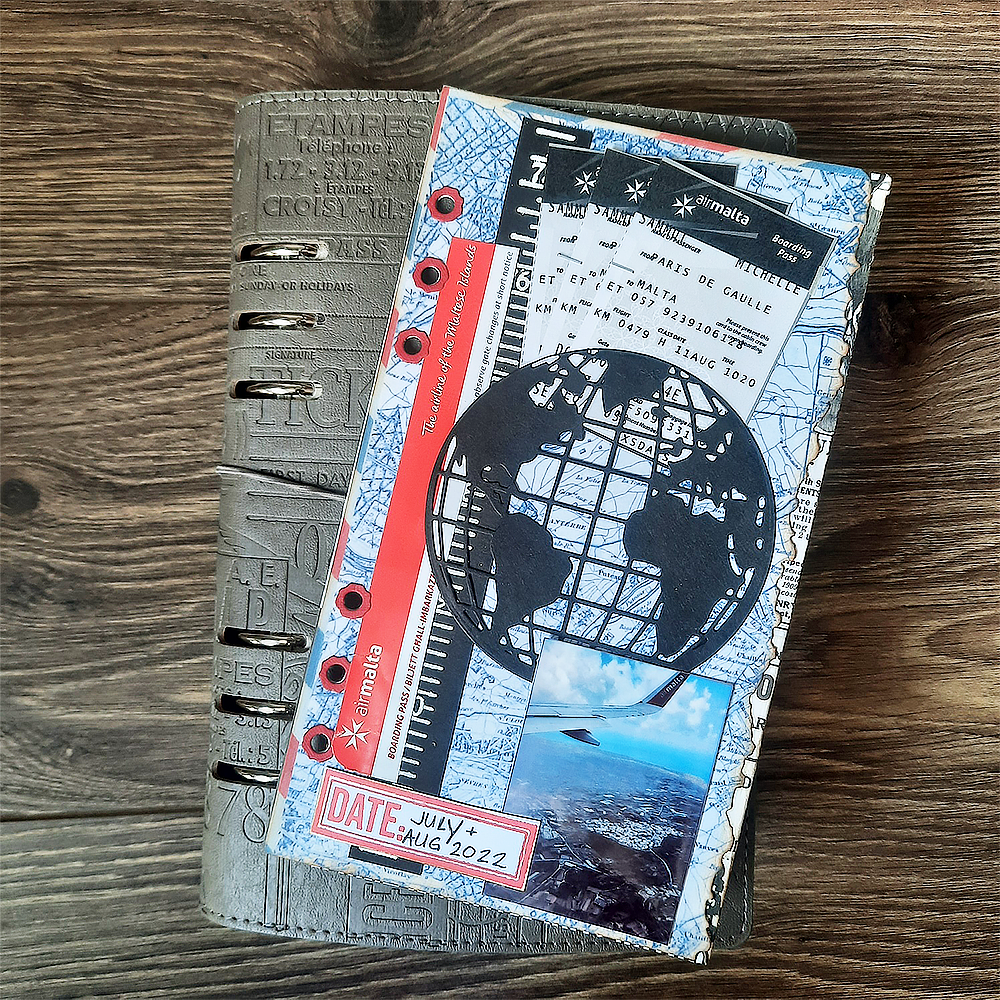
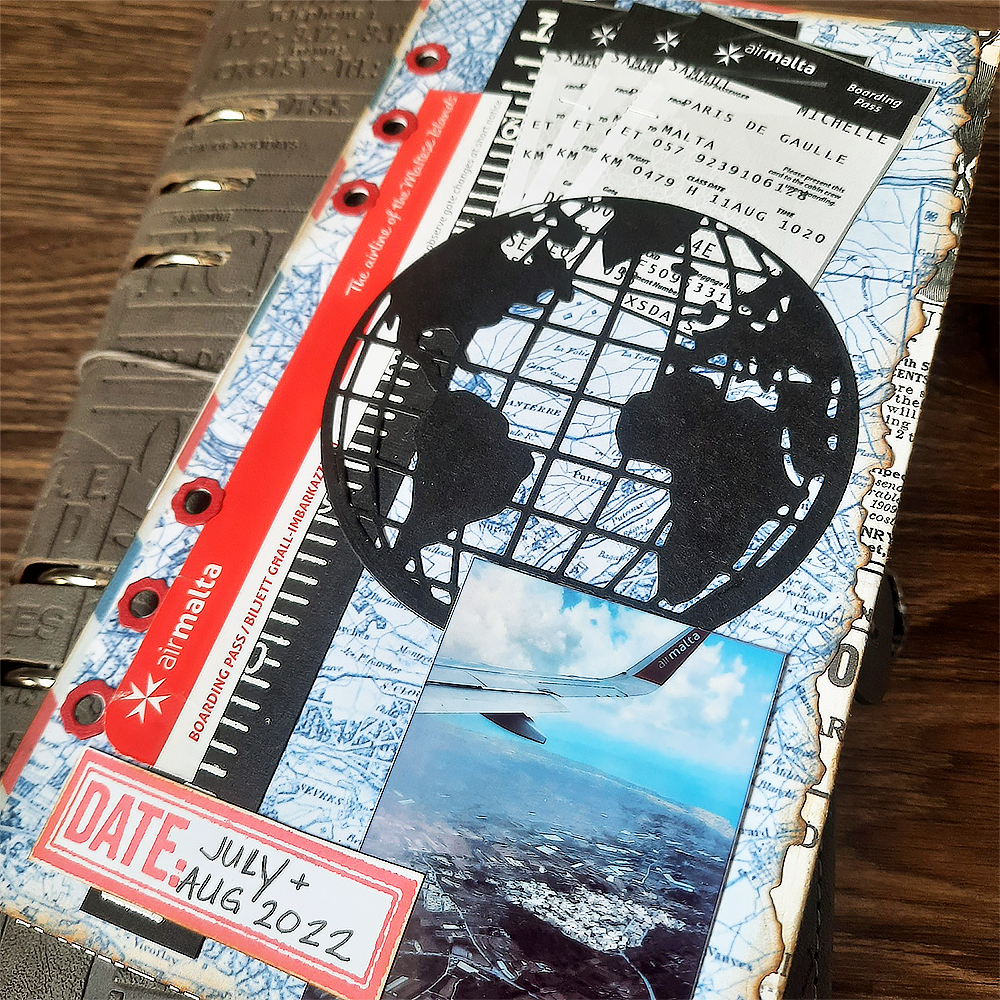
2. Die cut the following with the above dies. You will also need black cardstock to die cut the globe. For the Tab 4 tags, I’ve cut 3 tags with the largest tag die.
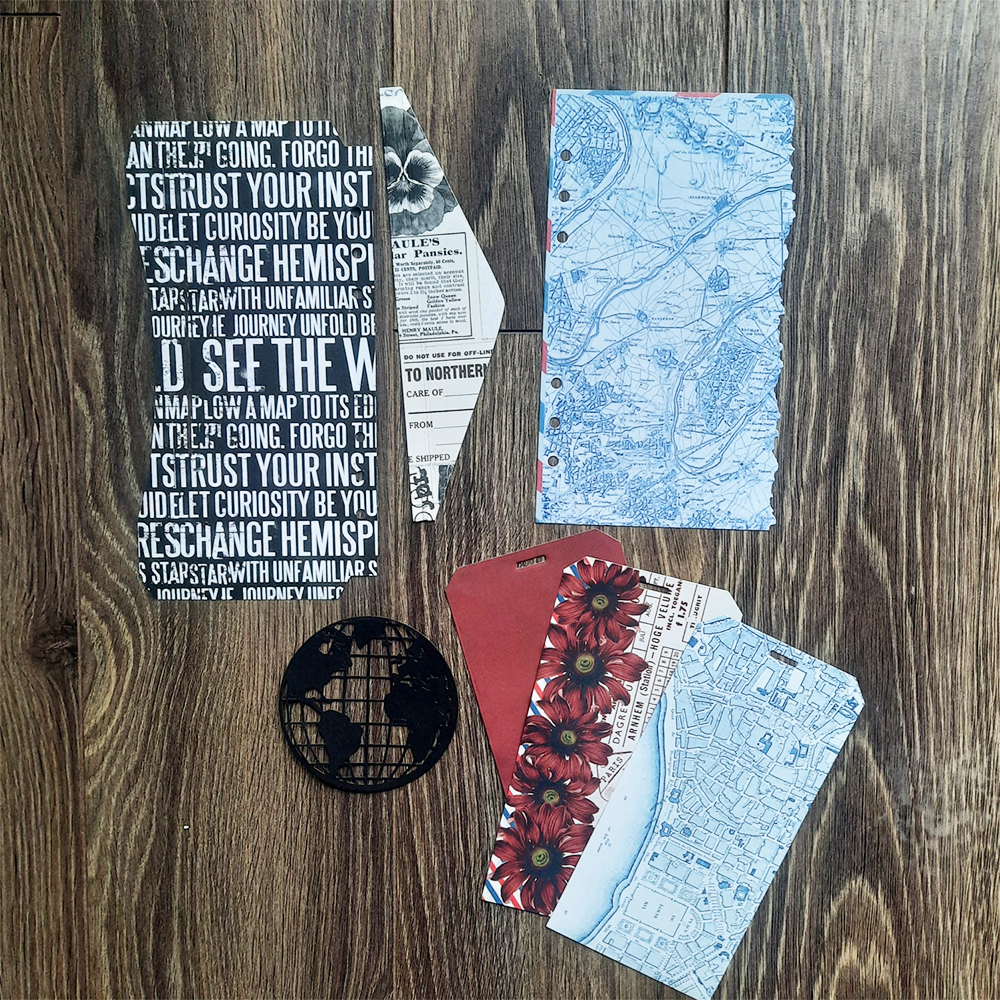
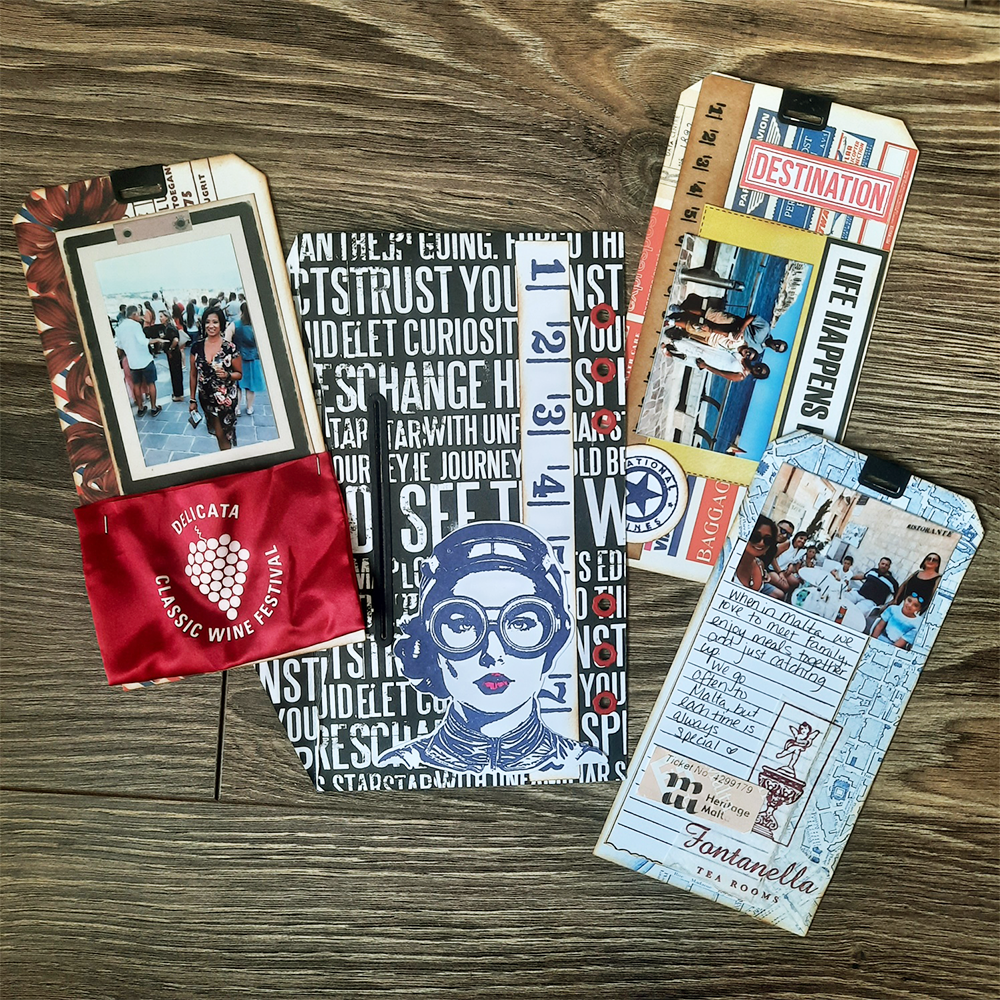
3. Ink all the edges of the die cuts (I used Distress Oxide Vintage Photo) and assemble the cuts. For the front page I used the page die from Planner Essentials 28. Behind it, I assembled the Envelope Pocket and adhered them together.
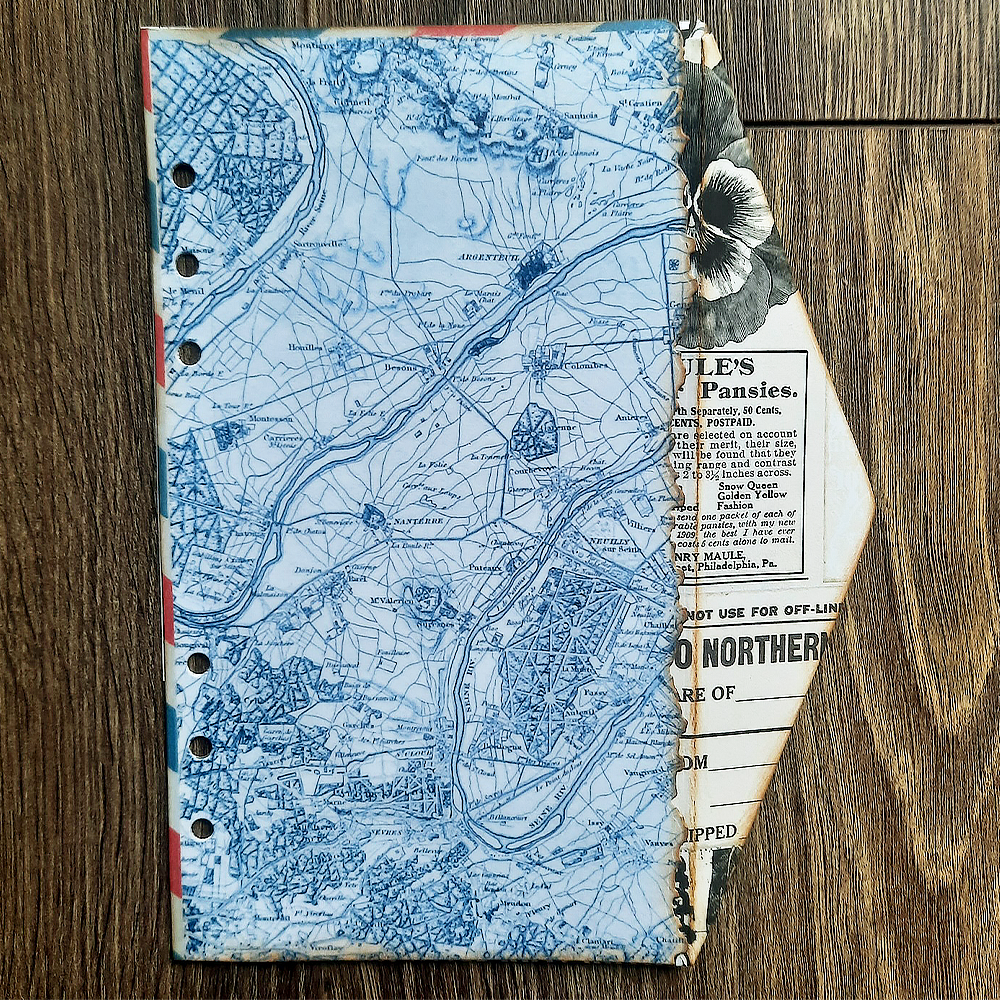
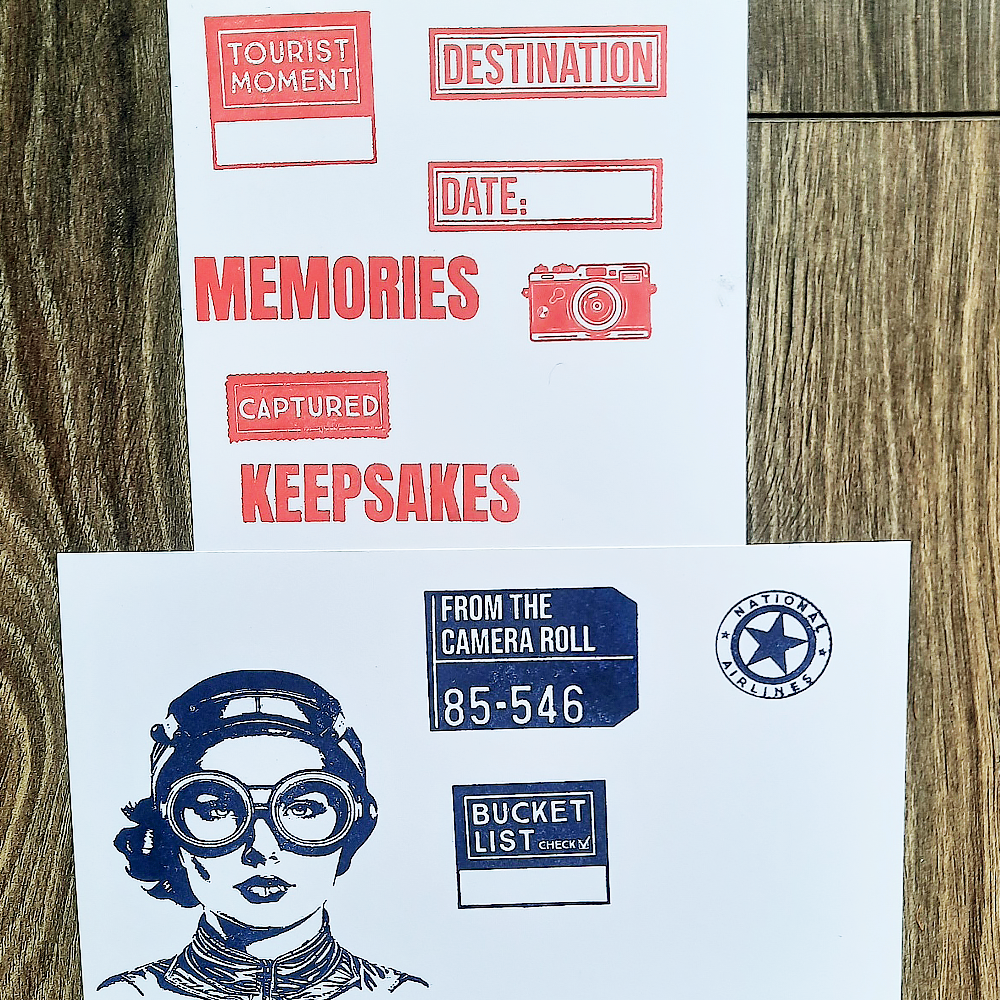
4. On the front of the Planner page, I will start to add to the background of my pages as well as add photos and memories. To match Book 7, I stamped with VersaFine Clair in Medieval Blue and Tulip Red. Stamps used:
Measurements (CS357)
Travels from the Past (CS340)
Photos from the Past (CS339)
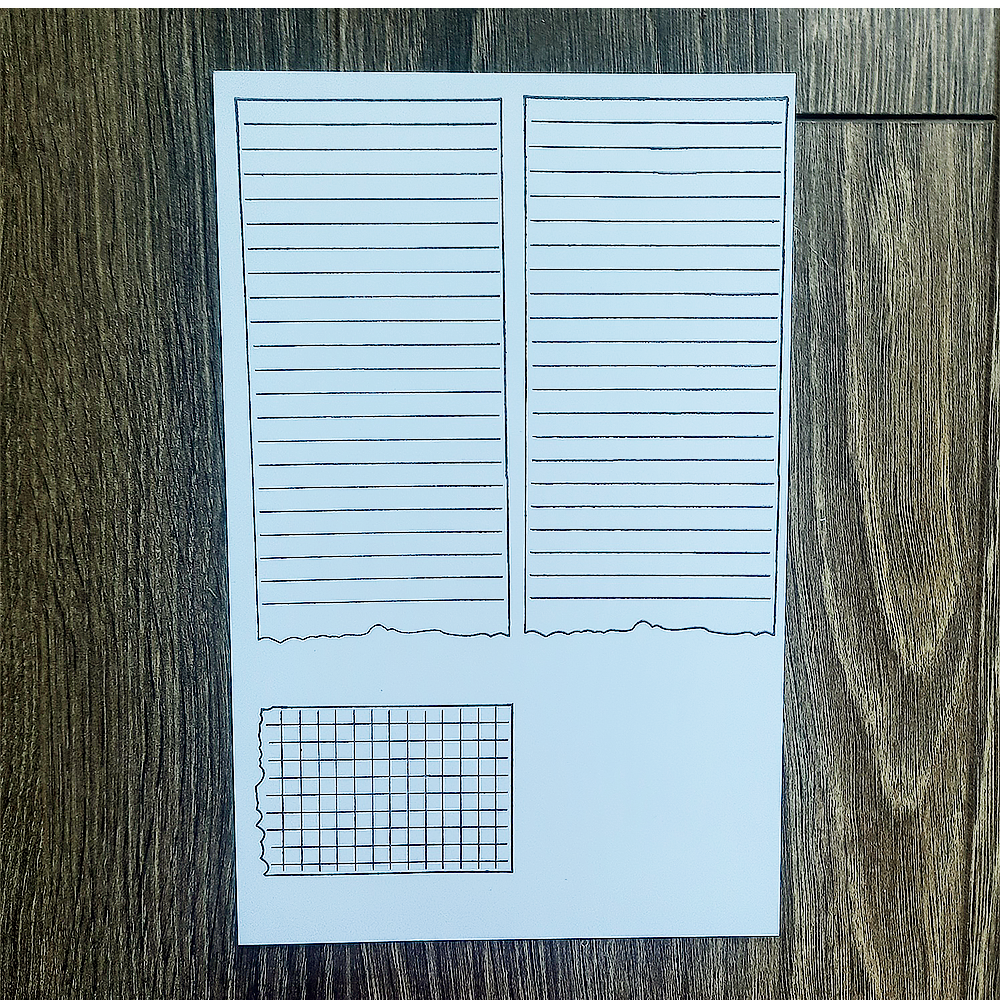
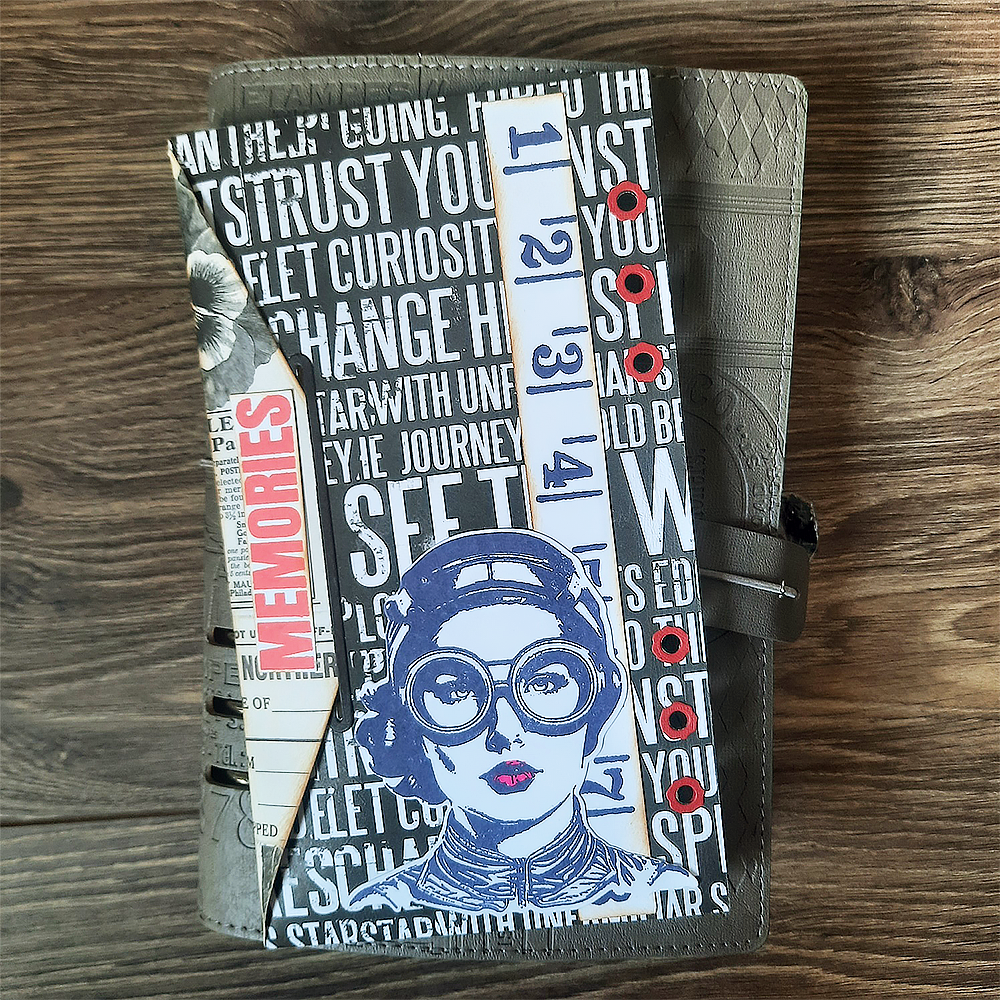
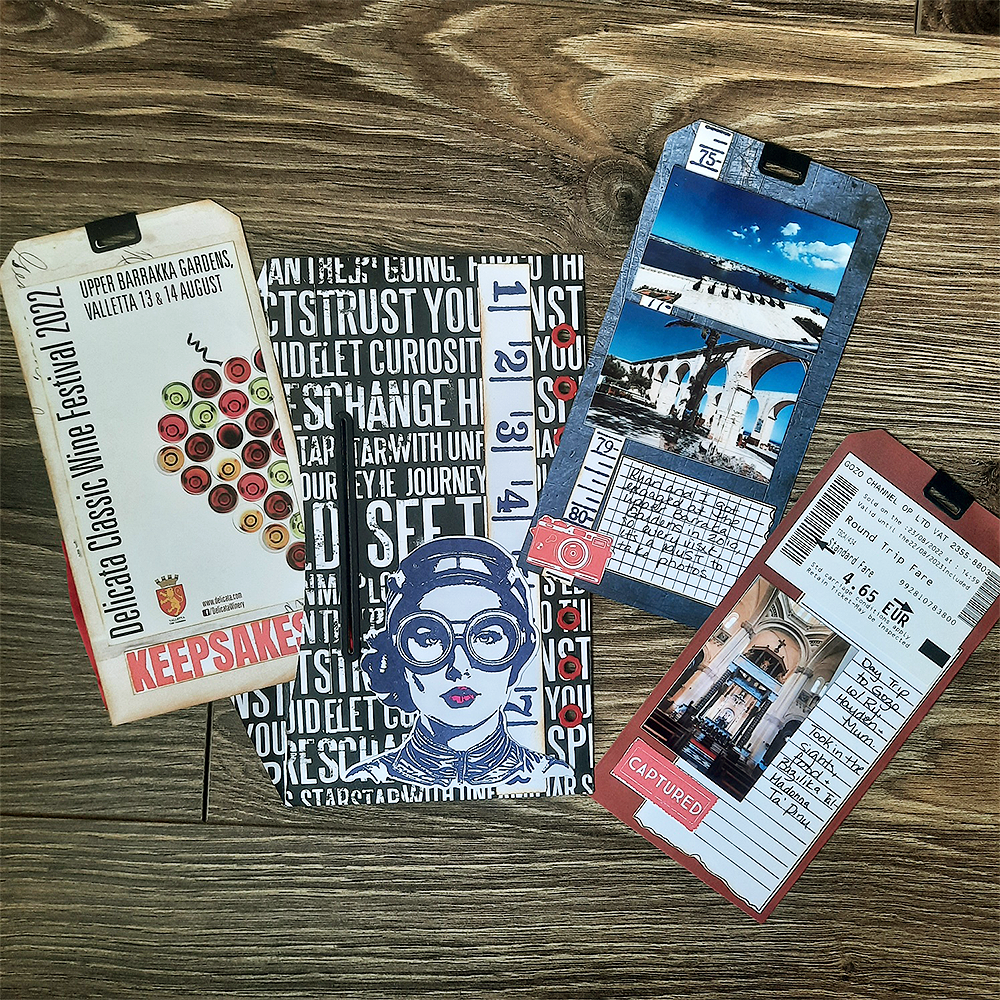
5. Using Note Pieces stamp (CS253), stamp the following pieces. This will allow you a space to write details of your travel.
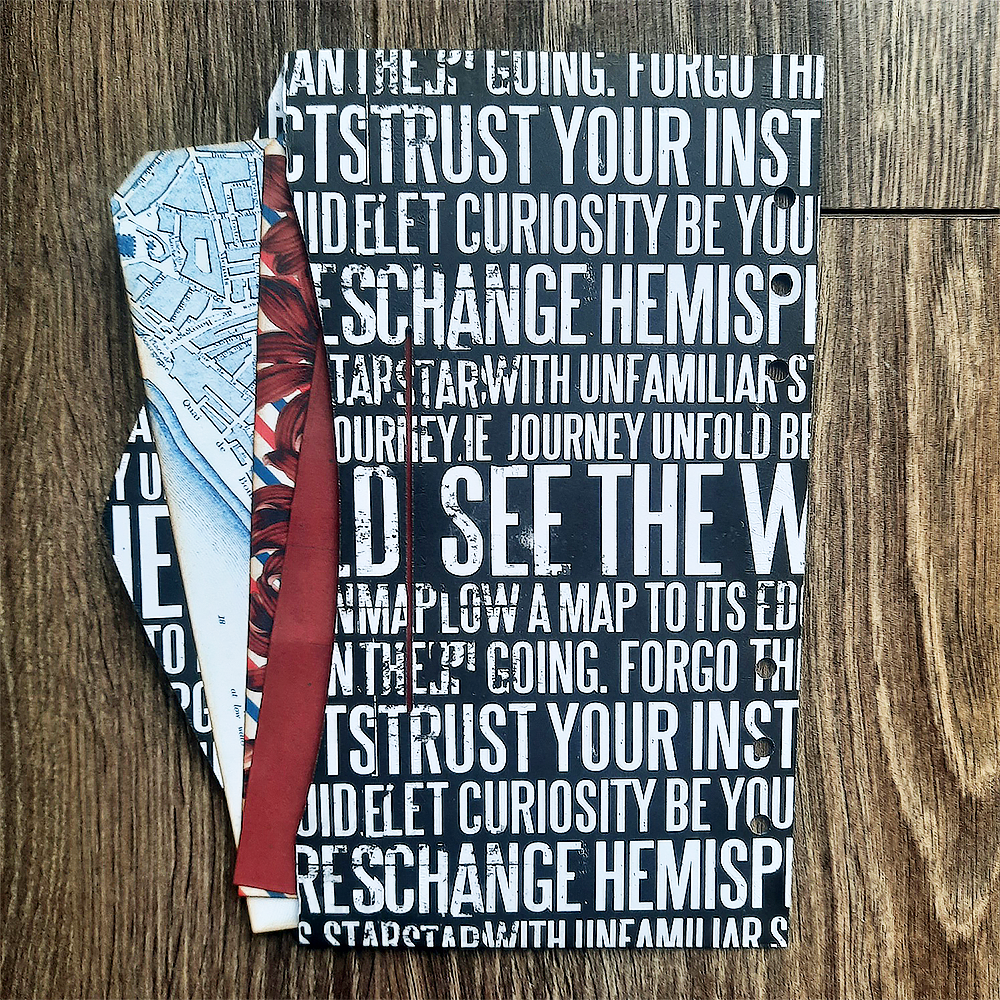
6. You can also embellish your pages using elements from Reminiscence Book 7 and Key Lime Night.
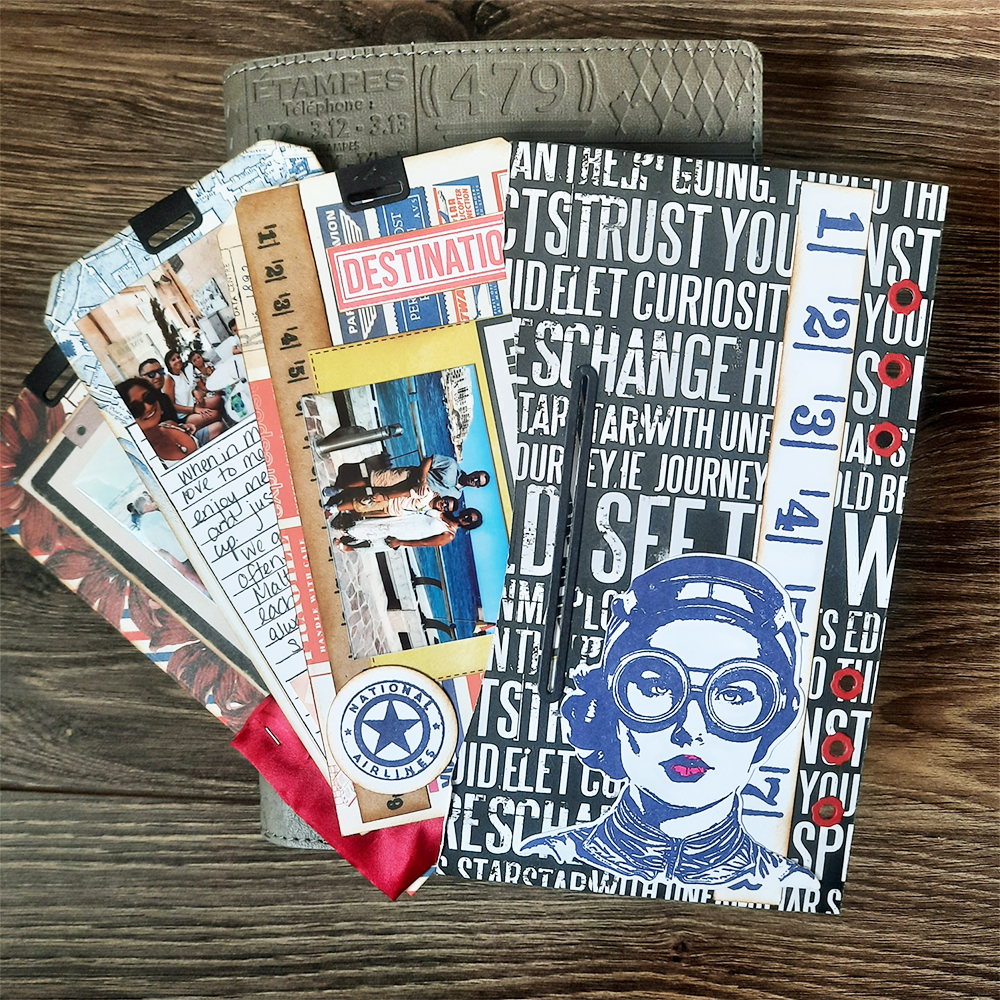
7. Let’s put it all together! To allow for extra photos, etc, I use the tags and store them in the envelope.

You can find me on Instagram: @michsammart
I also do many videos on Facebook with tutorials, techniques and inspiration from “Stamplicity Paper Arts”
Thank you!
Michelle Sammut
Elizabeth Craft Designs Products used: