Tips to create a Concertina Book!
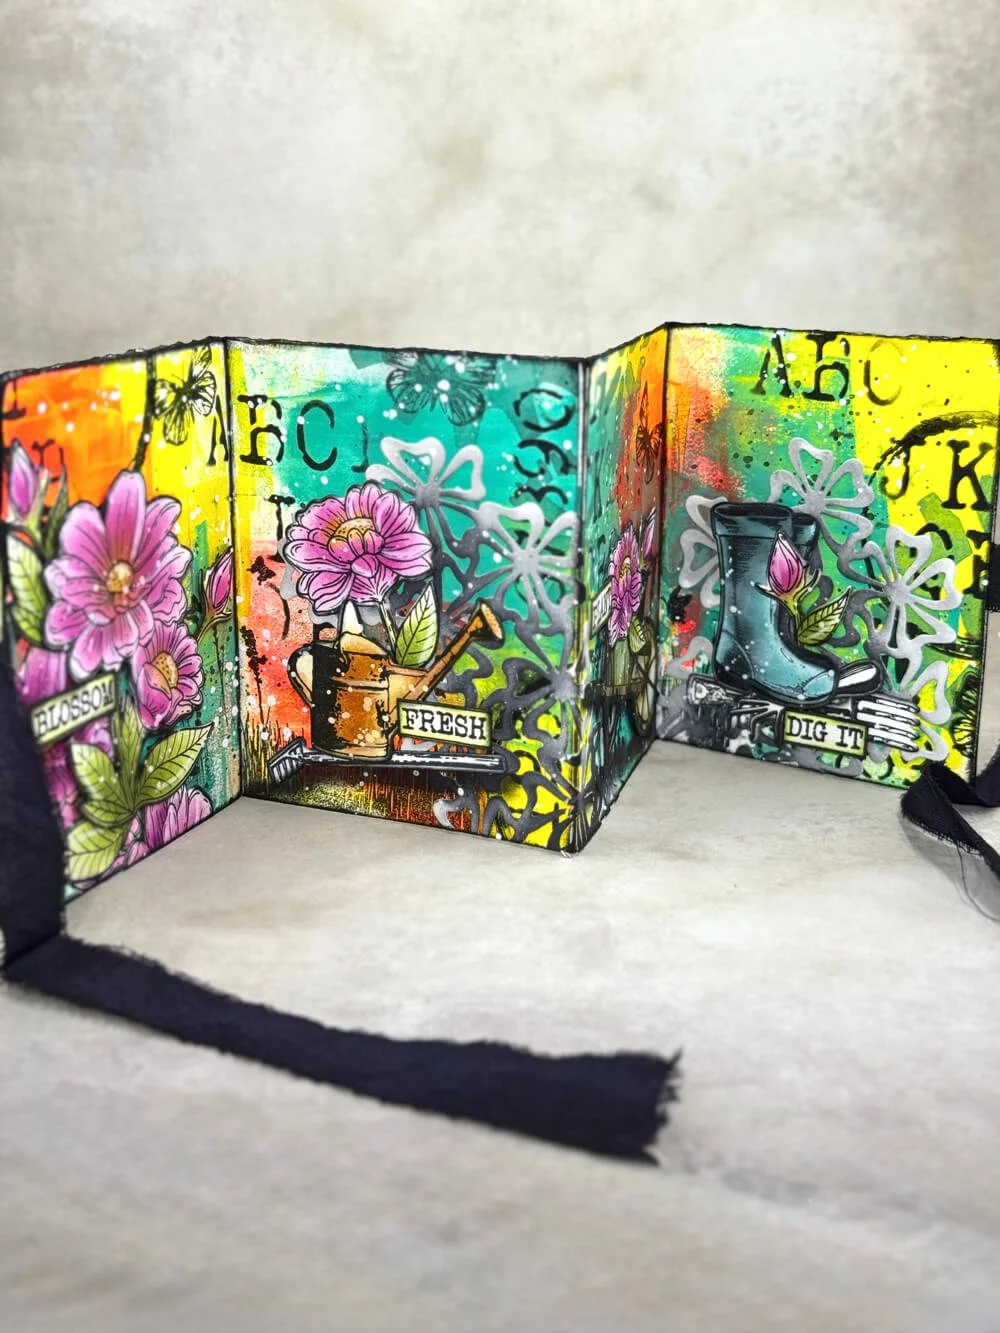
Come join us and get those creative juices flowing! If you're into art journaling and looking for some fresh ideas, you'll love learning how to make your very own concertina book. Get super creative, a little inky, and make something awesome for yourself or someone special. And the best bit? You can totally use this cool idea again and again!
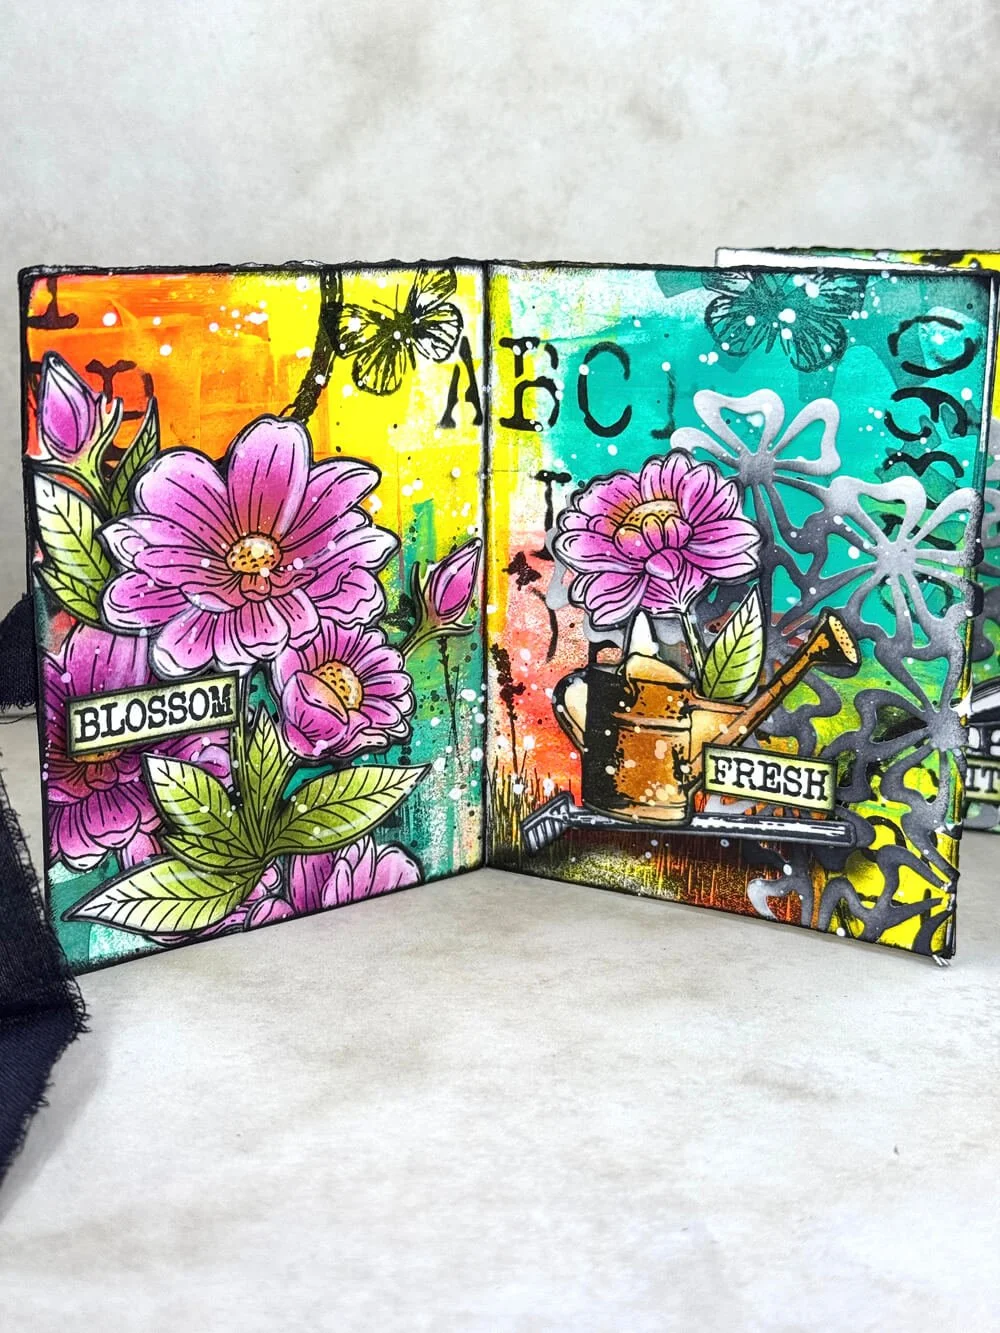
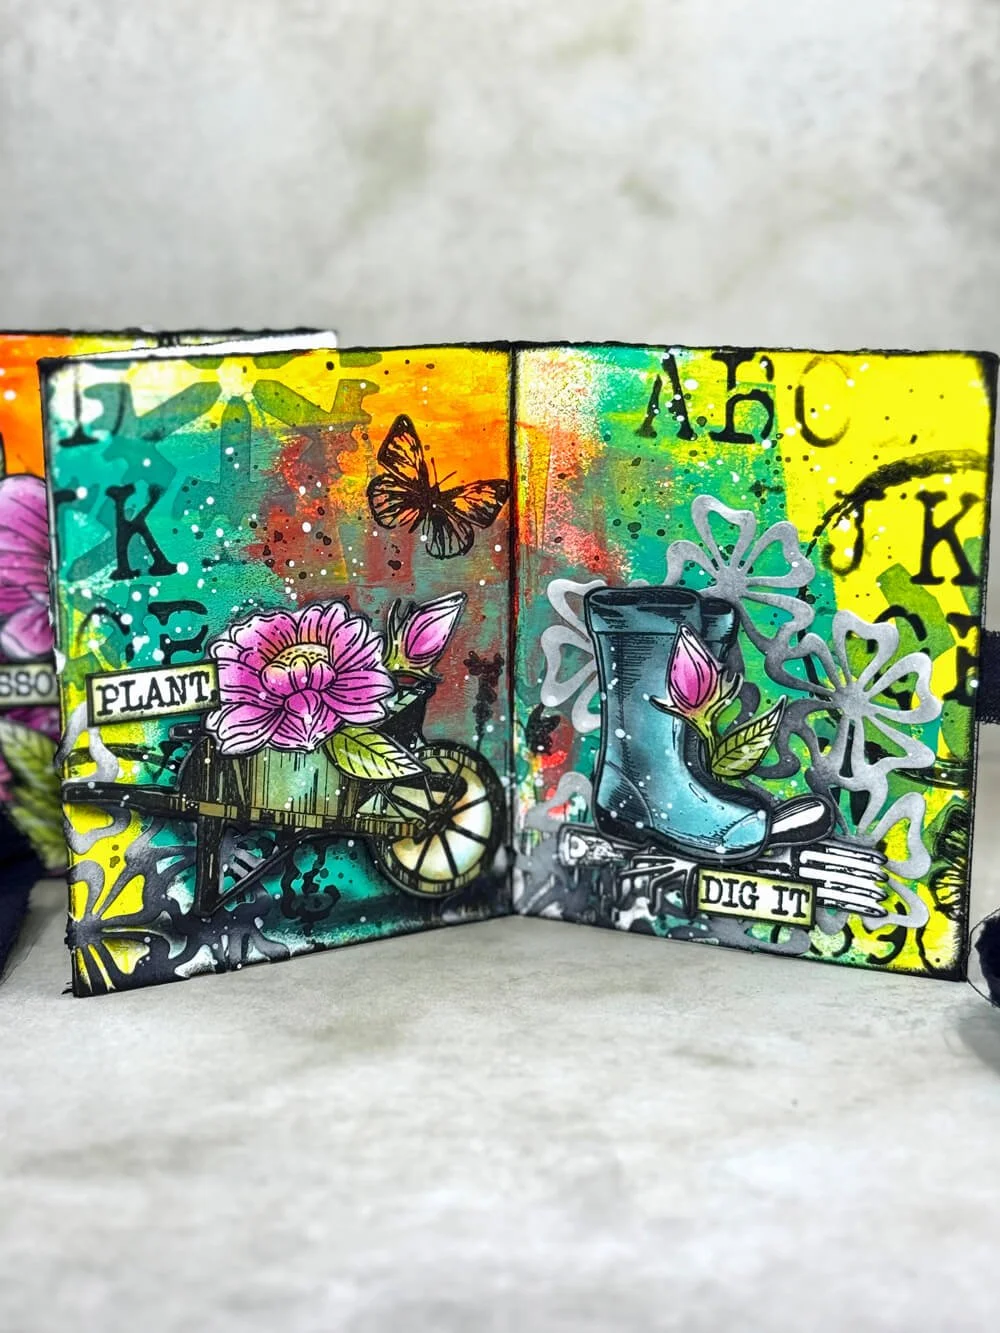
Hey friends, Susanna here with a fun, colorful concertina book project using the Art Journal Specials collection. This is customizable to any size, theme, or even to showcase your photos. So let's get to it.
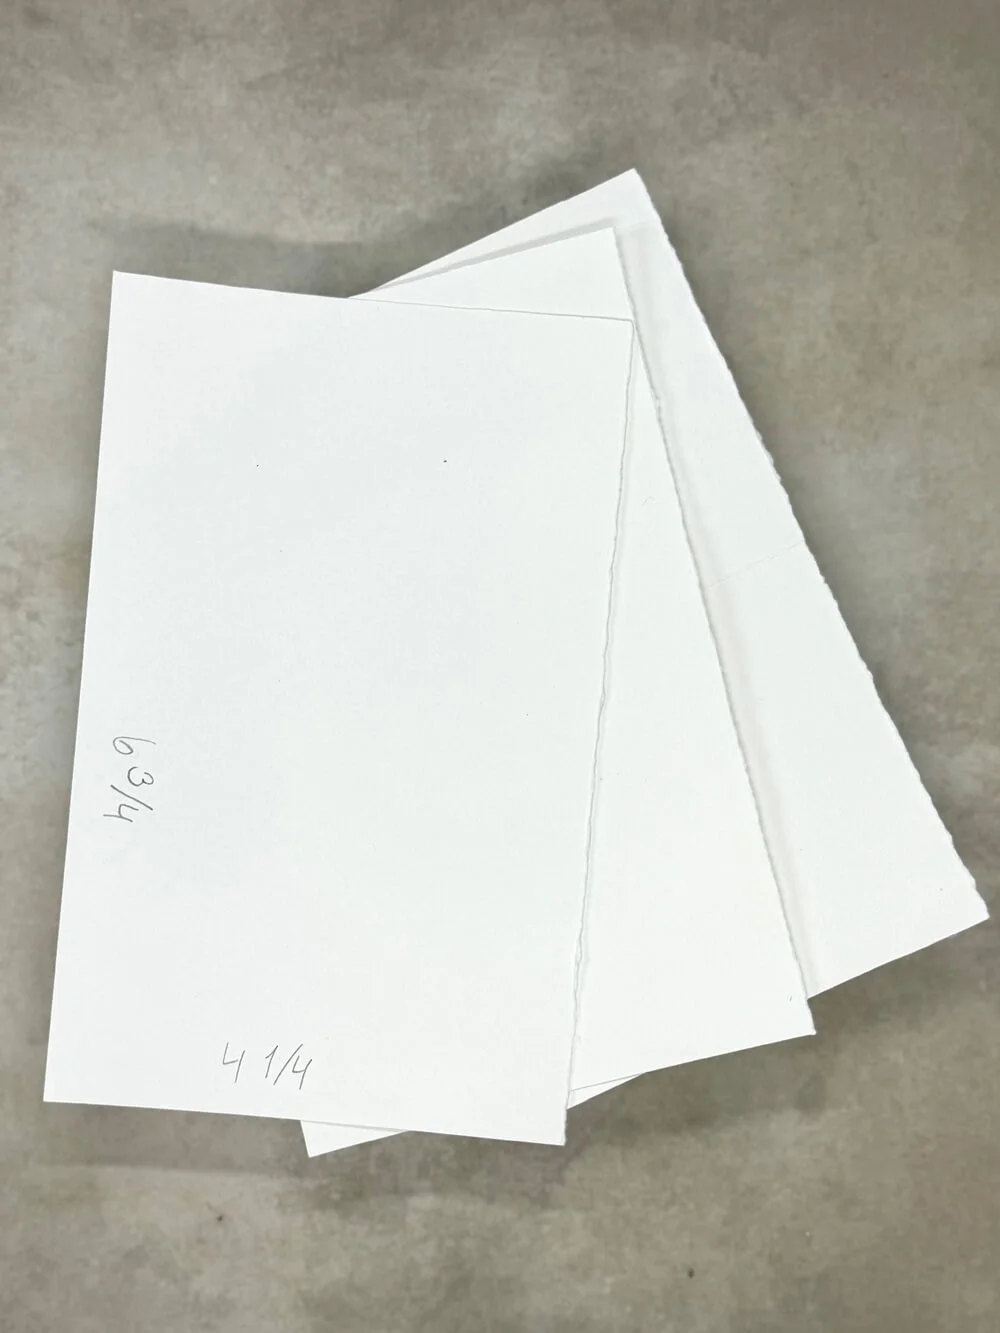
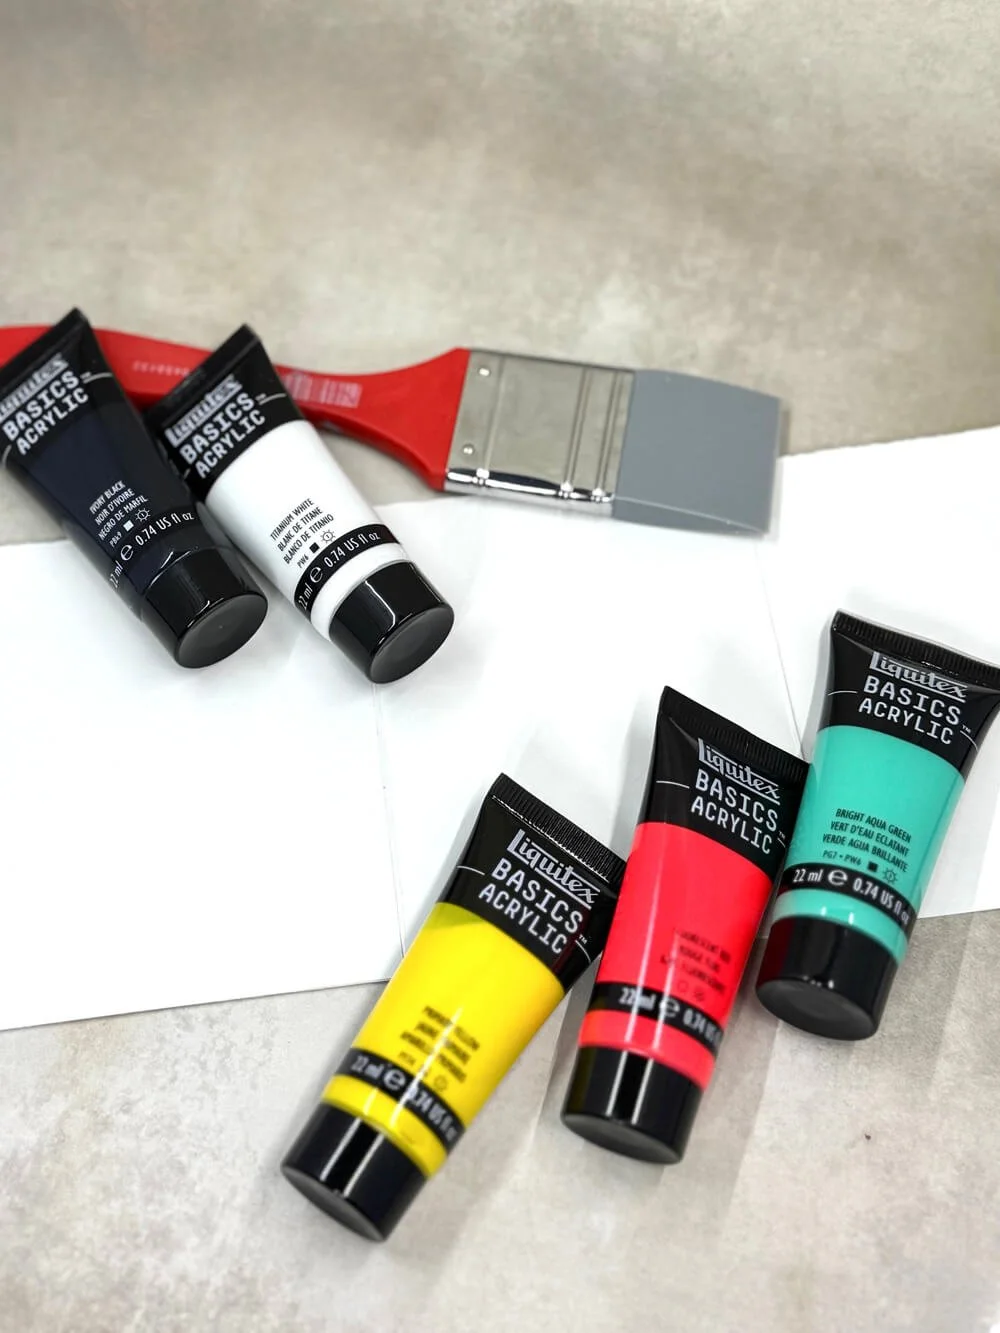
Step 1: Cut the cardstock to the correct size. I used ECD Soft Finish Cardstock, which is 240g/90LB. The cardstock you use can
be lighter, but I wouldn't recommend anything much thicker than this. You need at least three (3) main pages and a front
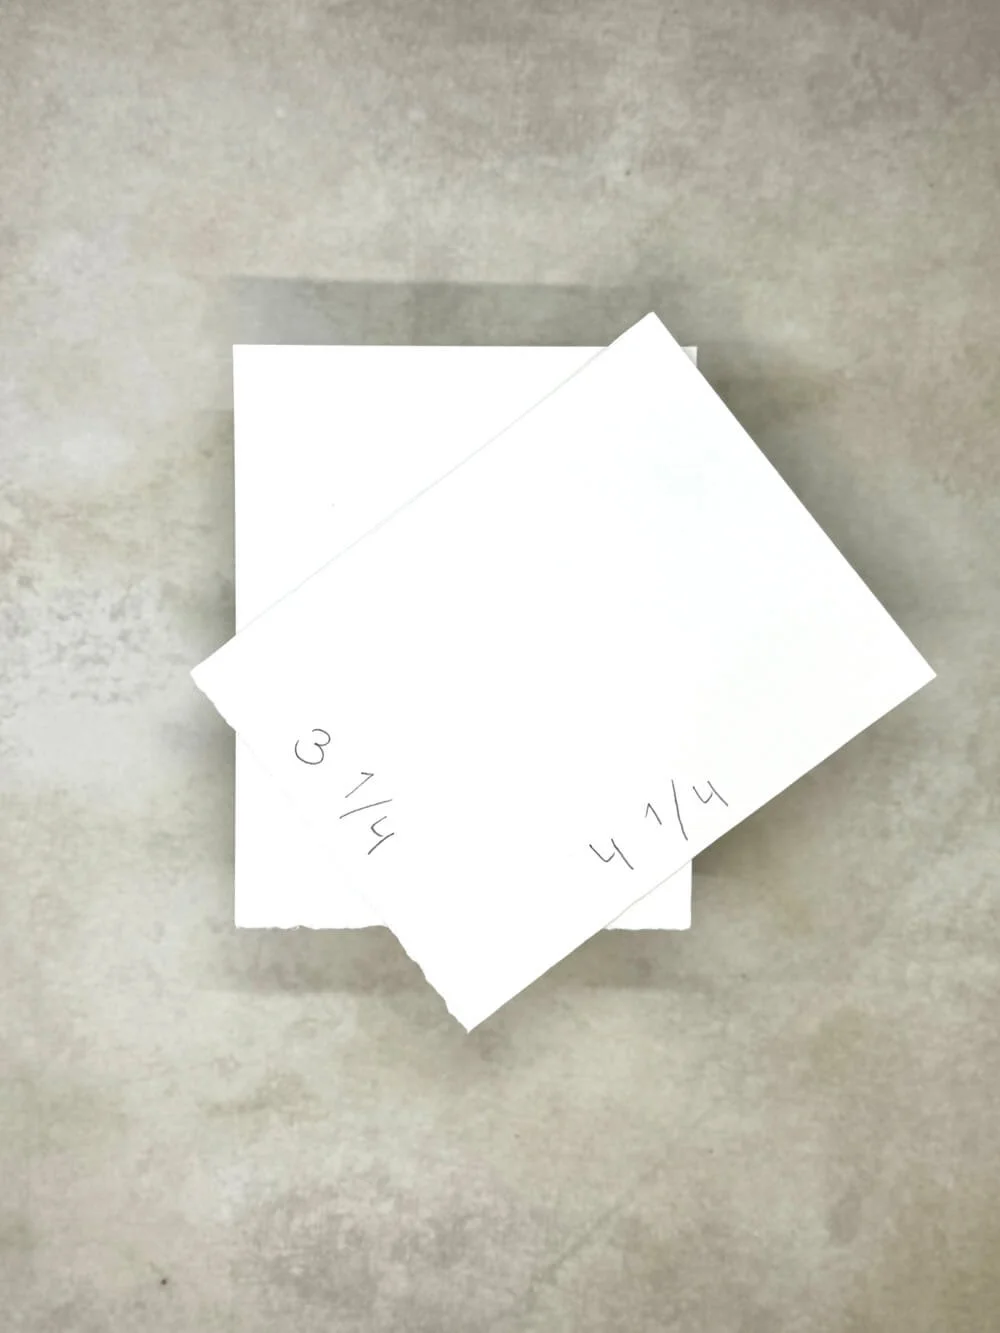
and back cover. My main pages measure 63⁄4 x 41⁄4 inches. And the front and back cover are 31⁄4 x 41⁄4 inches.
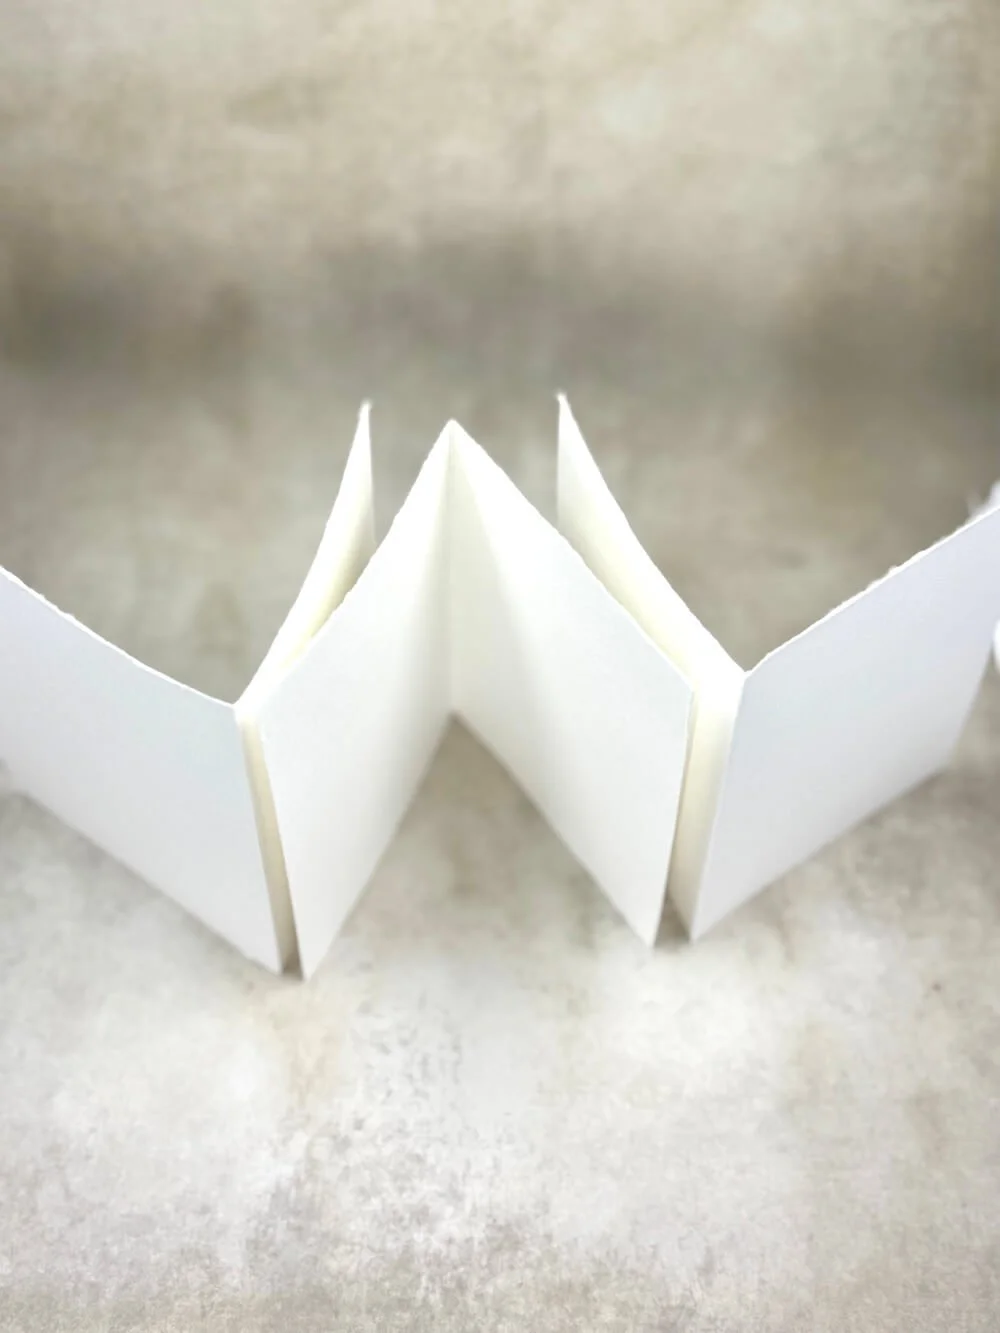
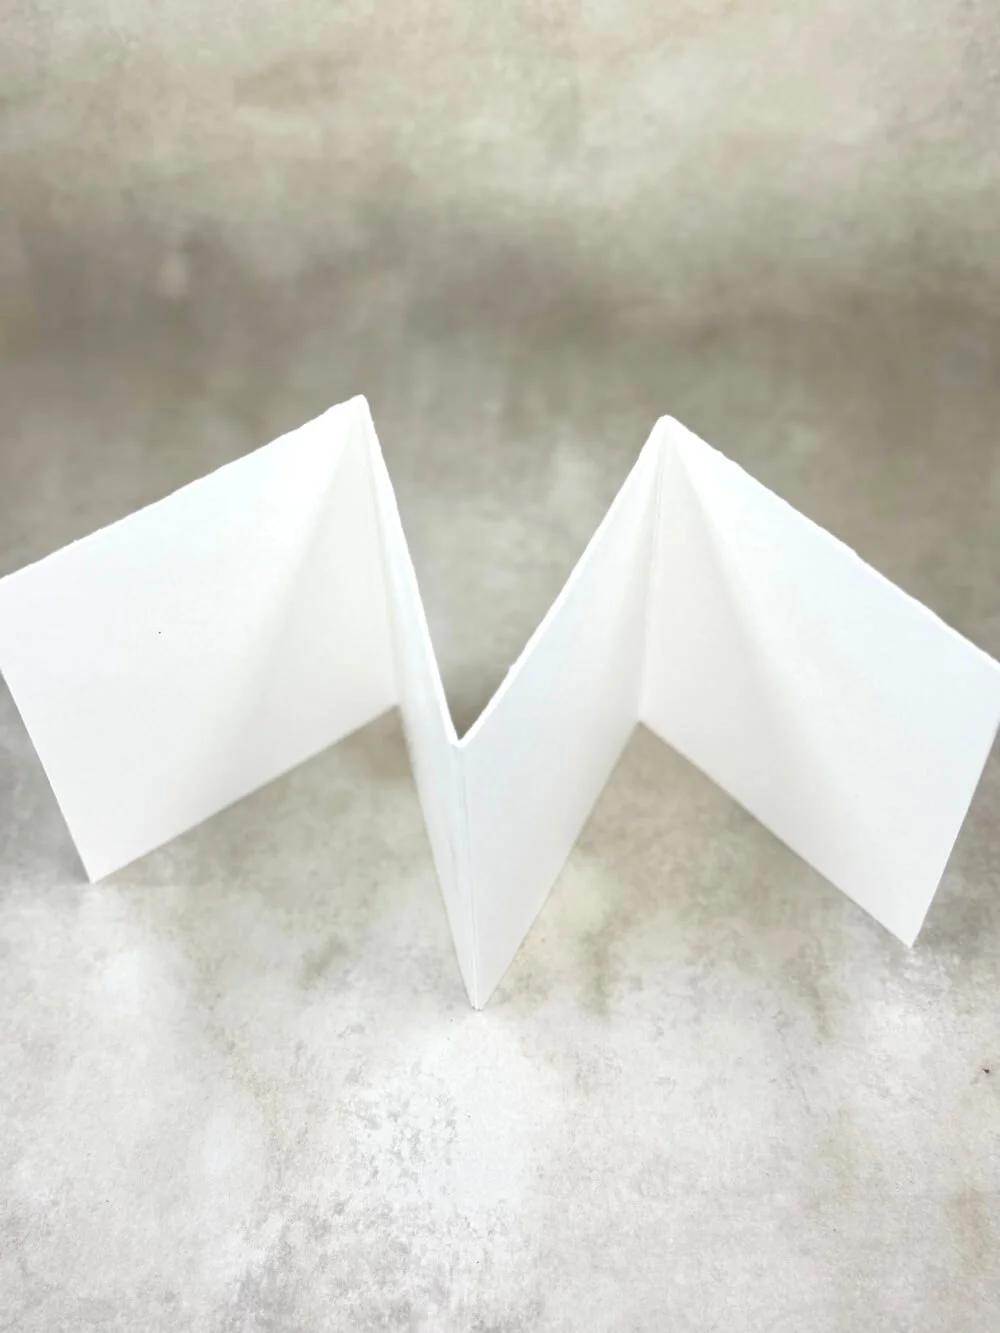
Step 2: Lay out your main pages and fold them in half vertically. Stand the folded pages up and arrange the pages so that every
other fold is facing you and every other fold is facing away. Once the pages are in order, glue the opposite pages
together.
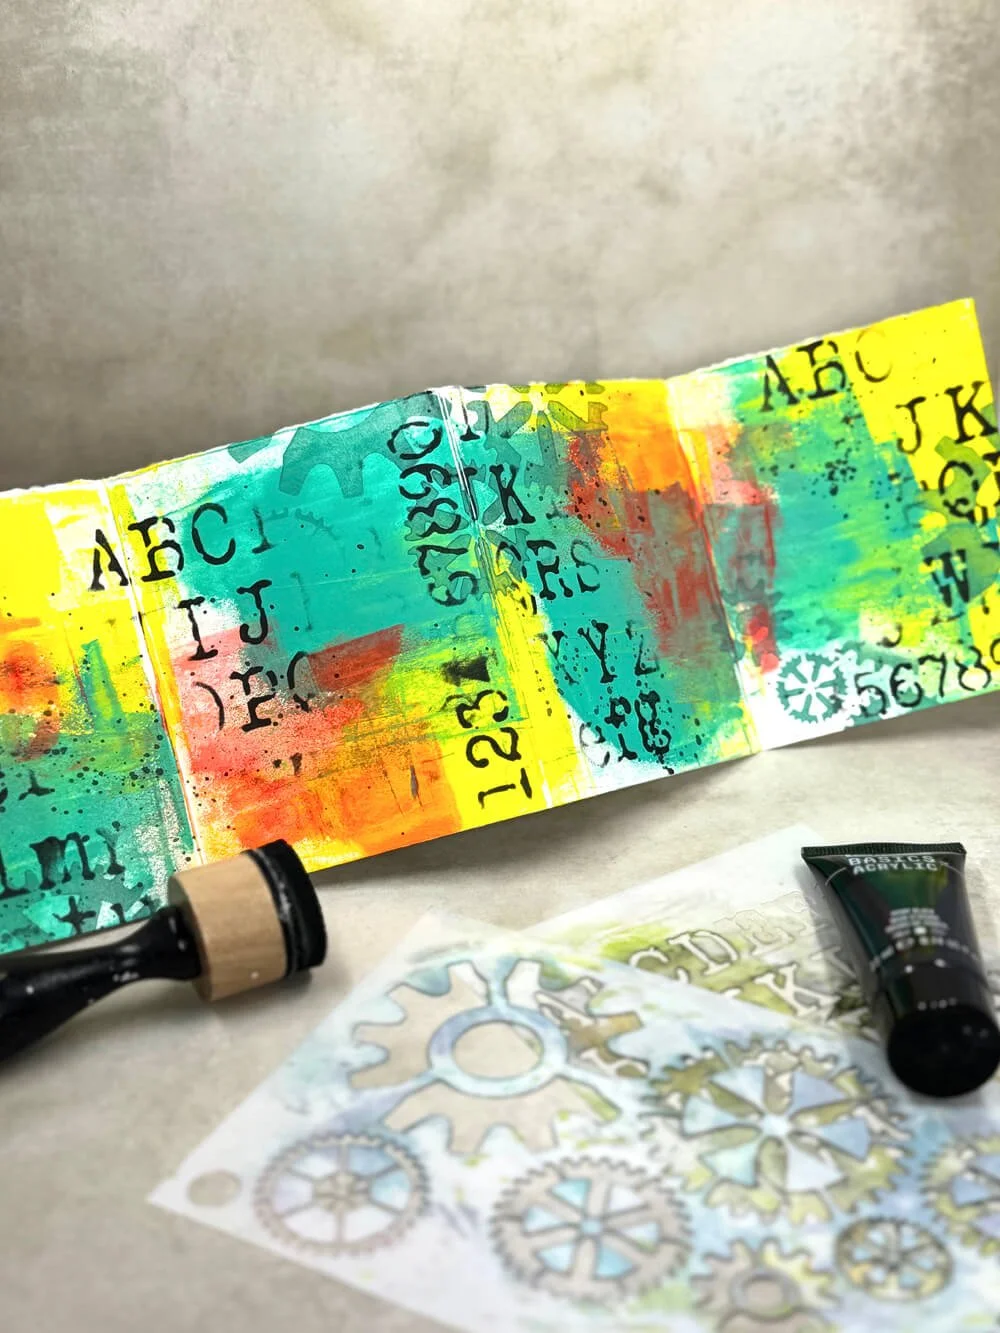
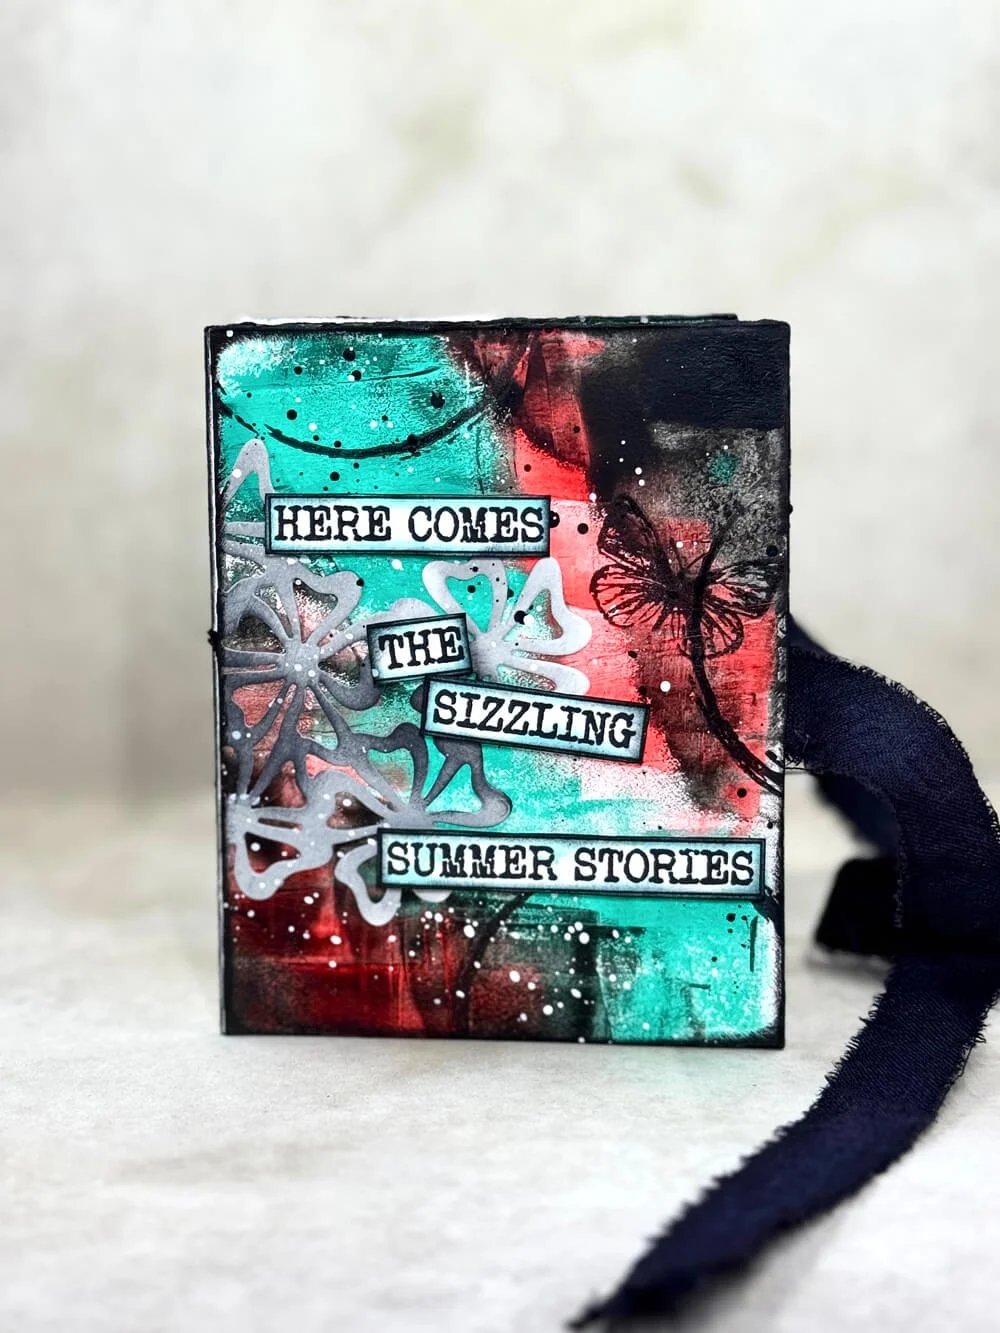
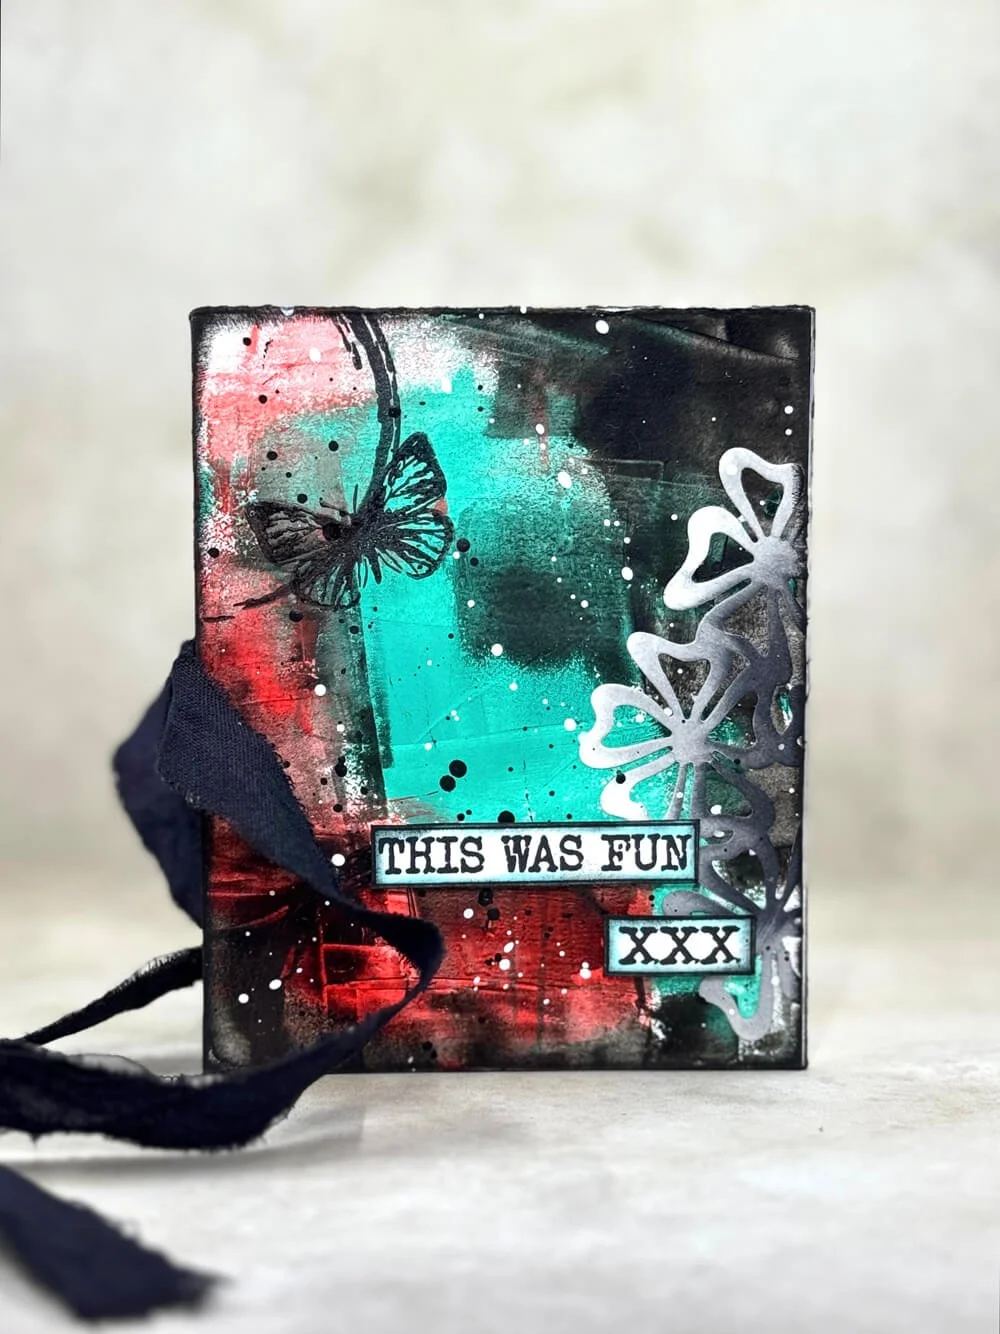
Step 3: Once the glue has dried properly, take out the acrylic paints. I used three colours plus white and black for details on the main pages and two of the same colours for the front and back covers. Lay the connected pages open flat on the table. Apply the paint with a silicone brush in a very abstract way, leaving some white cardstock visible as well. It is a good idea to let the paint dry between colours if you don't want the colours to mix. Once the base paint layer is dry, it's time to apply the stencils and stamps. I used two different stencils and applied the paint with an ink blending tool. For the first stencil layer, choose a color from the background, and with the second stencil use black paint to give the page some structure and contrast. The leftover black paint can be used with an ink blending tool to ”ink” all the edges and folds, as well as some splatters. Finishing the pages with stamping.
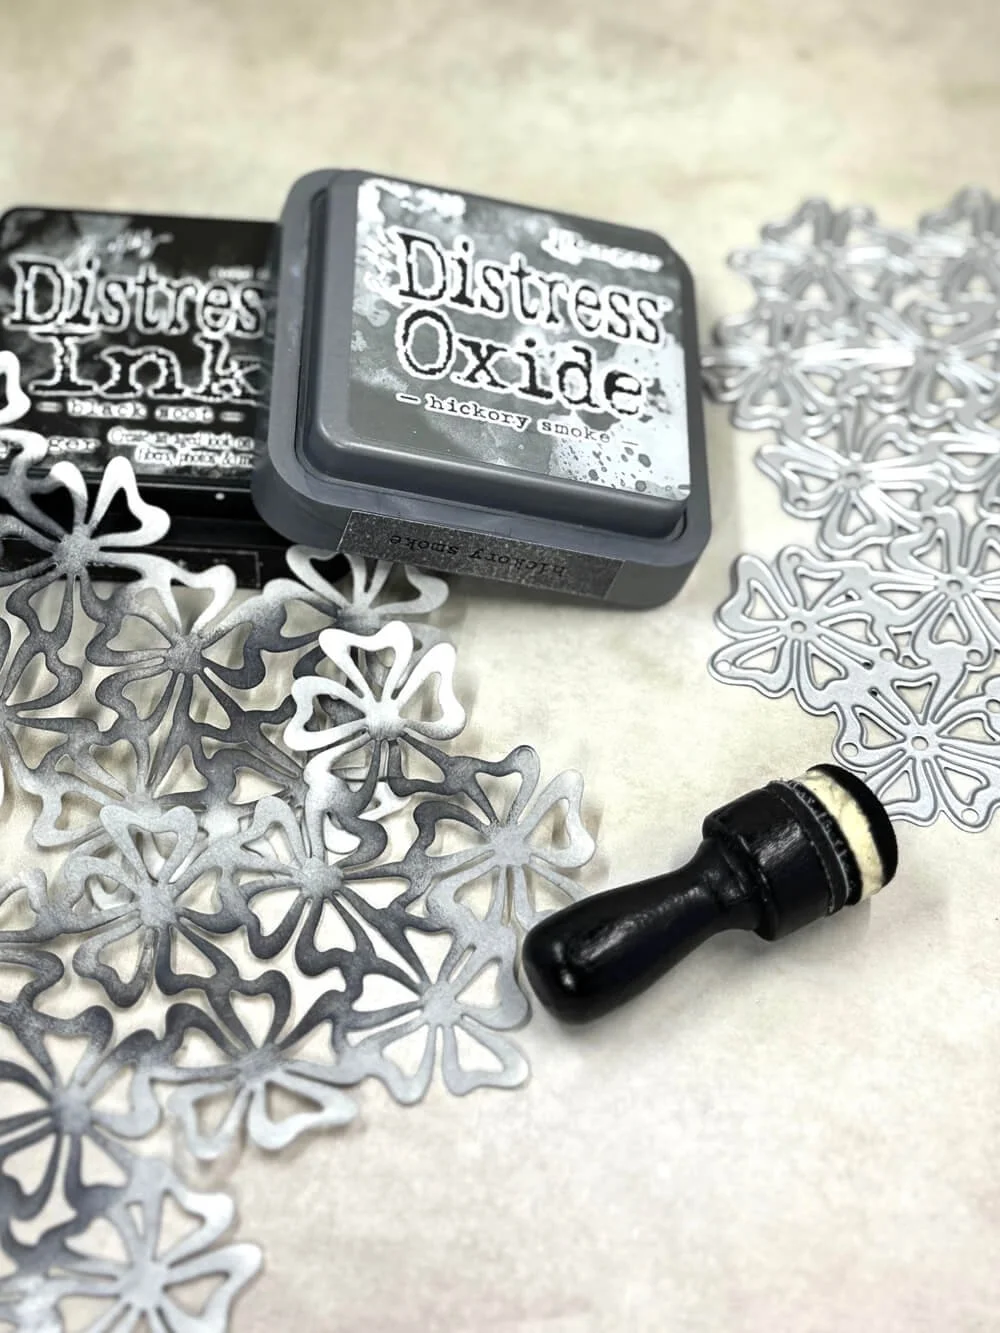
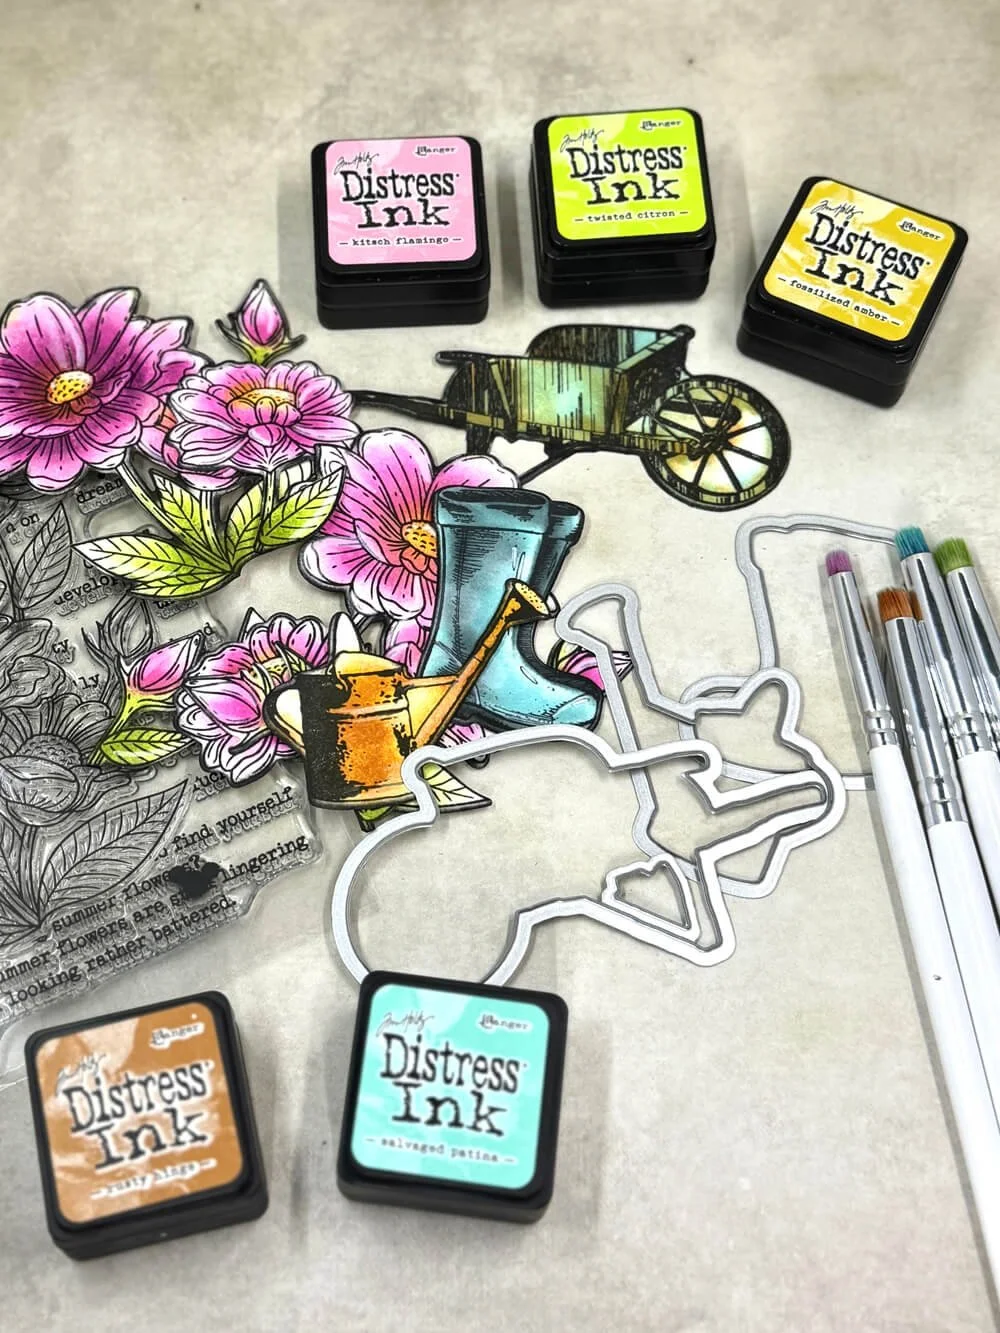
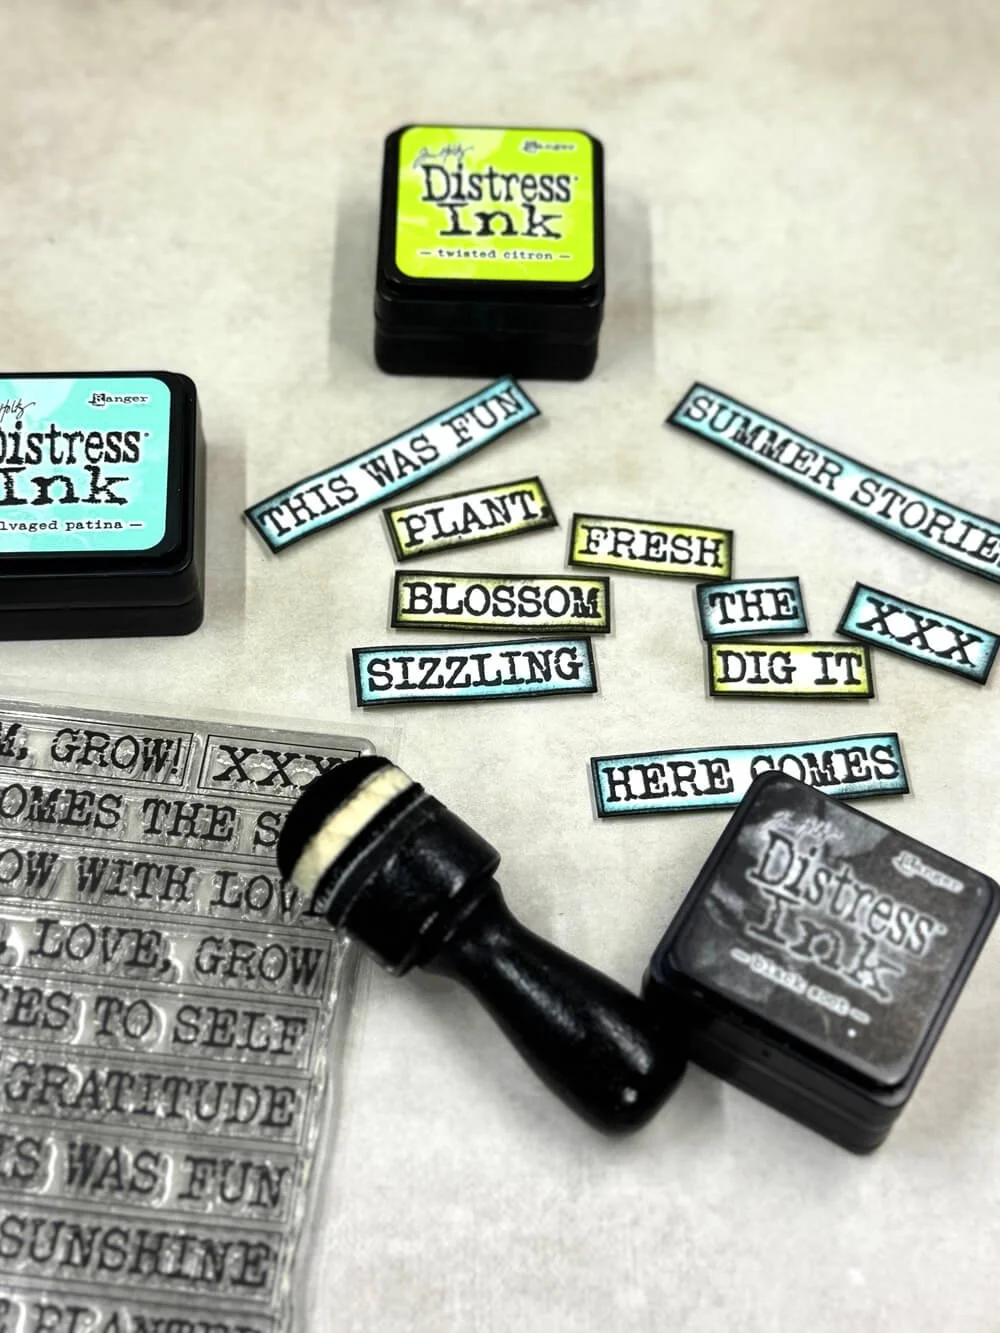
Step 4: Next, we need to prepare elements and decorations. All the elements used to decorate the book are stamped with black permanent ink and coloured with Distress Inks using brushes and ink blending tools.
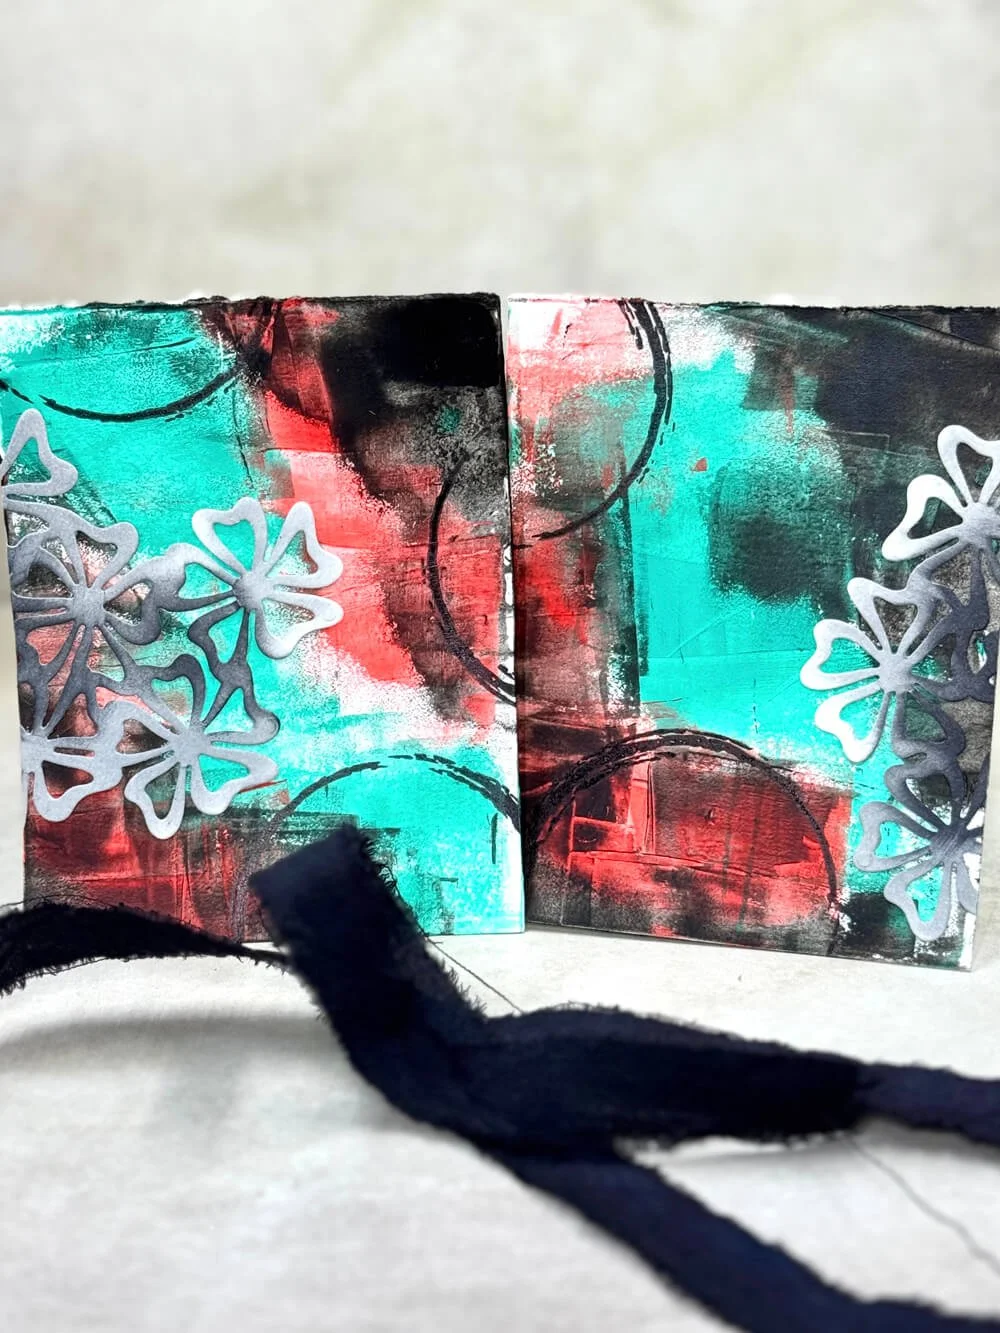
Step 5: To finish, the front and back covers are glued in place. Top tip: It is a good idea to glue the ribbons under the covers so that they are partially between the cover and the main page. Now it’s finally time to decorate the pages and add finishing touches. Use foam tape on some of the elements and texts to add dimension and highlight them more from the background. Once everything is added and glued in place, add white splatters to all the pages and covers.
Thanks for stopping by - I hope this tutorial inspires you to have fun with paints and colours together with your Elizabeth
Craft Designs stash.


