Playful Halloween Crafting: Bold Colors and Cute Characters!
Looking to brighten up your spooky season crafting with a playful, non-traditional Halloween card that pops right off the page? In this tutorial, learn to create rich, simple backgrounds using a tone-on-tone striped paper paired with die-cut characters in bold colors from the adorable Snuggle Season Collection by Cute & Whimsical and Elizabeth Craft Designs.
Read on for the full step-by-step guide and explore the complete supply list below to recreate this whimsical look!
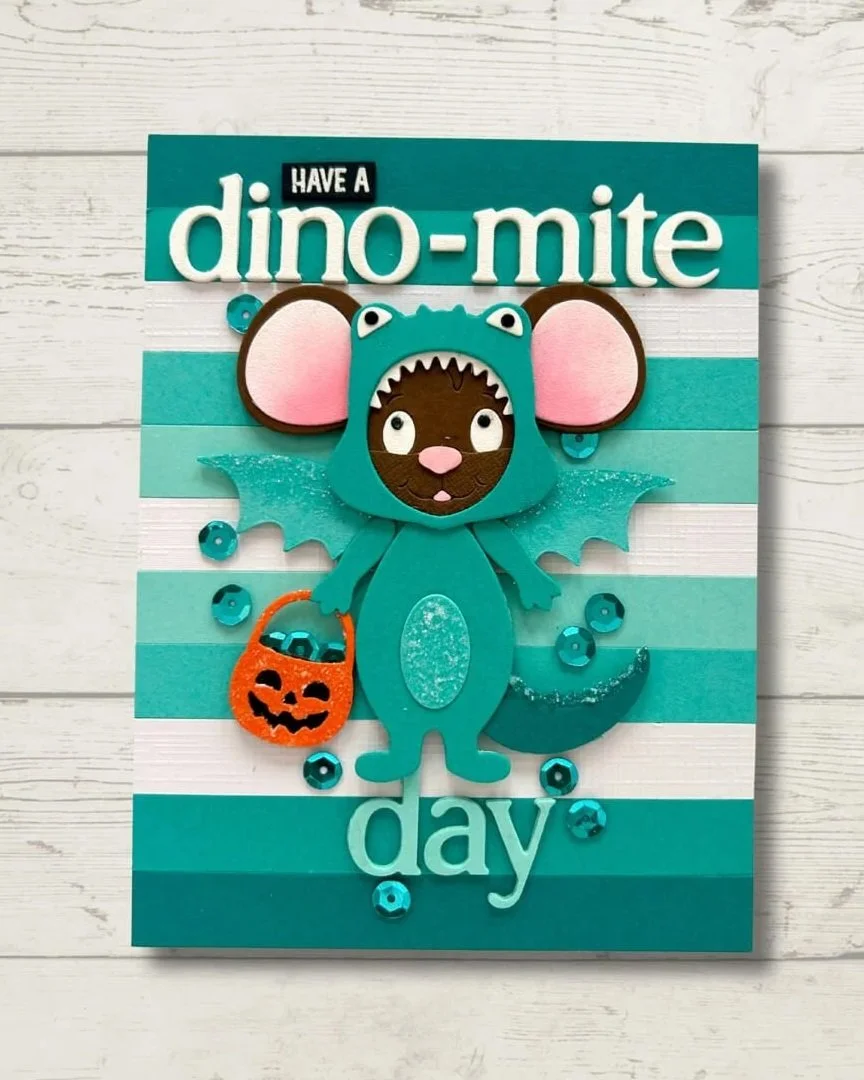
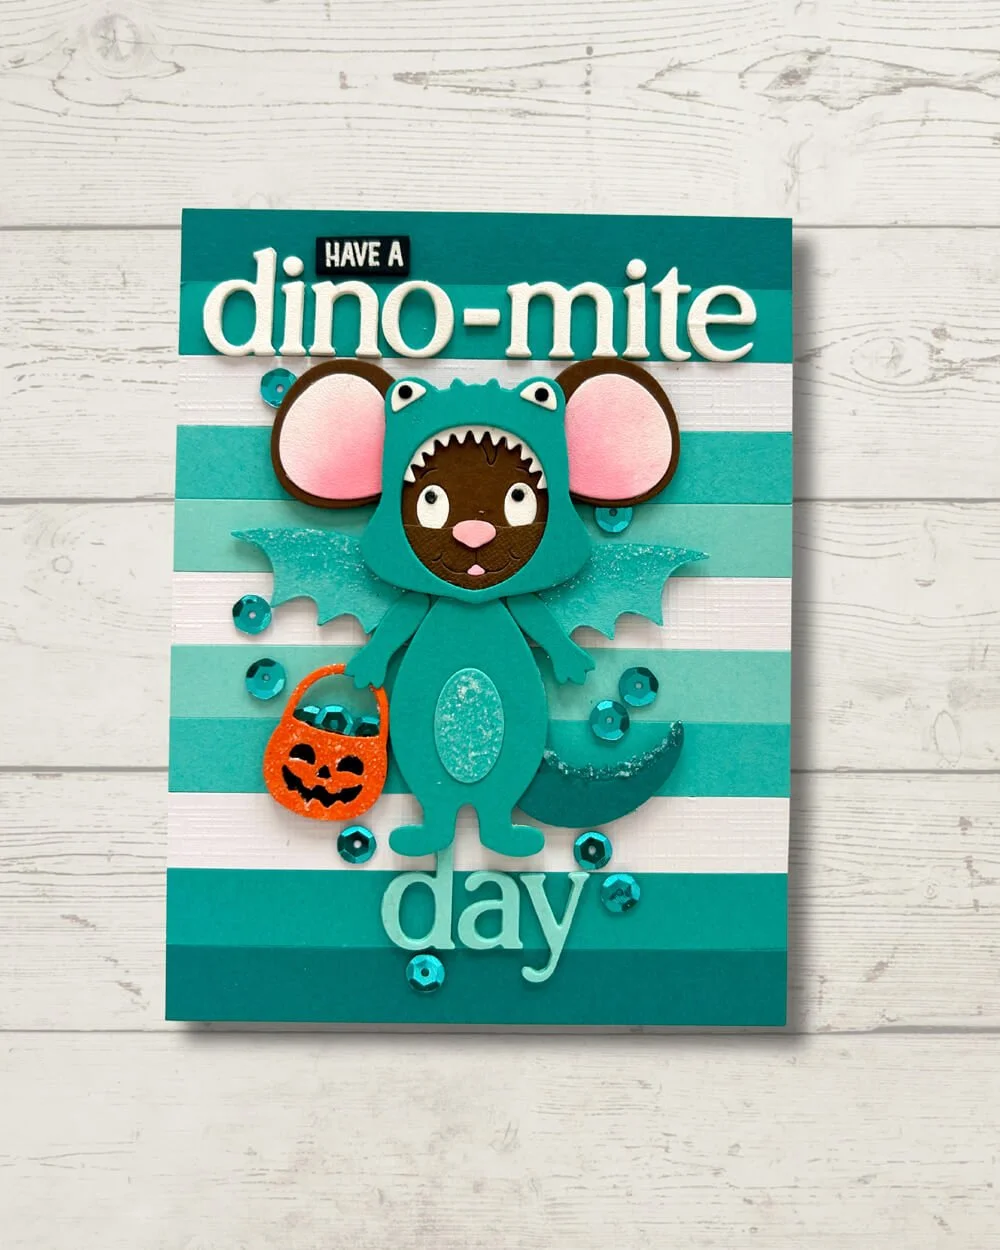
Hi everyone! This is Liliana, and today I’m sharing a fun, vibrant Halloween card that combines playfulness with clean design – starring the adorable Snuggle Season collection by Cute & Whimsical and Elizabeth Craft Designs. To make this little dino-mouse pop, I created a striped, tone-on-tone teal background that adds rich texture and depth without overwhelming the main character. Read on for a step-by-step look at how to layer your die-cuts and pull together a bright, non-traditional Halloween palette. Let’s walk through how it all comes together.
Step 1: Create the Striped Background
To begin, die-cut a panel from cardstock measuring 4 1/4” x 5 1/2”, the standard size for an A2 card front.
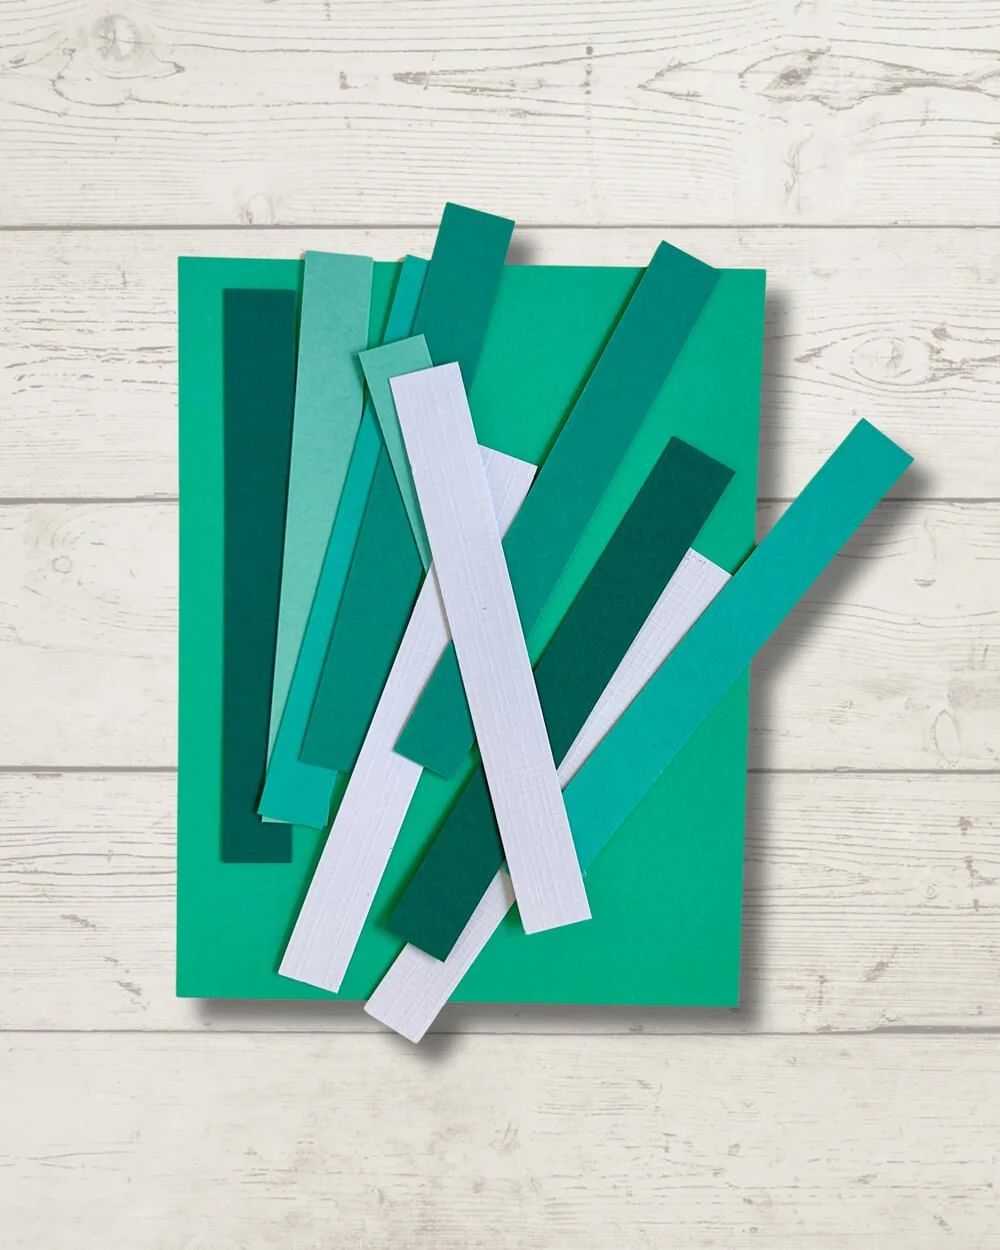
Next, cut 11 strips of cardstock, using different shades of teal and white. Each strip should measure 1/2” x 4 1/4”.
Arrange the strips from light to dark, alternating the shades of teal with white to create a soft, striped background. Once you are happy with the arrangement, adhere the strips side by side to the die-cut panel, keeping the edges and spacing as even as possible. This simple striped background creates a beautiful foundation for the card and gives us plenty of color and texture without overpowering the focal elements.
Tip: I like to arrange all the strips before gluing them down. This makes it easy to adjust the color sequence and create a balanced combination of the different teal shades.
Step 2: Creating the Focal Point
Now let’s create the adorable focal point of the card! We’ll start with the dinosaur costume, then add our little mouse and the pumpkin basket.
The Dinosaur Costume
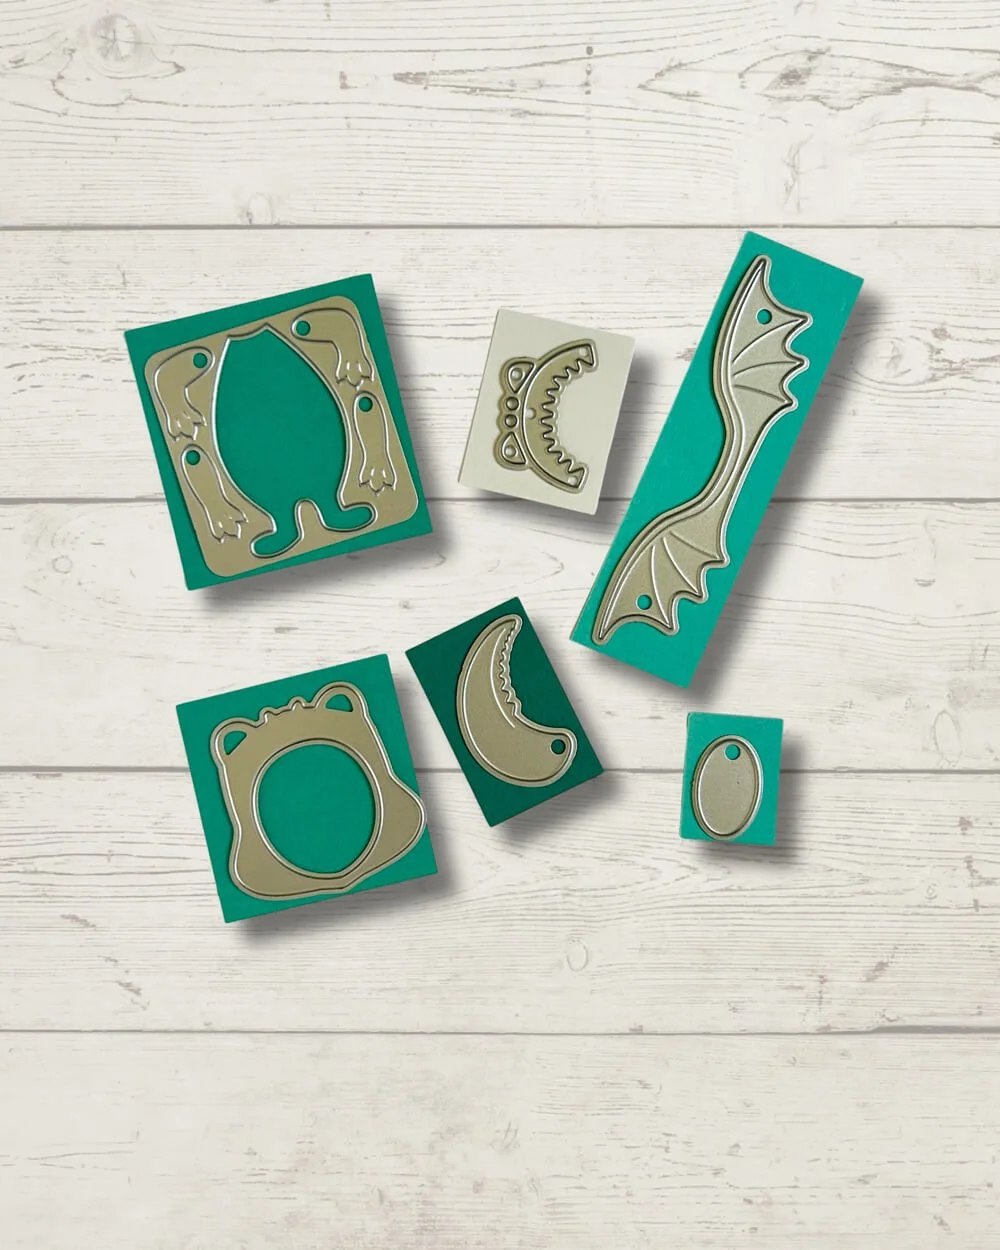
Die-cut all the pieces needed to assemble the dinosaur costume from the appropriate cardstock colors.
A little note about the photos: the dies are shown with the cutting edges facing up. I’ve positioned them this way to give you a better view of all the individual pieces and make it easier to identify which dies you need for the project.
Once all the pieces have been die-cut, ink, blend, and assemble the dinosaur costume.
The Mouse
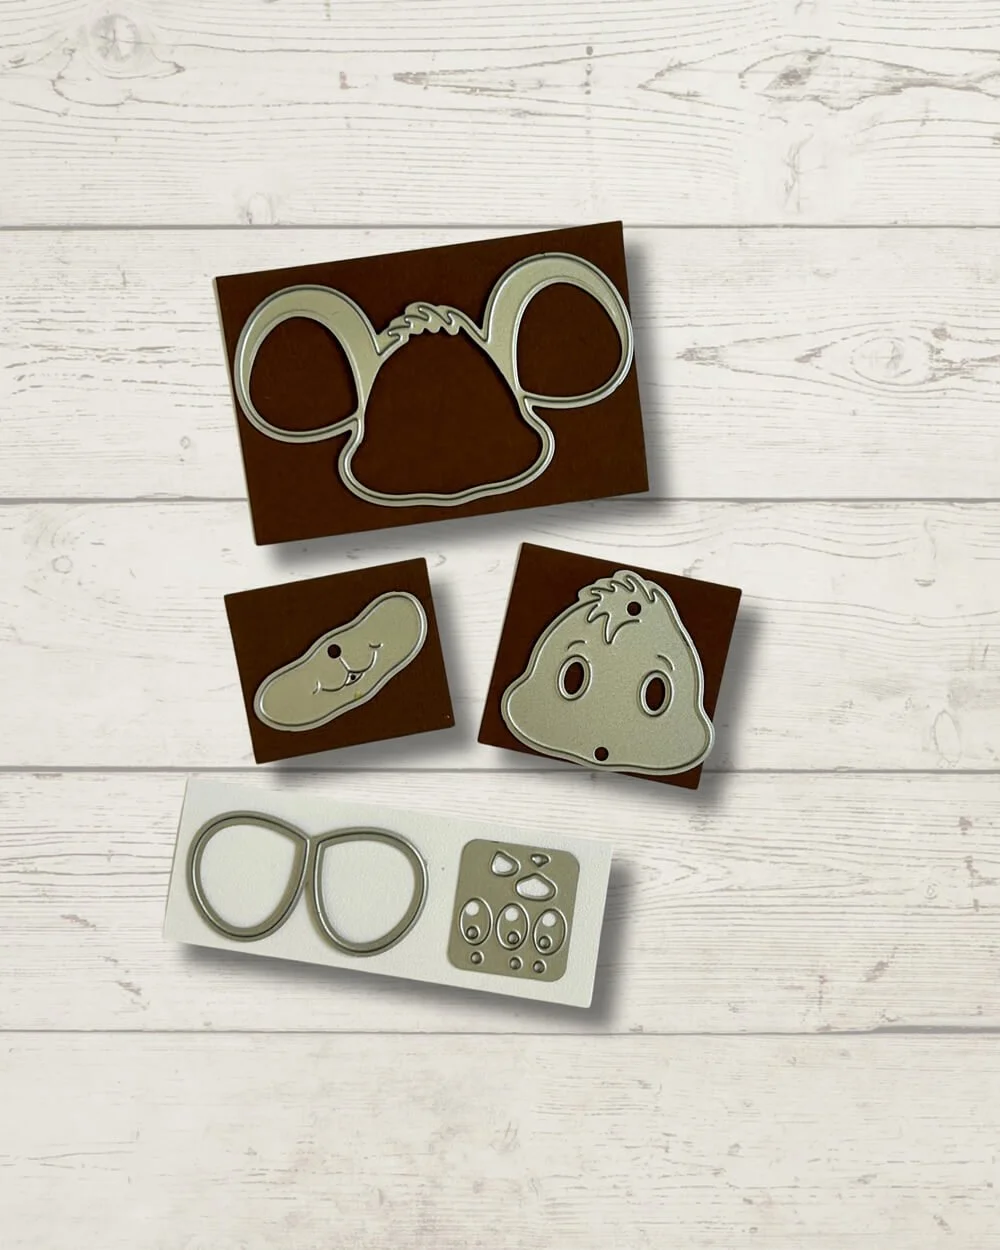
Next, die-cut the pieces needed for the mouse.
Since only the mouse’s head will be visible once the card is assembled, there’s no need to die-cut the additional pieces used to create the rest of the body. This saves a little time and cardstock while keeping the focus exactly where we want it!
Ink blend and assemble the mouse’s head, adding the small details to bring our little character to life.
The Pumpkin Basket
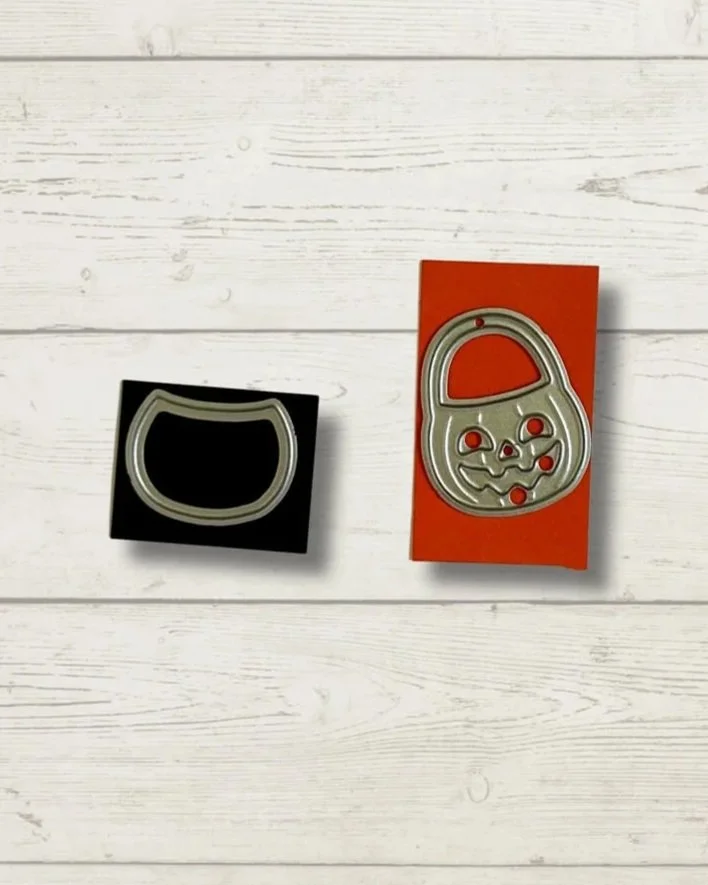
Finally, let’s create the little pumpkin basket.
For this element, only two dies are needed. Die-cut both pieces and assemble the basket.
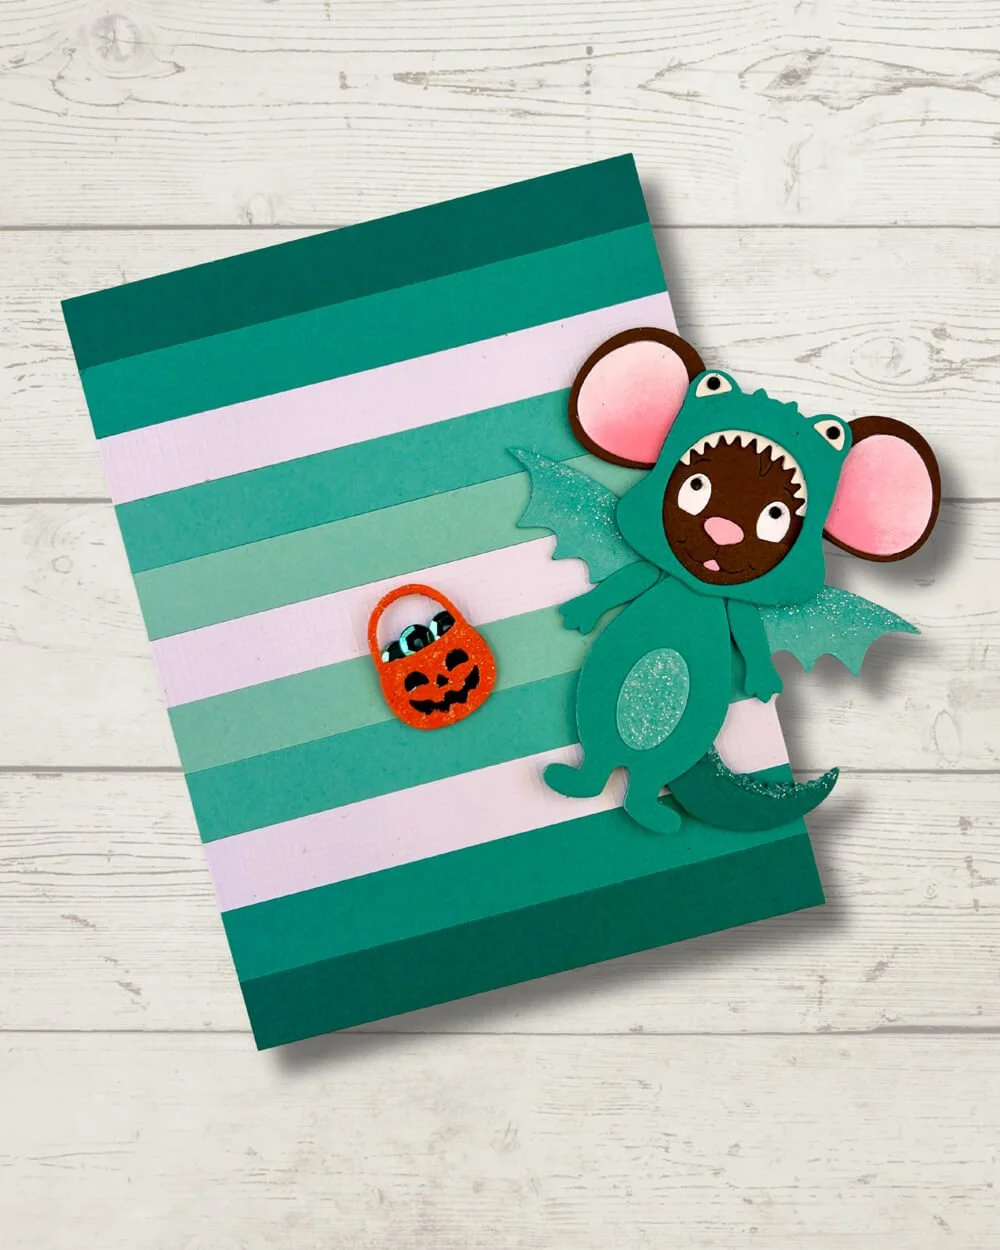
Once these three elements are ready—the dinosaur costume, the mouse, and the pumpkin basket—we have our focal point complete and are ready to bring everything together on our striped background.
Adhere the front panel to a top-folding A2 card base.
Step 3 – Creating the Sentiment
The Snuggle Season Collection includes an amazing sentiment stamp set that would be perfect for this card. However, I decided to use just part of one of the sentiments and create the rest myself, giving me the freedom to customize the message to suit my design.
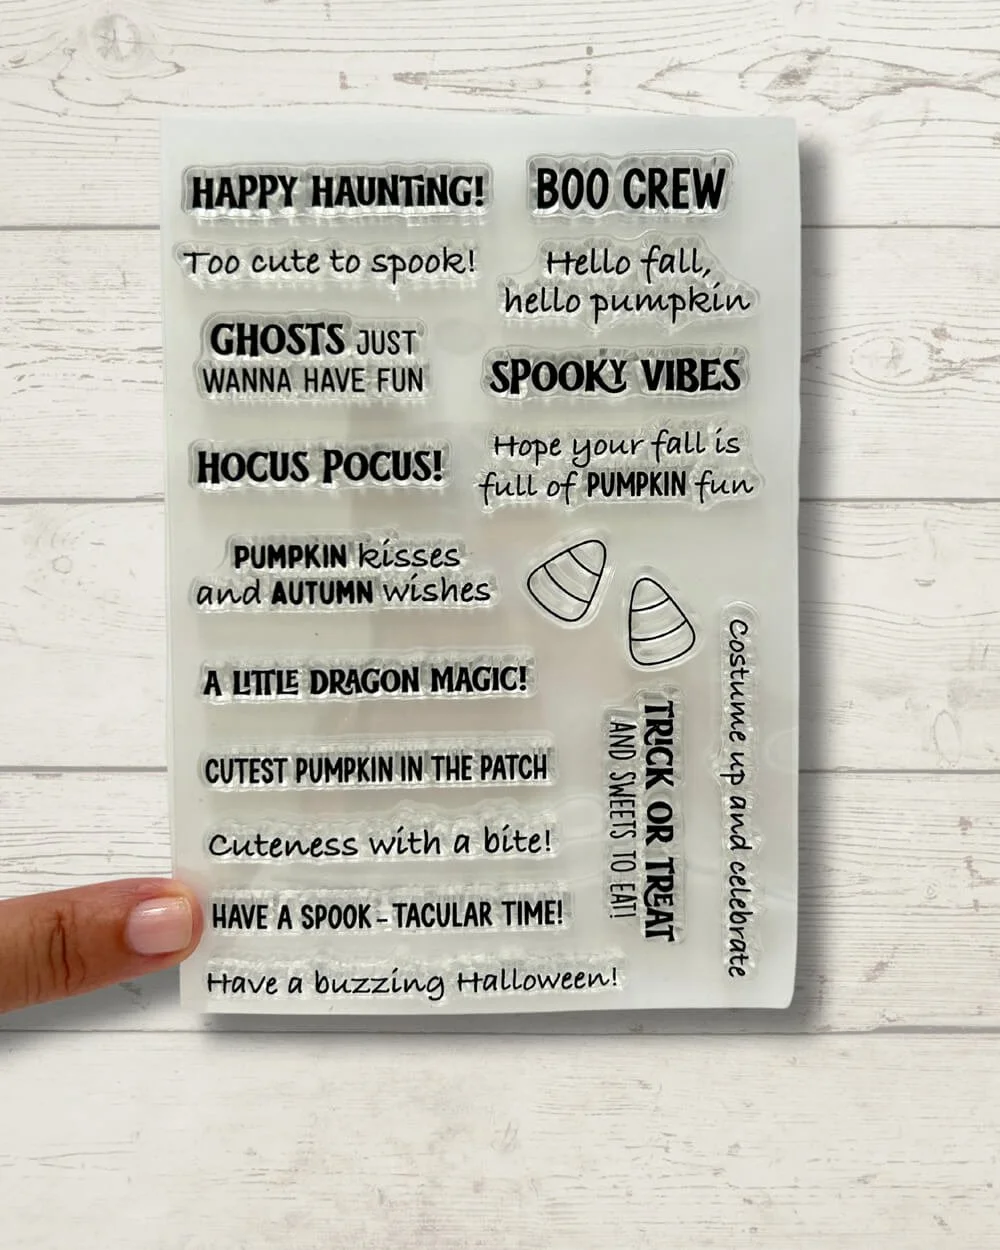
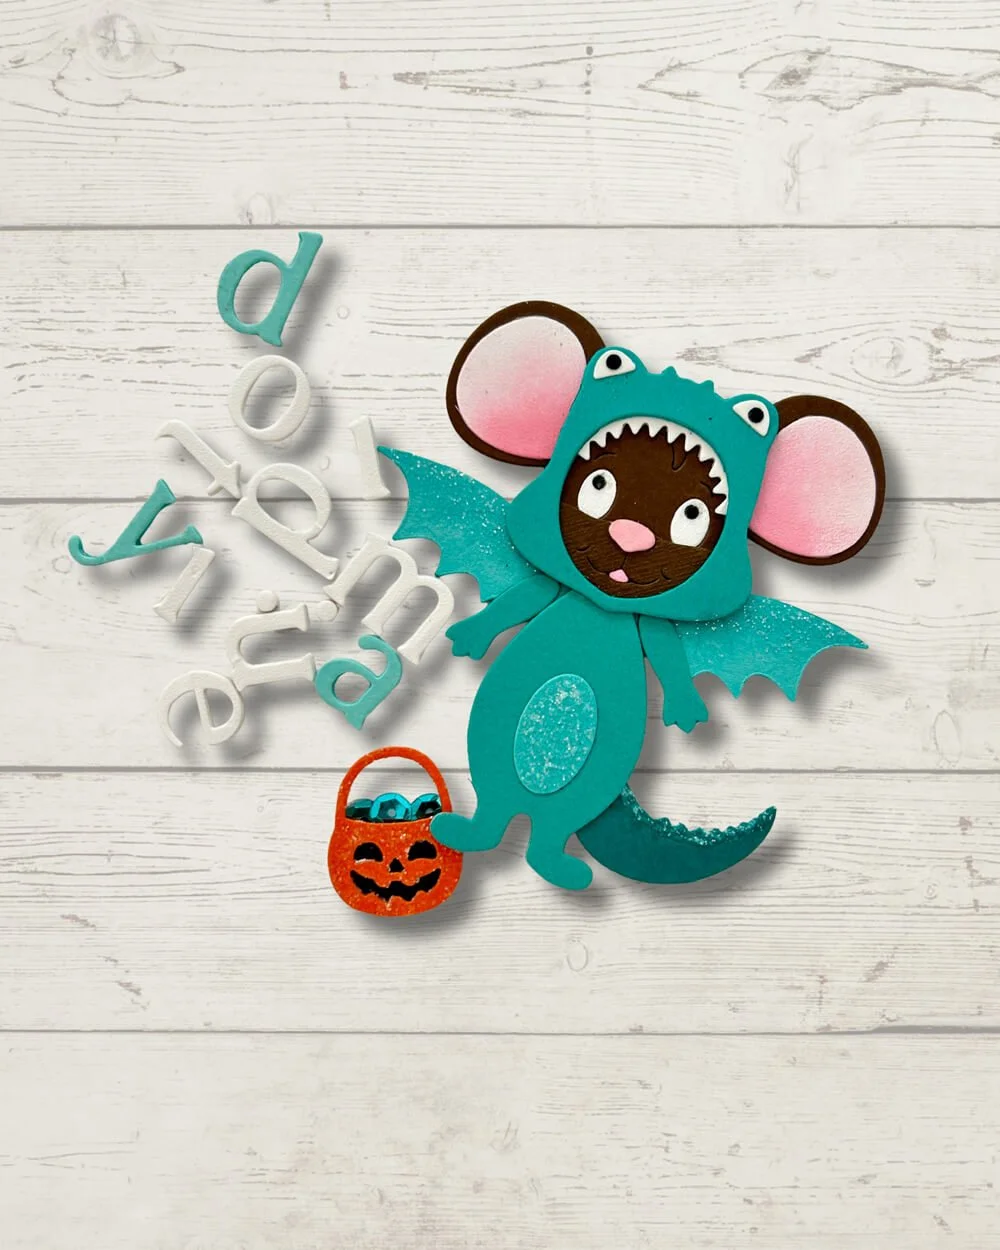
I stamped “Have a” from the sentiment and white heat-embossed it onto a piece of black cardstock, and the white embossing makes these words stand out beautifully against the colorful background.
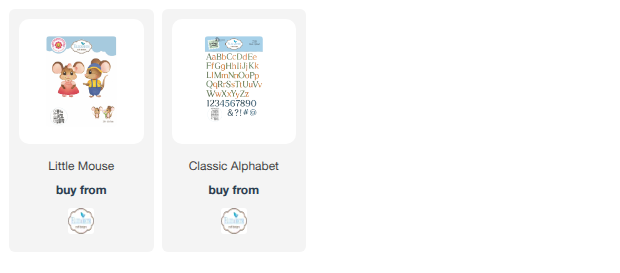
For the rest of the sentiment, I used the Classic Alphabet Die Set (2140)to create my own message. I die-cut each letter three times from cardstock and glued the three layers together. This creates a lovely dimensional sentiment that really stands out against the striped background. I love using alphabet dies this way because they let you create exactly the sentiment you have in mind while adding extra dimension and personality to your card.
Step 4: Assemble and Embellish
Finally, it’s time to bring all the elements together!
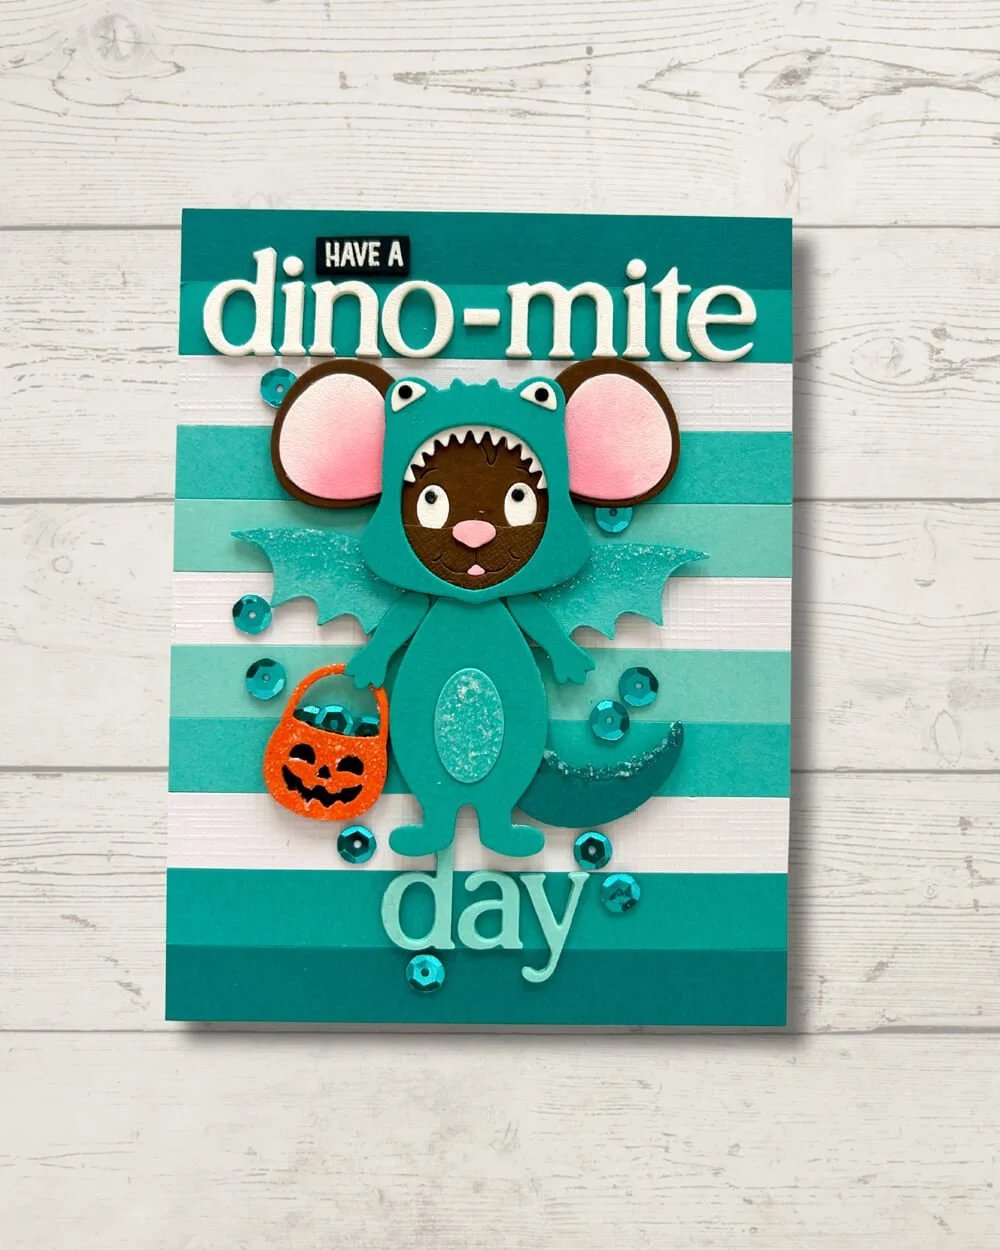
Arrange and adhere the dinosaur costume, mouse and pumpkin basket onto the striped card panel as shown in the photos. Take a little time to make sure all the elements are nicely positioned and that the different layers create a balanced composition.
For an extra touch of sparkle, I added some glitter paste to the dinosaur’s wings, belly and tail. The subtle shimmer adds a lovely bit of magic and helps these details stand out.
To finish the card, I embellished the background with a few sequins, adding just the right amount of shine without taking attention away from the adorable focal point.
And with that, our card is complete!
Step 5 – Why Stop at One?
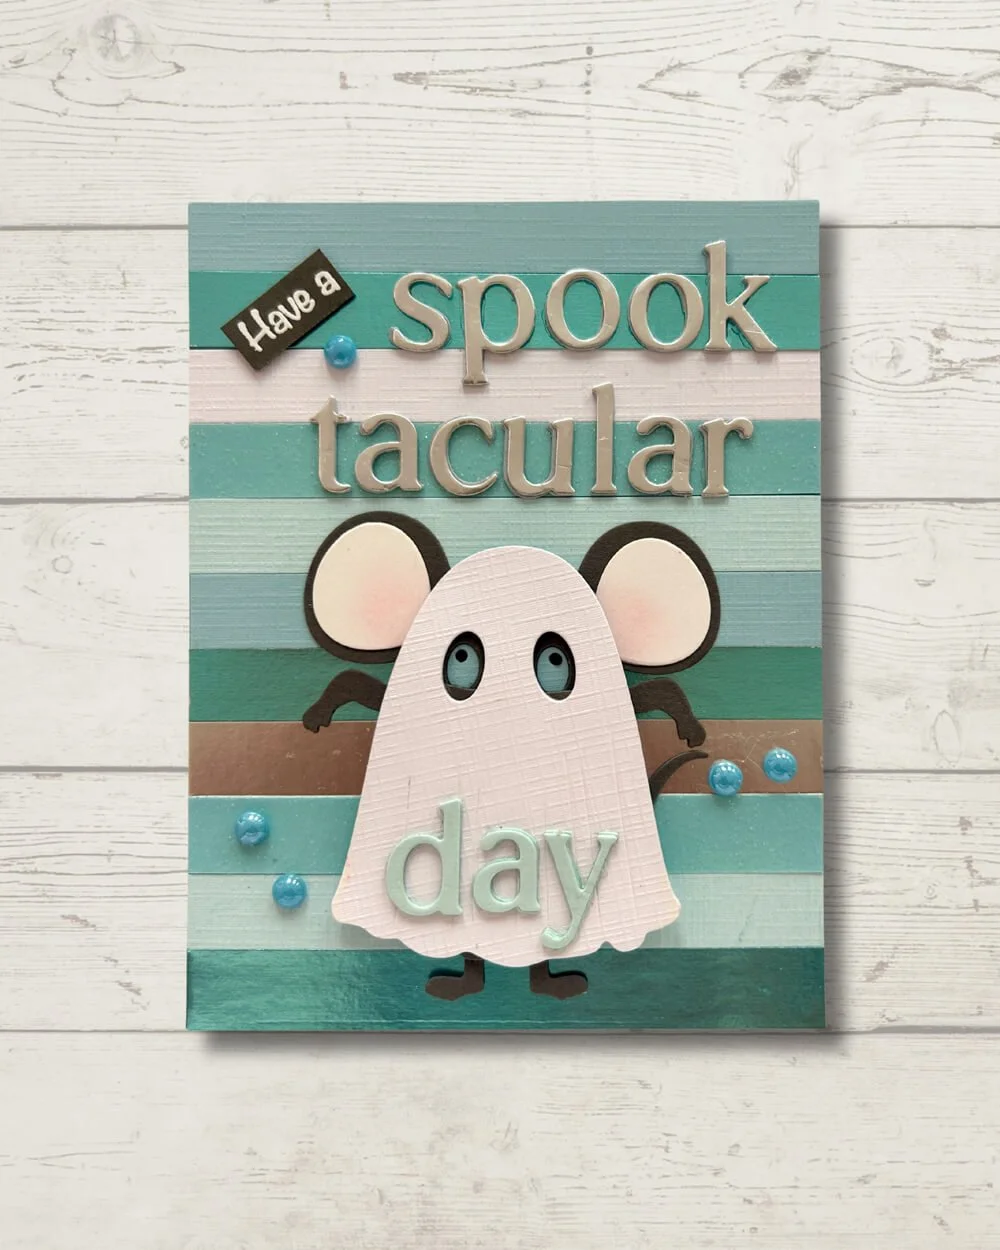
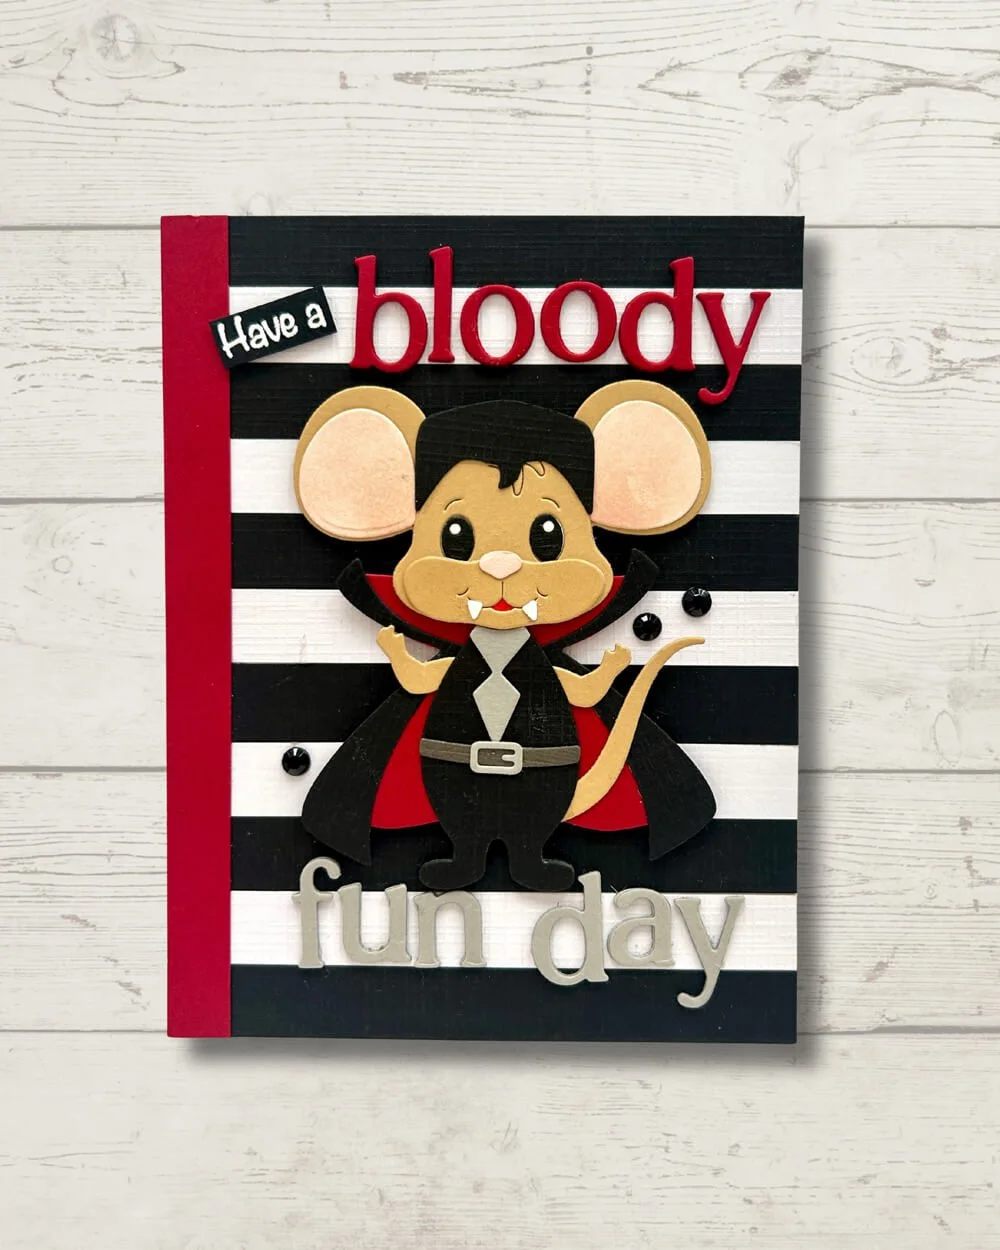
Well… I may have gone a little overboard with this design! Once I had created the first card, I couldn’t resist making more.
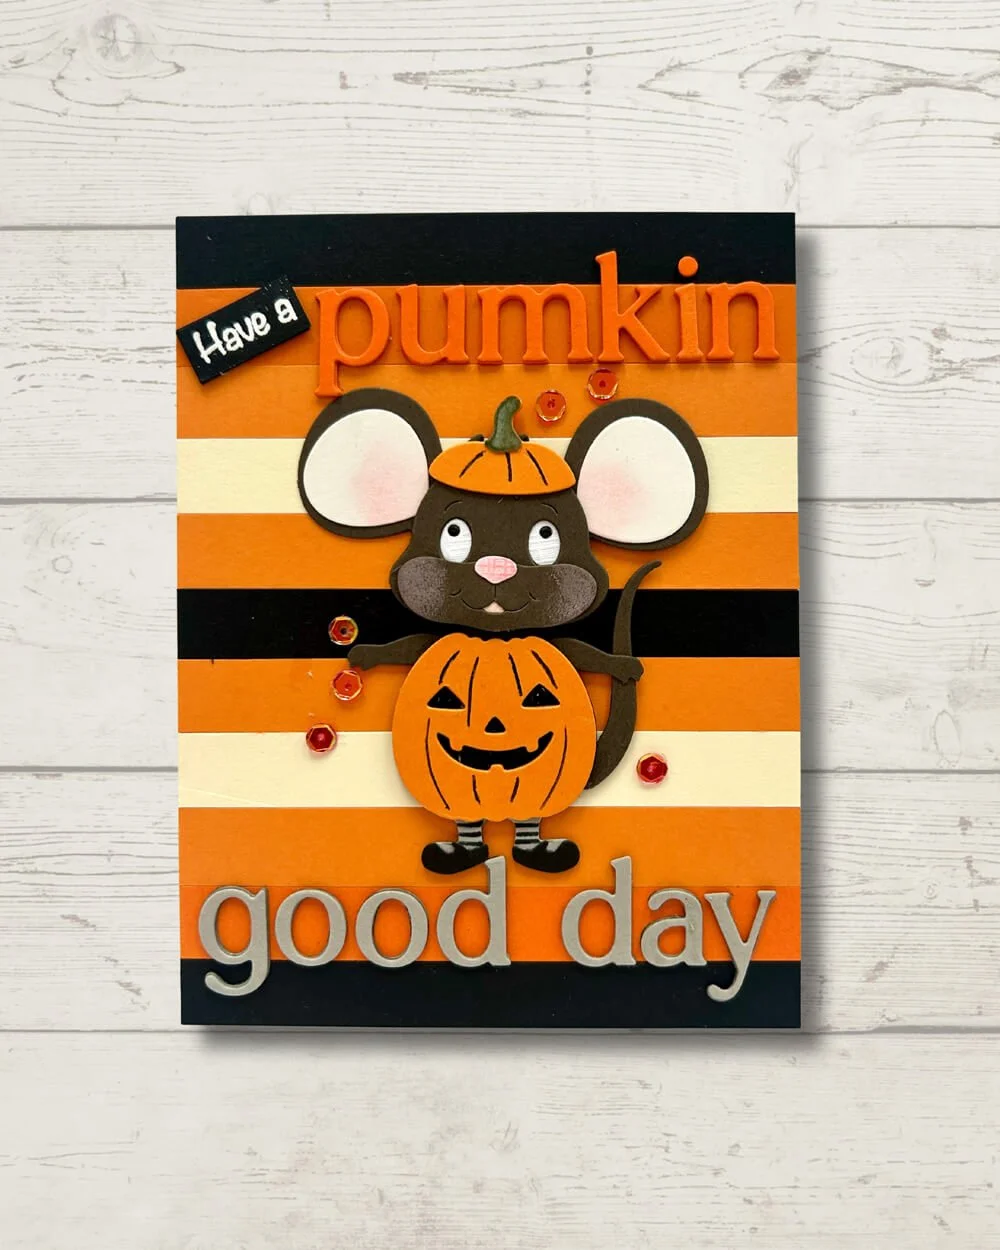
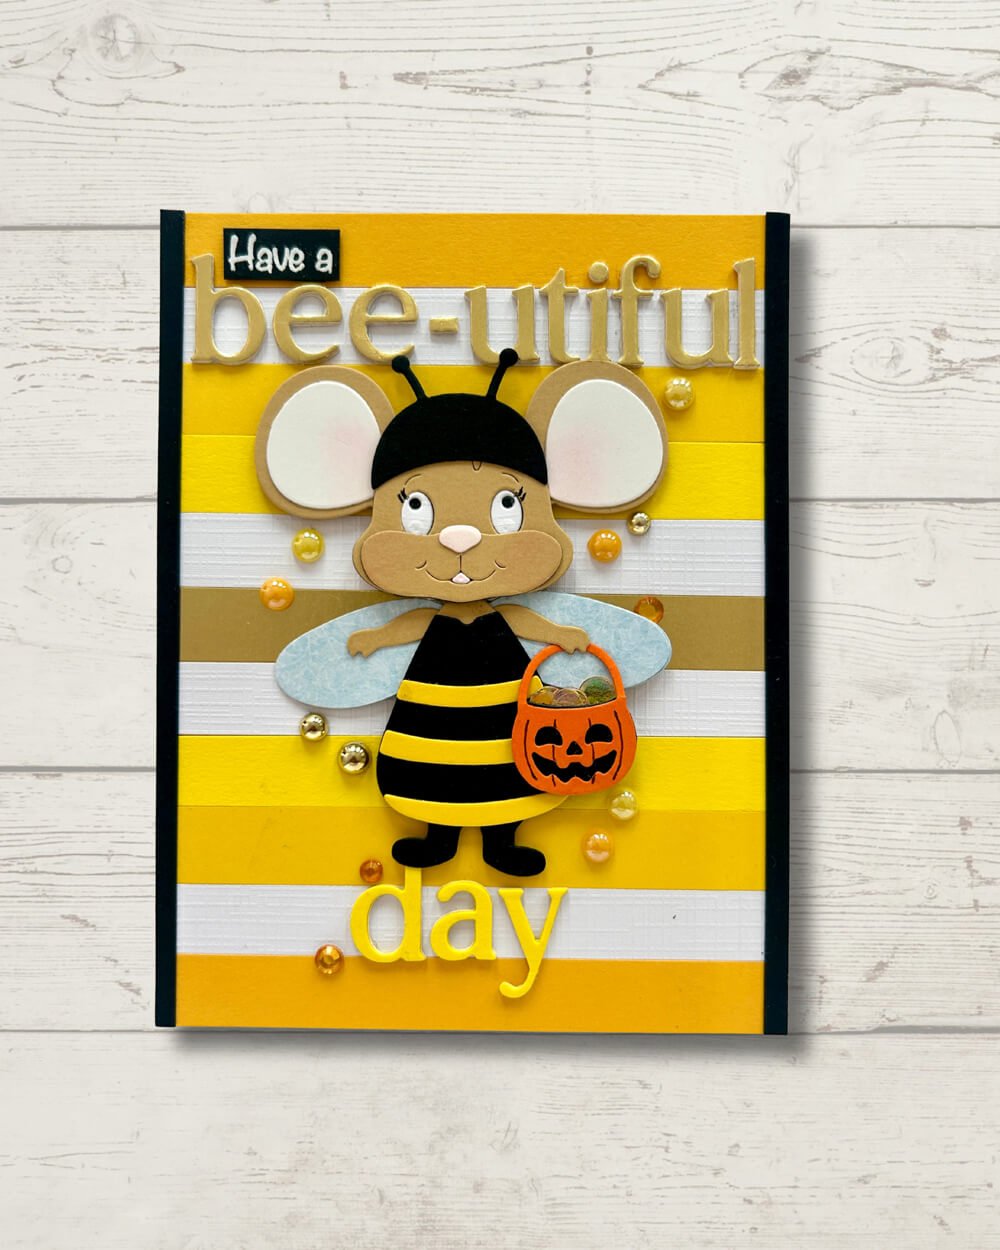
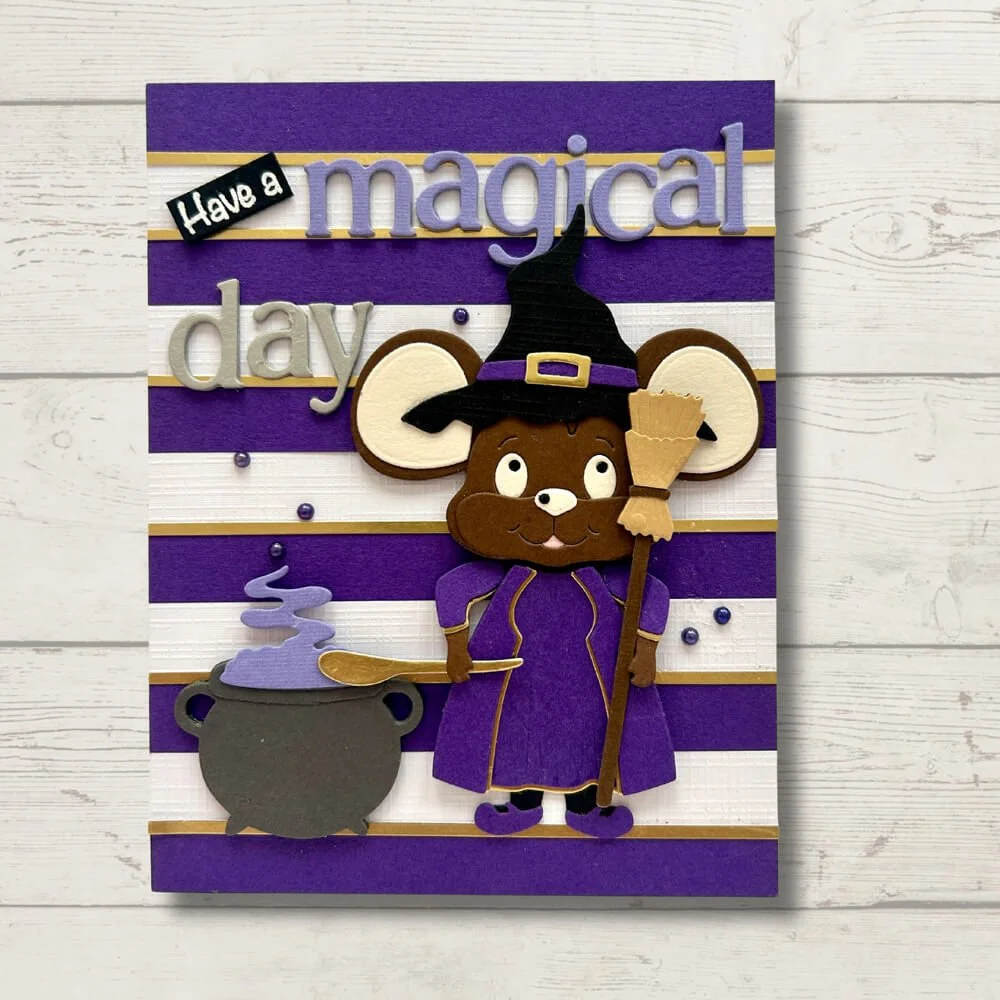
I ended up creating five additional cards, using the same basic design but giving each one its own fun Halloween character. This was also the perfect opportunity to put the two remaining characters from the Halloween Costumes Die Set to good use, as well as the three other characters from the Halloween Costumes Scary Die Set (2386).
It was so much fun to see how changing the character completely transformed the personality of each card, while the striped background and custom sentiment kept the collection cohesive.
I had a blast creating this fun little card series and bringing each of these amazing characters to life. I hope you enjoyed seeing them come together and that they inspire you to create your own!
Happy crafting!
Liliana Siza
Elizabeth Craft Designs Products Used:
Halloween Costume Cute (2384)
Little Mouse (2204)
Classic Alphabet (2140)
Halloween Costumes Scary (2386)
Other Products: White cardstock, Different shades of teal cardstock, brown cardstock, black cardstock, orange cardstock, pink cardstock, glitter paste, teal sequins, white heat embossing powder.
