
Are you planning an upcoming vacation and wondering how to keep your travel memory keeping simple and stress-free when you get back home? In this tutorial, learn how to batch-create pages for your Square Memory Binder so they are prepped and ready for your photos later. This tutorial makes documenting those special memories easy!
Grab your binder dies and favorite patterned papers, then follow the step-by-step guide and supply list below!
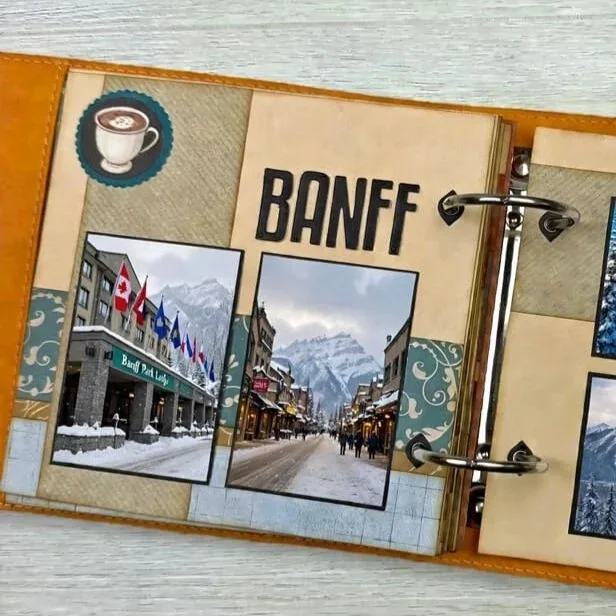
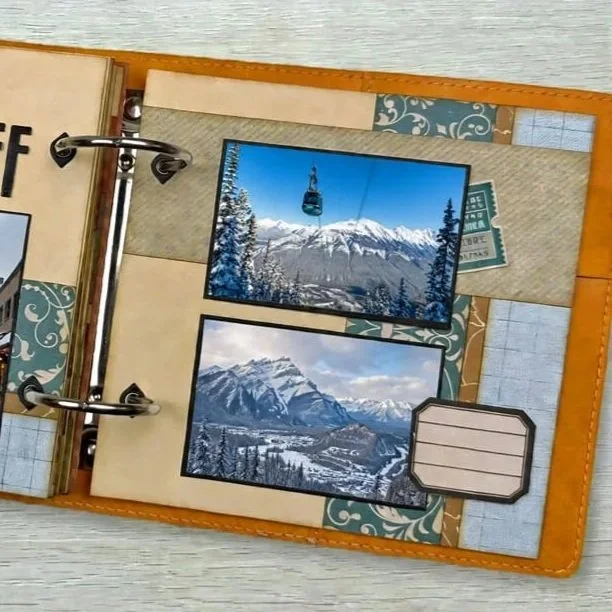
Hi everyone, Heather here with full instructions on how I bulk-build Memory Binder pages for the Square Memory Binder. You may have seen some of my posts where I started this album for the Banff Creative Retreat, and now you can follow along to make your own version.
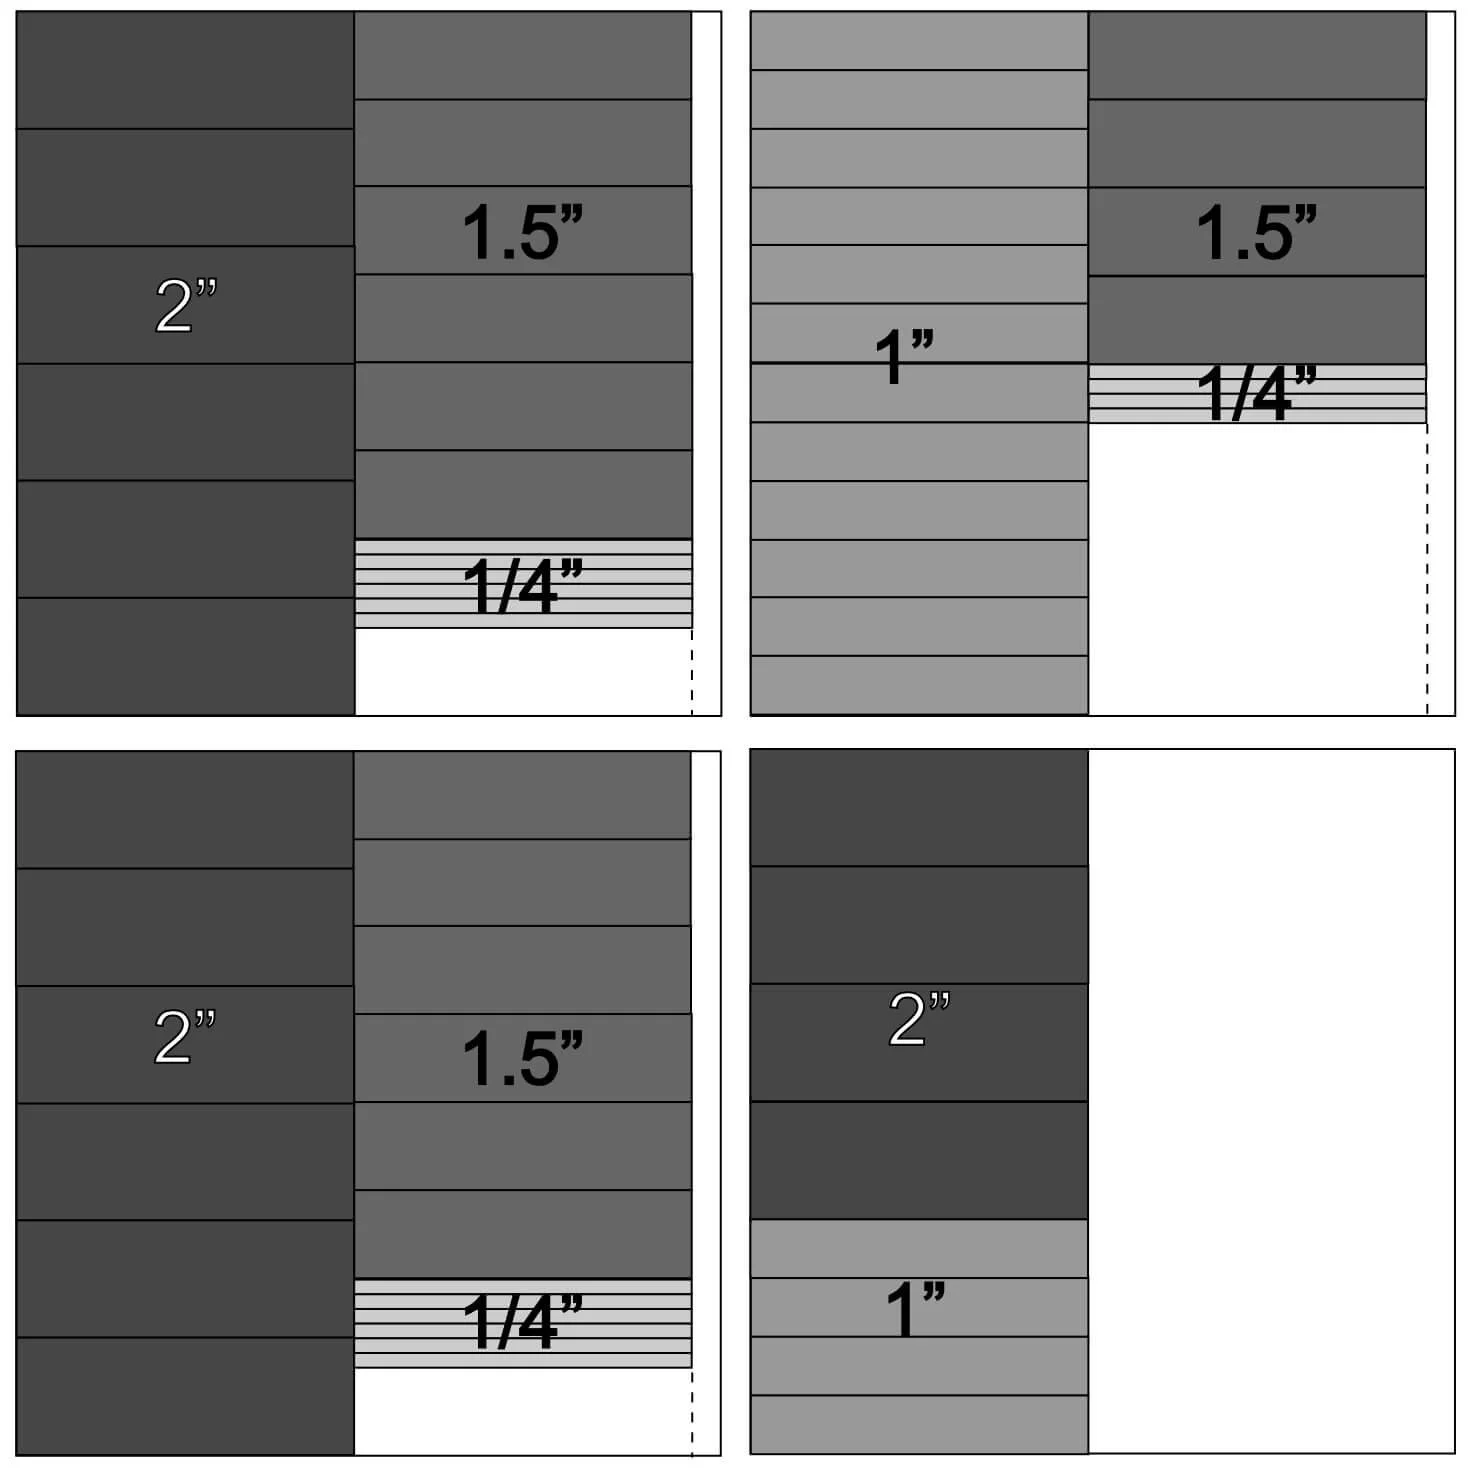
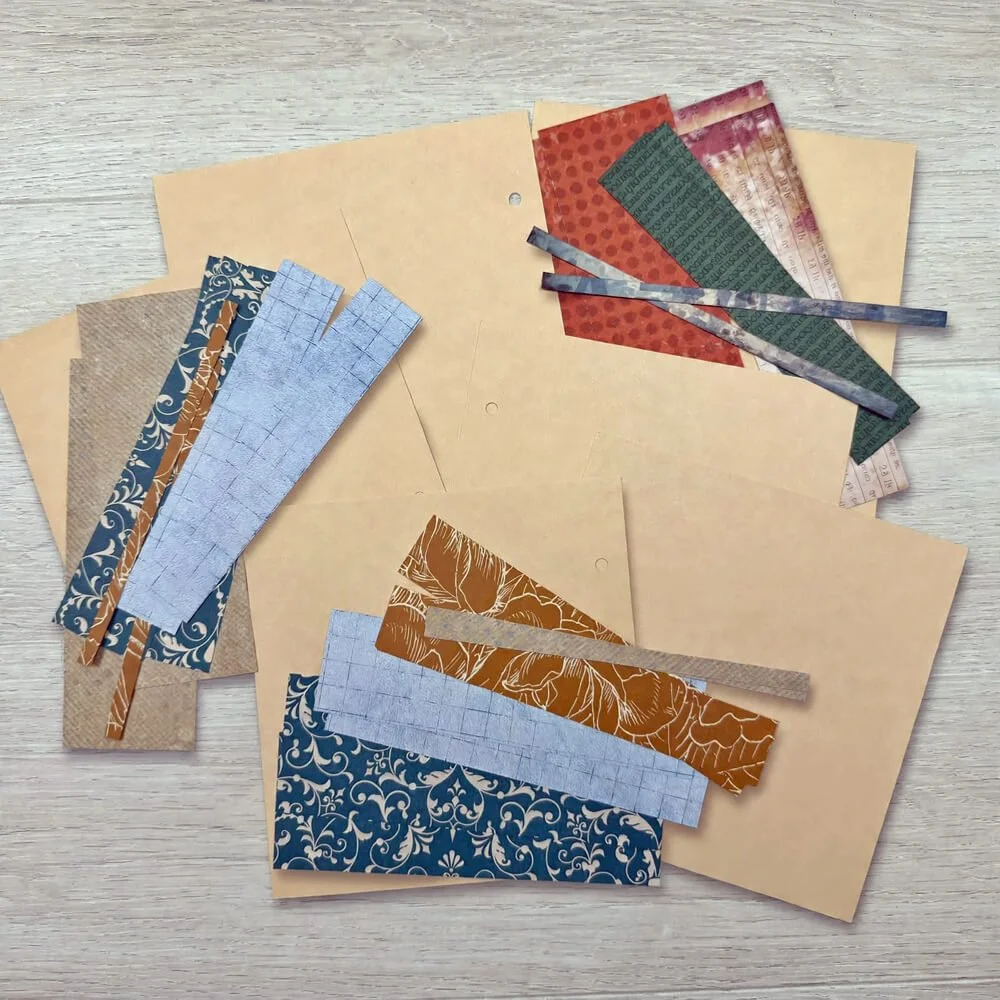
Step 1: Choose four 12x12 double-sided pattern papers. Cut each sheet into two full-length 5.75” strips. Trim each of those strips as shown in the attached images (the goal is to have 16 – 5.75” pieces of each width: 2”, 1.5”, 1’ and ¼”). If there is a directional pattern, I suggest cutting it horizontally. If you have more than one, then alternate between horizontal and vertical so your finished pieces have variety.
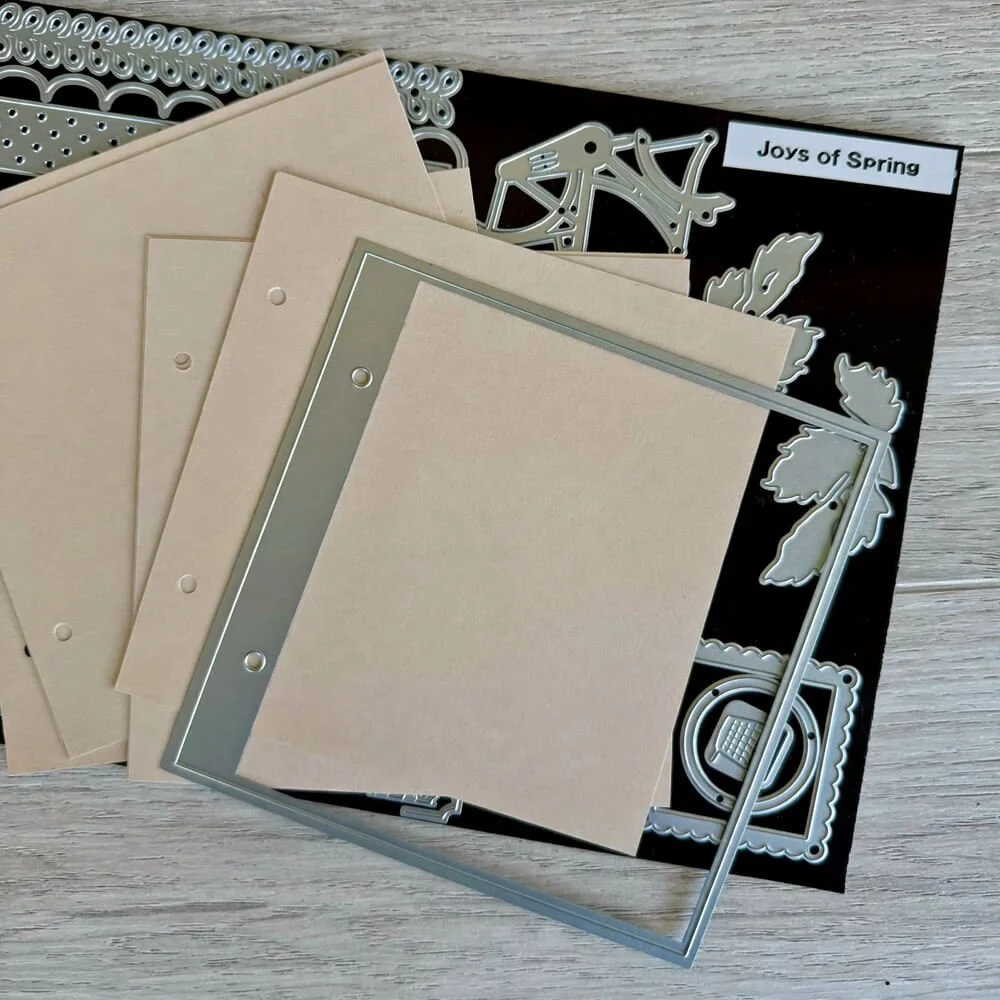
Step 2: Next, choose cardstock for your page bases. Choose multiple coordinating colors, or keep them all the same, as I did. You will need four 12x12 pieces. Cut them into 6x6 squares and die-cut each with the base page from the Joys of Spring set or the Rounded Corner Square Page Assortment (2393)
Step 3: You now have 16 base pages and enough strips to cover all 16 pages. I suggest organizing the strips so that each pair of base pages has two strips of each size. It may take some time to make sure each layout has all three strip sizes in different colors. Here are some examples.
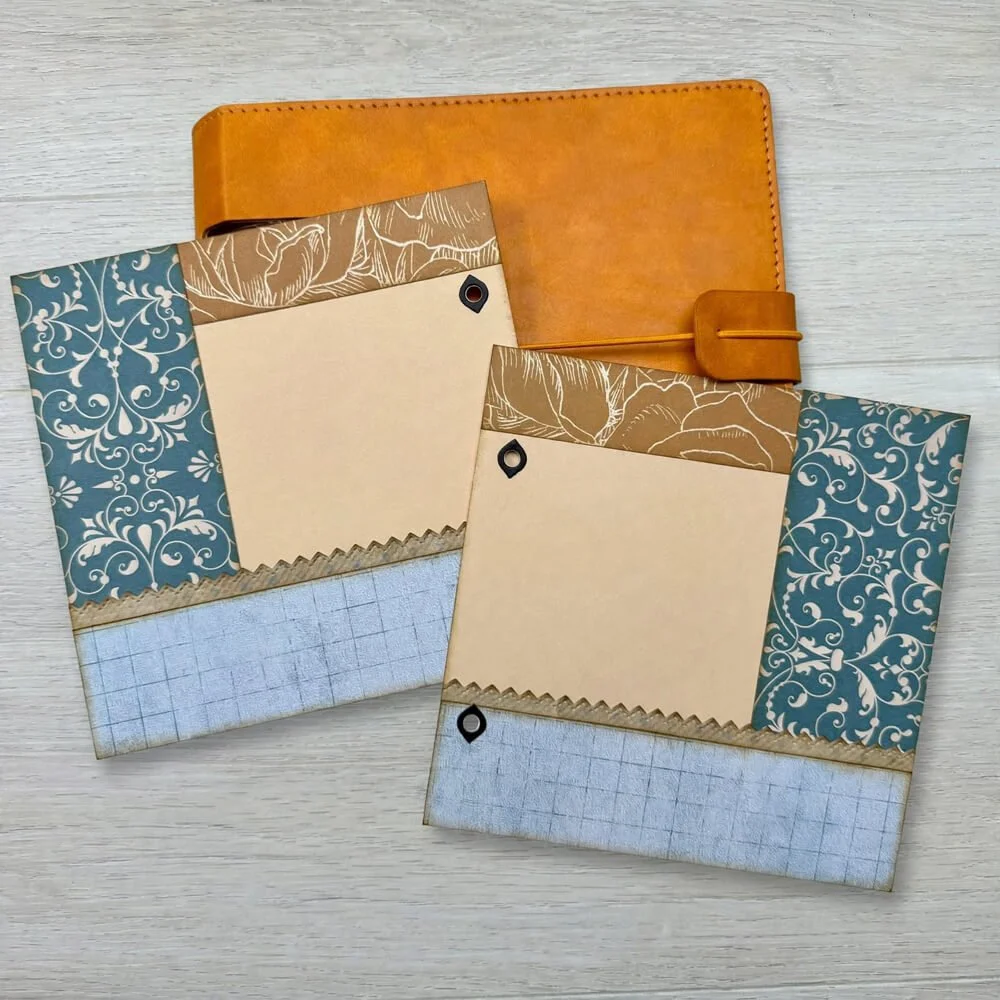
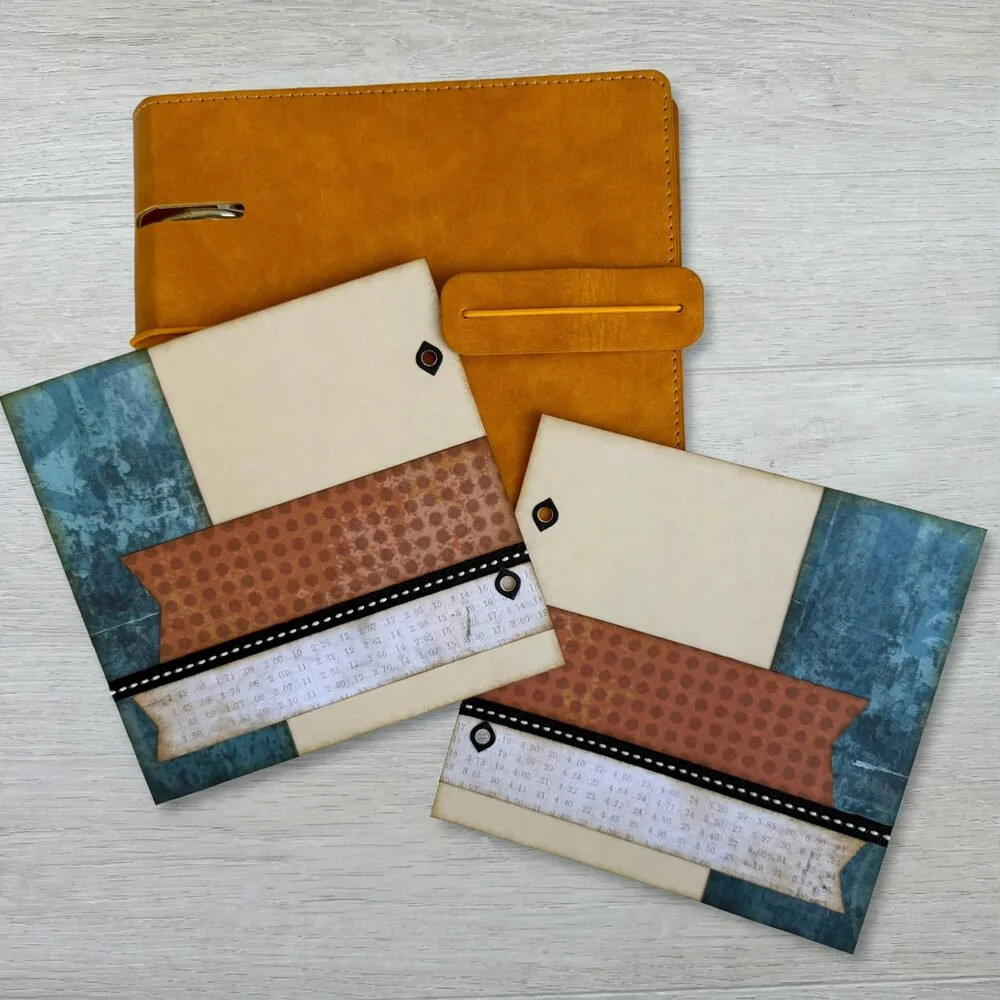
Step 4: You can now ink distress your papers (if you wish), then start to attach them to the bases. Below are sample layout options. This method is very versatile, and I’m sure you can come up with layouts of your own, too!
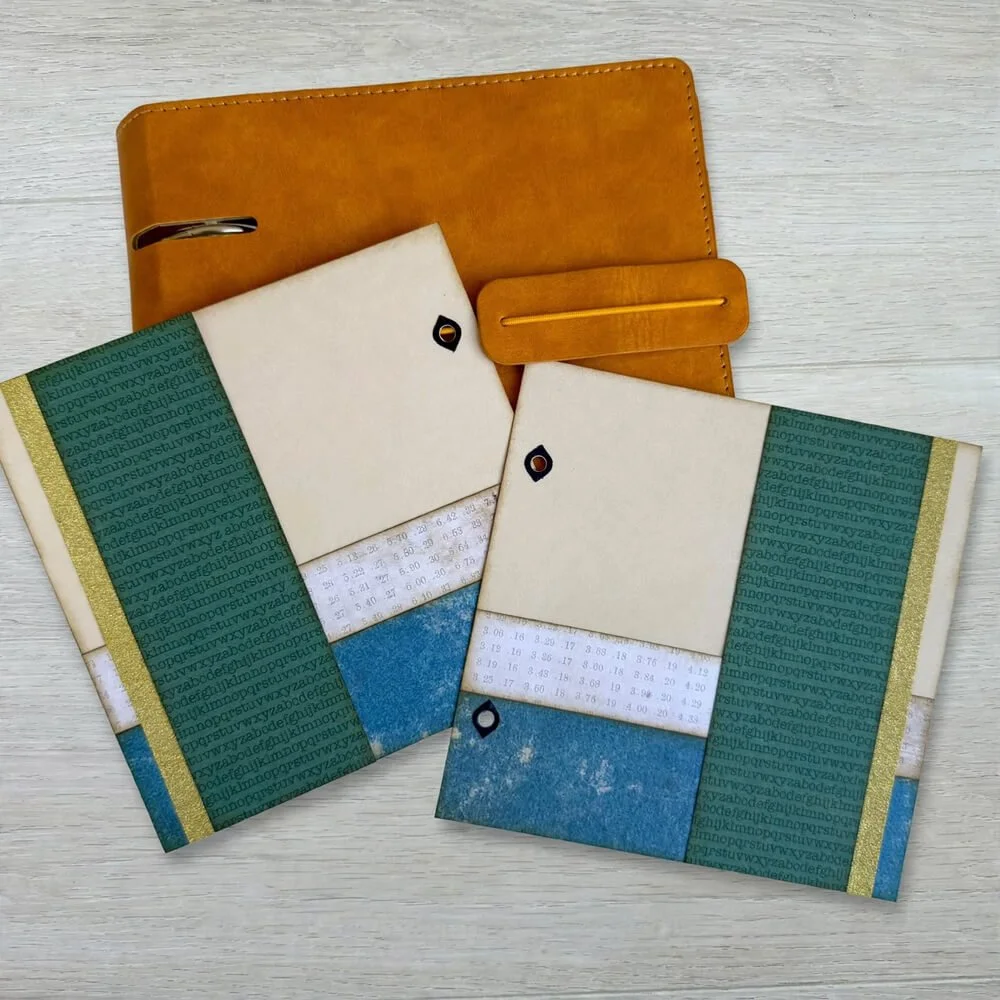
Step 5: You can substitute the ¼” strip with washi tape, ribbon, glitter tape, a die-cut strip, basically anything you like that works with your papers. Here are some samples showing options. Don’t forget to punch the binder holes again if your paper overlaps them, and then you can add your reinforcements as well.
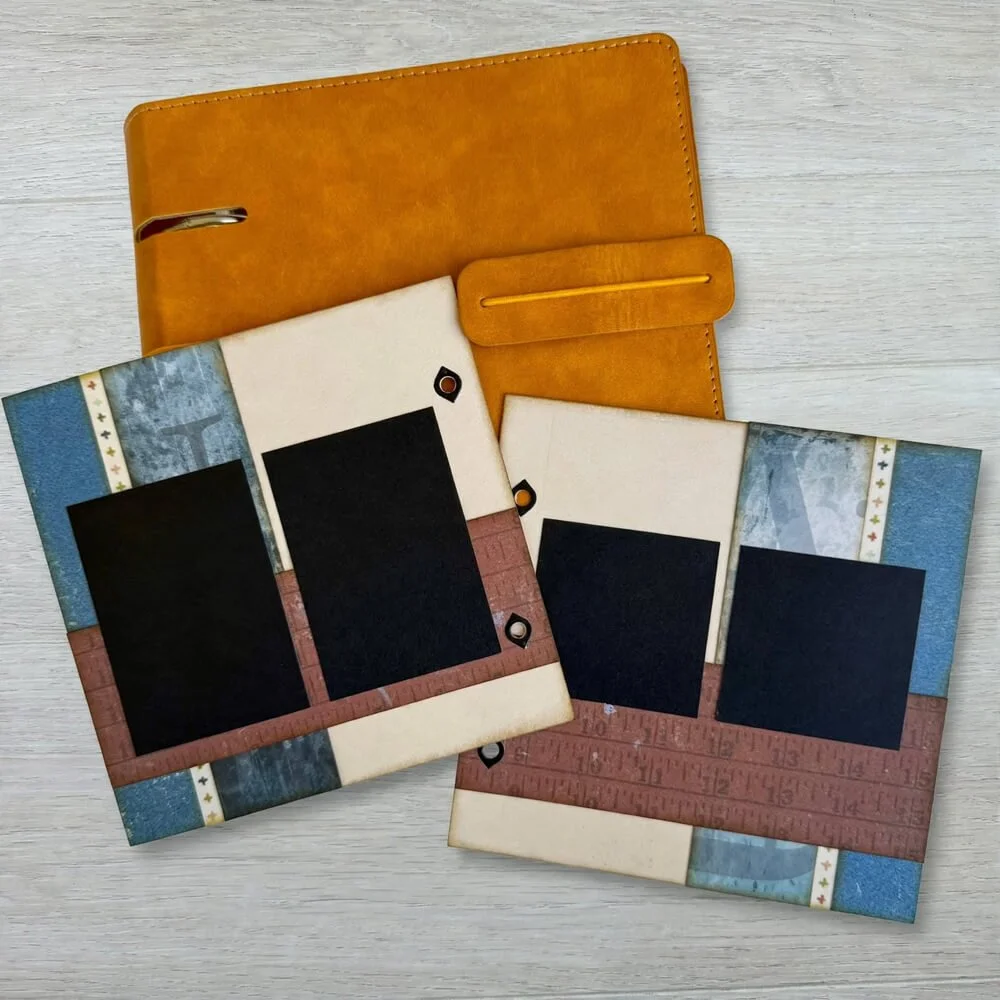
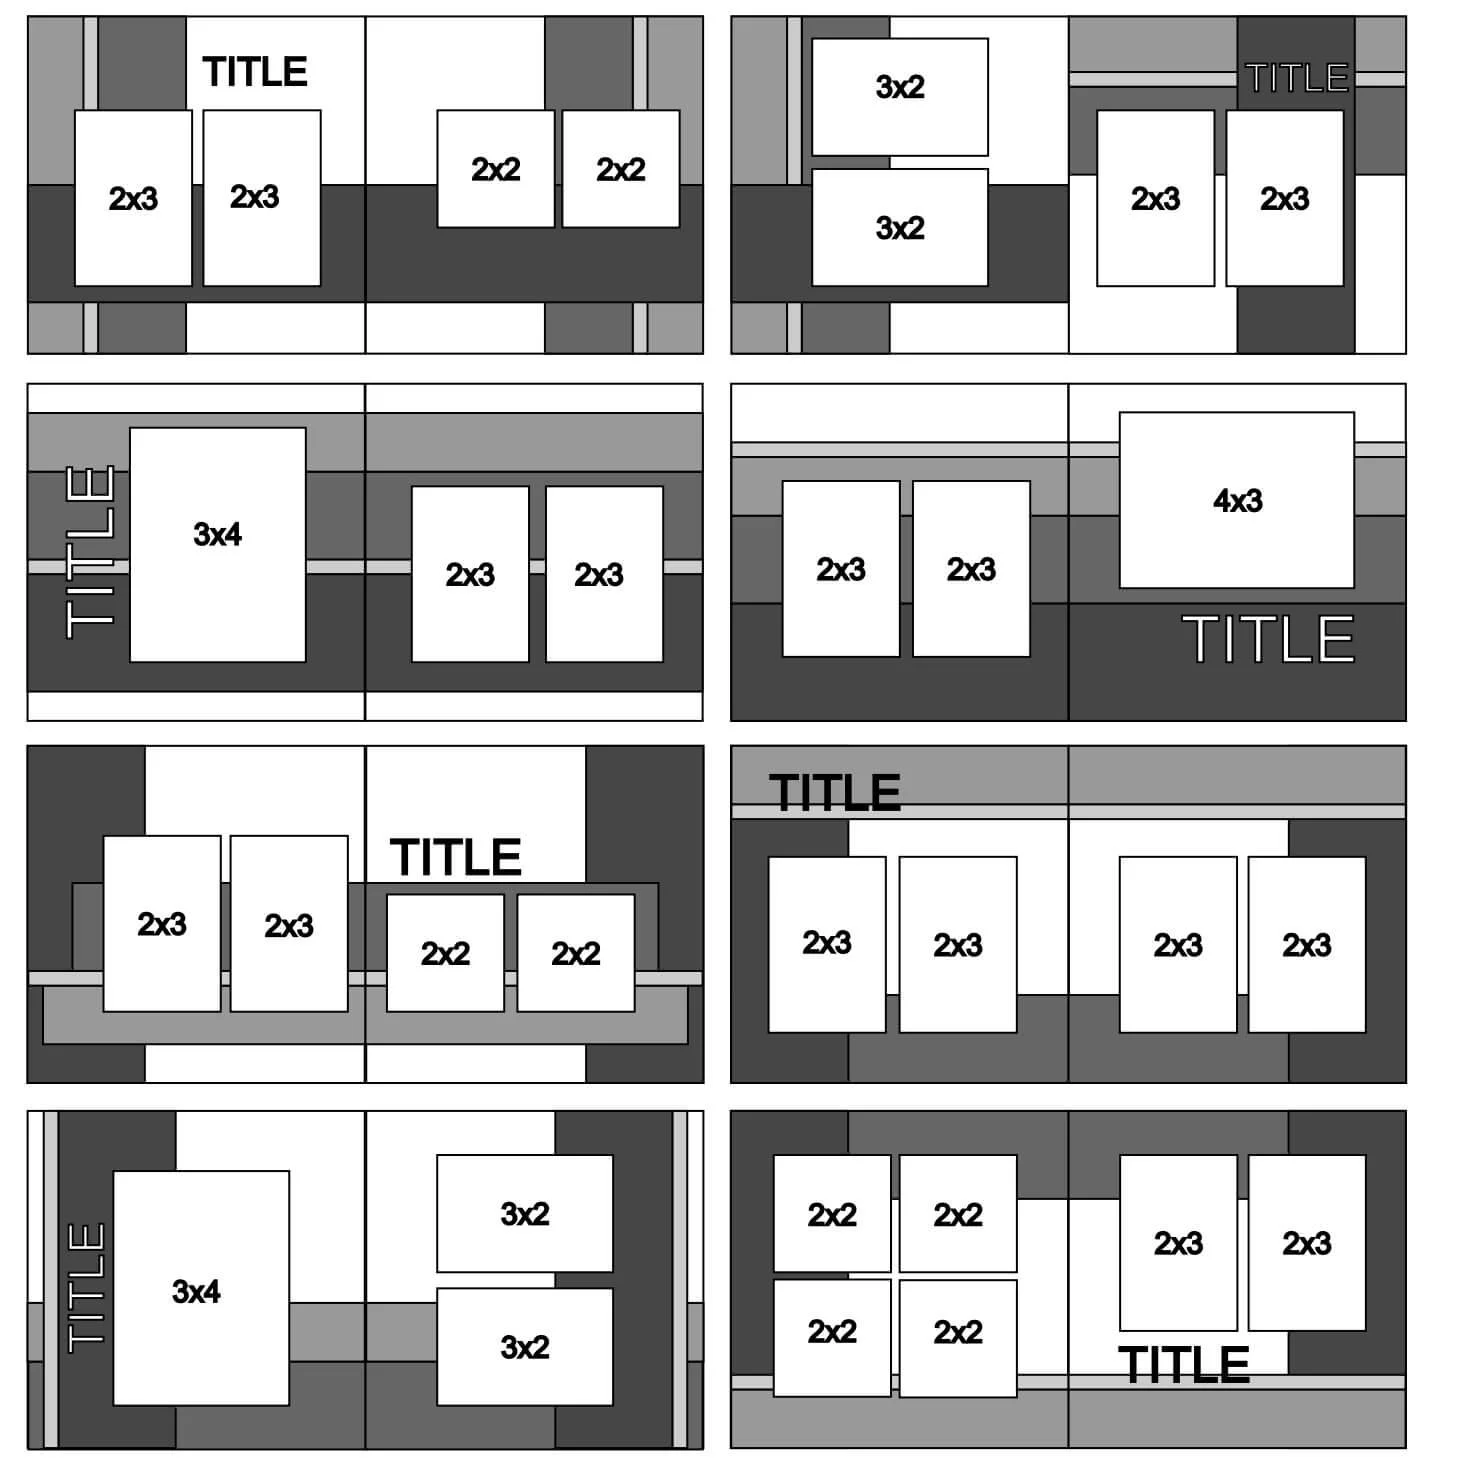
Step 6: Once your base layouts are complete, decide where to add your photos. I suggest cutting out mats for your photos to help with this (I used black cardstock for my mats and reinforcements). I cut multiples of 2x2, 2x3, and 3x4 in both orientations, and the mats are 1/8” larger than the photo size shown.
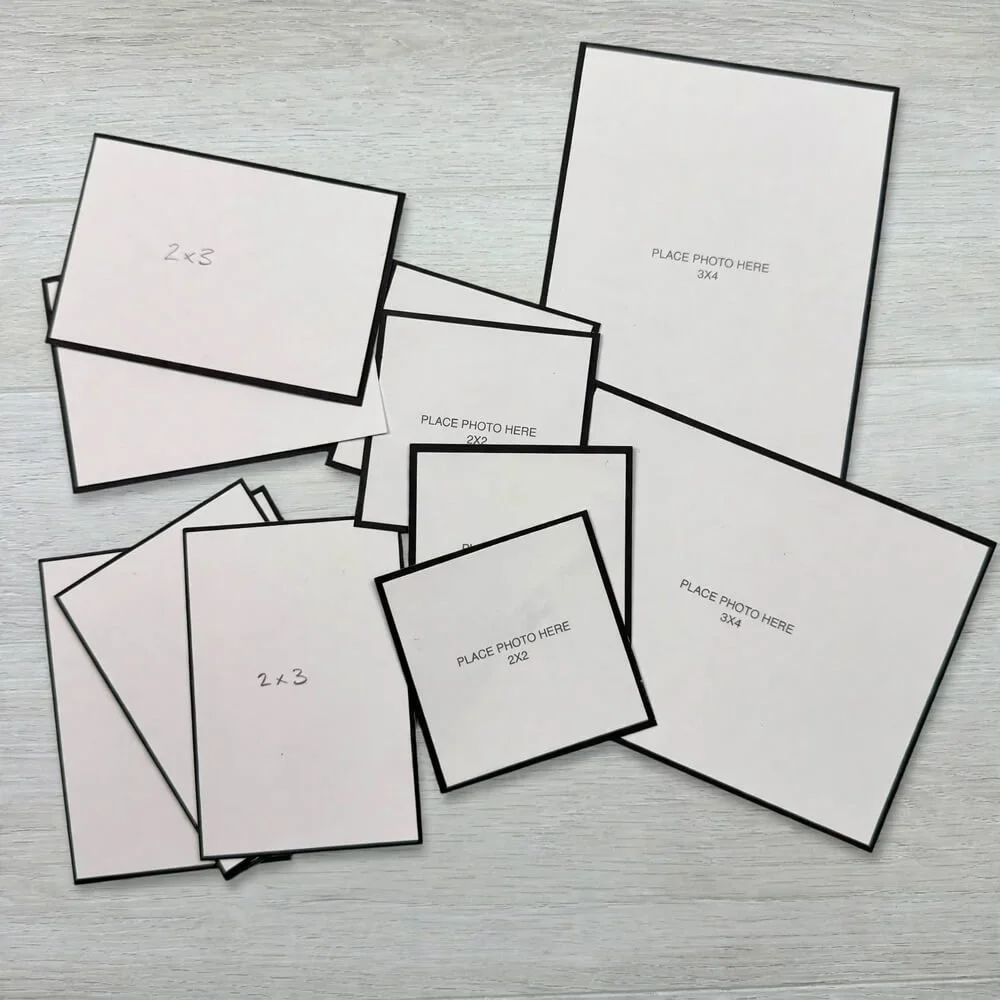
Step 7: You can see how easy it is to create multiple photo placements for one page layout. Once you have your photos, you can determine if you need portrait, landscape or square photos and create the placement accordingly.
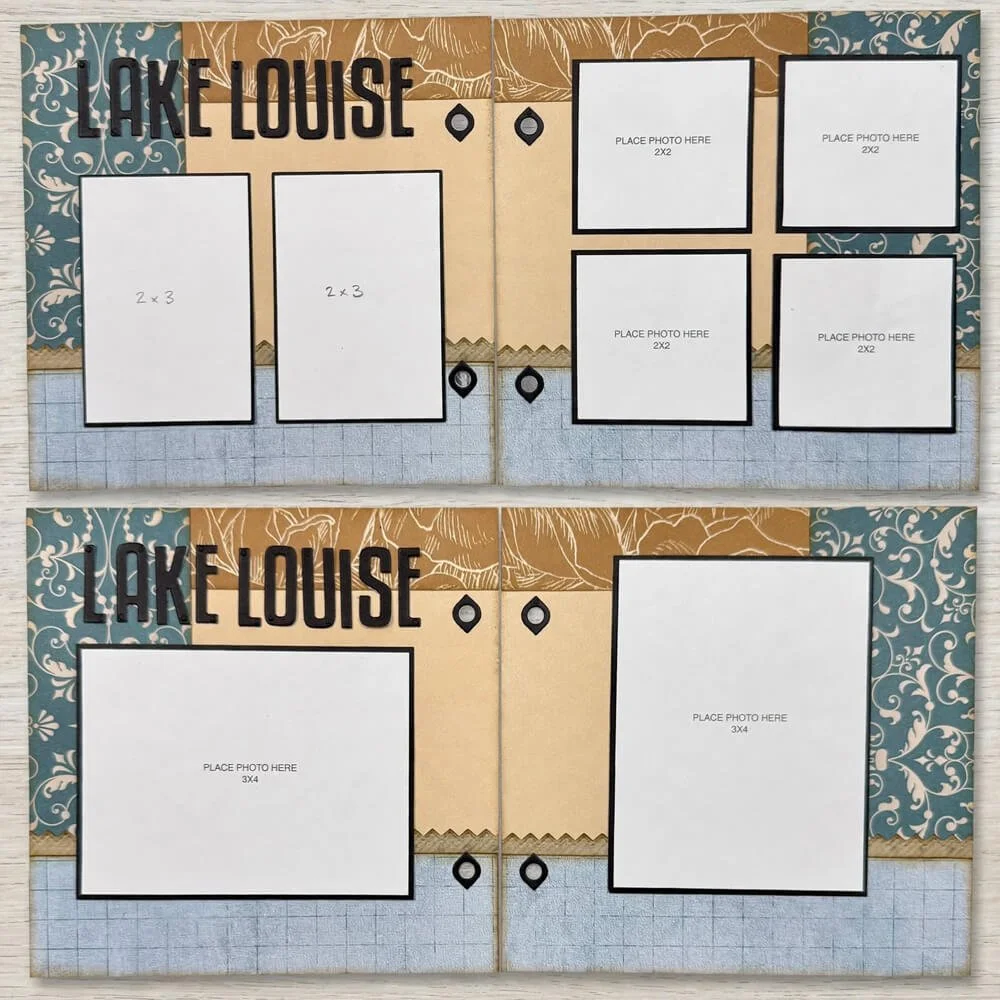
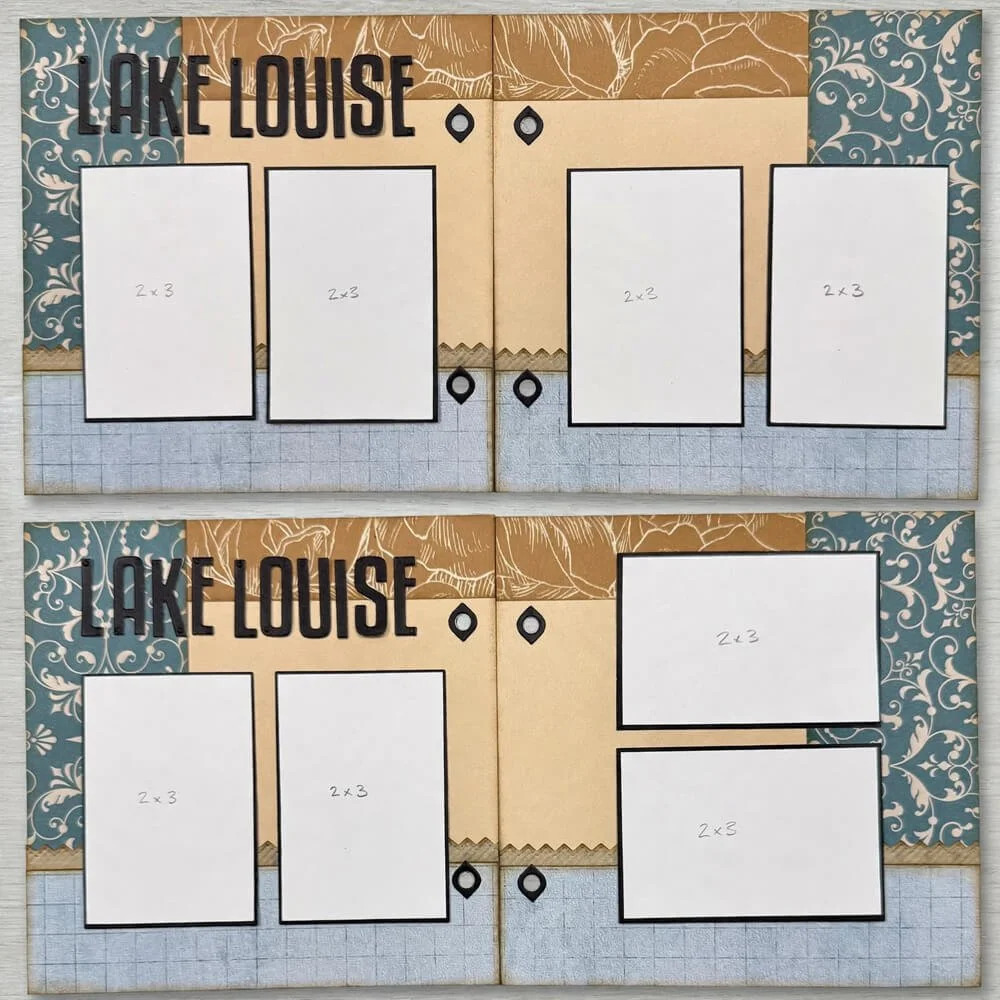
Step 8: Embellish your pages as desired. Use the Everyday Ephemera pads to make this quick and easy.
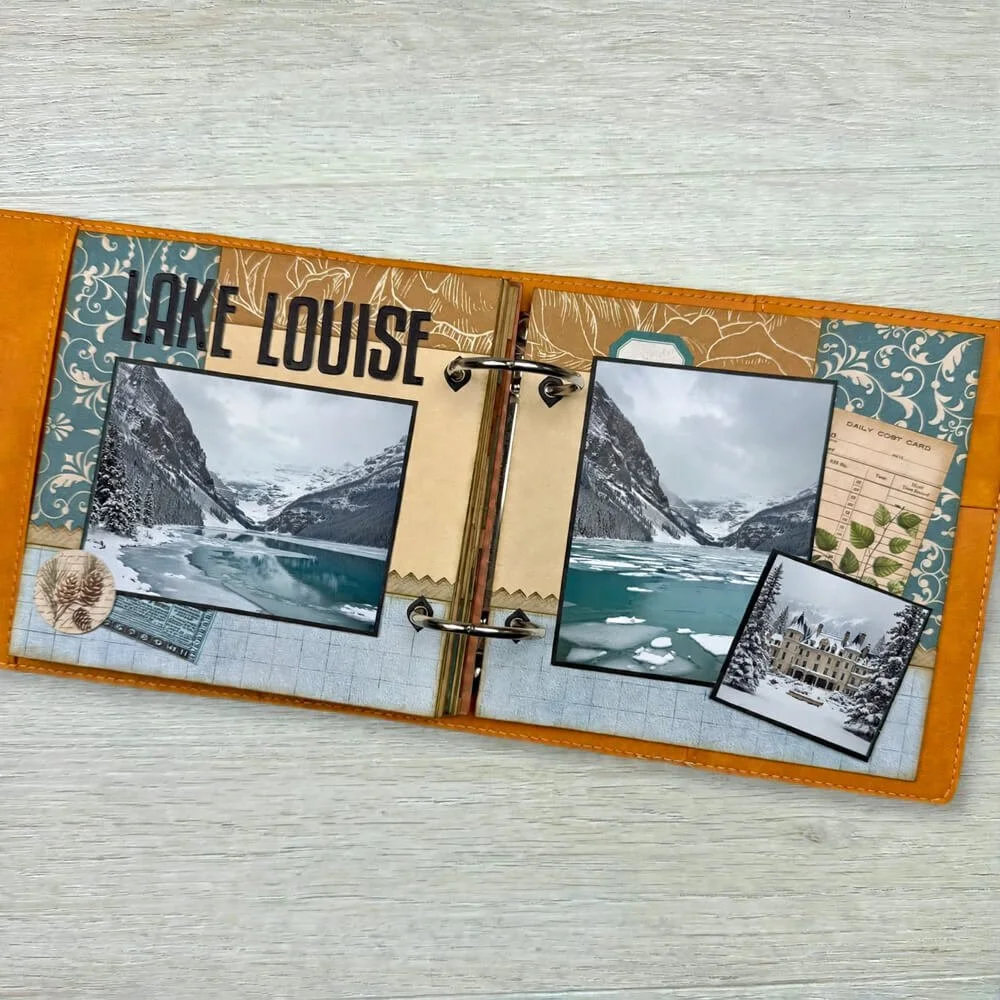
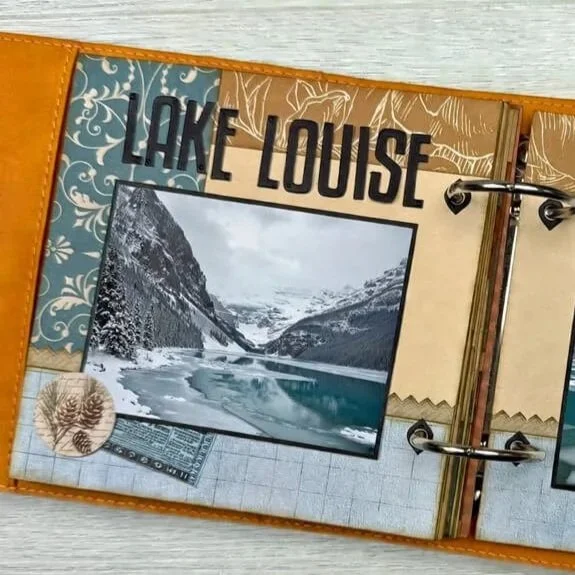
Now that all your pages are done you can flip them over, cut 4 more sheets of patterned paper and complete a full album! I’d love to see how your pages turn out. Be sure to share them in the Elizabeth Craft Designs Family group on Facebook and tag Heather’s Paper Playroom!
Make sure you share your projects with us in our Facebook Group HERE. We love to see what you create!
Never miss a tutorial and sign up for our emails today HERE.
Elizabeth Craft Designs Products Used:
Joys of Spring
Rounded Corner Square Page Assortment (2393)
Tall & Bold Alphabet (2341)
Rest & Relaxation Paper
Delightful Discovery Paper
Everyday Ephemera 2
Everyday Ephemera 3