Inlay Die Cutting Technique for Memory Keeping Pages
Do you love creating pages for your memory binders? Or maybe you're looking for a new technique to try? In this tutorial, you’ll learn how to create a pocket for your binder pages with inlaid die cuts. This is a fun technique that you can use in all your memory-keeping and craft projects. Plus bonus ideas on creating, decorating, and adding photos to your memory-keeping pages. The perfect project for those looking for a little inspiration and to try something new.
Hello ECD Family! Kim Gowdy here on the blog today. Lately, I have really been enjoying the process of inlaying my die cuts, and I thought I would share my technique. I will show you how I make the library pocket from Annette Green’s newest release, Rest and Relaxation, using my inlay technique, and then I’ll share some photos of my finished project!
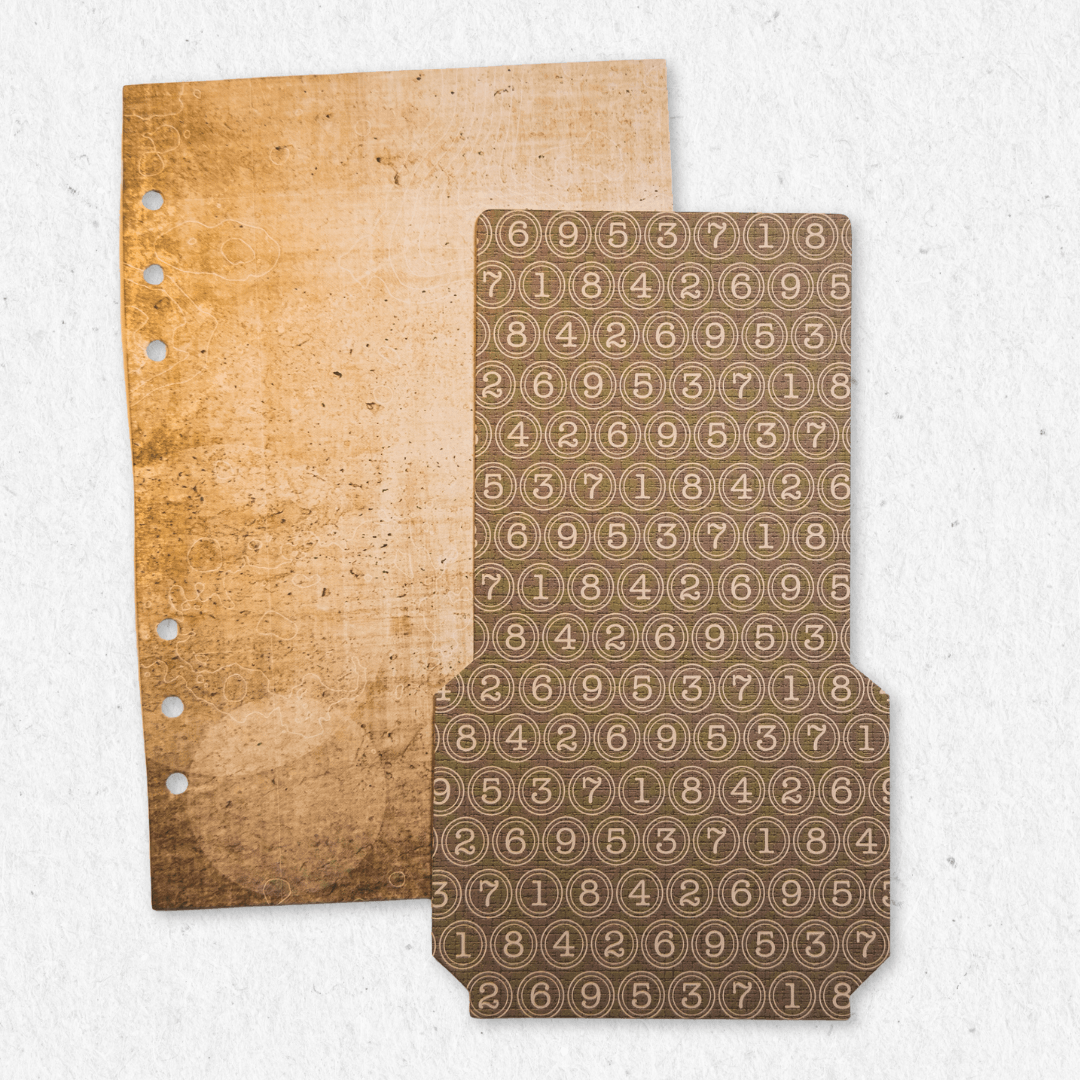
Step 1: I cut out my base page and the library pocket from the Rest & Relaxation paper pad. When choosing paper for the library card, be sure to pay attention to the front and back of your paper for pattern orientation. The bottom of the library pocket, as shown in this image, will be folded up, revealing the paper on the back. You will want a paper that does not have an obvious top and bottom to it (words, animals, objects, etc.), as they will be upside down.
Step 2: Next, we’ll add interest to our library pocket. The set includes three edge dies to give the library pocket multiple looks. These dies can be used for many cuts…think tags, photos & mini albums! I used a ruler to get the ‘point’ centered and added a piece of low-tack tape to hold it down. I could have used a ruler for the rectangle cut, but was comfortable eye-balling that one, again, low tack tape is your friend to hold it in place!
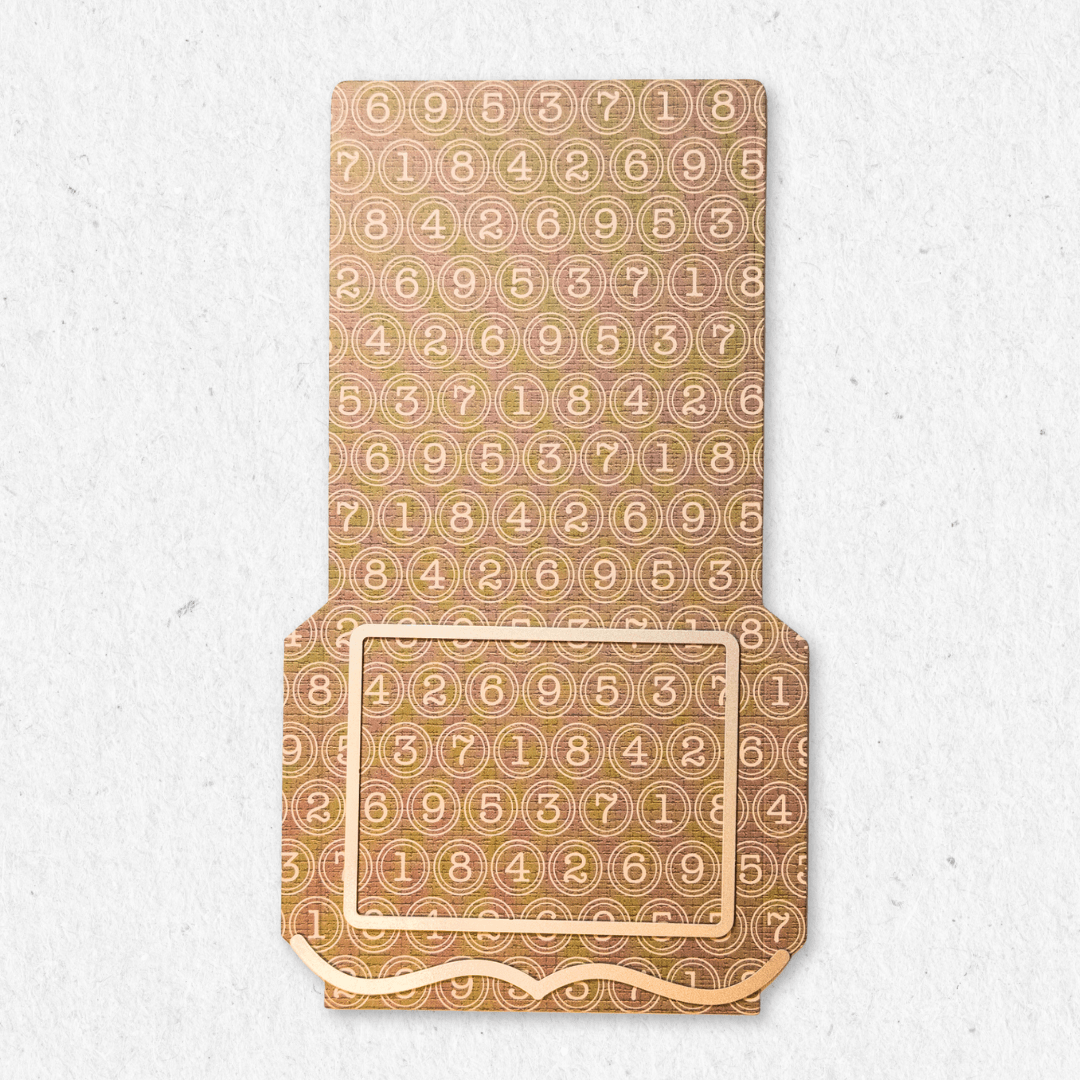
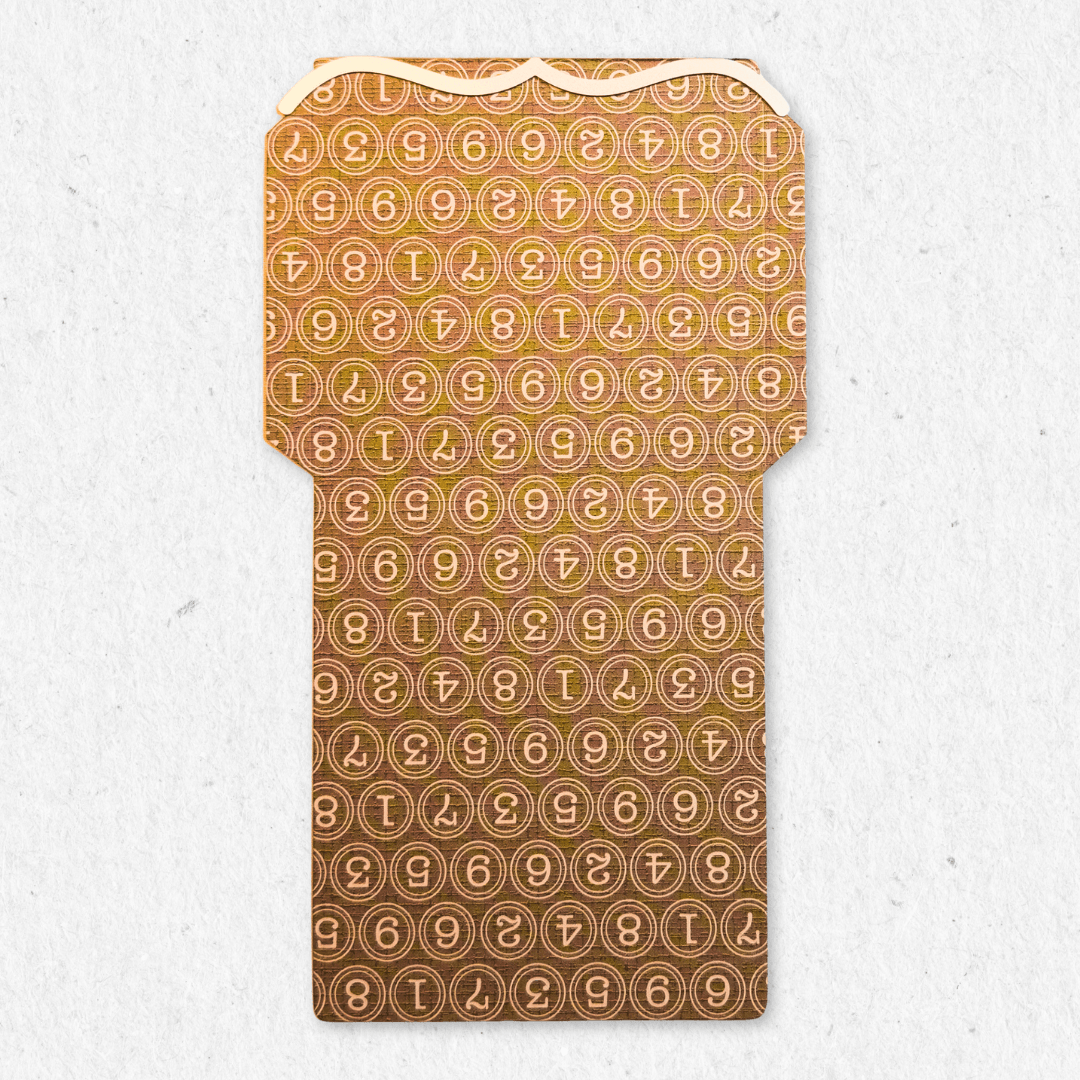
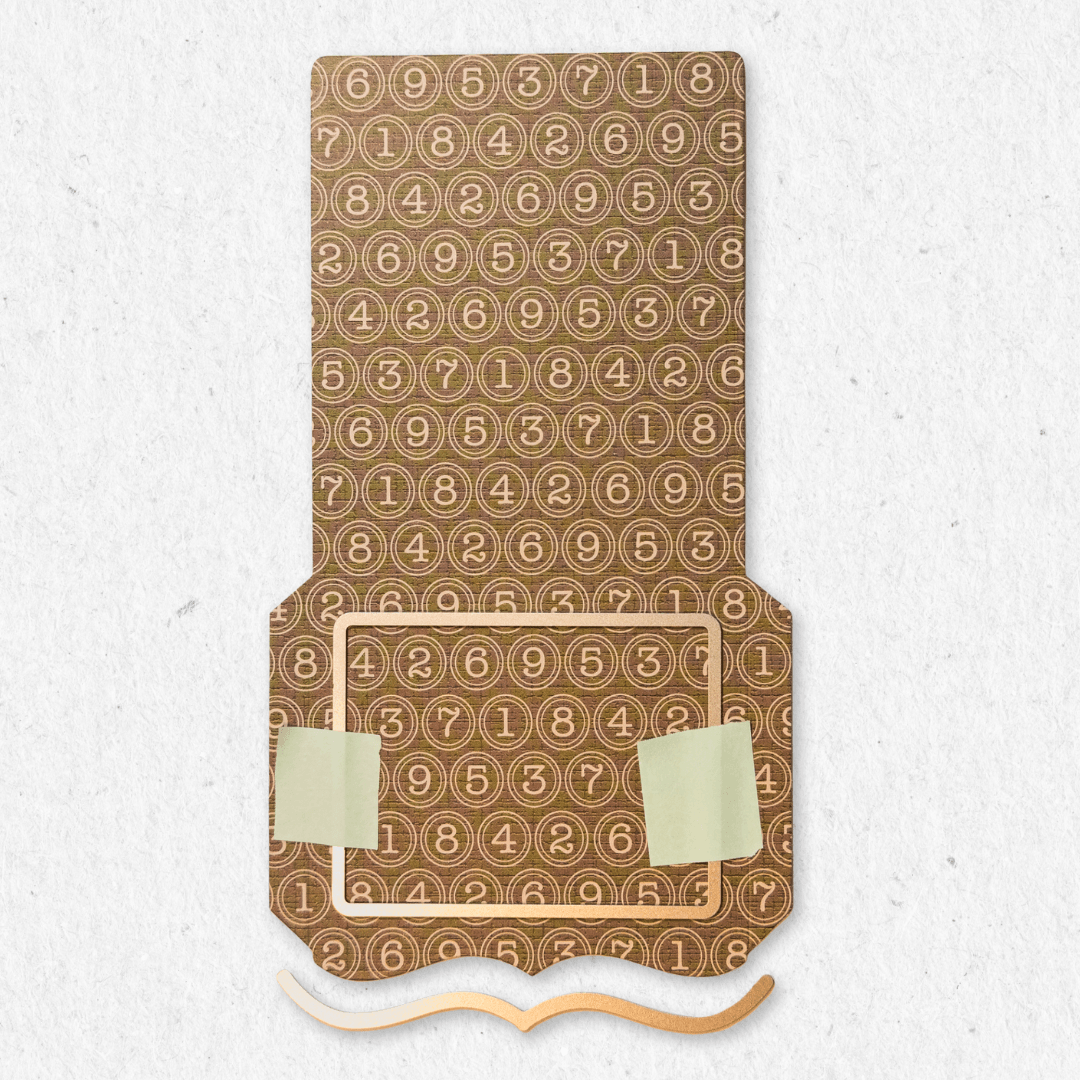
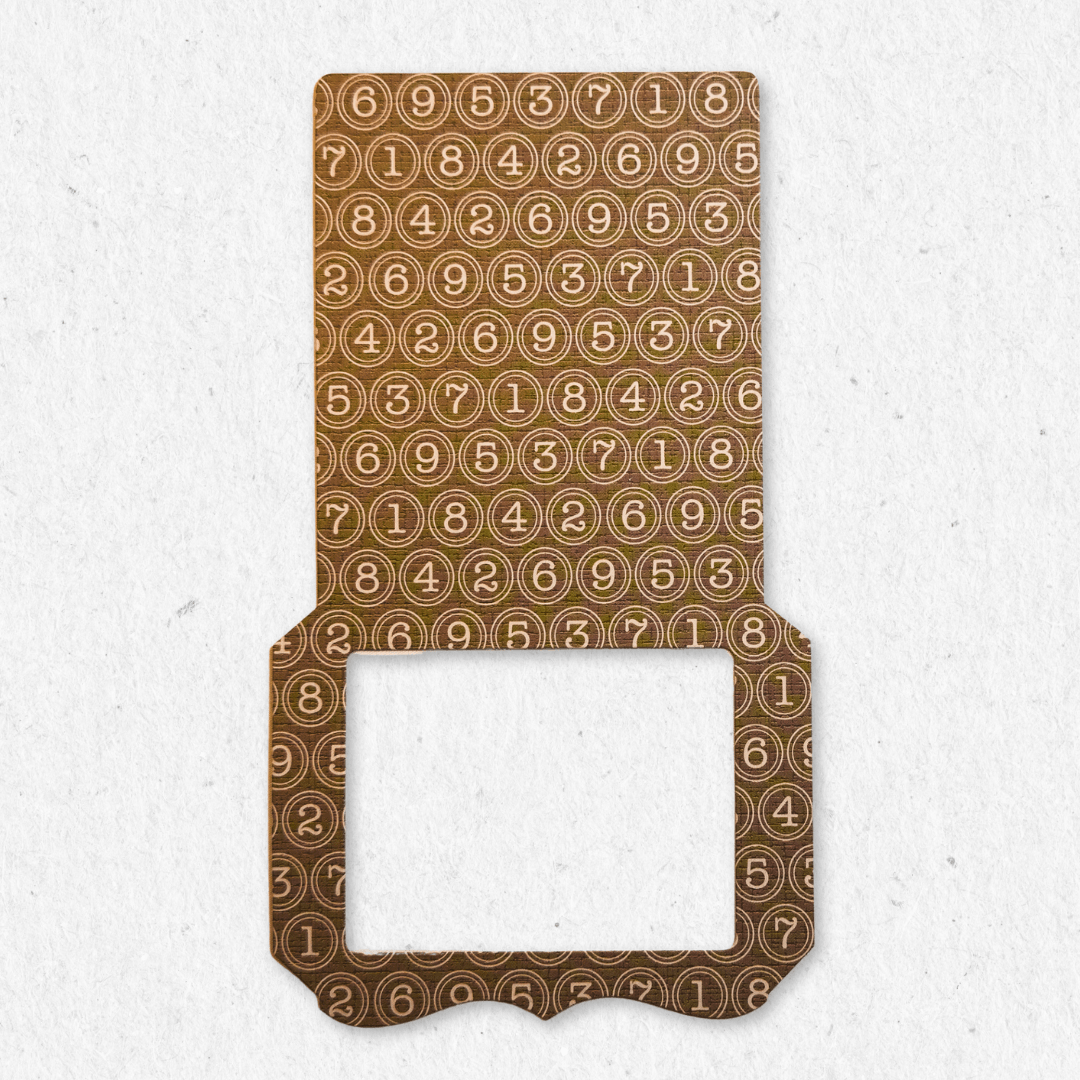
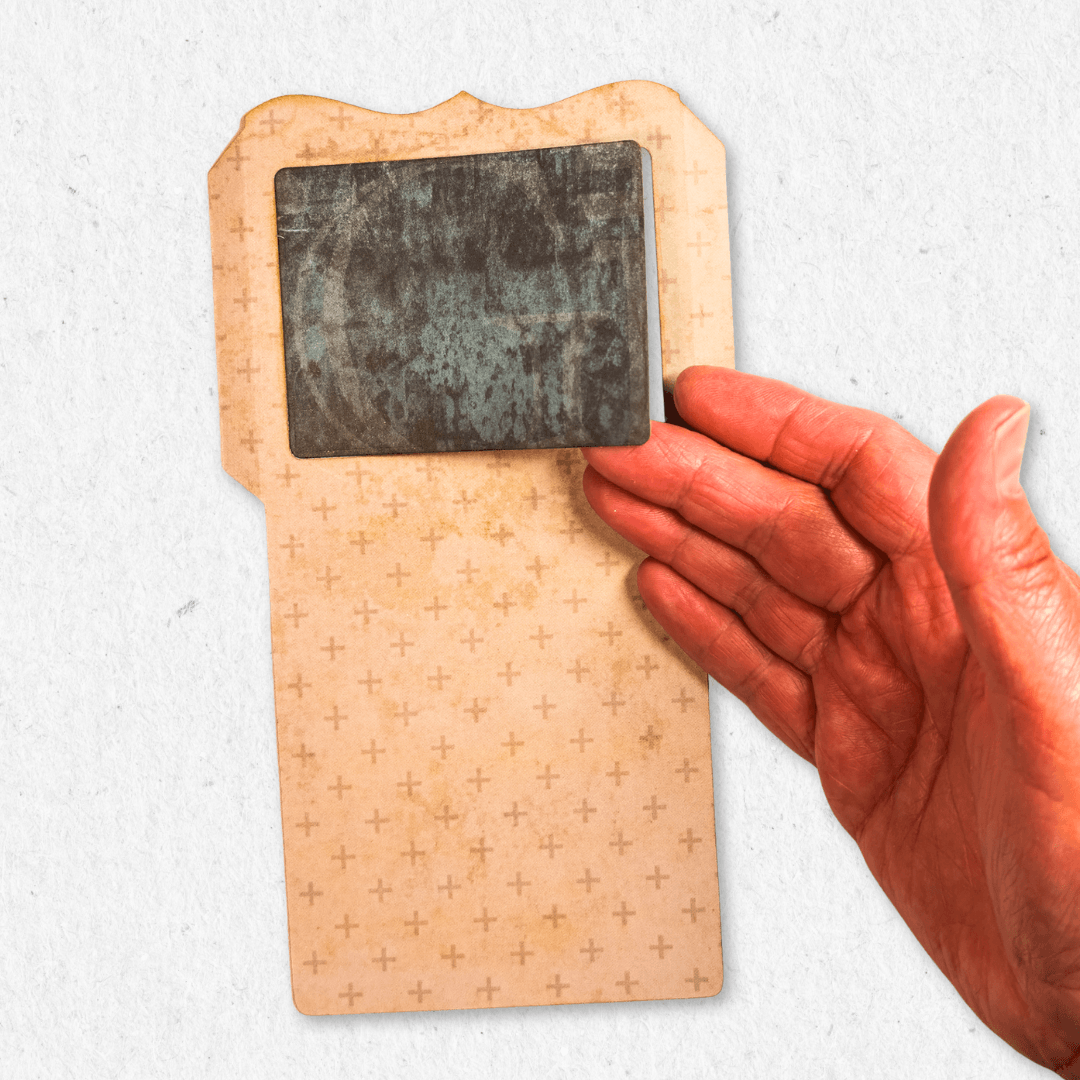
Step 3: Once both cuts are done, the library pocket will look like this.
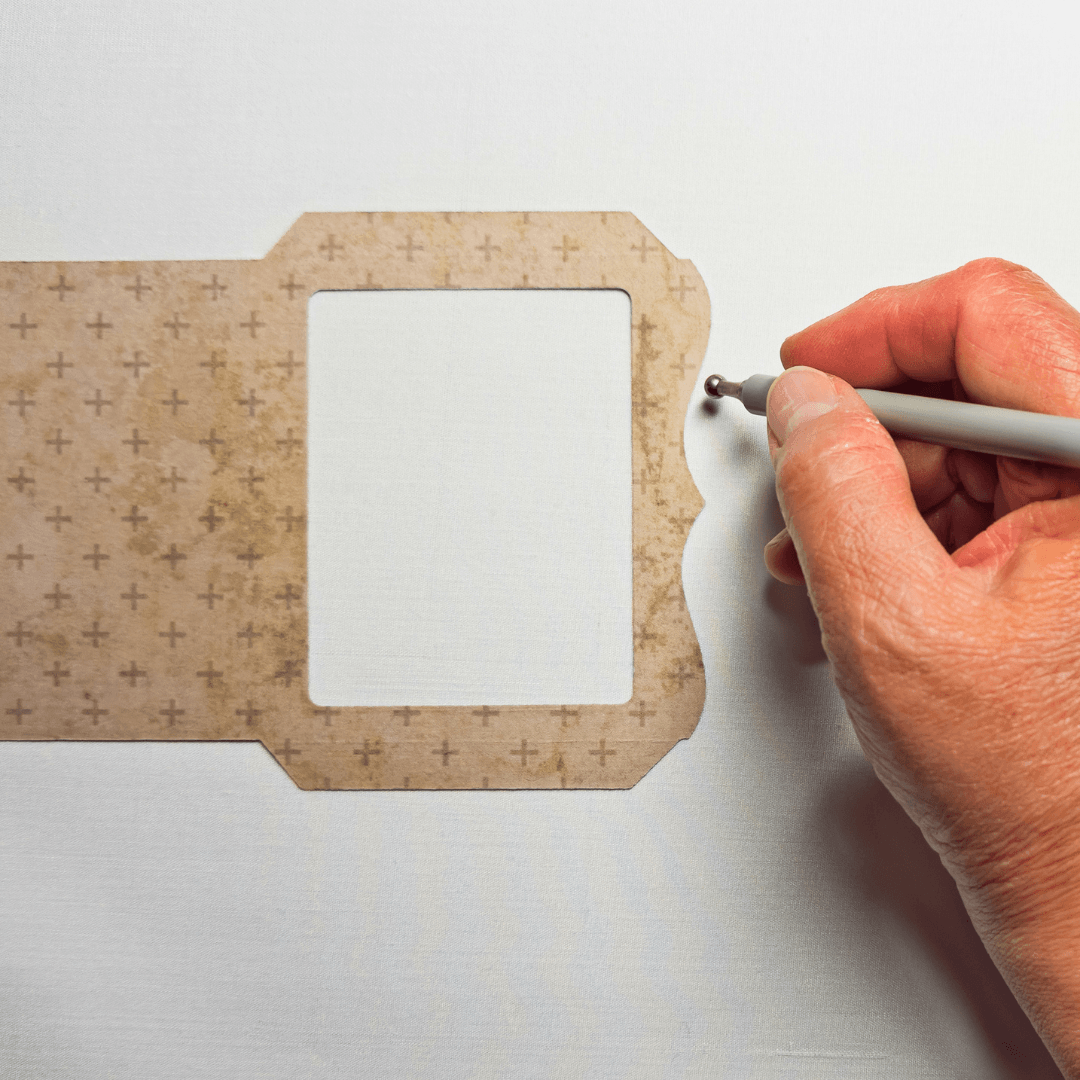
Step 4: I like to run a ball stylus along the back of the cut to soften the sharp edge created by die cutting. This has become something I do all the time now. I saw it online and wish I could give credit where due, but I haven’t a clue what account shared it!
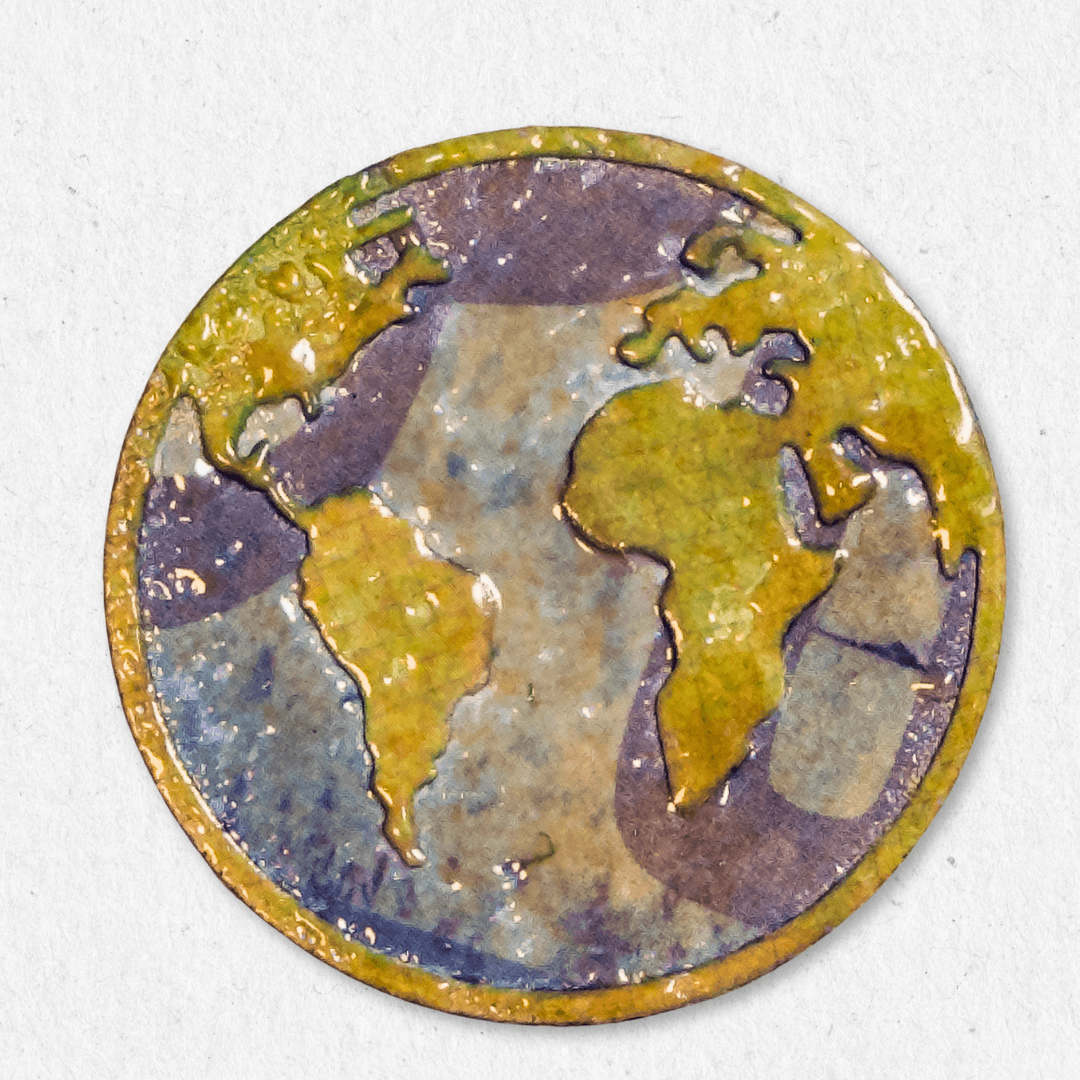
Step 5: I have made this globe by layering the globe die (#2356) with the medium circle die from Small Doilies (#2018). The circle included with the Rounded Travel Page is intended to fit into the globe handle; I needed a bit larger to give me a border around the world. I embossed it with a translucent, beeswax-like embossing powder for a vintage vibe.
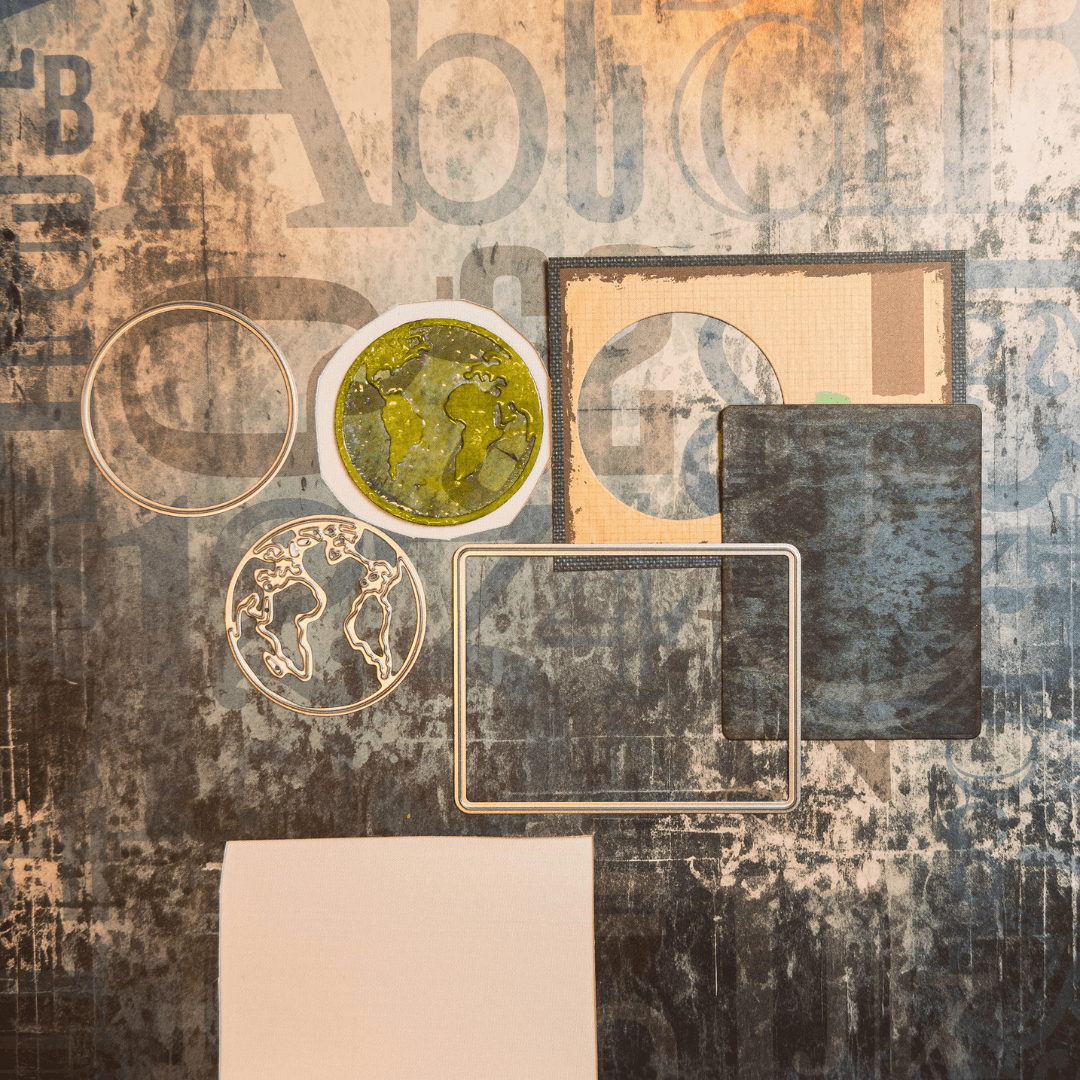
Step 6: This photo shows the papers I used to make the globe. We will also cut another rectangle from the gorgeous, grungy paper (this paper makes my knees weak, I love it so much!).
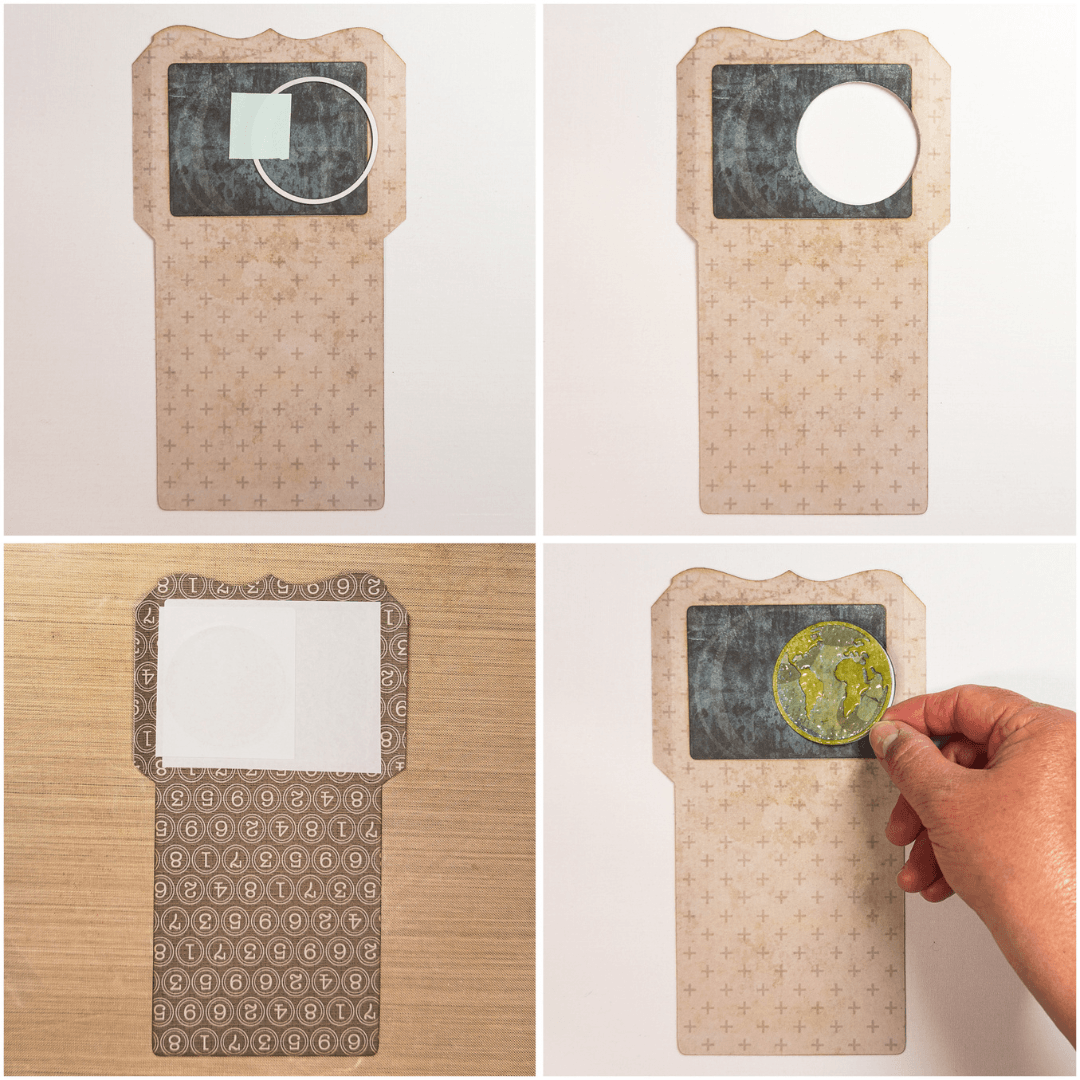
Step 7: Now is where the inlay magic happens. Are you still with me? From a large label or sticker paper cut a piece slightly larger than the window on your library pocket. Stay within the boundaries of your pocket folds and not past the decorative edge.
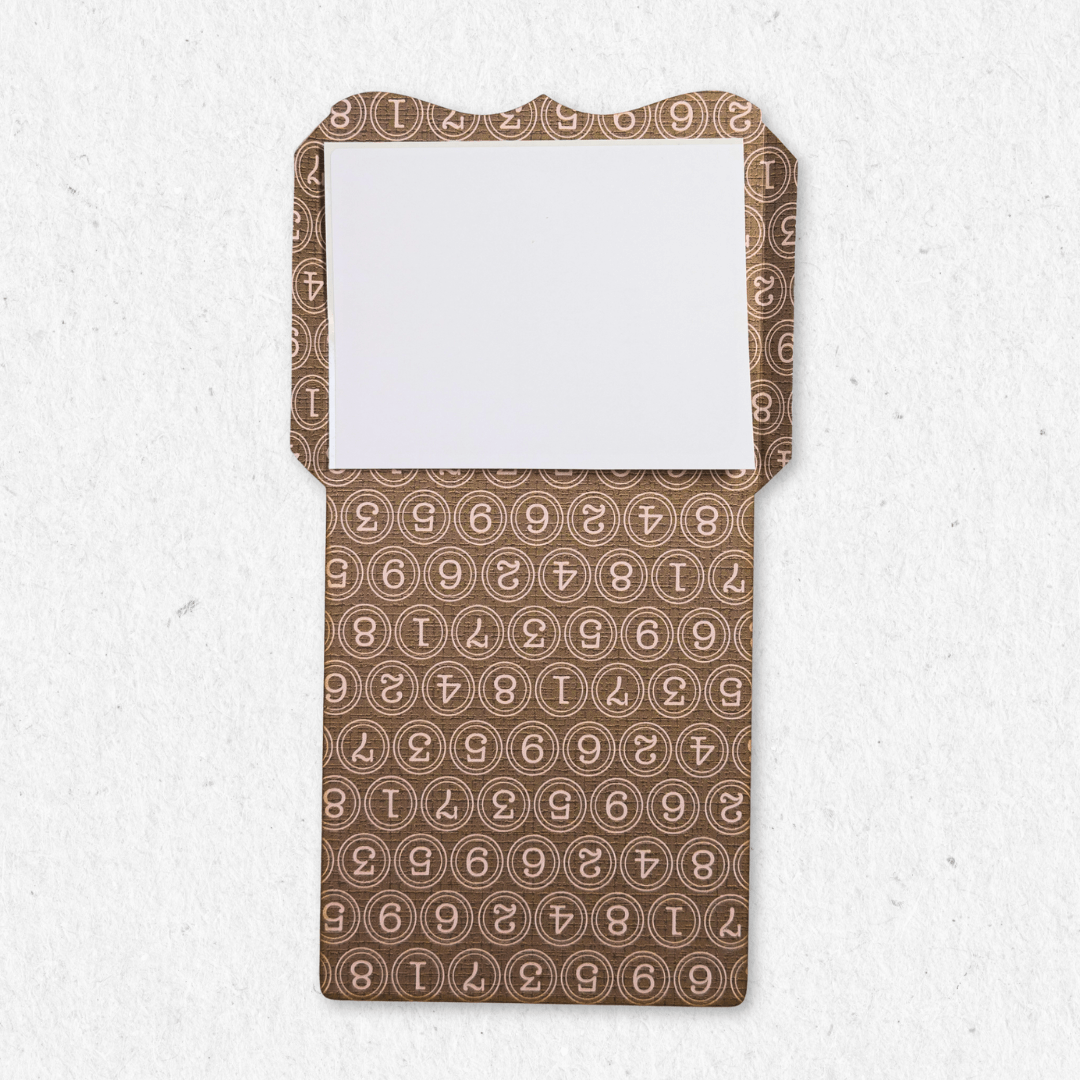
Step 8: Using a nonstick surface under your library pocket paper, stick the adhesive paper over the cut rectangle on the back of the pocket. Peel everything off the nonstick surface and flip it around.
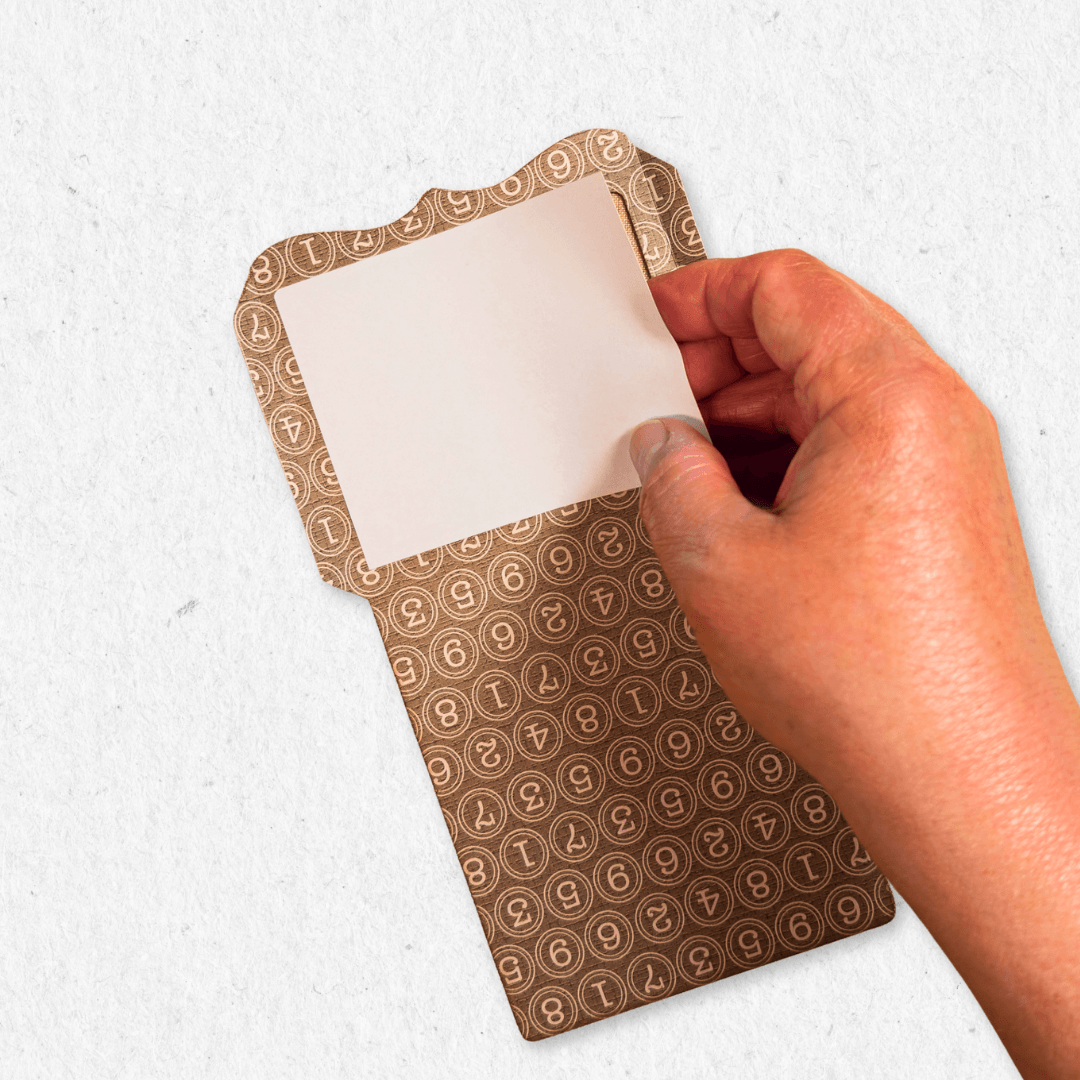
Step 9: Take the rectangle we cut from the grungy paper, starting at an angle and to one side, line up the die-cut to fit inside the window, and then carefully smooth it down. Rub it down to secure it firmly. You have inlaid your first piece. I find the process so satisfying!
Step 10: We will repeat the same process to inlay the globe. Use the circle from the Small Doilies set to cut through the new inlay (akkk…all your hard work!). I cut a bit past the edge; it adds visual interest. Cut a new piece of sticker paper larger than the globe, and cover the circle you cut on the back side (don’t forget your non-stick sheet!). Now, layer your globe onto the sticker paper again at an angle and to one side. Rub it firmly in place! Let’s do one more!
Step 11: From the ephemera pad, I die cut a ticket; let’s inlay it into our library pocket. Same steps as above!
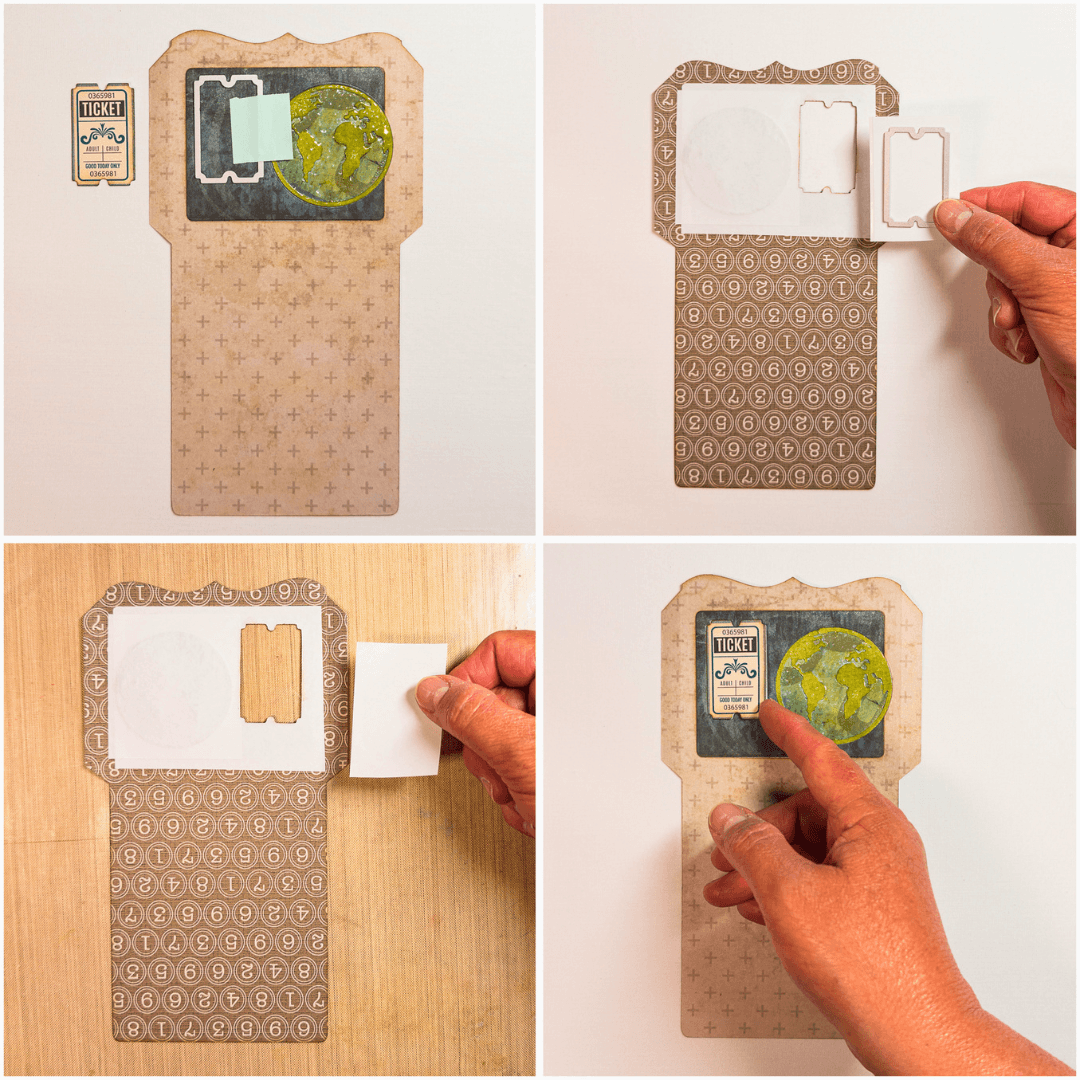
Step 12: I added a second ticket to the pocket but chose to use foam tape for a bit of dimension, and also because I wasn’t sure how the thick embossing on the globe would die-cut. I LOVE how it looks!
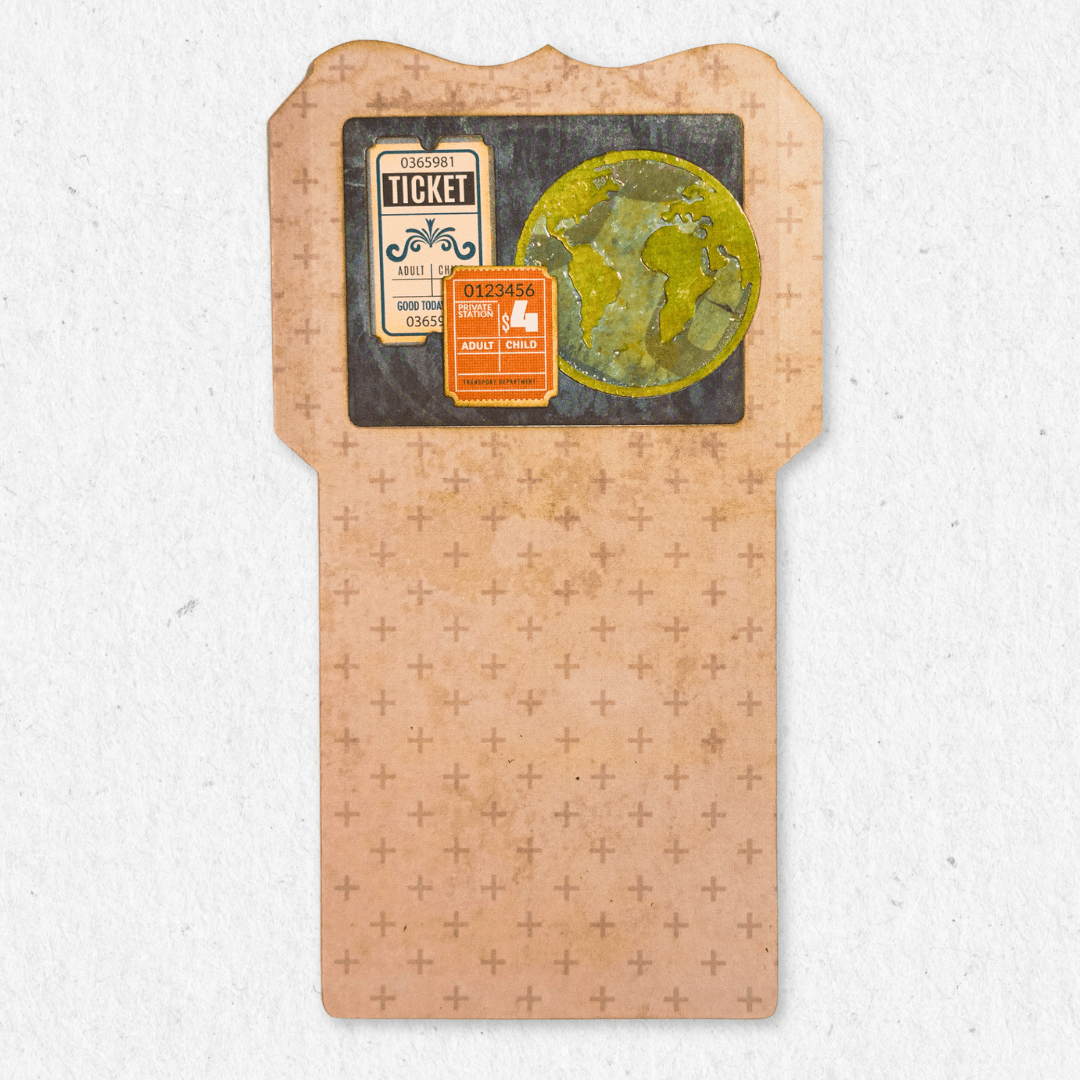
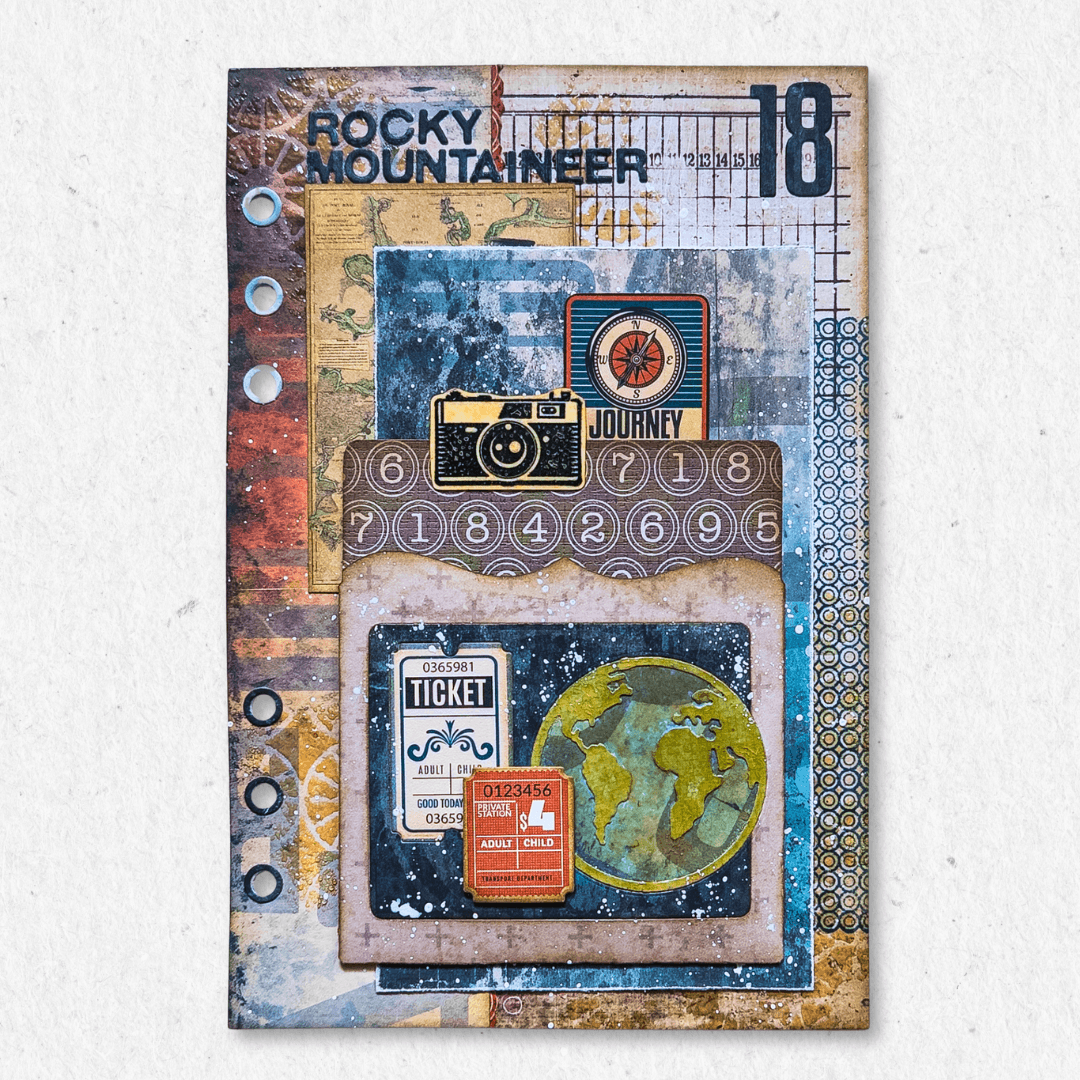
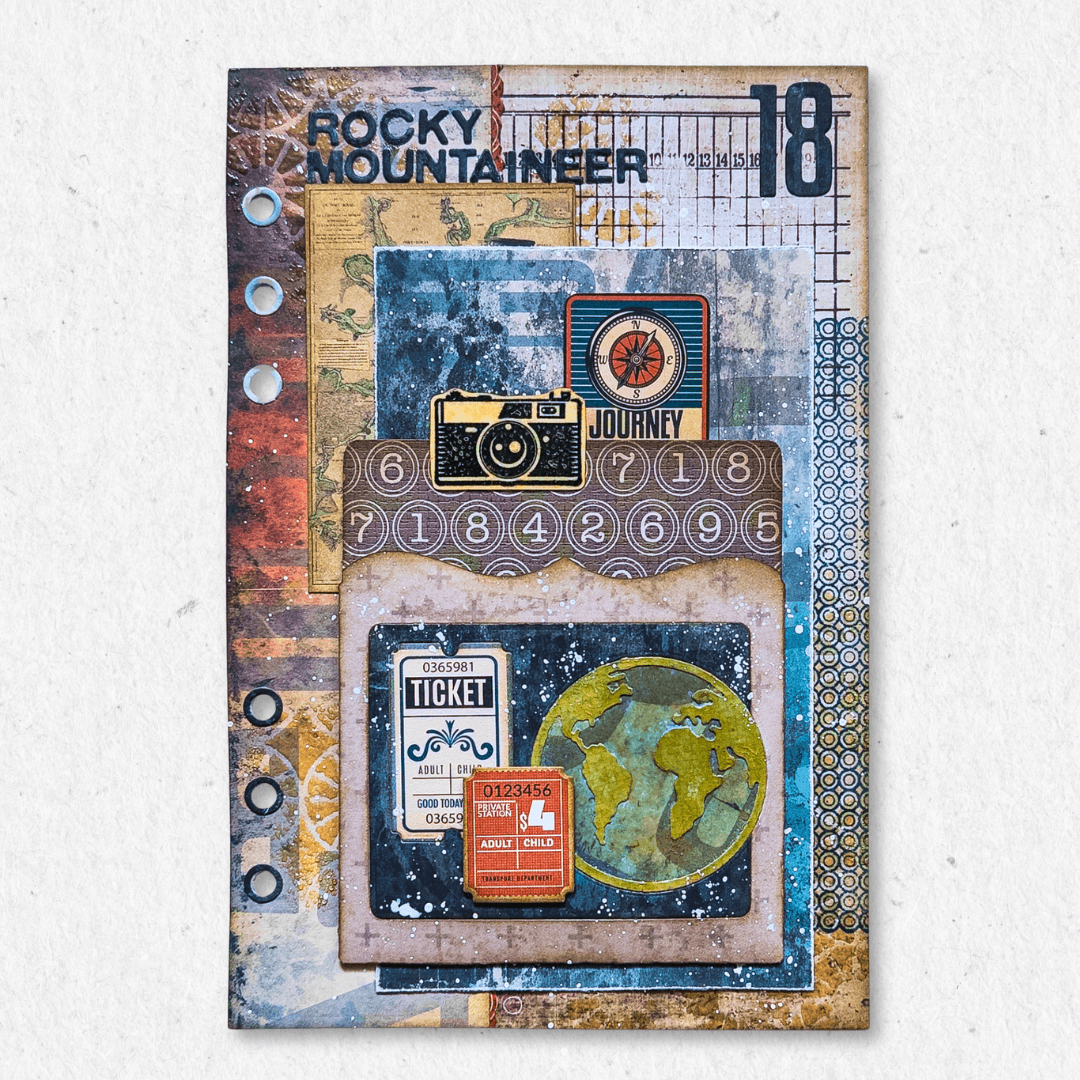
Step 13: My final photos show the finished page for my Memory Binder. I added some stamps to the right side of my base page, cut the orange border strip using the deckle edge from the Library Pockets die set, and adhered it to the edge of the grungy paper, and stuck those down. I used one of Devid’s stencils to add another layer of embossed texture. From there, I layered another paper, some ephemera from Everyday Ephemera 2, and the stamped/embossed camera. My week number and title were last to be placed; the small font is AMAZING and plays so nicely with the Tall & Bold Alphabet, both are a must in my craft room.
Step 14: I filled my pocket with tickets and photos (10 in total 🤗) from a train trip I took with my mom. I cut the plastic pocket page to fit my pocket…I took away the side with the binder holes and the top row of pockets; a thin piece of double-sided tape sealed the open edge on the top.
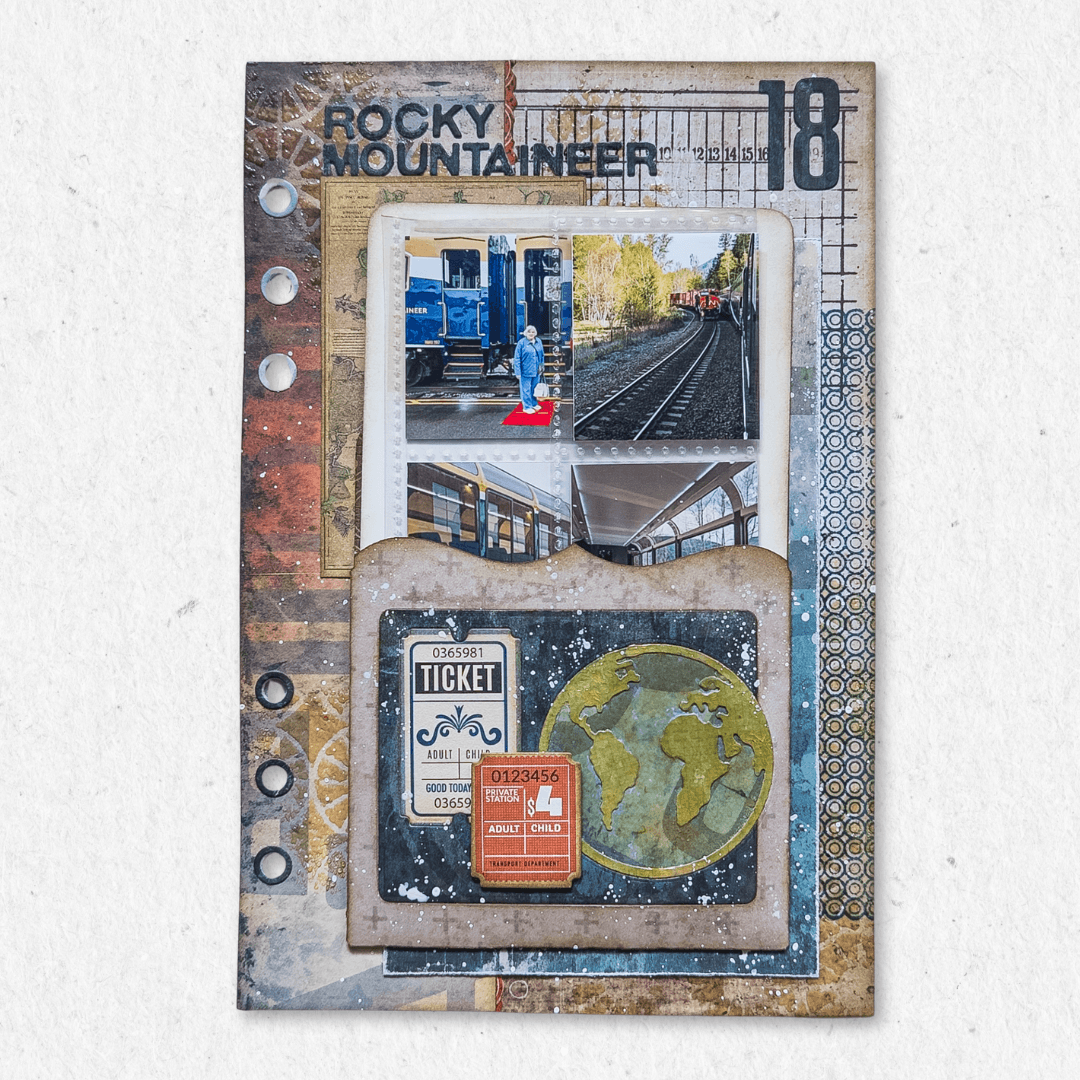
If you made it through my technique, thanks for staying with me…I know it was long! Hopefully you try the inlay process, I find it really easy and very secure. The sticker paper or label does not add any noticeable bulk! Of note: I did edge all my papers with ink and added paint splatters at different stages of my process.
Make sure you share your projects with us in our Facebook Group HERE. We love to see what you create!
Never miss a tutorial and sign up for our emails today HERE.
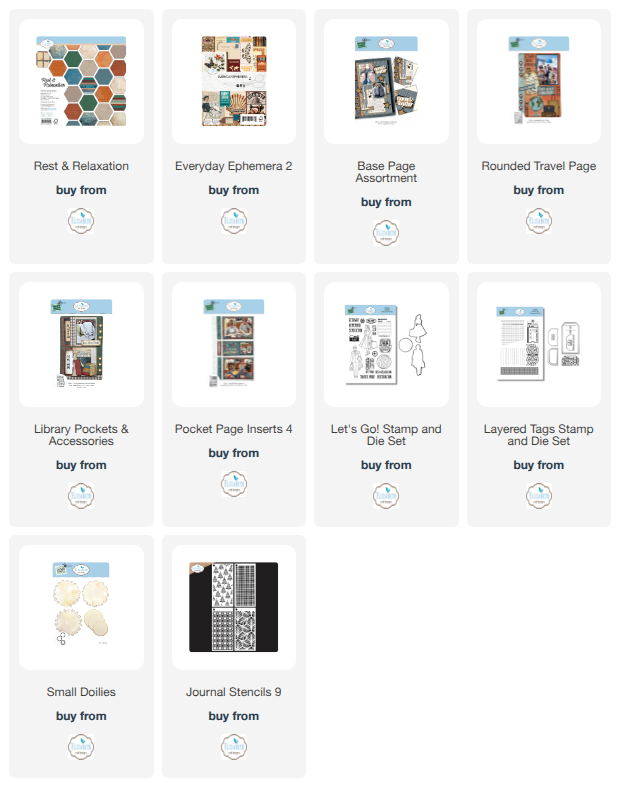
Elizabeth Craft Designs Products Used: