How to Make an Oval Aperture Card
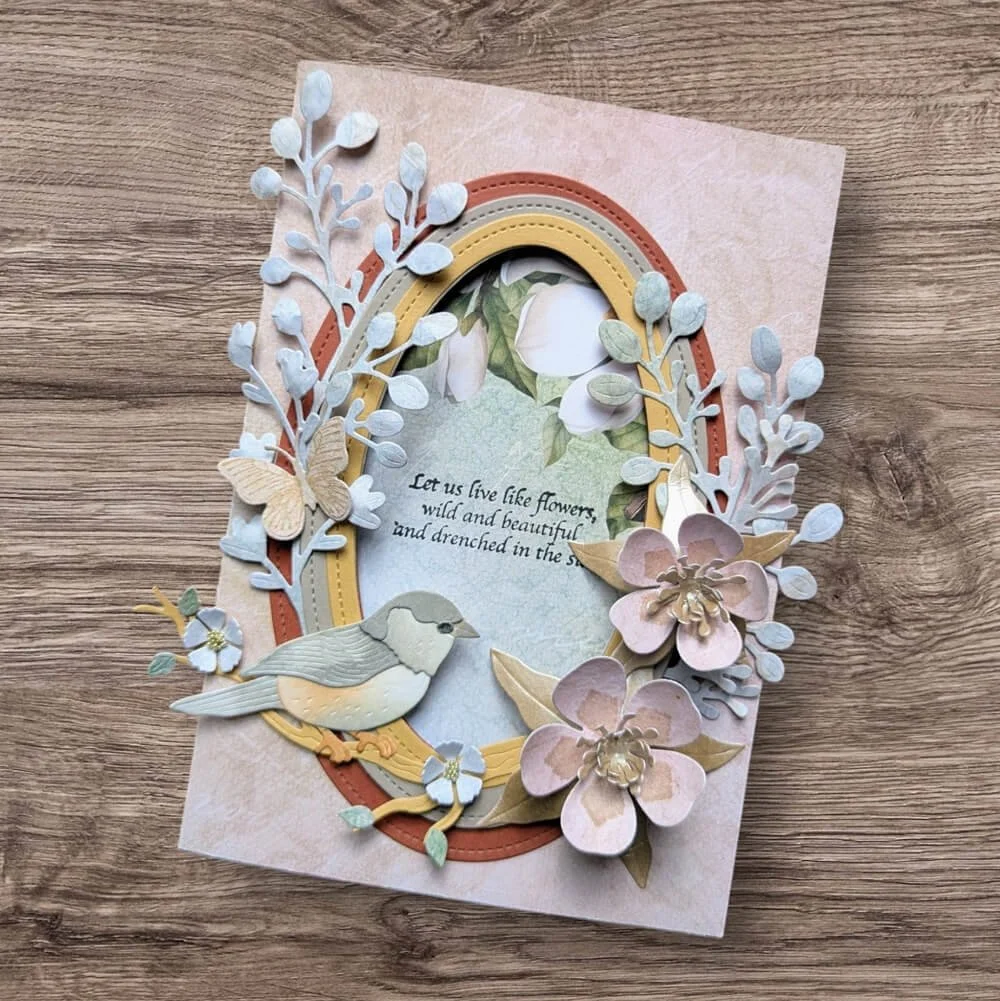
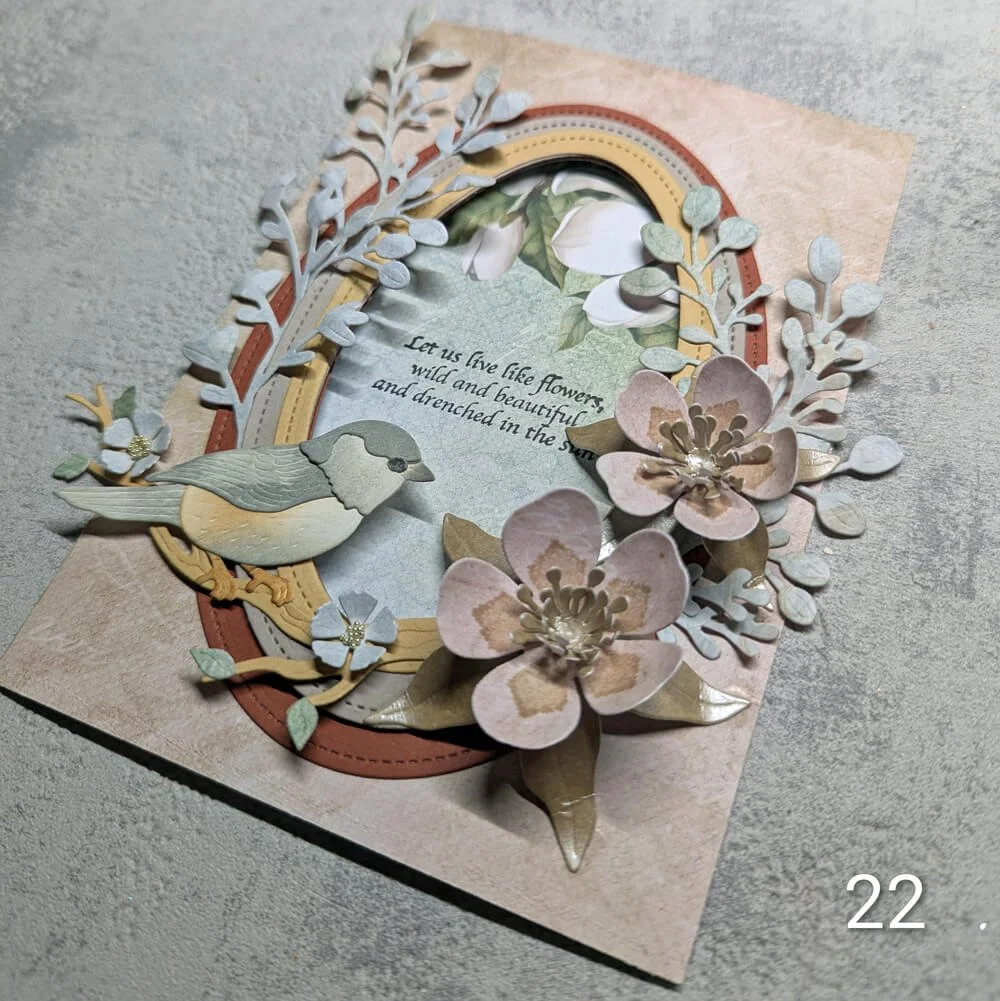
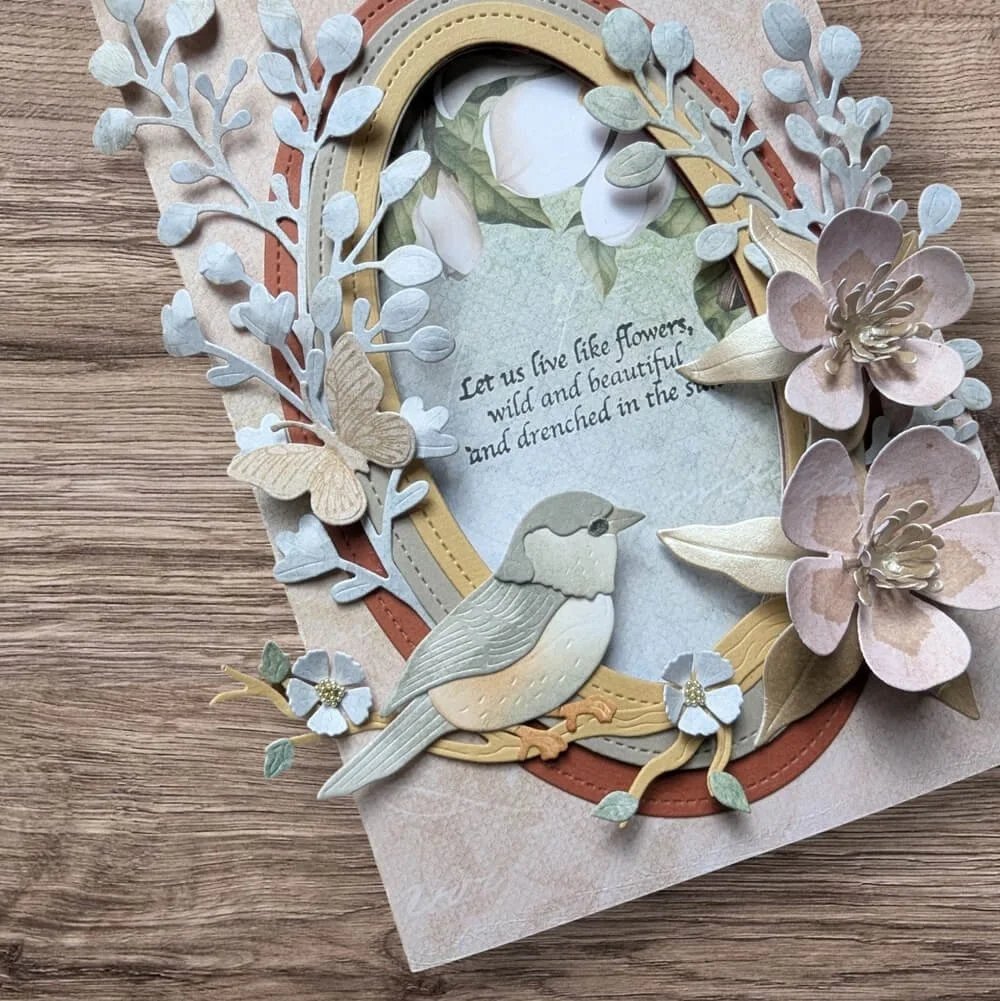
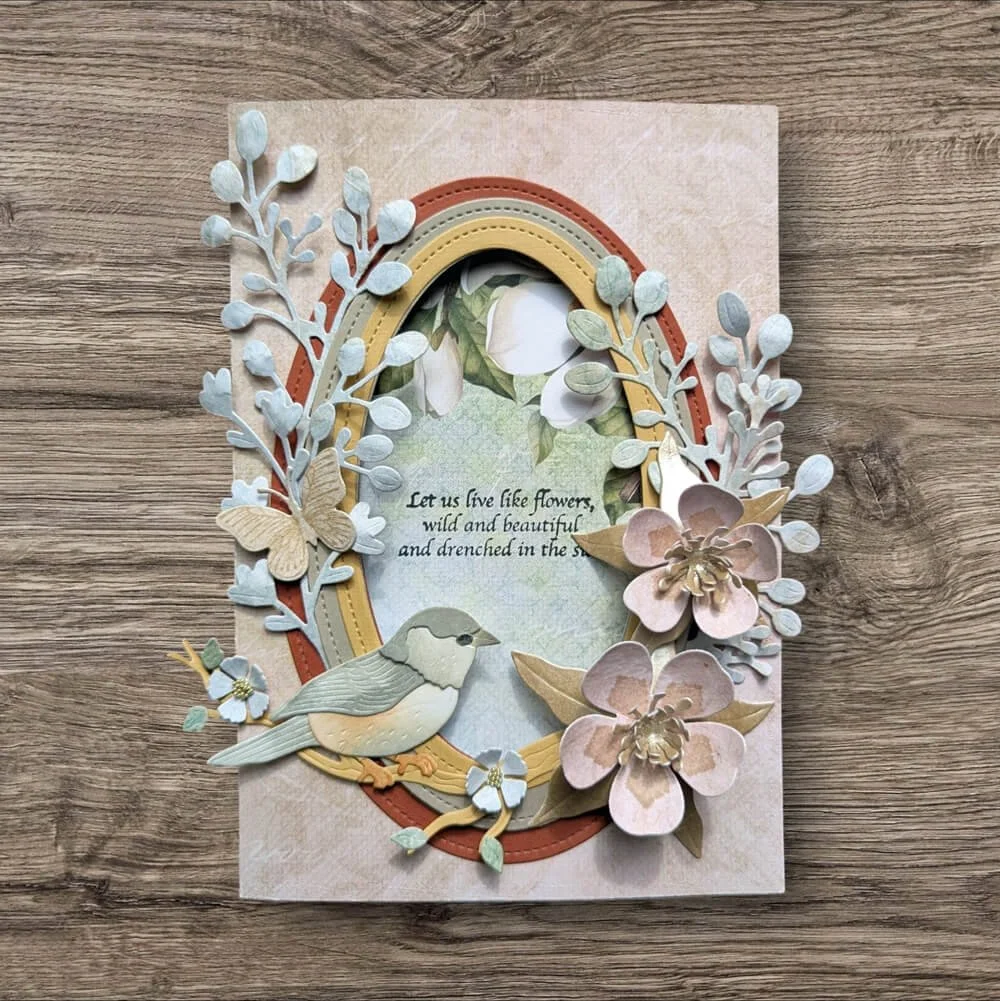
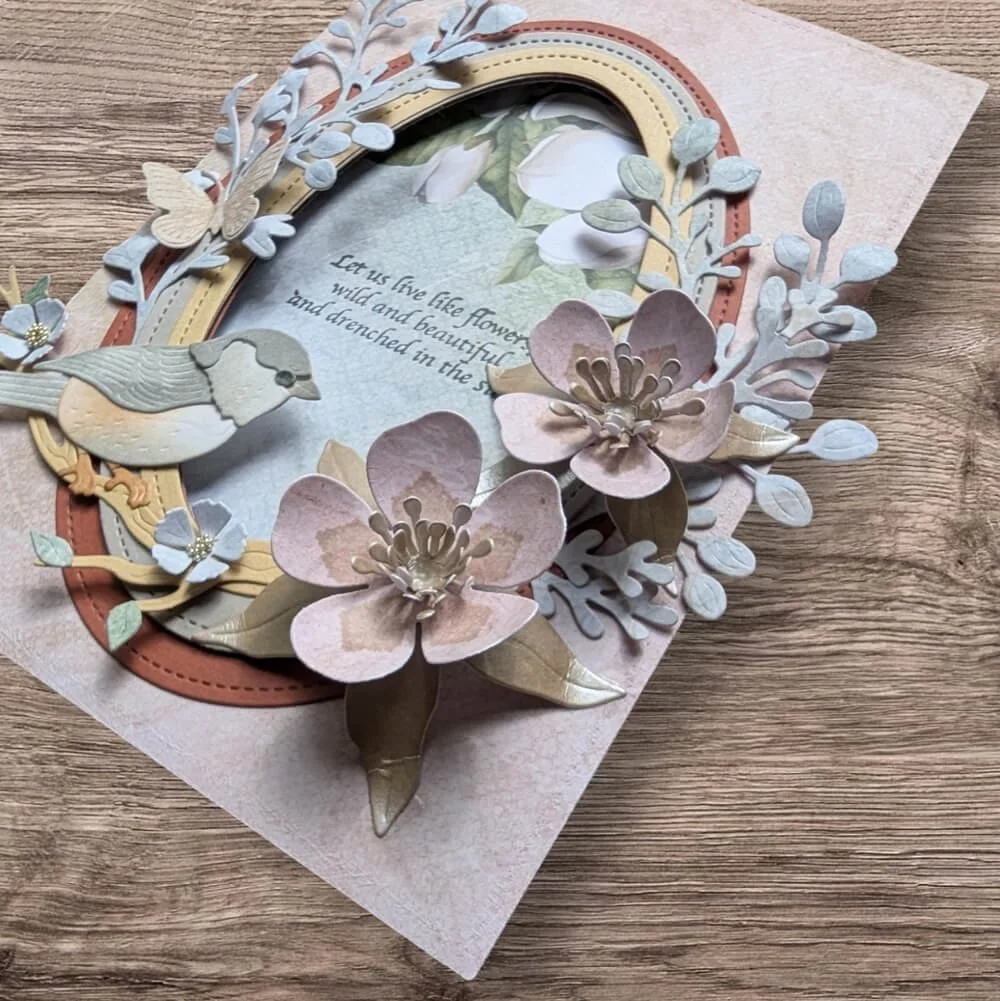
Create an elegant, layered window card that draws the recipient right into a hidden stamped sentiment inside. In this tutorial, you’ll learn how to craft a delicate oval aperture front framed with realistic shaped columbines, lush greenery, and a charming sparrow using the new Bloom Wildly Collection by Elizabeth Craft Designs. Grab your die-cutting machine and favorite cardstock to follow along with the step-by-step instructions and full supply list below!
Hi there, lovely fellow crafter,
This is Reanna with something new and gorgeous: the Bloom Wildly collection from the Paper Flowers designed by Els and Liz. In this collection, there are several beautiful flowers, ovals, greenery, and stamps. I chose the Columbine as the flower to work with on this card; I used the ovals and, of course, the cute sparrow.
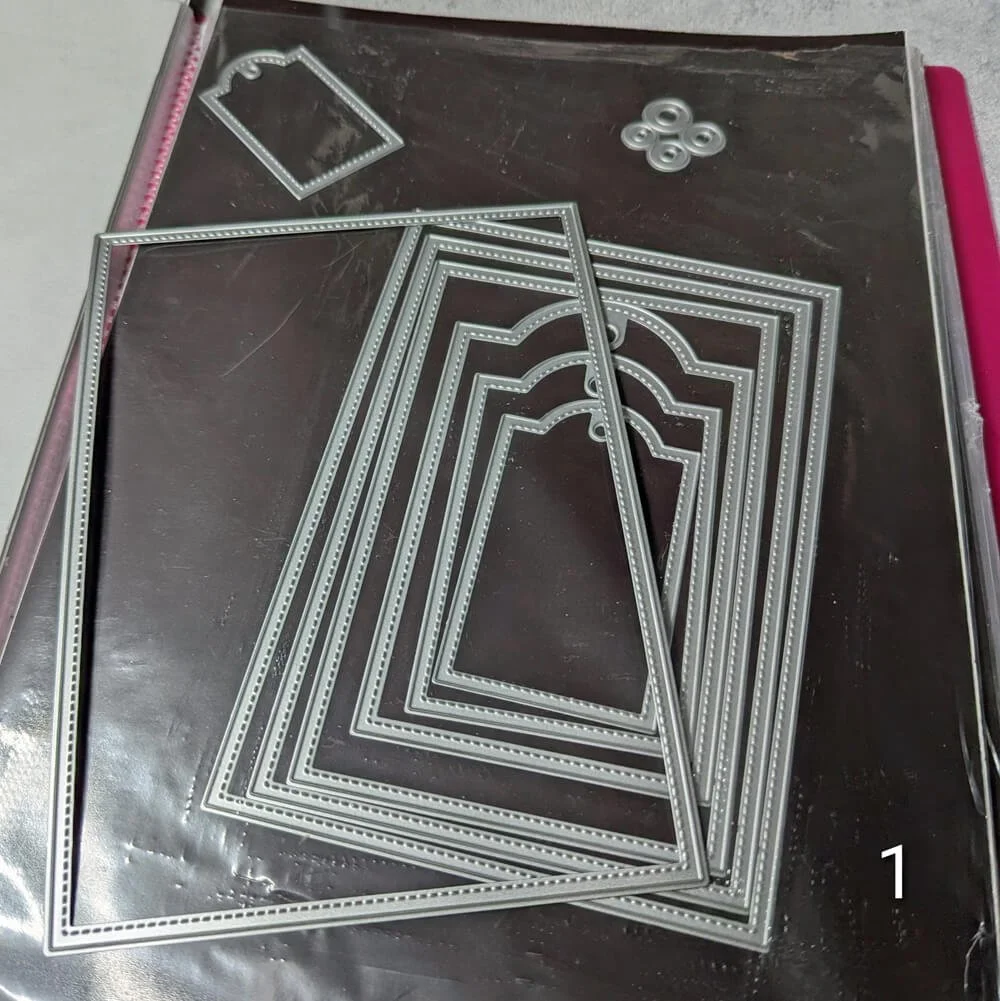
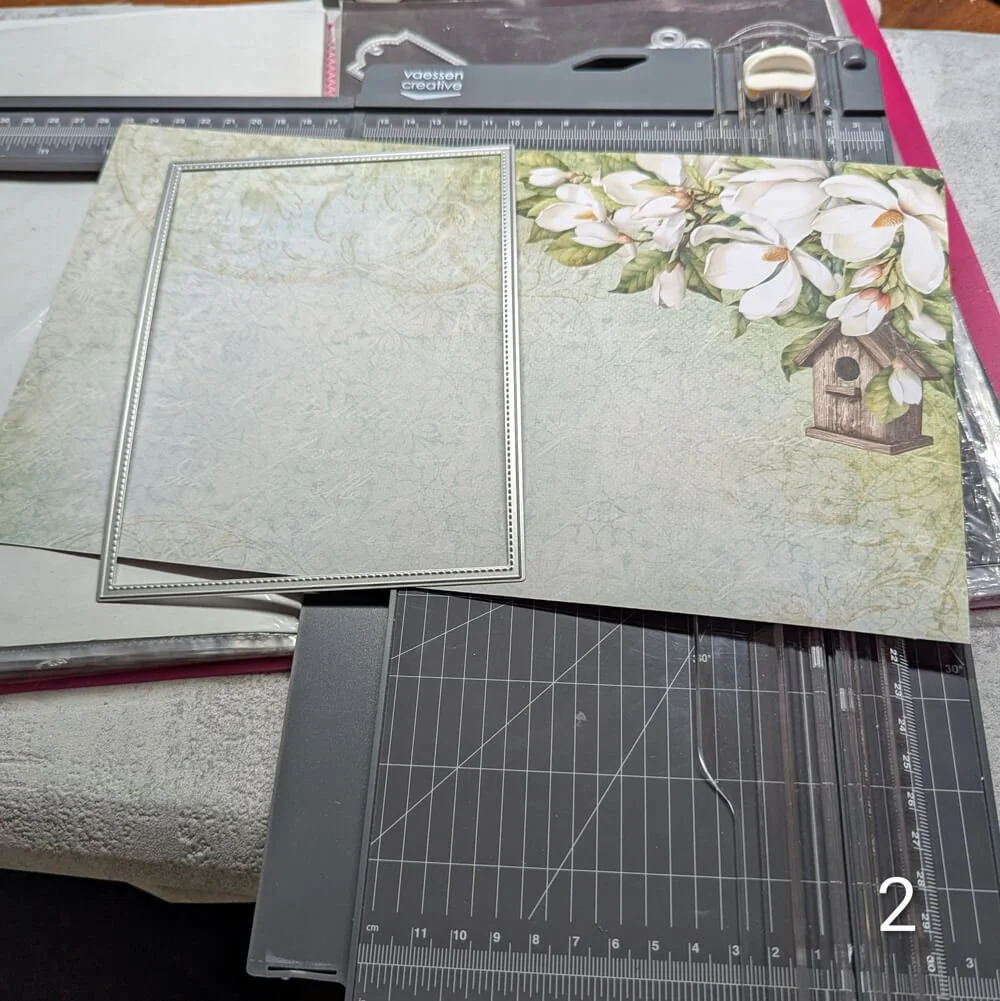
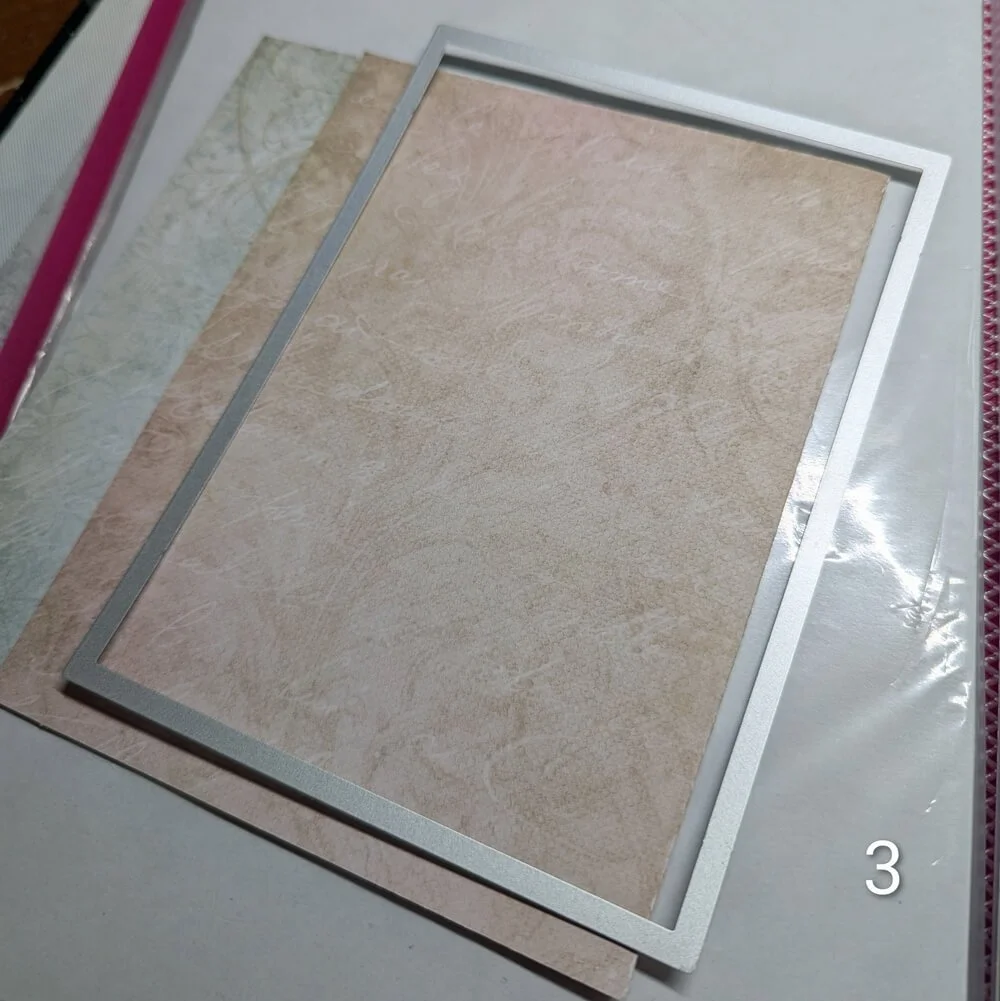
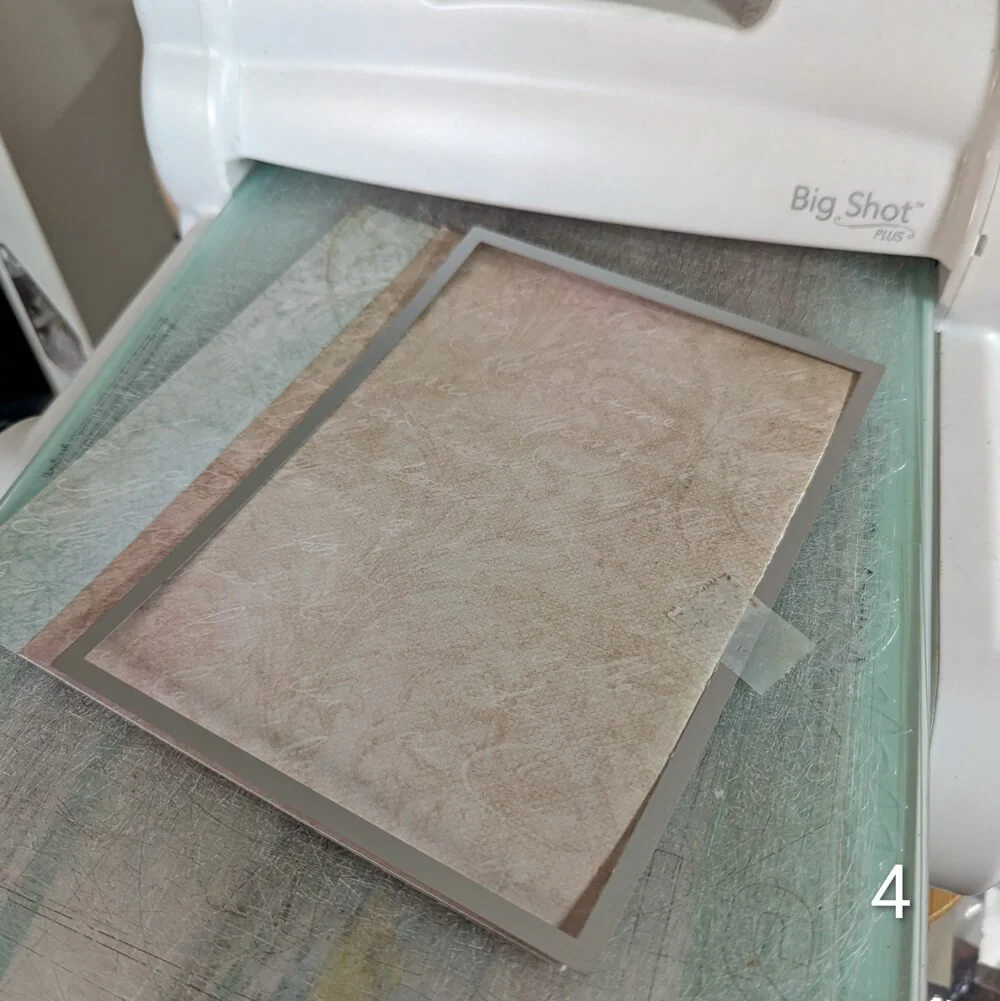
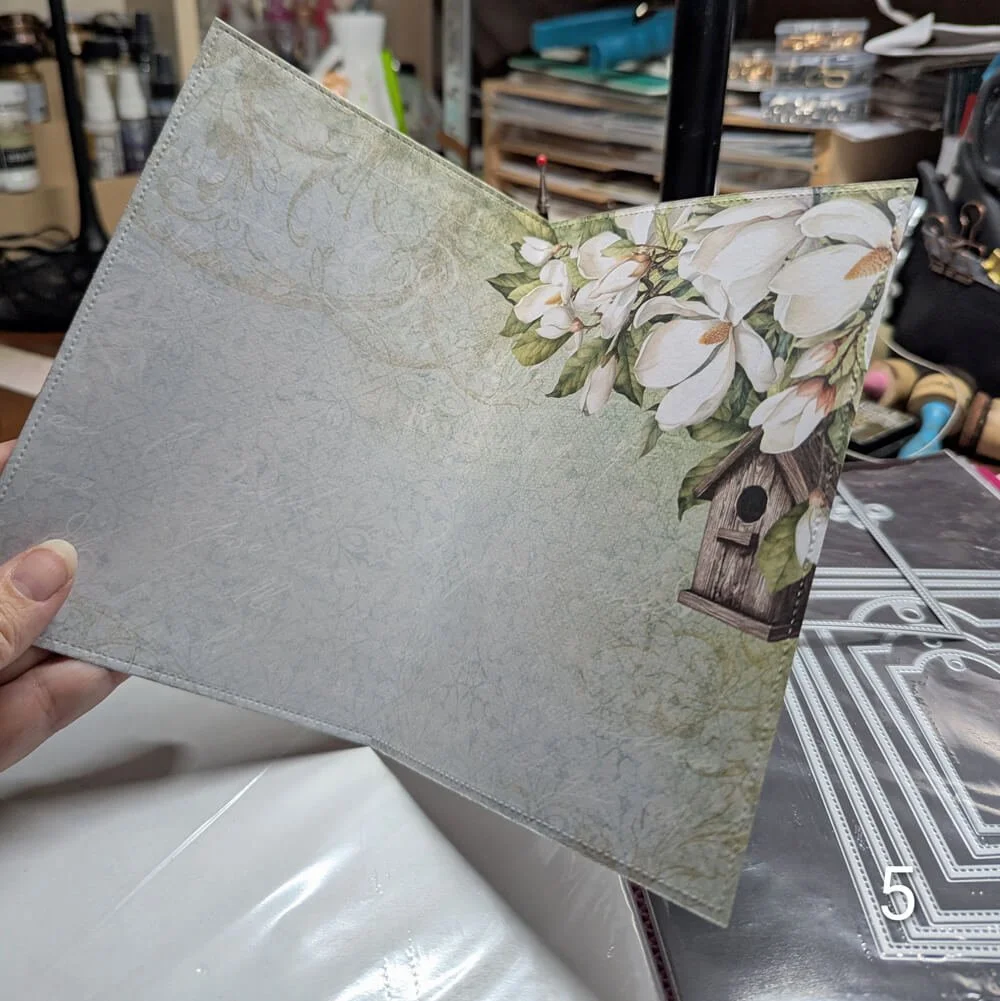
Step 1: I started with the biggest rectangle from the previous collection as a base for the card, as well as the Bohemian Rose design paper. To create a double card, I folded the paper and placed the rectangle over it, with one (long) side just off the card. I ran it through my cutting machine, and it worked like a charm. The quality of the dies is just perfect!
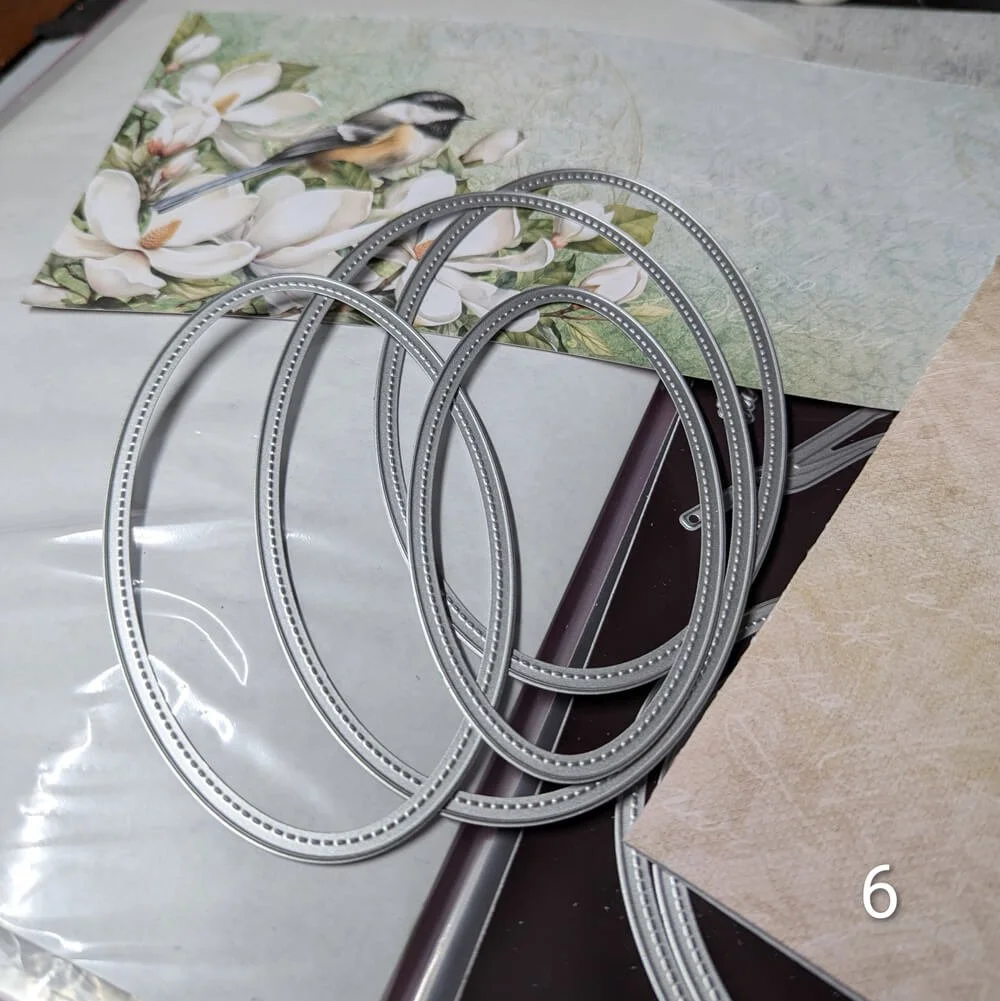
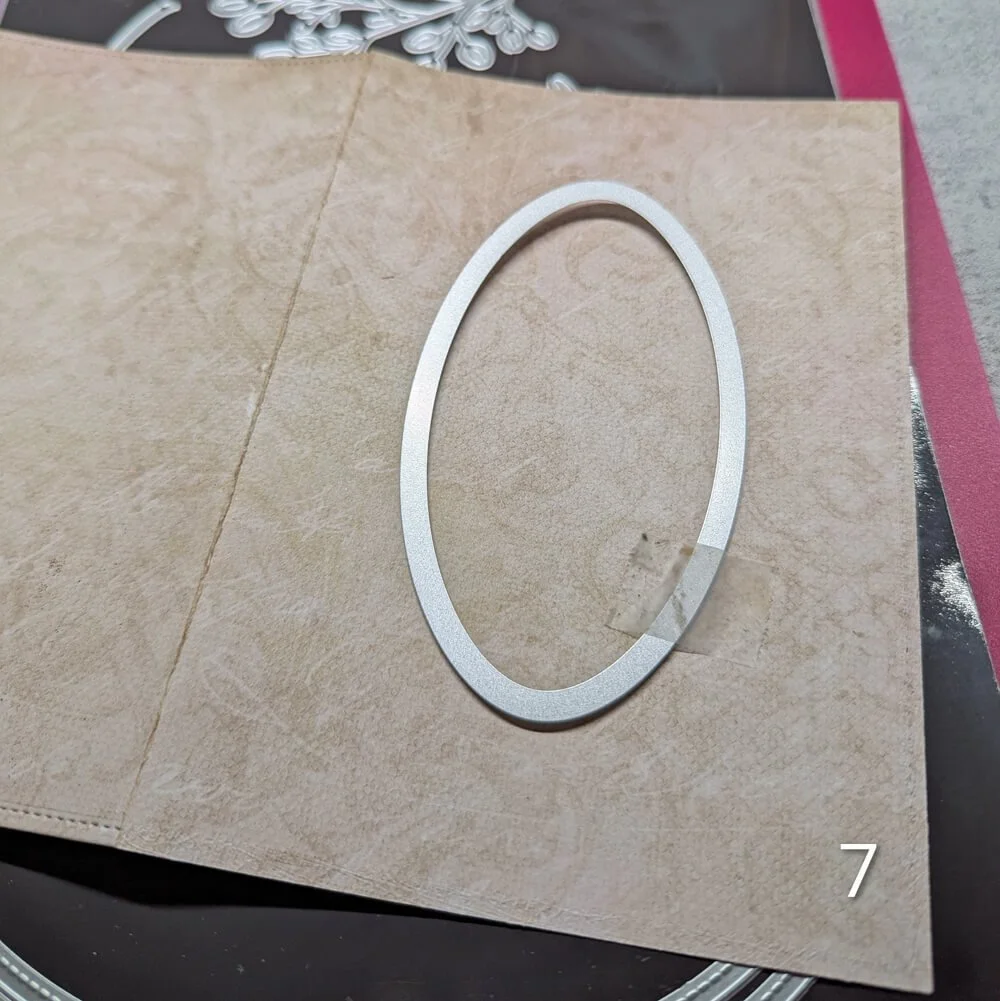
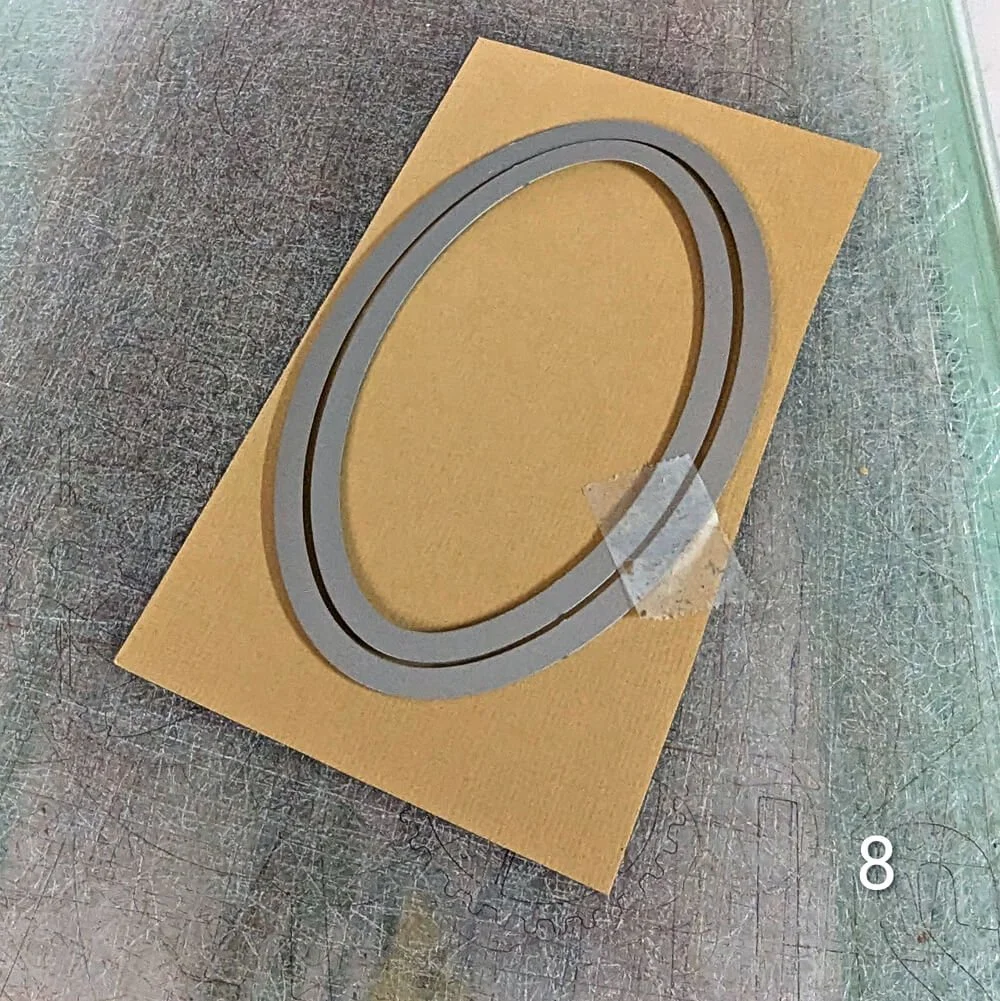
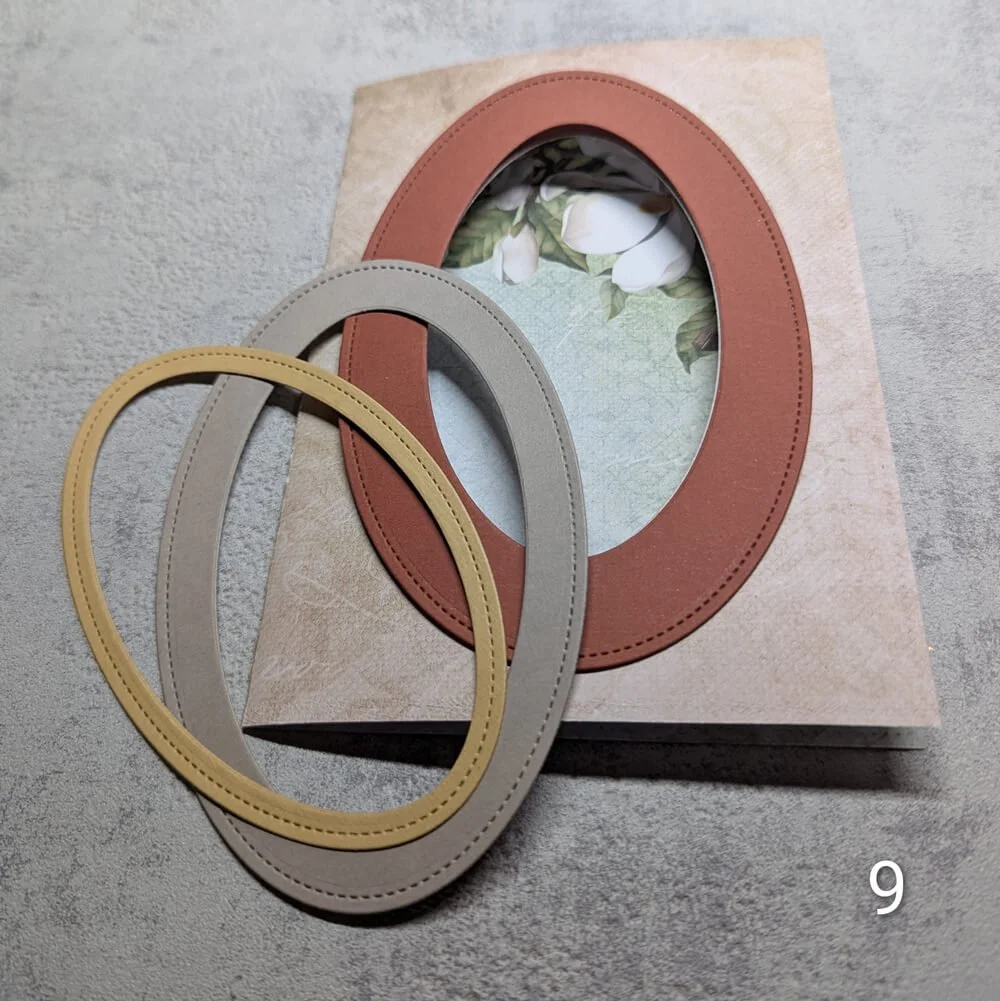
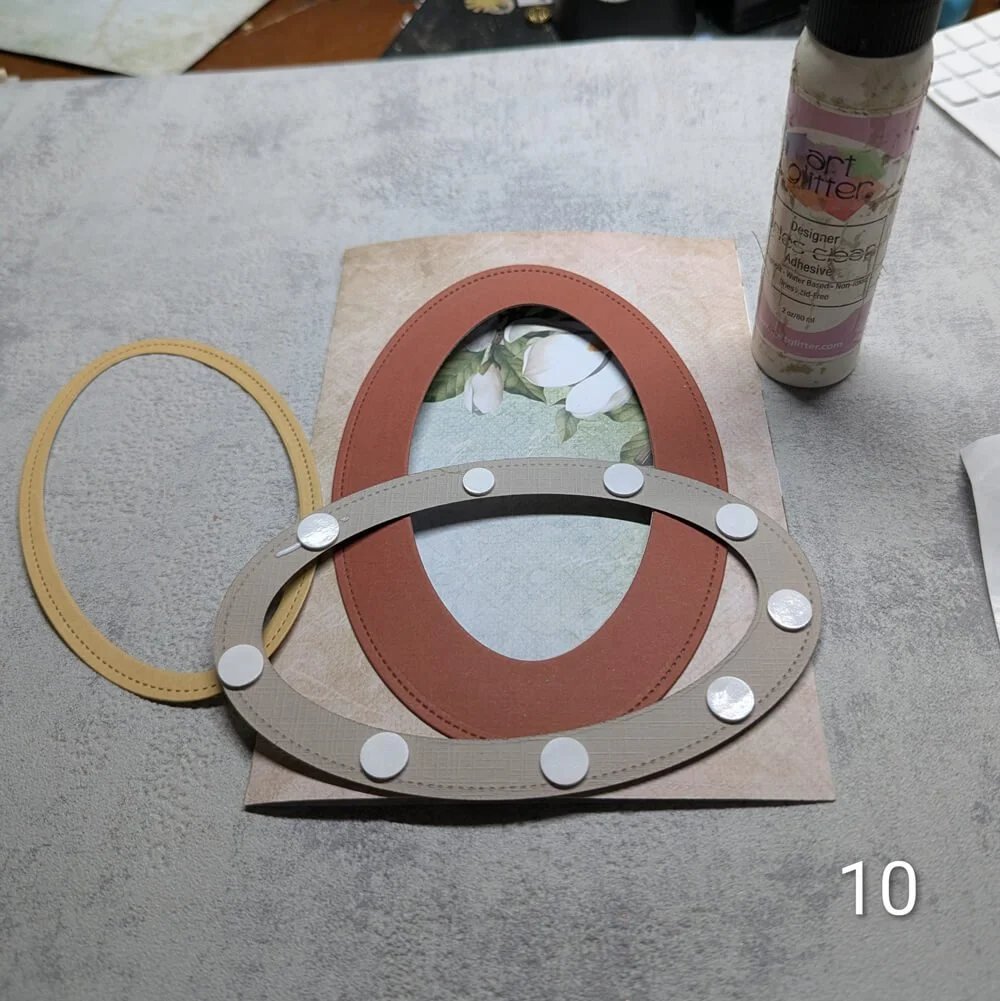
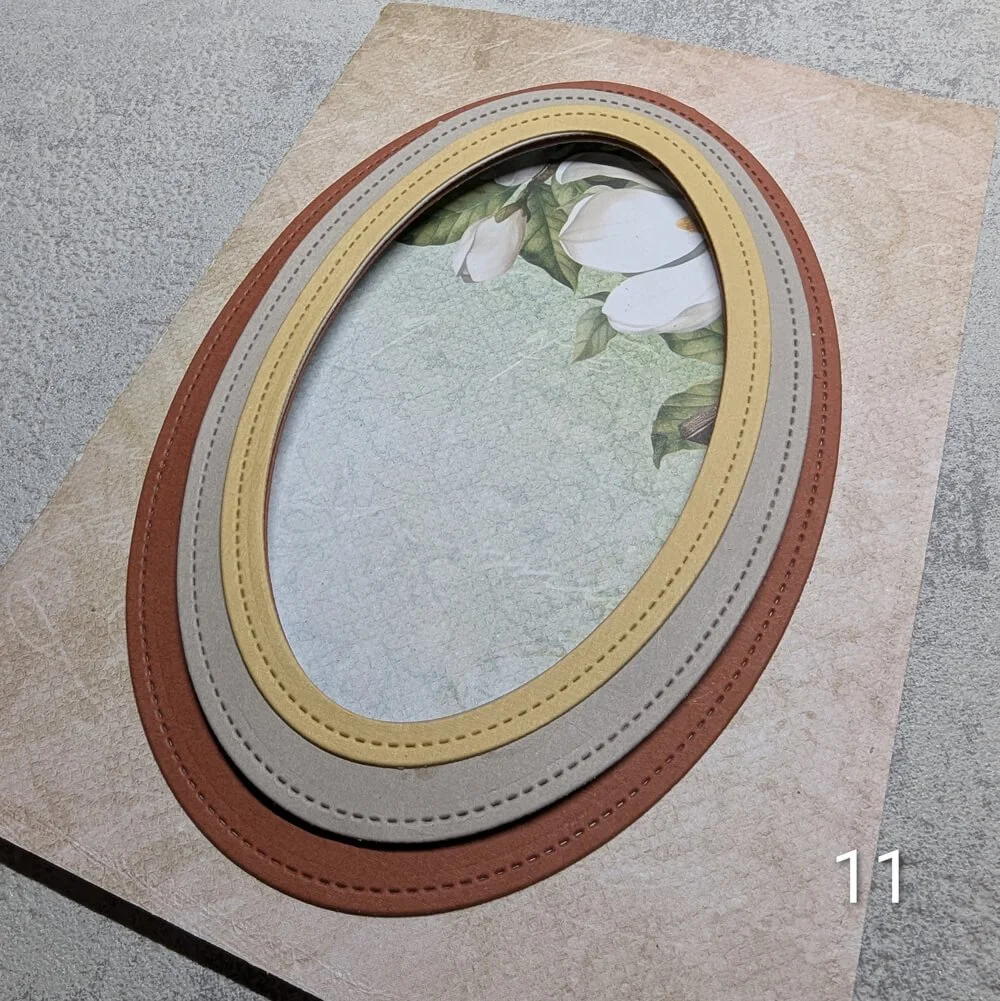
Step 2: I chose 4 of the oval dies, each just one size larger than the previous one. It’s the smallest one I’m using every time I run it through my cutting machine. First, I die-cut the smallest oval on the front of the card (photo 7). Then I took the smallest oval and added the first larger-sized oval on the cardstock (photo 8). I ran it through the cutting machine. I did this 3 times, and each time I used the smallest one and added just a larger oval (see photo 9). Now I have 3 sizes of ‘open’ ovals. I glued them to the front of the page; I glued the second one down with foam to add some height.
Once everything is in place, it should look like Photo 11.
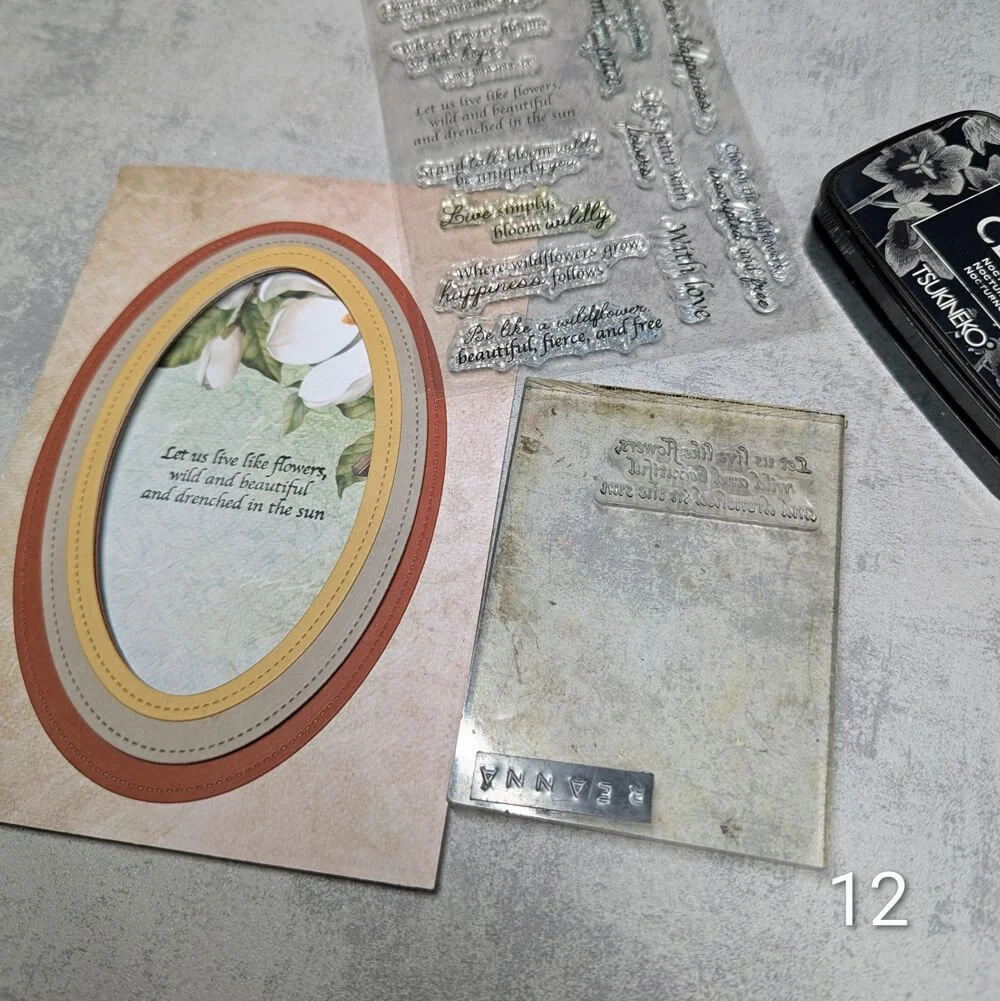
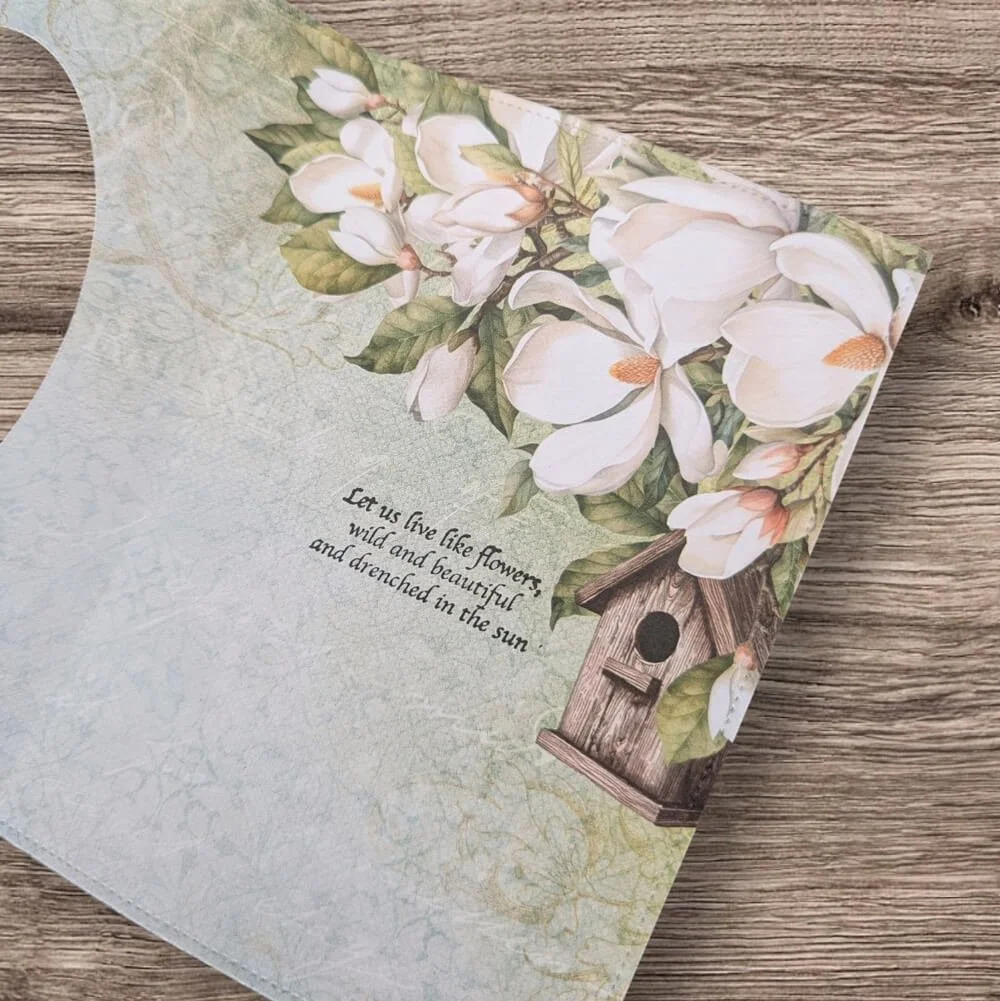
Step 3: The stamp set has lovely quotes; I chose one and stamped through the ‘hole’ so the quote is visible when the card is closed and open.
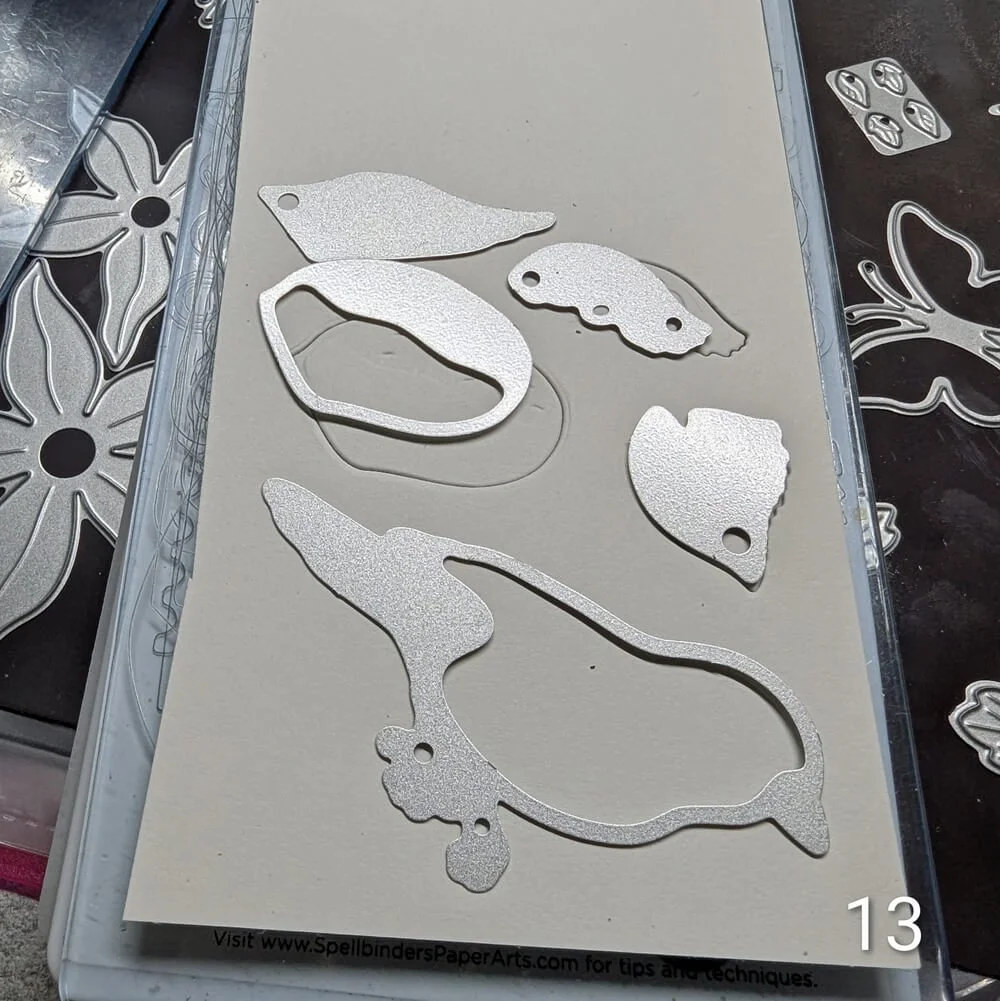
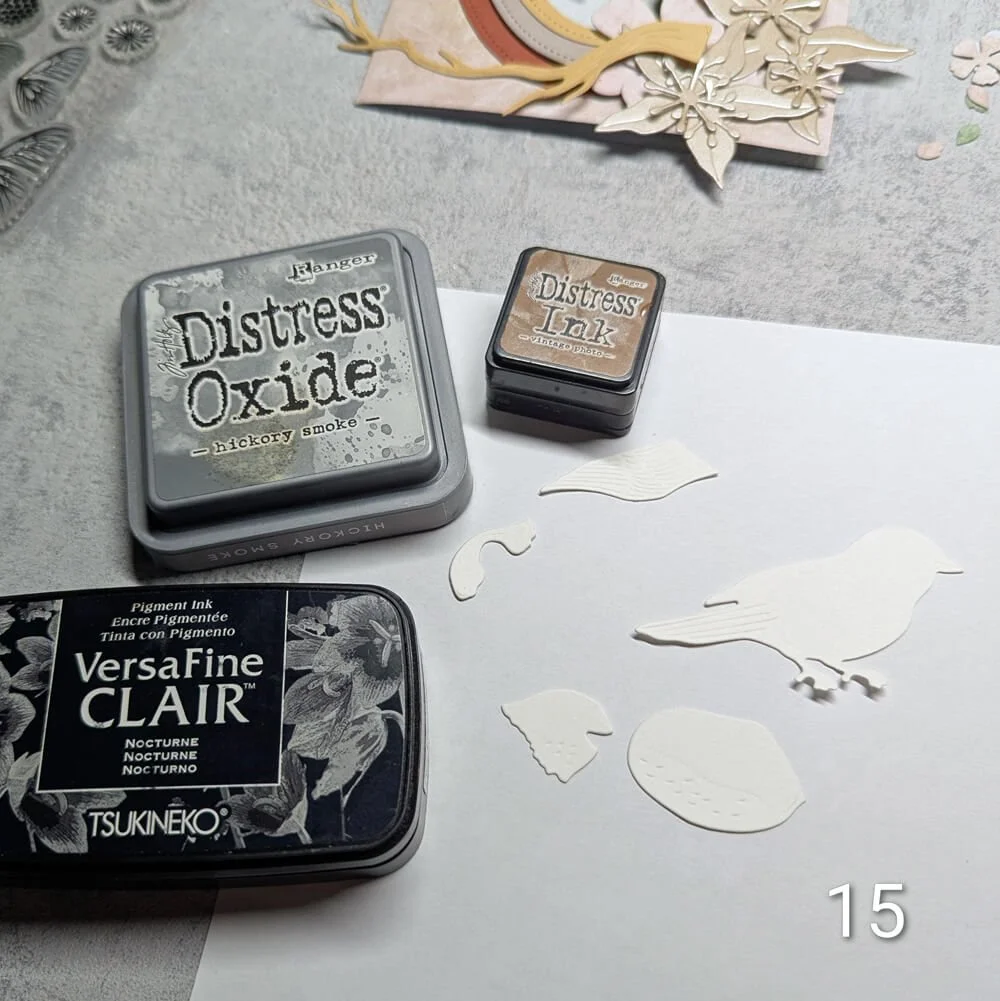
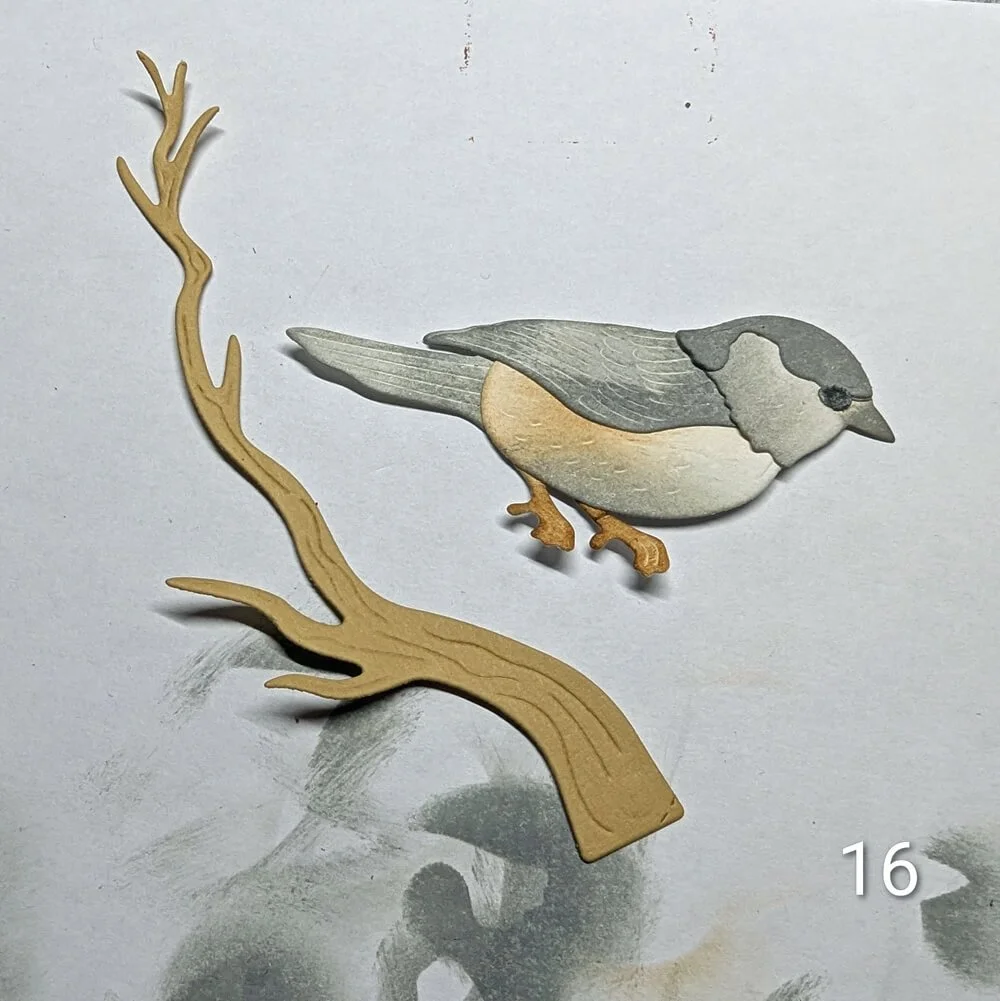
Step 4: Now we are going to create the sparrow and some of the decorative elements. I chose to work with the smaller sparrow in the set and die-cut it with Soft Finish Cardstock. I also die-cut some greenery, the branch, and flowers, and used the Bohemian Rose paper for this. I colored the sparrow with several kinds of inks, mainly with grey and a bit of brown.
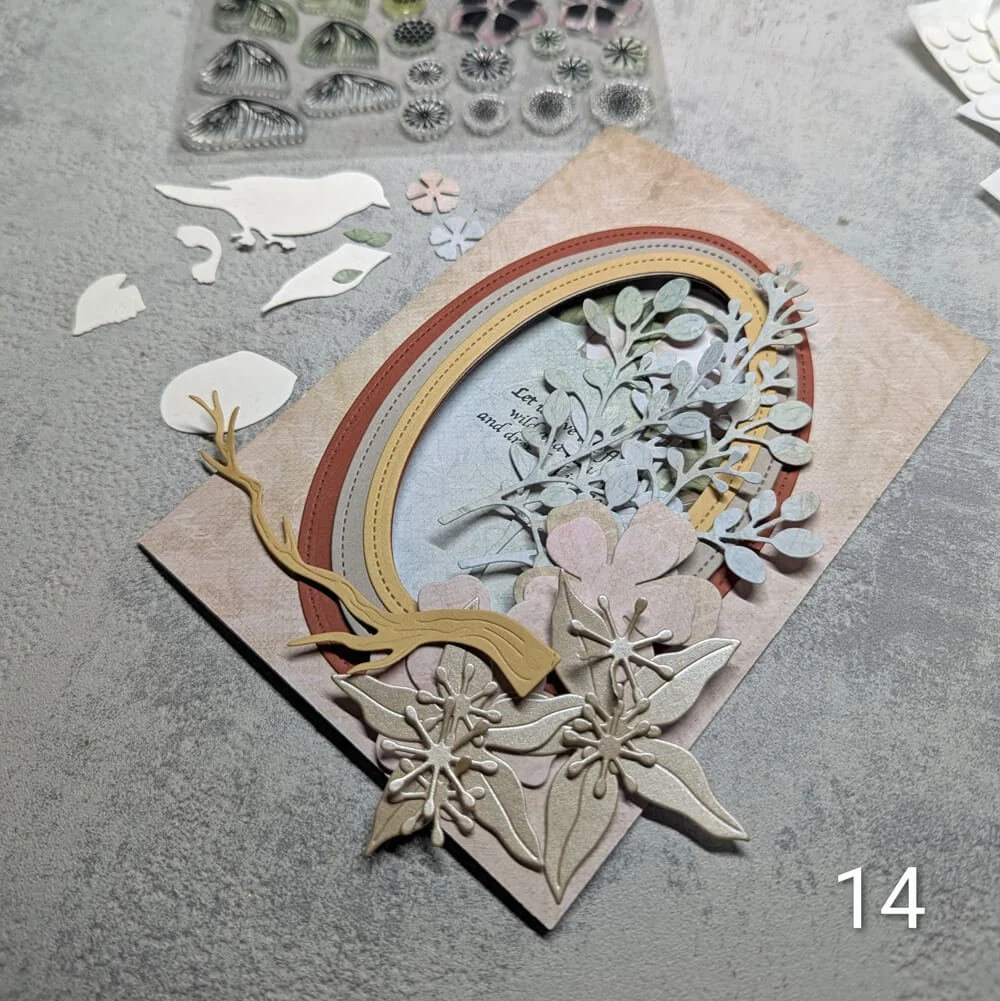
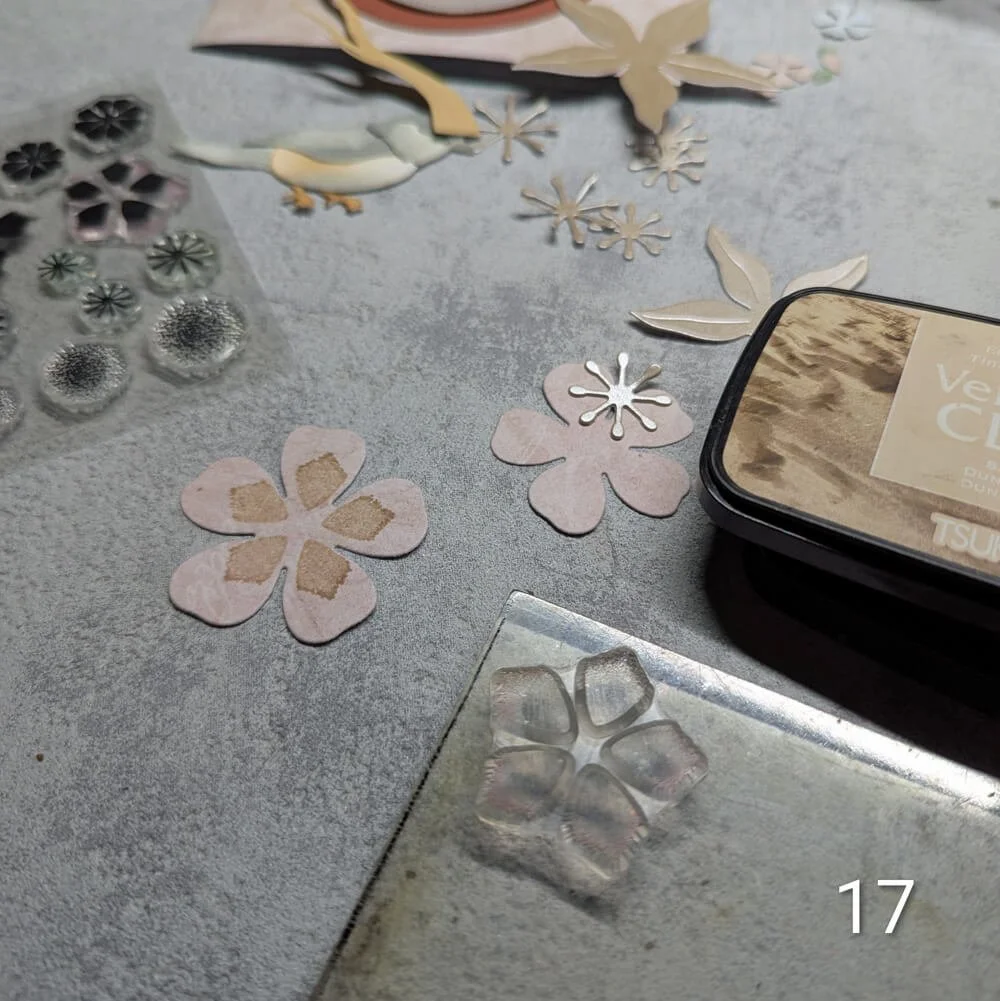
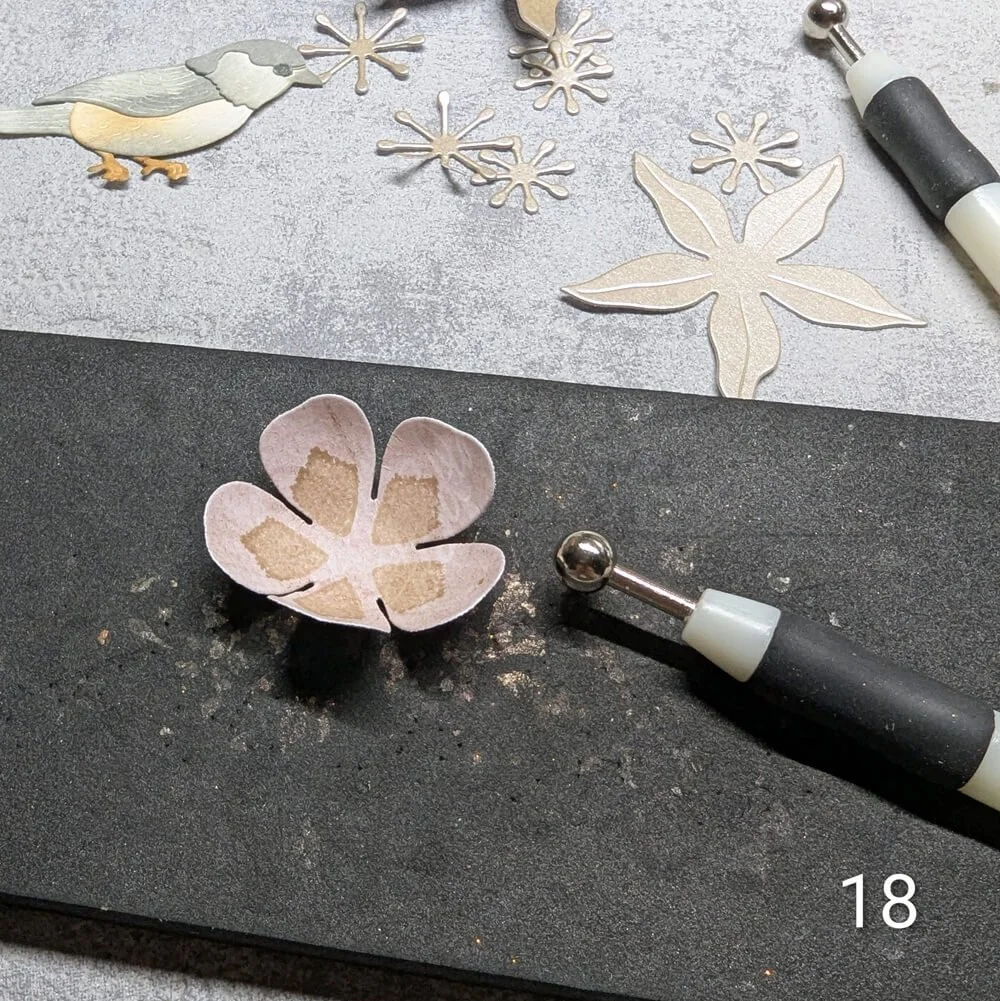
Step 5: On photo 17, you can see I stamped on the flower. I used soft colors to create this specific flower, so the Versafine Sand Dune is perfect on the Bohemian Rose design paper I used to die-cut the flower. Of course, I had to shape the flower and its base. The Columbine has a specific shape. It worked out great; you can see how this flower is meant to be shaped in photo 21.
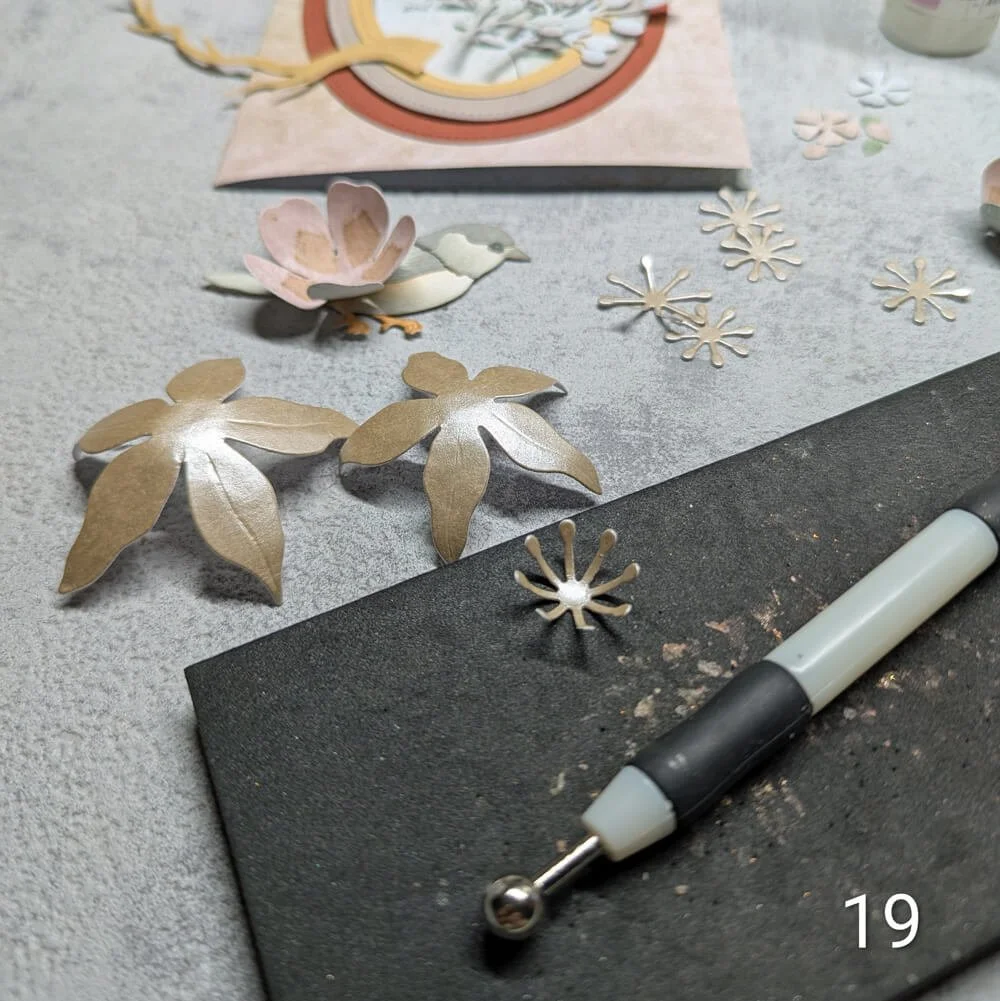
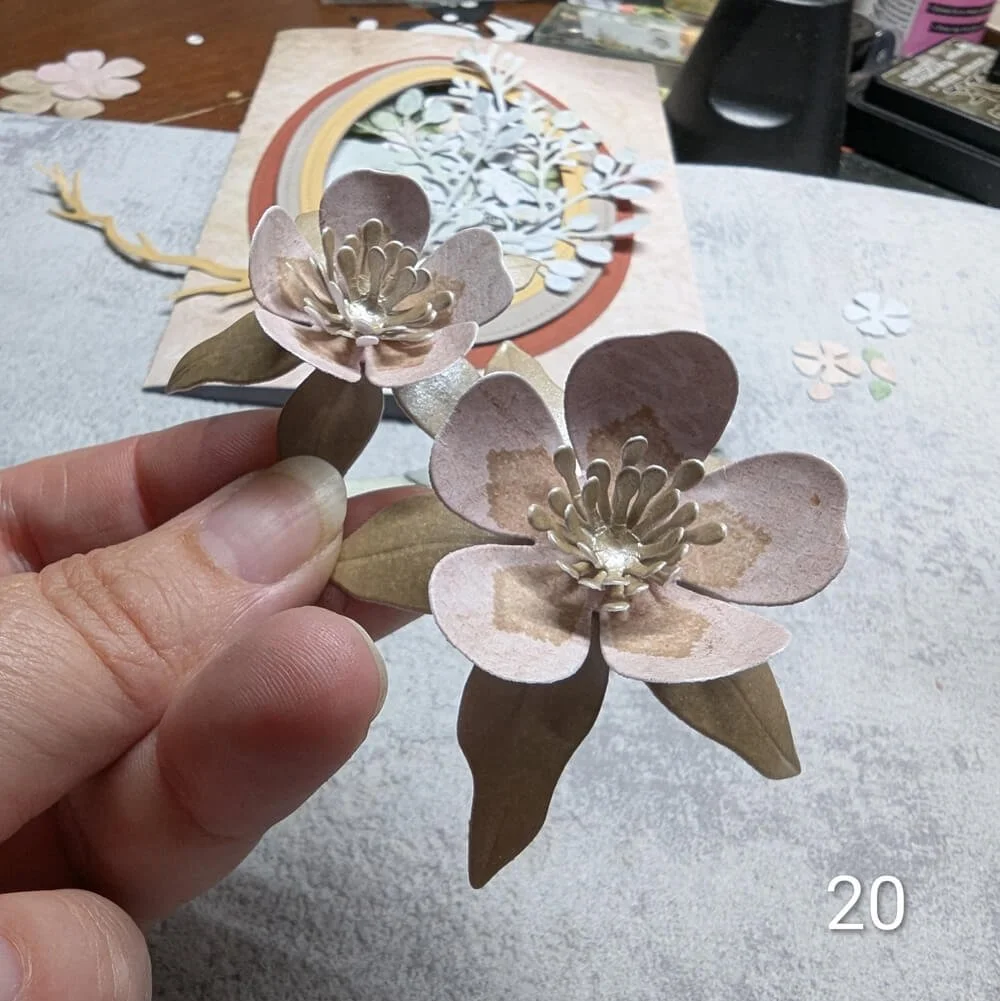
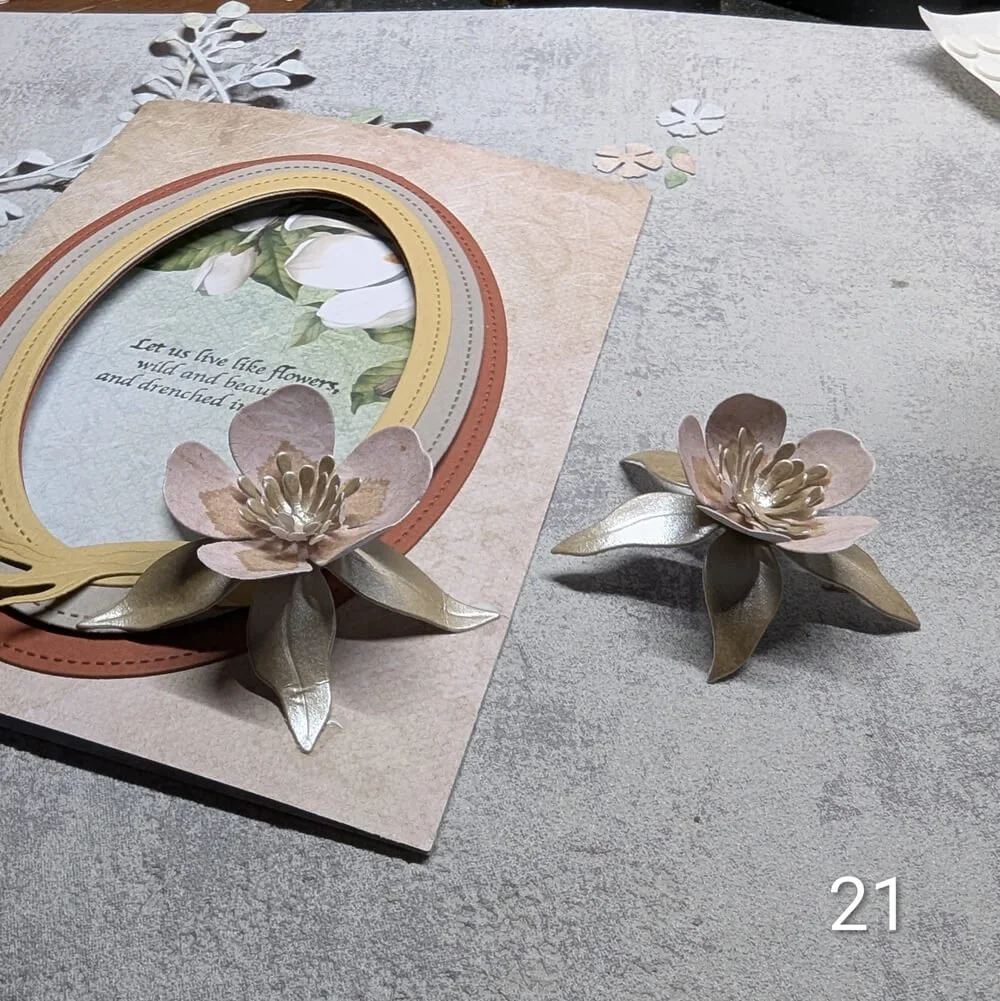
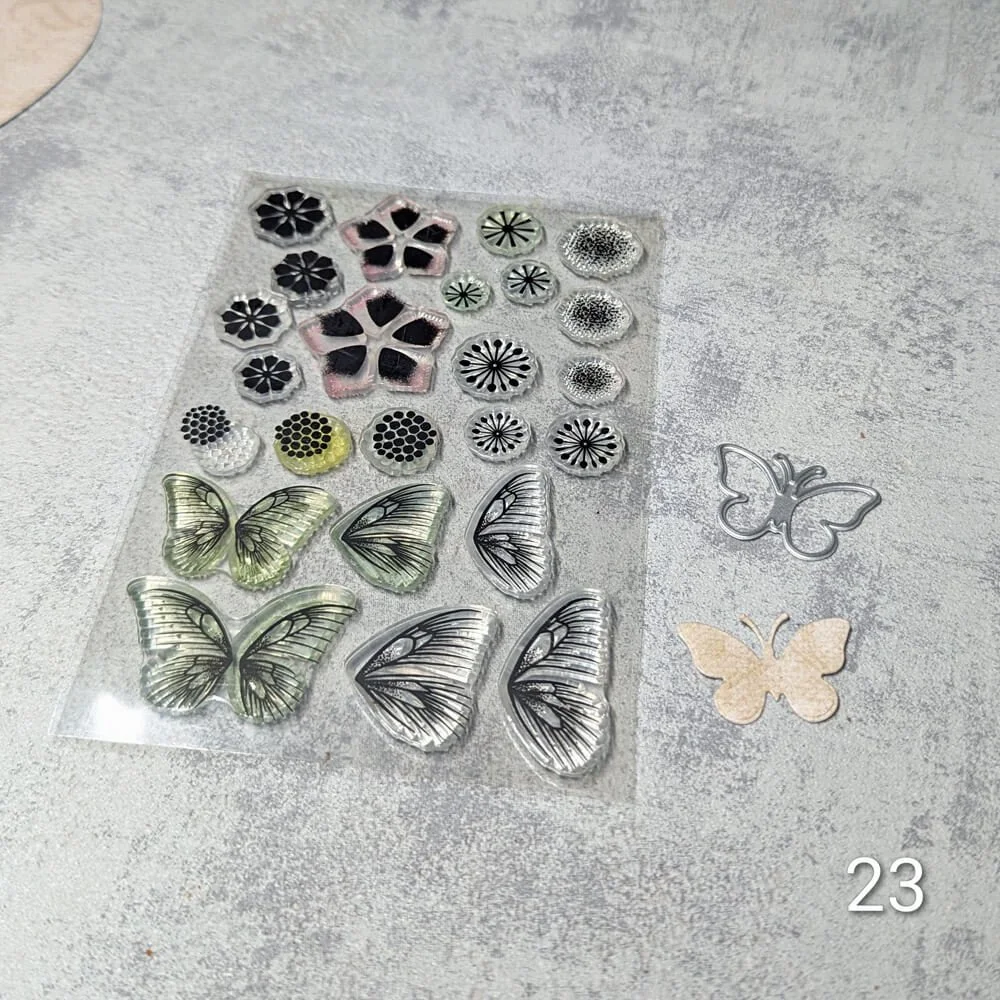
Step 6: To glue everything down, I used the height of the ovals to ‘hide’ the bottom of the branches. This way it’s kind of a 3D card. I decided to add a butterfly, I used the die to cut the shape of the butterfly and then I stamped on it. After adding the butterfly, I was happy with the card! I love the end result.
I hope you like the new collection as much as I do. Have fun with it!
Love, Reanna
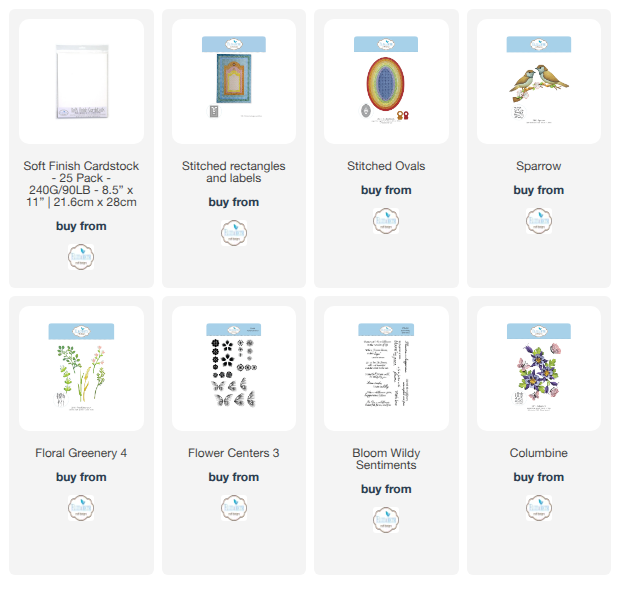
Elizabeth Craft Designs Products Used:
Sparrow (2380)
Stitched Ovals (2381)
Floral Greenery 4 (2379)
Bloom Wildly Sentiments (CS460)
Flower Centers 3 (CS461)
Columbine (2377)
Bohemian Rose (C037)
Stitched Rectangles and Labels (2349)
Soft Finish Cardstock (PSF144)