How to Make a Swinging Mouse Card: Step-by-Step Tutorial"
Hello everyone!
Sylvia here for you on the blog today. First of all, let me wish you a happy, healthy, and crafty New Year. I am very pleased to continue my membership in the Cute and Whimsical DT of Joset for the 3rd year and hope to be able to show you lots of fun ideas. Today I created this fun swinging mouse card with a very easy technique that you can use on most of Joset’s characters, so I hope you will join me.
Step 1:
Cut a piece of cardstock of 22 x 18 cm in pale yellow and score lengthwise in half to create a base card of approx. 11 x 18 cm. From the “Beautiful Brights” design paper, find the bright yellow sheet and cut a rectangle of 10,5 x 17,5 cm for the mat layer. Use this piece to die cut the holes with the part from set 2073 Christmas tree, to form the “cheese’ (see photo for reference).
Step 2:
Ink all edges and holes. Stamp a sentiment from stamp set CS 387 in the corner of the “cheese” and attach it to the pale yellow base card.
Step 3:
From Soft Finish Cardstock, die cut the little mouse parts from set 2204 Little Mouse as shown in the photo. Optional: use one of the solid eyes (cut in half) to form eyelids. Diecut the wedding ring from set 2207 Valentines and Wedding accessories, also in Soft Finish Cardstock.
Step 4:
Colour all body parts with a medium of your choice, use the photo for reference. I use Distress Inks Hickory Smoke, Lost Shadow, and Tattered Rose, and a black marker for the eyes.
Step 5:
Assemble the mouse’s head: first, attach the inner ears following the embossed lines, then the head overlay and the eyes, and next, the cheeks, nose, and mouth. Eyelids are optional
Step 6:
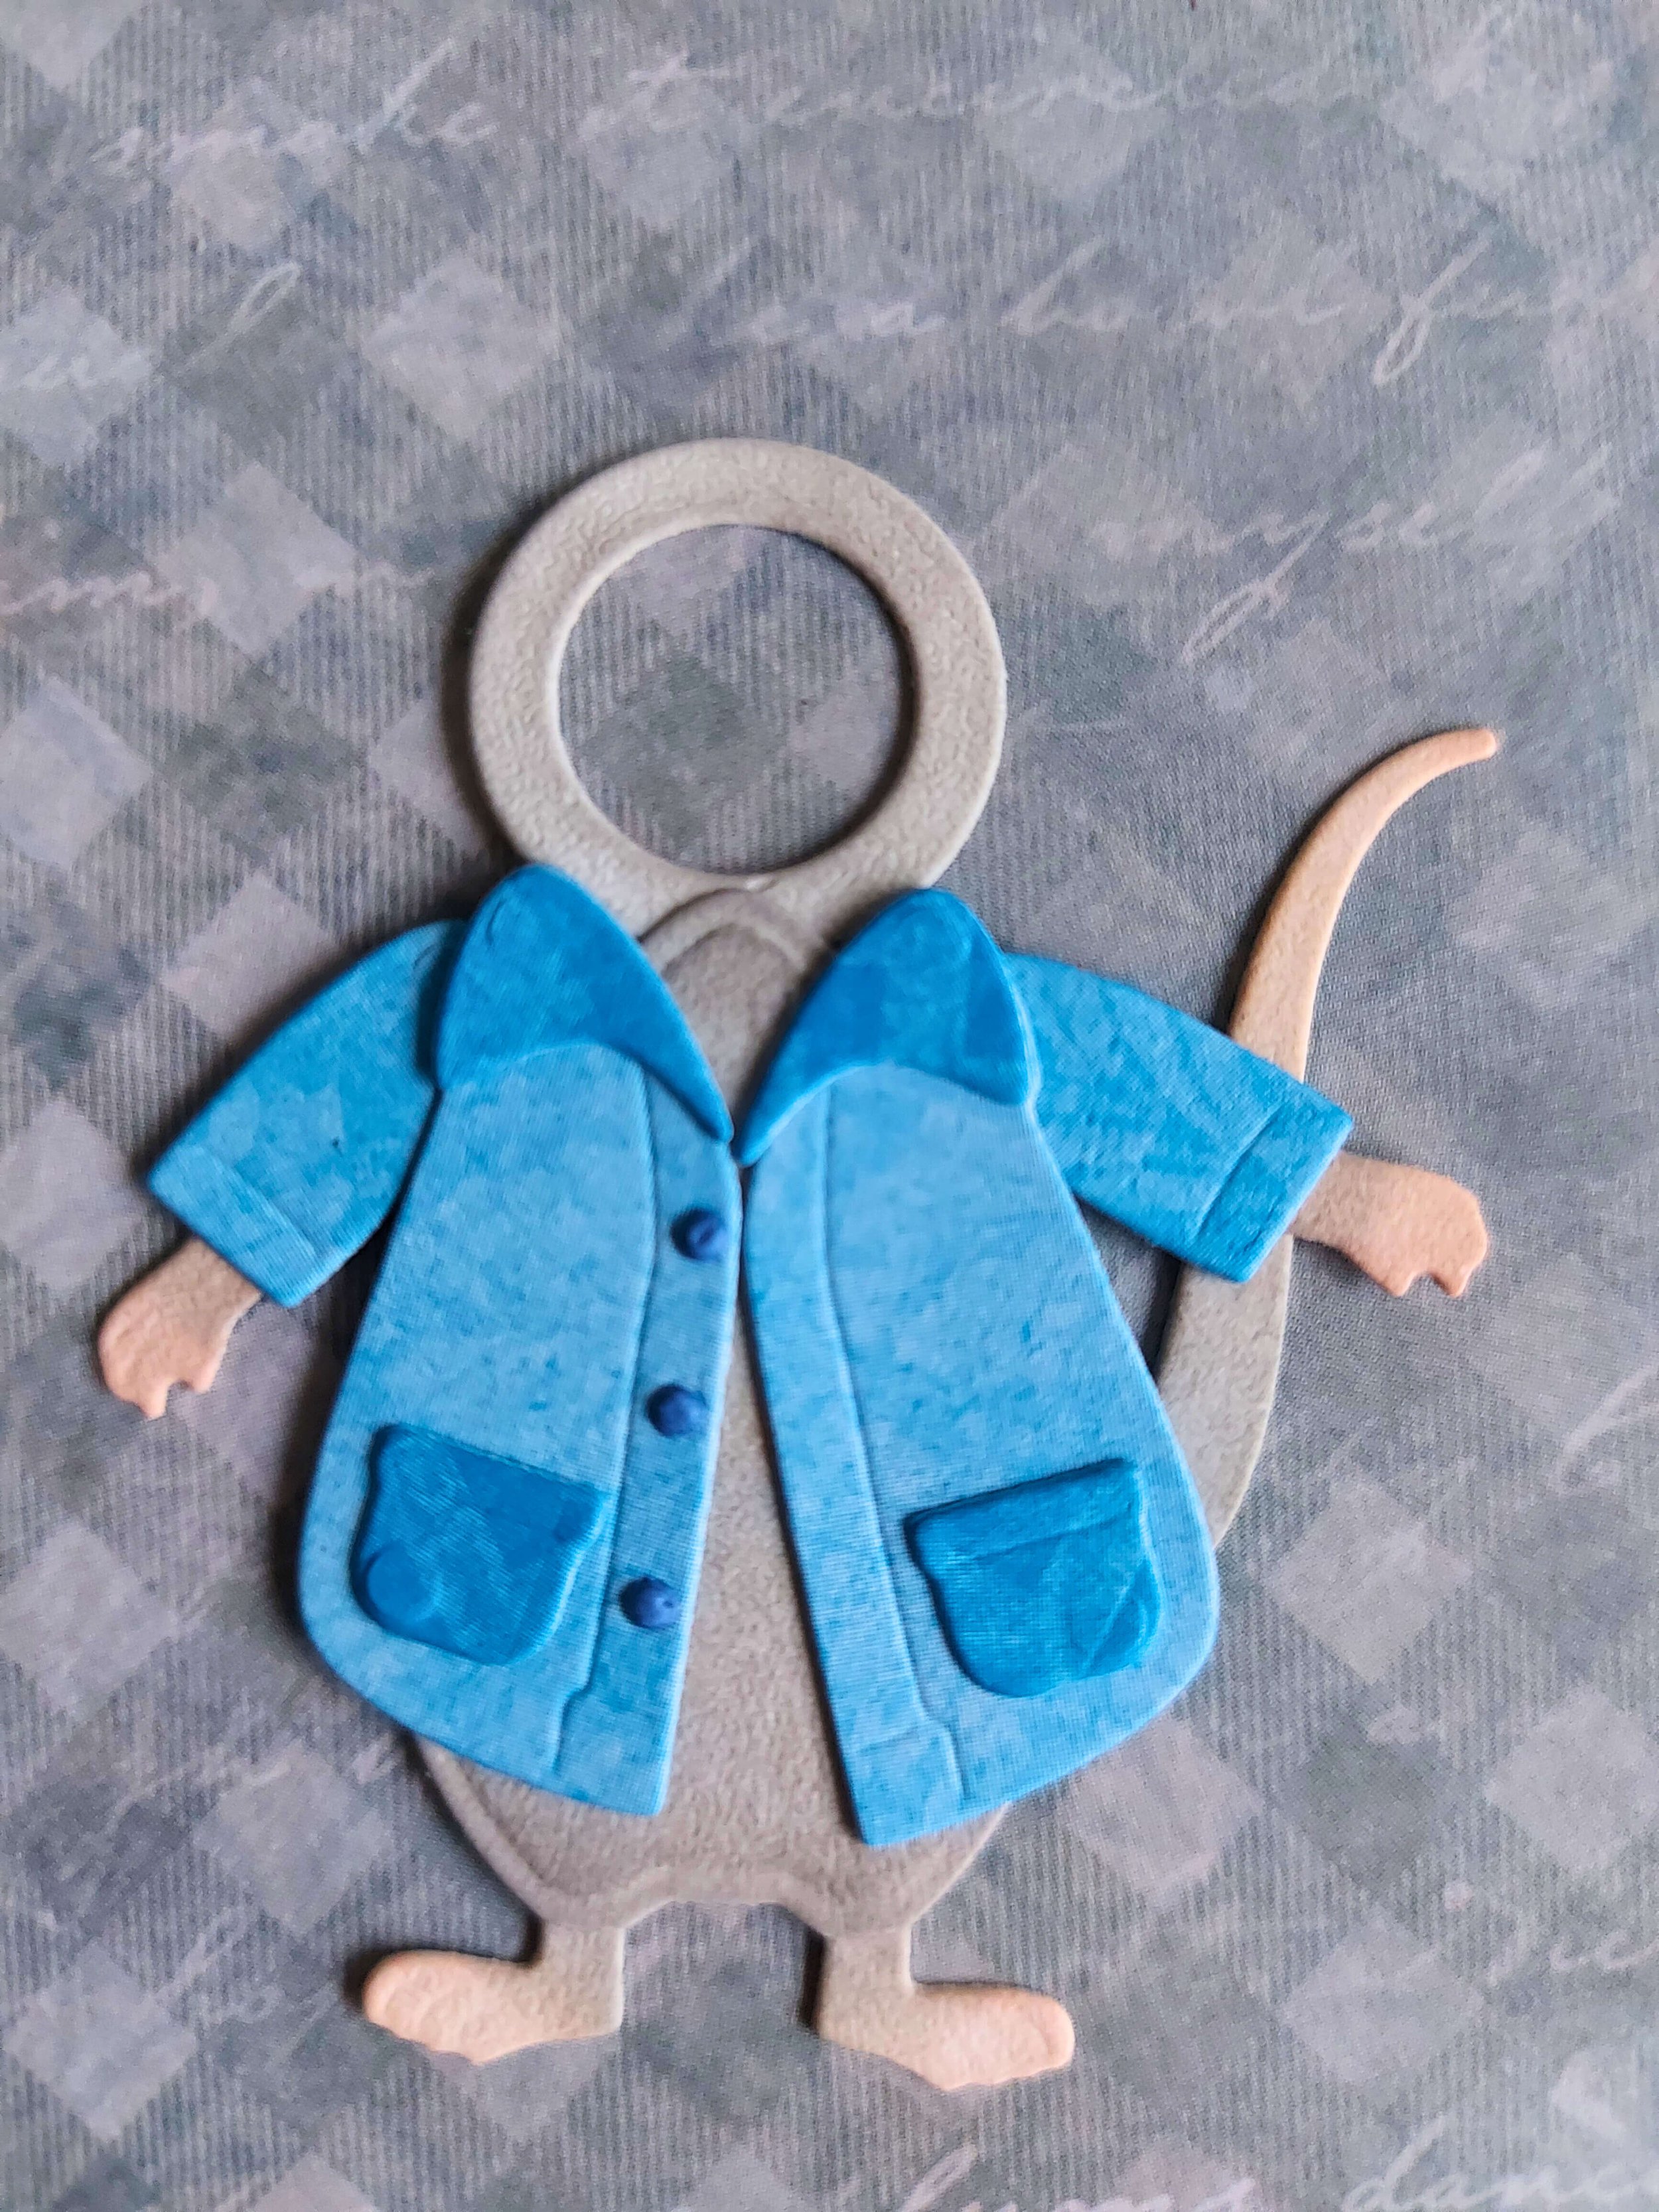
From “Beautiful Brights,” find the bright blue sheet and die cut the jacket, straight sleeves, collar & pockets (from the reverse side). Dress the mouse’s body with the jacket, and add the tail and the feet. Do NOT attach the body to the head!
Step 7:
Optional: colour the ring with the same colour as your mouse or leave it blank. Attach the ring with the diamond DOWN behind the body (see photo for reference)
Step 8:
Determine where you want to position your mouse. Use a foam dot slightly smaller than the inside of the ring for the mechanism and hang the body on it. Do NOT glue the body to the card; otherwise, it won’t swing!
Step 9:
Use small foam dots on the back of the head (but only on the ears and the top of the head). Glue the head on the foam dot that is used in the circle of the ring.
Step 10: Test if the body of the mouse can swing. Your card is ready to be sent!
I hope you enjoyed my little tutorial! In case you have any questions, please let me know and I will be happy to help you out!
Happy crafting!
Sylvia


