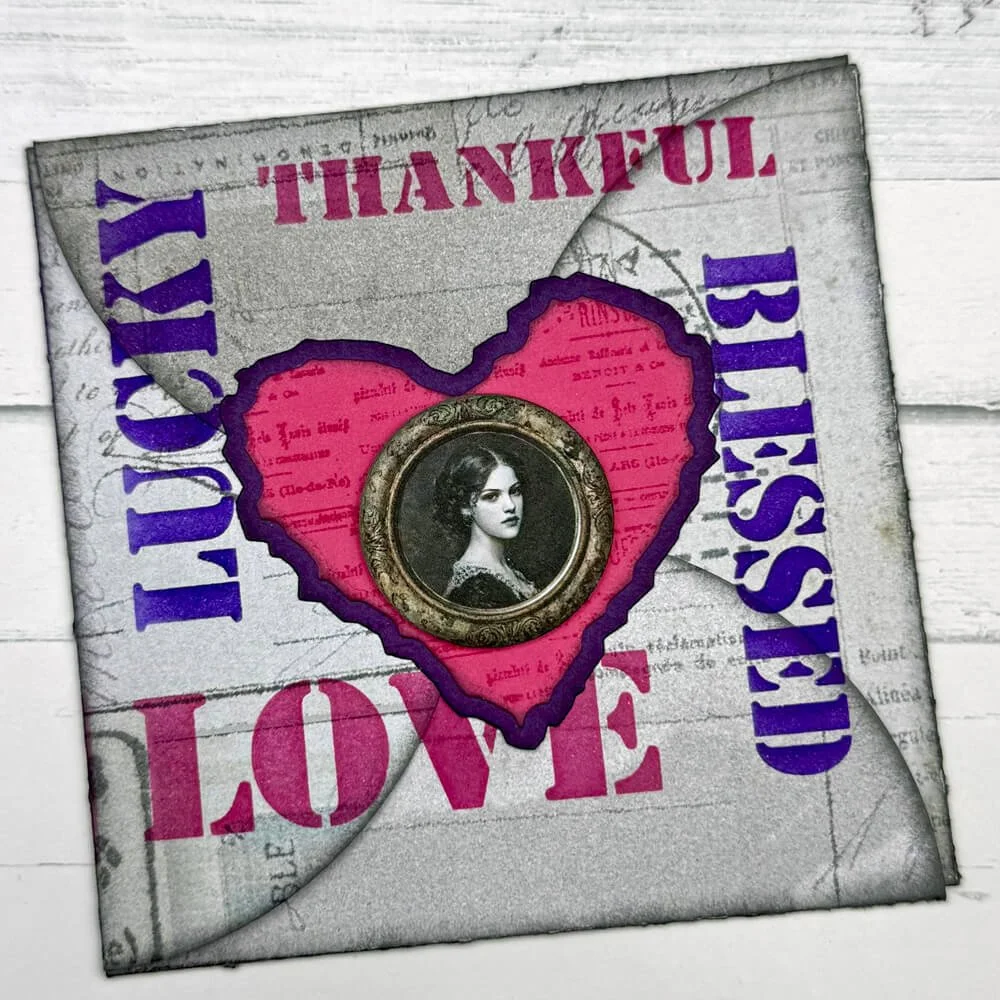
How to Make a Box Top Folding Card with a Magnetic Closure
Do you like making cards with interesting, fancy folds? Or maybe you just feel like trying something new? In this tutorial, you’ll learn how to make a box top folding card with a circular insert and a magnetic closure. Along with some fun stencil techniques, you can use again and again in all your projects.
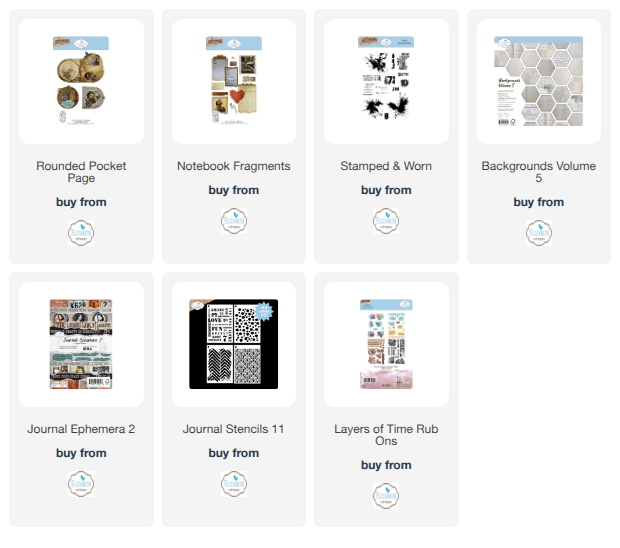
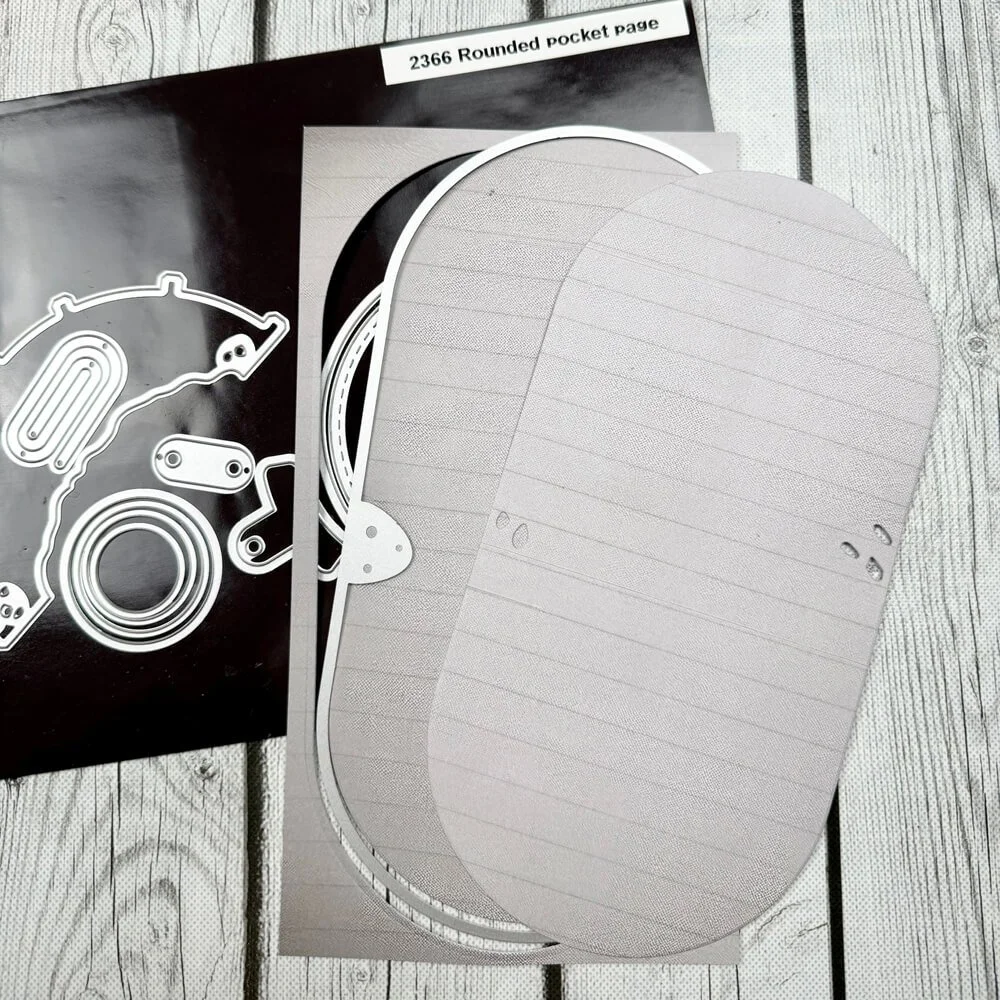
Hello everyone, Heather here with a fun tutorial on making a box top card using the 2366 Rounded pocket page die
Step 1: Start by cutting 2 base pages with the large 2366 Rounded pocket page die. Note that they will be placed perpendicular to each other if you are concerned about the pattern all facing one direction. I used papers from the new Backgrounds Volume 5 set, but didn’t worry about the pattern direction.
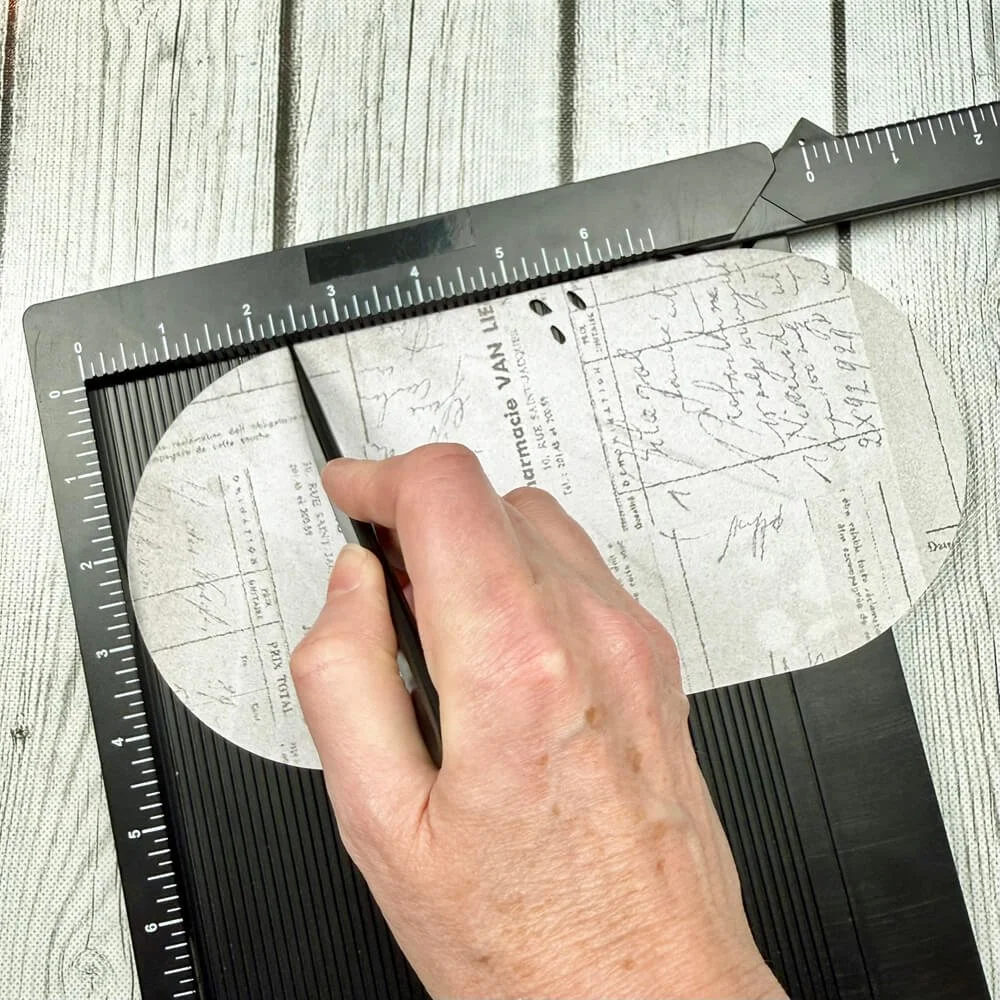
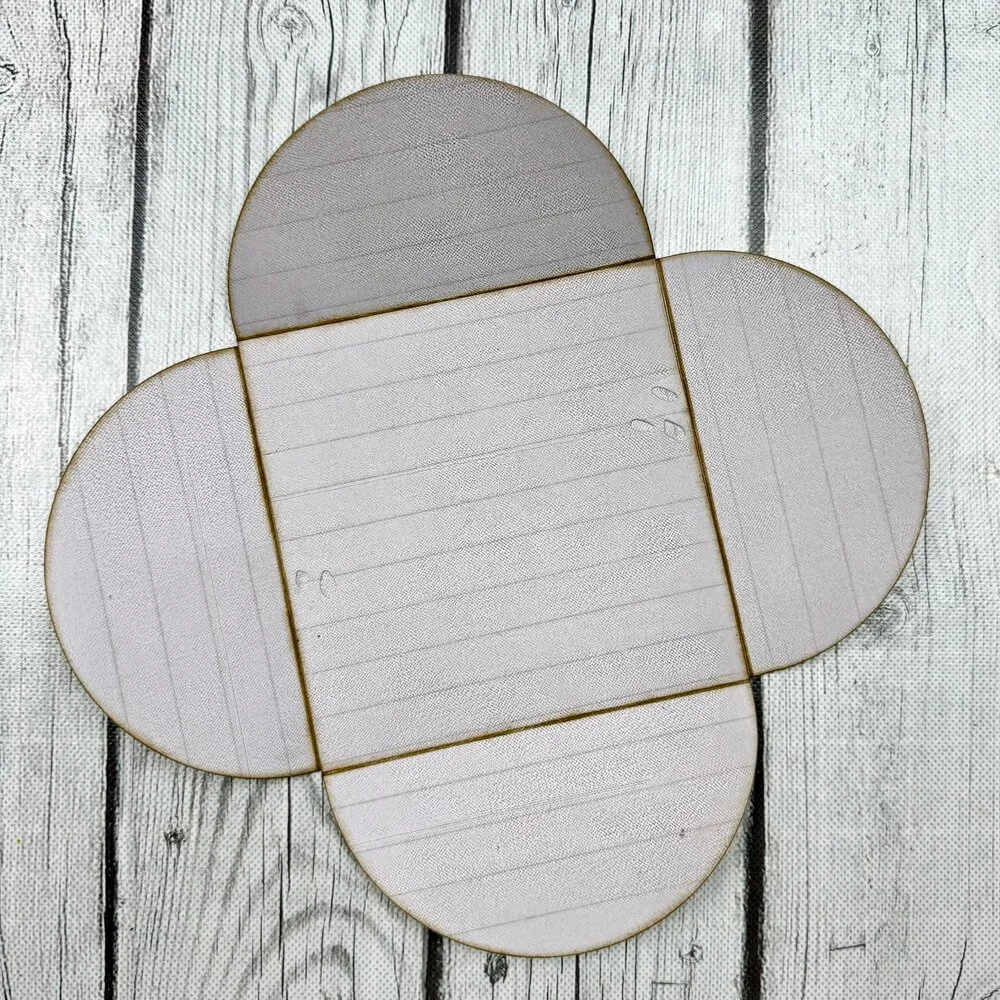
Step 2: Score both of these pages at 2-3/8” from each rounded end.
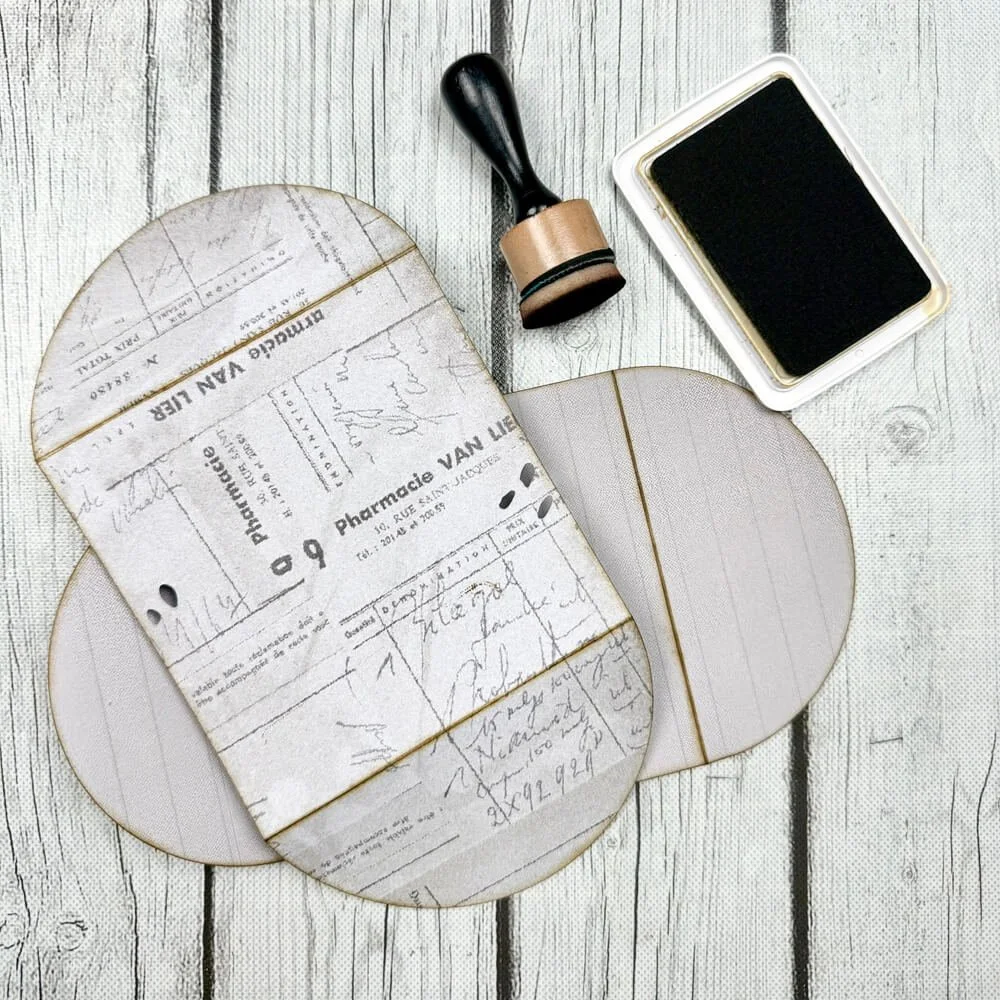
Step 3: Fold at the score lines and ink distress all edges if desired.
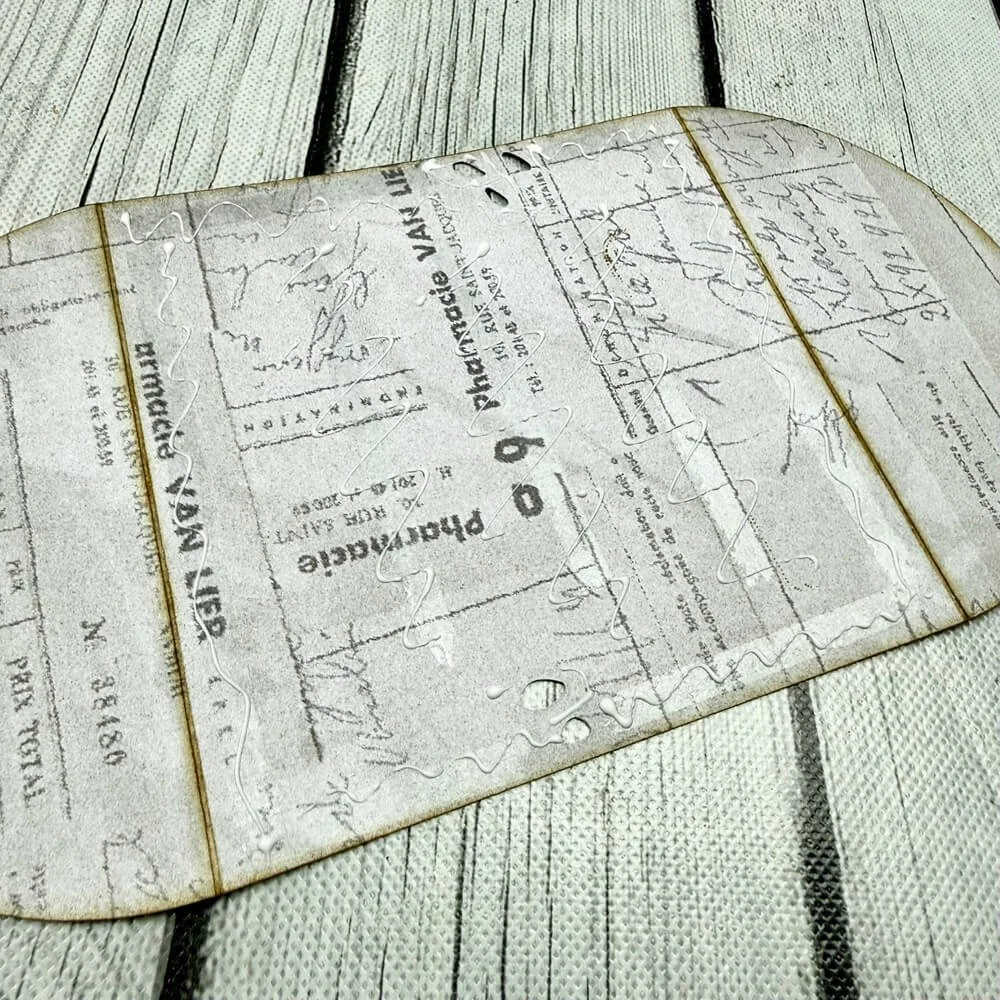
Step 4: Add adhesive to the back of one page, in the center only (I used both a tape runner and liquid glue to allow for a bit of time to ensure correct placement). Attach this piece to the center of the other base page by rotating it 90 degrees, as shown, ensuring that all your flaps still fold into the middle.
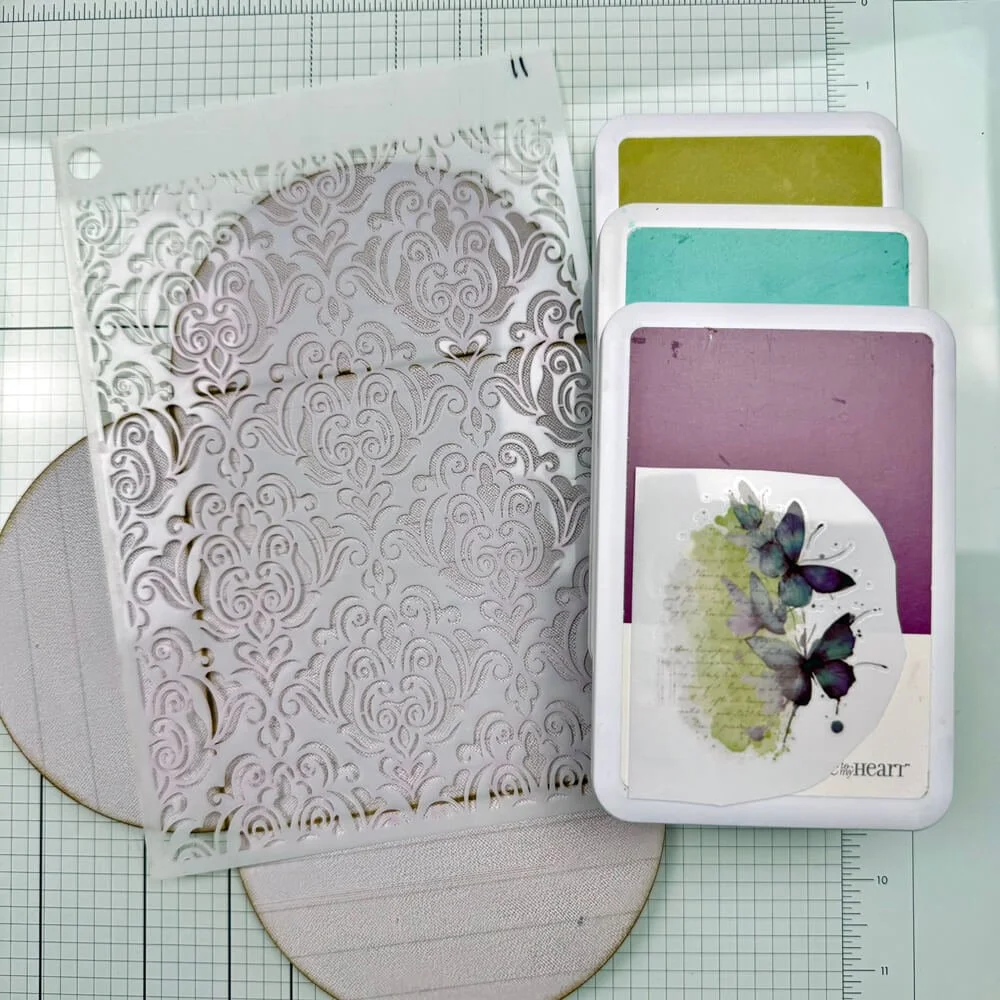
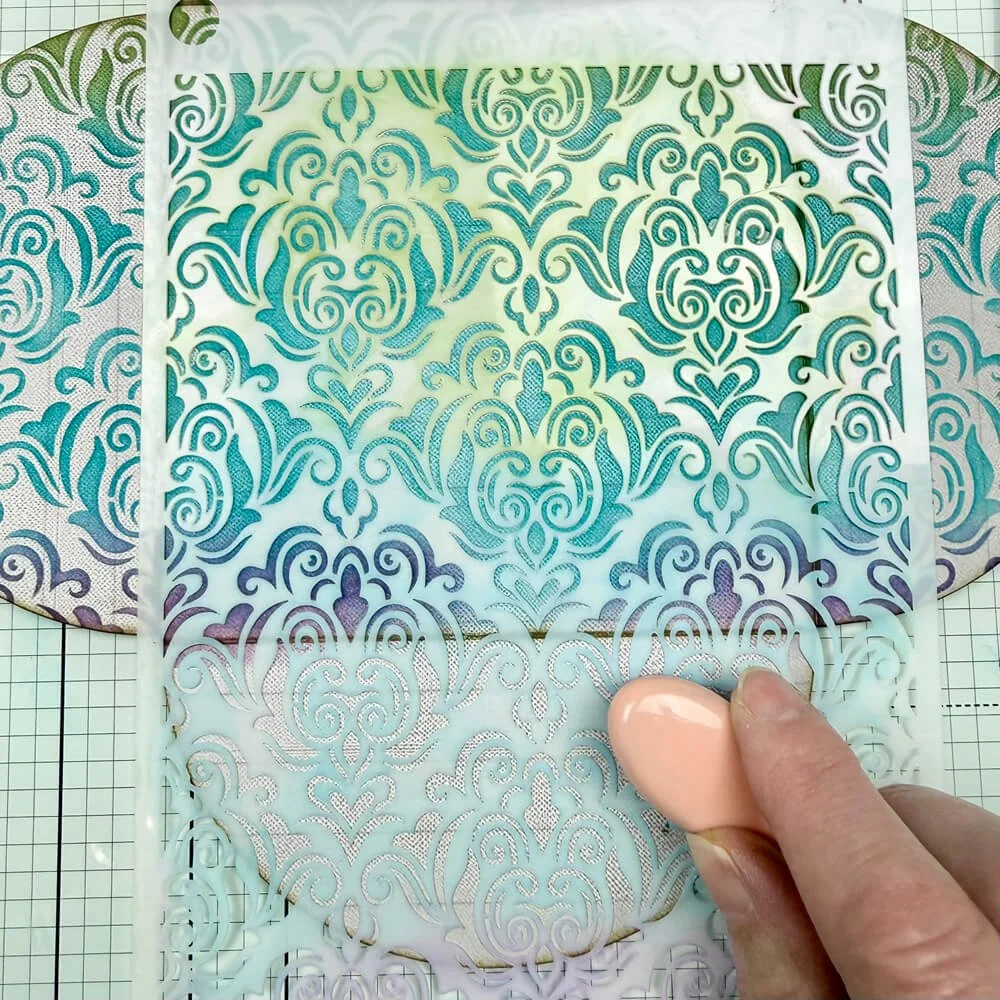
Step 5: You can decorate your card any way you wish, but I chose to add this stunning stencil from Journal Stencils 11. I chose my ink colors from this lovely butterfly rub-on.
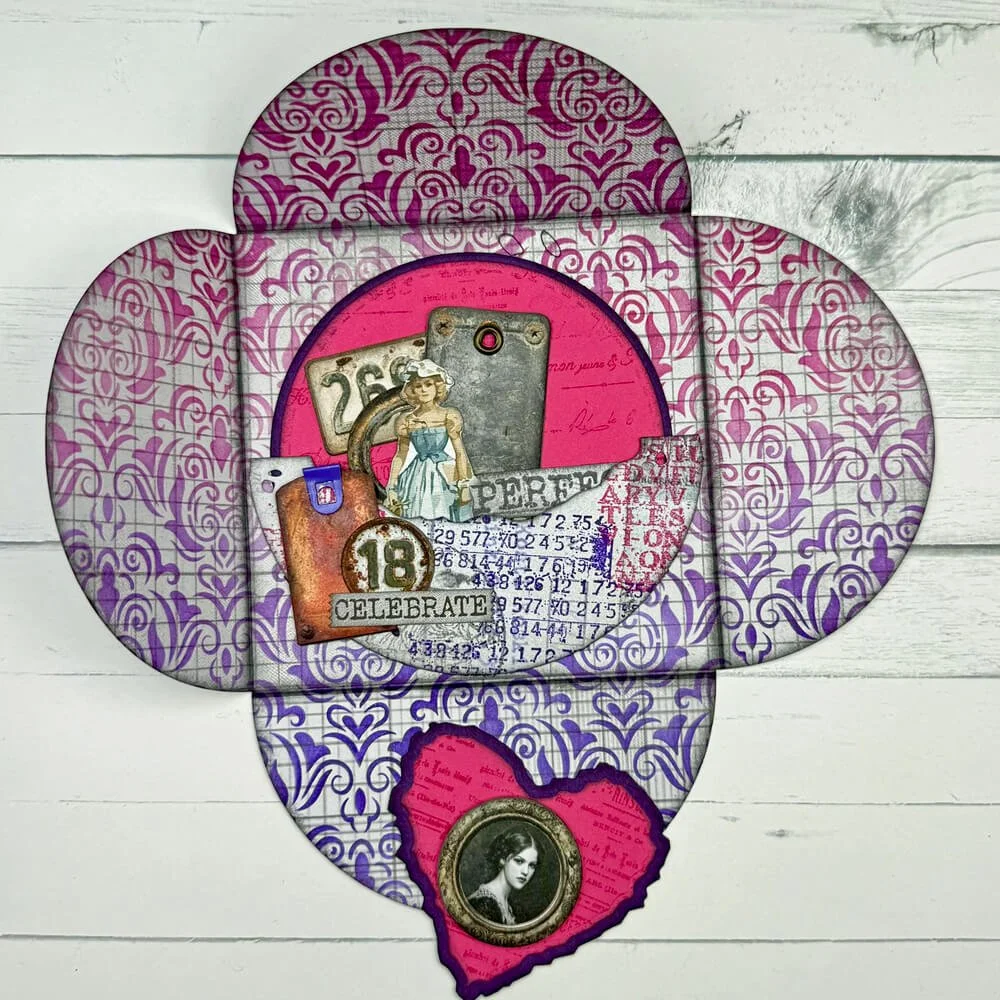
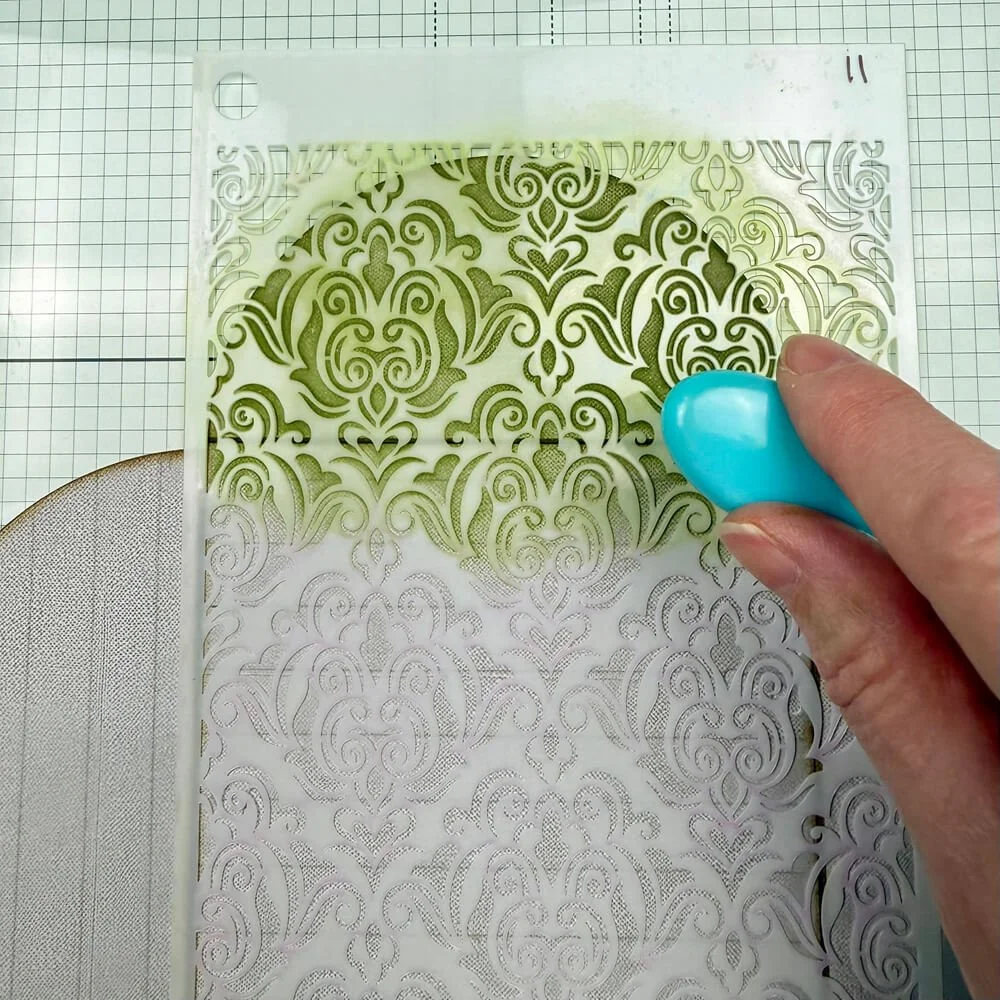
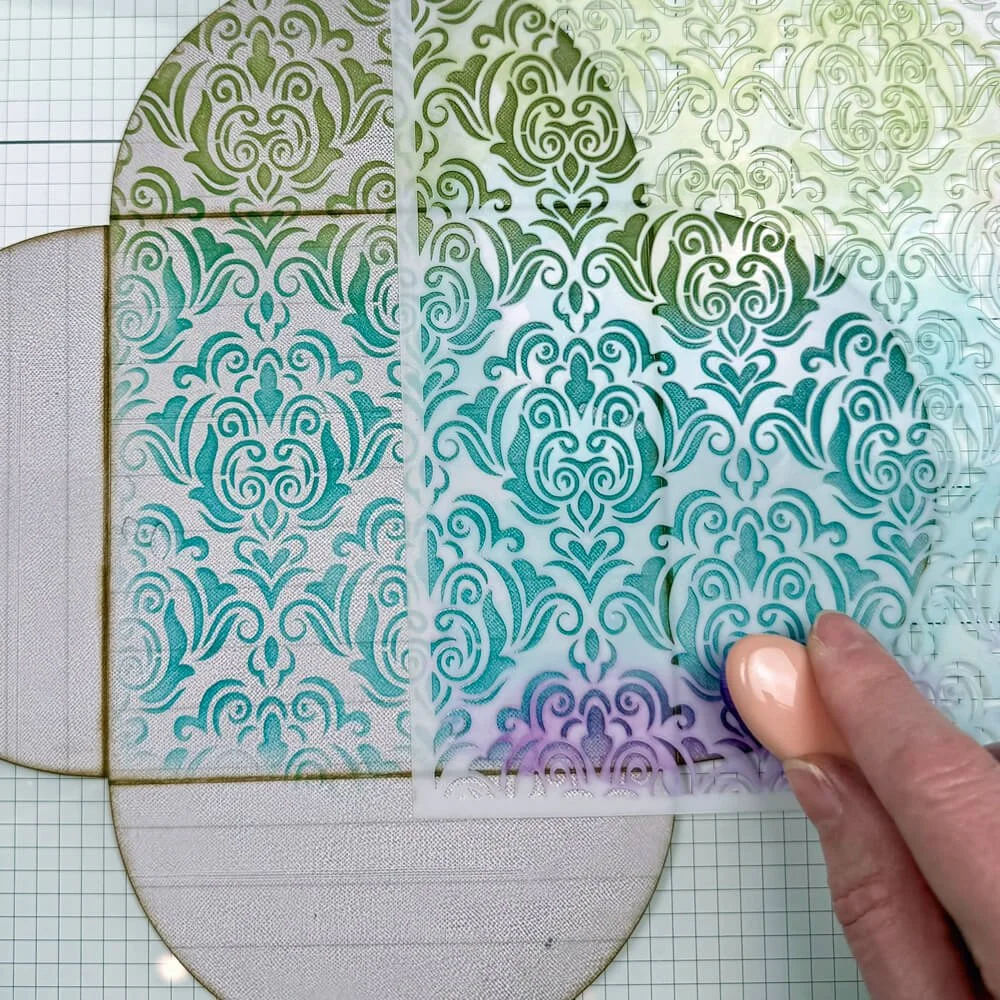
Step 6: Start on the top flap with your first color. I took this color just past the fold line. Before moving your stencil, start adding your second color, blending with the first, until you get to the bottom of your stencil (try not to put too much ink too close to the stencil edges or you will get a heavy line). Shift your stencil to one side, lining it up with the previous pattern, and continue the colors across one flap, then the other. Shift the stencil down, lining it up with the previous pattern, and add your third color. Continue shifting the stencil and filling in the colors as needed.
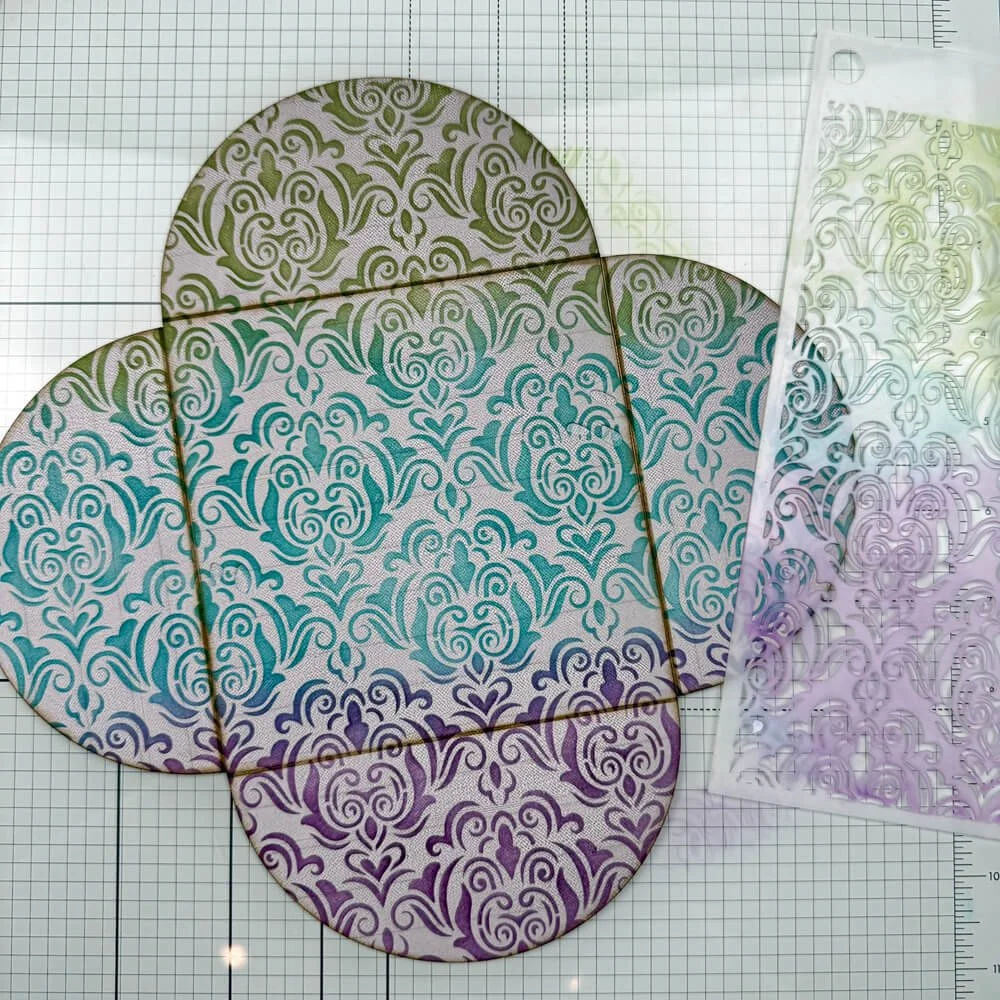
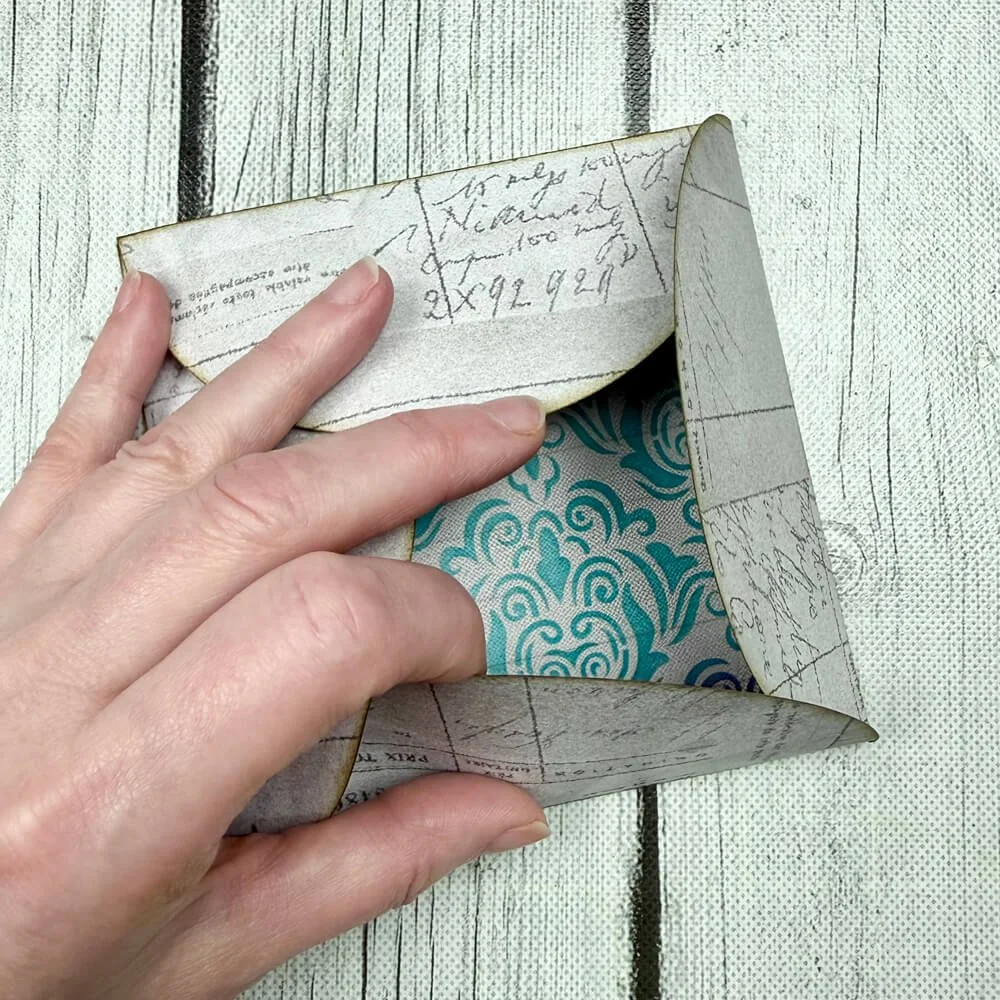
Step 7: Fold like a box top with interlocking flaps. I start at the bottom and go clockwise, tucking the bottom half of the last flap under the first flap.
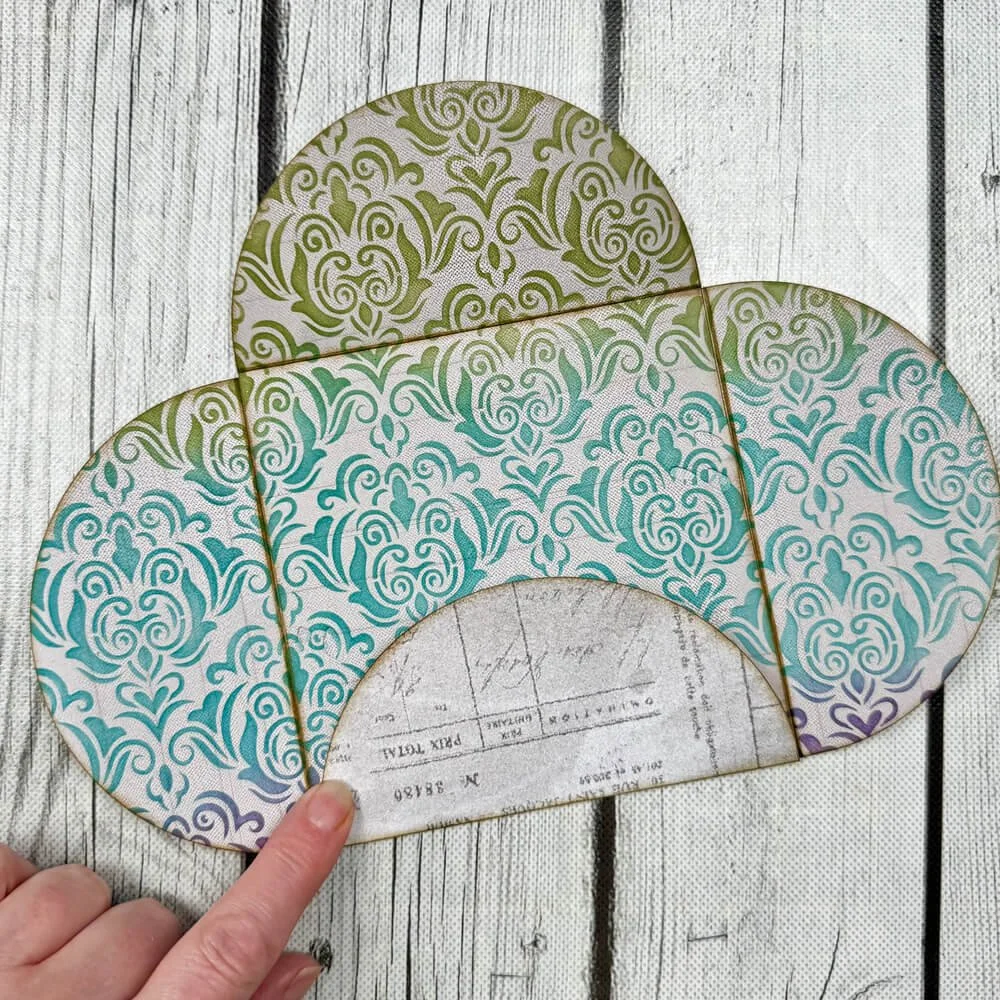
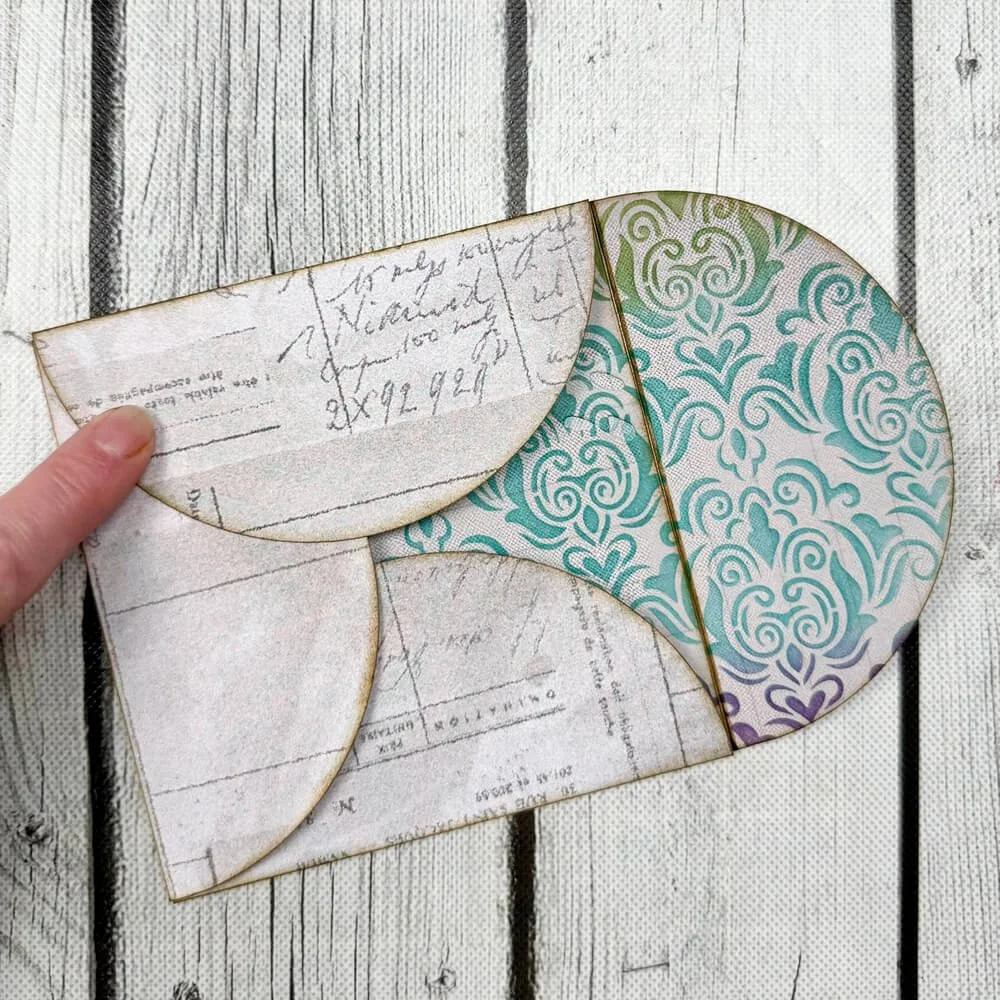
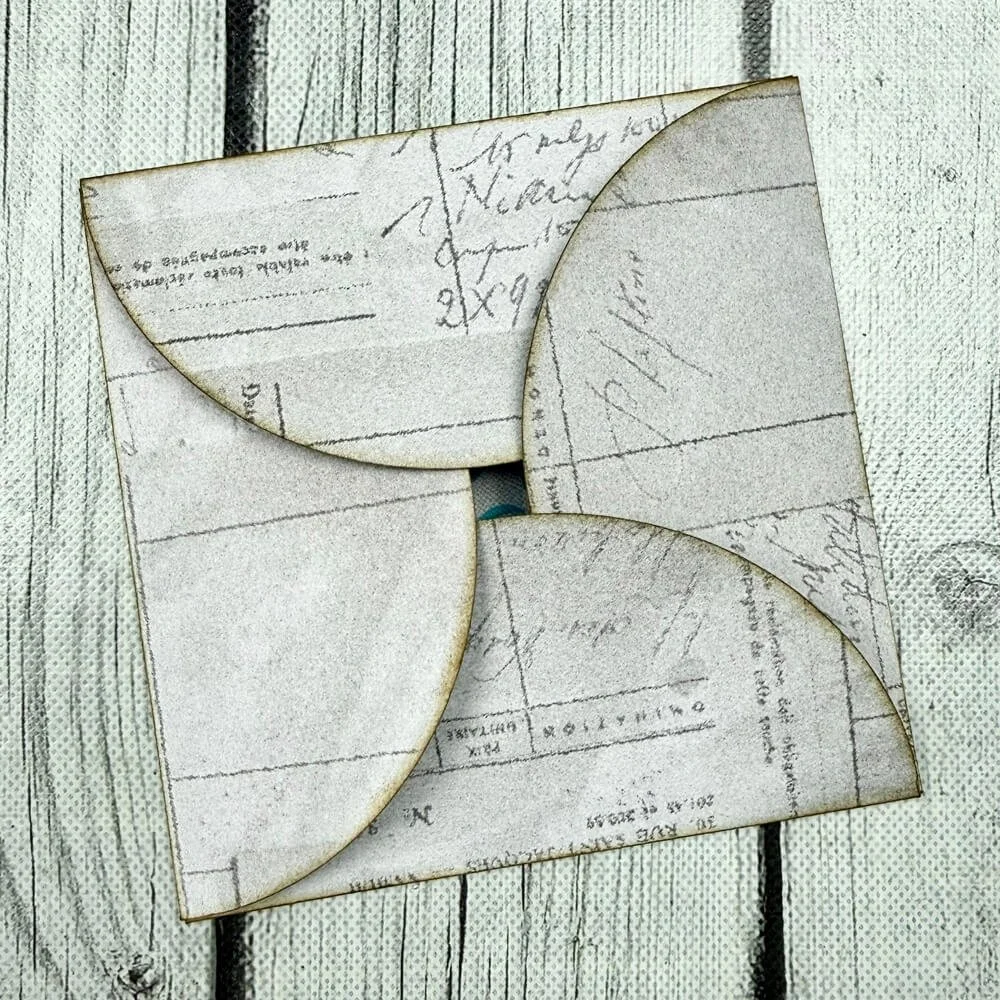
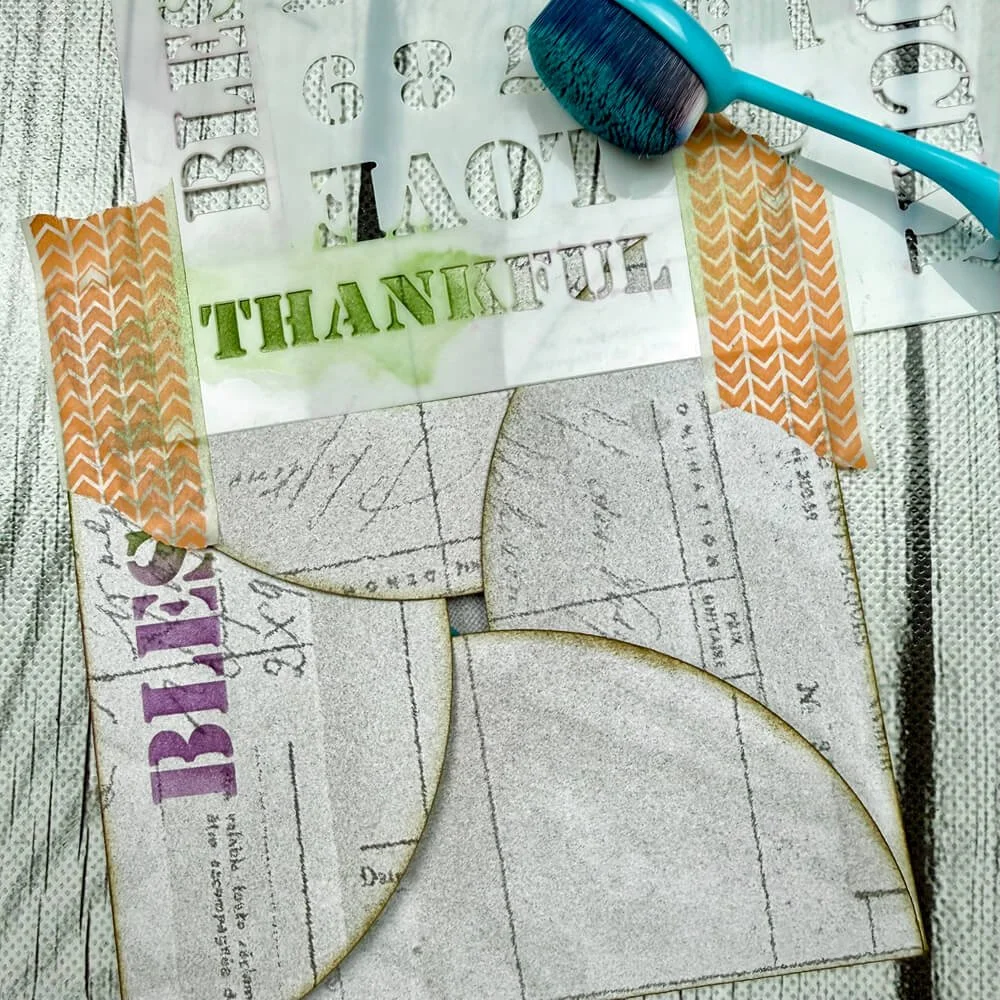
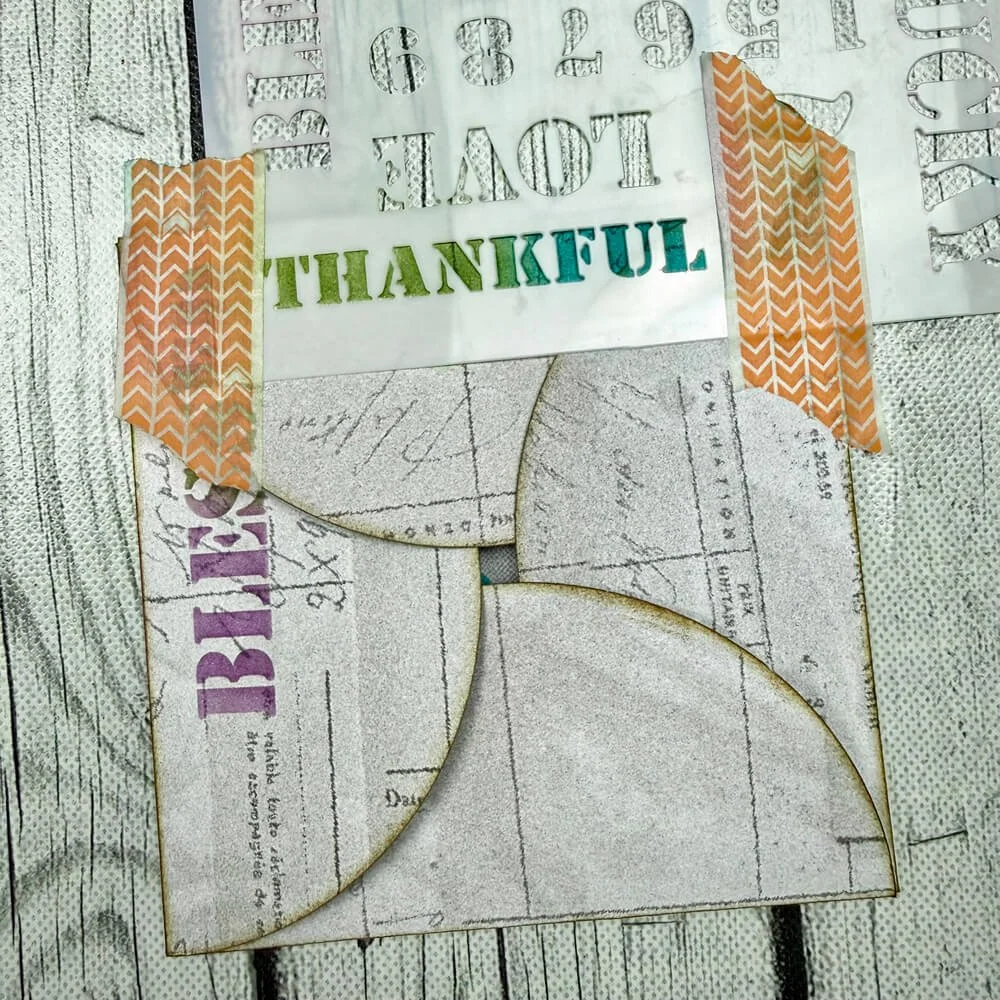
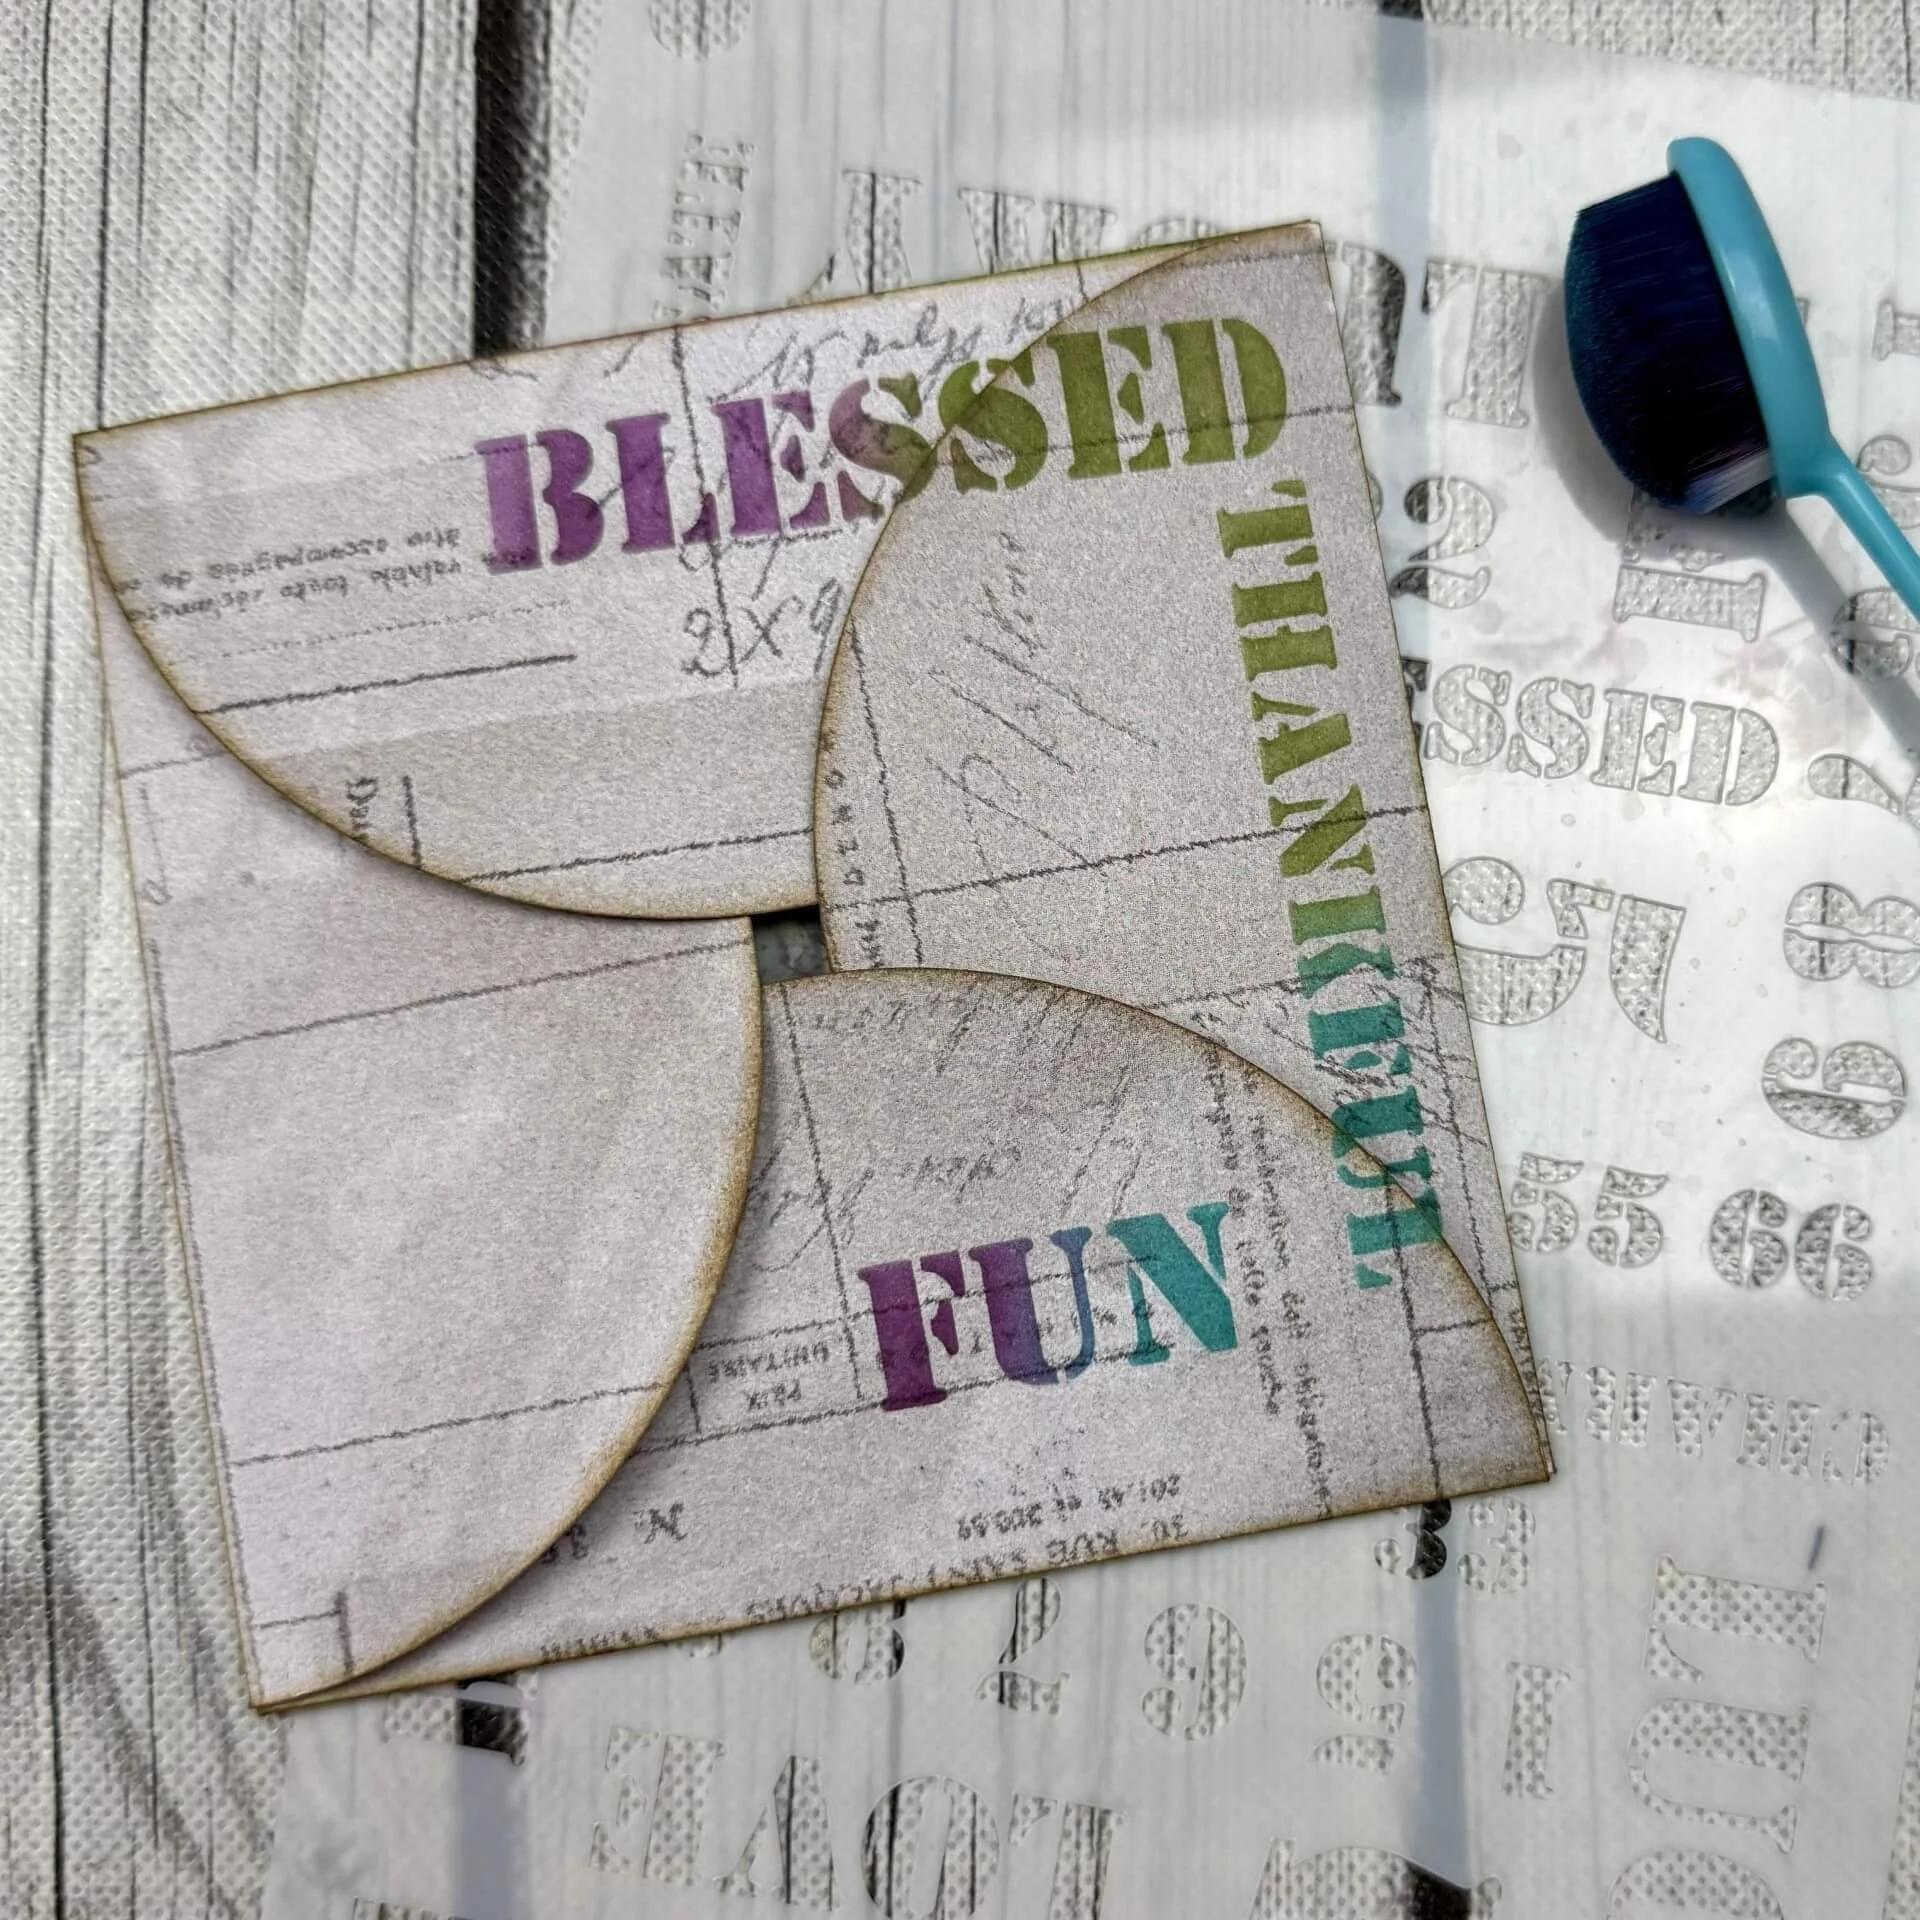
Step 8: With the flaps closed, stencil words from the Journal stencil 11 set, overlapping the flaps. I used washi tape to cover up the other words as needed and to hold down my stencil. Then open the flaps, line up the stencil on the partial word, and stencil the remainder of the word onto the part of the flap that was tucked under.
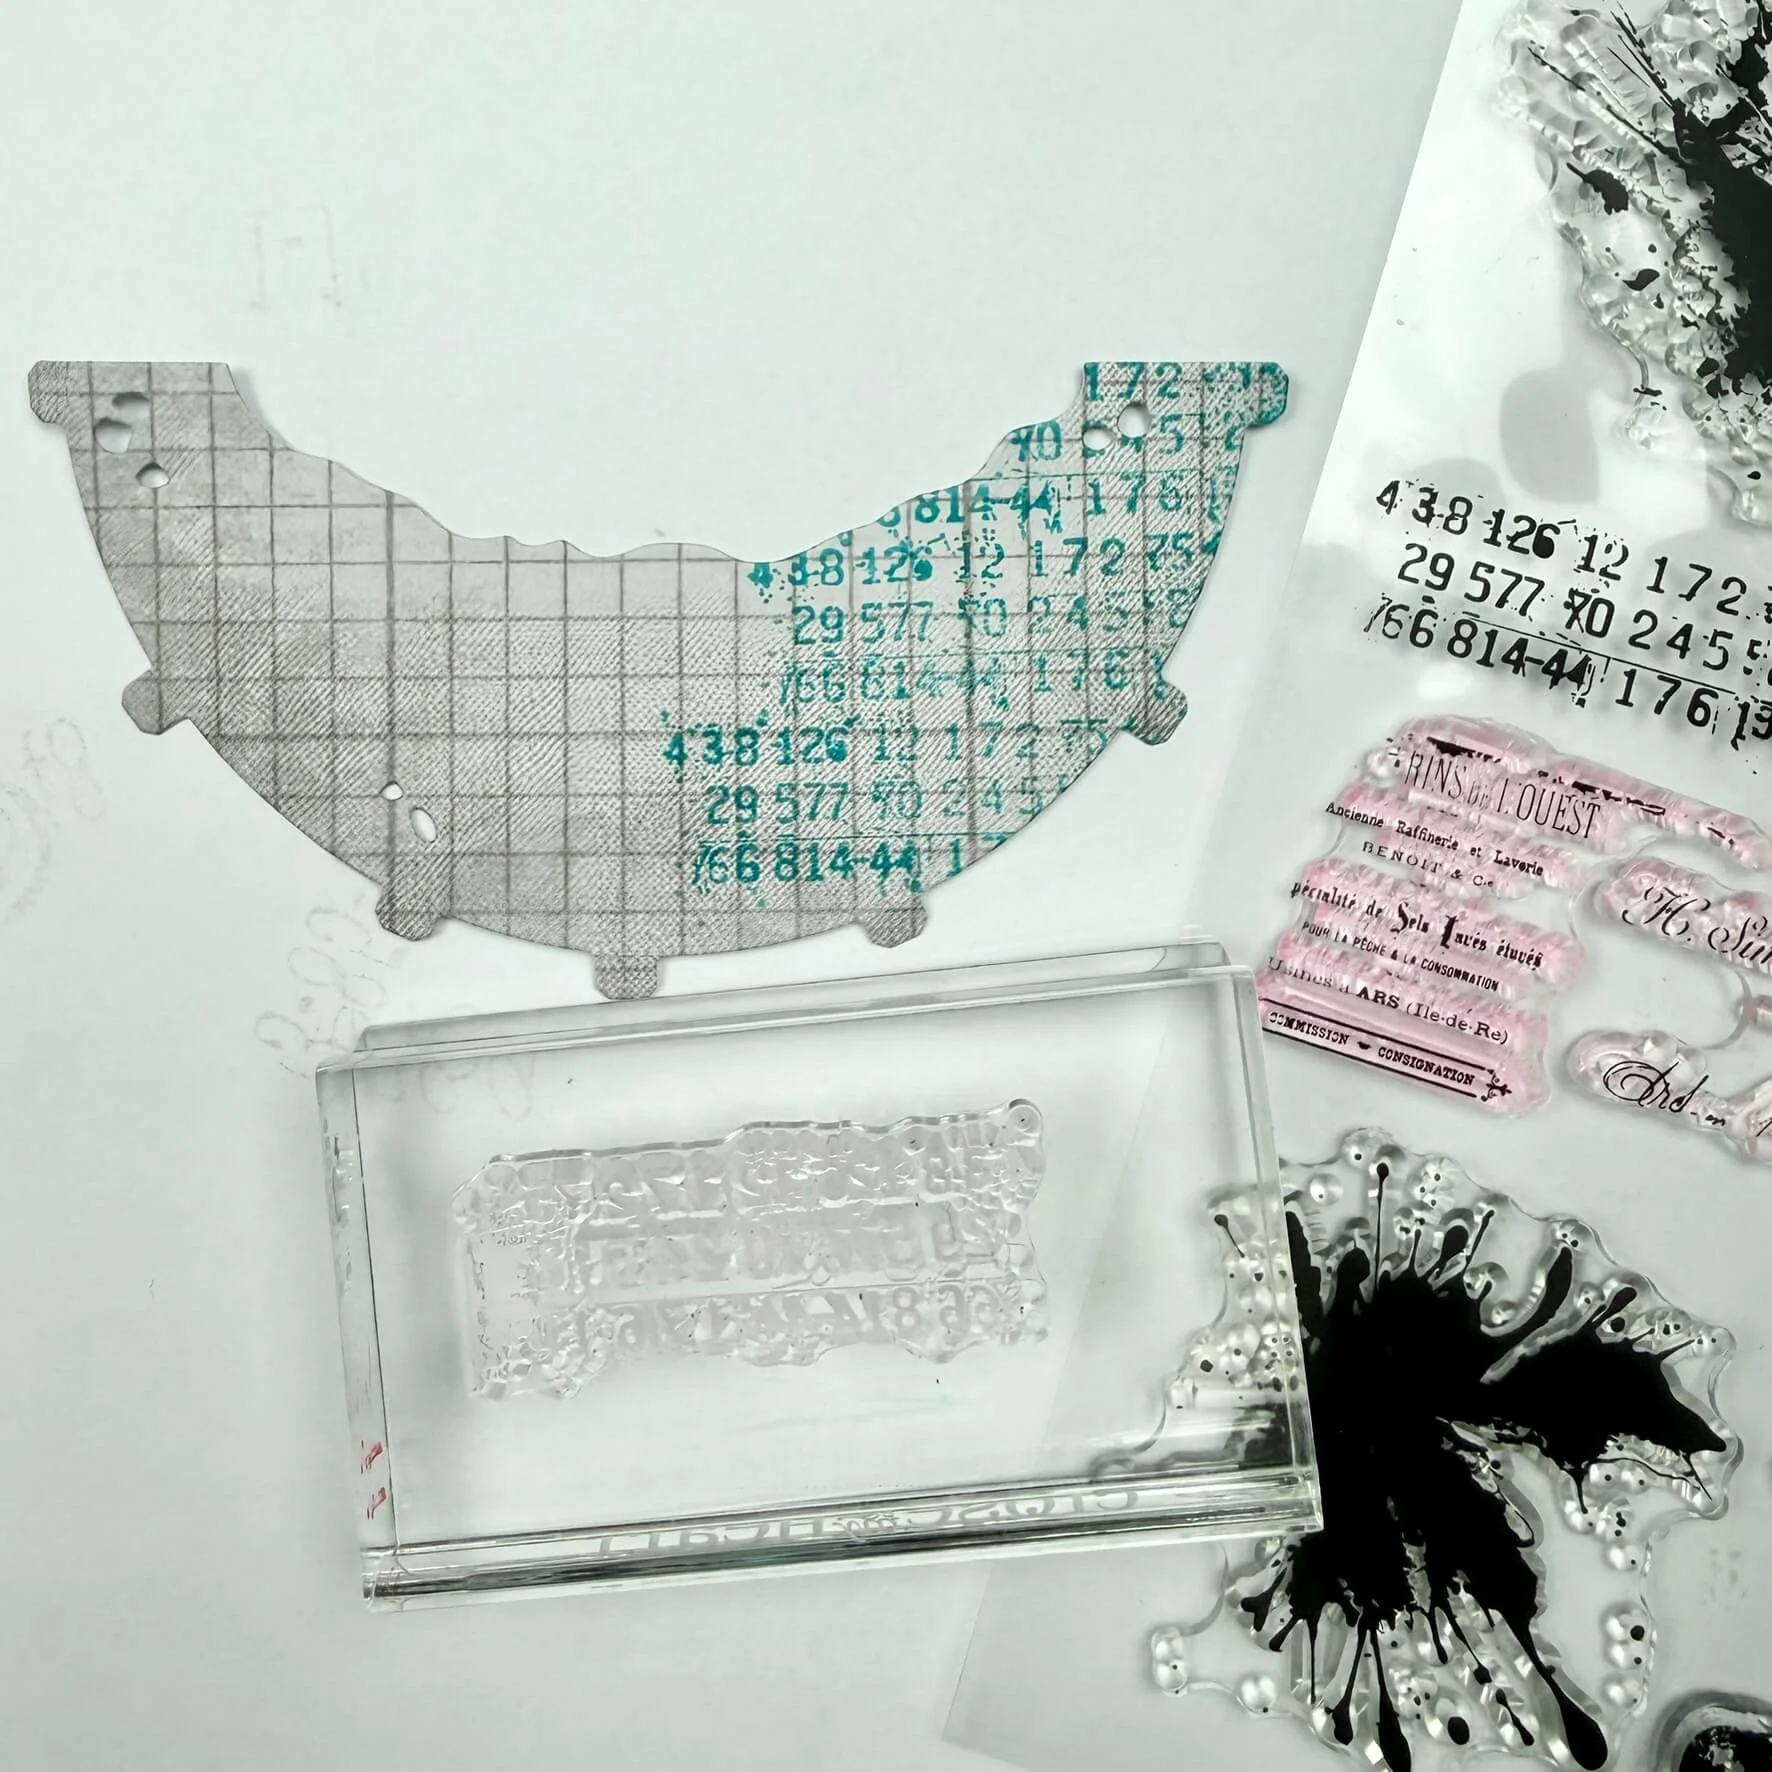
Step 9: For the inside of the card, cut out the pocket from the die set and add texture using stamps from the CS457 Stamped & Worn set. Fold in the tabs and ink the edges.
Step 10: Next, add a drop of glue to each tab and place it inside the card, making sure that all the flaps still close nicely before fully securing it.
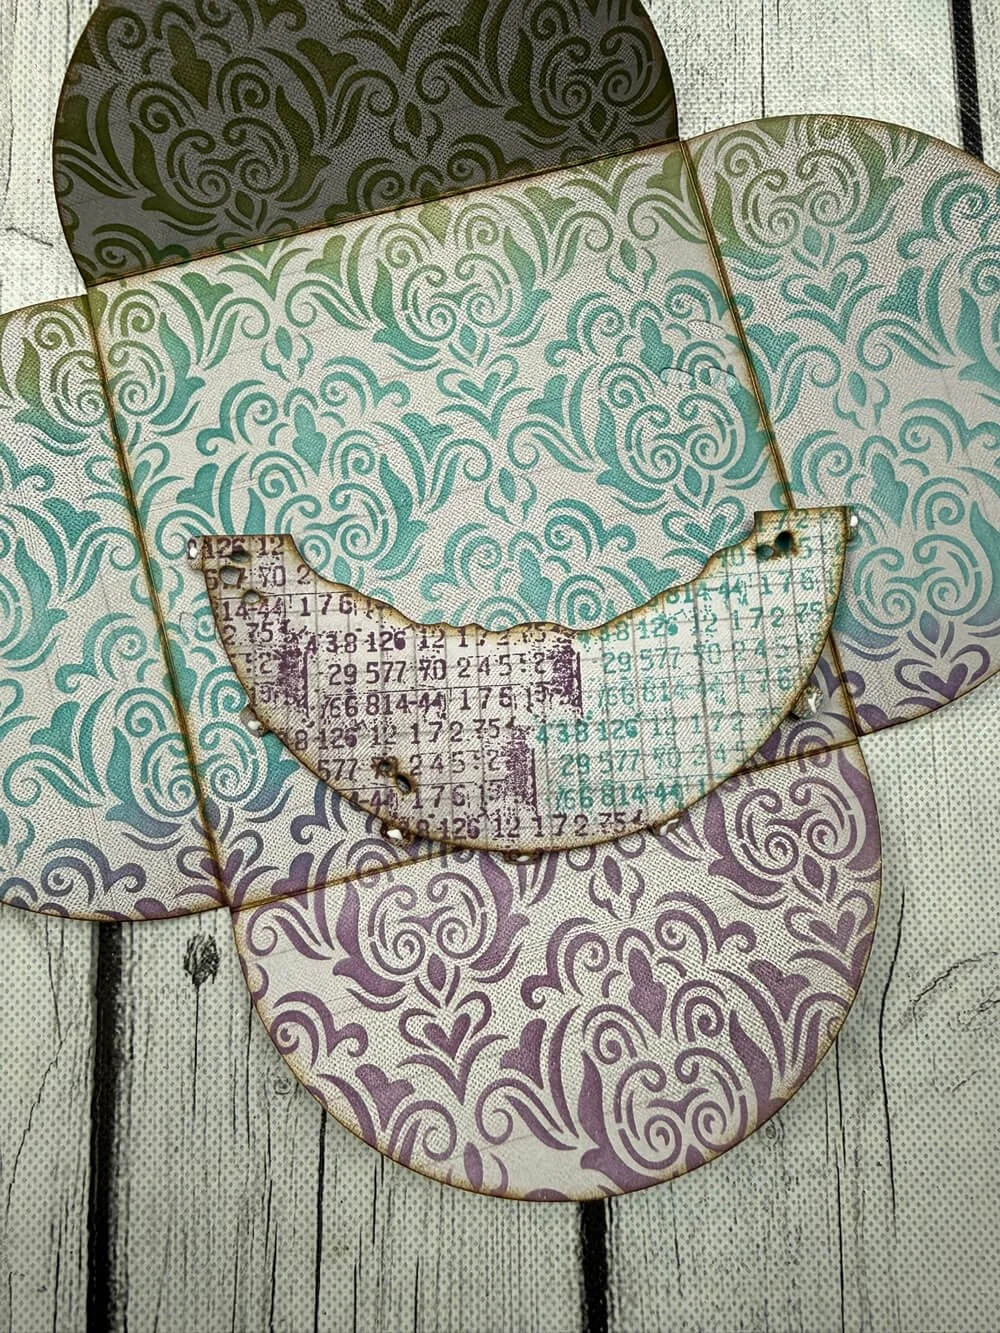
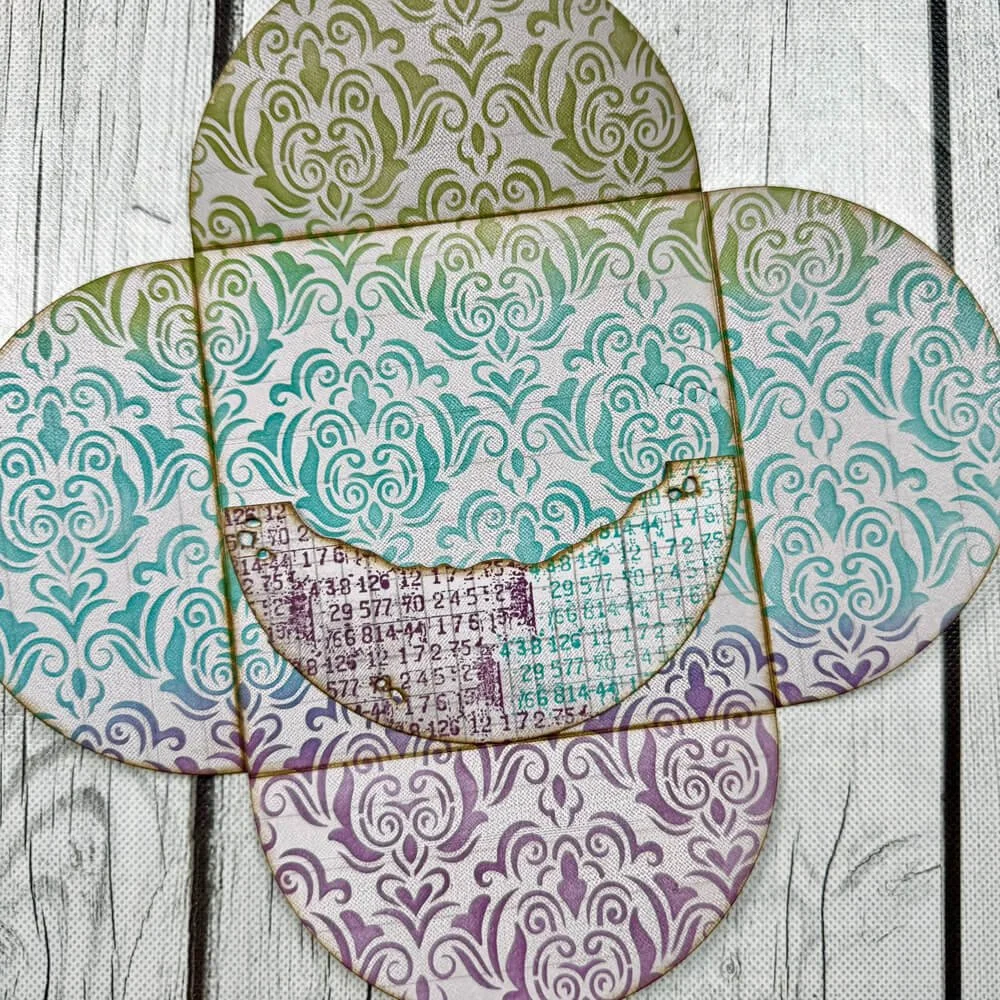
Step 11: Cut patterned cardstock using the largest circle die, and cut colored cardstock using the stitched circle and the die that creates the torn opening effect.
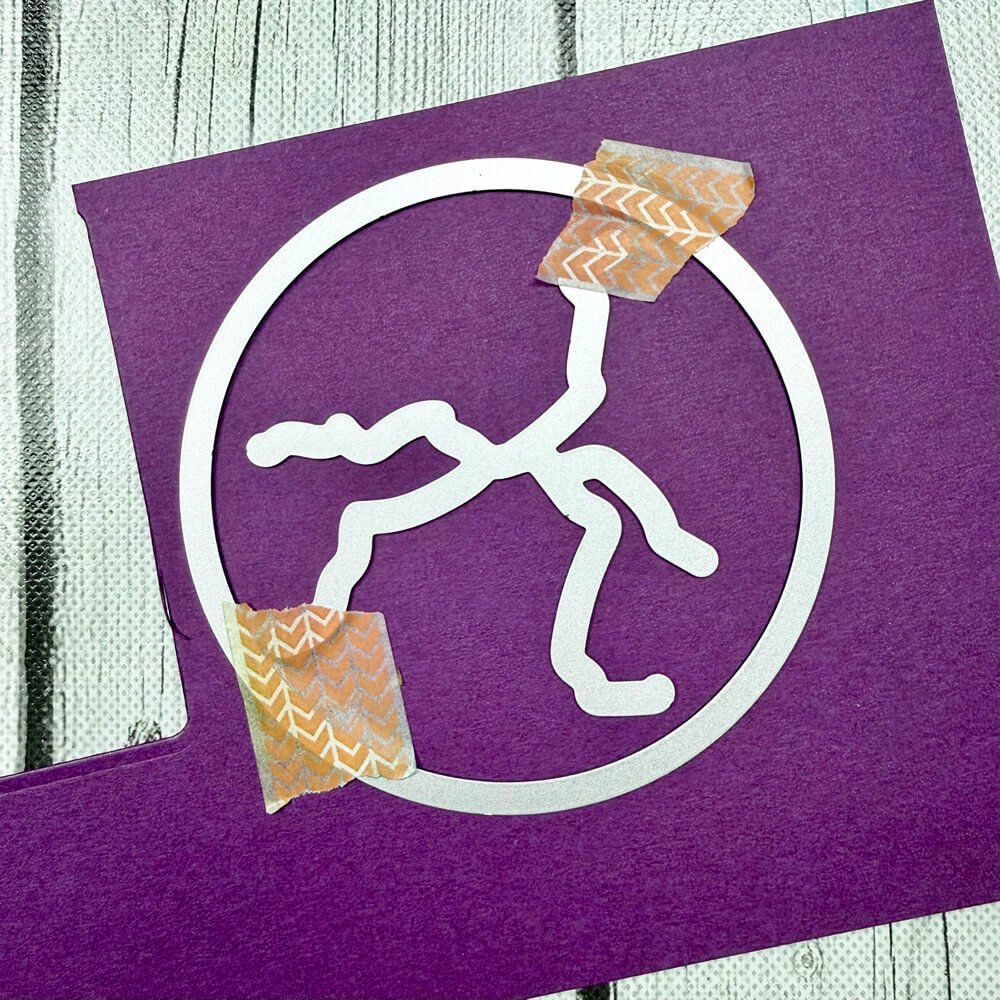
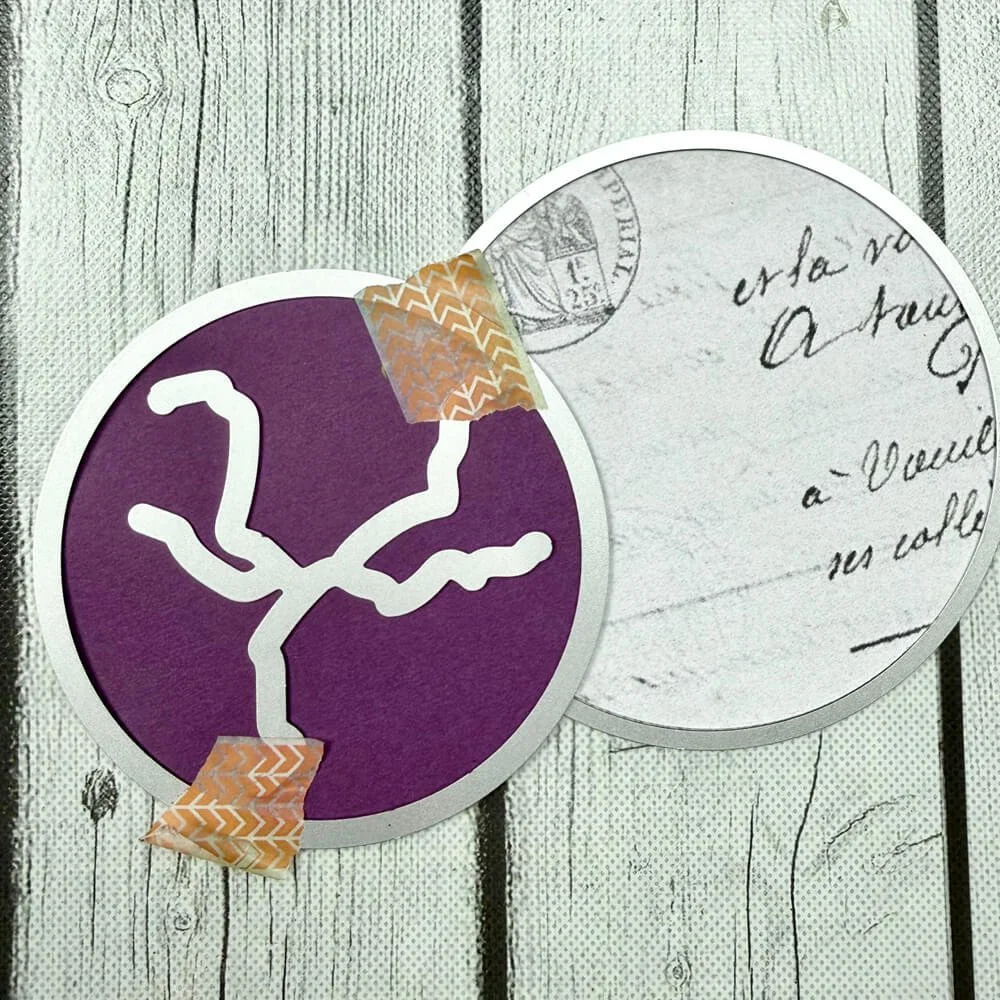
Step 12: Fold back the broken pieces gently to use as a guide for lining up the placement of the rub-on. Once the rub-on is placed on the patterned paper, attach the stitched circle to reveal the rub-on. Add glue to the backs of the broken pieces, then fold them back onto the circle. I discovered that these need to be flat in order for the card to fully close.
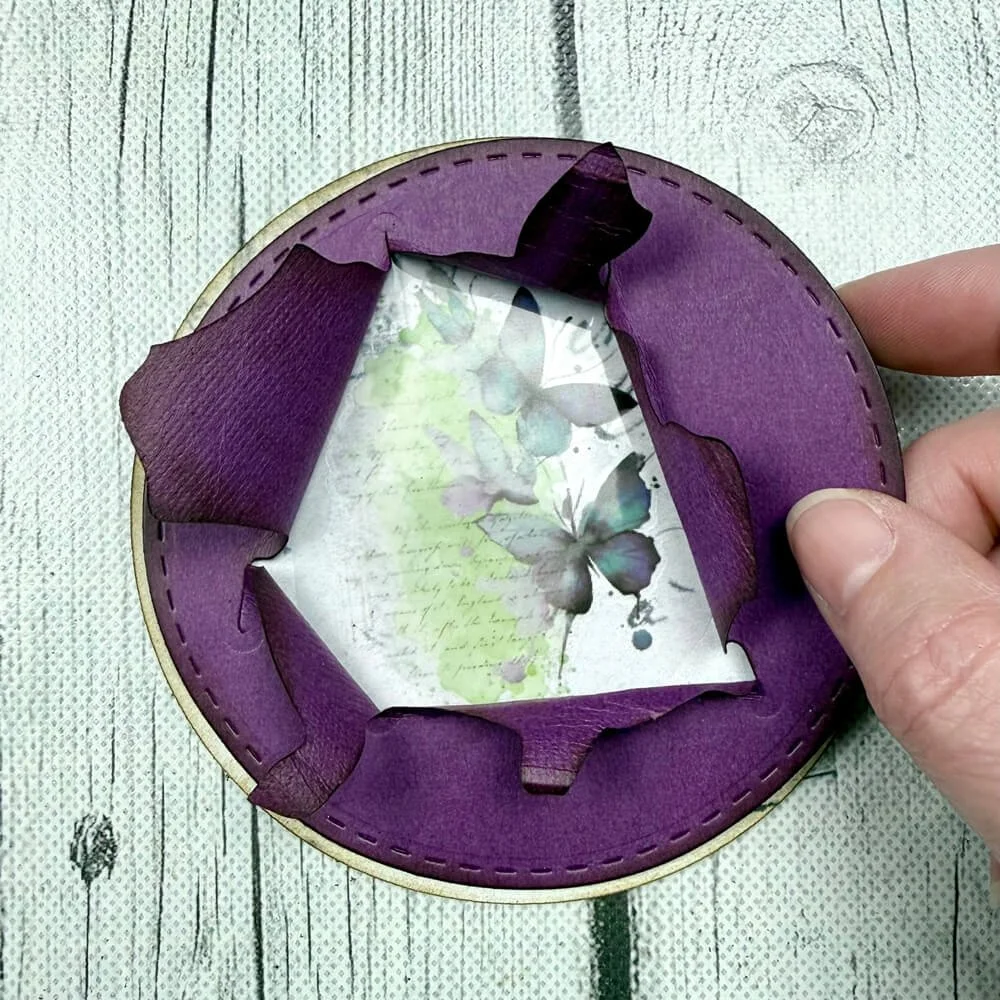
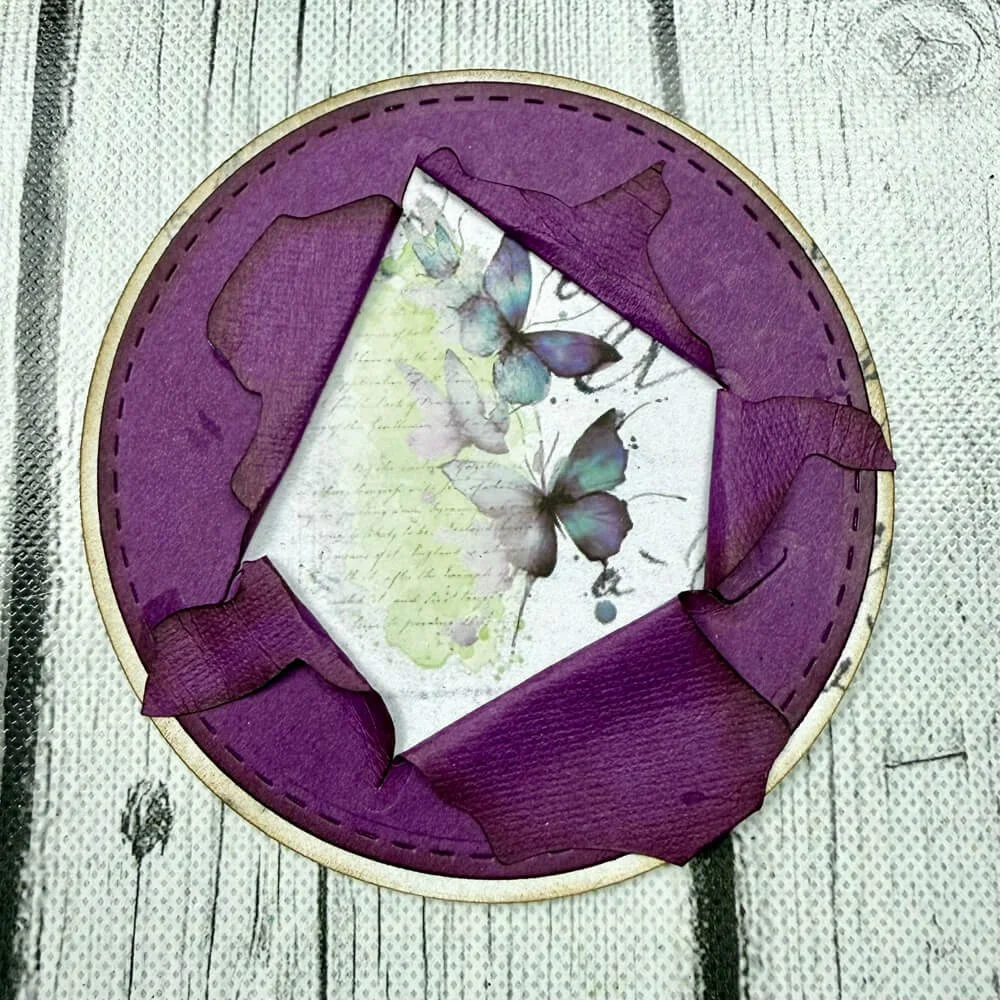
Step 13: Here’s the tricky part. Place the circle card into the pocket with a magnet behind it (not attached yet) and fold two of the flaps closed. Now, place your second magnet onto the circle card and slide until you have both magnets centered nicely.
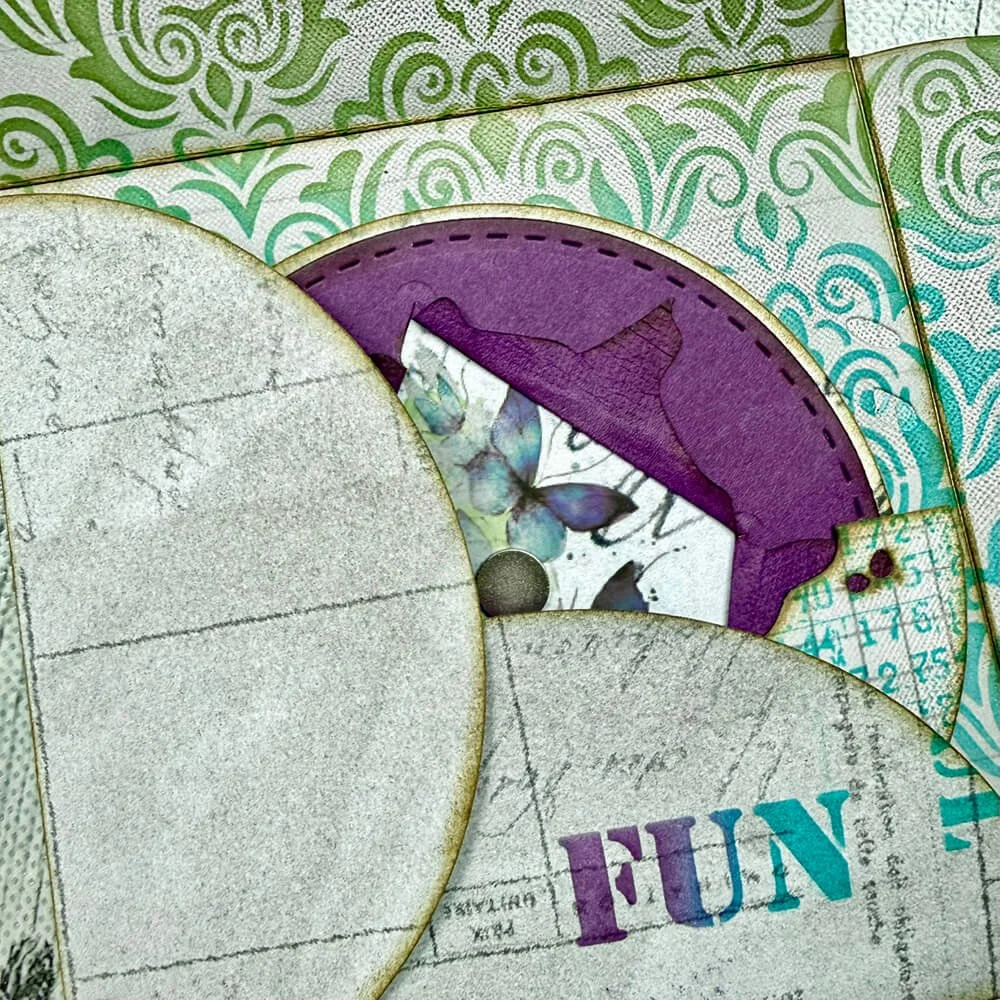
Step 14: Pull out the circle card (with both magnets attached), flip over and tape the magnet in place on the back only. Cover the magnet with a sentiment from the Journal Ephemera 2 book. The rest of the white space is a great spot to add a personal note for the recipient. Remove the other magnet from the front and set aside.
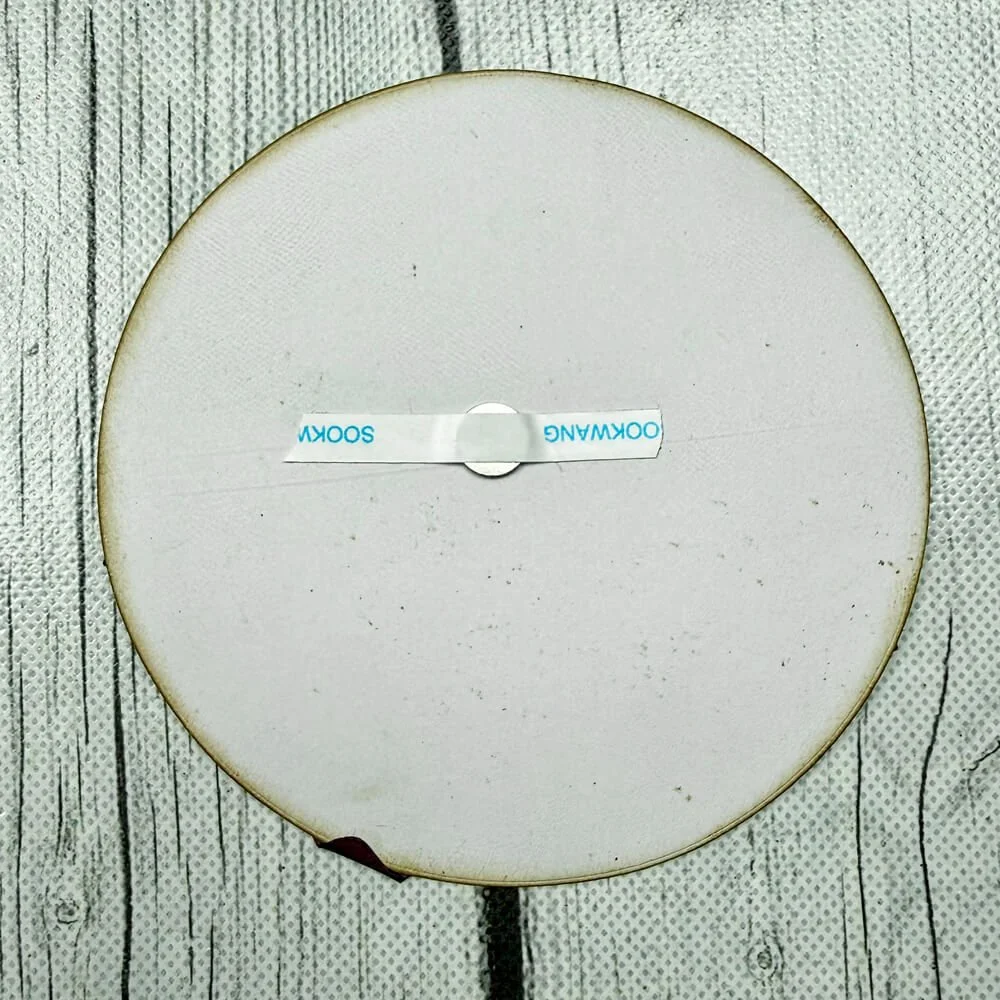
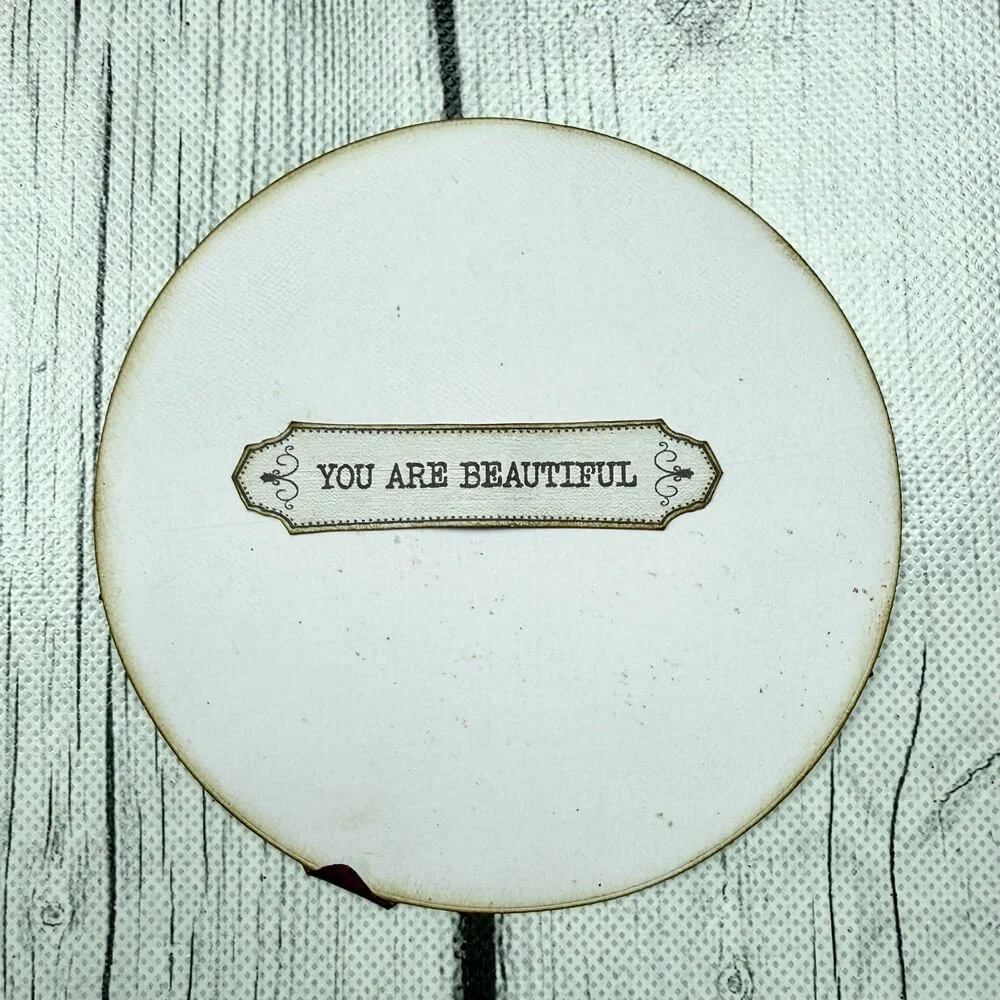
Step 15: Cut out the smaller heart from the 2368 Notebook fragments die. Place the circle card back into the pocket, close the flaps, and place the heart in the middle of your card. Place your magnet on top, and when it is all nicely aligned, add tape to the magnet and cover with another sentiment.
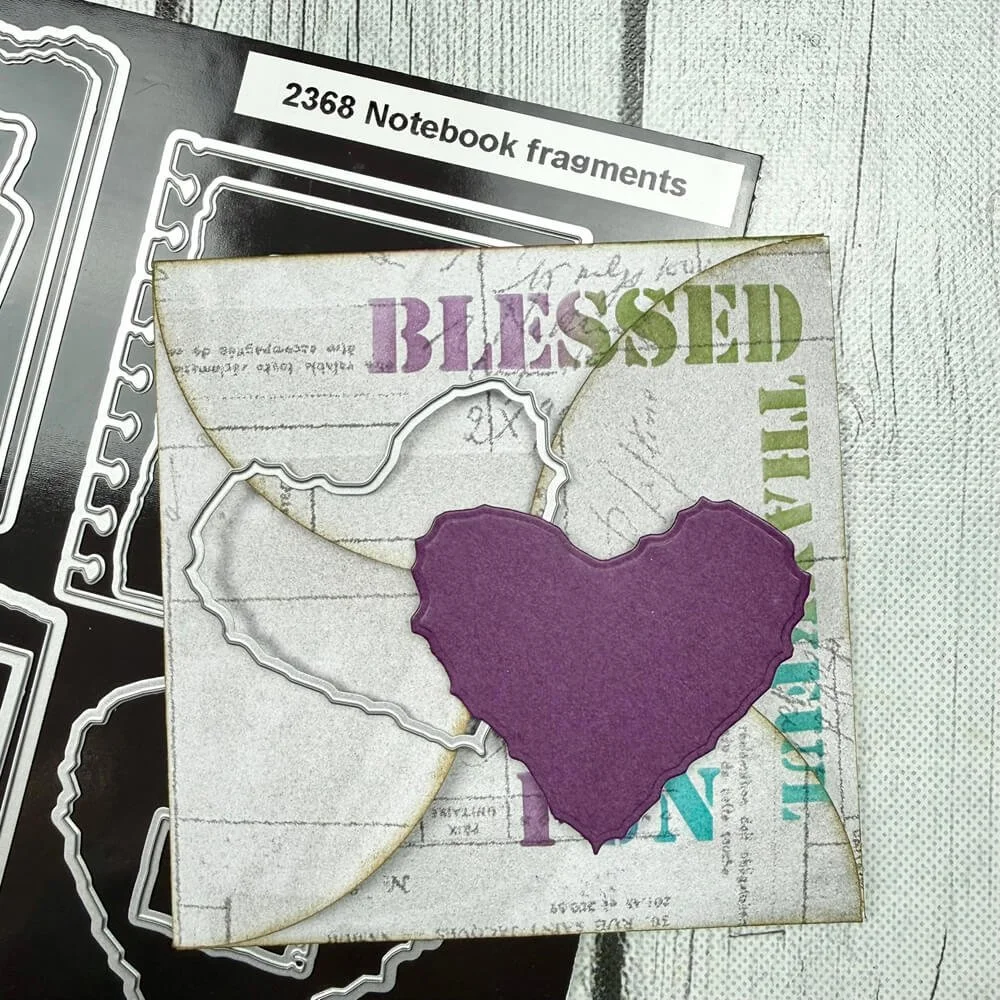
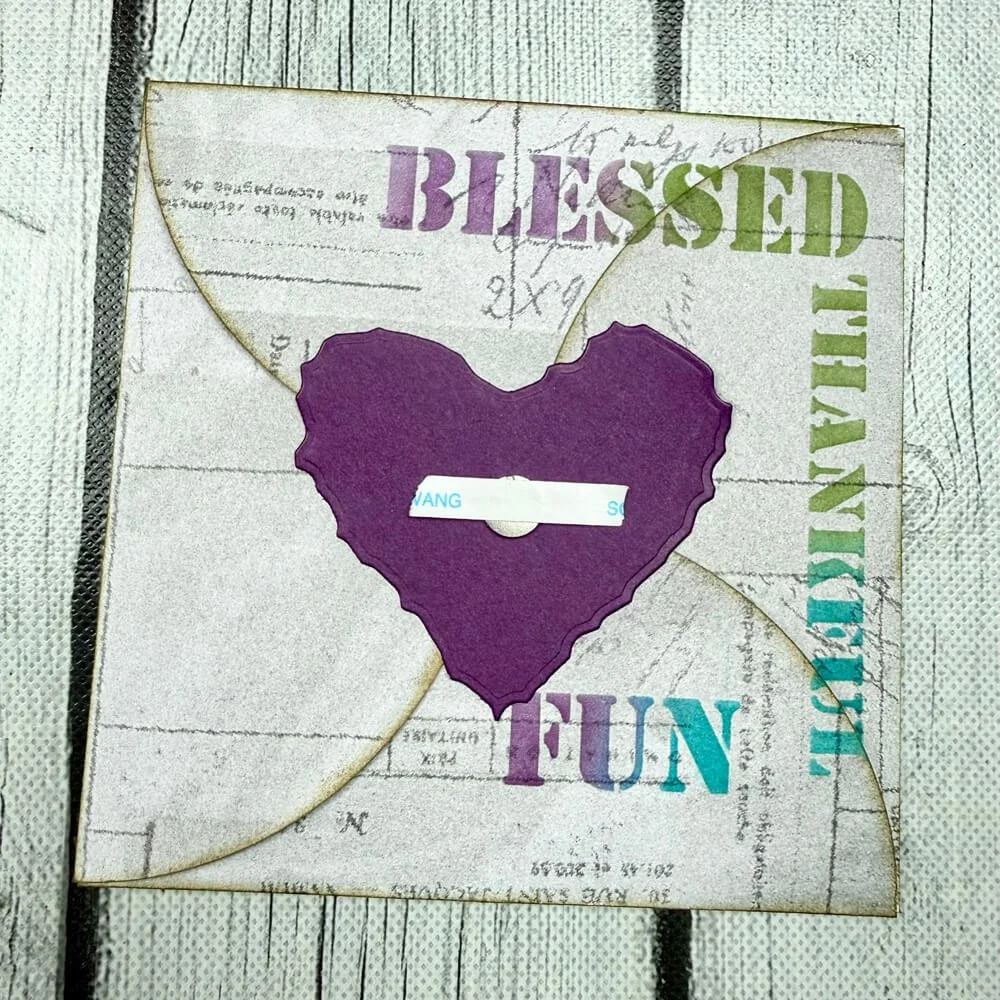
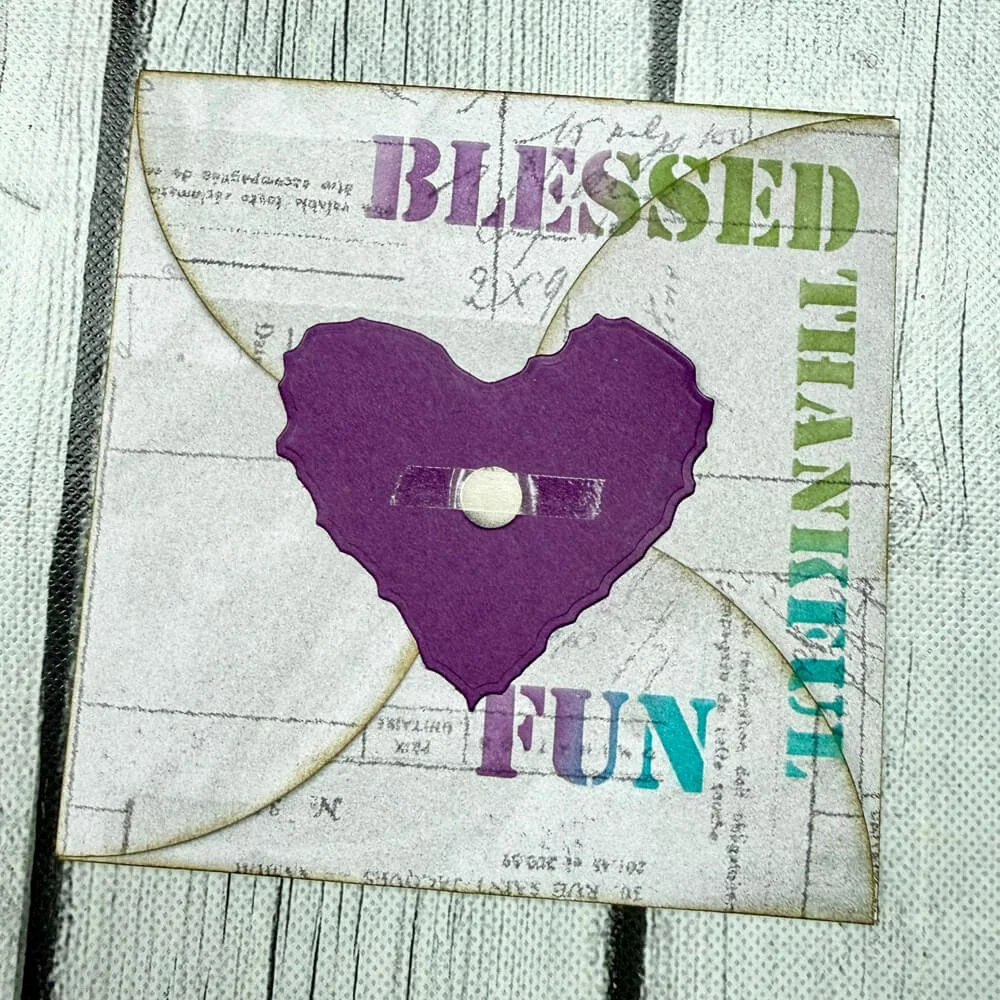
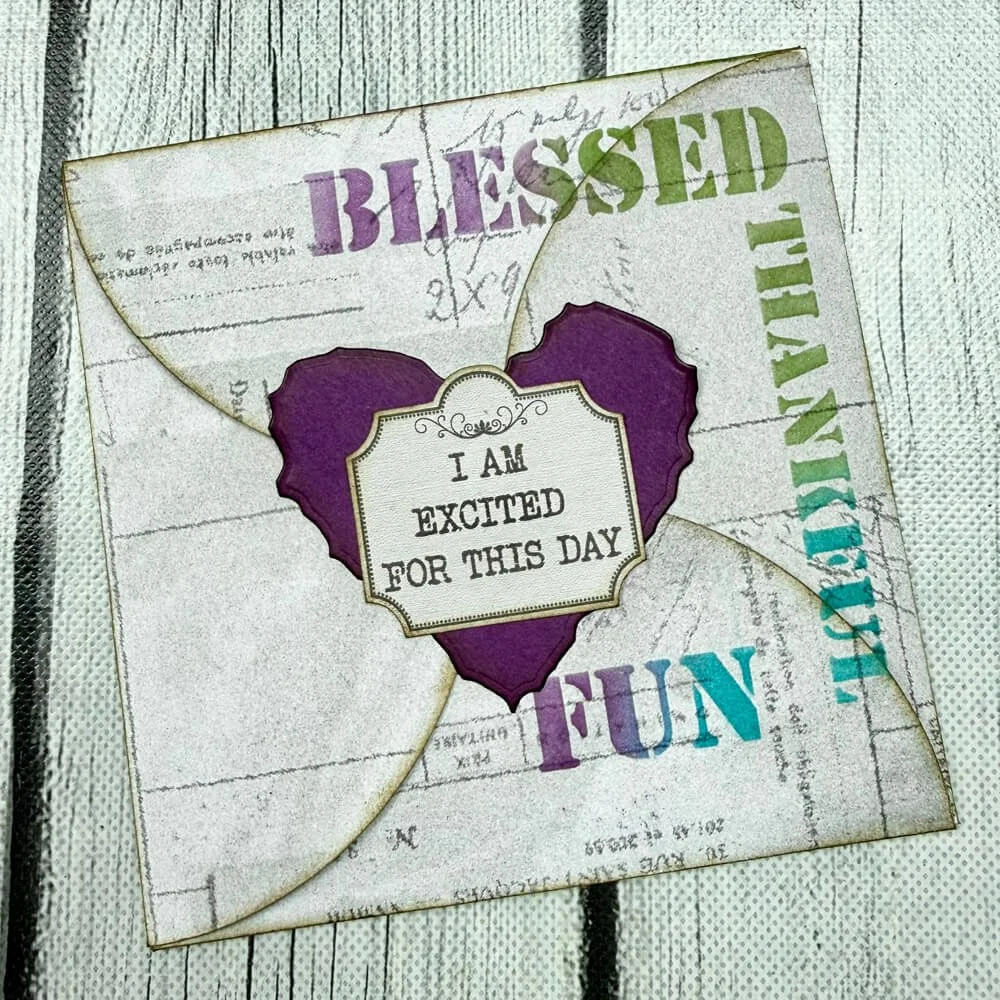
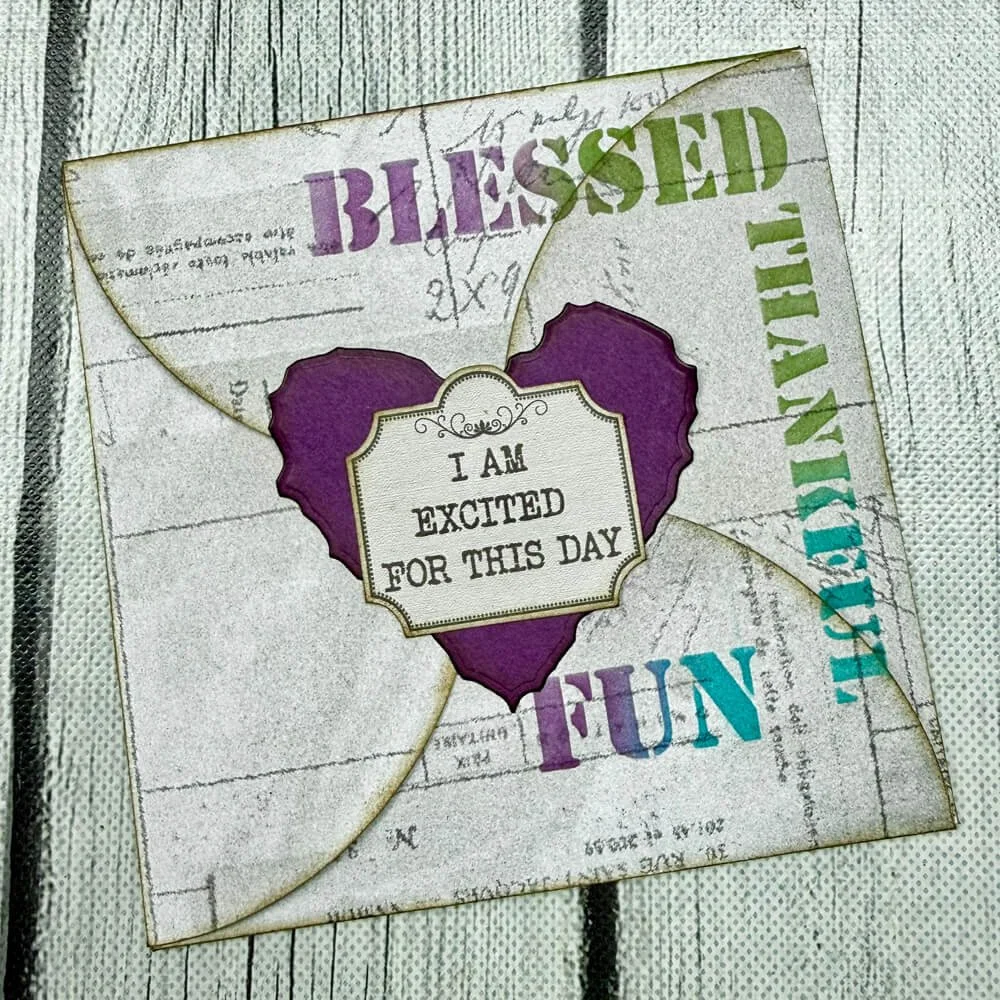
Now your card is complete, and as long as your magnets are thin, you can easily send this in the mail! I hope you’ll make your own version and share it with us on the Elizabeth Craft Designs Family Facebook page. Here’s a little more inspiration with another version I created.