
How To Decorate Notebooks
Bored of looking at your plain notebooks? Join us and discover how you can create fun covers that will bring joy every time you reach for your notebook! This is such a fun and creative way to personalize your stationery! PLUS…. a great idea for creating one of a kind gifts your friends and family will love!
This project adds charm and character to an everyday notebook, making it perfect for journaling, note-taking, or gifting.

Hi, my name is Kate, and I’m sharing with you a little project I did using the cute Little Mouse die. Everyone needs a notebook, right? Here is a simple and easy way to create your own personalized one. Have fun making yours!
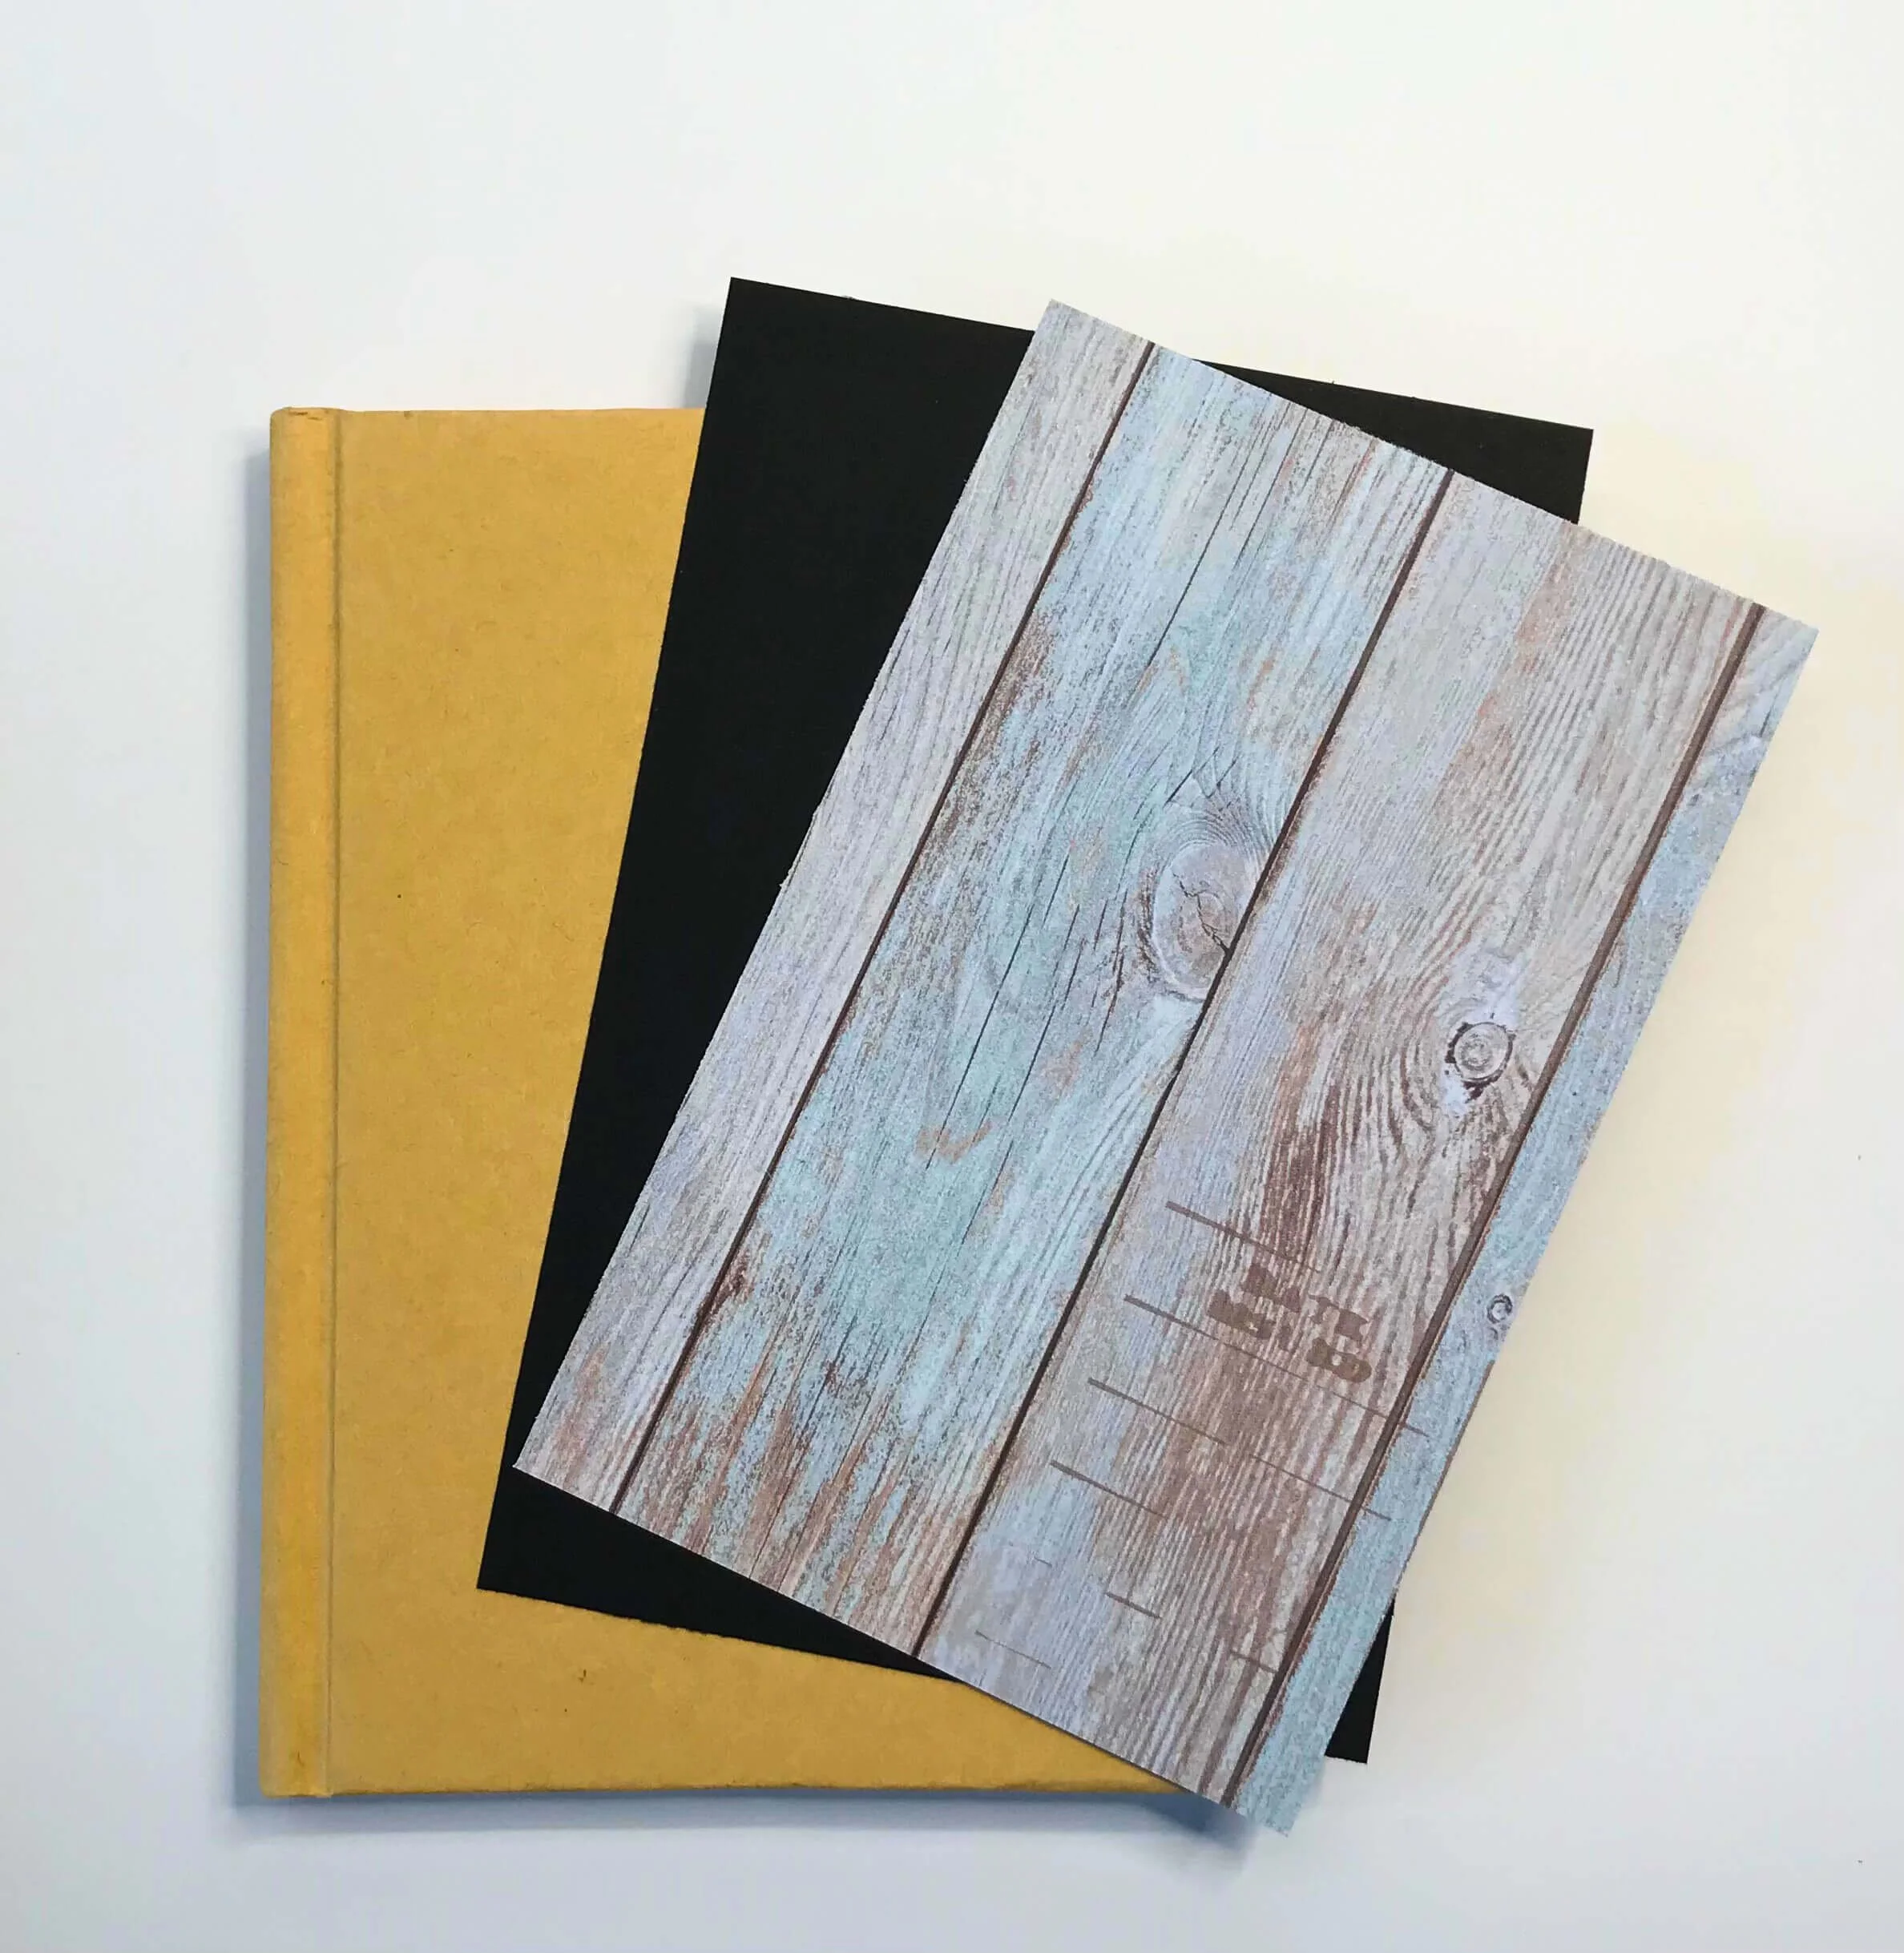
Step 1: Measure the front of the notebook you want to cover (Do not include the part wrapping around the spine.) Mine is a pocket-sized book with dimensions of approximately 10cm x 15cm. (If your book is different from mine, you will need to adjust your measurements.)
Step 2: Cut two pieces of black card measuring 9.5cm x 14.5cm. Then two pieces of patterned card measuring 9cm x 14cm.
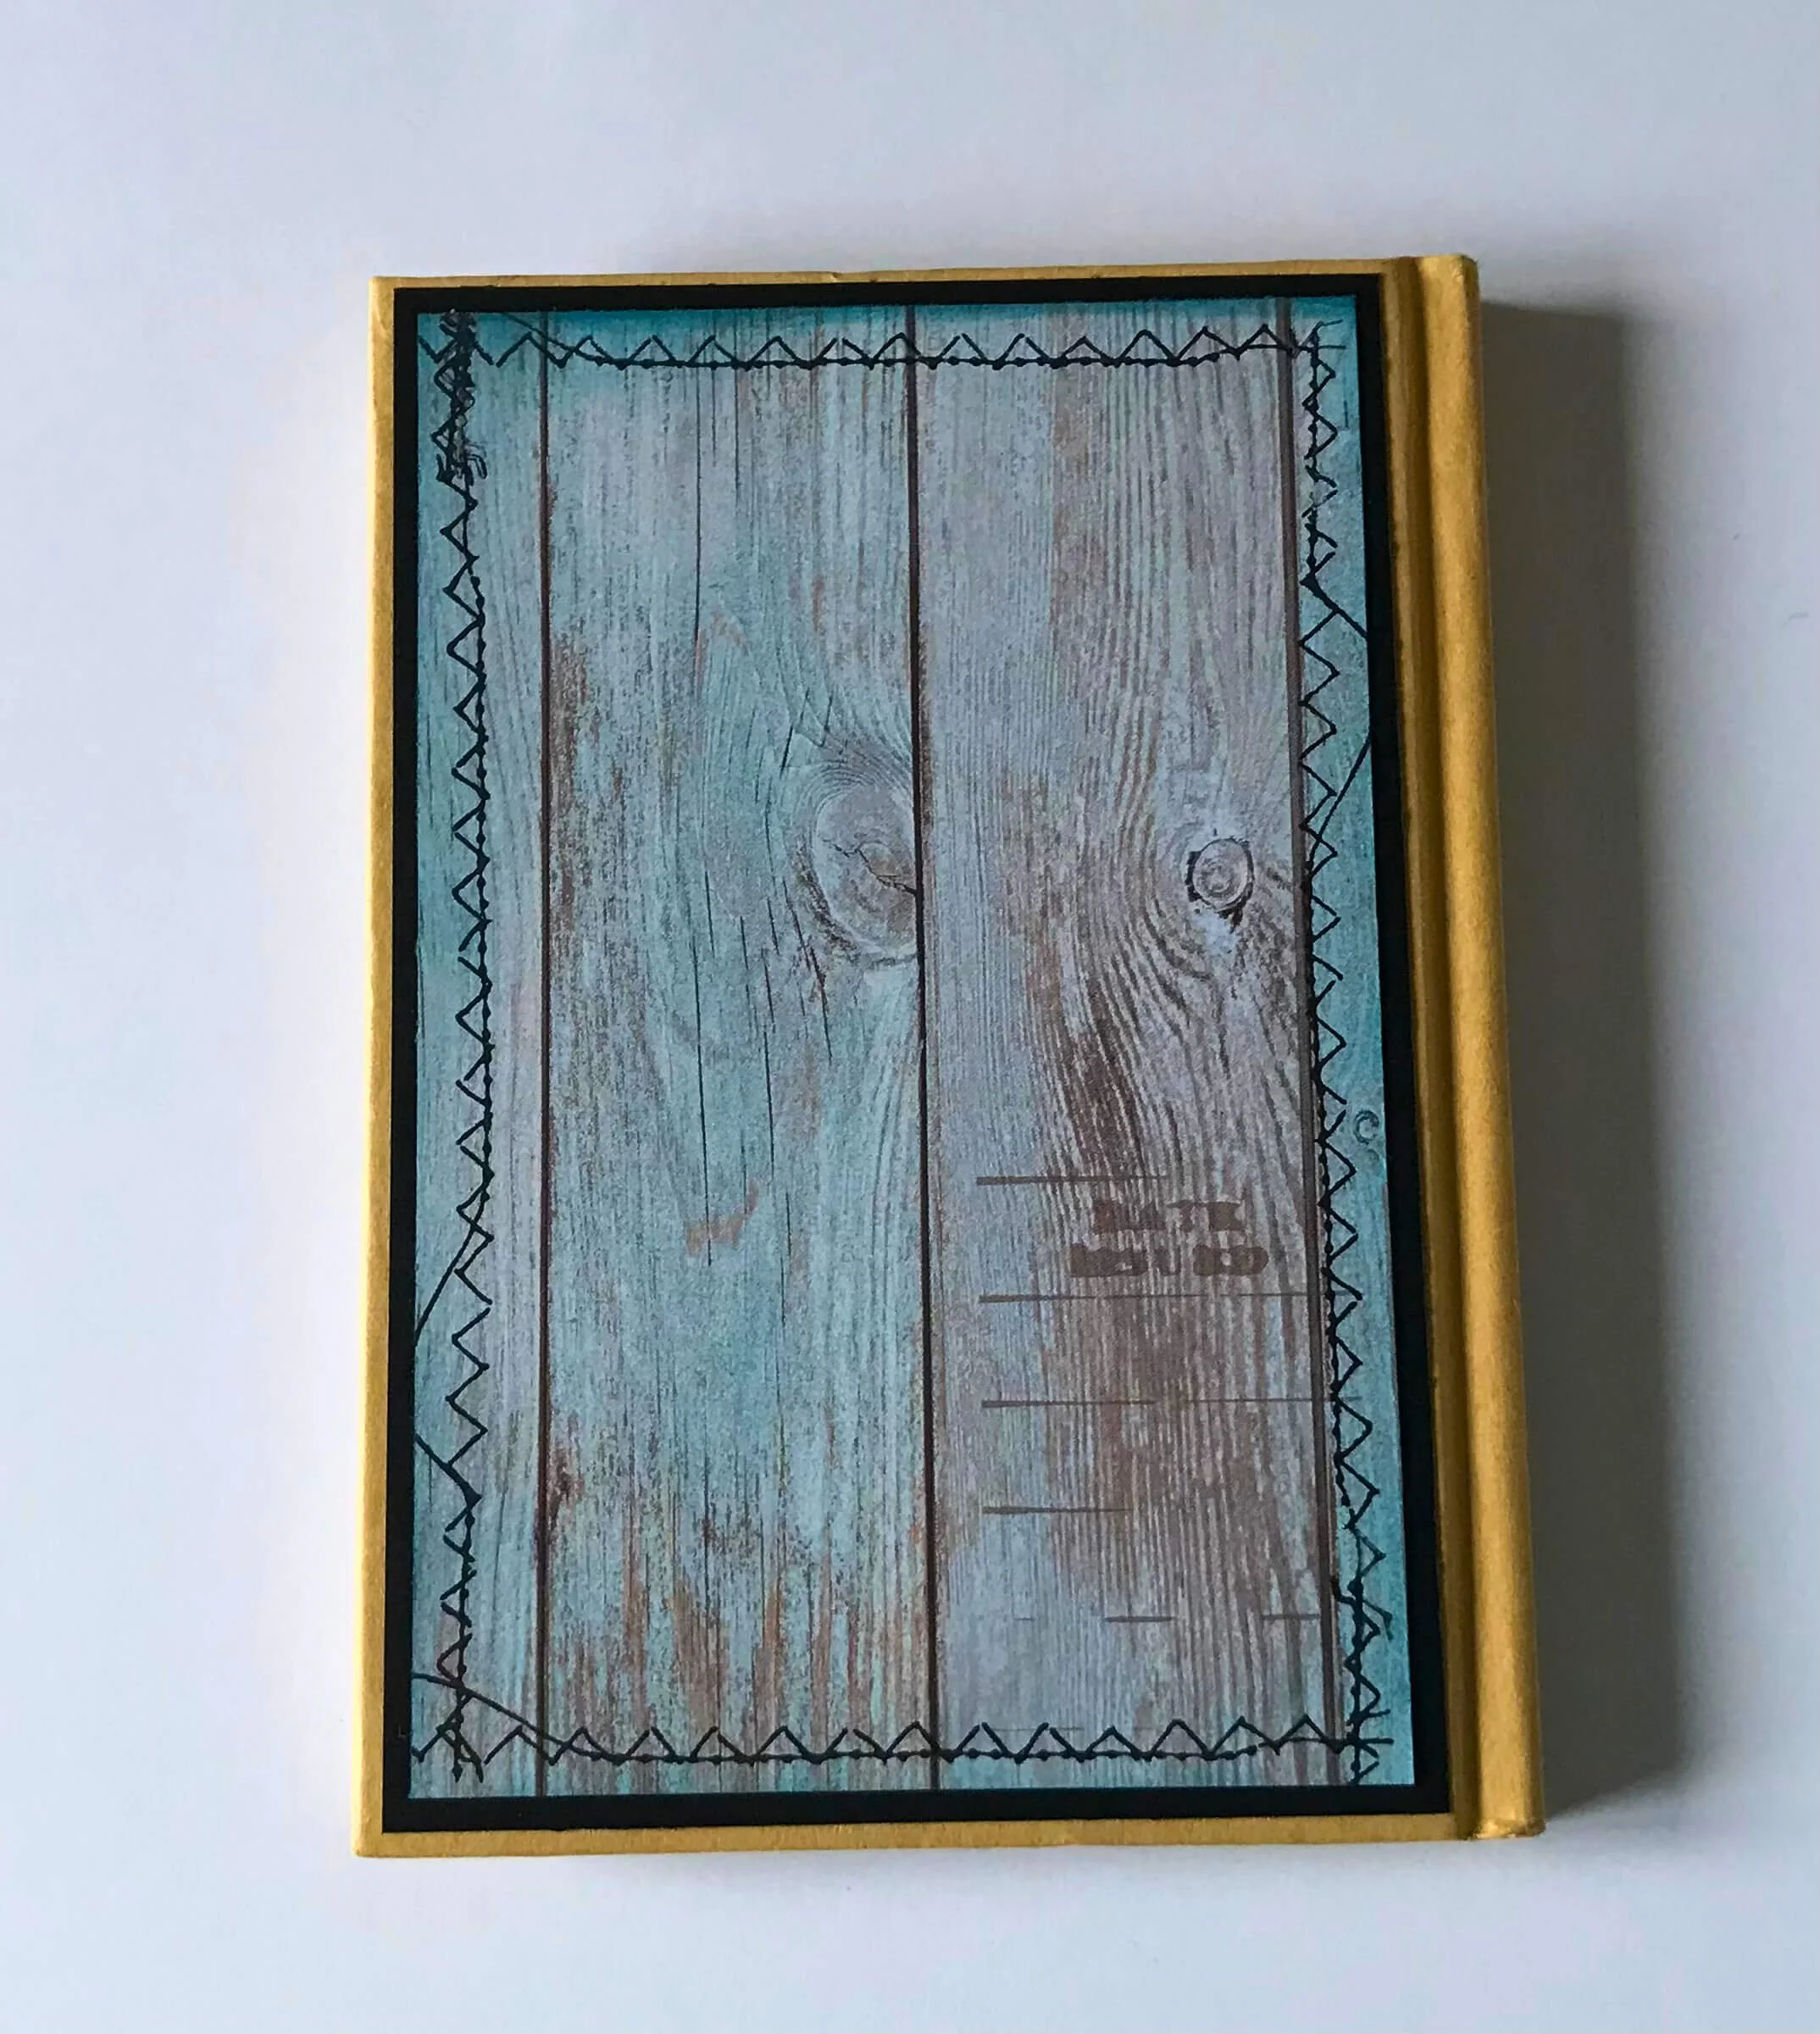
Step 3: Glue the black pieces of card to the front and back cover of the note book.
Step 4: Ink the edges of the patterned card with ink. I used a blue Distress Ink
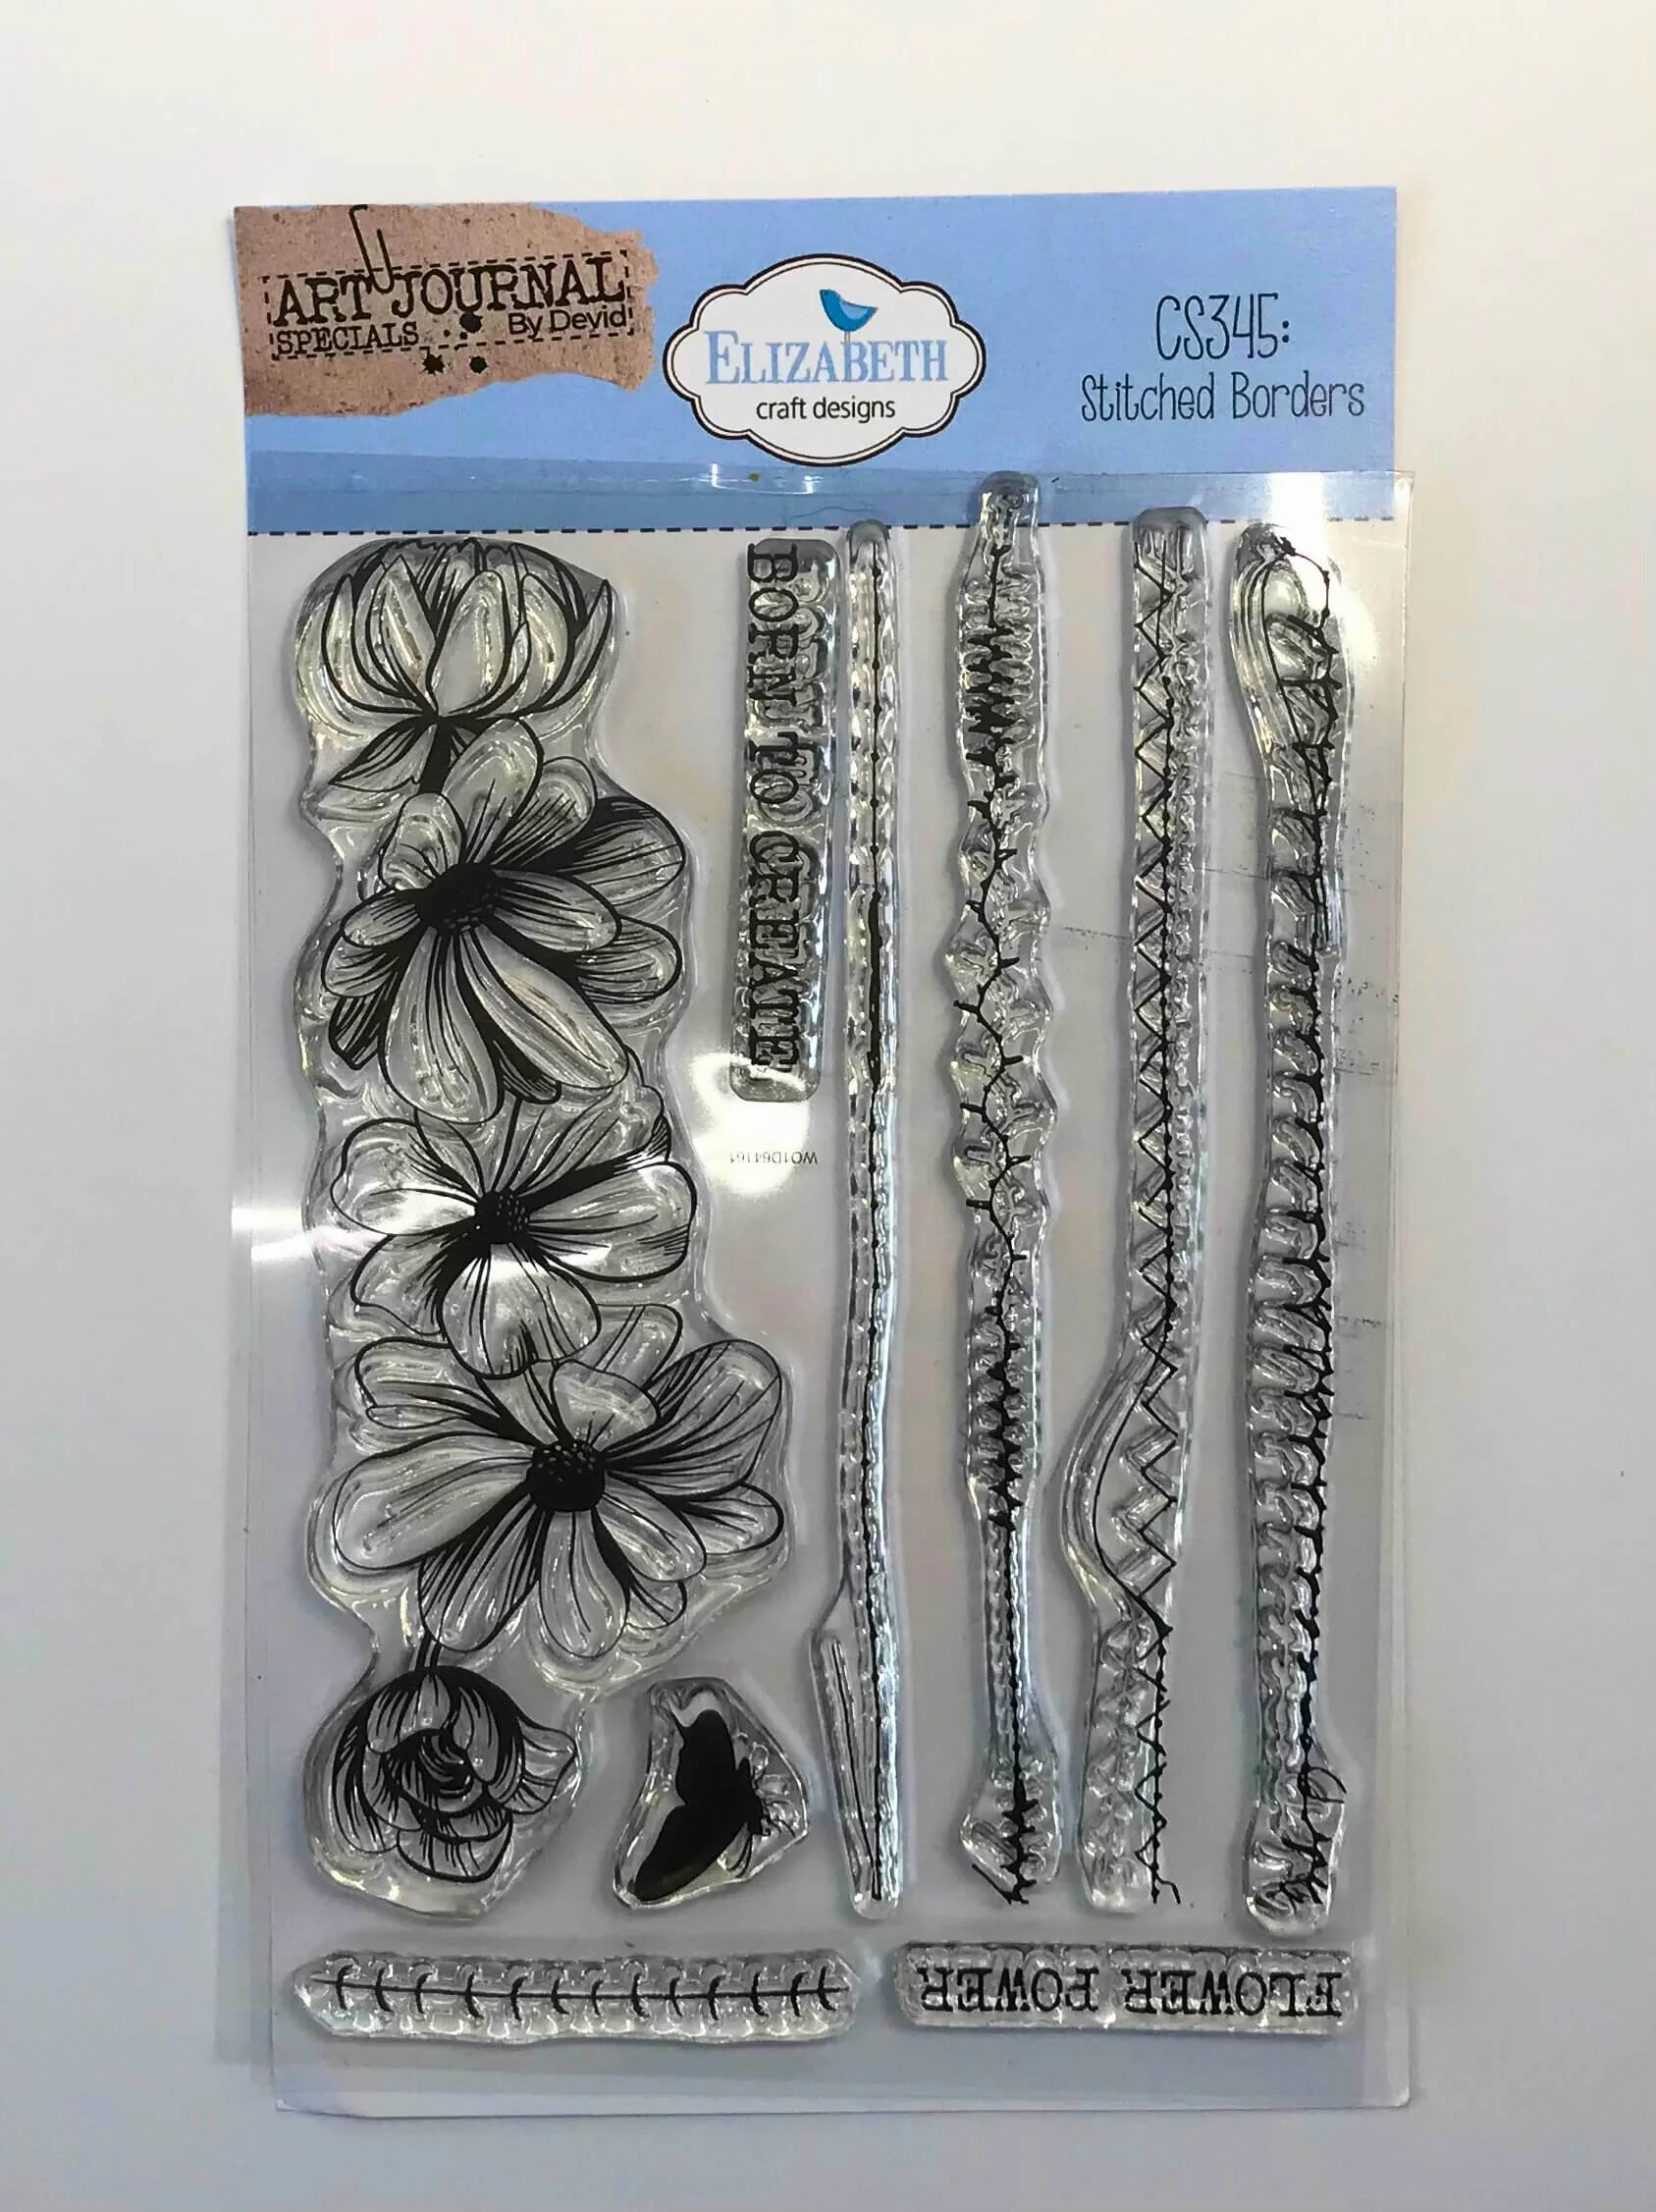
Step 5: Stamp a border around the edges using a black pigment ink and one of the faux stitching stamps. Glue this on top of the black card and set aside.
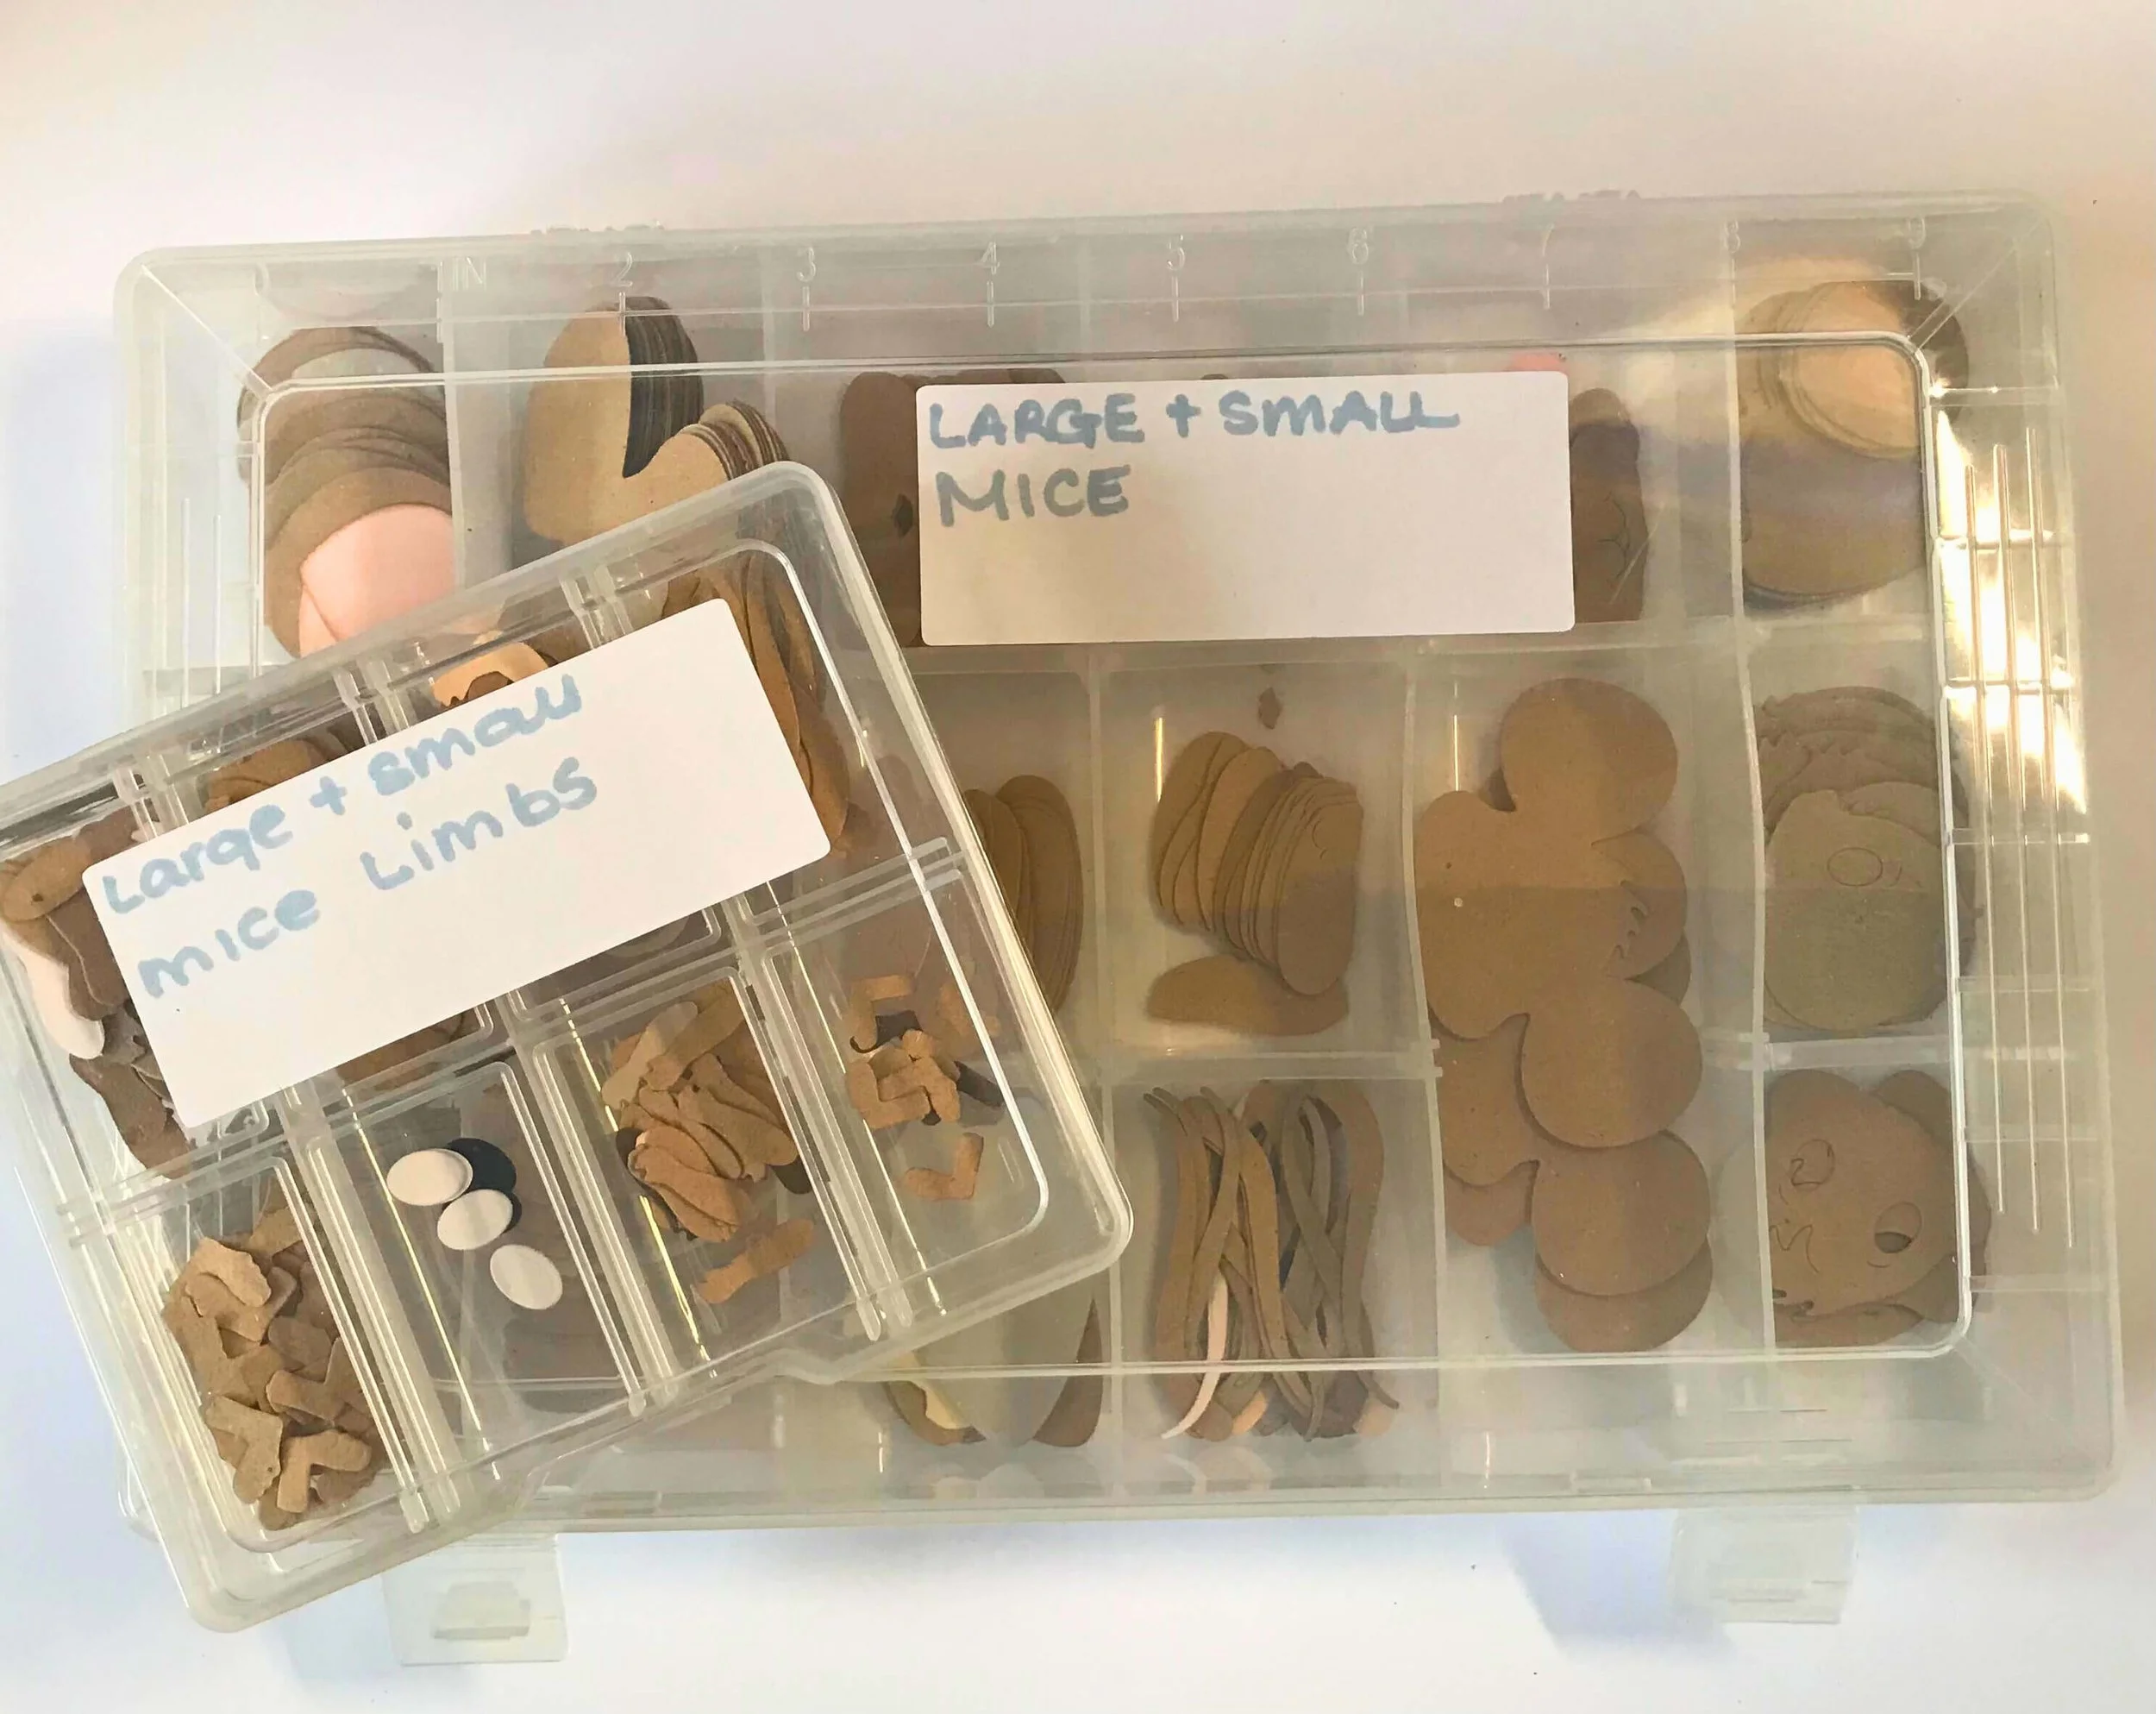
Step 6: Cut the body, face, and limbs from craft card using the Little Mouse die set. You will also need pale pink for the ears, and black and white card for the eyes, and the nose.
Step 7: Cut out the dress and bow from the sheet of pink gingham paper that is in the Beautiful Brights paper pack. Then Die cut the shirt pieces from the pale pink sheet of paper from the Pretty Pastels paper pack.

Step 8: Ink the edges of the craft card and the pink ears with Vintage photo distress ink. Ink the pink die-cuts with Picked Raspberry distress ink and add a little pink ink to the mouse’s cheeks to create a blush.
TOP TIP! Pop a little piece of tape to the back of the mouth and it will hold the tiny piece of card in place, allowing you to color it pink or white.
Step 9: Assemble the mouse and glue all the pieces together using the packaging as a reference.
TOP TIP! Spend some time die cutting mouse parts and have them ready so that they are ready to assemble the pieces when you want to craft.
Step 10: Die cut some letters out of black card to spell out the words NOTES or for any other word you like on your notebook. You could even personalize them with names for gifts! Try different arrangements of the diecut pieces until you get an arrangement that you love. Then you can glue the mouse and letters in place.
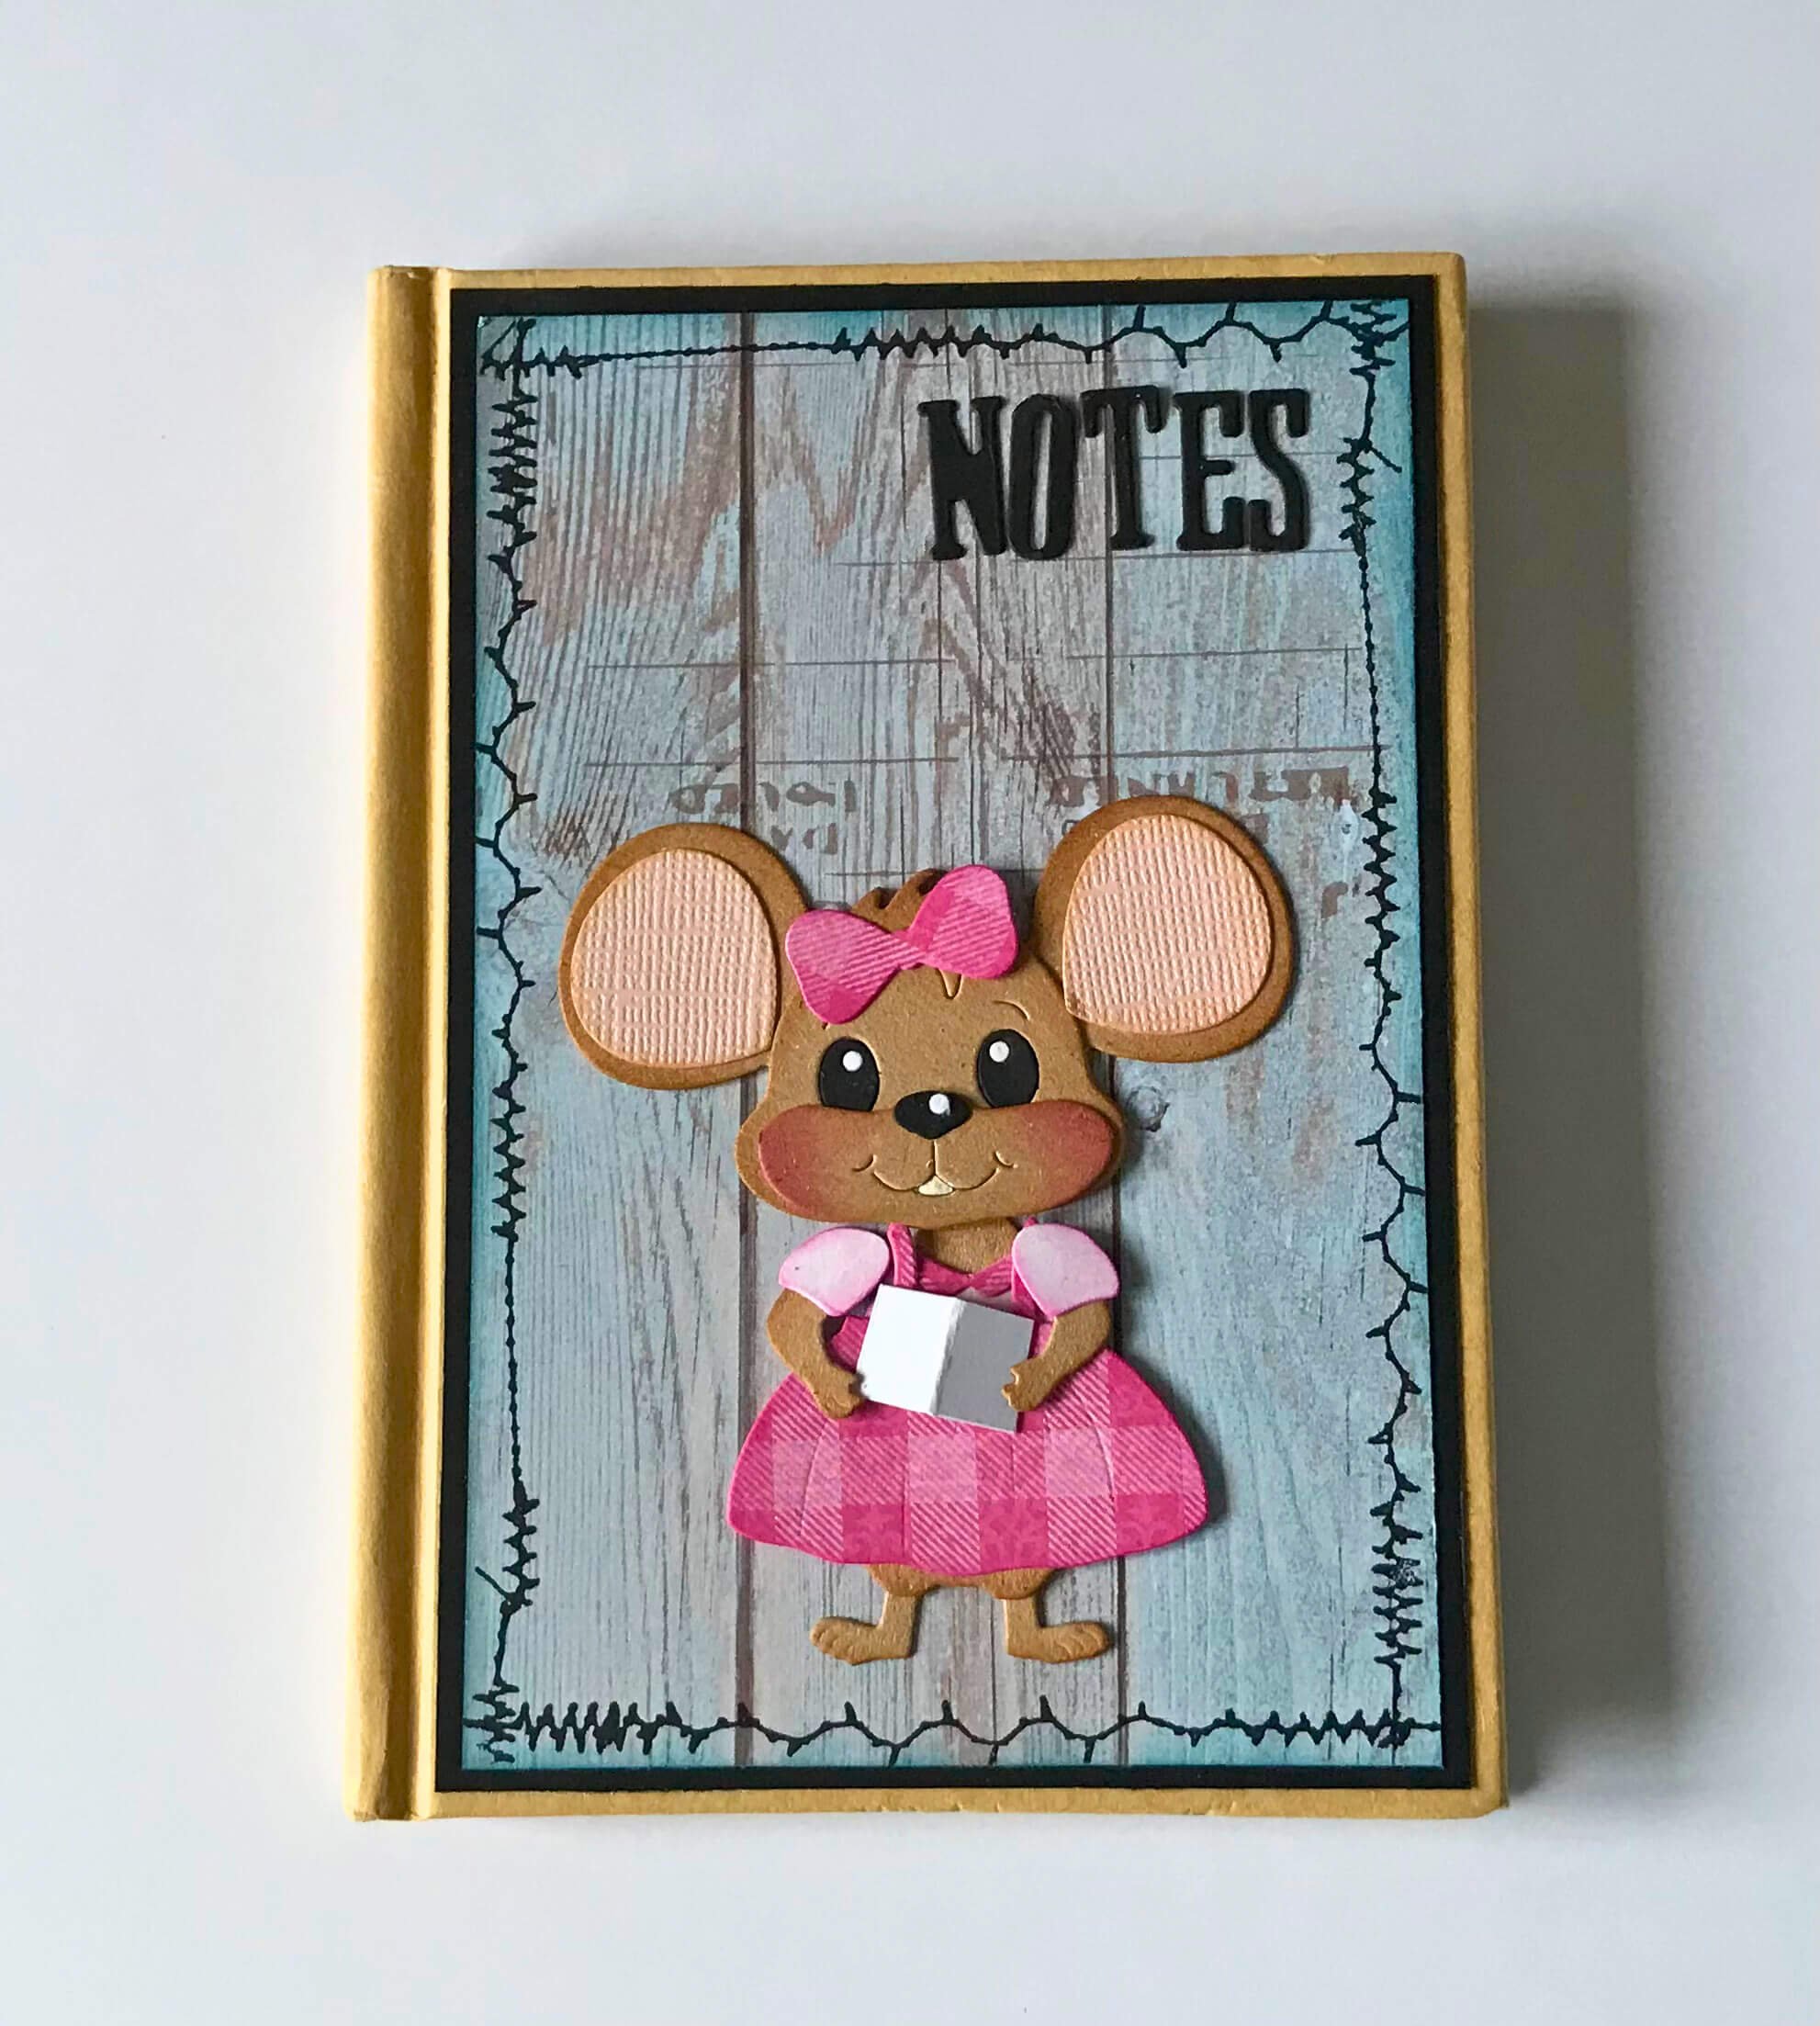
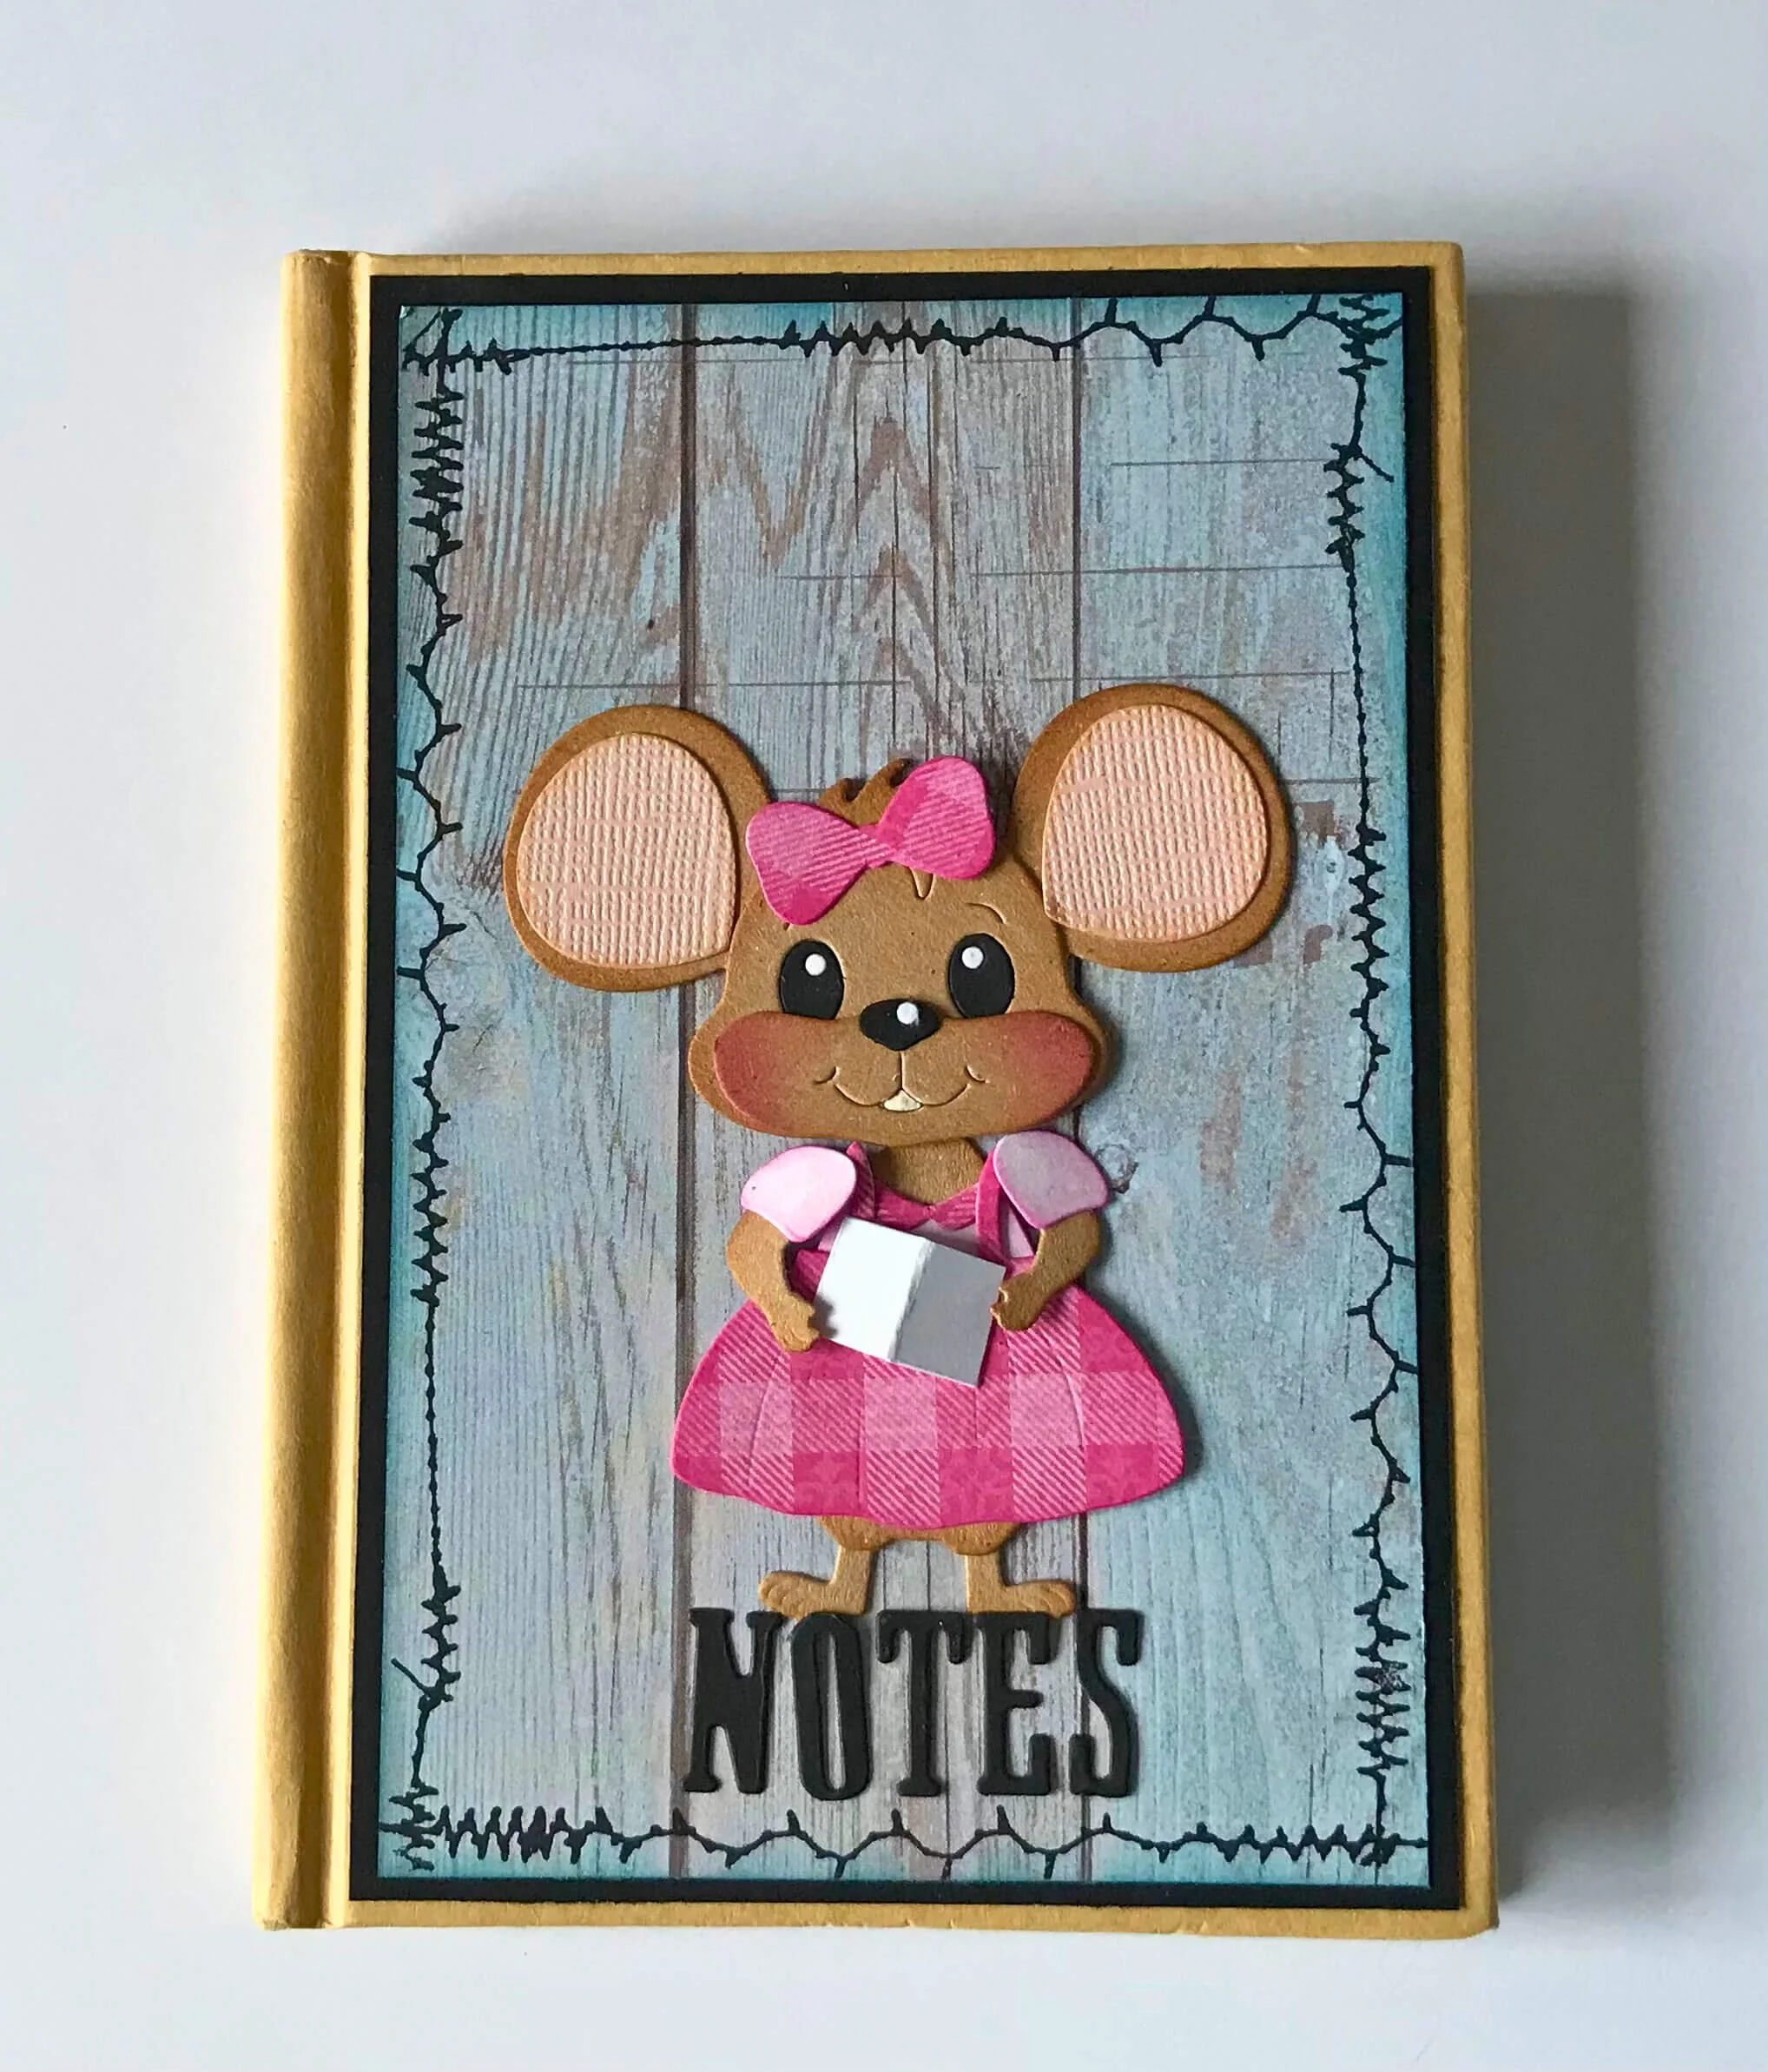
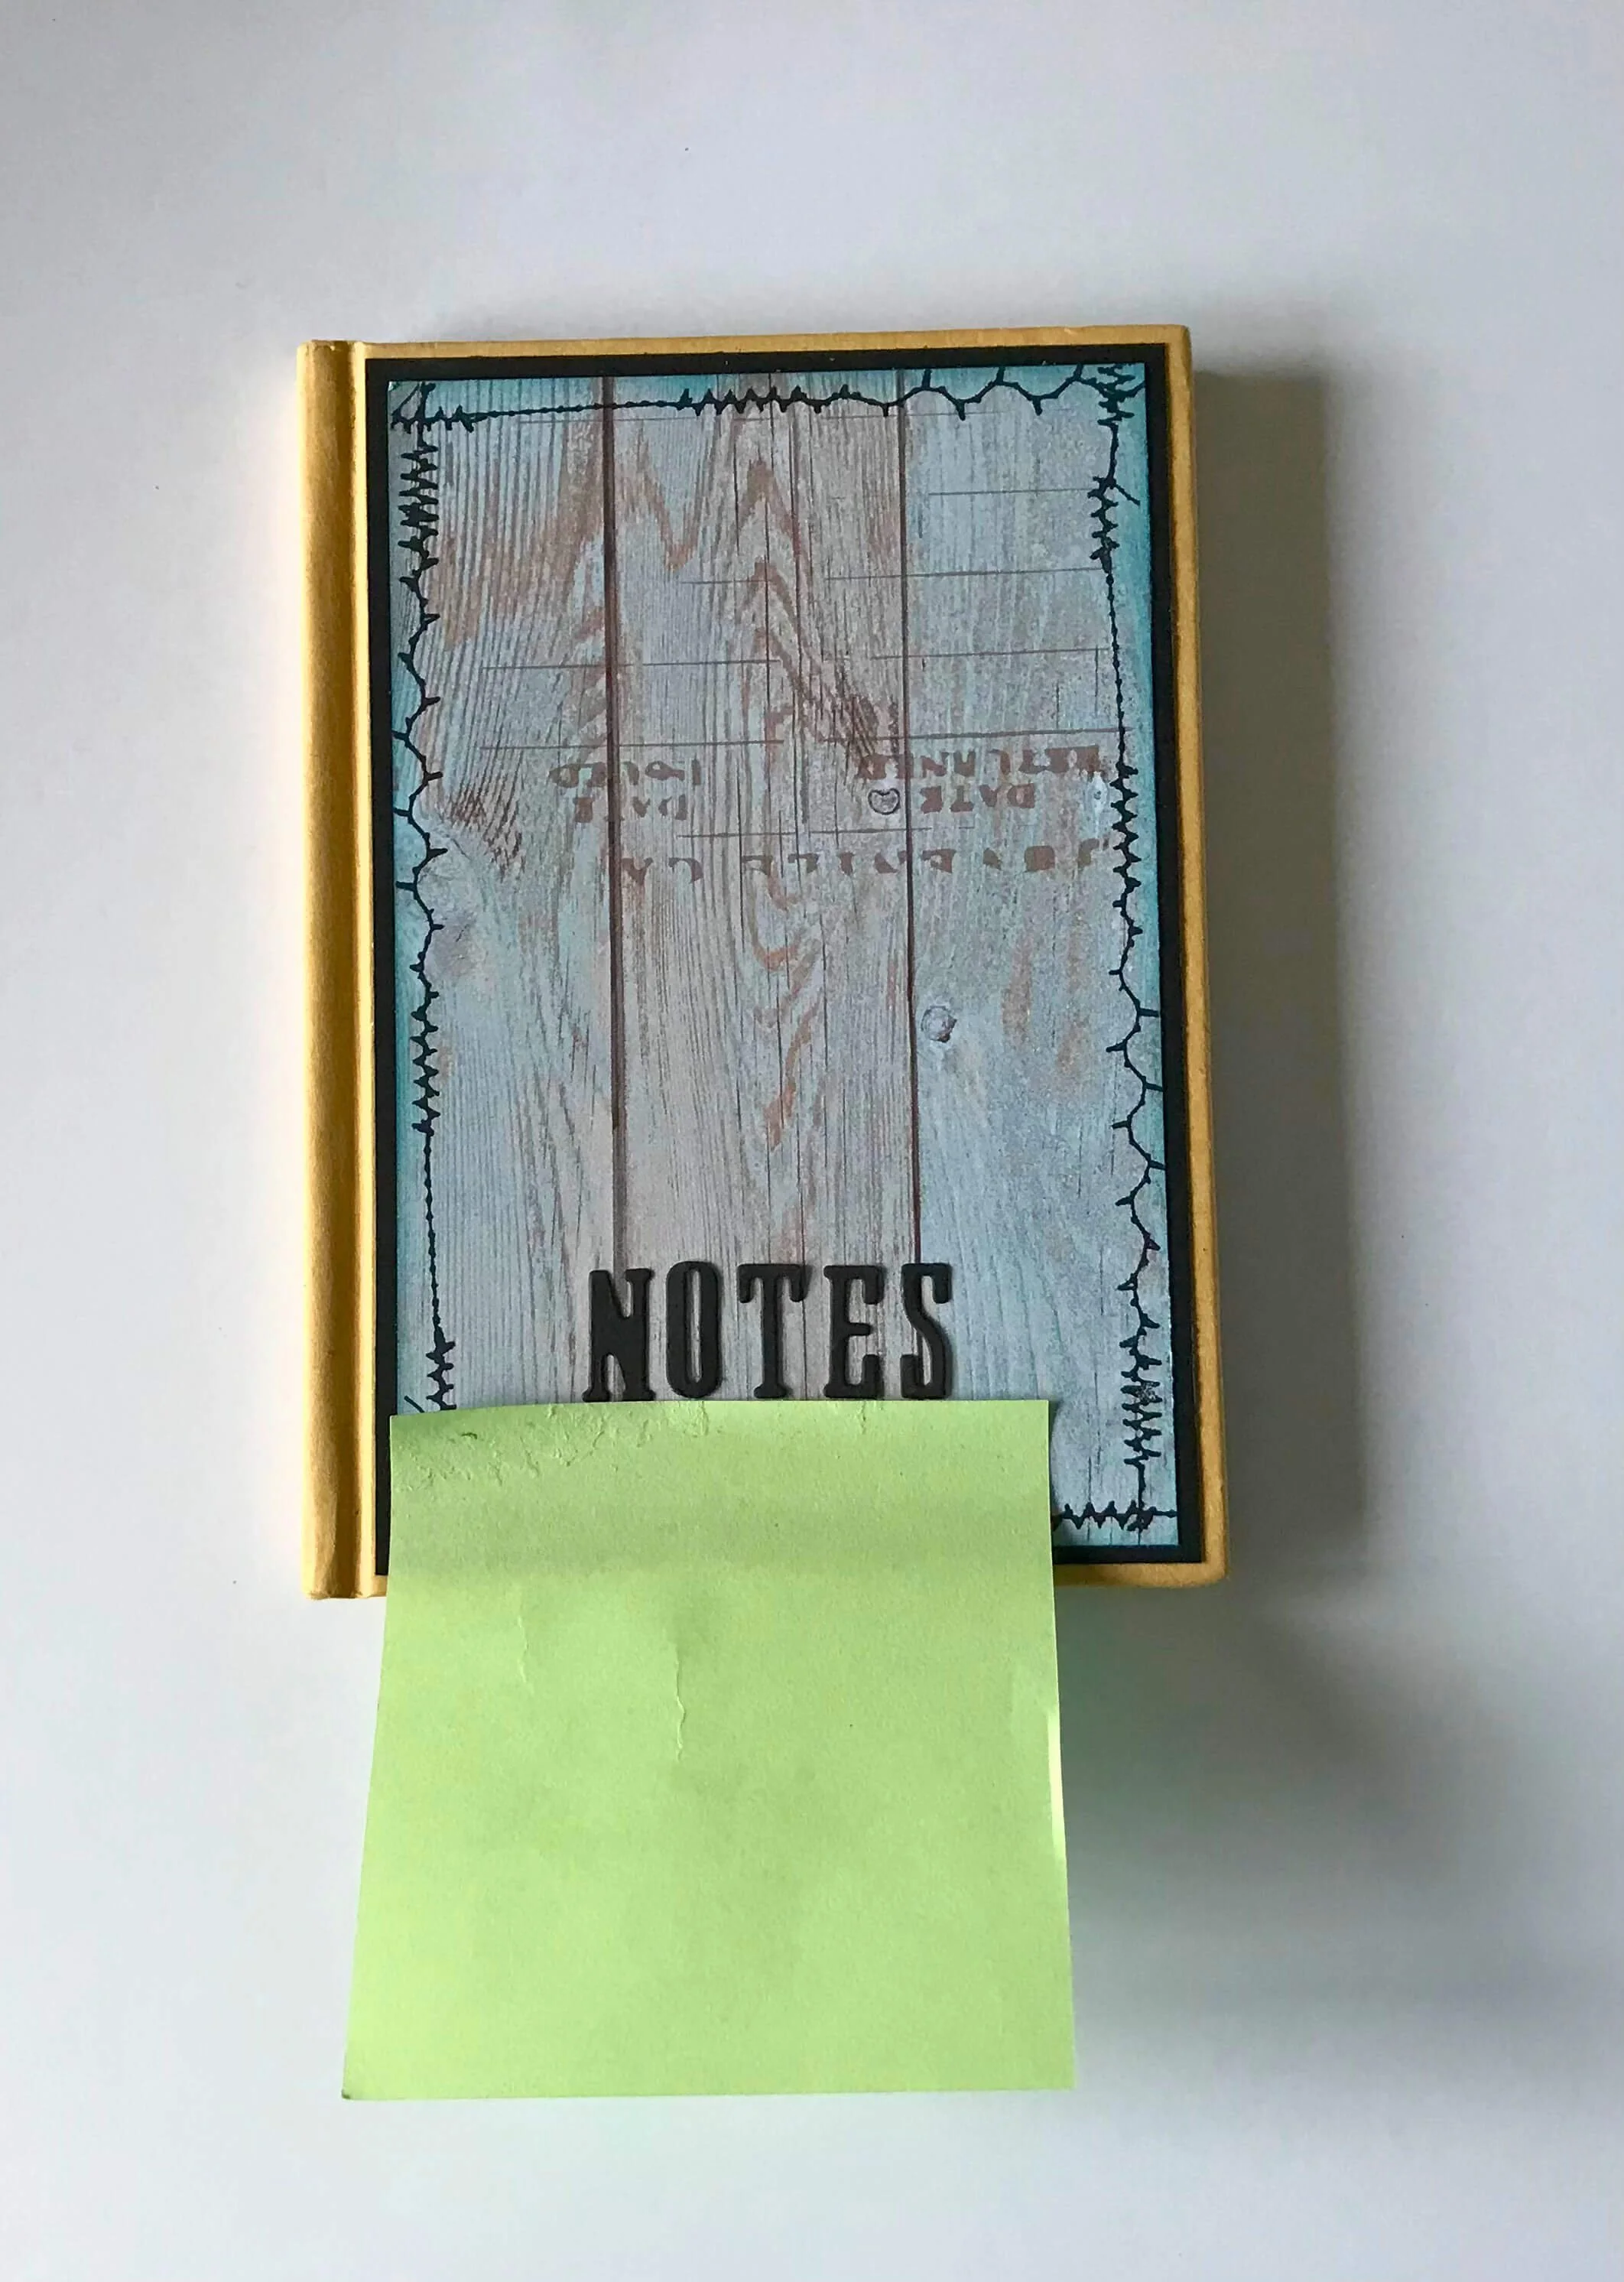
Step 11: After deciding your final layout, use a sticky note to help with the placement of the letters. Glue these and the little mouse in place.
I hope you love this little mouse notebook and are inspired to make one of your own!
Change things up a bit by using any of the paper pads along with any of the sweet characters from the Cute & Whimsical collection! How fun would it be to create a set of books all with different fun characters on?

Other products used: Versafine Clair Black pigment ink, Unchartered Mariner Distress Ink, Picked Raspberry Distress Ink, Vintage Photo Distress Ink, Small plain covered notebook approximately 10cm x15cm.