
How To Add Covers To Your Planner Card Boxes
In this step-by-step tutorial, Susan shows you how to create a cover for your Planner Card Boxes using the Card Lab Collection from Planner Essentials. Once you have built and decorated your Planner Card Boxes, you can fill them one card at a time!

Hello and welcome.
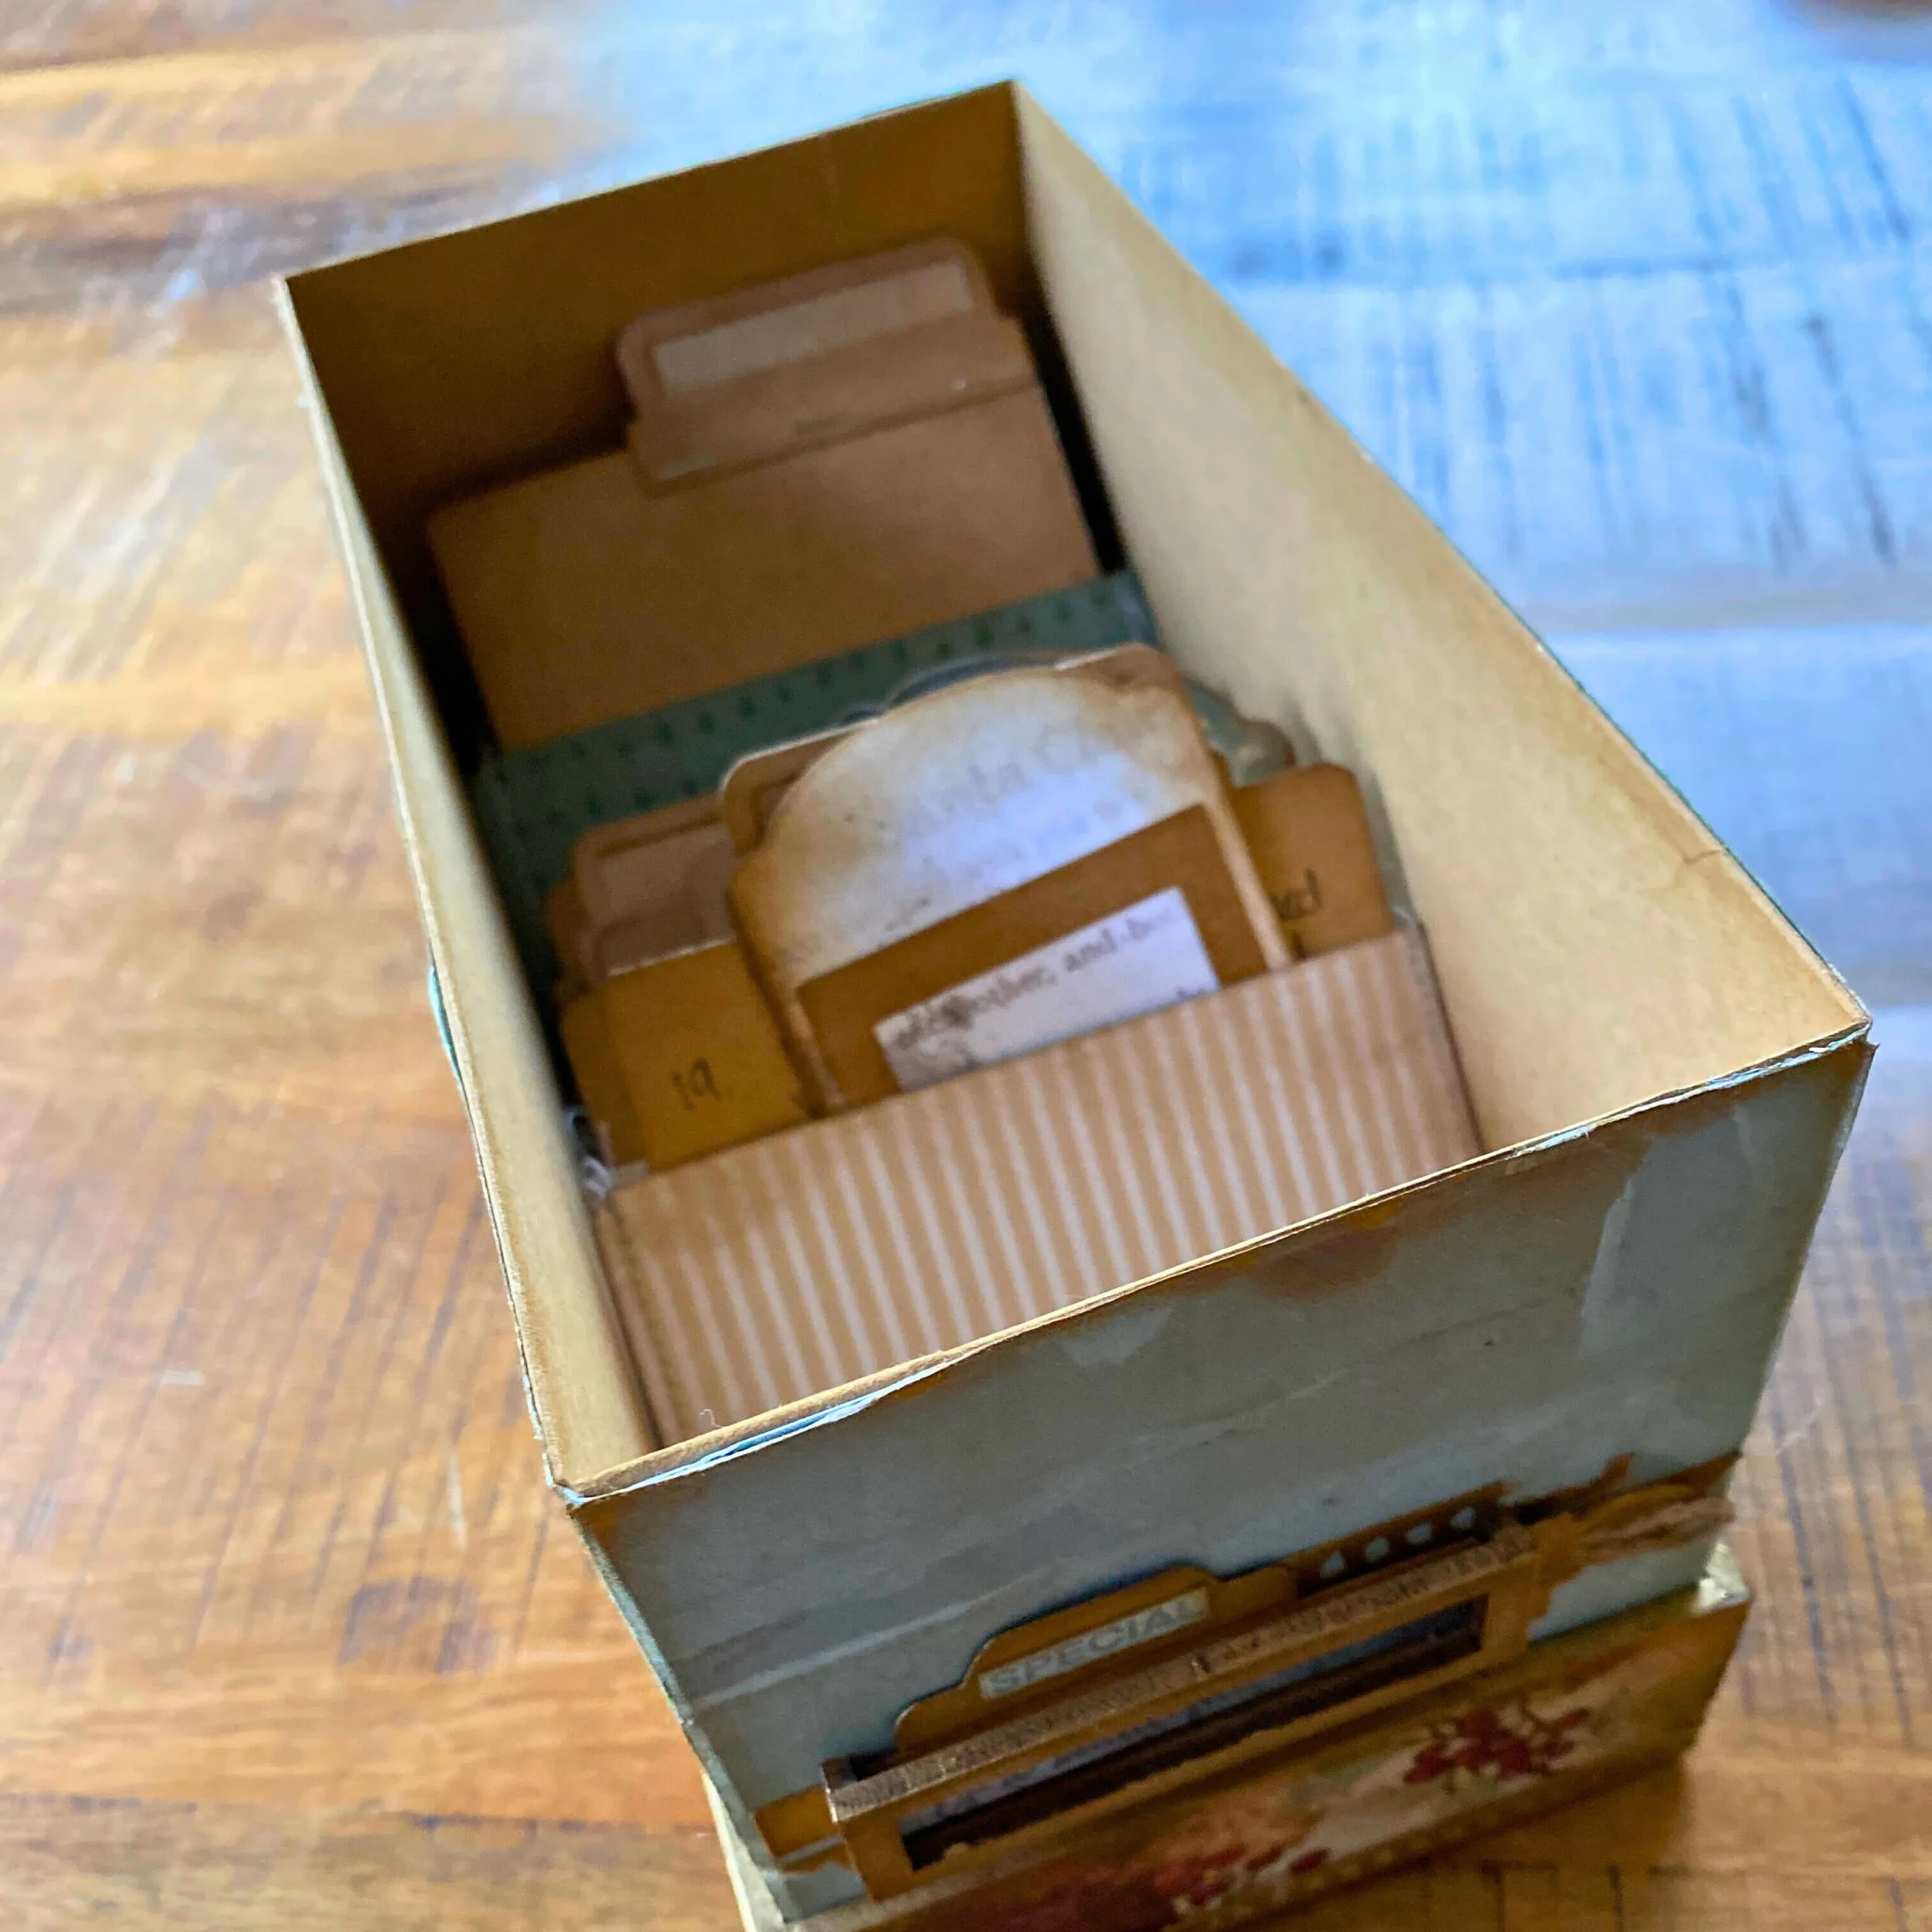
Hello and welcome. I am so excited to start the 2025 crafting year with you, to share and inspire with this tutorial on making a lid for your planner card box. This will enable you to stack the boxes to fit more on your shelves and eliminate the dust factor. Once you understand the concept, you can alter the height, enabling you to make taller cards for the box. The walls are made so you can remove them to add the cards with ease and to be able to flip through the card box without damaging your artwork.


Step 1: Take one of the Planner Card Boxes and follow the instructions in the QR code on the packaging. Use 120g kraft paper to line the inside box and Book 8 paper to cover the outside. Attach the card slider rods into place.
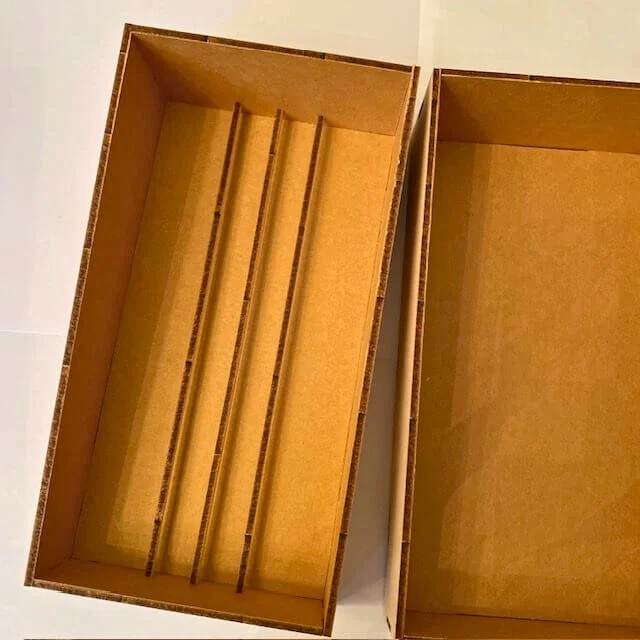
Step 2: Taking a second Planner Card Box, put aside the slider rods. These will not be needed, but follow the rest of the instructions to build the box and cover it the same as the first box.
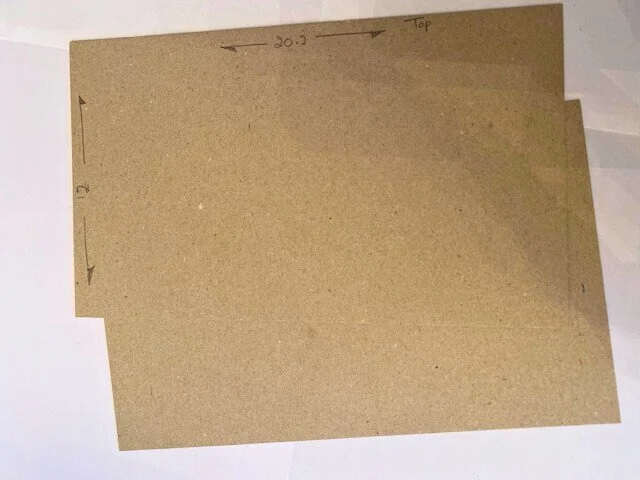
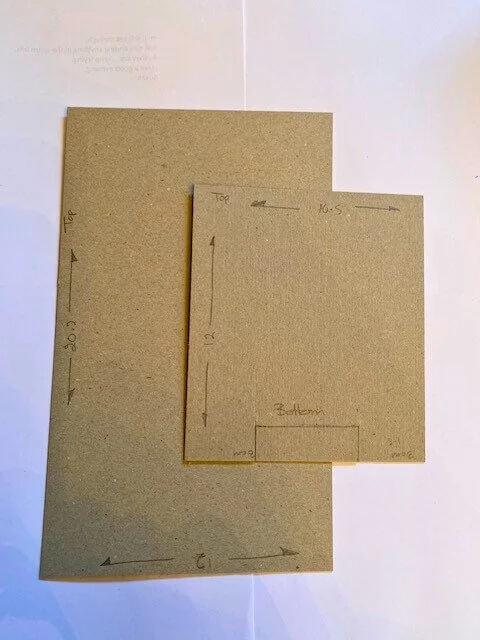
Step 3: Now to make the box walls, take greyboard, and cut two pieces measuring 20,2cm x 12cm. Then cut two pieces at 10.5cm x 12cm. The wall is made in pieces to make it easier to get it to fit snugly and not too tight into the box. Later this will be joined together to make it in one piece.
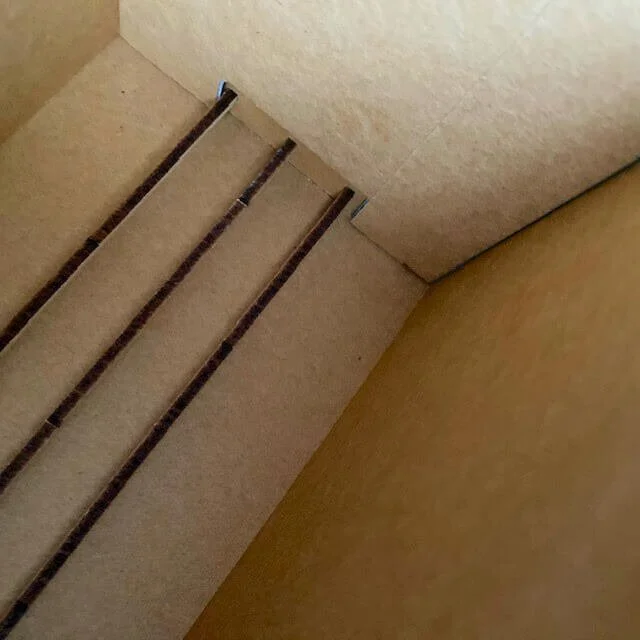
Step 4: To make room for the slider rods, cut an opening where the rods would be. Do this by measuring and marking with a pencil approximately 2.5cm -3cm (depending on how tight you want the fit) from the edge on both ends of the front and back sides. Measure 2-3cm high (depending how tight you want the fit). Cut this away to form a sort U shape opening.

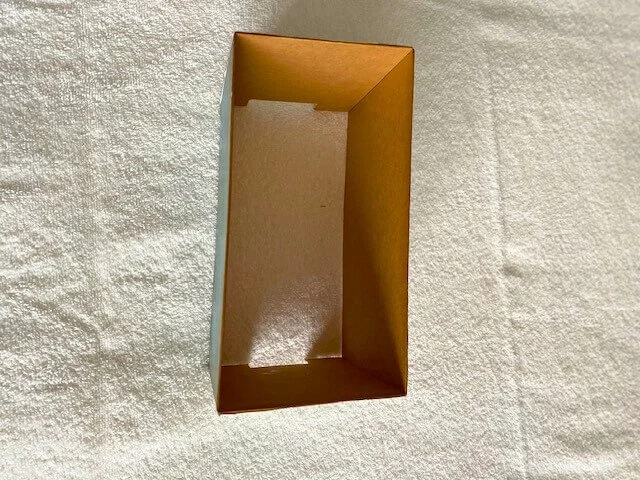
Step 5: Cover with kraft paper to join together and strengthen, do this for all wall pieces. Control how these pieces fit into the box base, it needs to be snug so it doesn’t affect the cards, but you can easily take it in and out, trim to fit if needed.
Step 6: If you want to stamp to decorate the inside of the box wall, now is the time to do this. (I chose not to do this as I did not want the attention to be taken away from the cards). With thinner paper from Book 8, cover the wall pieces on the outside, joining them all together so the wall becomes one piece.
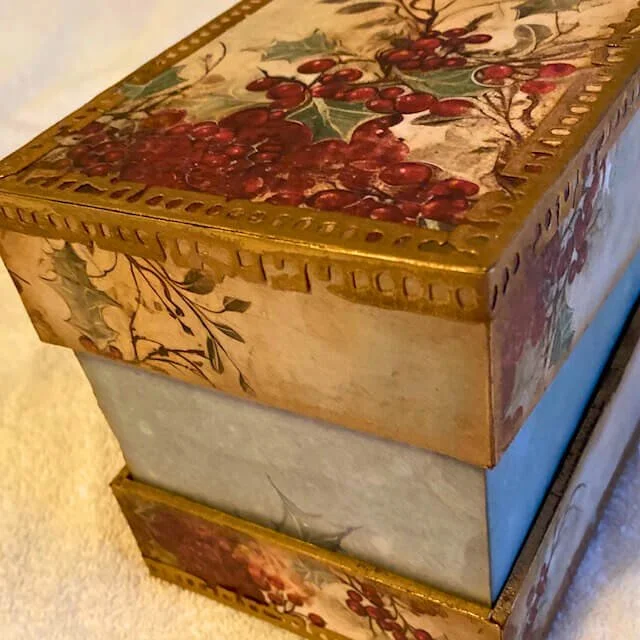
Step 7: Taking the film border die and the kraft cardstock, cut at least 14 border pieces. Ink with brown ink and apply gilding wax before adhering to the lid's edges and the boxes' sides. Apply the gilding wax to the edges where wanted. Top Tip! Apply the gilding wax in layers as it is so easy to apply too much. Wipe away any excess wax and polish with the T-shirt rag.
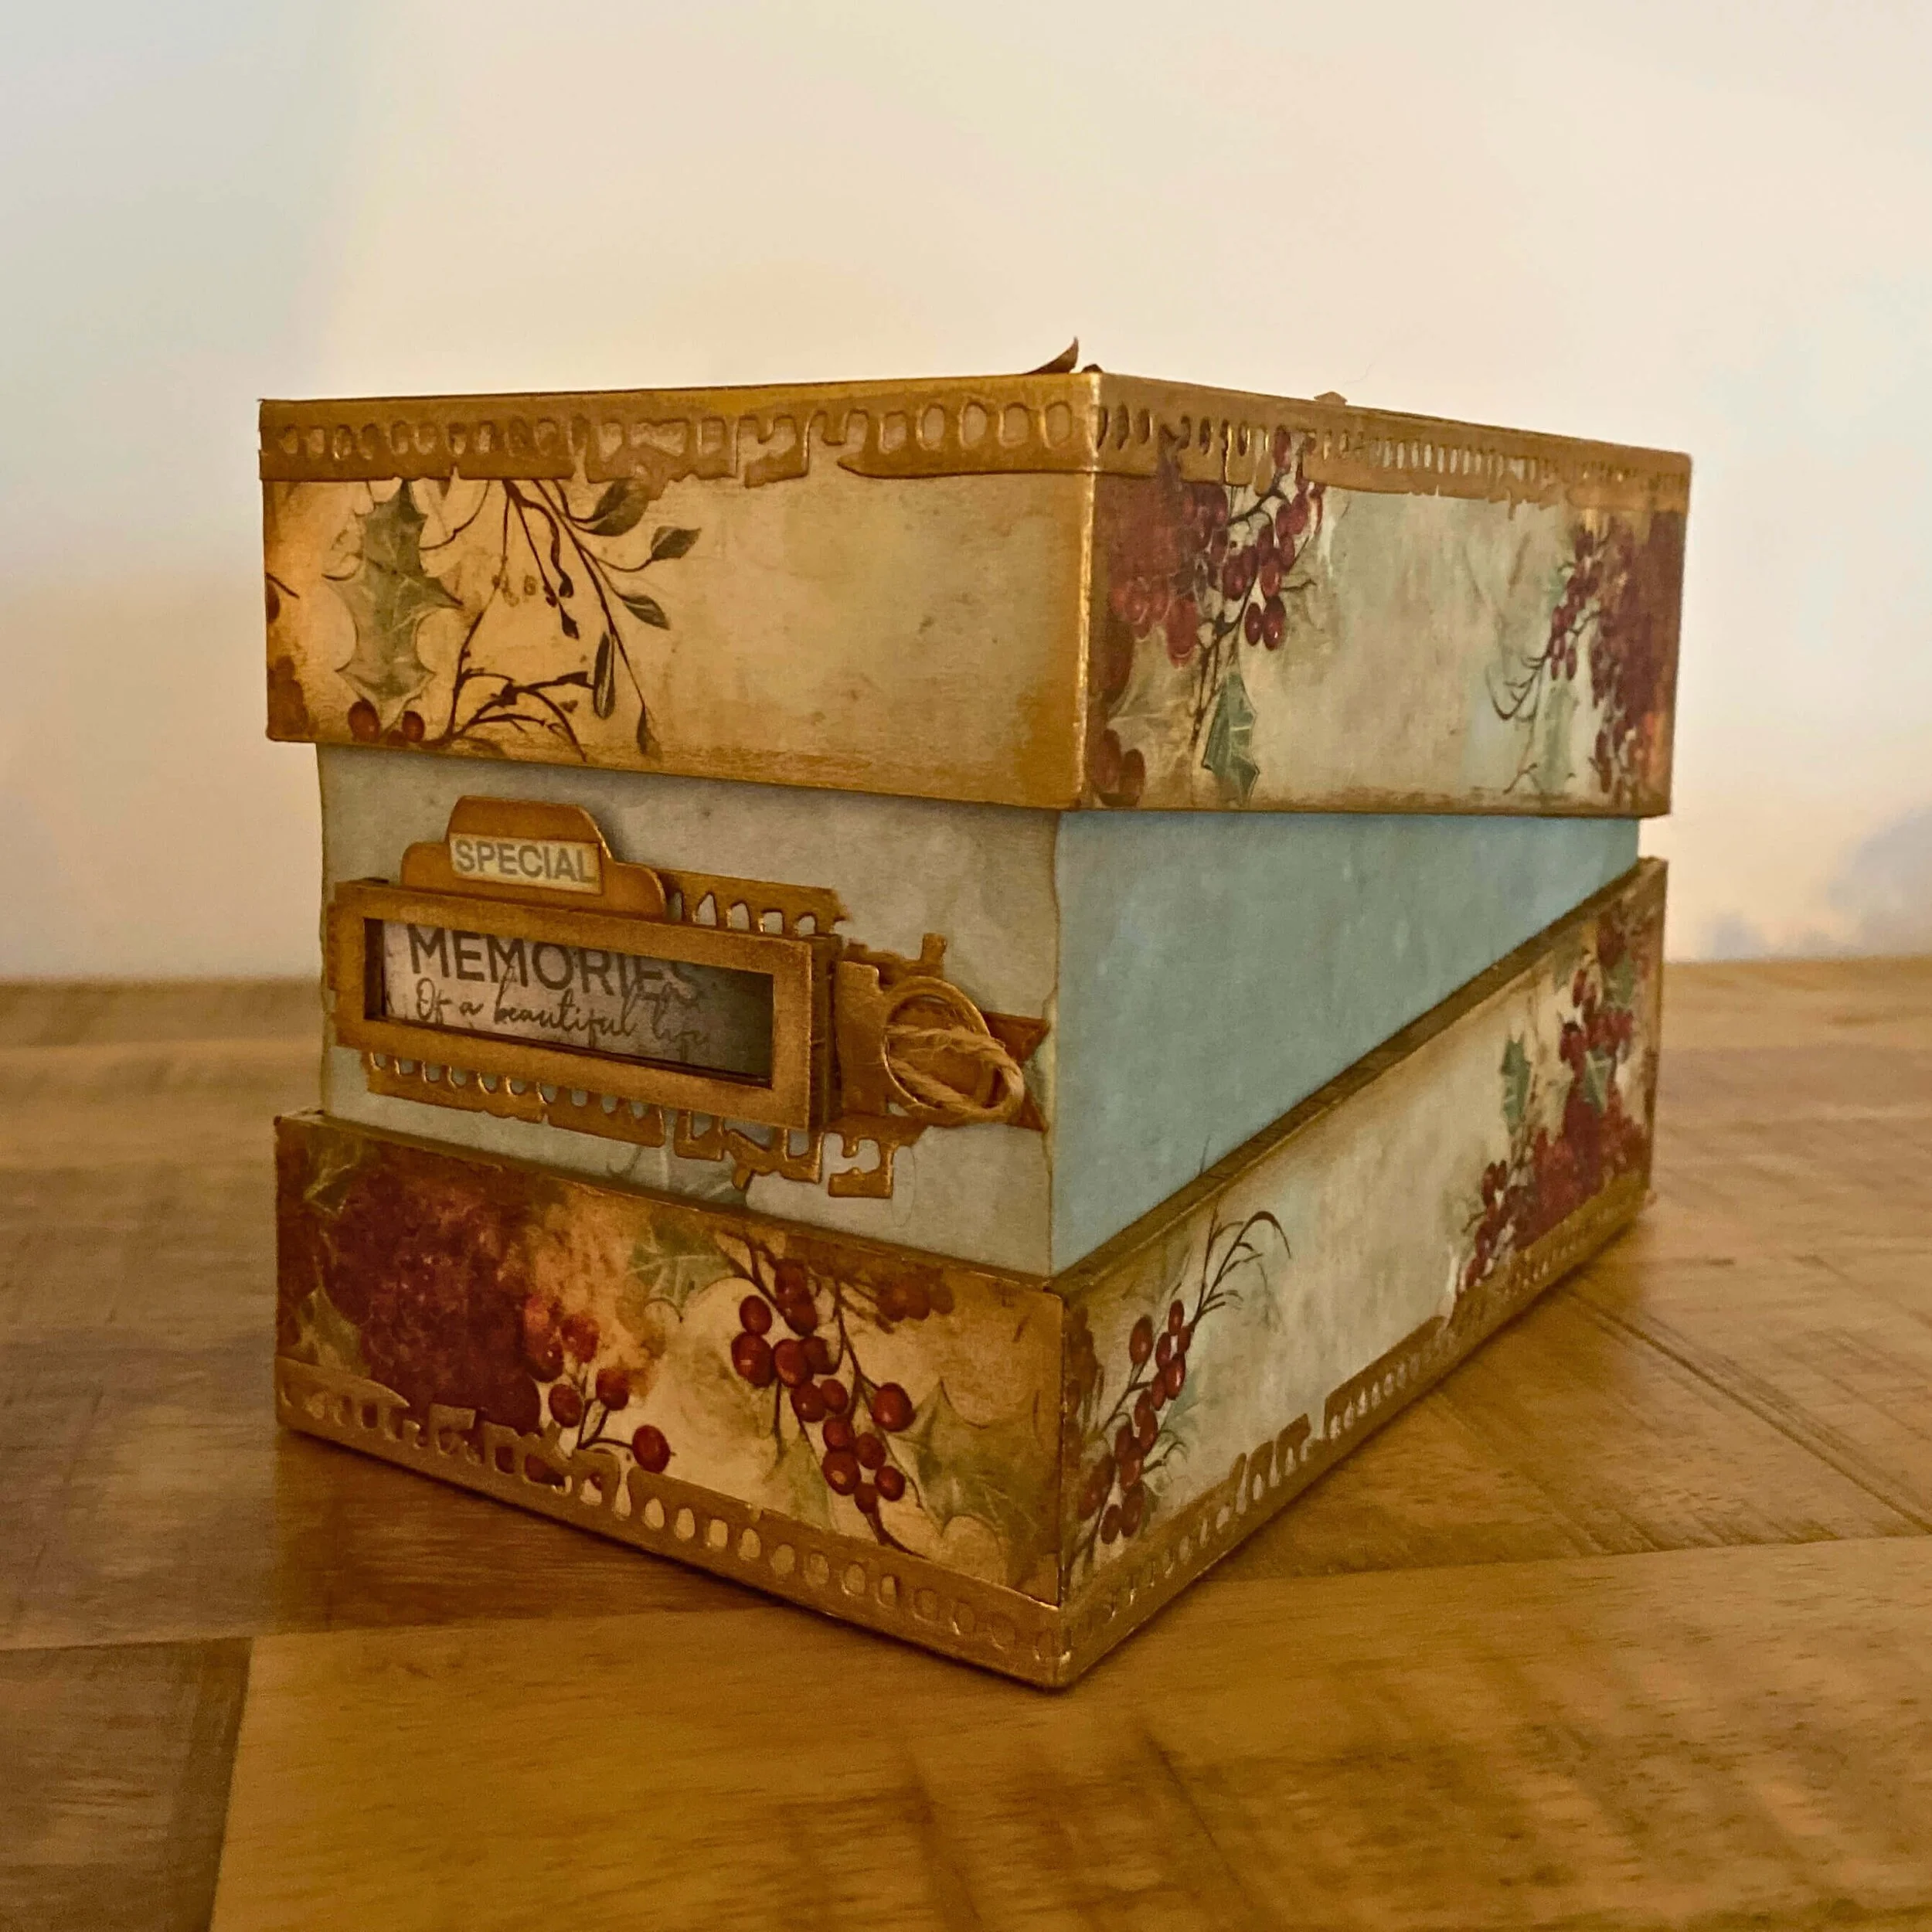
Step 8: Place the wall into the box base, then place the second Planner Box on top to create the lid. Now you can see where to put the name plate.


Step 9: Make the name plate and apply the gilding wax to it. Cut and ink the edges of the tag, tab and film edge border with a brown ink. Use the stamp to make the name tab. Also, apply a little gilding wax to these pieces. Cluster and adhere to the wall as seen in the photo.


This Planner Card Box is now ready to fill with all the wonderful cards you have or will be making.
Enjoy and above all, have fun!
Make sure you share your projects with us in our Facebook Group HERE. We love to see what you create!
Never miss a tutorial and sign up for our emails today HERE.
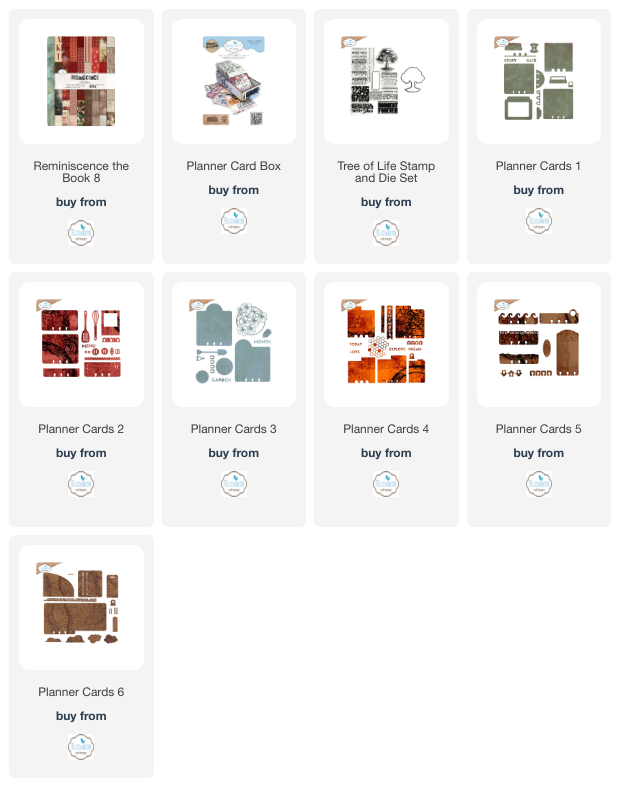
Elizabeth Craft Designs Products Used:
Other products used - Adhesive, Hot glue gun, Gilding wax-gold, Grey board 1mm thick, Kraft paper 120g, Kraft cardstock 250g, Scissors, Paper trimmer, Ruler, Pencil, Double sided tape, Brown ink and inking tool, String, Old T-shirt as rag.