How to Create a Shaker Specimen Card
Looking for fun embellishments to transform your projects? In this special collaboration tutorial, you'll learn how to make a specimen card with a shaker element that's full of texture and dimension using Elizabeth Craft Designs rub-ons and die sets alongside premium WOW! Embossing Powders. Grab your heat tool, craft mat, and favorite mixed media supplies to follow the complete step-by-step guide and product list below!
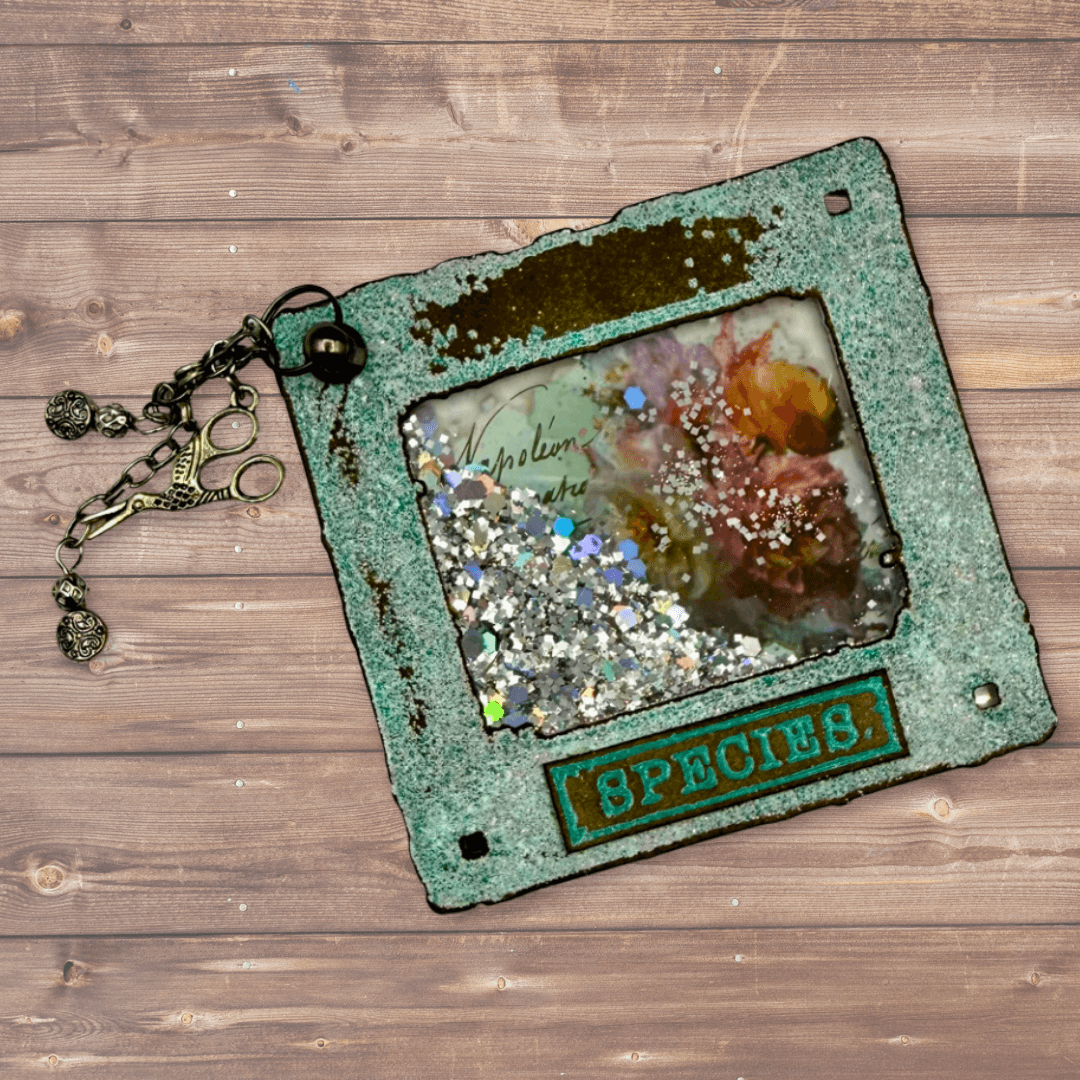
Hello everyone, Heather here with a fun tutorial using the WOW products with the Beautifully Worn Art Journal collection
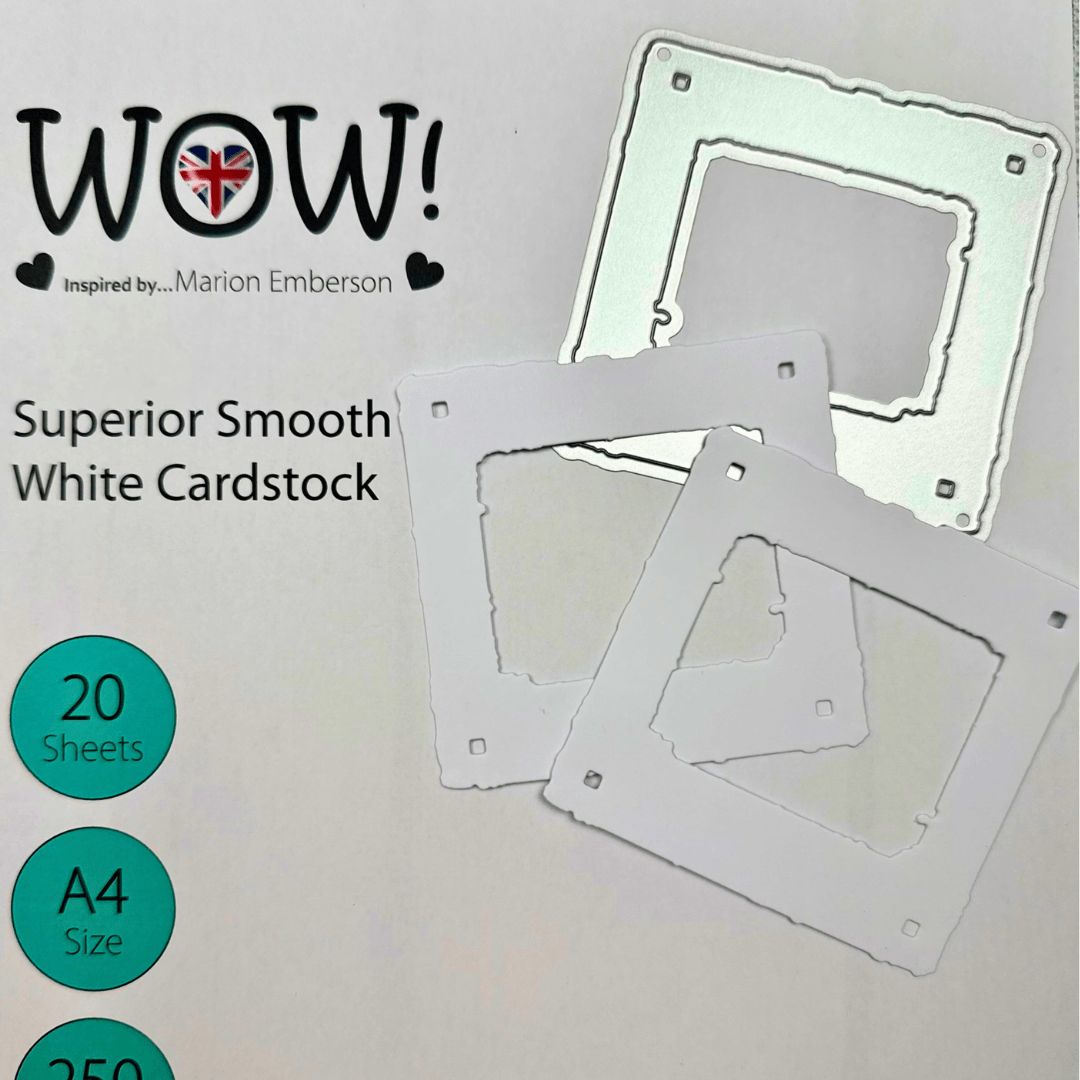
Step 1: Start by cutting 2 specimen frames out of the WOW Superior Smooth cardstock using the die from CDS456, Where the Wings Wander.
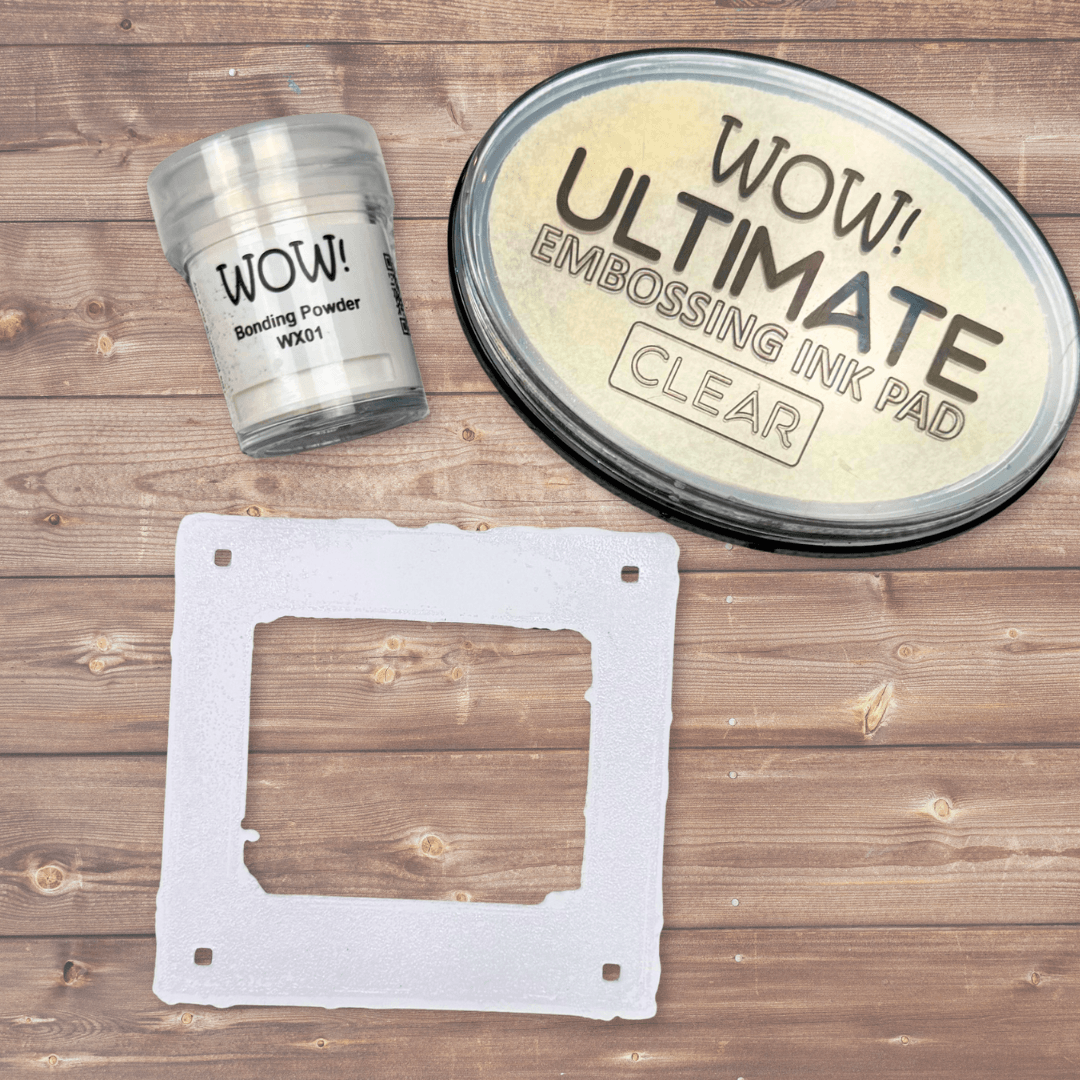
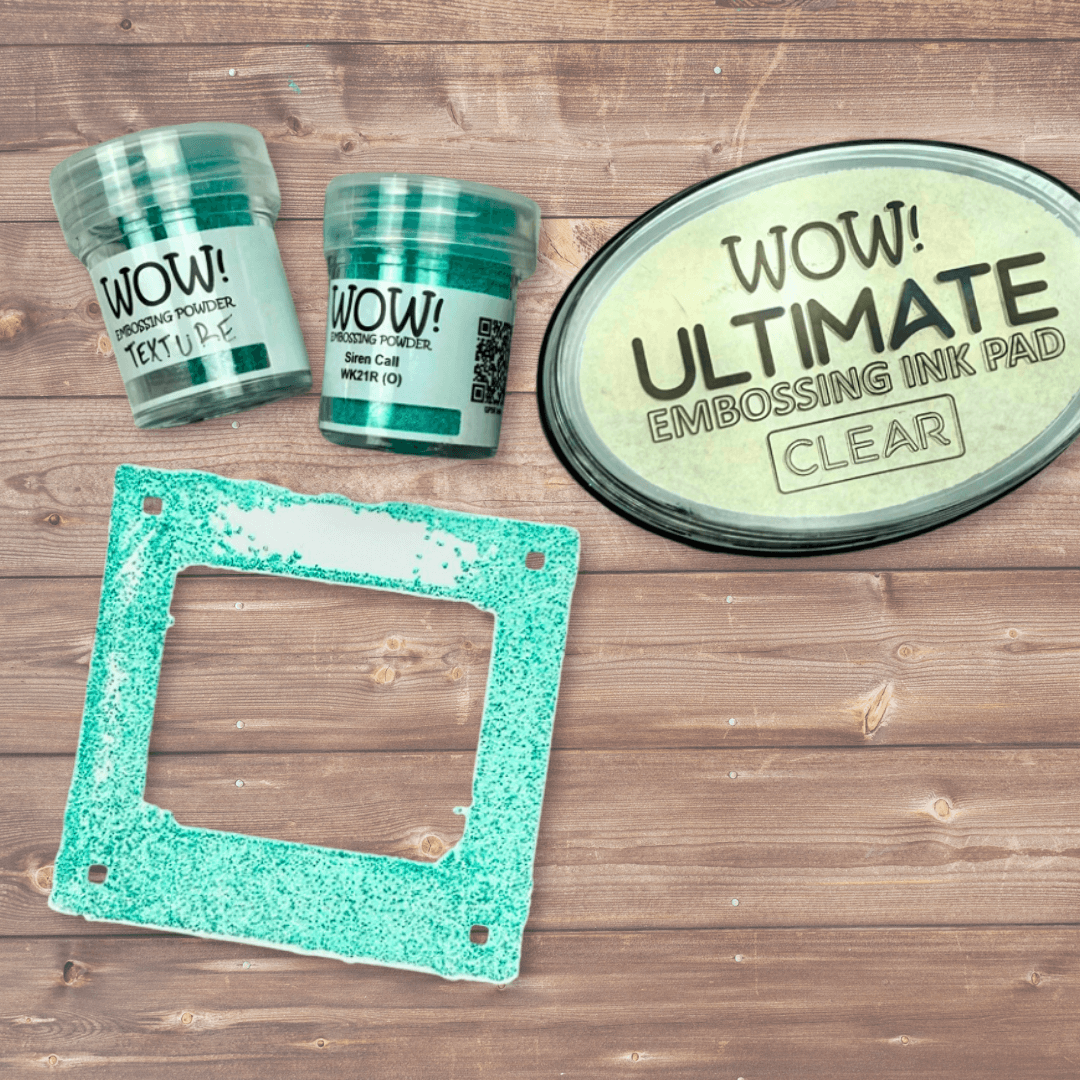
Step 2: Stamp the coordinating specimen frame stamp using the WOW Ultimate embossing ink pad. It is super juicy so don’t press too hard! Then cover with WOW Bonding Powder and melt with a heat tool
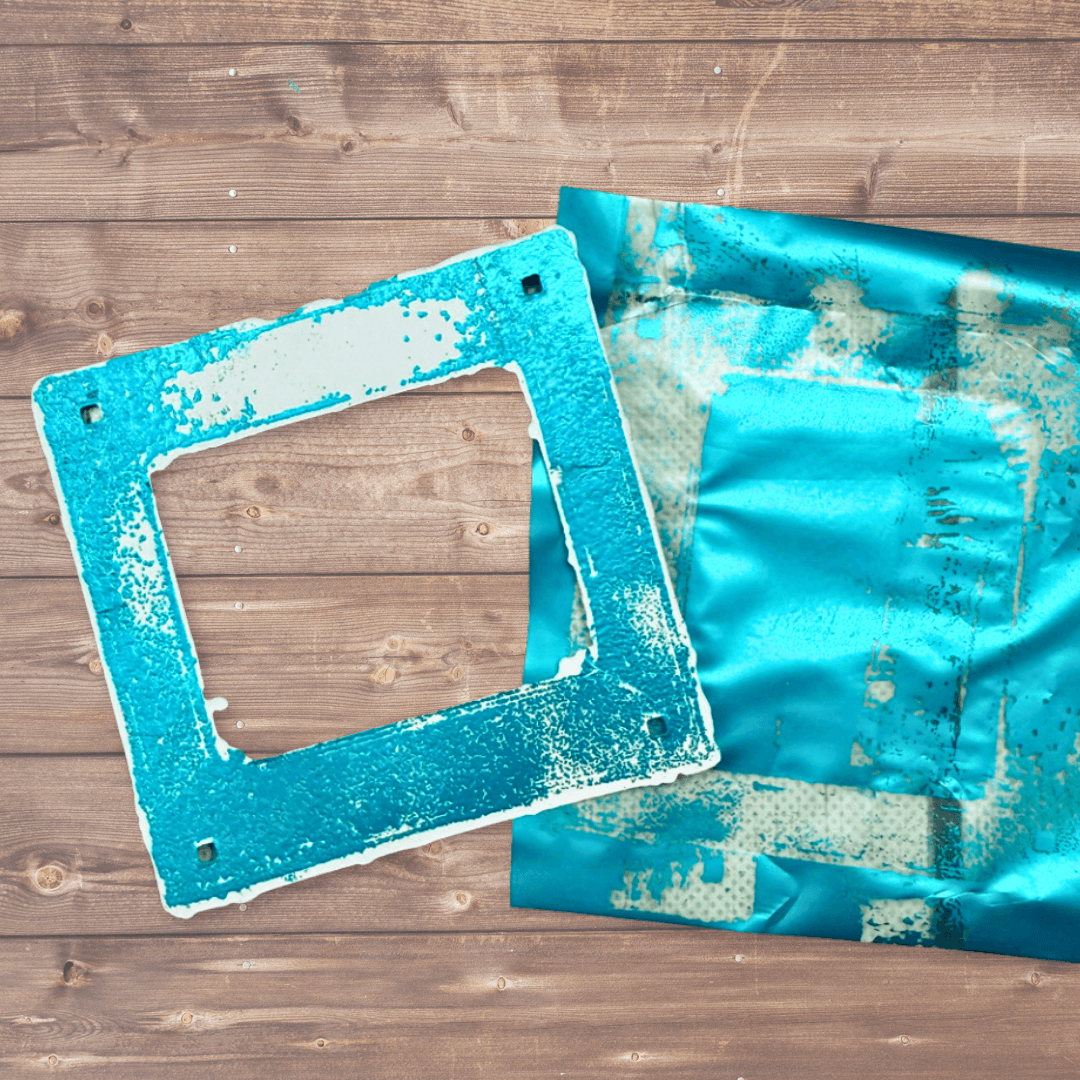
Step 3: Three: Cut a piece of WOW Aqua Satin Fab Foil big enough to cover the frame. Press and rub the foil (color side up) until it sticks. You may need to place it down multiple times, and you can reheat the Bonding Powder to make it sticky again.
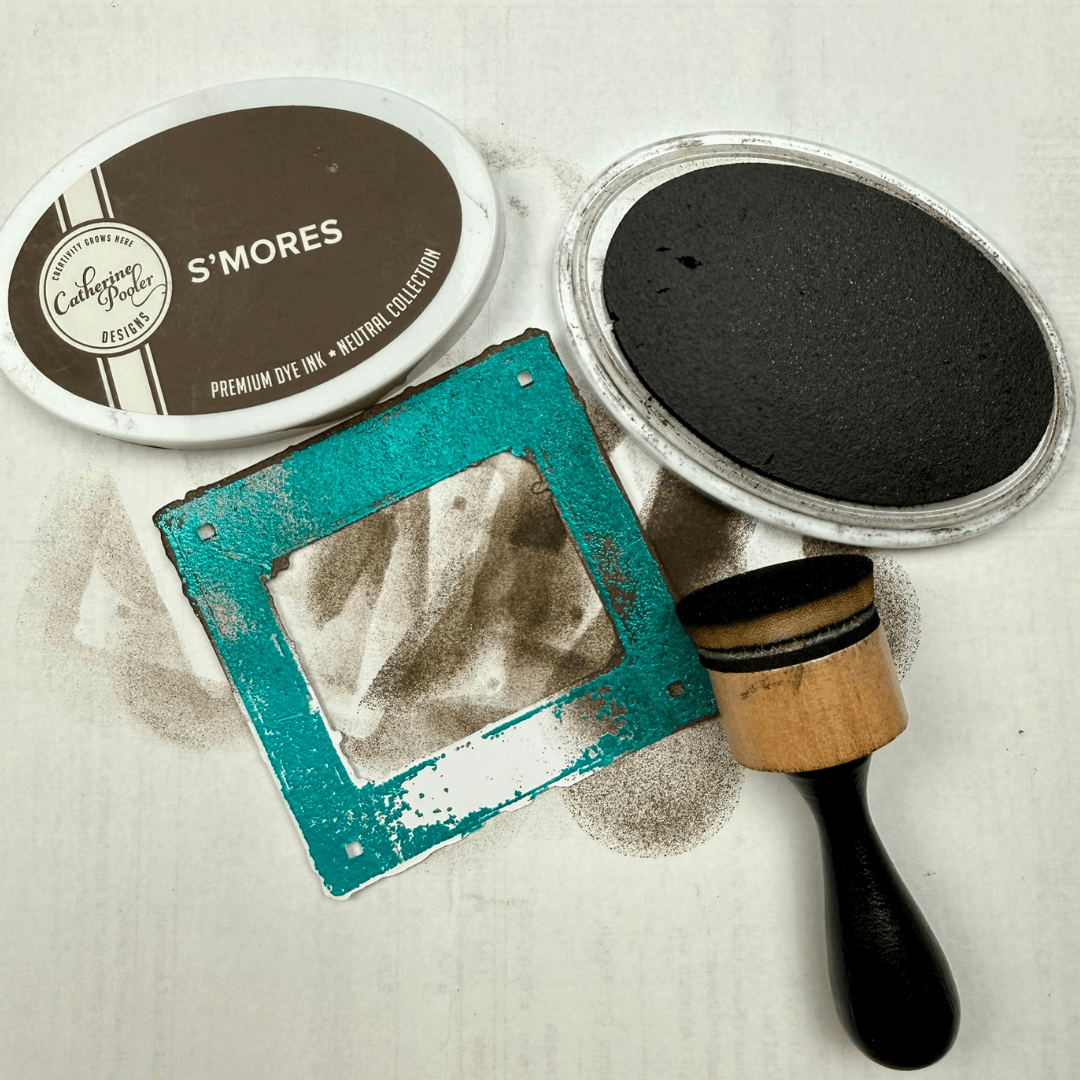
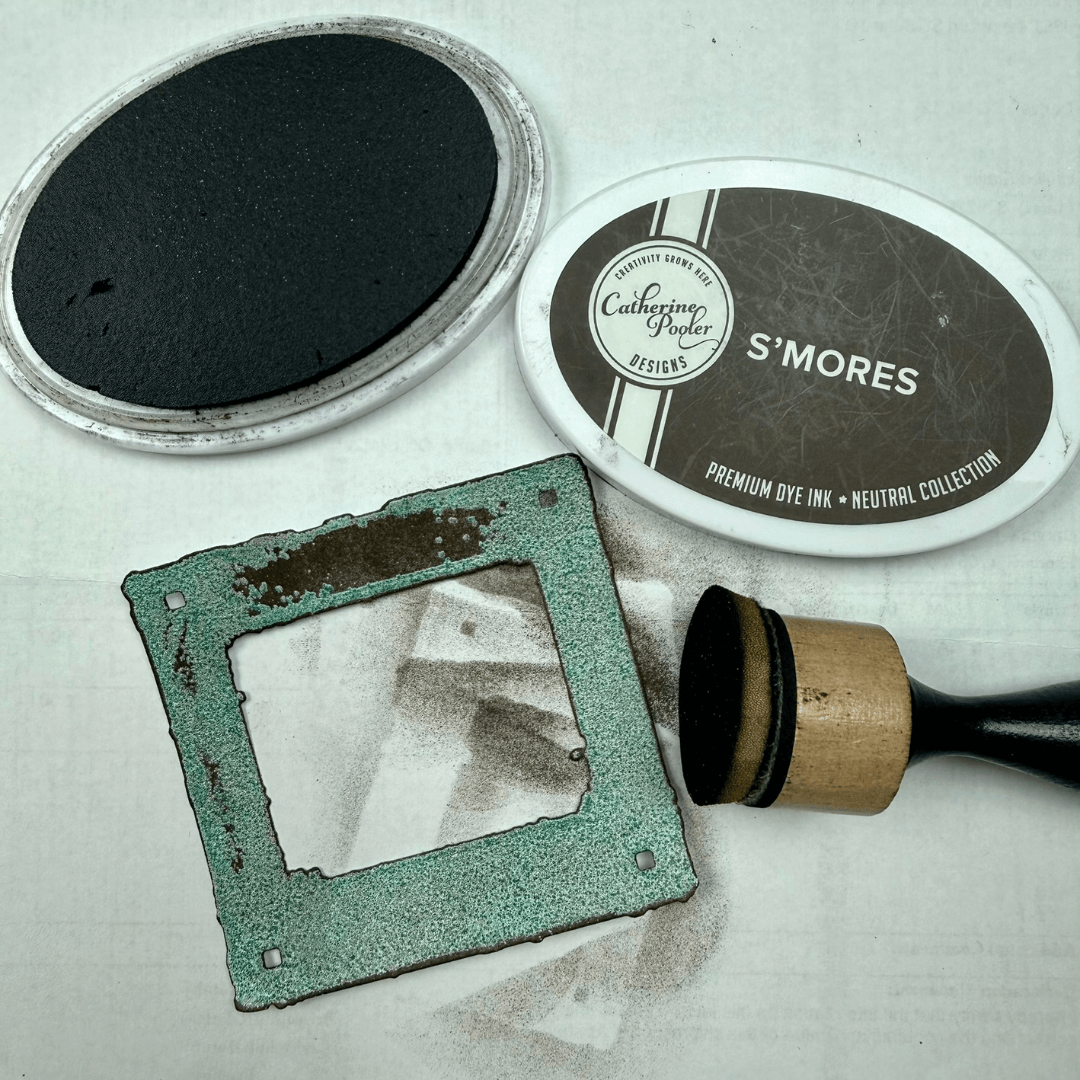
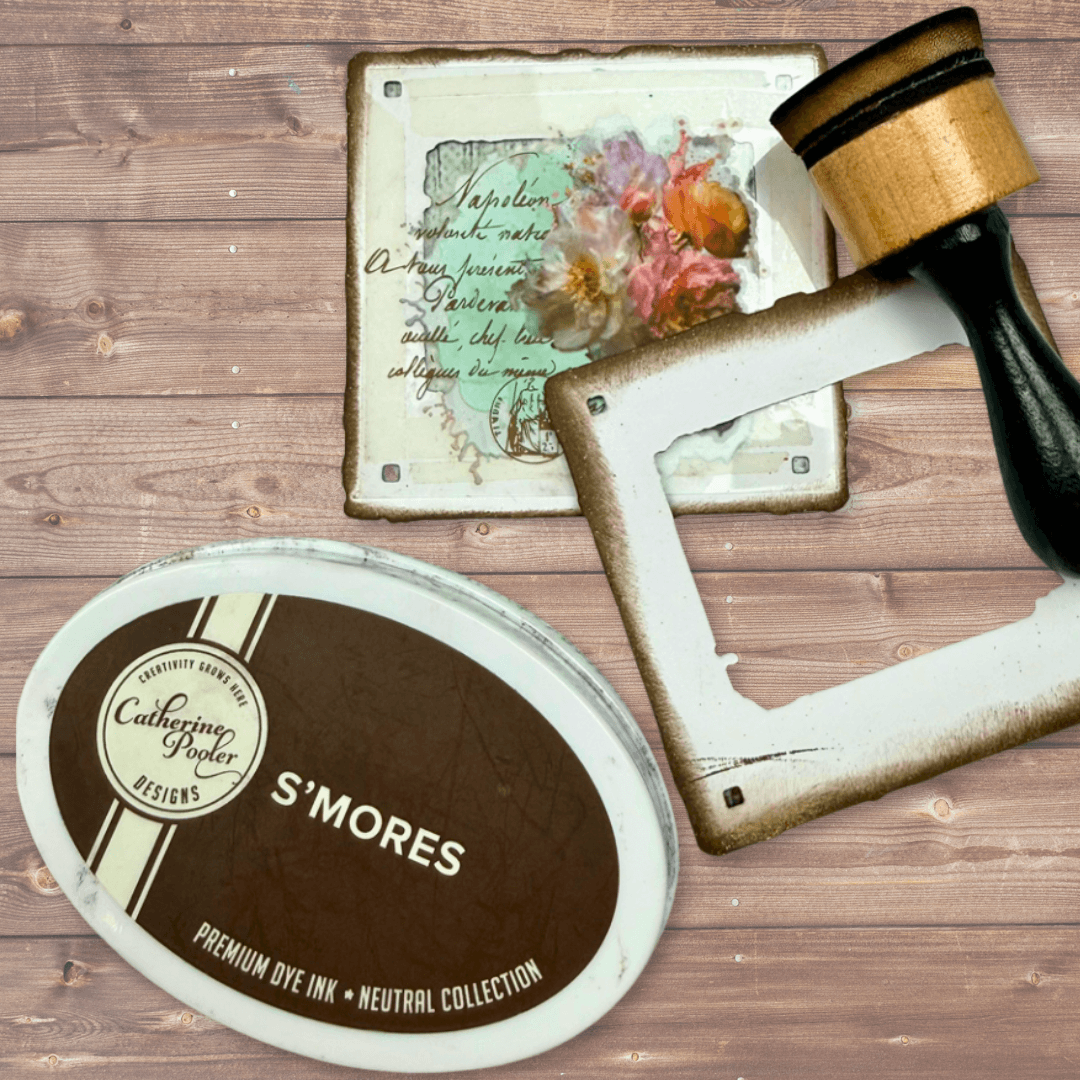
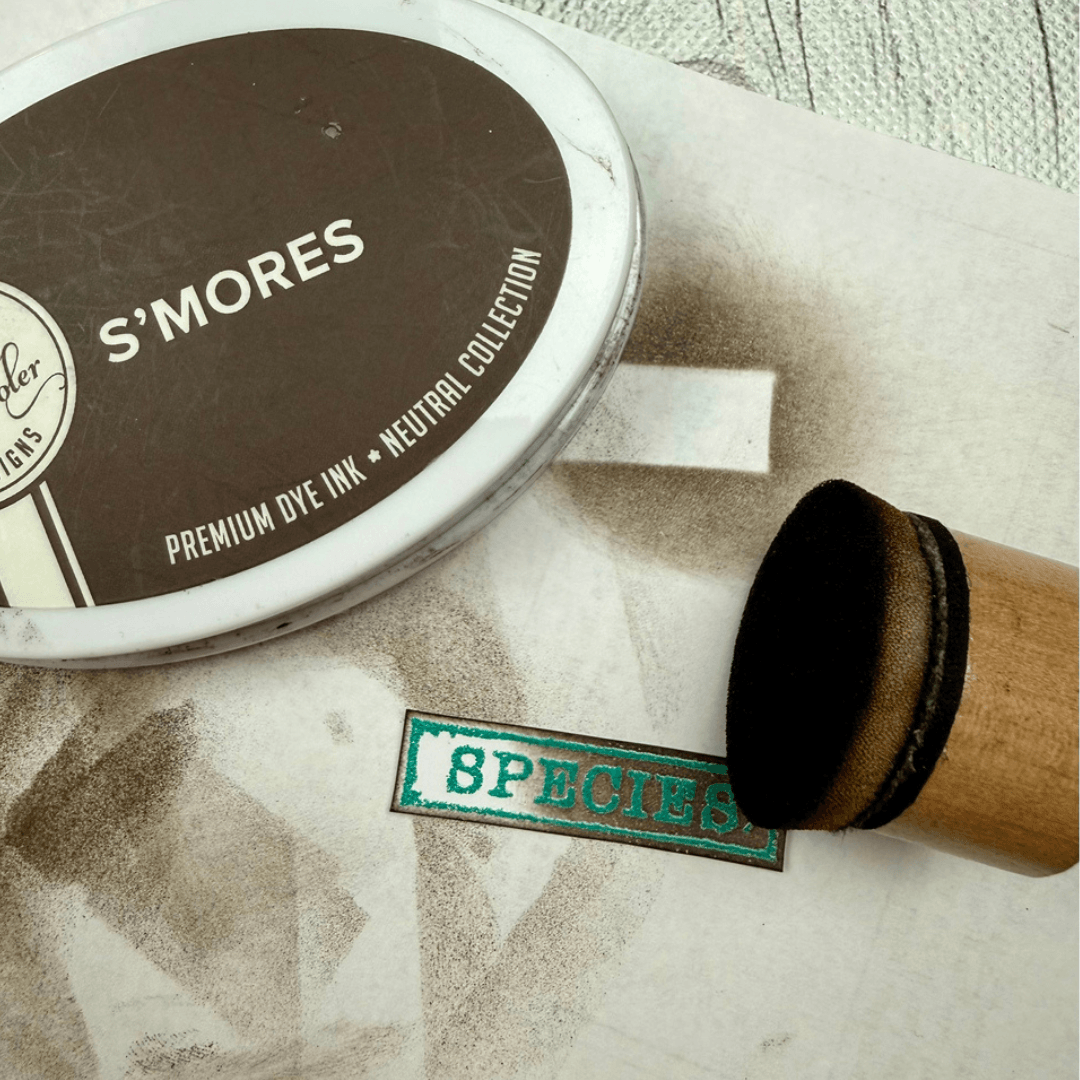
Step 4: Using an ink distress tool, cover the entire frame (including the areas you just foiled) with dark brown ink. I used Catherine Pooler’s S’mores.
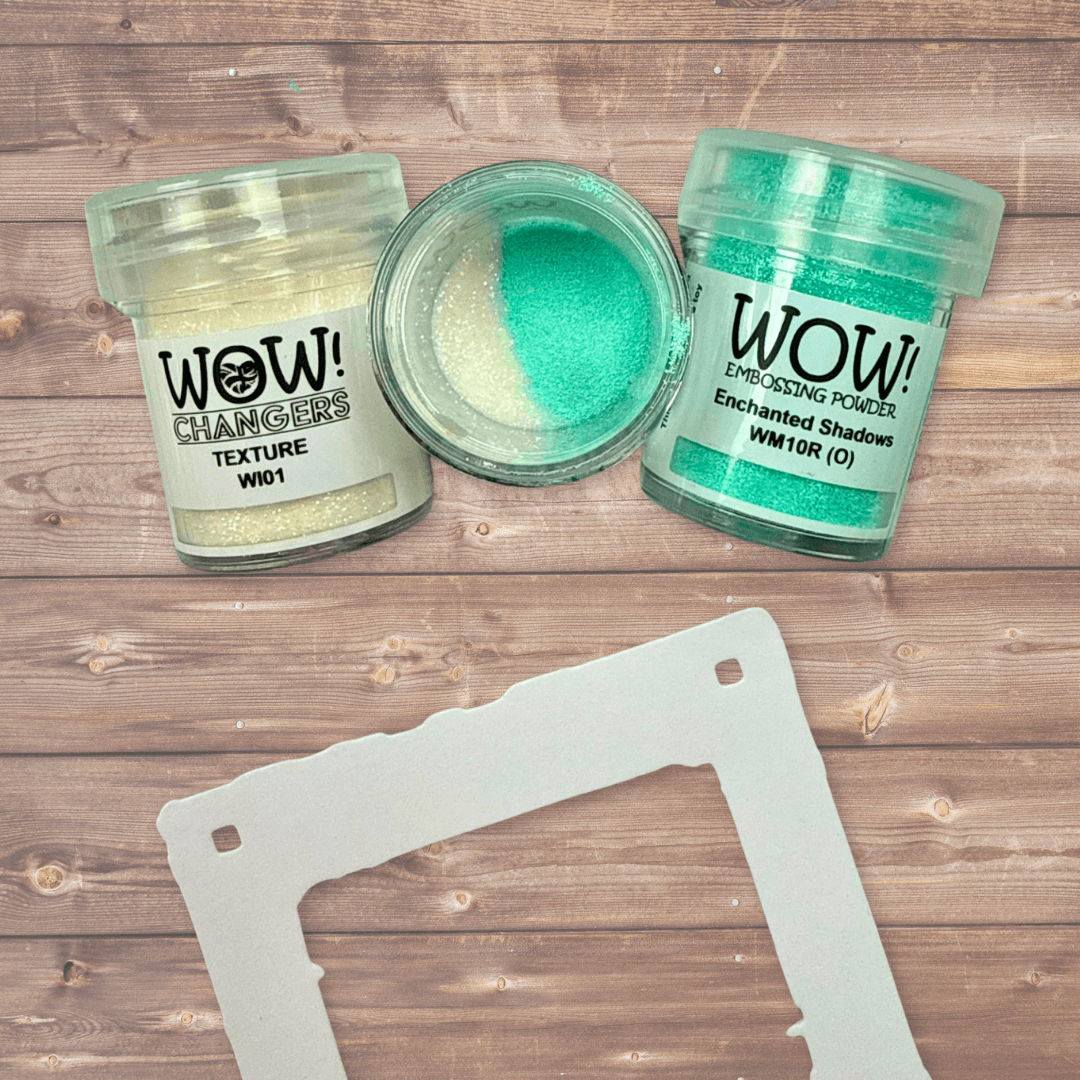
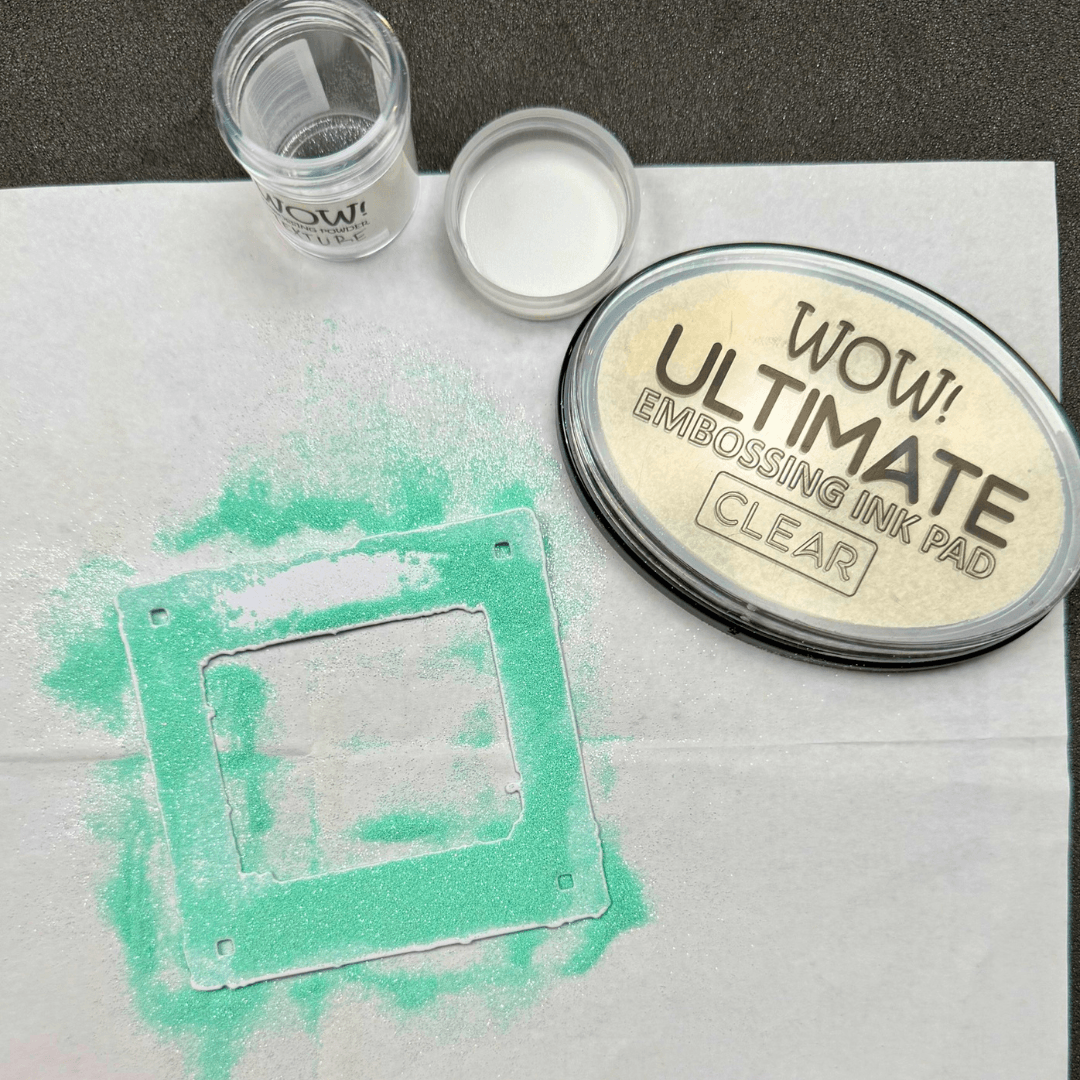
Step 5: On the second frame stamp the coordinating specimen frame stamp using the WOW Ultimate embossing ink pad. Mix 2/3 WOW Enchanted Shadows with 1/3 WOW Changers, Texture, in an empty jar and shake to mix. Cover the stamped image and melt with a heat tool. Ink the entire frame with dark brown ink.
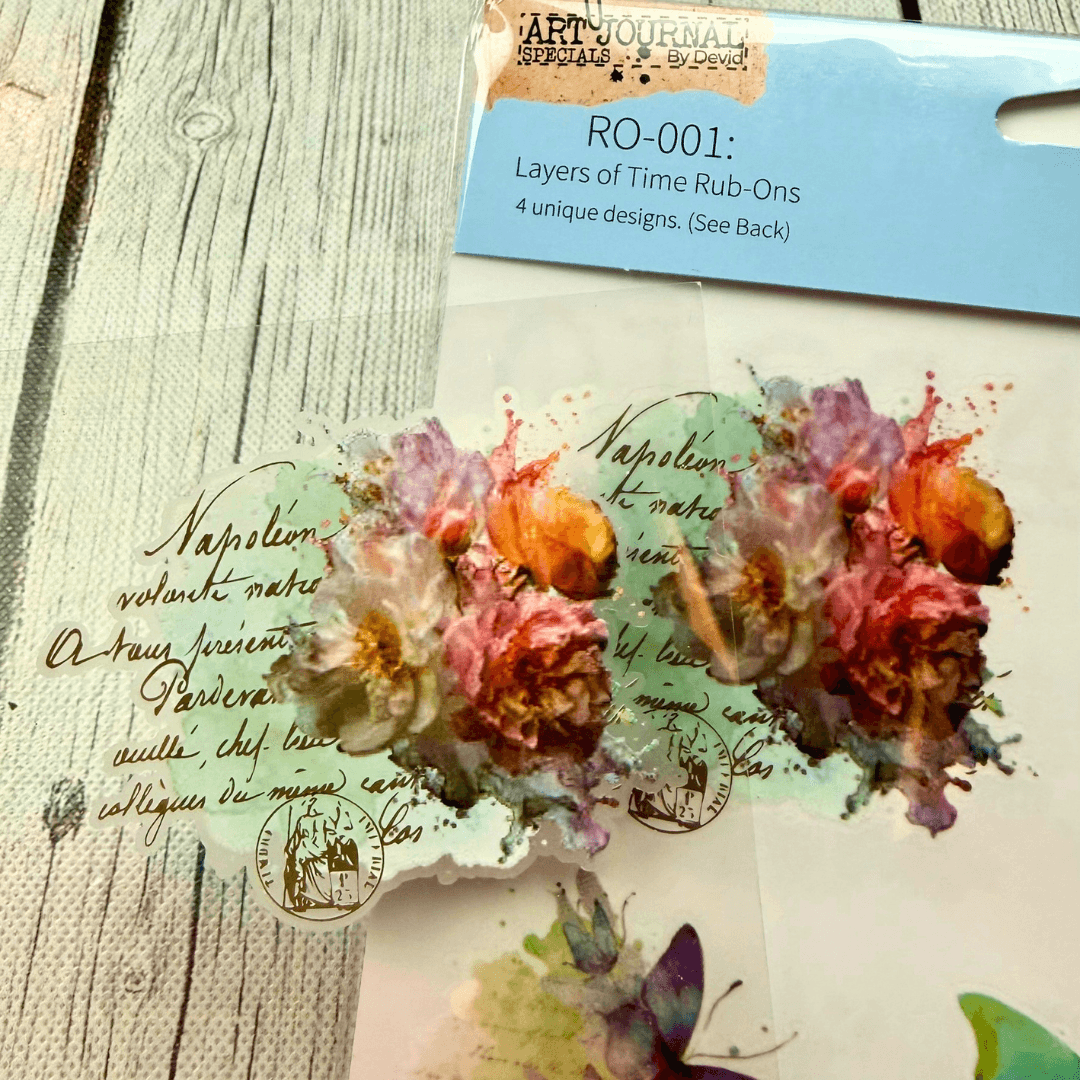
Step 6: Add an image from the Layers of Time Rub-ons to a piece of acetate slightly smaller than the frame. Add a second rub-on to the opposite side of the acetate. Using double-sided adhesive, attach this acetate to the back of one of the prepared frames.
Optional extra step: Ink the backside of the frames with the brown ink (so they don’t stand out once assembled)
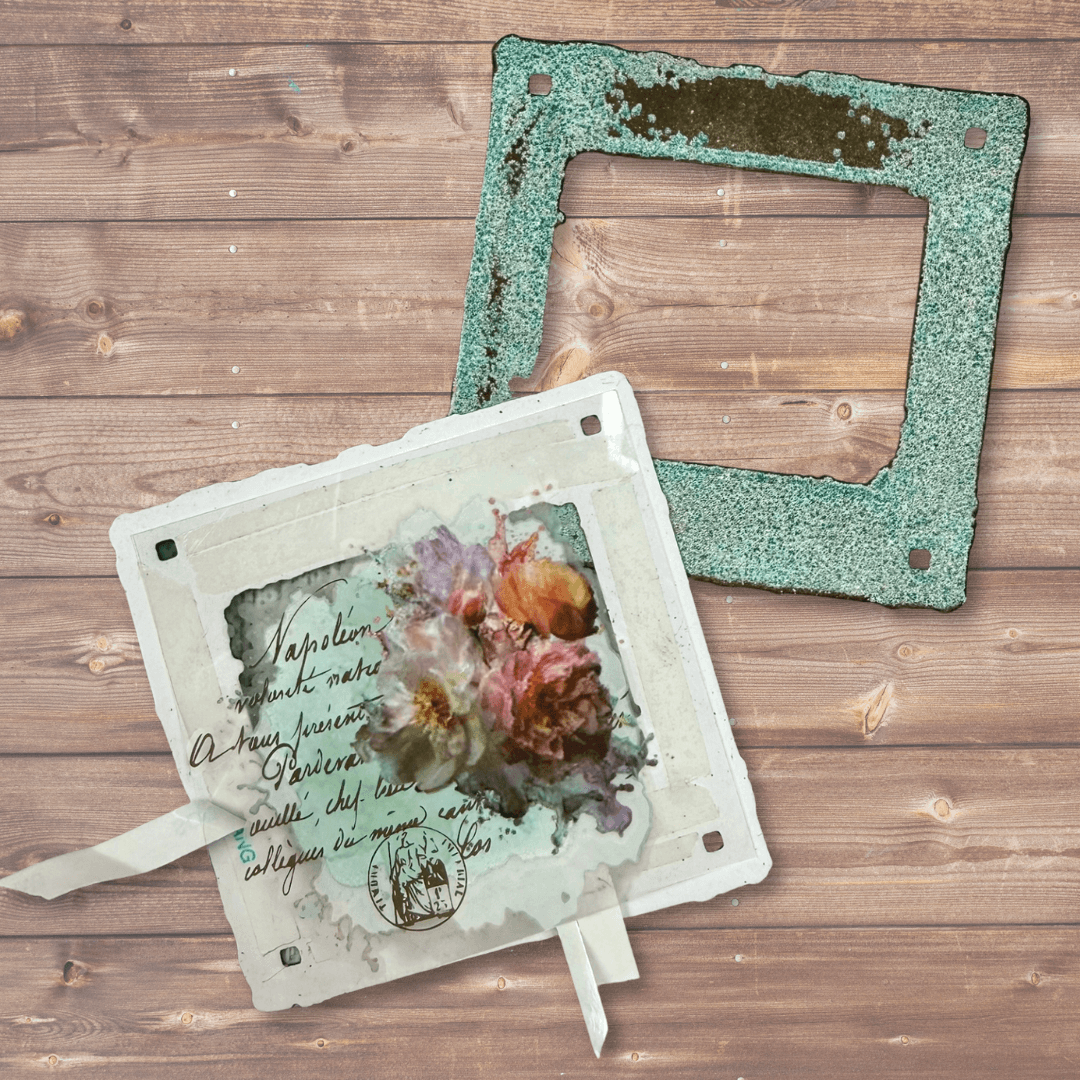
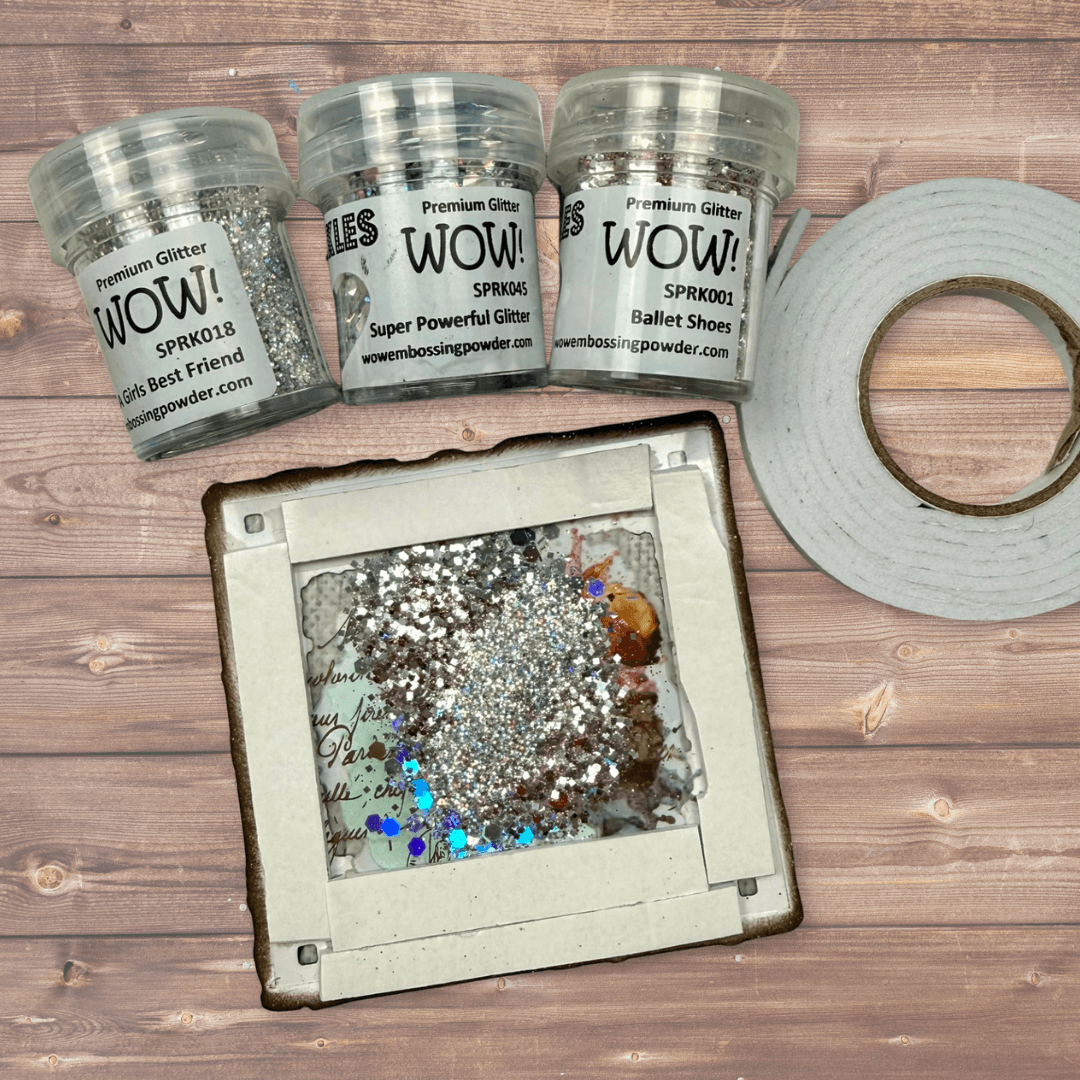
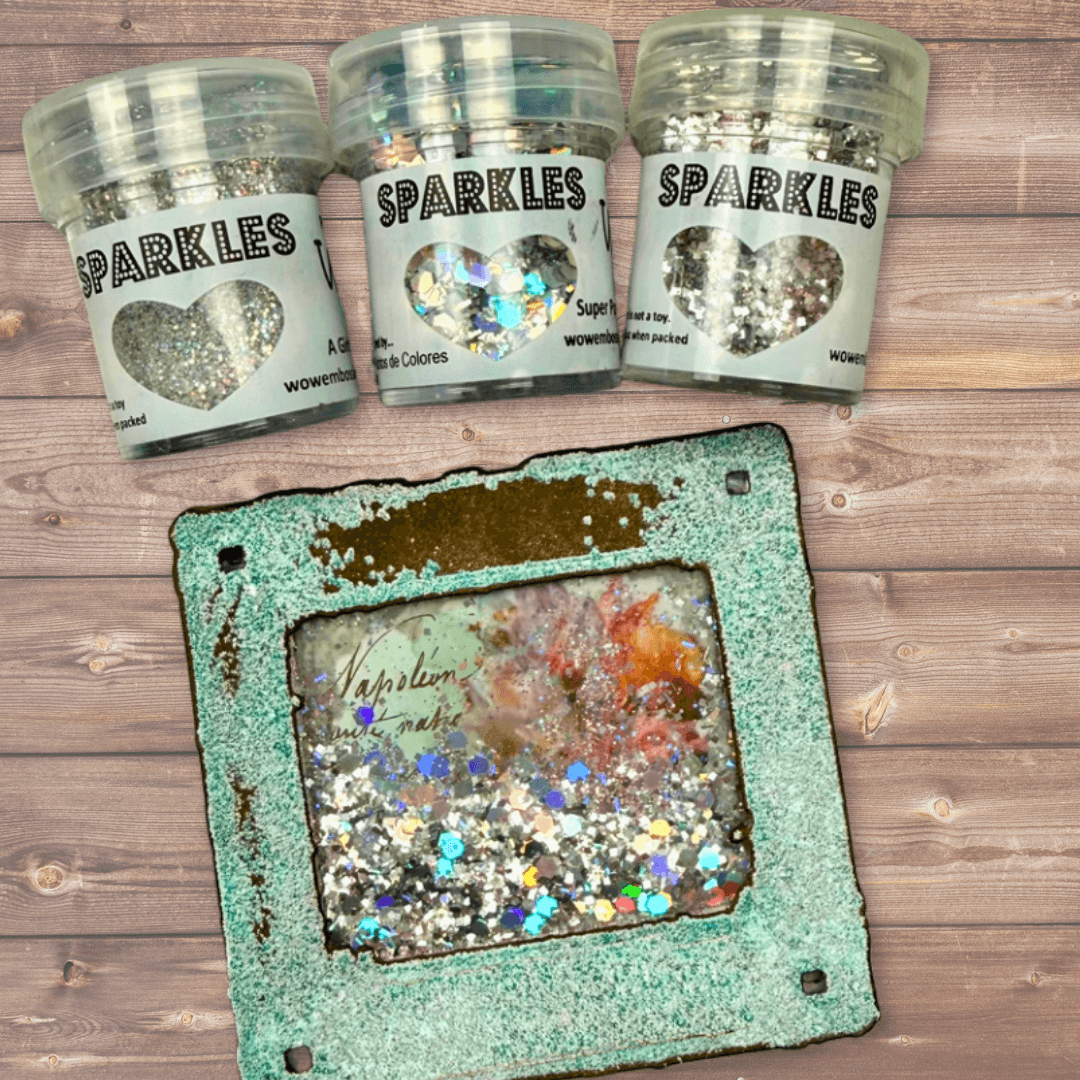
Step 7: Add foam tape around the outside edge of the frame with the acetate. Be sure not to leave any gaps, or your glitter will leak. Fill the inside with WOW Sparkles. I used A Girl’s Best Friend, Super Powerful Glitter & Ballet Shoes. Don’t use too much, or you won’t see your rub-on image! Remove the tape backer and attach the other frame on top.
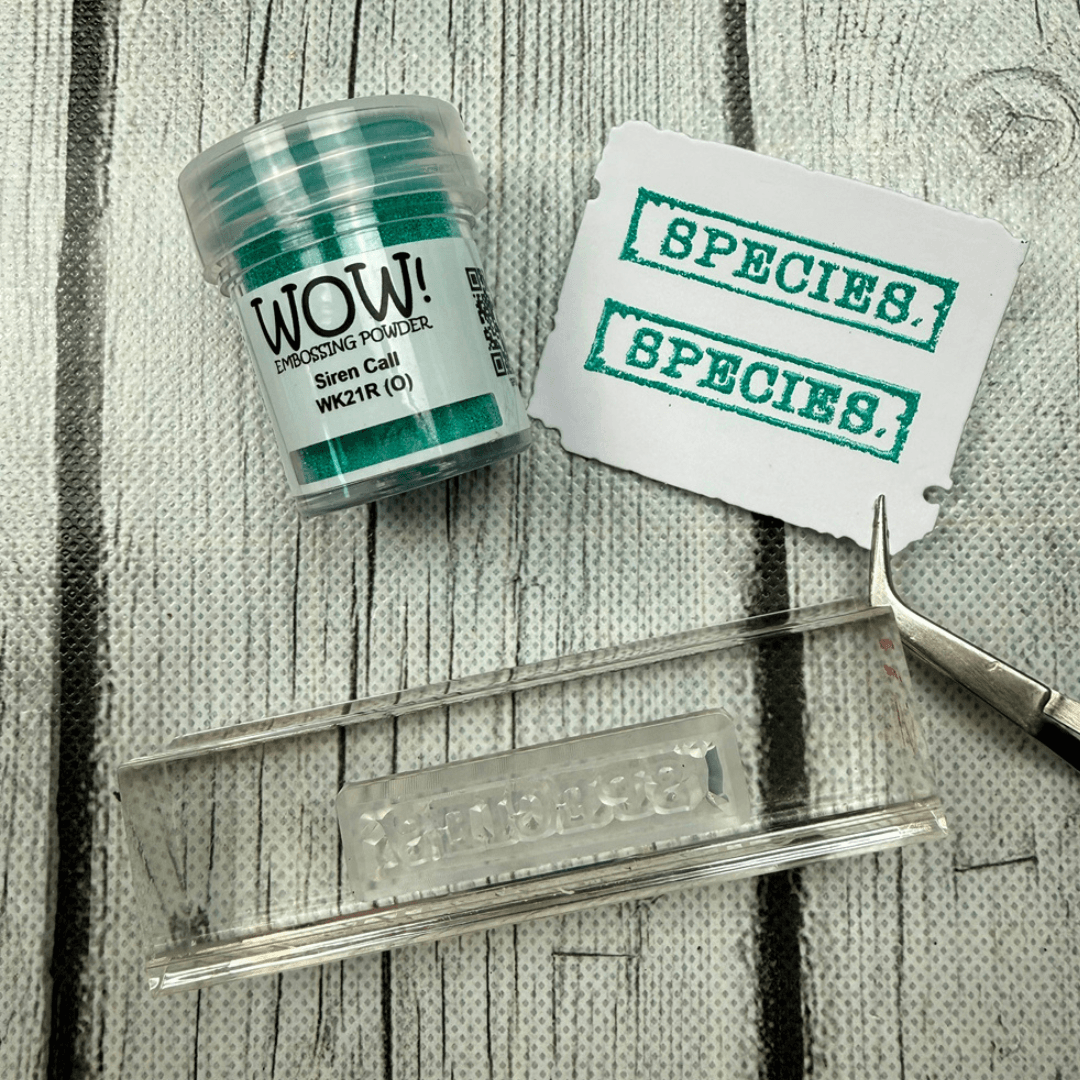
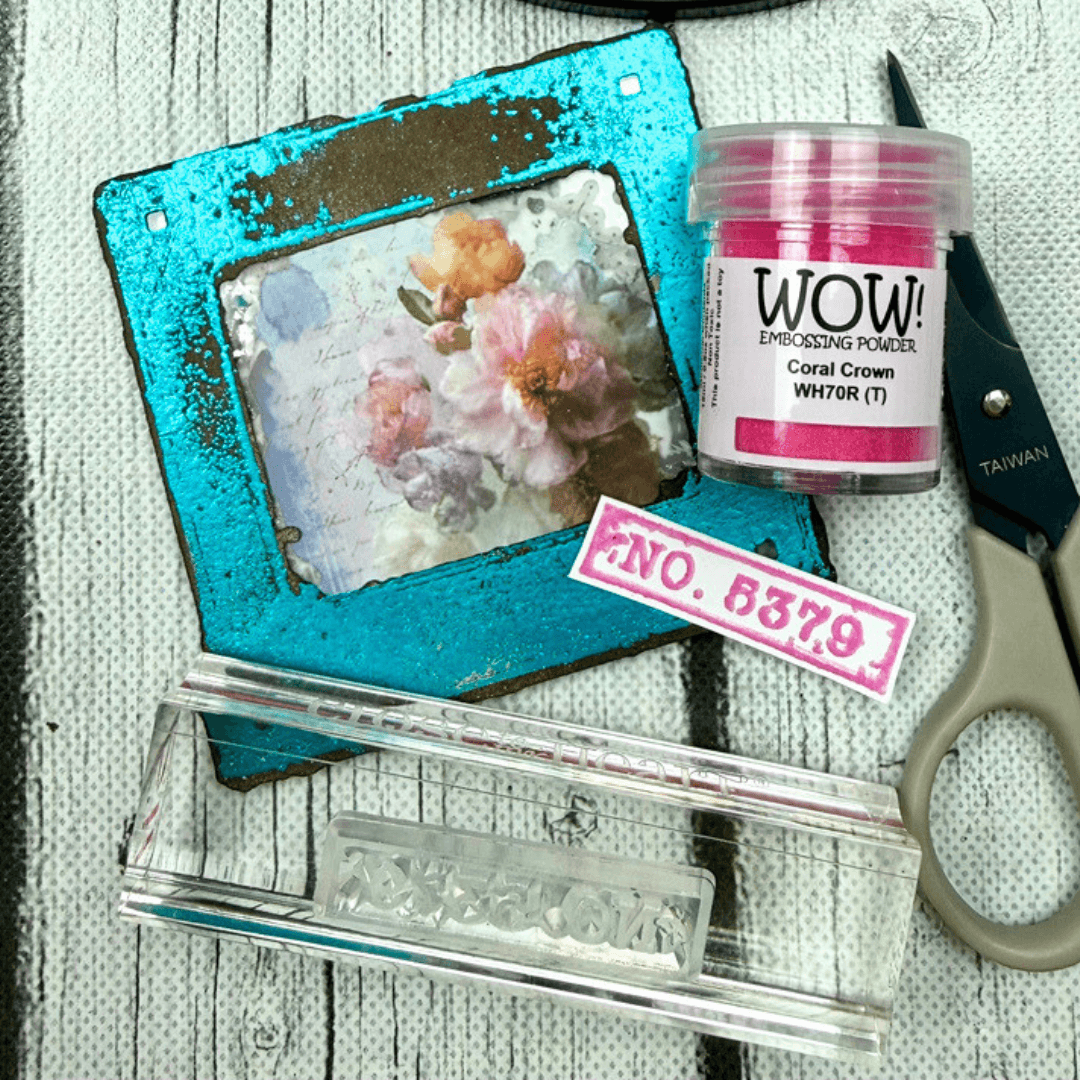
Step 8: Stamp a label using WOW Ultimate embossing ink and a stamp from the Where Wings Wander set. Add WOW Embossing Powder and melt it with a heat tool. Fussy-cut out the label and ink over it with the brown ink. Make one for each side and attach to the frames.
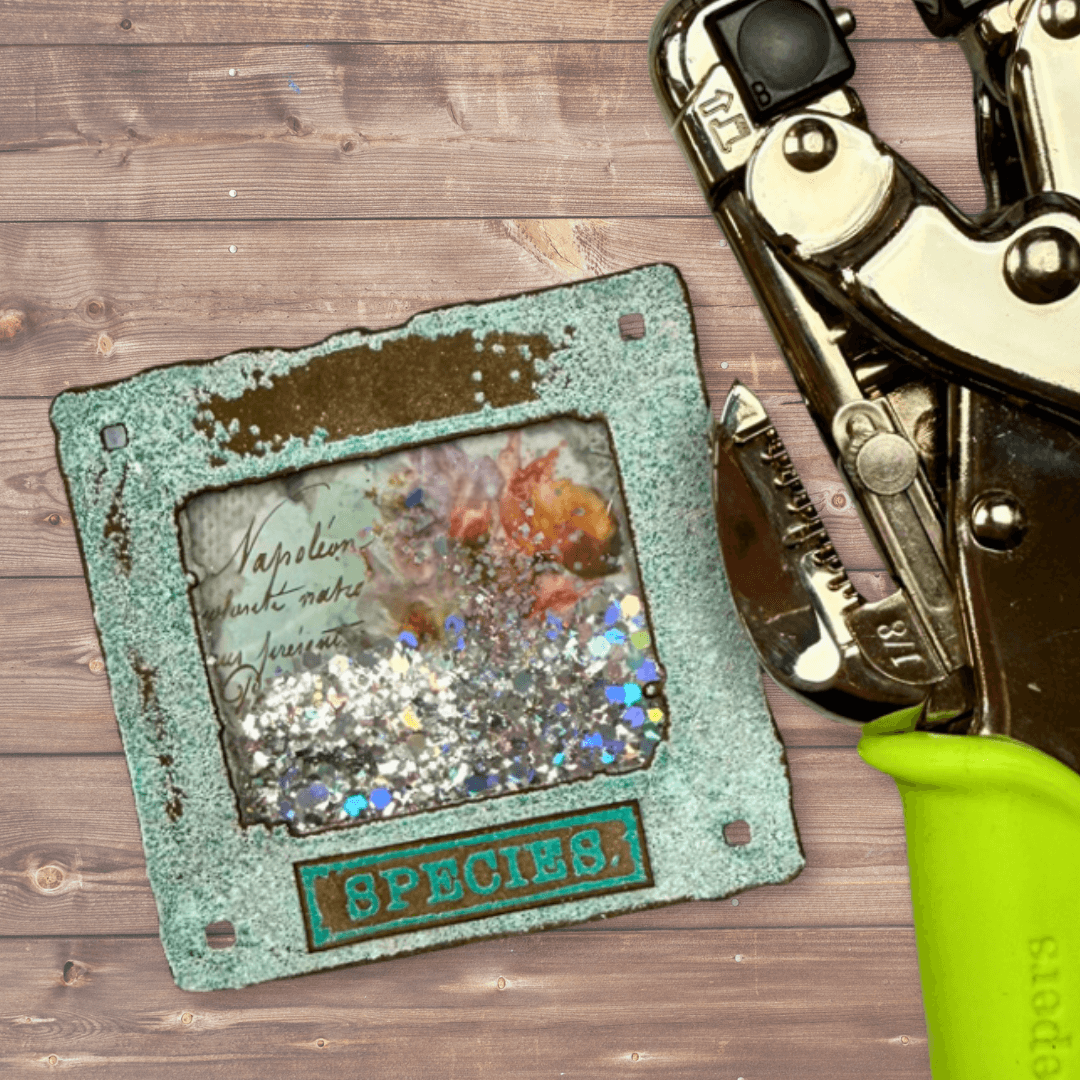
Step Nine: Punch a hole in the corner of the frame (not needed if your acetate doesn’t cover the existing hole). Attach a ring, post, or whatever kind of embellishment you have in your stash. Decorate with chain, charms, or make some shrinky dink embellishments!
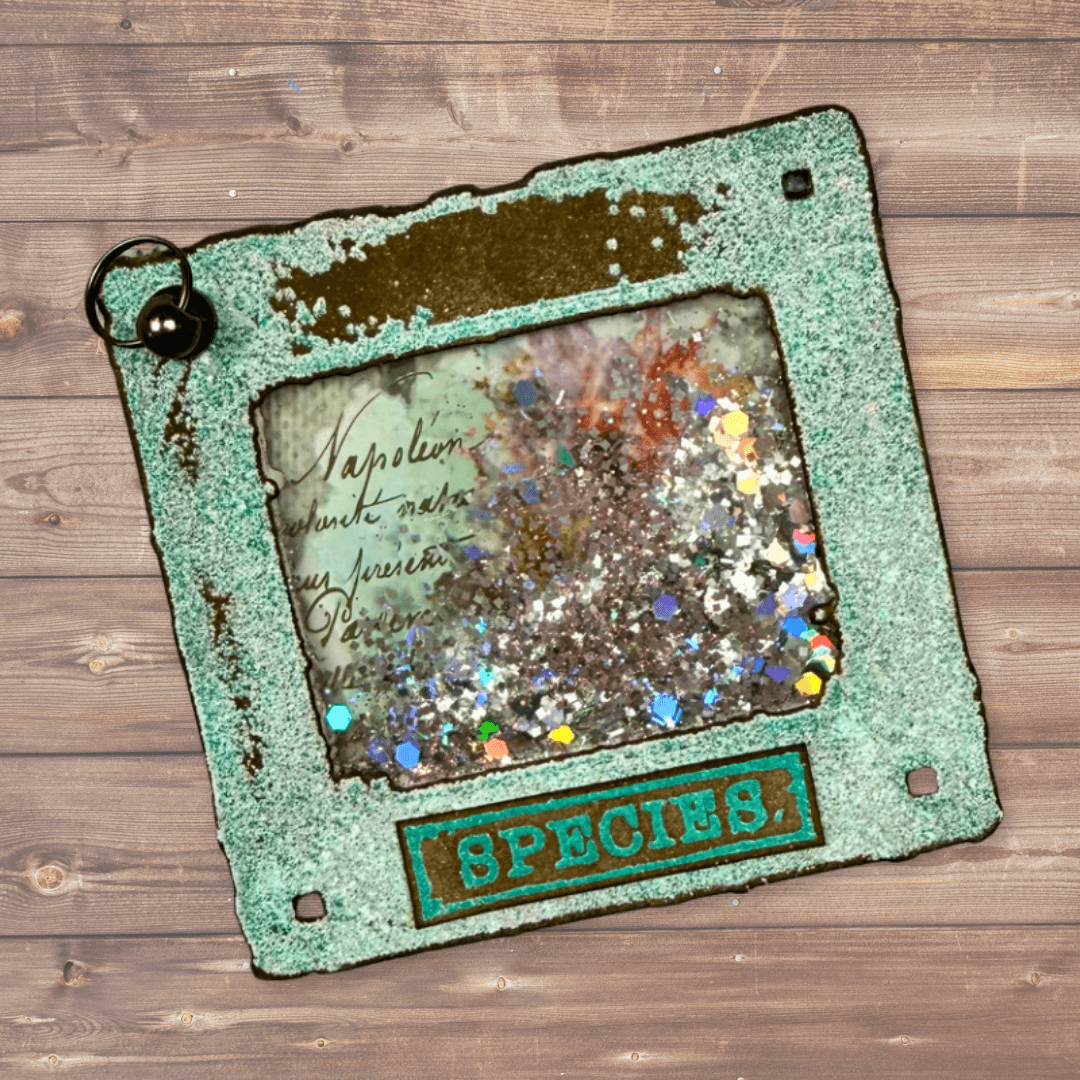
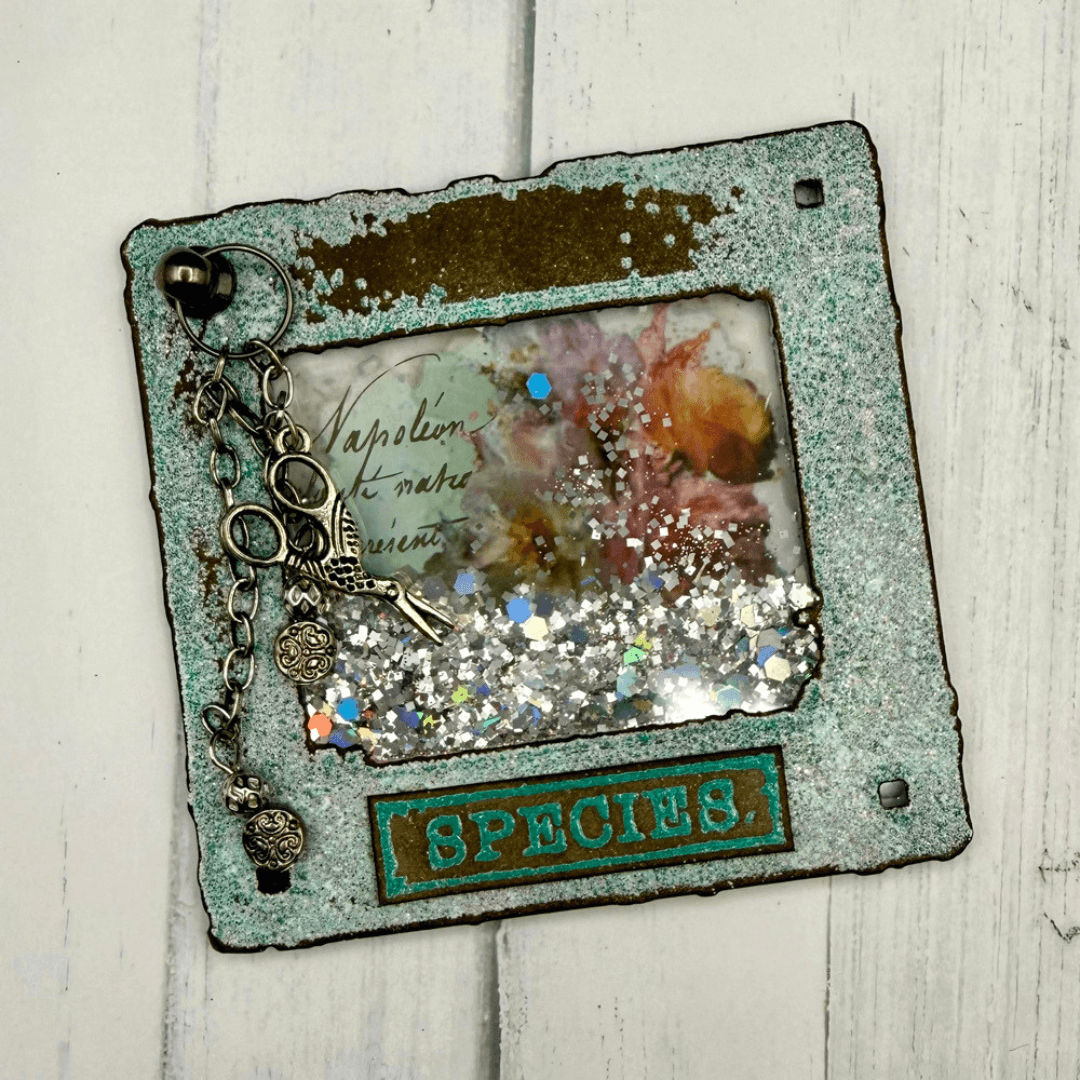
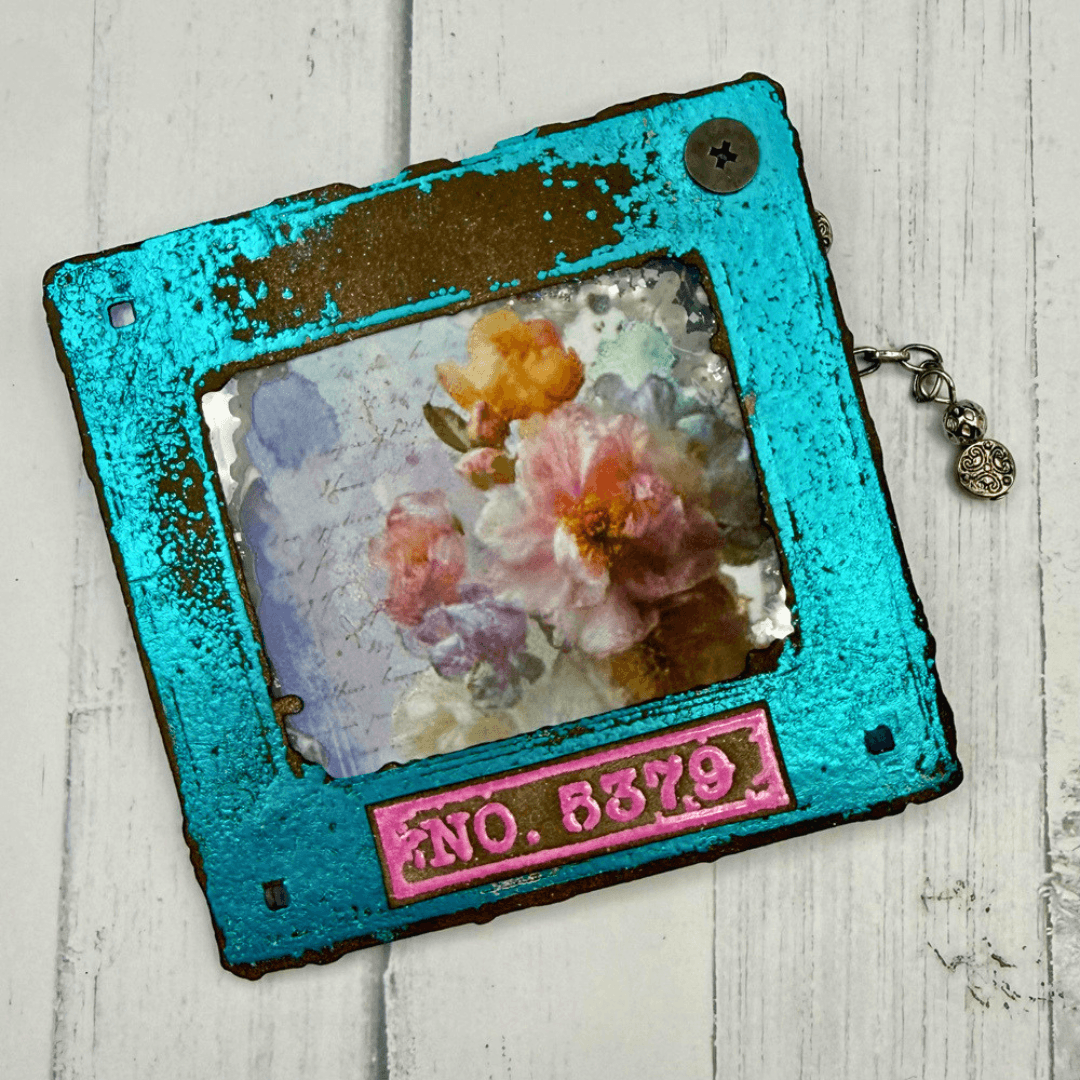
I had so much fun playing with the WOW products, and I definitely recommend them! I can’t wait to play with them some more. I hope you’ll make your own shaker and try the WOW products. Be sure to share your own creations with us on the Elizabeth Craft Designs Family Facebook page.
Make sure you share your projects with us in our Facebook Group HERE. We love to see what you create!
Never miss a tutorial and sign up for our emails today HERE.
Elizabeth Craft Designs Products Used:
Elizabeth Craft Designs Products Used:
Where Wings Wander (CSD456)
Layers of Time Rub-Ons (RO-001)
WOW Products Used:
WOW Superior Smooth cardstock
WOW Ultimate embossing ink pad
WOW Bonding Powder
WOW Changers, Texture
WOW Embossing Powder
Enchanted Shadows
Siren Call
Coral Crown
WOW Sparkles
A Girl’s Best Friend
Super Powerful Glitter
Ballet Shoes
