
Easy Grungy Embossed Journaling Cards
Transform your journal cards with unexpected pops of color and textured dimension that instantly elevate your mixed media elements. In this special collaboration tutorial, you'll learn how to distress and grunge up embossing powders using Elizabeth Craft Designs stamps and die sets alongside premium WOW! Embossing Powders. Grab your heat tool, craft mat, and favorite mixed media supplies to follow the complete step-by-step guide and product list below!
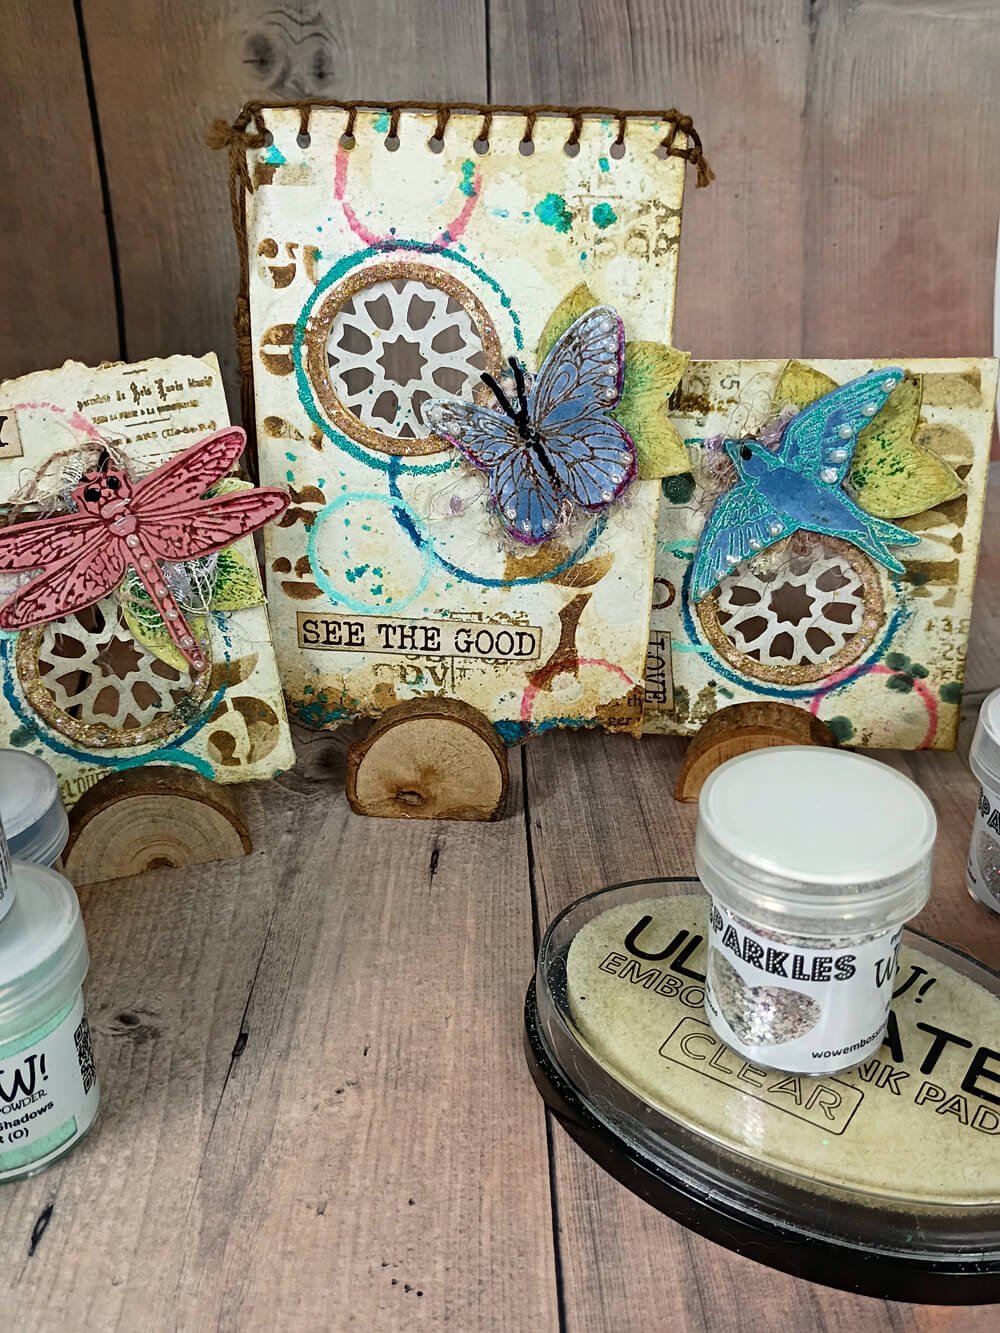
Hello! Today is going to be a fun one; we are going to grunge up embossing powder! Adding embossing powders to your grungy mixed media art journal page can add an unexpected pop of color and dimension.
Step 1: First, you need to create your backgrounds. You can also choose from backgrounds you’ve already made, or you can use premade backgrounds like Devid’s Background Papers volumes 1-5.
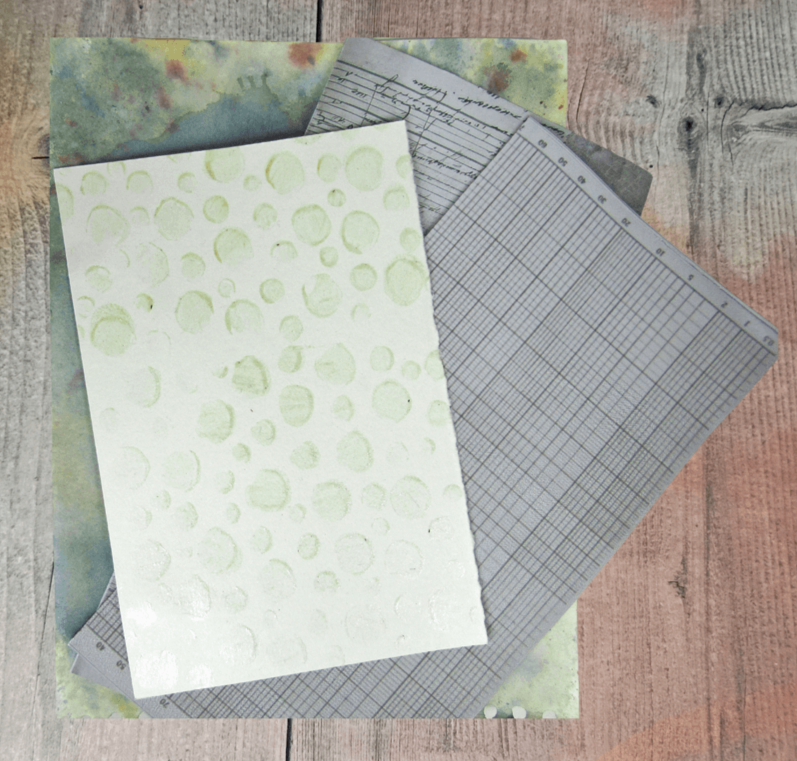
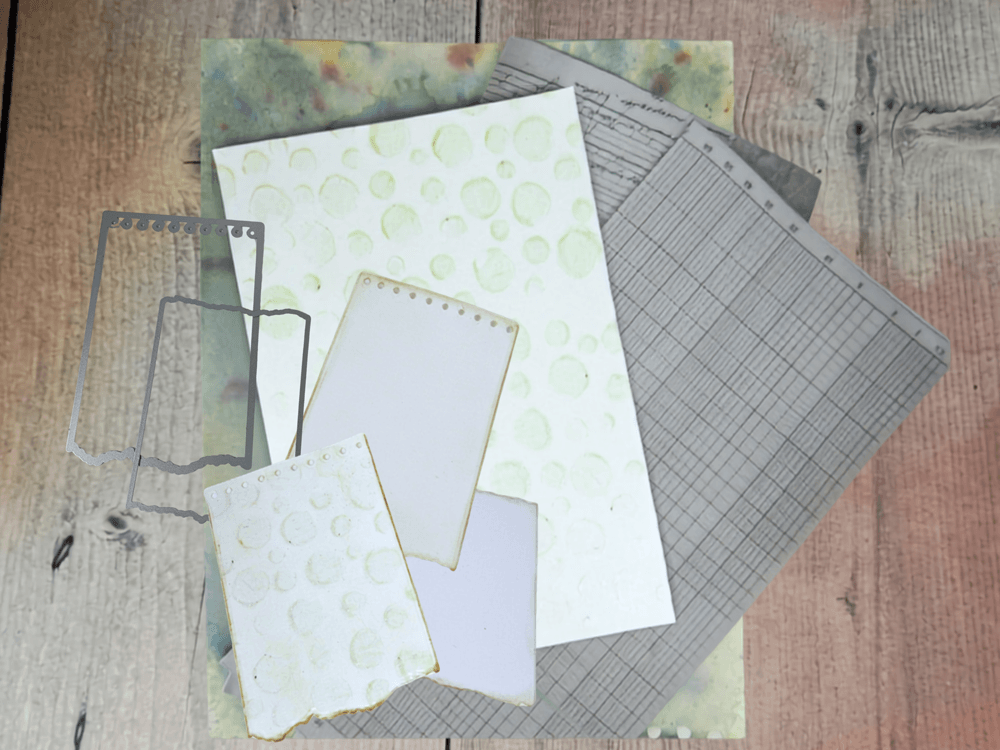
Step 2: Select the dies you'll use to create your journaling cards. You can also make tags if you want. They don’t have to be any particular shape or size as long as you can journal on them. I chose dies from Devid’s “Notebook Fragments” set from his Beautifully Worn collection. They are perfect for this project.
Note: Cut three layers. One for the front, one for the back, and the corresponding mat layer for journaling. You can omit the mat layer and just journal on the back.
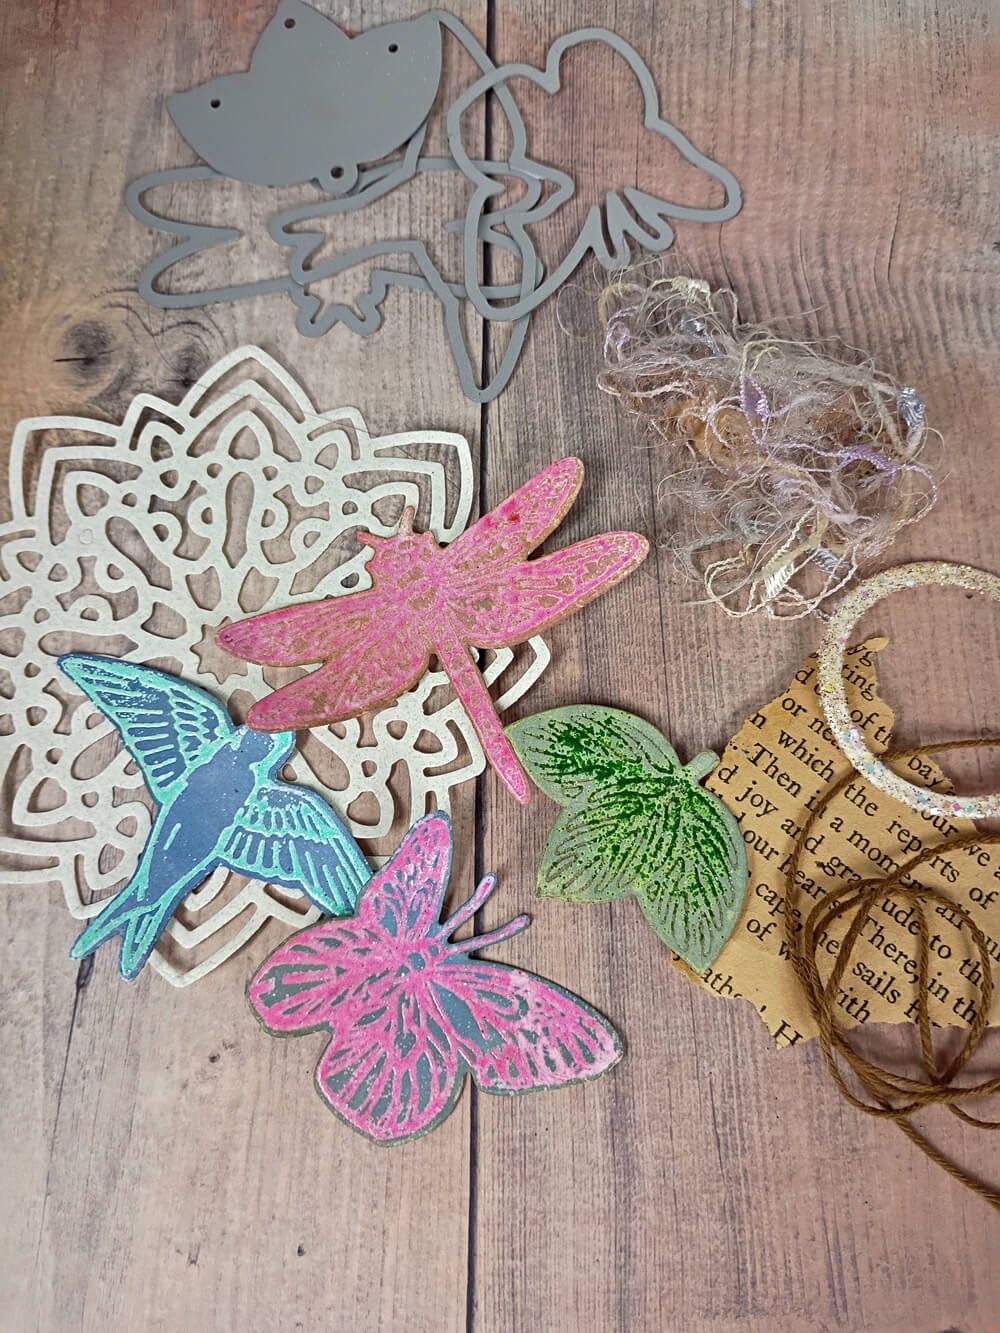
Step 3: Decide on the ephemera and additional die cuts you will use. Die-cut these pieces, then collect your mixed media materials and ephemera. I chose the butterfly, bird, and dragonfly from the “Where Wings Wander Stamp and Die Set” and the leaves from the “Off the Edge Pocket” set. I used WOW Superior Smooth White Cardstock for my die-cut elements.
Next, stamp the details of the butterfly, bird, and dragonfly using the WOW Ultimate Embossing Ink Pad, and sprinkle the embossing powder over the stamped details. You’ll use the same colors to emboss the circles in step four. Then spritz it with a spray stain and let it dry. (You can also use an ink pad and blending tool). Ink the edges
Then, with the leaf piece, press the die detail-side into a permanent ink pad before laying it on the paper to be cut. Lightly and randomly sprinkle WOW embossing powder Kelp Forrest and Chrysolite, and heat it from the back so you don't blow all the powder off the leaf. Then spritz it with a green spray stain and let it dry. (You can also use an ink pad and blending tool). Don’t forget to also ink the edges of these embellishments.
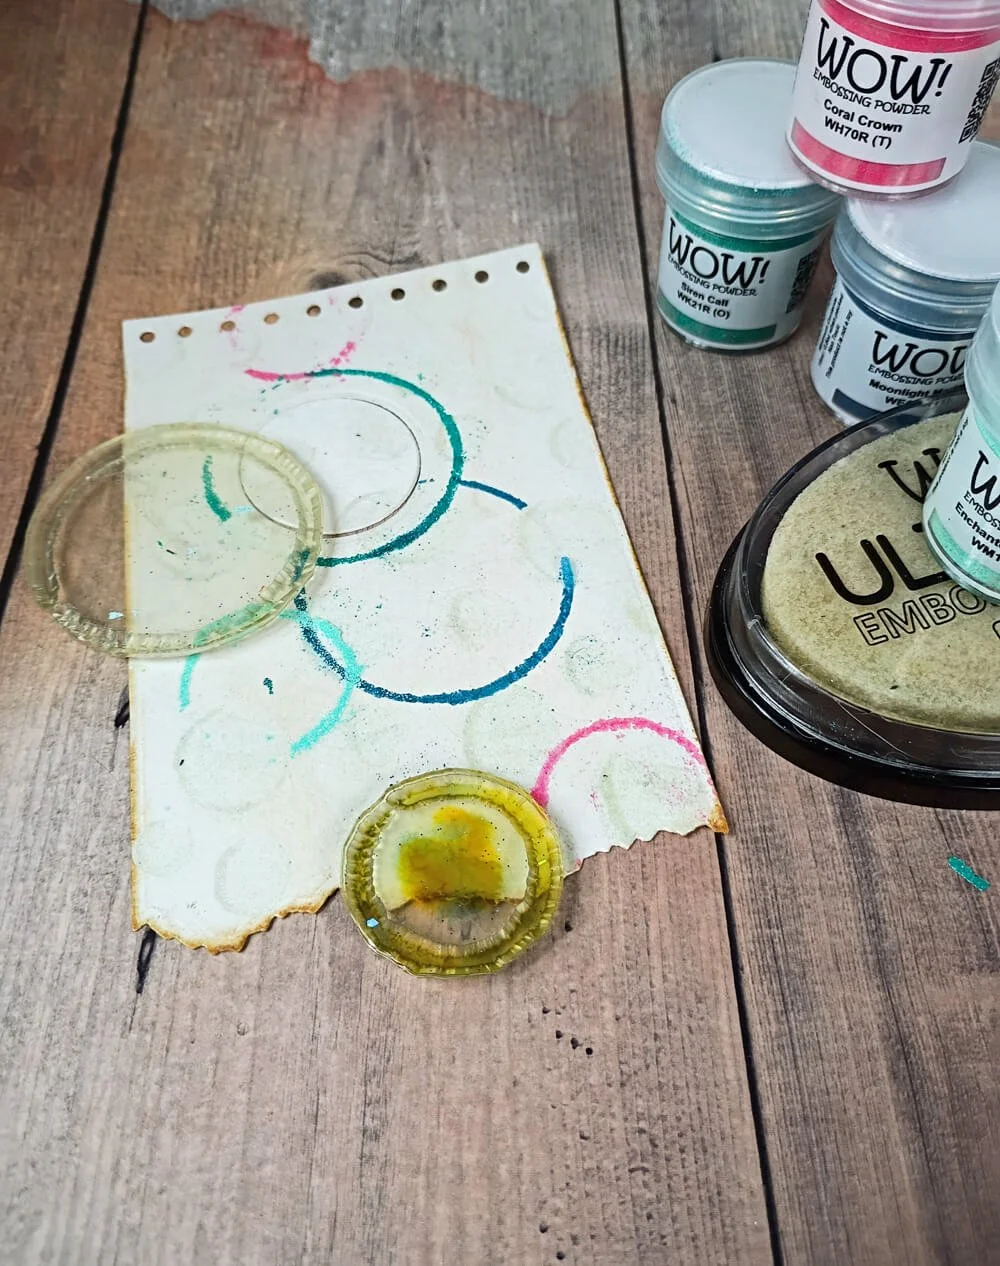
Step 4: Select the two circles that look like coffee cup rings from the “Perfectly Imperfect” stamp set, or circle stamps with open centers. The open centers work great for this project. On the front of the journaling card, randomly stamp the largest circle using the Wow Ultimate Embossing Ink Pad - Clear, and then sprinkle your embossing powder. You can use any embossing powder color to begin with. I changed them up using Moonlight Marina, Siren Call, Enchanted Shadows, and Coral Crown. Using your heat tool, heat the embossing powder until it looks shiny.
Next, randomly layer the smaller circle stamp using a mix of the remaining colors, and repeat a couple more times. Again, use your heat tool to heat the embossing powder until it looks shiny.
Note: To keep the embossing powders a solid color and not mix them, I embossed only one circle at a time.
Step 5: Select which of the larger circles you want to die-cut a window in. Devid’s “Rounded Pocket Page” die set has a nice mix of circle dies. Depending on your window size, the third-smallest circle makes a really nice window when paired with the large circle stamp from the “Perfectly Imperfect” stamp set.
Note: Line up the journaling cards edge to edge, then the mat layer, and cut all three at once to keep the circle in the same place. You may only need to cut two at a time and line the circle die up with the mat layer, depending on your paper weight and your machine. Don’t force it through your machine and do what works best for you. You can omit the mat piece and just use the backside for journaling if you want.
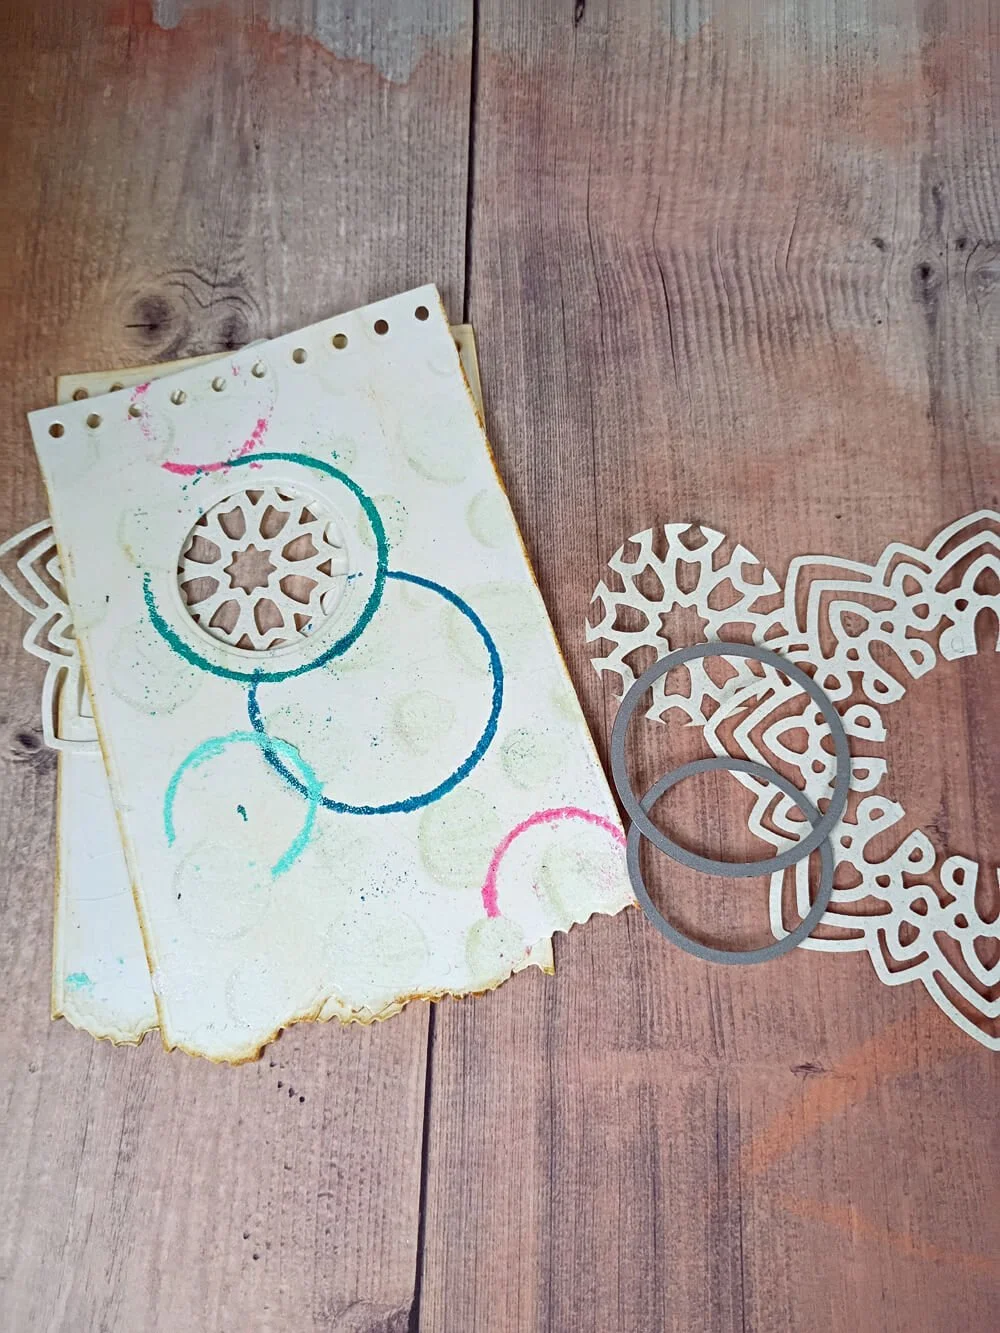
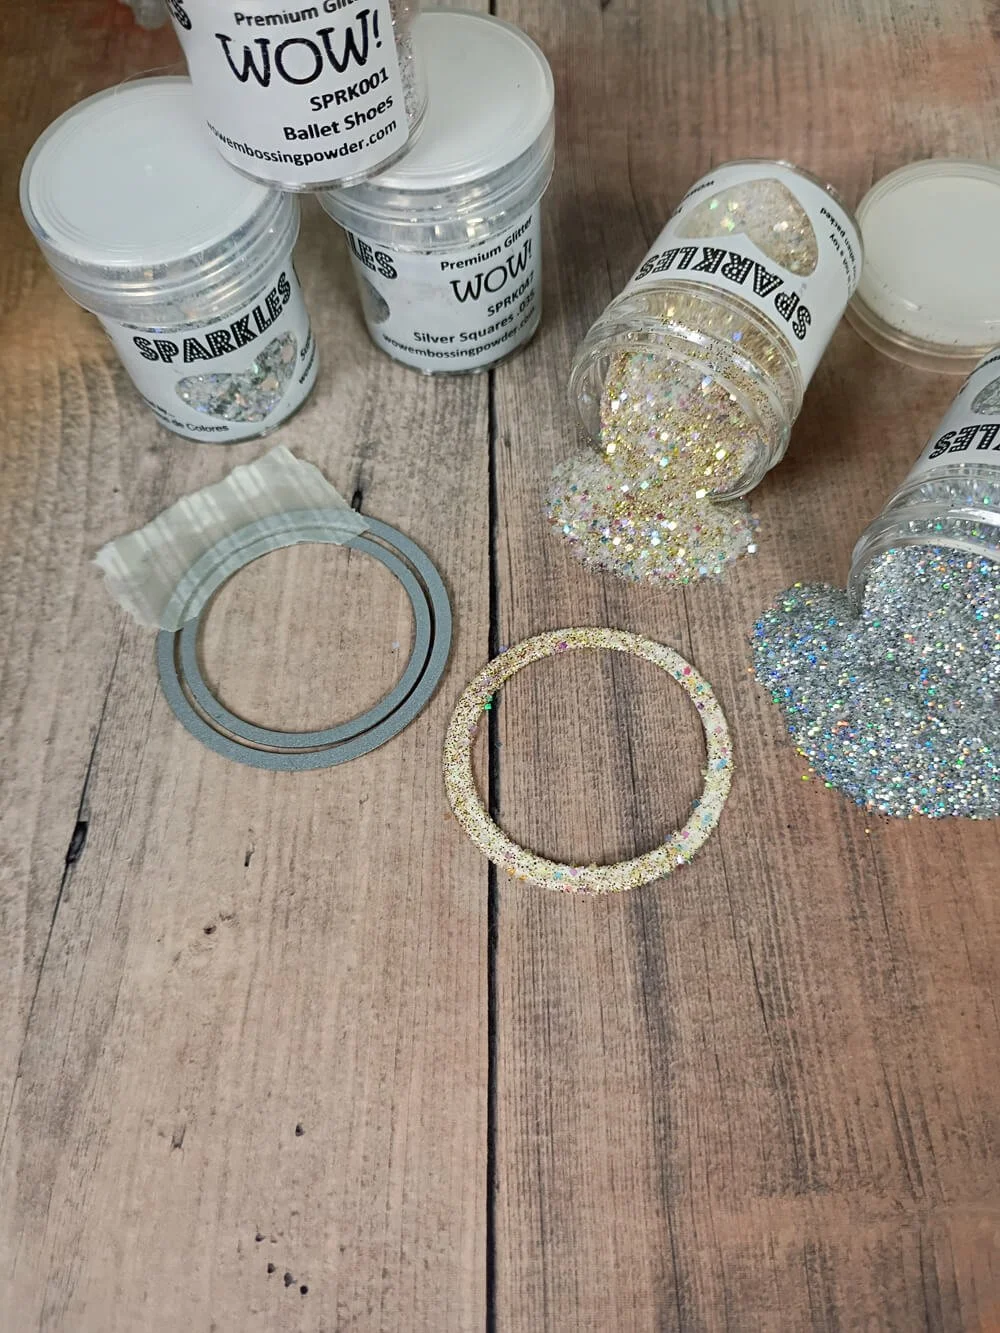
Step 6: To make the window frame, use the same die used to create the window and the next size up, tape them together, and die-cut a frame. Place glue around the top side of the frame and dip or sprinkle WOW Sparkles - Your carriage Awaits, and let it dry.
Step 7: Decide what you want in your window. I chose to use paper lace and cut the center out of a lace doily. Glue the lace piece over the window, on the backside of the front journaling card. Next, align the edges of the front journaling card with the backside journaling card and glue them together. Ink the edges.
Note: I always wait to glue the mat layer until the very end, when I know I am finished with inks, etc. It is the last piece I work with.
Note: You could also make a shaker window with this instead of using lace.
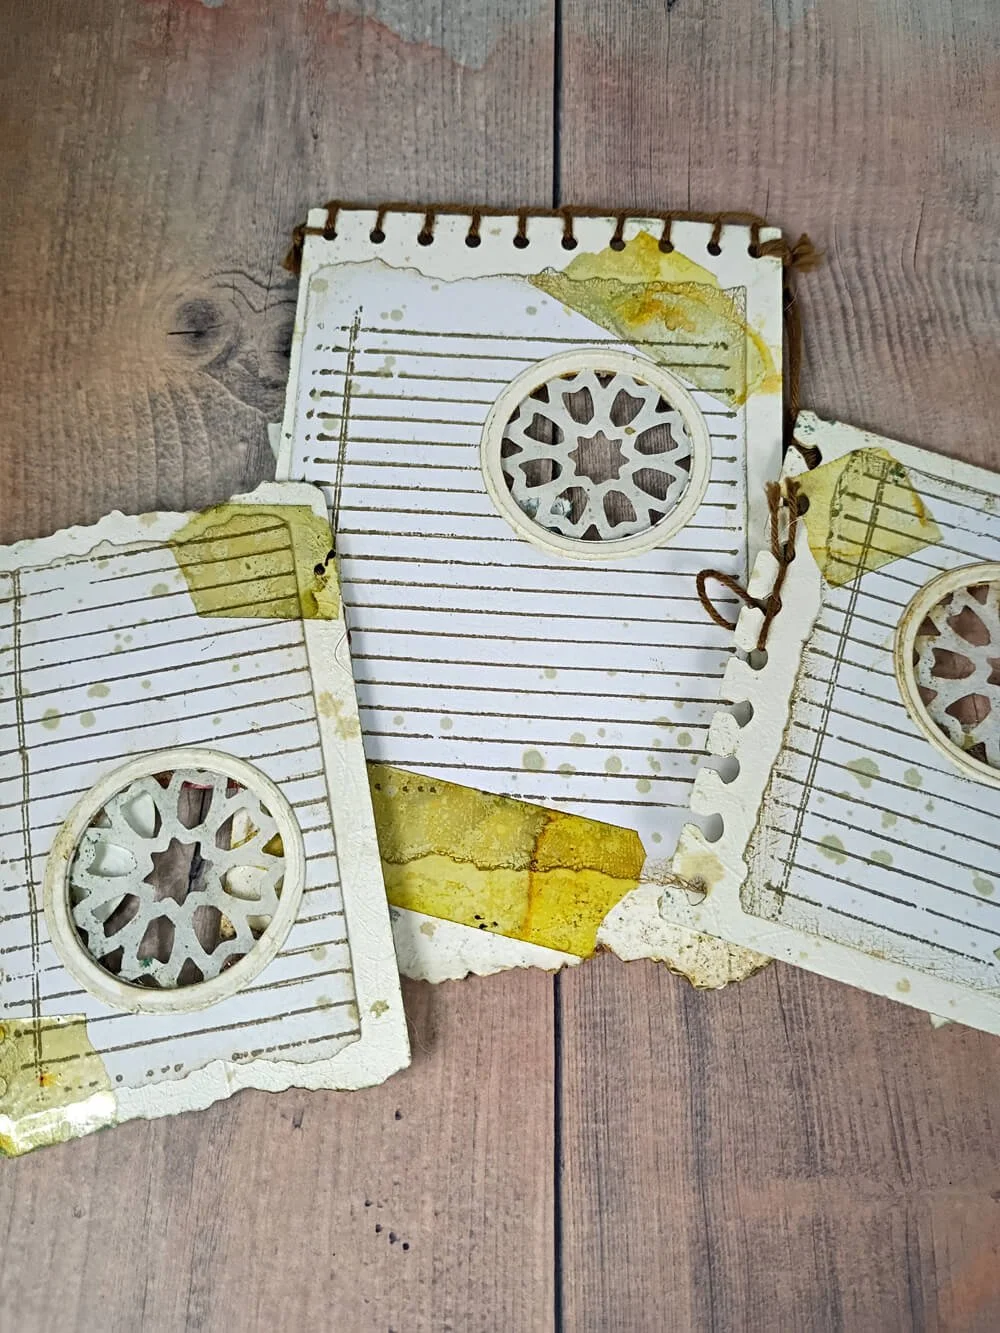
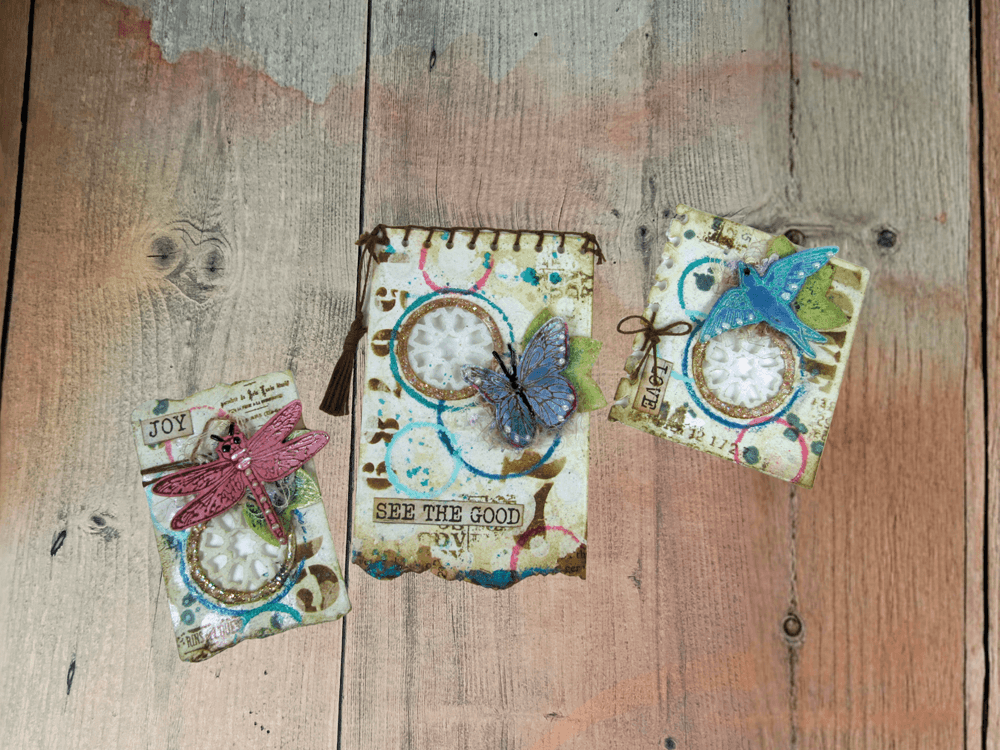
Step 8: Add your ephemera and mixed media. Always lay it out on your journaling card before gluing it down. And last but not least, when you are finished with the front of your journaling card, done inking and gluing, turn the card over and add your mat layer to the back.
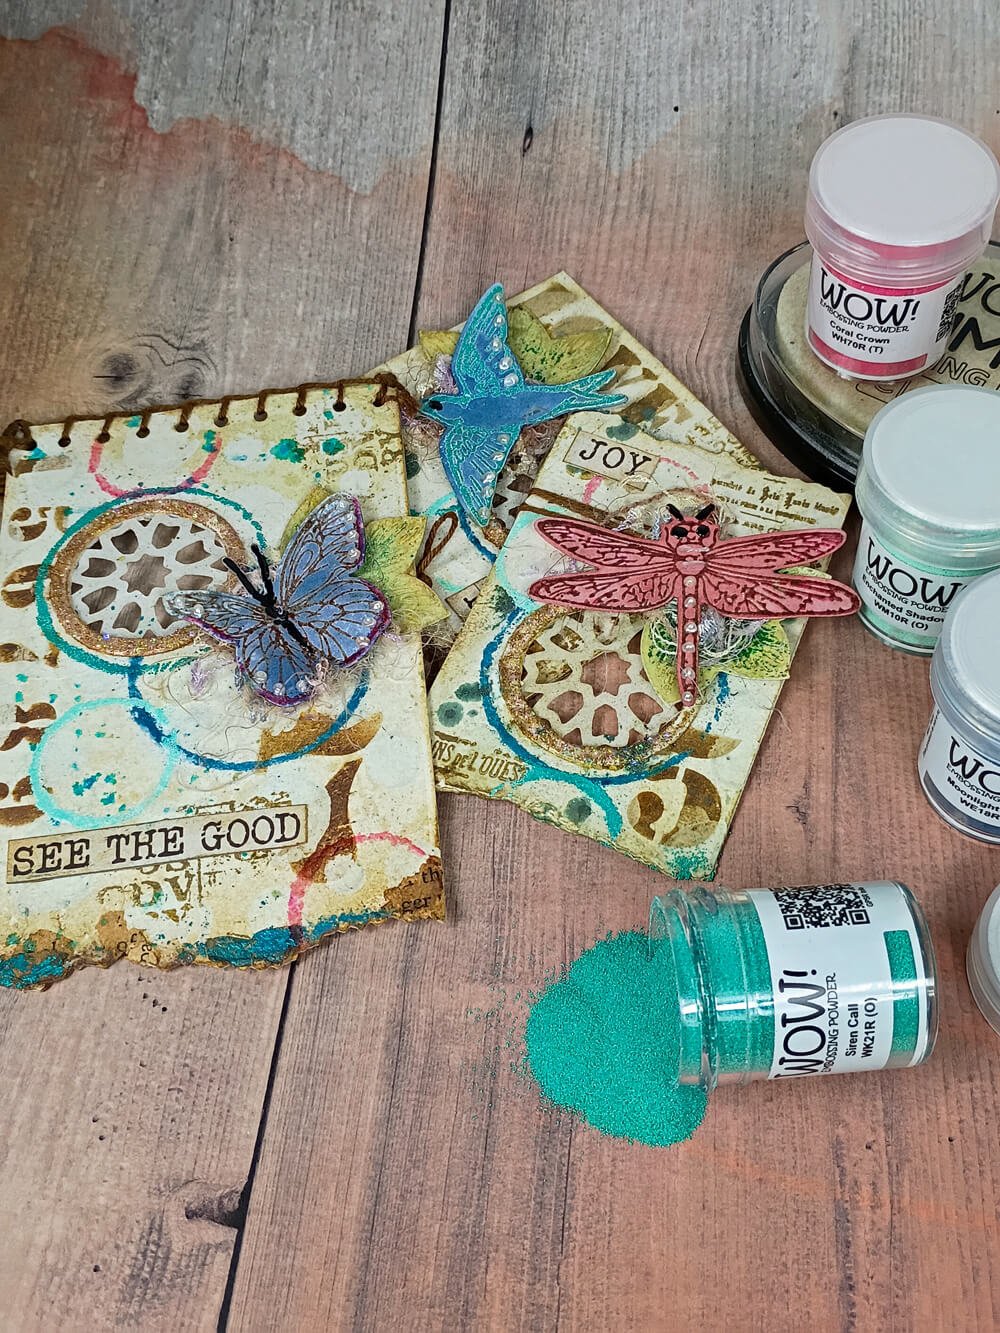
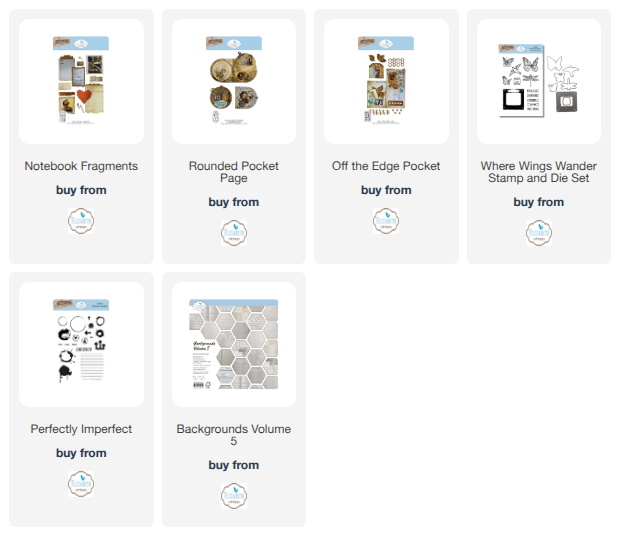
Elizabeth Craft Designs Products Used:
Notebook Fragments (2368)
Rounded Pocket Page (2366)
Off the Edge Pocket (2367)
Where Wings Wander Stamp and Die Set (CSD458)
Perfectly Imperfect (CS458)
Journal Stencils 11 (S061)
Backgrounds Volume 5 (C044)
Ice Doily (2168)
WOW Products Used:
WOW Superior Smooth White Cardstock
WOW Mermaid Lagoon Collection:
WK21R Siren Call
WH70R Coral Crown
WK23R Chrysolite
WM10R Enchanted Shadows
WE17R Kelp Forest
WE18R Moonlit Marina
WOW Sparkles Your Carriage Awaits
