
How to Build a Whimsical Cat Scene Card with Spray Inks & Die Cuts
Bring your handmade cards to life with colorful backgrounds and cute paper-pieced characters! In this step-by-step tutorial, you'll learn how to create a fast, vibrant background using spray inks, then layer a playful scene featuring two dressed-up cats from the Meet the Cats Collection. Grab your favorite ink sprays and die-cutting machine and let's dive into the full tutorial and supply list below!
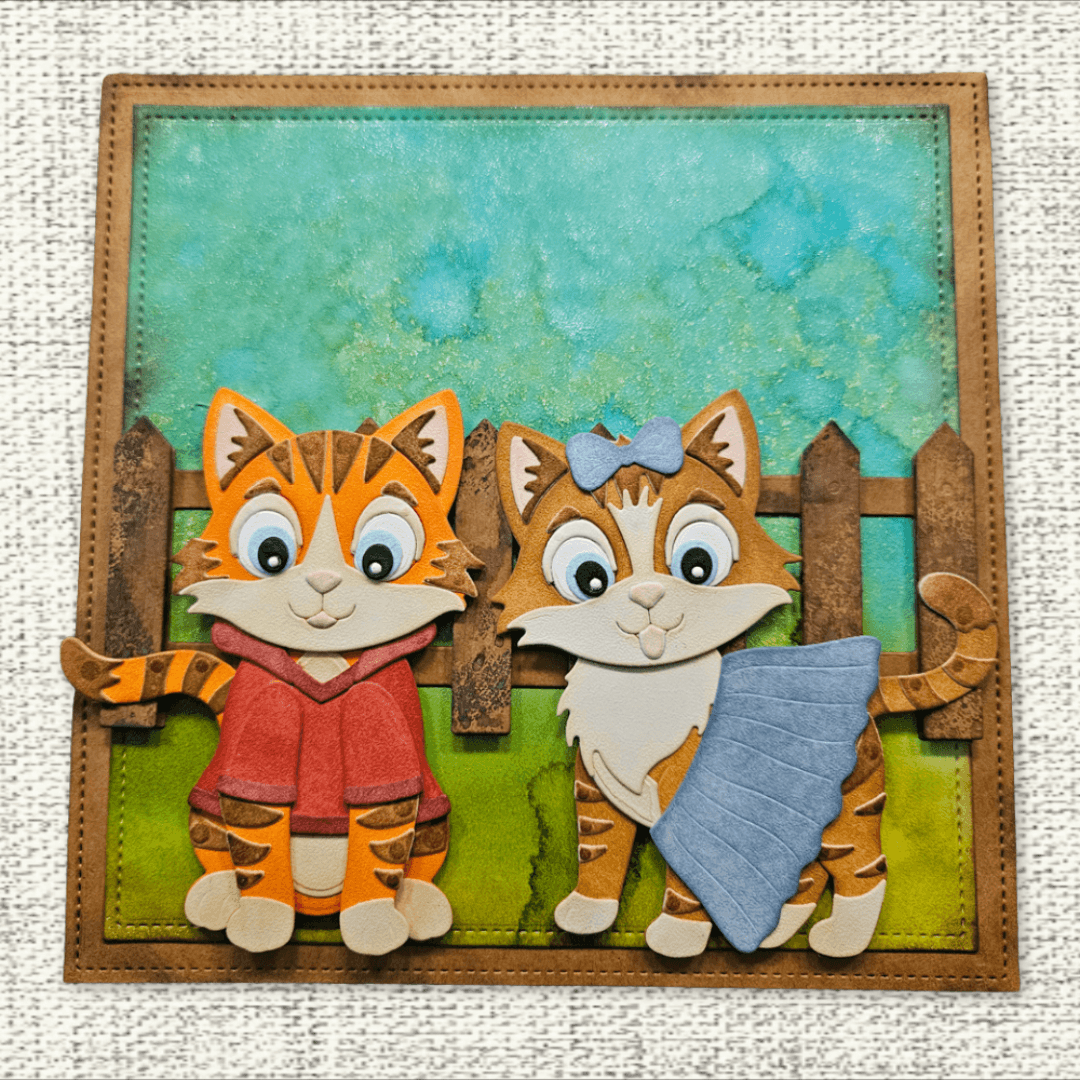
Hello everyone! Lisanne here with today's tutorial. I hope you're inspired to create your own cute cat card and craft along.
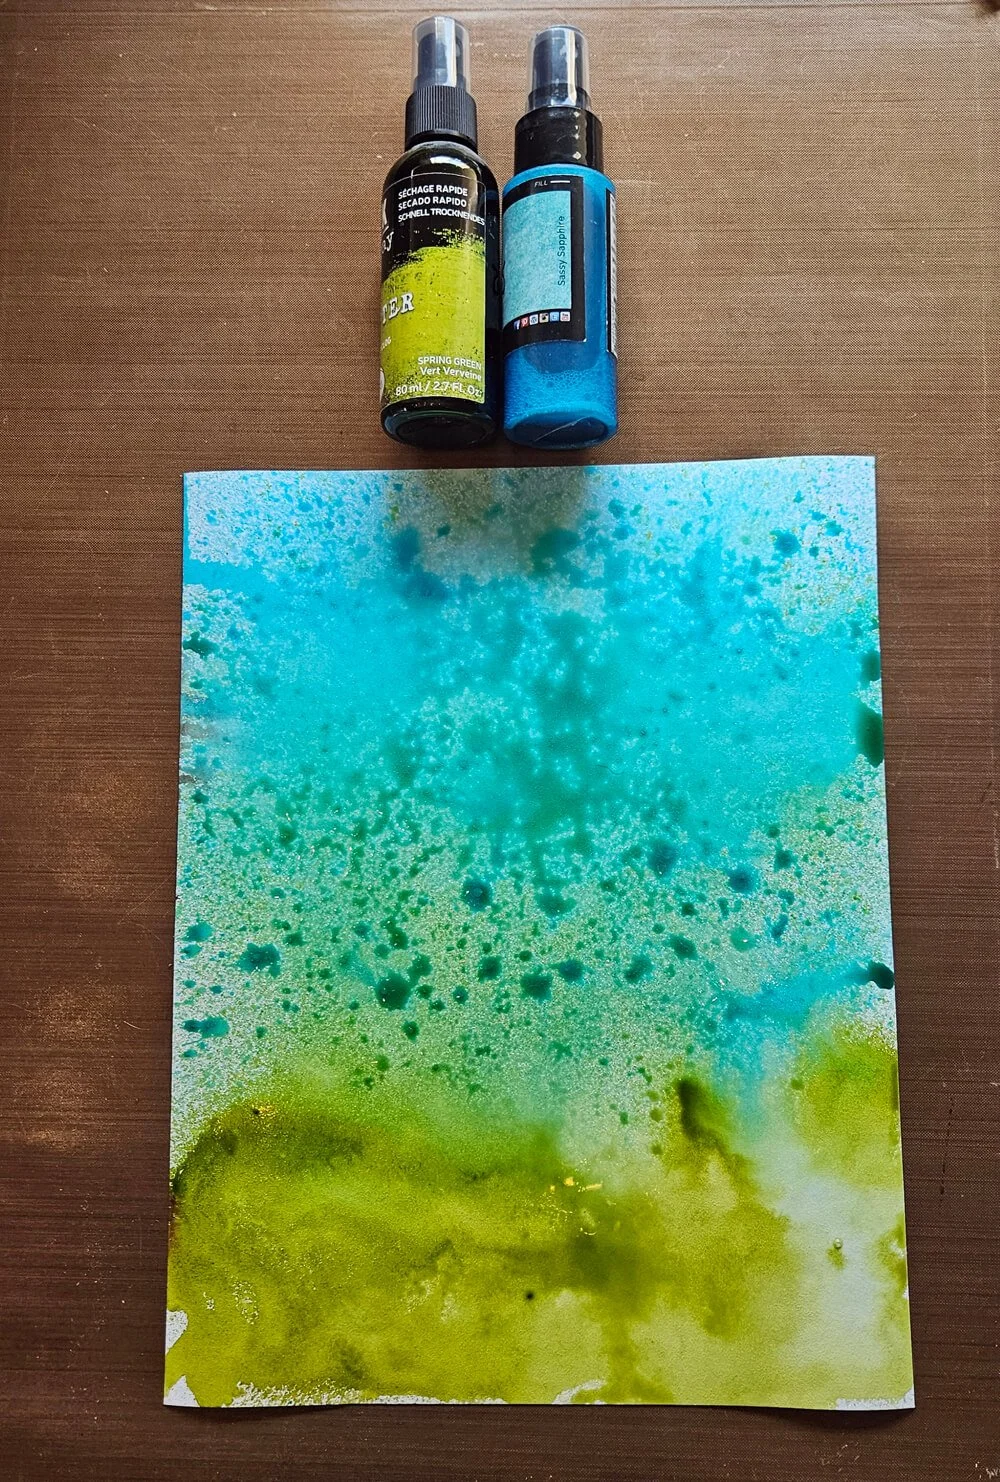
Step 1: Start by making the background with sprays. Use Soft Finish Cardstock and spray the paper with water first so the other sprays spread out easily. Once I added the color sprays on top, I sprayed some more water so the whole paper is filled and the ink moves around freely. The sprays I used are Lindy (Sassy Sapphire) and Izink (spring green).
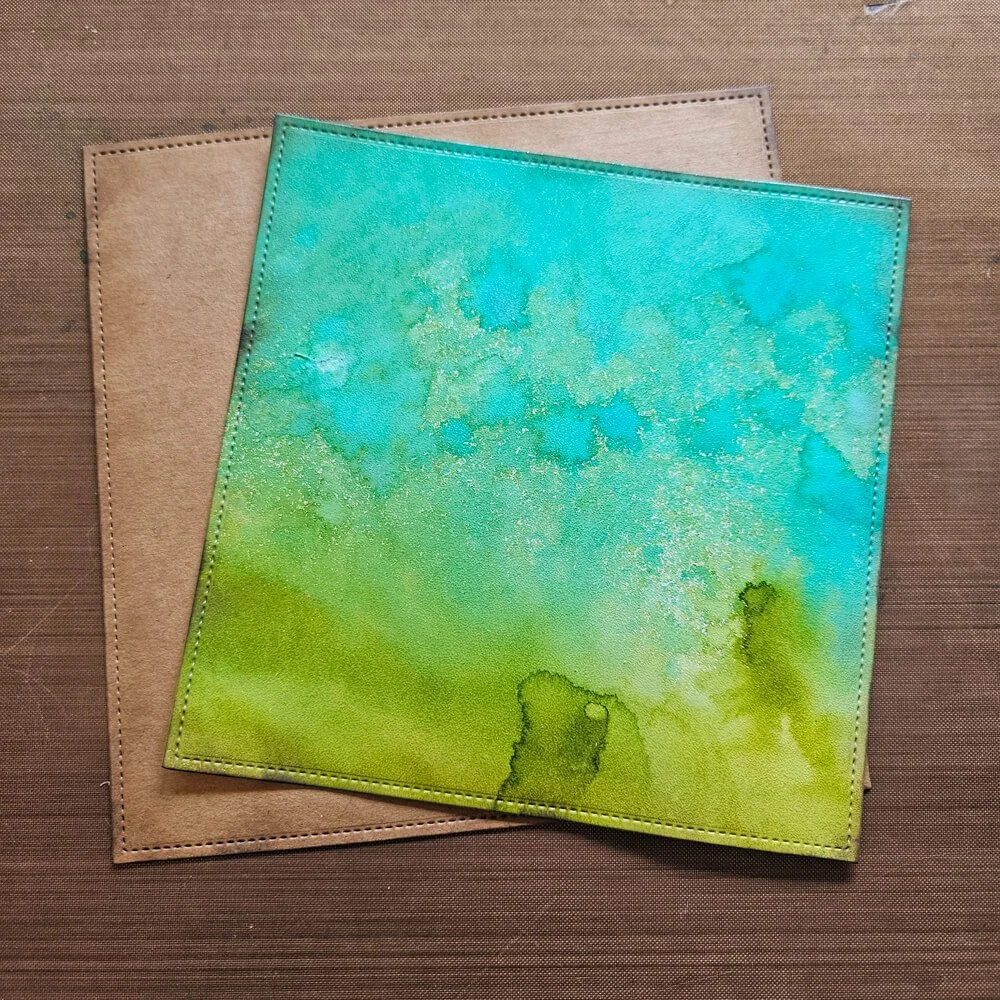
Step 2: Next, die-cut a square from the sprayed background and from kraft cardstock. Inked the edges with Distress Oxide Ink Ground Espresso. I waited to adhere them together because I might need to trim something later.
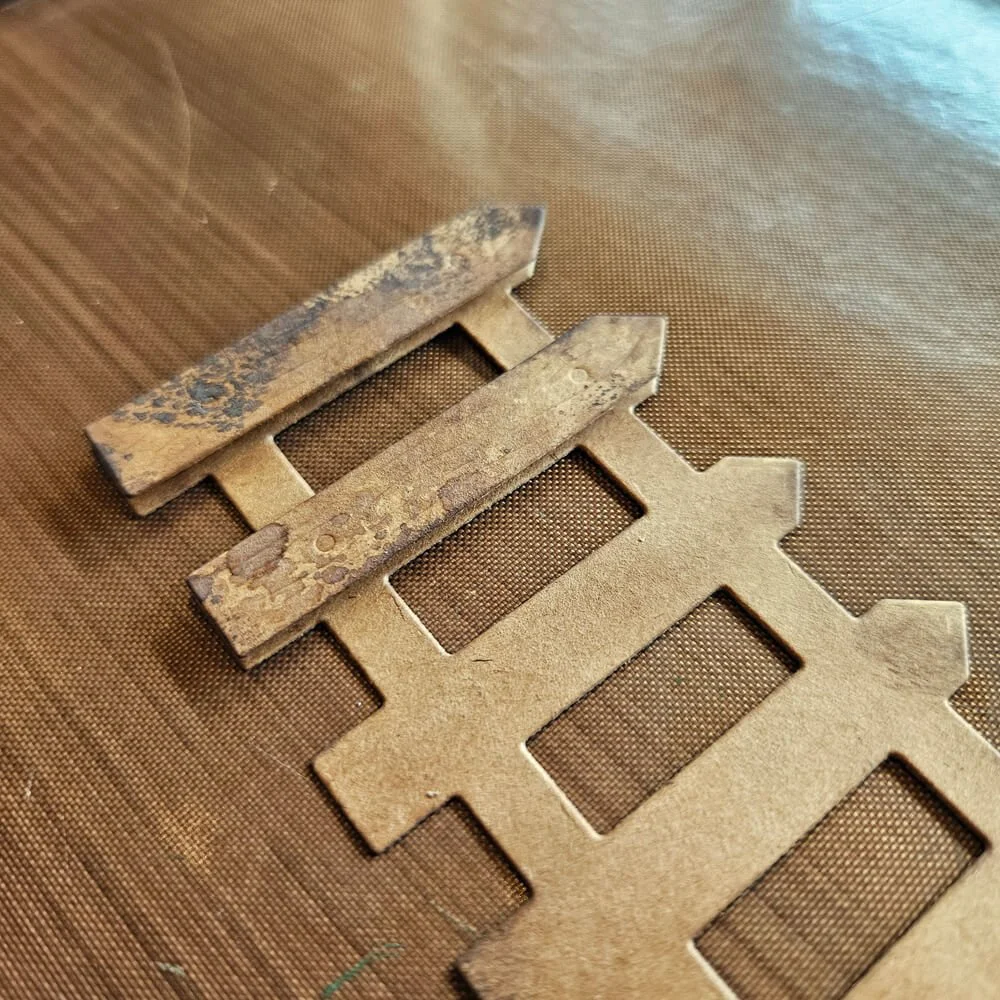
Step 3: Made a fence to fill the background. The base of the fence is just cut from kraft cardstock. For the top layer, I dipped kraft cardstock in Distress Oxide Ink Ground Espresso. So it looks like weathered wood.
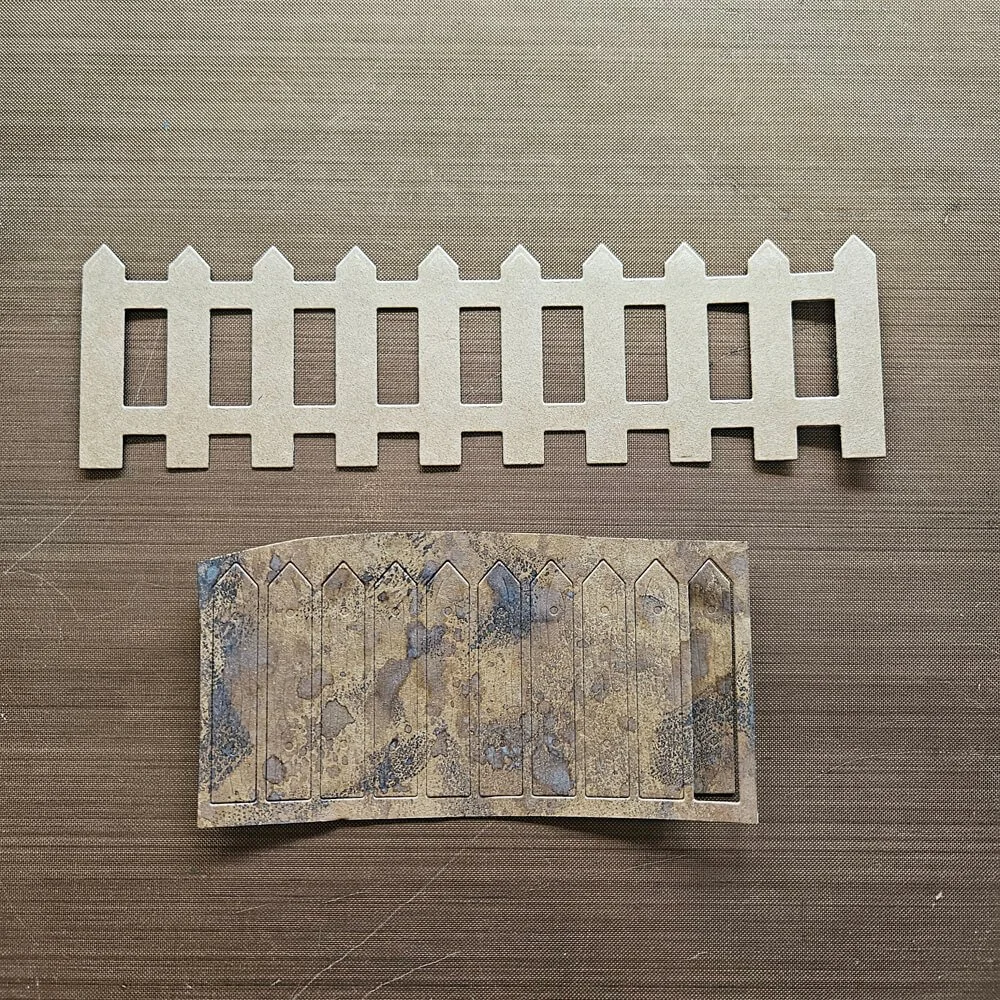
Step 4: Adhere the fence panels to the base with foam tape to add more dimension.
Step 5: Die-cut all the elements to make the sitting cat. I used Distress Ink to color all the elements. The colors I used were Spiced Marmalade, Tattered Rosé, Aged Mahogany, Tumbled Glass, Antique Linen, Fired Brick, Vintage Photo, and Black Soot.
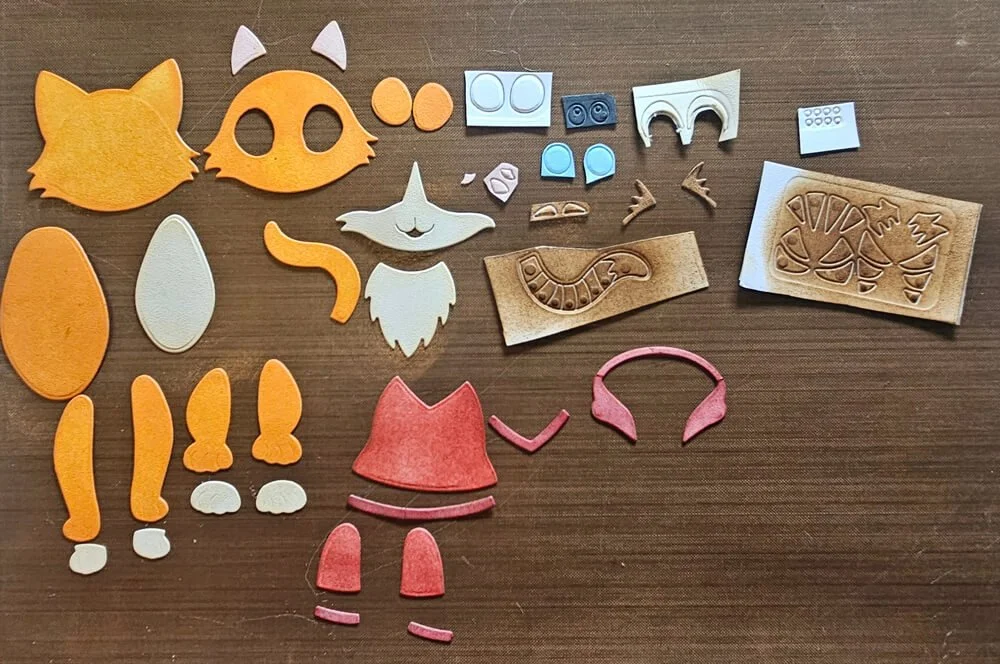
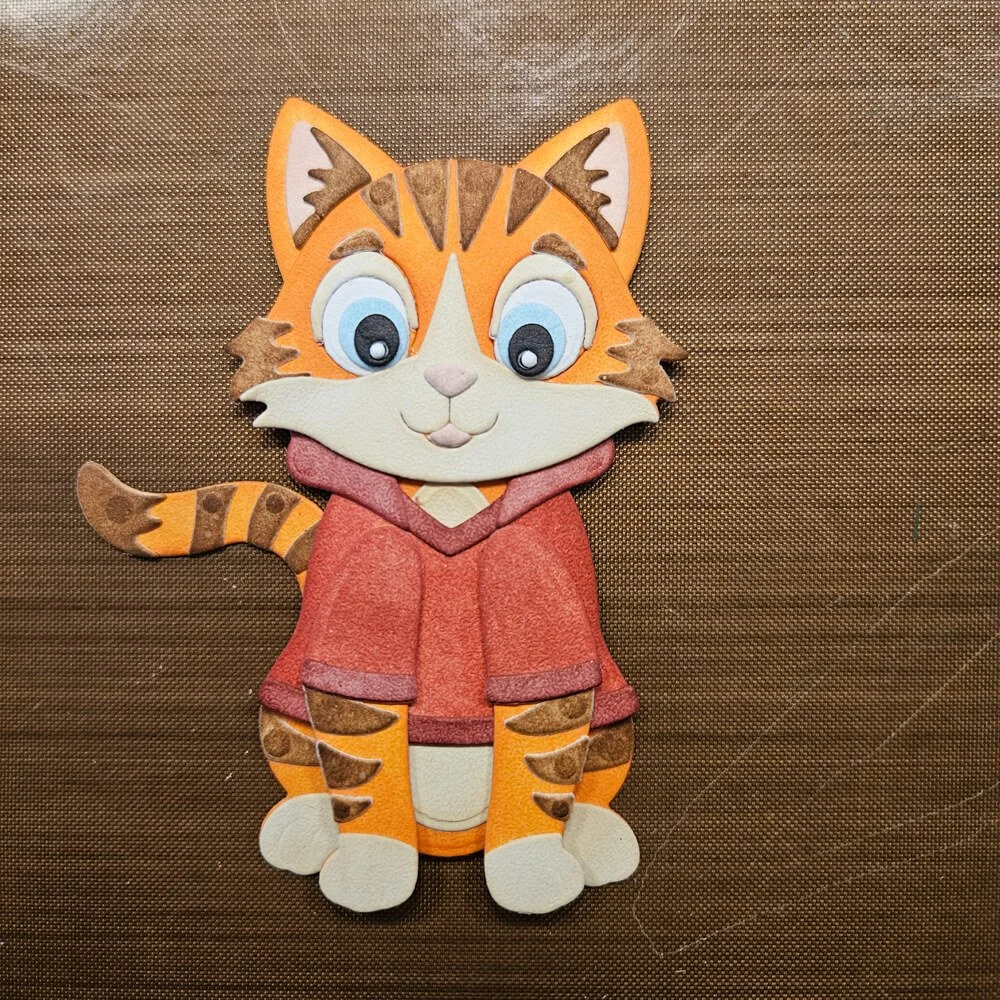
Step 6: Adhere all the elements together, and the boy cat is done.
Step 7: Next, do the same for the girl cat. Die-cut all the elements and ink them with Distress Ink: Antique Linen, Vintage Photo, Black Soot, Stormy Sky, Tattered Rosé, Tumbled Glass, and Brushed Corduroy.
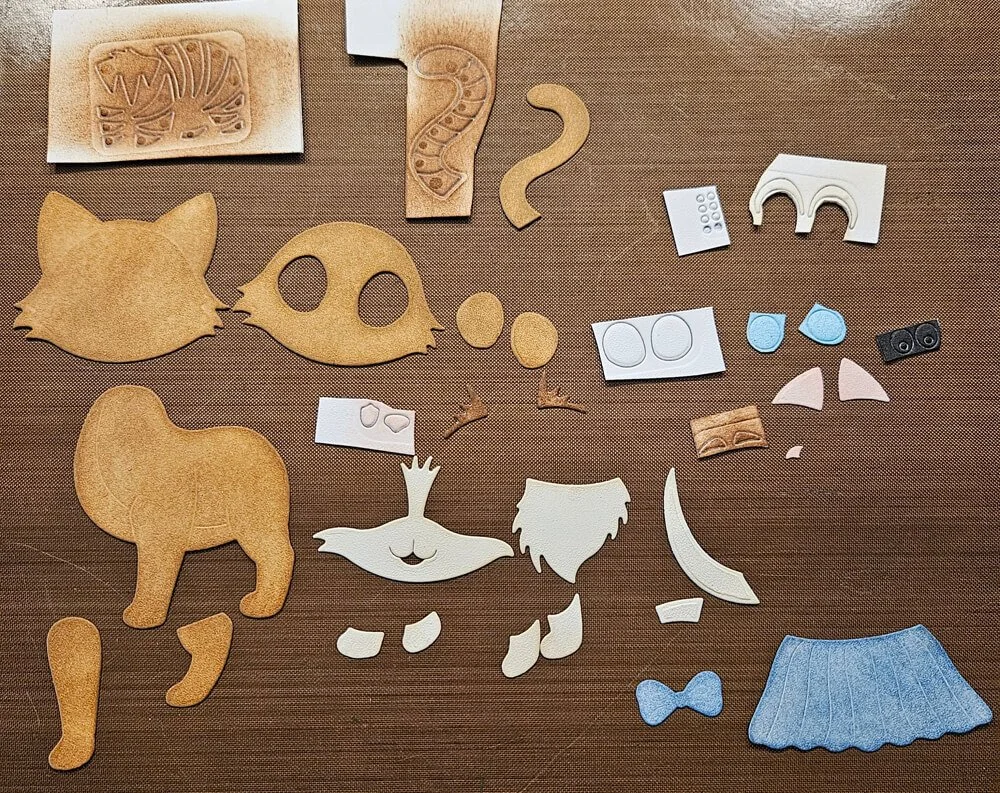
Step 8: Adhere all the elements together, and the girl cat is done too.
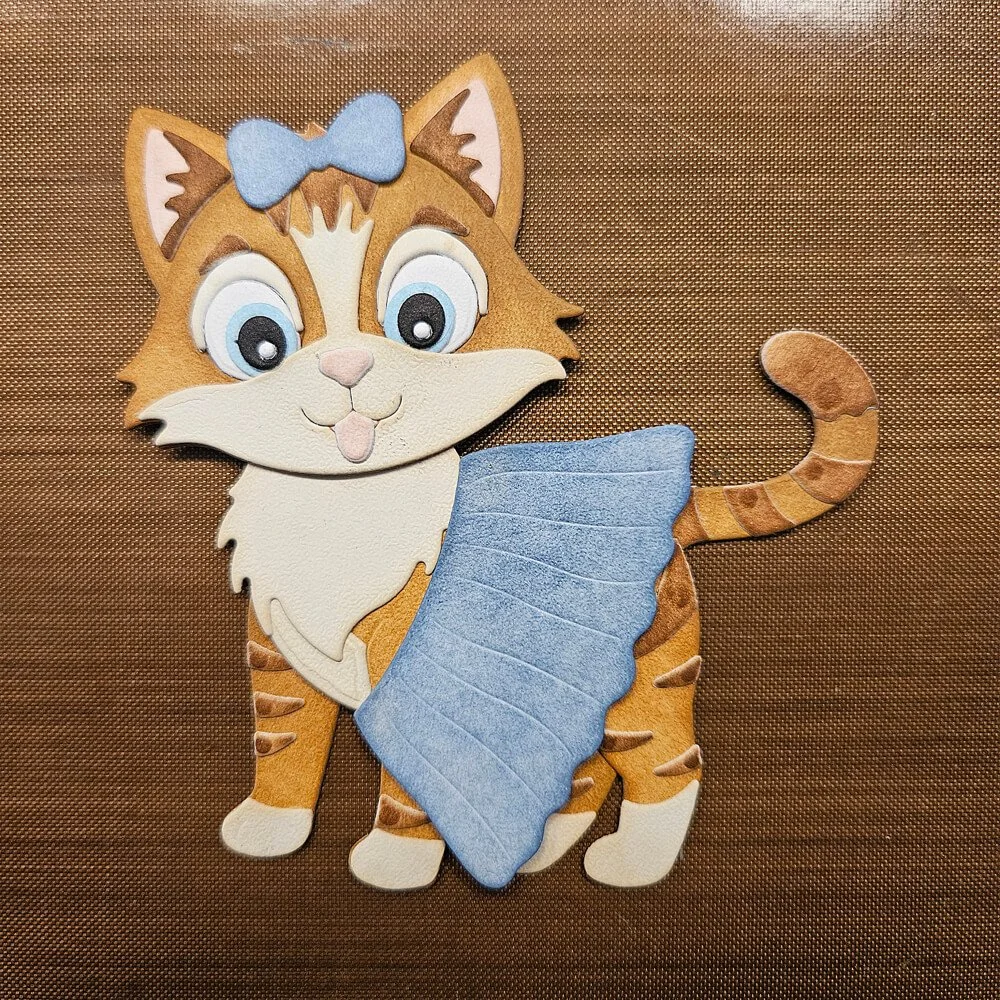
Step 9: Adhere the fence to the background. As I said in the beginning, I had to trim something from the fence. I added the background to the square cardstock. I also adhered the cats in front of the fence. For a finishing touch, you could add a sentiment to the card.
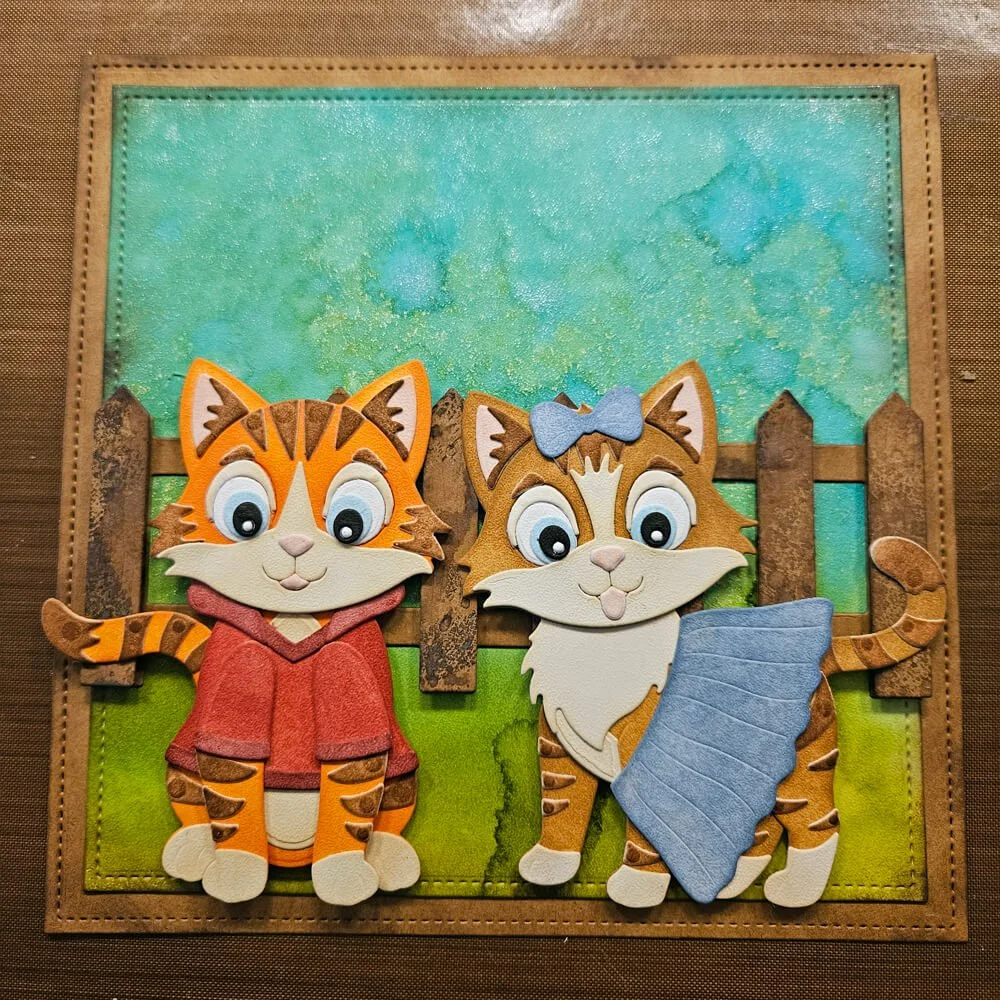
I hope you got inspired by this cat card. I hope you will enjoy this new dies and stamp as much as I did. Thankyou so much for taking time to read this.
Make sure you share your projects with us in our Facebook Group HERE. We love to see what you create!
Never miss a tutorial and sign up for our emails today HERE.
Elizabeth Craft Designs Products Used:
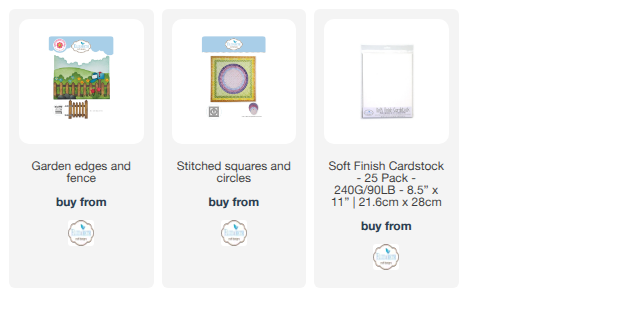
Elizabeth Craft Designs Products Used:
Other Products: Distress Ink: Brushed Corduroy, Tattered Rose, Tea Dye, Spiced Marmalade, Vintage Photo, Tumbled Glass, Fired Brick, Aged Mahogany, Black Soot, Antique Linen, Stormy Sky. Izink Ink Spray Spring Green, Lindy Startbust Spray Sassy Sapphire, Versafine Clair Ink Nocturne and Kraft Cardstock