
Hang in There! Making a Funny Falling Cat Card for Pet Lovers
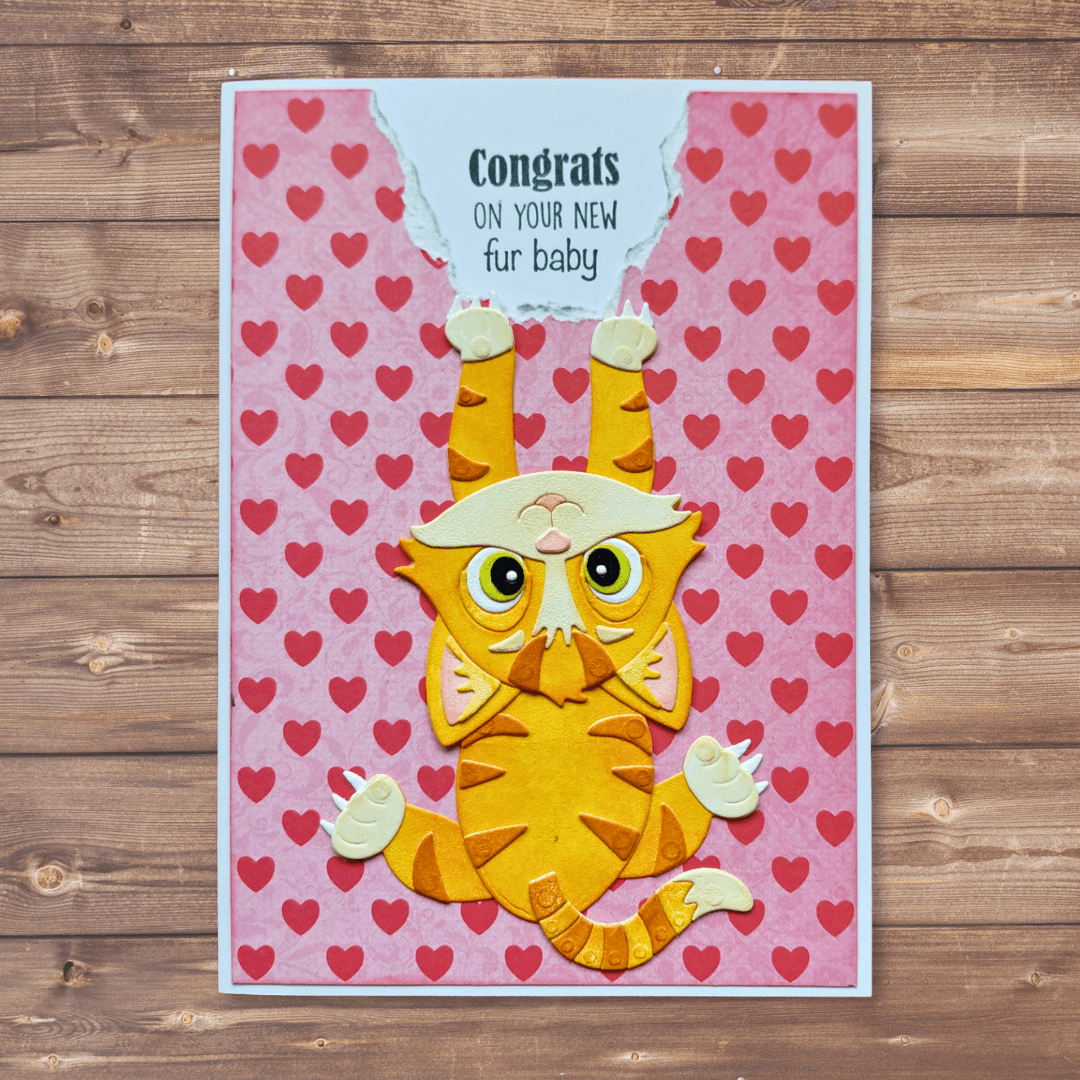
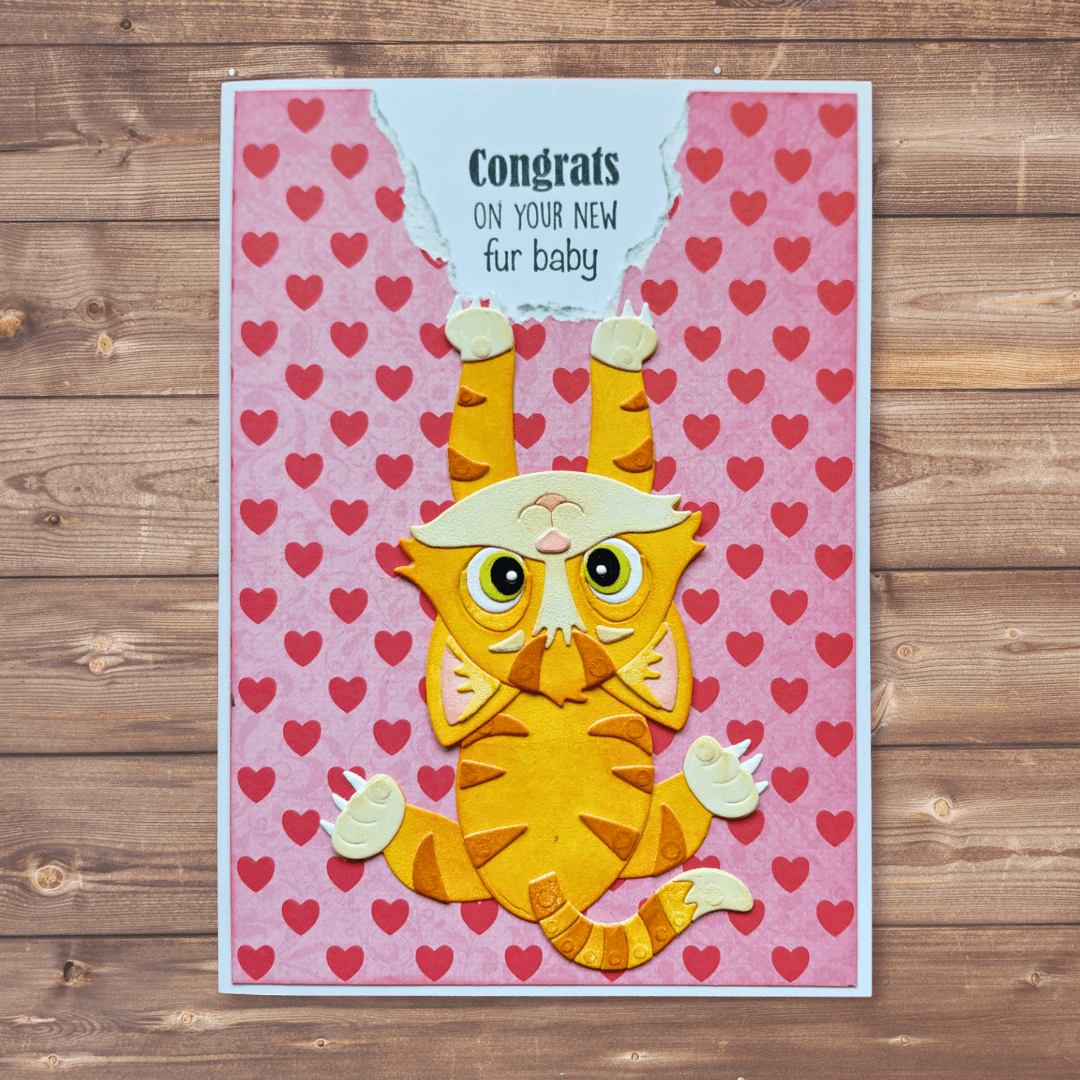
Ready to turn total feline chaos into pure crafting magic? This action-packed card features a hilarious, mischievous cat caught red-pawed mid-shred on a wall of freshly torn wallpaper!
Delight pet lovers with a hilarious, action-packed card featuring a mischievous cat clinging to torn wallpaper! Perfect for beginners, this step-by-step tutorial shows you simple die-cut coloring techniques and a clever paper-tearing trick using the Meet the Cats Collection. Grab your dies, Inks, and favorite patterned papers to follow the complete guide and supply list below!
Hi everyone,
This is Sylvia today on the blog for the Cute & Whimsical team. Have you seen the “Meet the Cats” release by Joset? It’s so much fun for anyone who has a fur ball running around. Today I have a fun card for new cat owners, but of course you can change the sentiment to your liking! Let’s craft together!
Step 1: Cut a card base measuring 21 x 14.5 cm and fold it in half lengthwise to make a card measuring 10.5 x 14.5 cm. Cut a piece of design paper measuring 10 × 14 cm as a mat layer and ink the edges. Do not glue them yet.
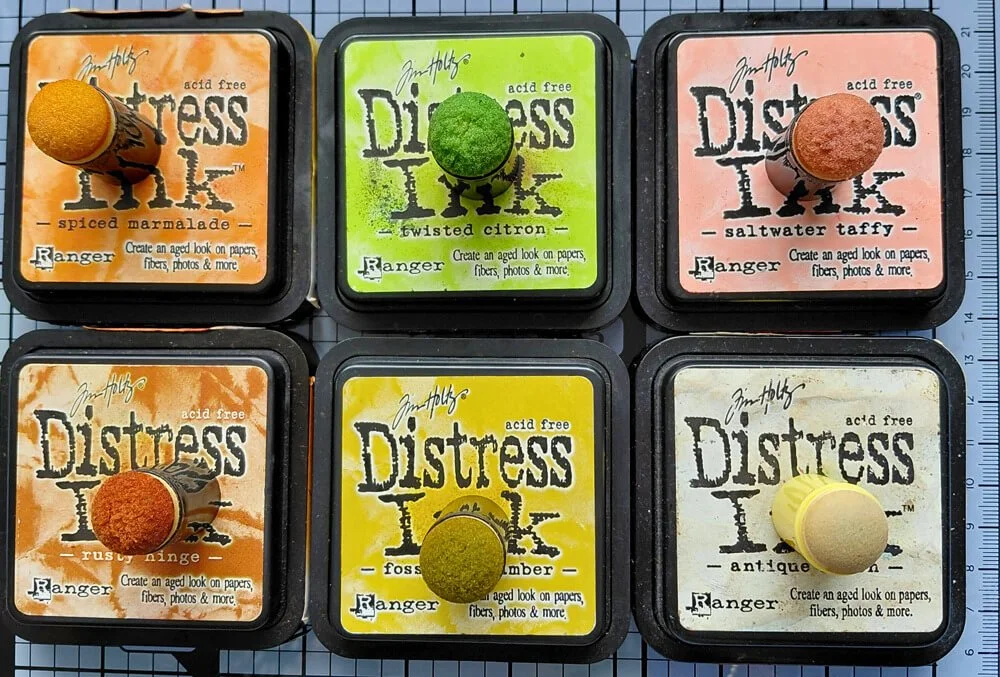
Step 2: Choose your color palette. I always use Distress Ink, but you can use any medium, like Distress Oxides or markers. Even colored card is an option. For my ginger cat, I chose Distress inks: Spiced Marmalade, Rusty Hinge, Antique Linen, Saltwater Taffy (inner ears, nose, mouth), Twisted Citron & Fossilized Amber (eyes), and a black marker.
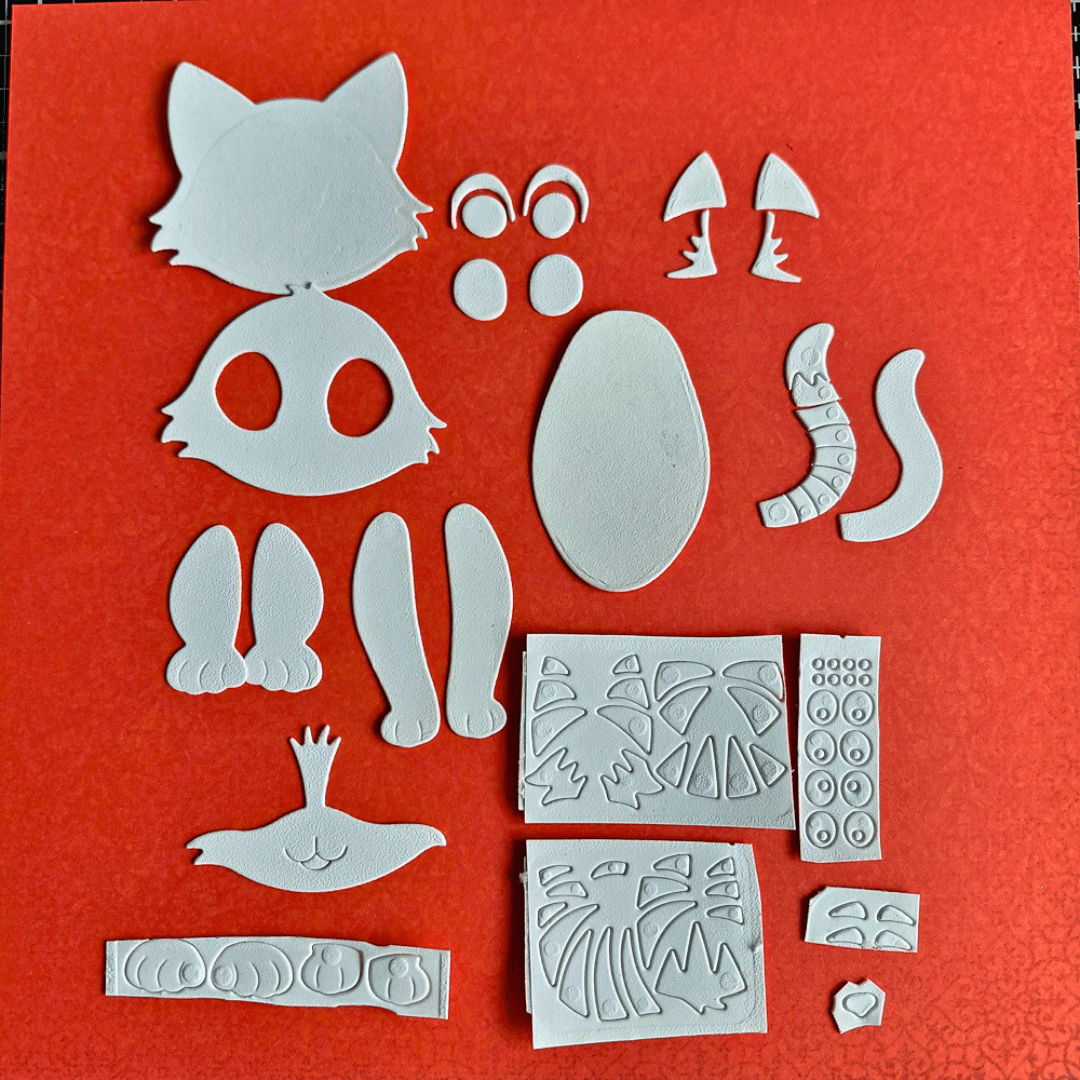
Step 3: From soft-finish cardstock, using Cats (2370), cut the base head, inner ears and hair, front legs, hind legs, the middle row of the feet, a head overlay (your choice), cheeks (your choice), solid tail, and overlay (your choice). Cut all striped-pattern parts, eyes & nose, tail overlay, and feet with double-sided adhesive on the back; this makes it much easier to put the cat together later.
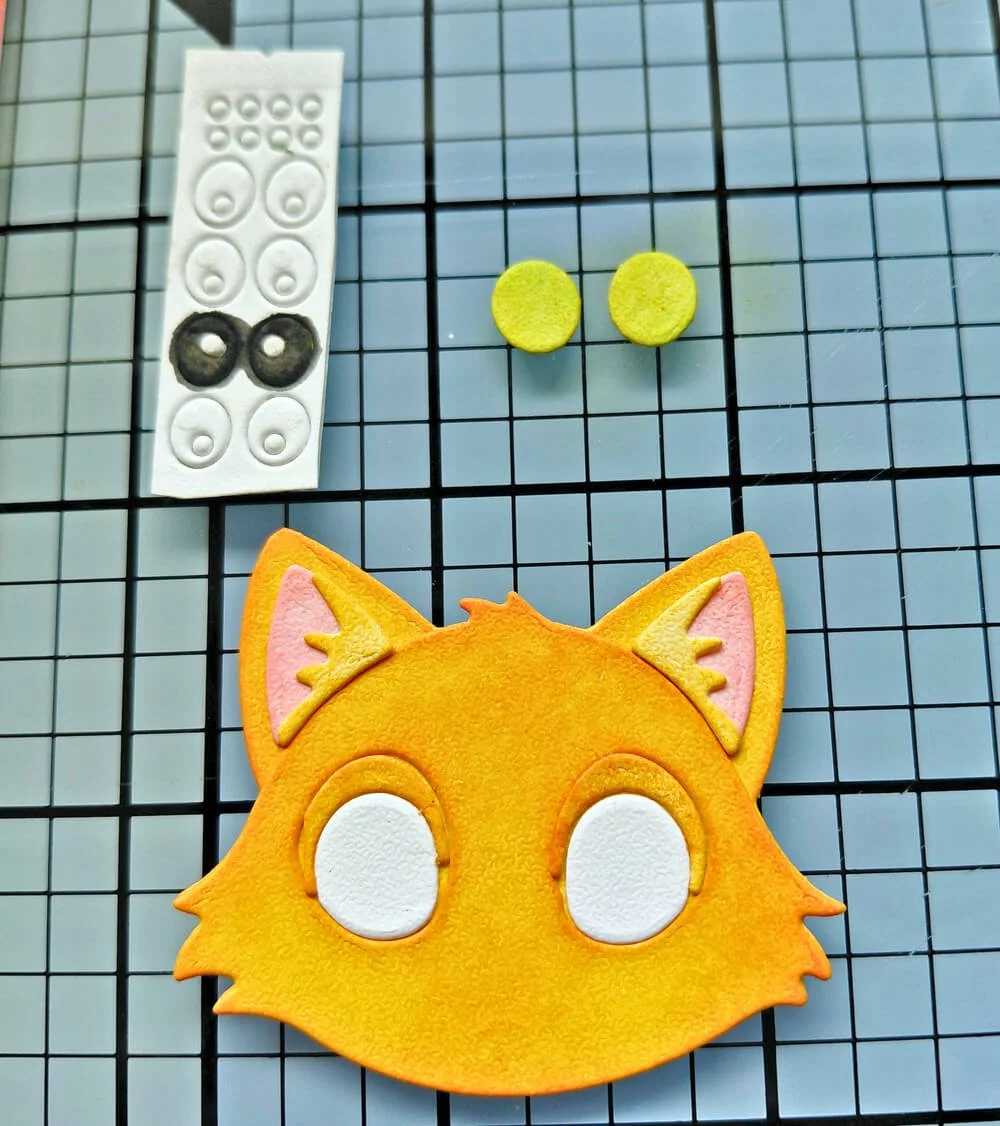
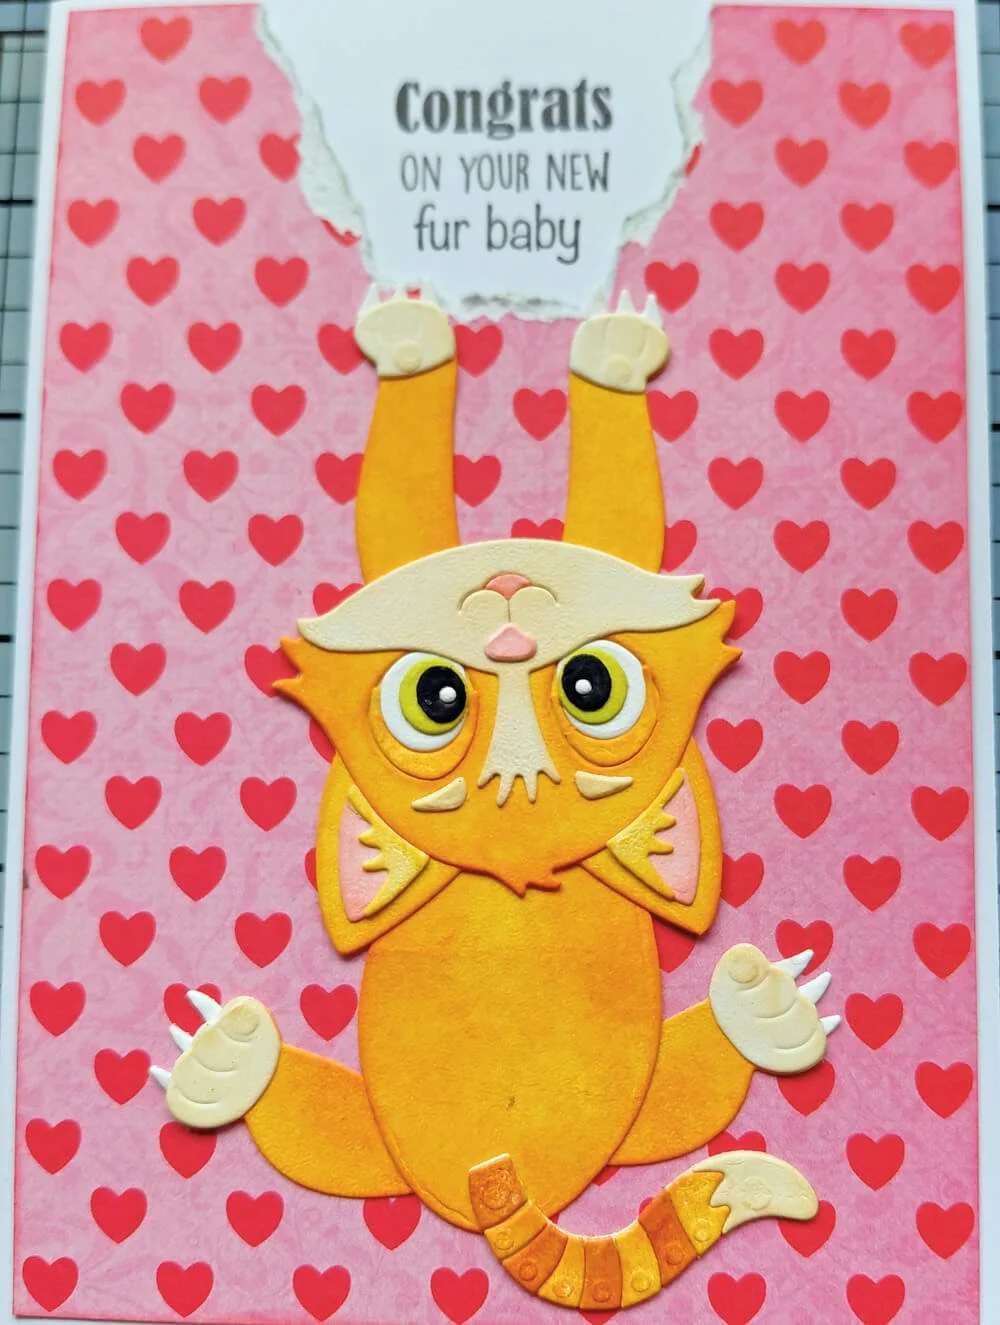
Step 4: Color your cat parts to create any color cat you like, or use my photo as a reference for a ginger cat. Assemble the head; first apply the overlay to the solid head, then add the inner ears and hair. The eyes are colored and assembled as follows: largest part (not colored), arch (same as body color), smaller round part is the eye color (in my case twisted citron toned down with fossilized amber), pupils (black), light dot (not colored). Next, add the colored cheeks (antique linen) and the nose and mouth (saltwater taffy). Set aside for later.
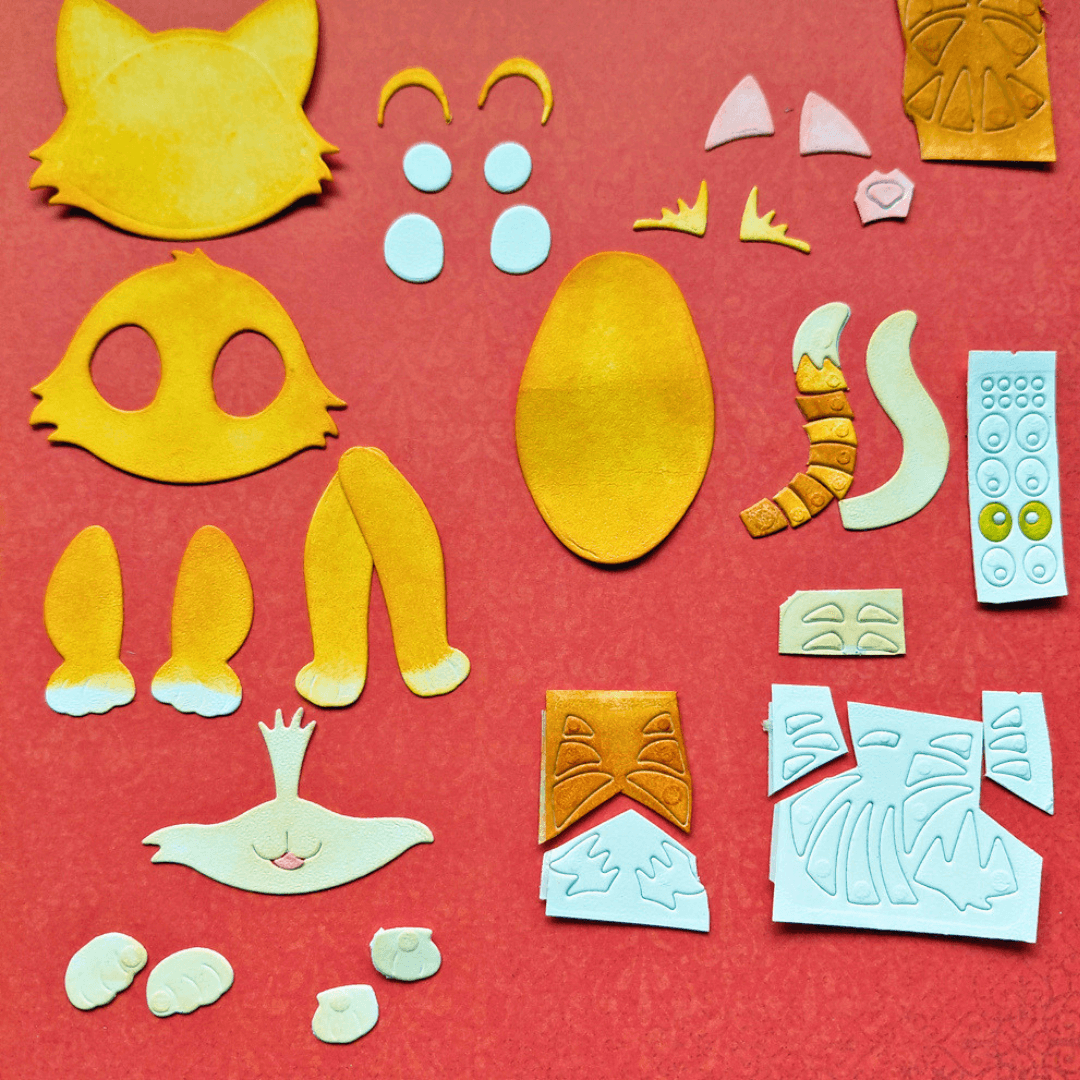
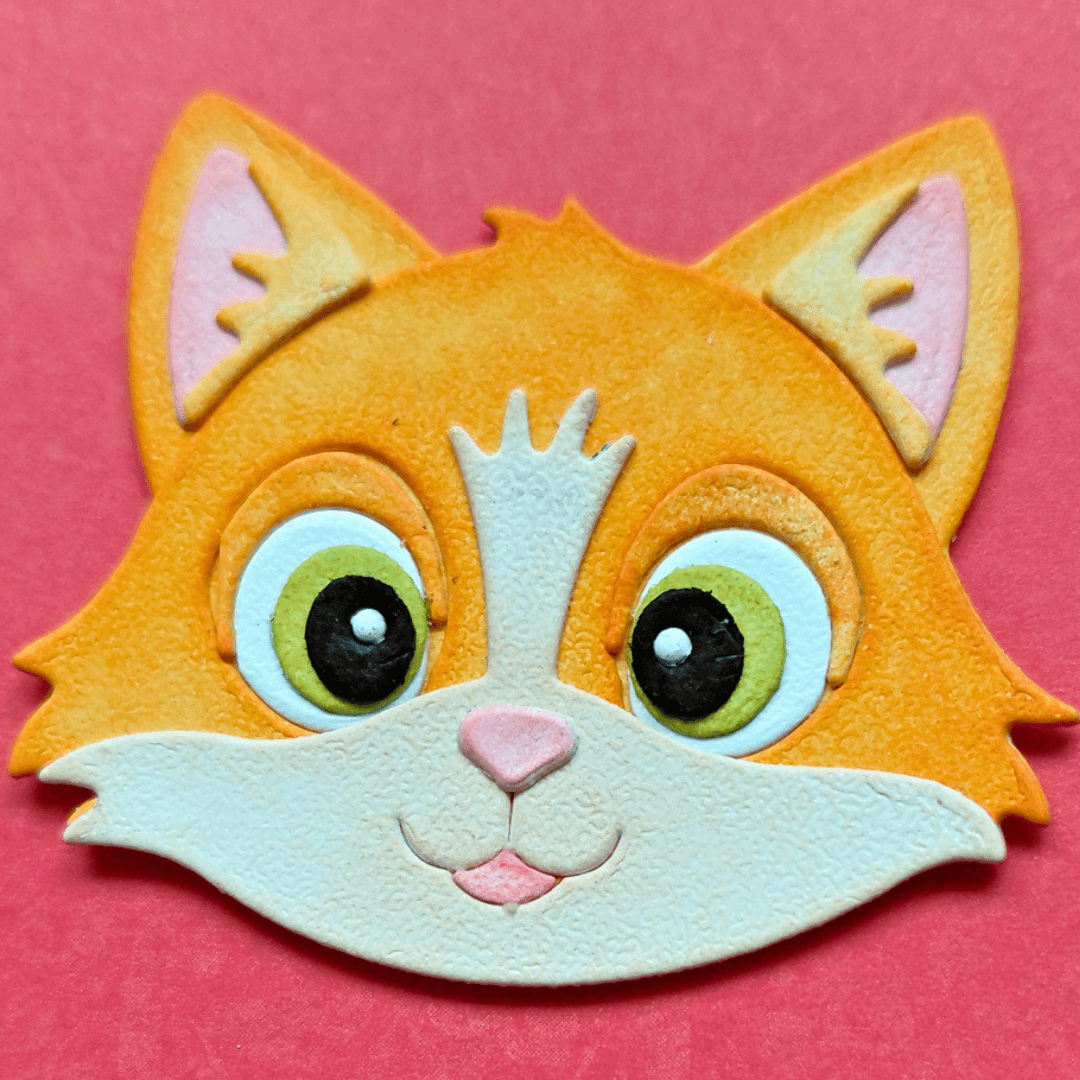
Step 5: Color the feet, tip of the tail, and brows with antique linen. Color the stripes of the tail alternately with spiced marmalade and rusty hinge. Glue the feet to the legs, assemble the striped tail. Do NOT color both whiskers parts and 6 of the smallest stripes (see photo), for these will be used as nails.
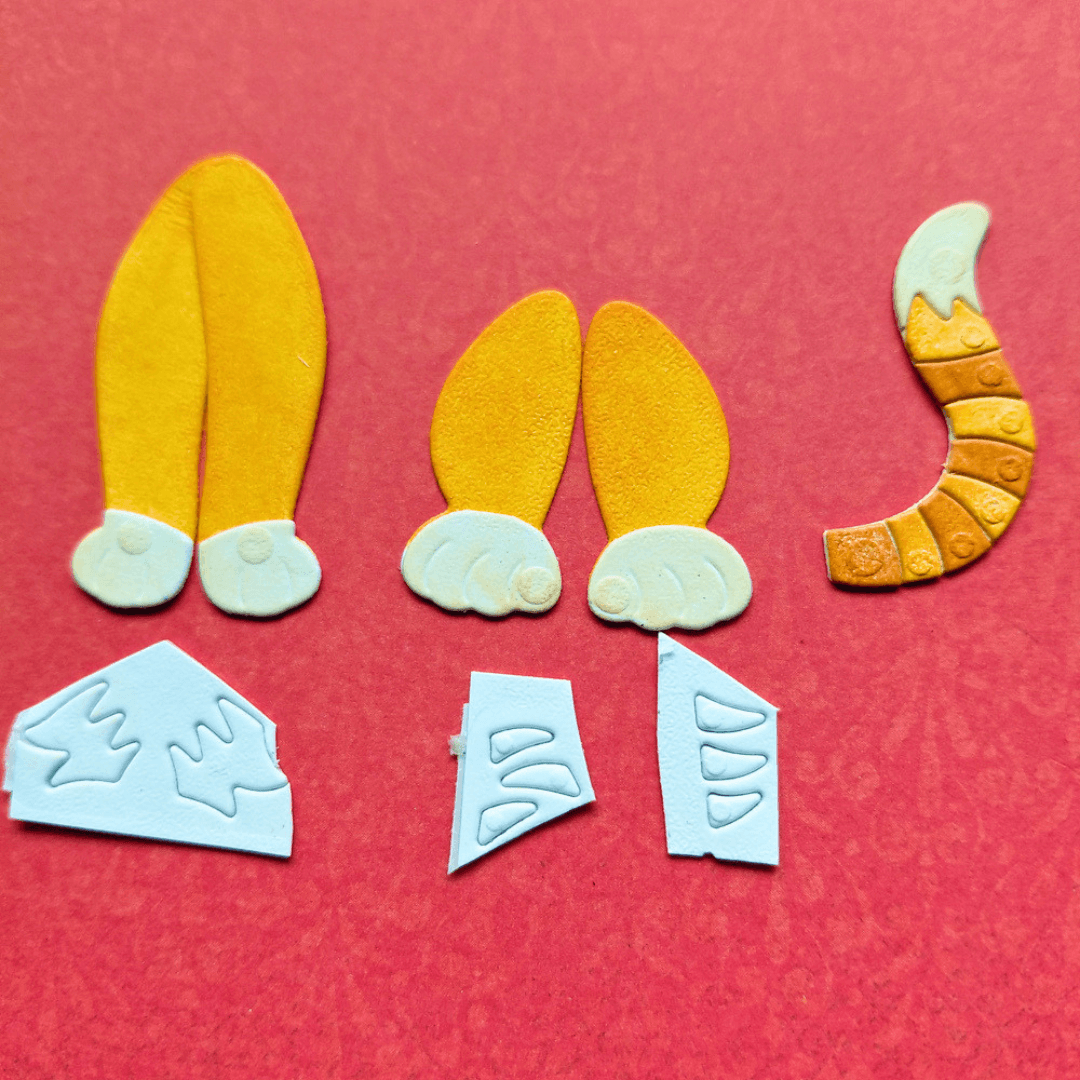
Step 6: Glue the nails to the feet (I used the whiskers parts on the front legs and the individual stripes as nails on the hind legs). Color the larger stripes in rusty hinge to decorate your cat.
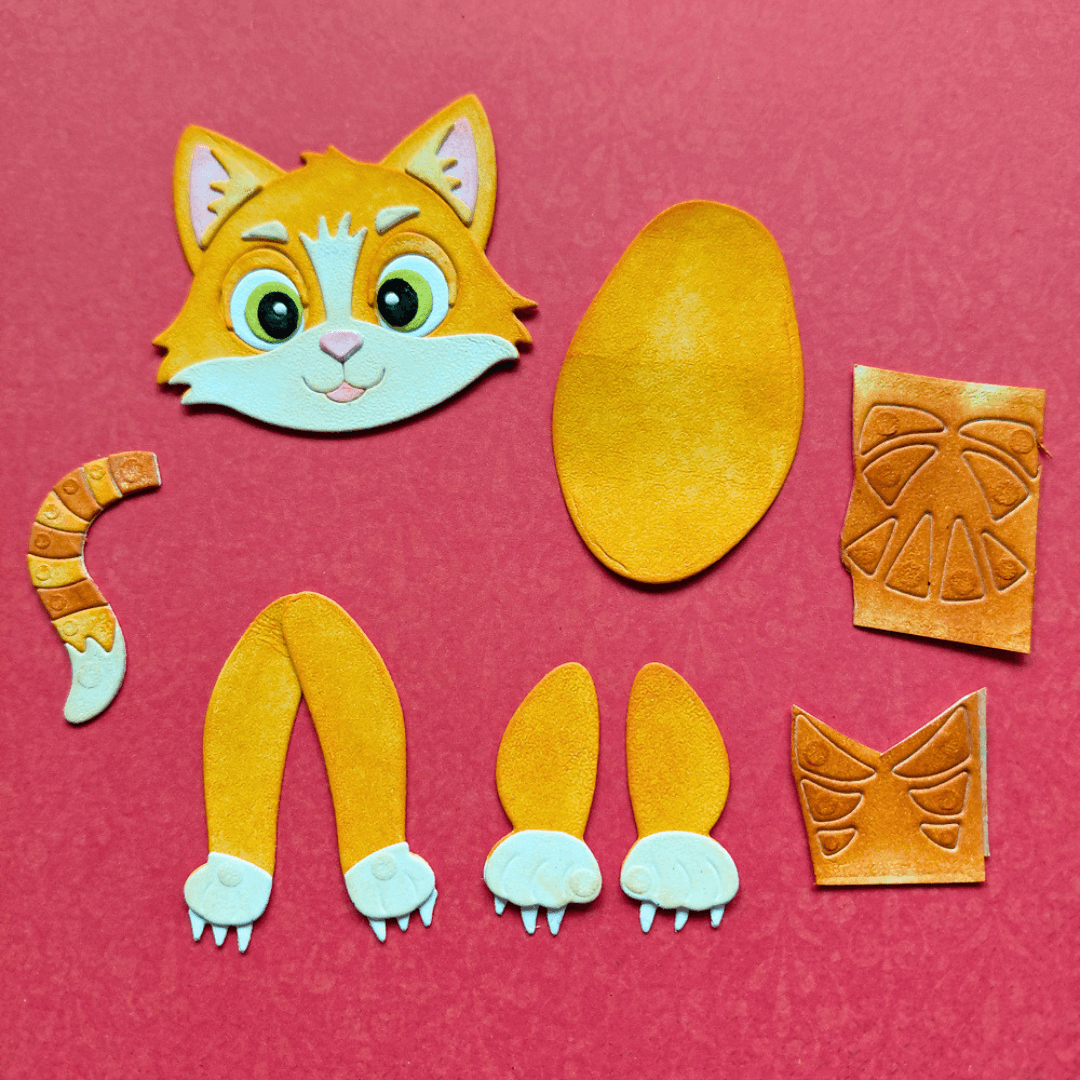
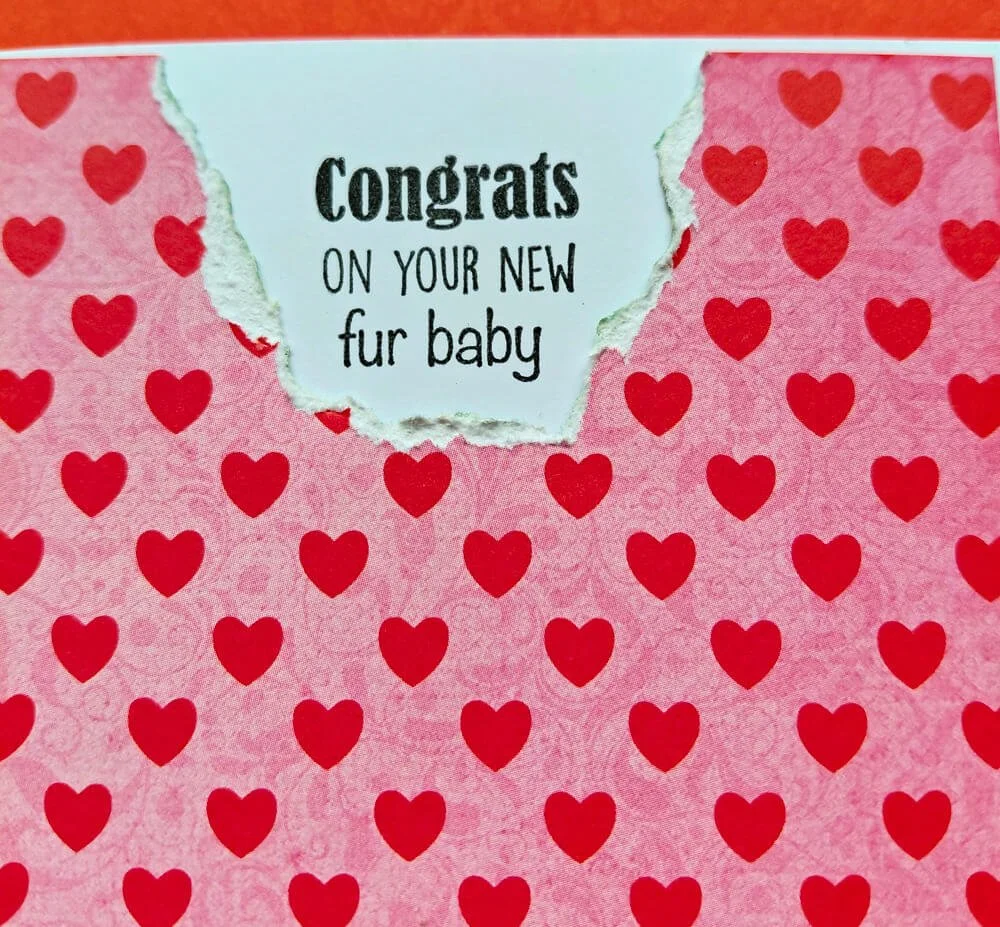
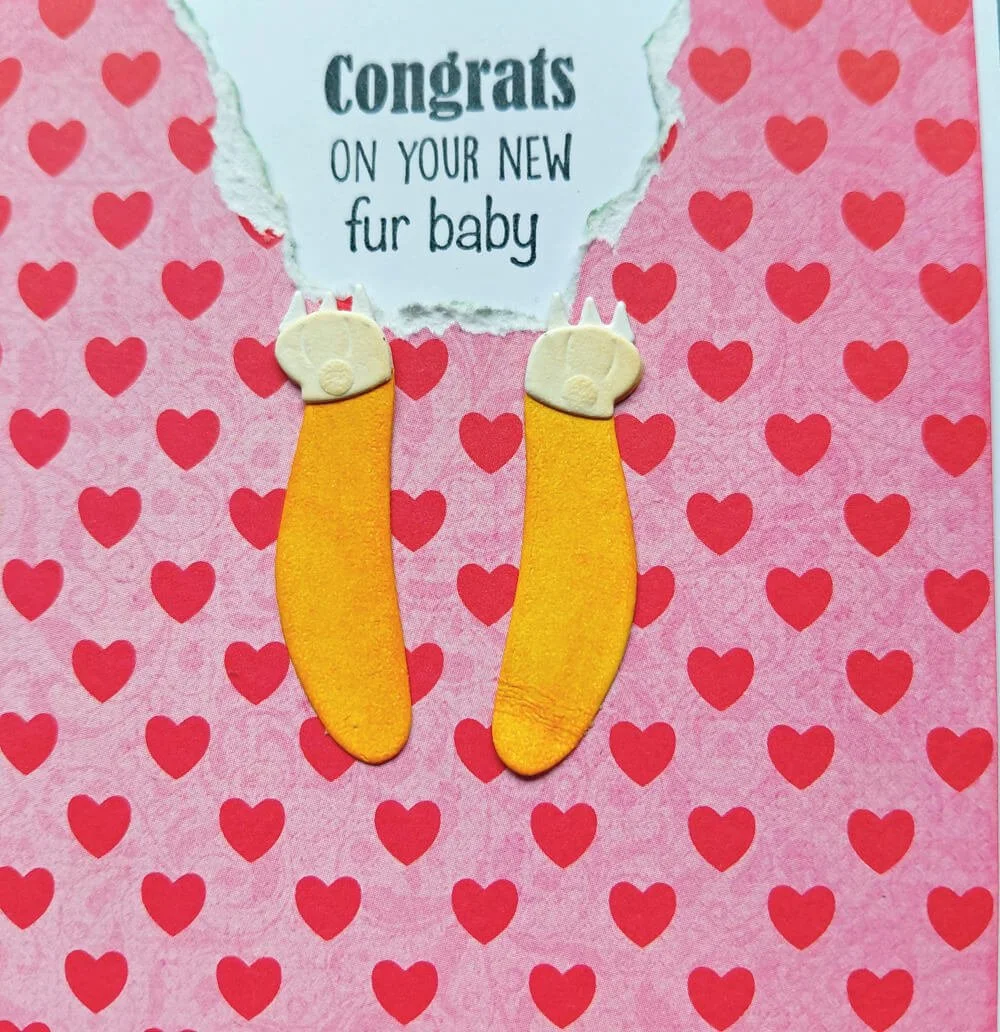
Step 7: Stamp your sentiment in the center at the top of the base card. Tear a piece from the top center of the design paper so that your sentiment is visible, then adhere the design paper to the base. It should look like the cat scratched the paper off. Glue the front legs to the torn area using the attached nails. Build your cat on the card, glue the hind legs and tail to the body (legs under, tail on top), glue the body to the front legs, and add the head (the cat should look as if it’s hanging from its nails). Decorate your cat by adding the colored stripes to the body and legs.
Thanks for crafting with me! If you have any questions, please don’t hesitate to ask. I’d be happy to help you out!
Love!
Sylvia
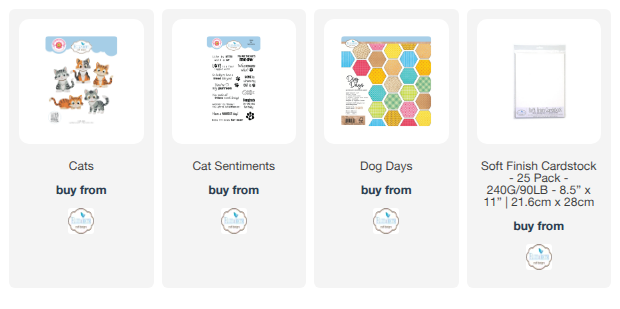
Elizabeth Craft Designs Products Used:
Cats (2370)
Cat Sentiments (CS459)
Dog Days Designer Paper (C040)
Soft Finish Cardstock (PSF144)
Other Products: Distress Inks, Adhesive, Black Pen.