Exploding Cooking Pot Card
Love making cards with your mice and need some fresh ideas? Join us and learn to make cards with a surprise twist. We're turning the classic exploding box into a fun cooking pot! Perfect for those loved ones who love to cook or to say thank you for a meal out. If you like making fun projects, this awesome idea is super versatile; you can totally use it again just by switching up the dies and papers.
Hello everyone. Today, we have a super interactive surprise card box! This small box can also be used for a small gift or a gift card. I have used the Cooking Pot die set 2291; however, you could easily switch up the design to suit your occasion.
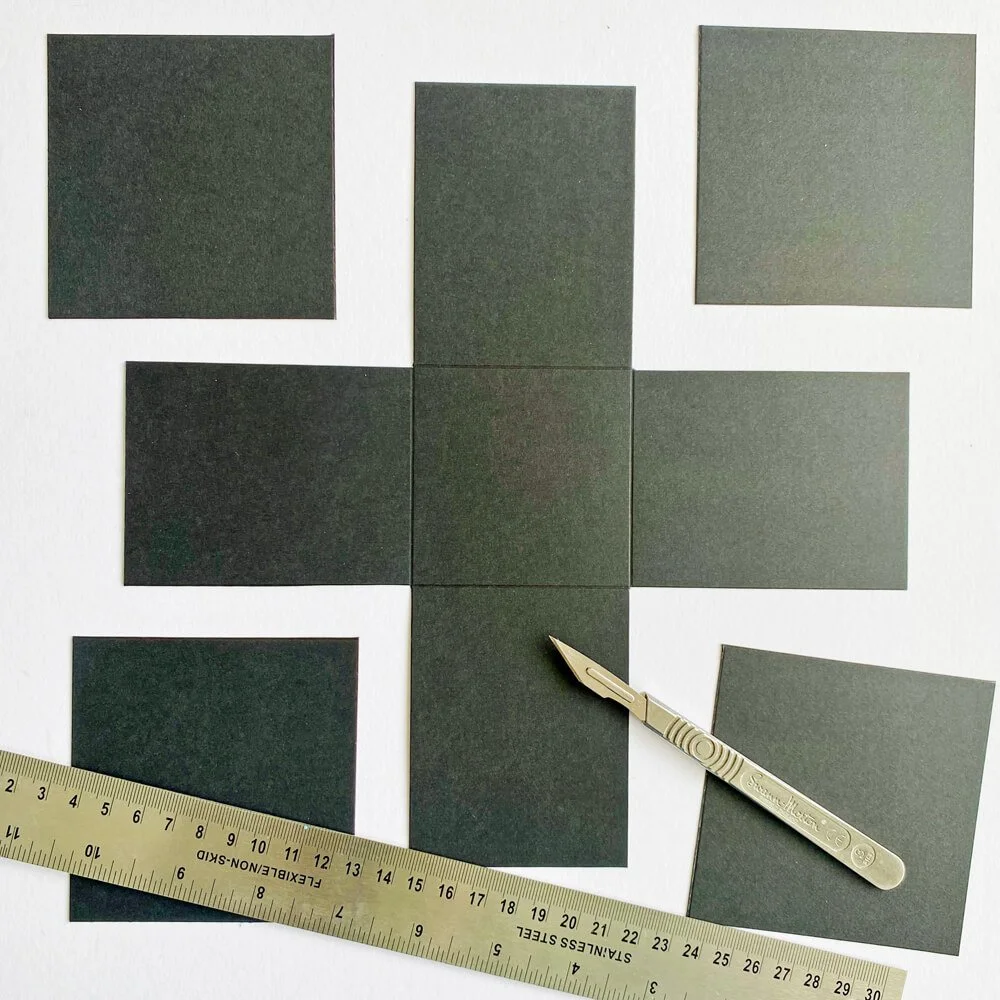
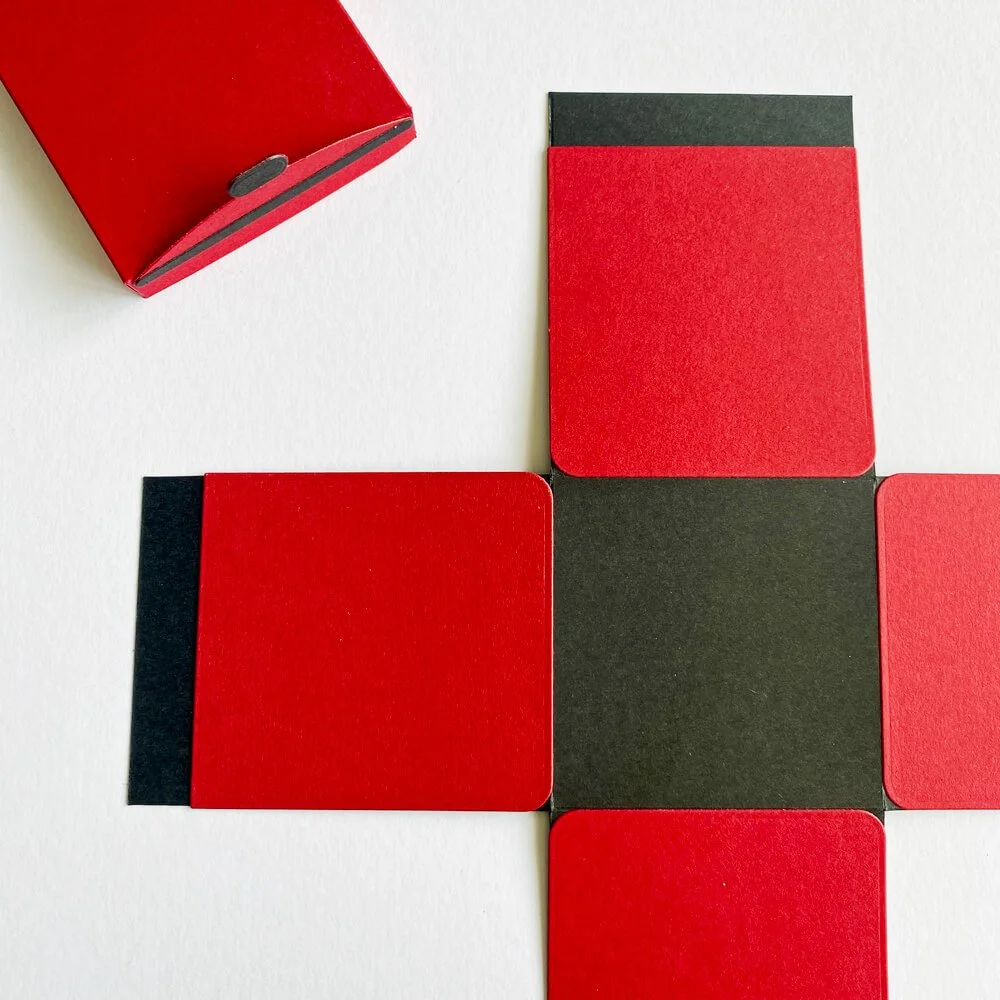
Step 1: Cut a piece of black card stock to 9 7/5” (24.7cm) x 9 7/5” (24.7cm), then score at 3.5” (8.9cm) and 6.25” (15.8cm), turn once, and score again, creating a grid effect.
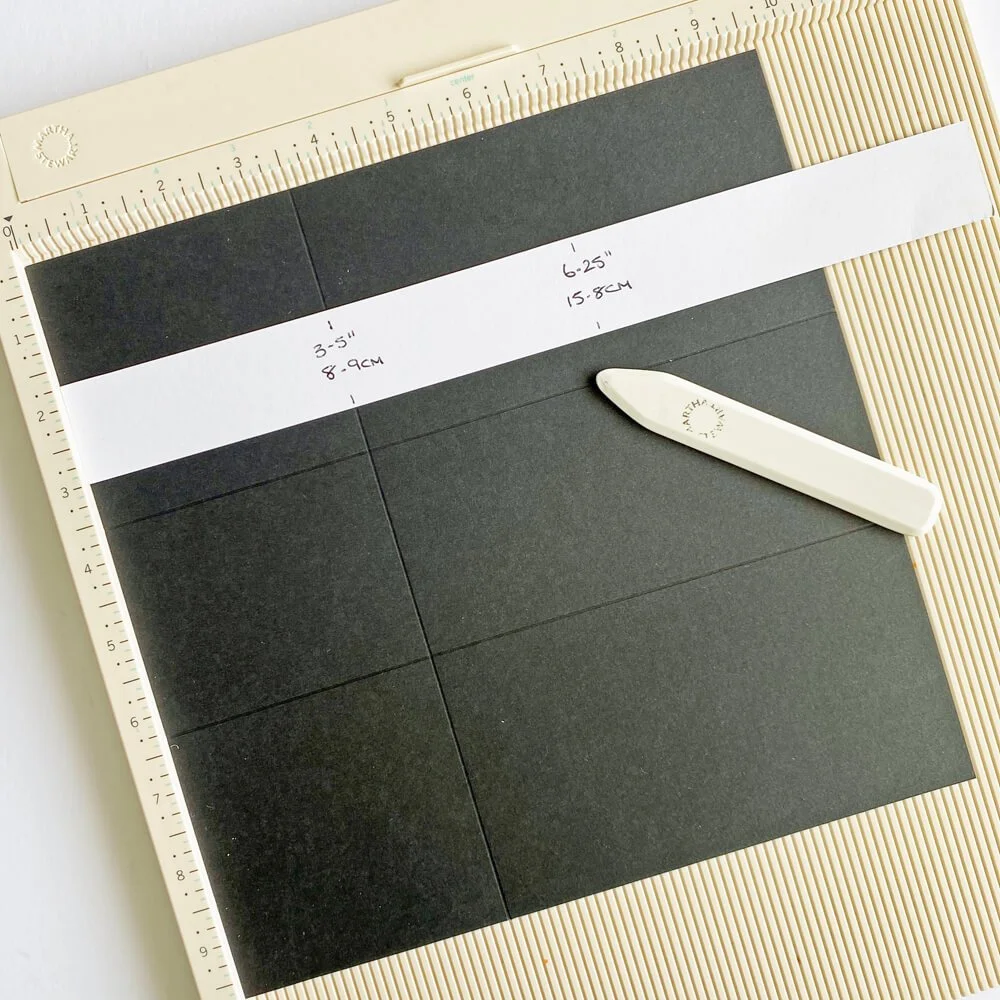
Step 2: Cut the four corner squares away, leaving a cross shape. Set aside the squares for later.
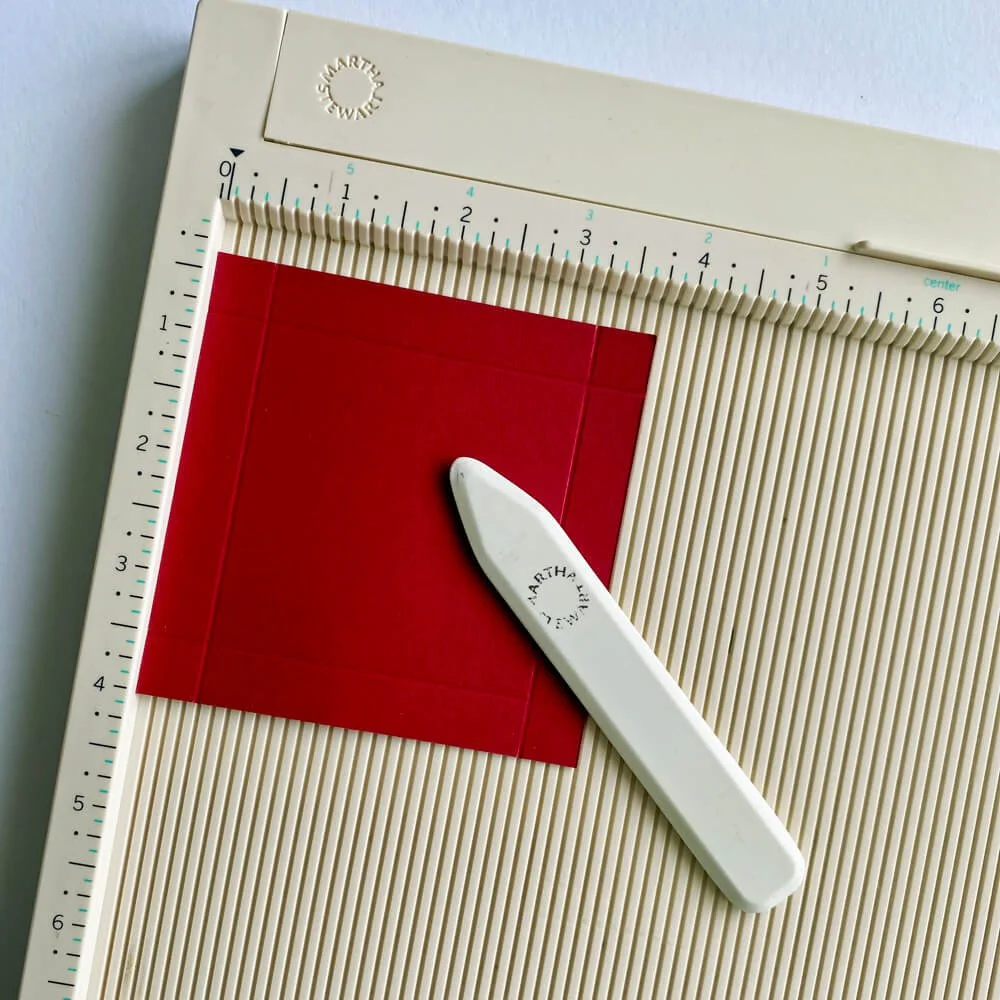
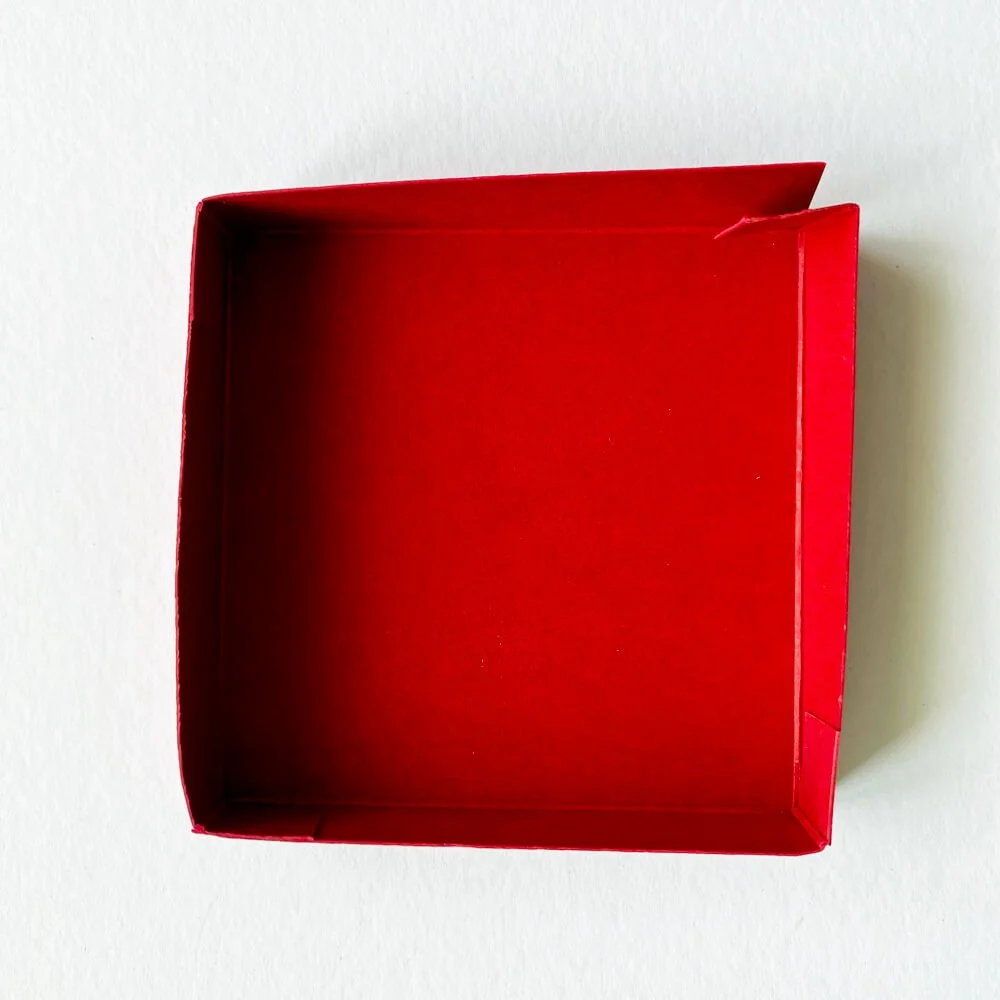
Step 3: Cut a square of red card stock measuring 3.75” (9.5cm) x 3.75” (9.5cm), score at 1/2” (1.2cm) on one side, then turn and score again, repeat on all four sides.
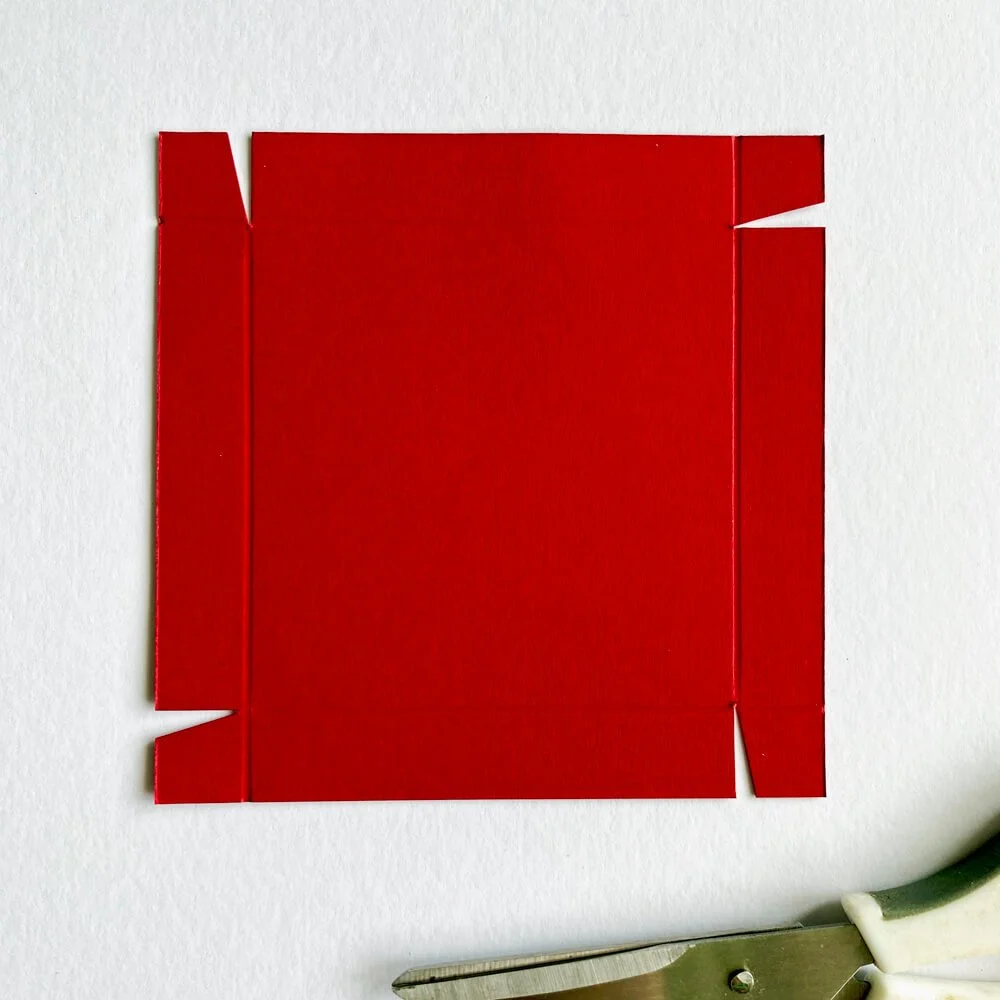
Step 4: Snip a V shape into each of the four corners as shown in the photo. This will create four small tabs for gluing. Fold all the score lines.
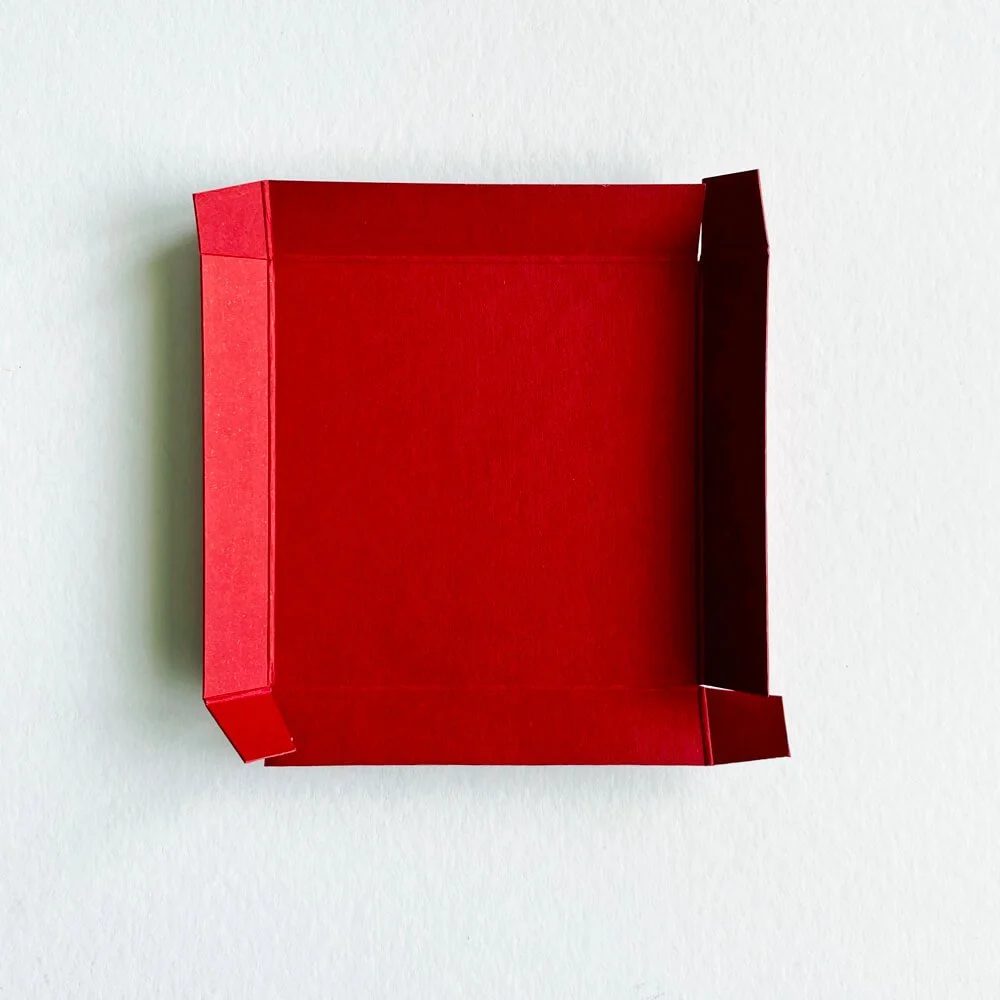
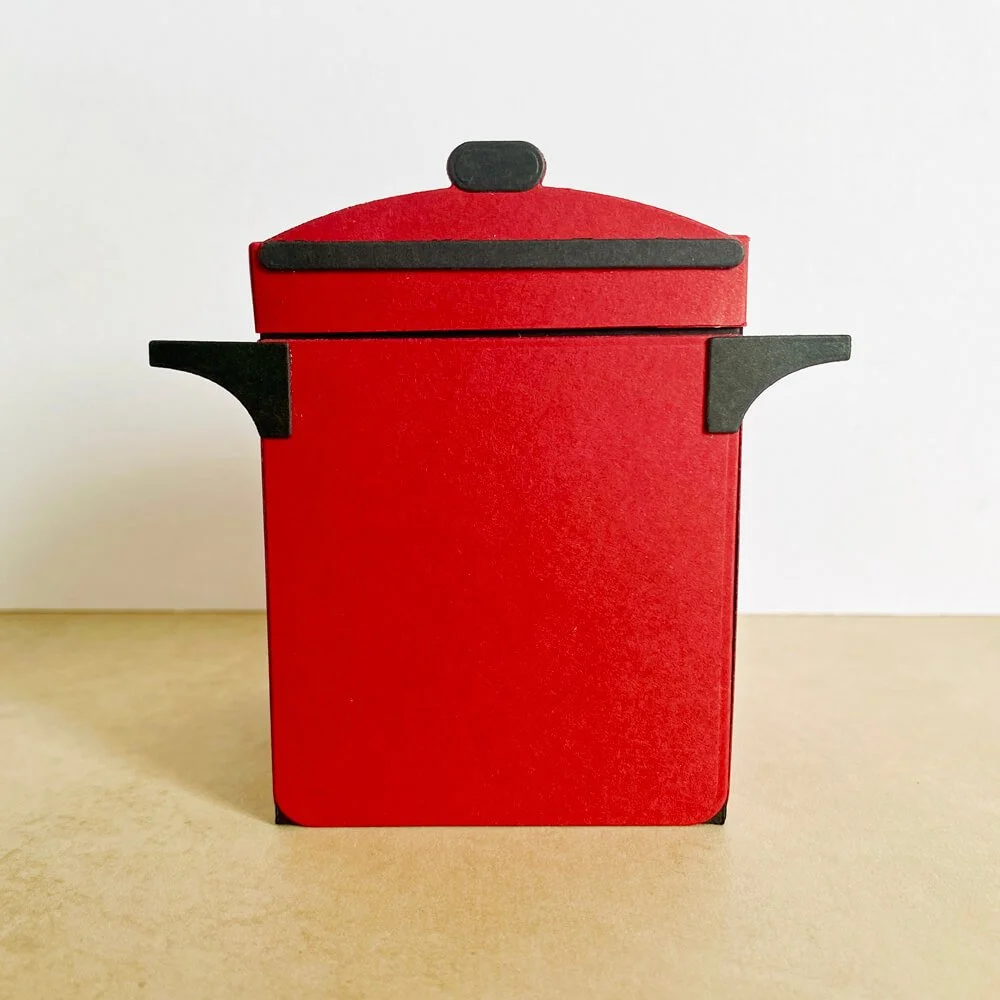
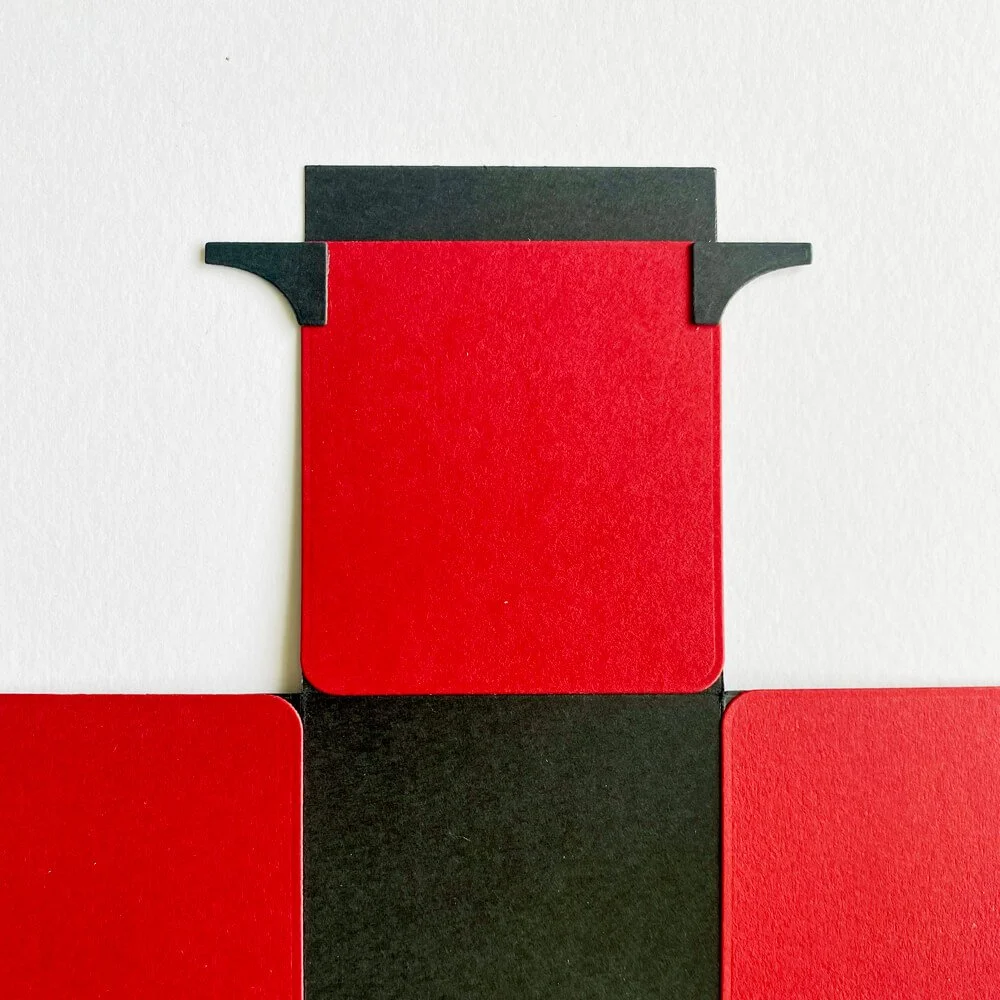
Step 5: Glue each small tab to its nearest side, creating the box lid. Die-cut the pot top and attach it to one of the sides.
Top Tip: Double up the die-cut pieces for extra stability.
Step 6: Die cut four pot sides from red card stock and fix these in place to the outer flaps of the prepared box. Fix two black handles in place on one side. (Again, double up these handles for strength.)
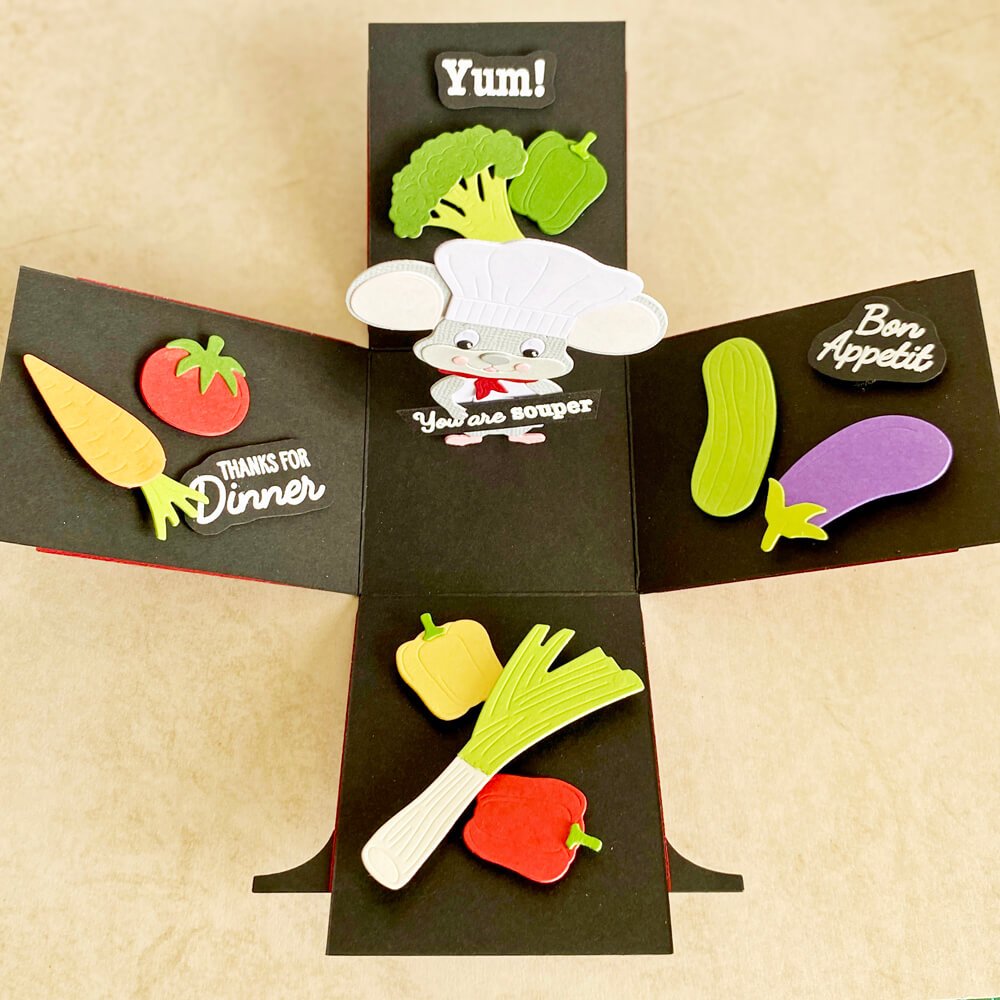
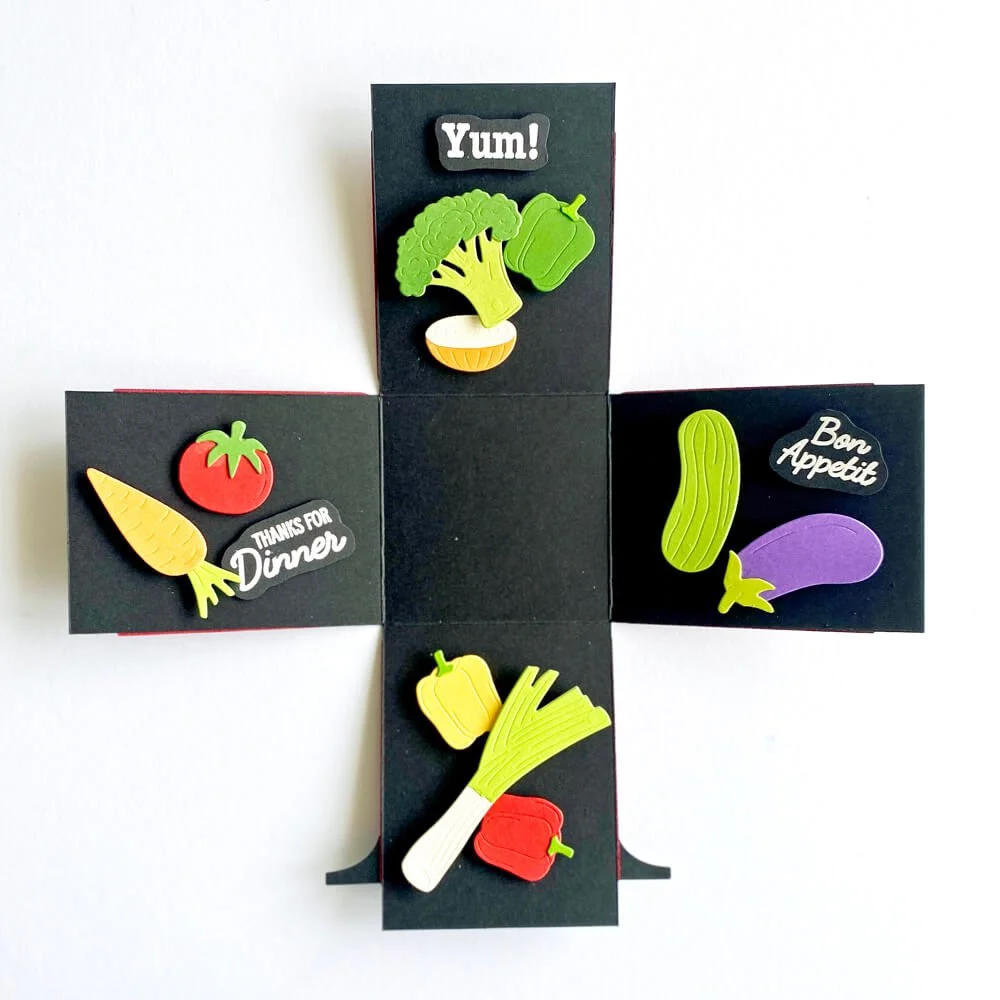
Step 7: Prepare a selection of vegetables. Attach some black fun foam behind each one, some with one layer and some with two layers, creating different heights.
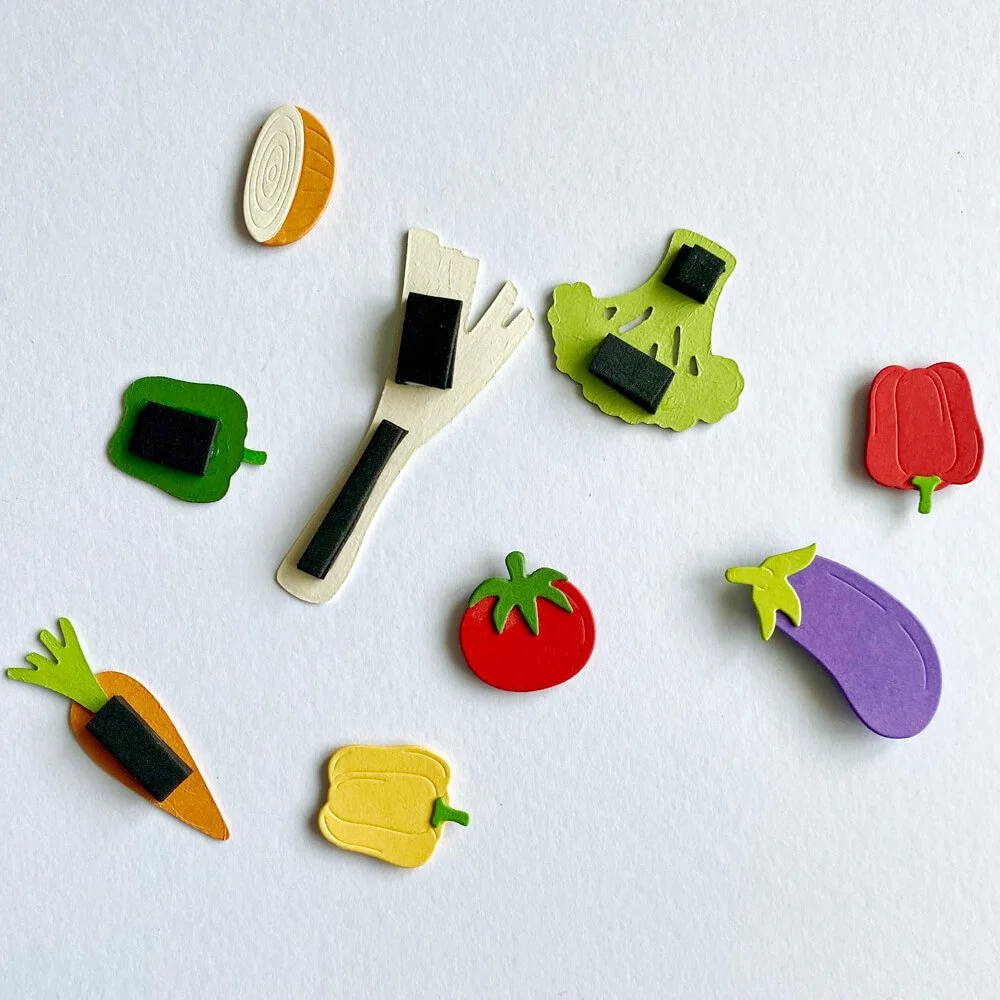
Step 8: Glue all the vegetables to the inside pot flaps, ensuring they all face towards the front. Stamp out a few sentiments, adding more black fun foam behind them.
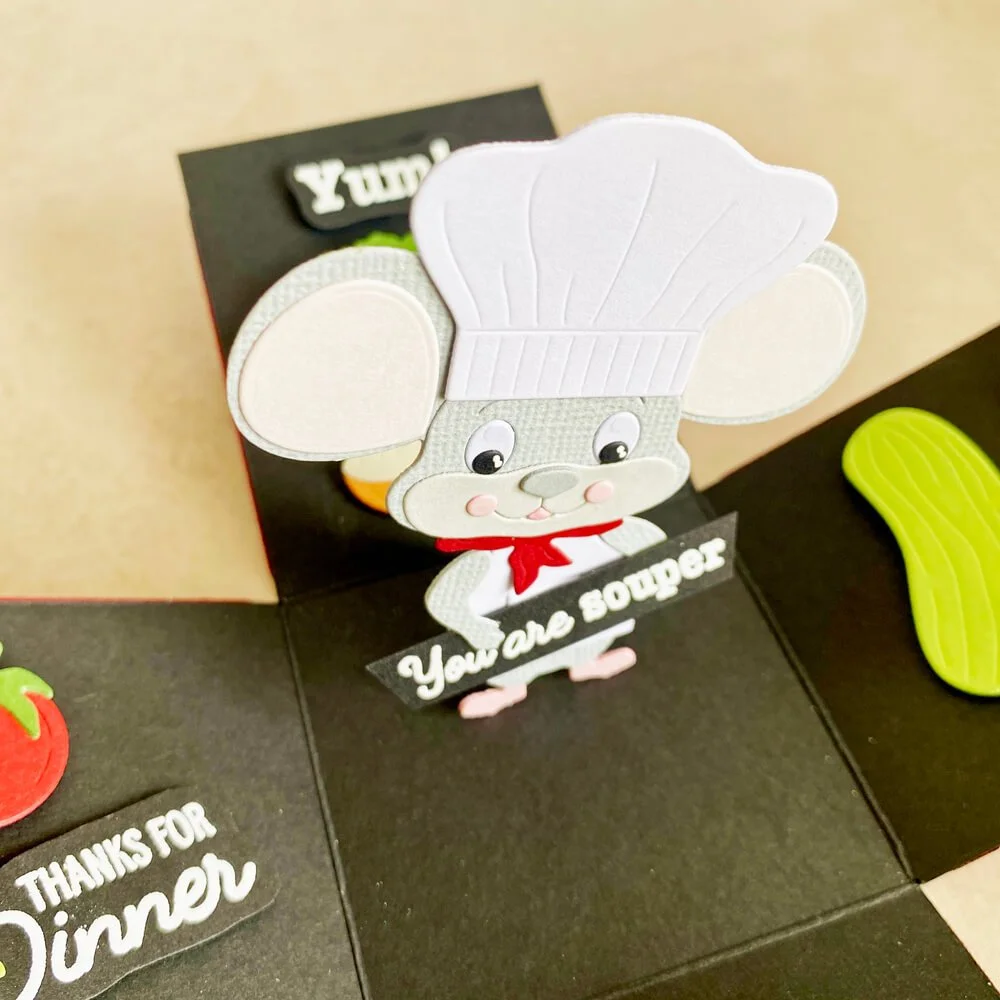
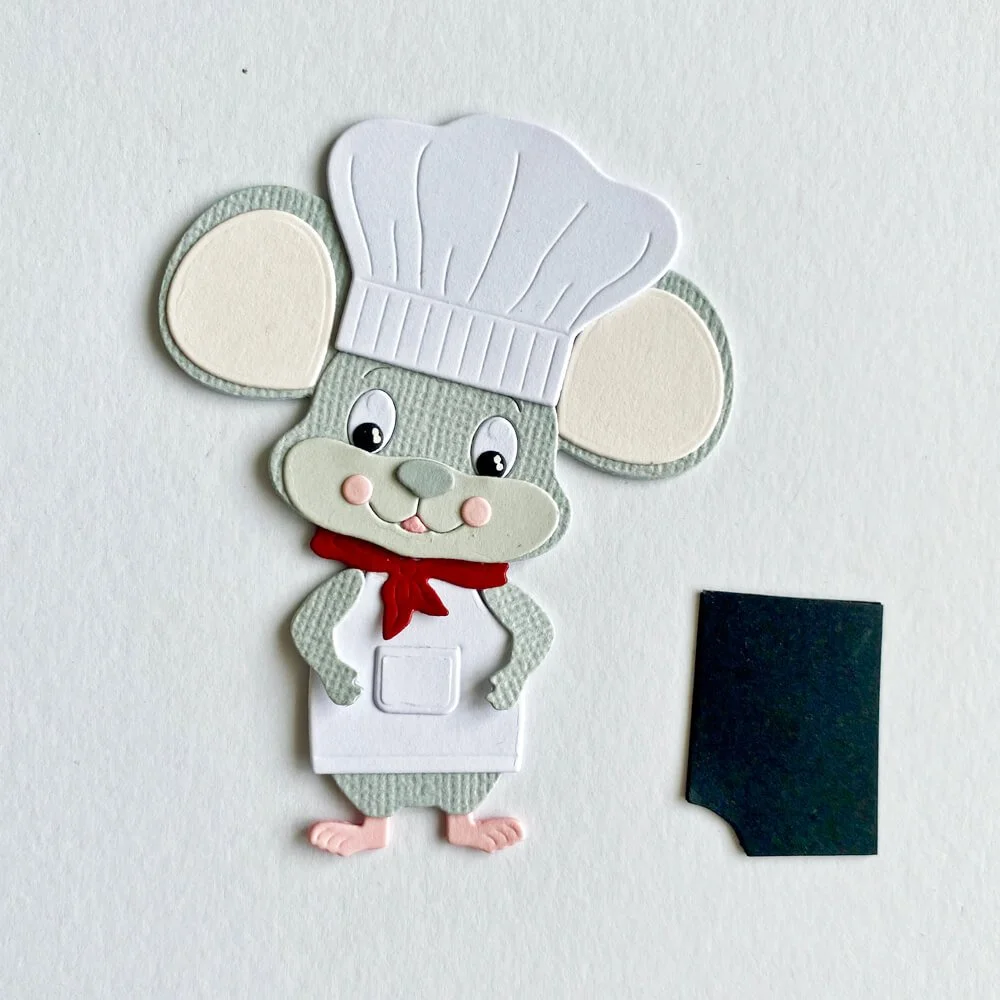
Step 9: Make a little mouse chef and cut a piece of thick black card stock to sit behind the mouse; glue it in place to secure the mouse upright. You may have to hold this piece in place for a few seconds, then set it aside to dry.
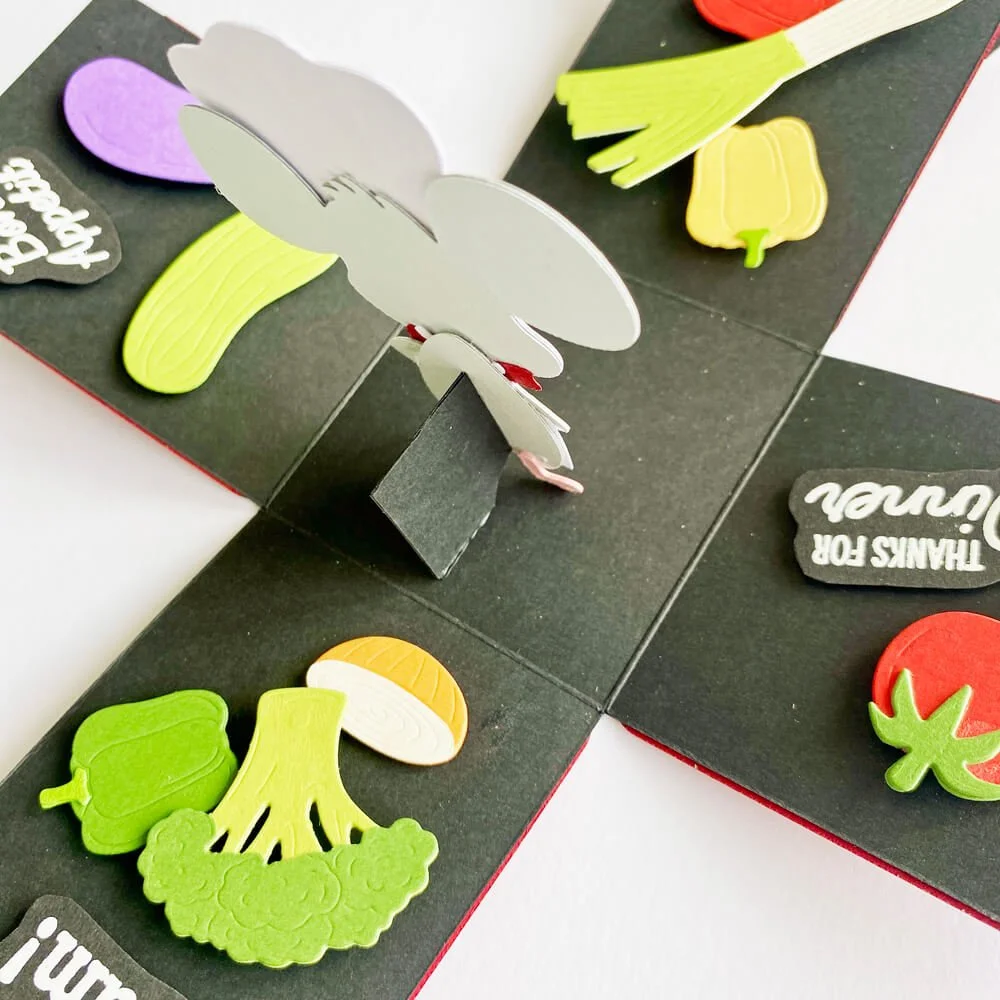
Once dry, your box is ready to surprise your friends and family! I hope you are inspired to give this fun design a try. Thank you for stopping by x