Create a fun loaded pocket the EZ way!
Love making cool planner elements and need some fresh ideas? Join us and learn the super easy way to whip up your own loaded pockets and get the most from your crafty stash! A fun idea that can be used again and again either as part of your planner or as a stand alone project.
Hello everyone, Marga here to show you how I made a loaded pocket.
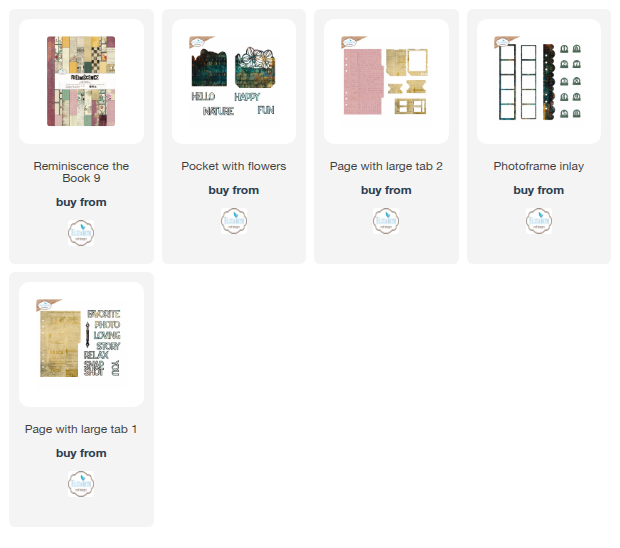
Step 1: Die-cut from the base die twice from kraft cardstock using set 2278 Pocket with flowers, and the decorative pocket die once from designer paper. I used paper from Reminiscence book 9. I made a short video showing how I did this.
Step 2: Now you need to cut lots of decorative elements to decorate your pocket. The more elements you add, the more ‘loaded’ it looks. I used elements from sets: 2280 Page with Large Tab 1, 2281 Page with Large Tab 2, and 2282 Photoframe Inlay. I die-cut several of these and went around the edges with the Distress Oxide Gathered Twigs.
Step 3: I decorated the front of the pocket by gluing the word "Happy" in place and tucking a floral image just behind it. There are several ways you can use the sentiments; this time, I chose to fill in the entire word. I did use double-sided adhesive behind the paper before I started die-cutting. I find this makes gluing the words much easier.
Step 4: Then I started making the tags and photo frames. I mainly used the paper from Reminiscence book 9, including the images. I added two photos myself; the rest is all from the book. For some, I added eyelets and a piece of ribbon or a chain.
Step 5: In the final step, I filled the pocket with the labels and tags, and other die cuts I had glued together. You now have a loaded pocket. You can stick it in your planner, but it's also nice to give it to someone as a keepsake.
I hope you enjoyed reading this tutorial and you were inspired to make your own loaded pocket. There are so many possibilities when creating these pockets, changing the papers used and the tags, labels, and photos you fill them with can really change how they look.
Other products used: kraft cardstock, colored cardstock, Distress Oxide Gathered Twigs, and enamel dots.


