
Elegant Die-Cut Floral Cards for Special Occasions
Are you a crafter who loves elegant, detailed cards? Or maybe you’ve always wanted to create floral cards full of shaped 3D flowers and intricate details and don’t know where to get started? Follow the steps and learn how you can make your own floral masterpieces with layered foliage and shaped flowers. This statement card uses simple techniques, making it easy to create perfect floral cards for any occasion, and you’ll be able to use these ideas again and again.
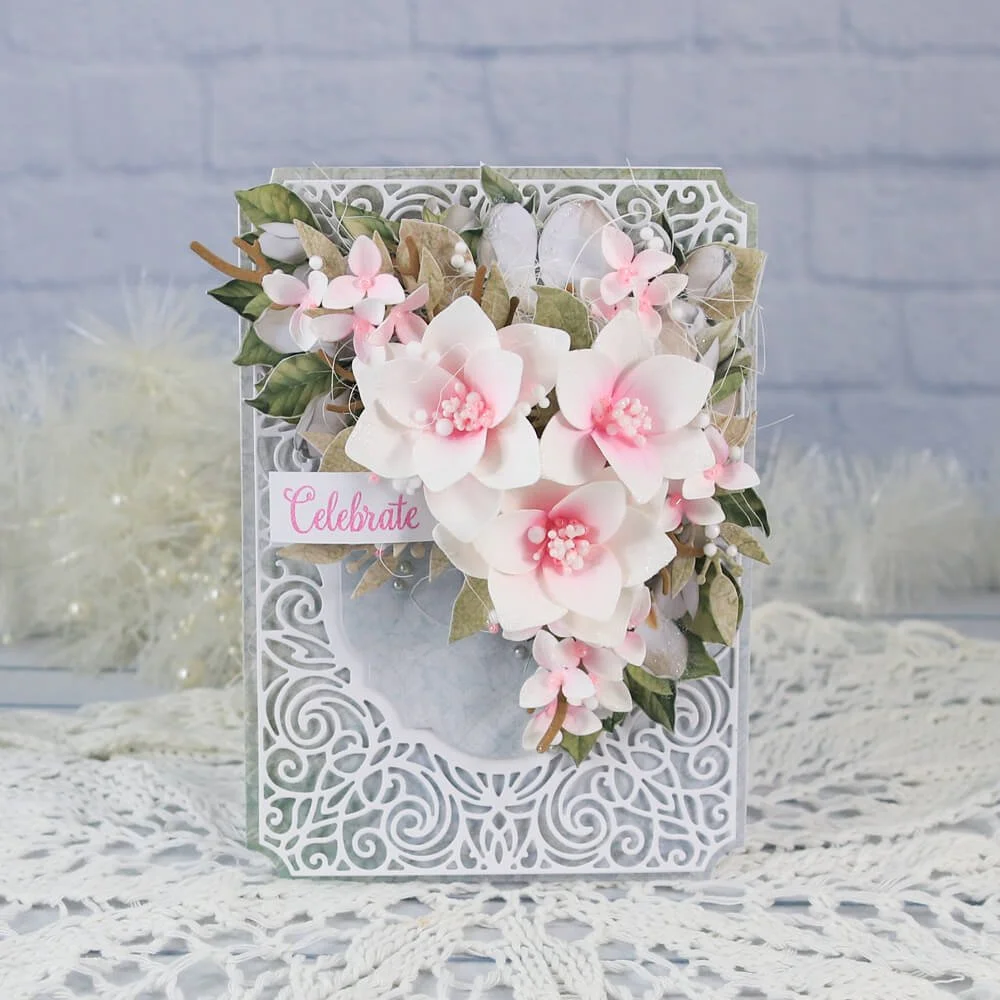
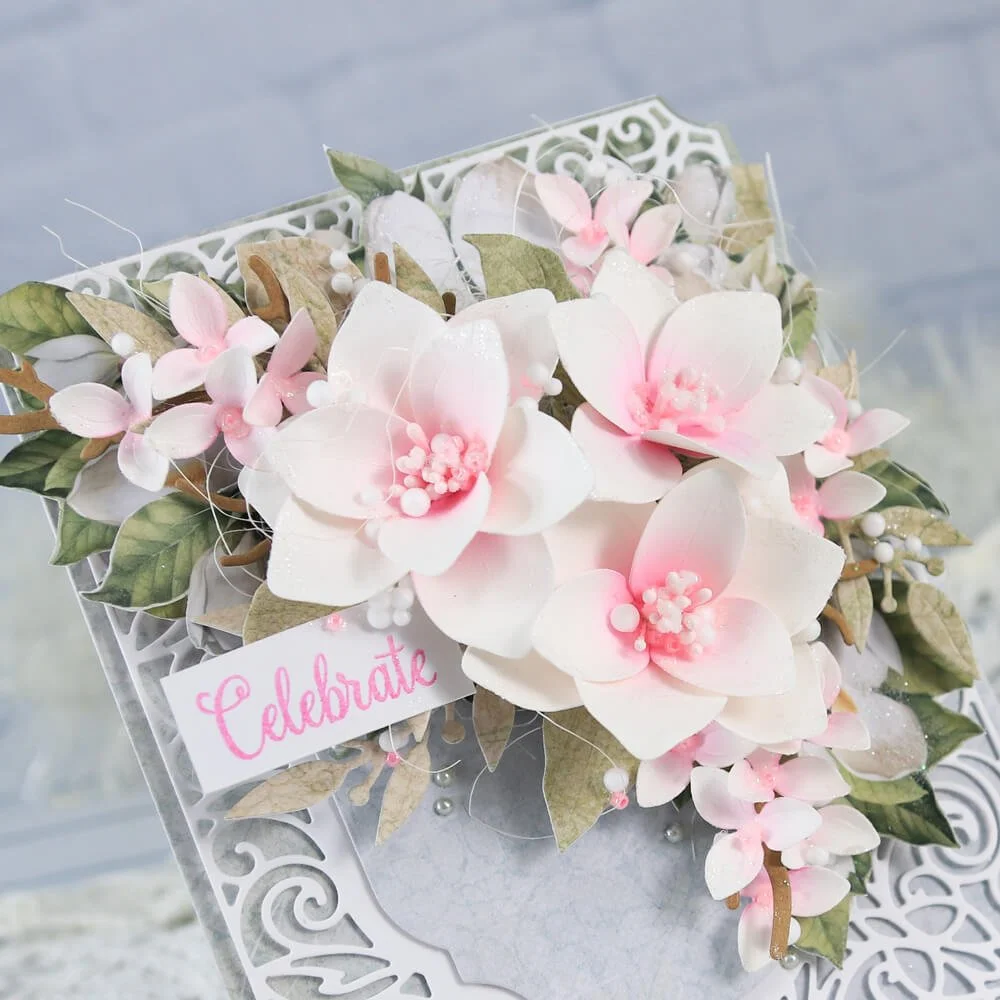
Hello everyone, Monika here with an elegant floral card. I used the latest Paper Flower release, Spring Blossom. This card is perfect for any occasion, because everyone loves to get some Spring flowers that last forever.
Step 1: Cut out a piece of white cardstock that measures 30 x 14 cm and fold it in half to get a 15 x 14 cm piece, then using the biggest die from the Ornamental Frame, cut out a folded base.
Then, cut a panel with the same die from white cardstock and another one from the Spring Blossom Paper pack. Now, using the second die from the frame set, cut out a white intricate frame. Then, using the third, cut out a small blue panel from the Spring Blossom Patterned Cardstock Paper.

Step 2: Glue the white and blue panels together and onto the base. Then, using 3D foam adhesive, attach the white frame and the small panel to the base.

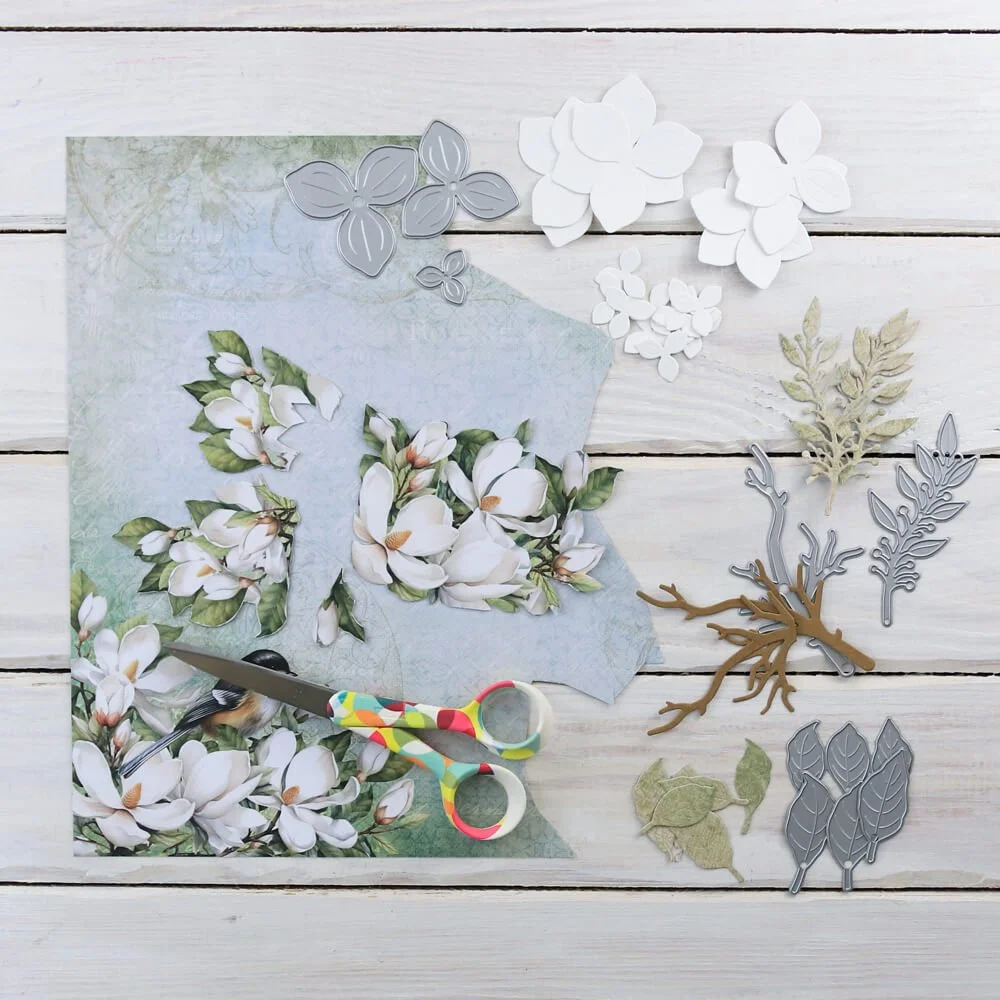
Step 3: Using the Magnolia die set, cut out 4 big, 4 medium, and 15 of the smallest flowers from Soft Finish Cardstock. Also, cut out two branches from kraft cardstock and 8 leaves from the Spring Blossom Patterned Cardstock Paper.
Then, using dies from Greenery Fillers 2, cut out 3 branches from the Spring Blossom Paper pack, and fussy cut one or more of the big magnolia images.
Step 4: Color the centers of magnolia flowers with pink ink. Spray them with a little water, and using a shaping tool, shape every petal. Then bend them in the middle and let them dry. Using glue, adhere all layers of the big flowers together and add some stamens to the centers.

Step 5: Use 3D foam adhesive to attach the magnolia images on top of the base.
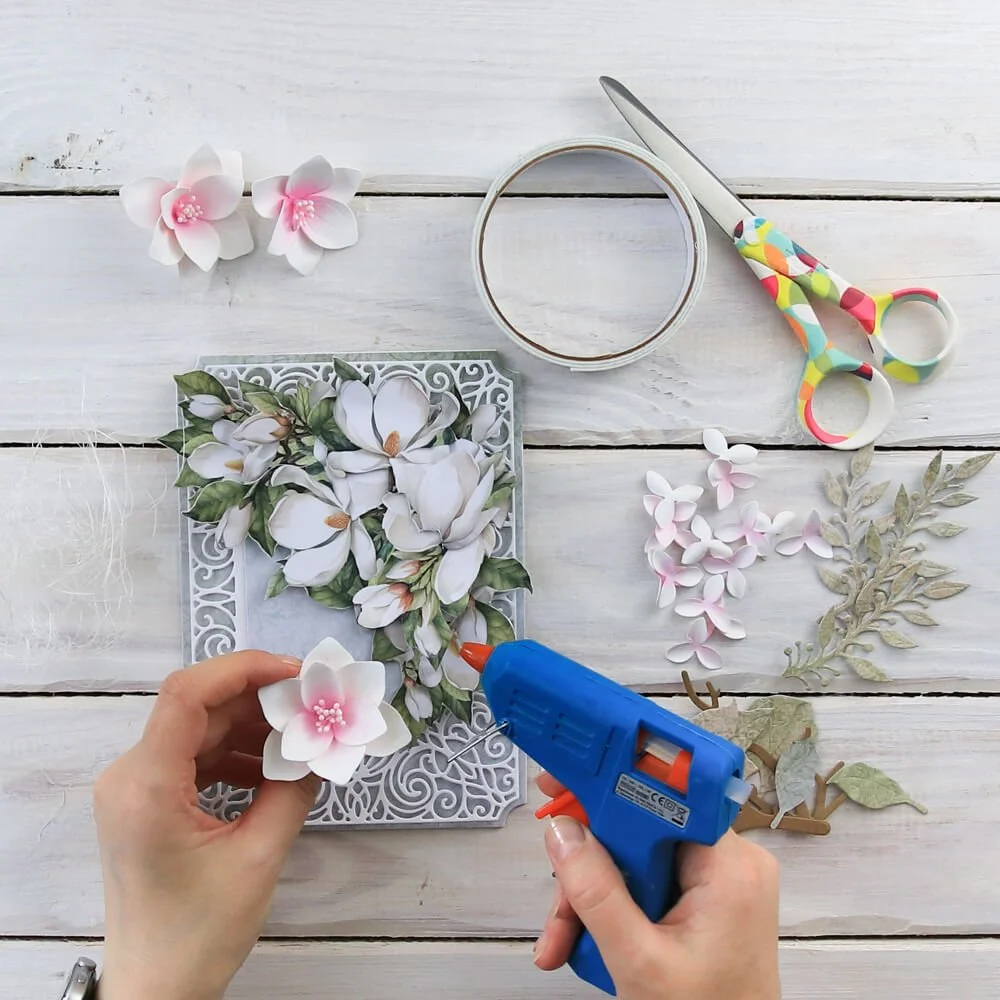
Step 6: Adhere all elements in place. Start with some thread or fibers for some added interest, then adhere branches, flowers, and leaves with the hot glue gun. Stamp a sentiment with pink ink and cut it out with scissors.

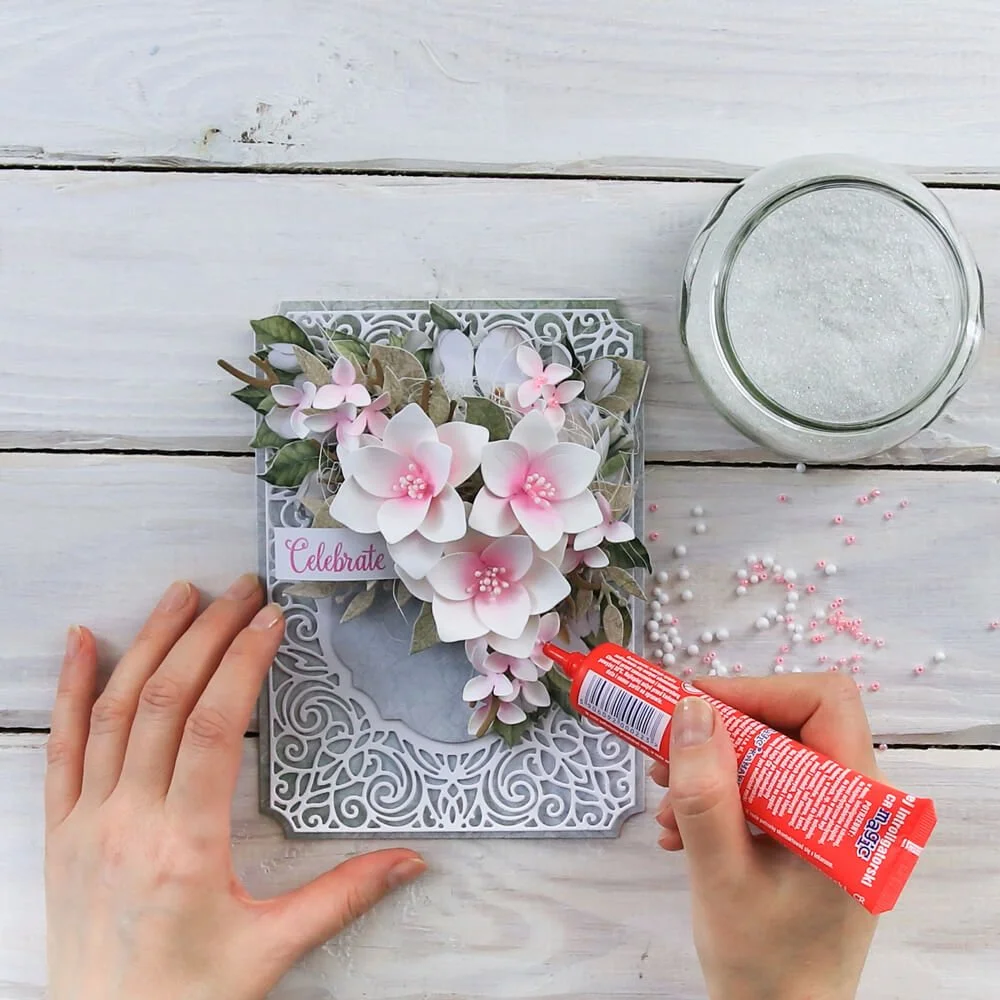
Step 7: Adhere the small flowers last to fill in gaps in the composition and add the sentiment. Apply glue to the centers of all the flowers and add some beads, styrofoam balls, and glitter. Sponge the edges of all flowers with dry, clear adhesive and sprinkle with some glitter. Then add some pearls.
I hope you now know how to make an elegant, flowery card with beautiful magnolias from the latest Paper Flower release. It’s easy and fun, so let’s have fun together.
Hugs!
Monika Jakubowska

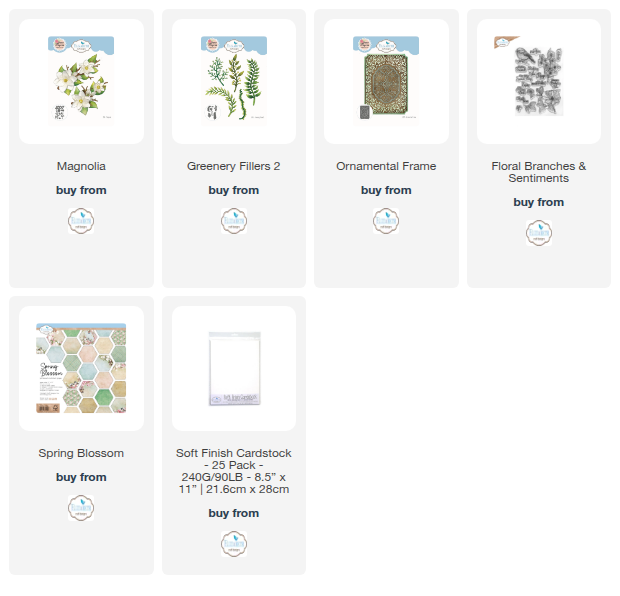
Other Supplies: Pink ink, Kraft cardstock, glue, adhesive foam, hot glue gun, self-adhesive pearls, beads, styrofoam balls, and thread or fibers.