Easy Watercolor and Masking Techniques
Are you a crafter who loves watercolor techniques? Or maybe you’ve always wanted to create floral cards with a mixed-media twist? In this tutorial, we’ll show you how you can make your own card, using inks, watercolors, and masking techniques. With beautiful flowers and simple techniques, this project is perfect for any occasion, and you’ll be able to use these ideas again and again.

Hello everyone, Jaqueline here!
Today, I'm going to show you how you can create a fun floral card using a masking technique and stamps from the Paper Flowers Collection. I am using the ECD watercolor palette to add color to this project.
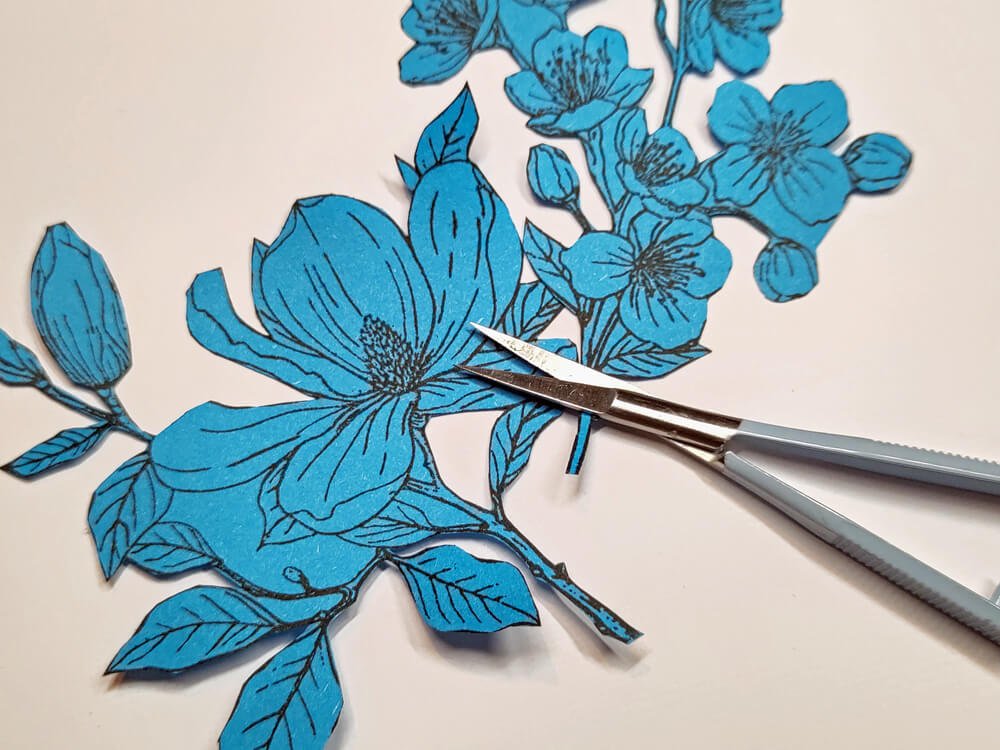
Step 1: Create the masks. To do this, stamp the larger flowers from the Floral Branches & Sentiments set onto a masking sheet or thin paper, like copy paper. Cut these out with a fine, pointed pair of scissors.
Step 2: Cut a piece of watercolor paper to fit your card blank and stamp your first big flower onto it. I have used 200 gsm, but I would prefer 300 because you use a lot of water for this technique.

Step 3: I used a stamping platform to build up this card, but you don’t need to. Cover your first stamped image with the matching mask we made in step 1. If you are using a platform, you can use the magnets to hold the paper in place; if not, just be careful not to move the paper too much. Stamp your next flowers so they overlap the first flower a little.

Step 4: Then cover this second stamped image with its matching mask and stamp your next flower, leaving a slight overlap. Repeat this until you are happy with how it looks. Heat this with your heating tool.

Step 5: Once your ink is completely set, add water to the background. Go around your stamped images, leaving a little space between the image and the water.
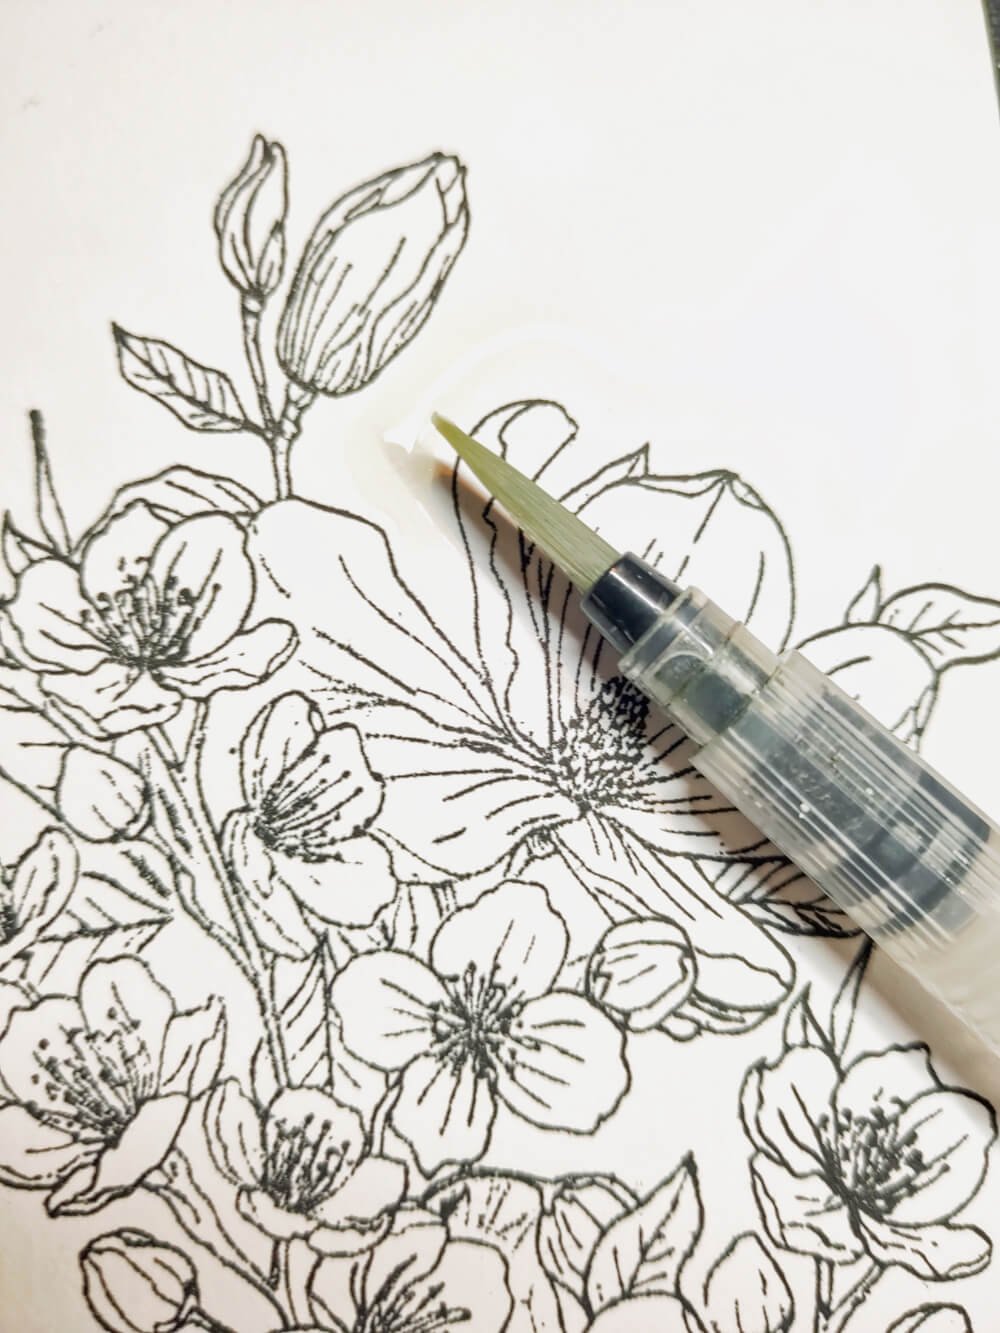
Step 6: Wet your watercolor palette and apply the paint to the background, allowing the colors to bleed into the water and letting the colors mix together.

Step 7: Let the background dry and then paint the flowers and branches in your favorite colors.

Step 8: The paper must be completely dry for this step. Apply black watercolor paint around the edges of flowers and anywhere else you would like shadows. Then add a lot of splatters with this same black paint.
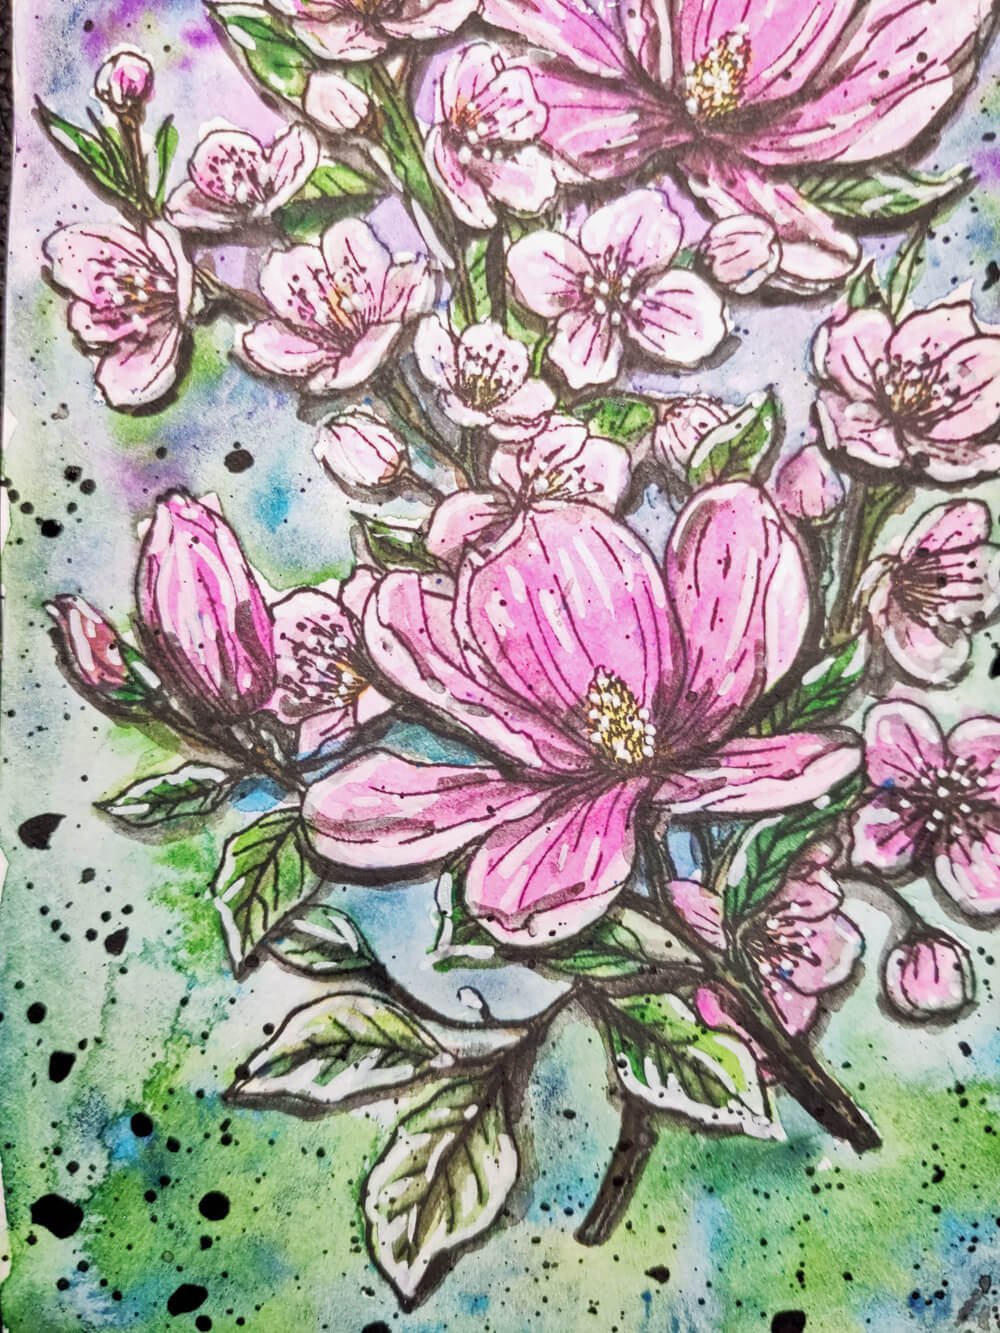
Step 9: Then, go in and add highlights to the leaves and flowers with a white acrylic marker. When possible, add some white splatters to your background. If your marker will not allow you to create splatters, you might need to add these with a different medium.

To finish the card mat and layer your design onto similar-colored cardstock and then attach it to your card blank. I hope I have inspired you to try this technique in your own card-making.
Hugs, Jacqueline