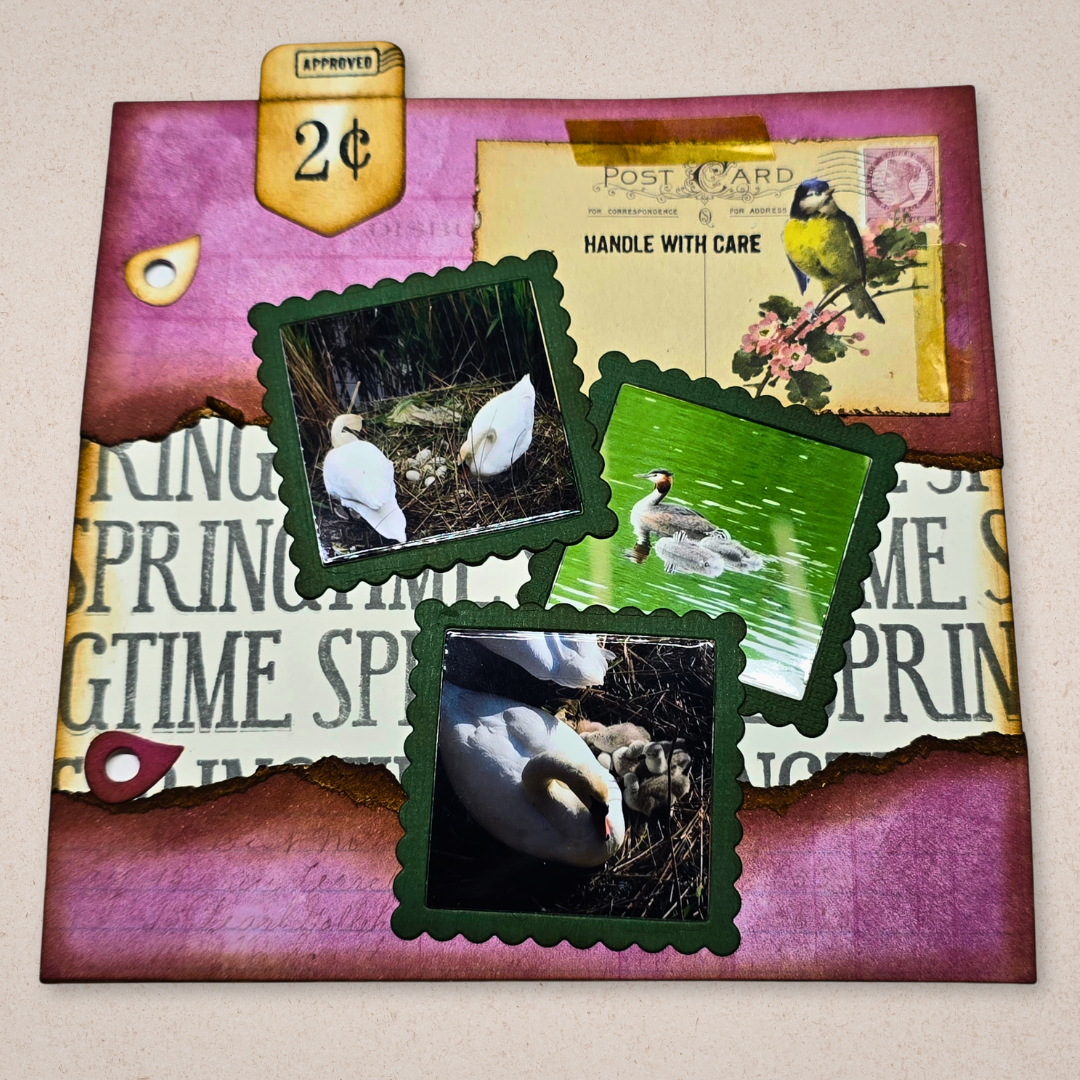
Easy Square Binder Page for Spring Memory Keeping
Do you love memory keeping? Or maybe you’re looking for ways to experiment with square layouts? In this tutorial, you’ll learn how to create an easy square binder page with a fun layout, perfect for sharing your photos and documenting your spring memories.
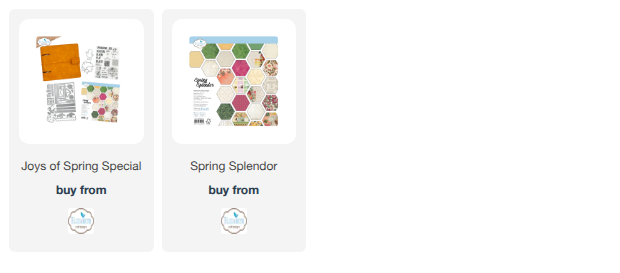
Hello everyone, Elles here with a square page for your Memory Binders using the new Joys of Spring Special.
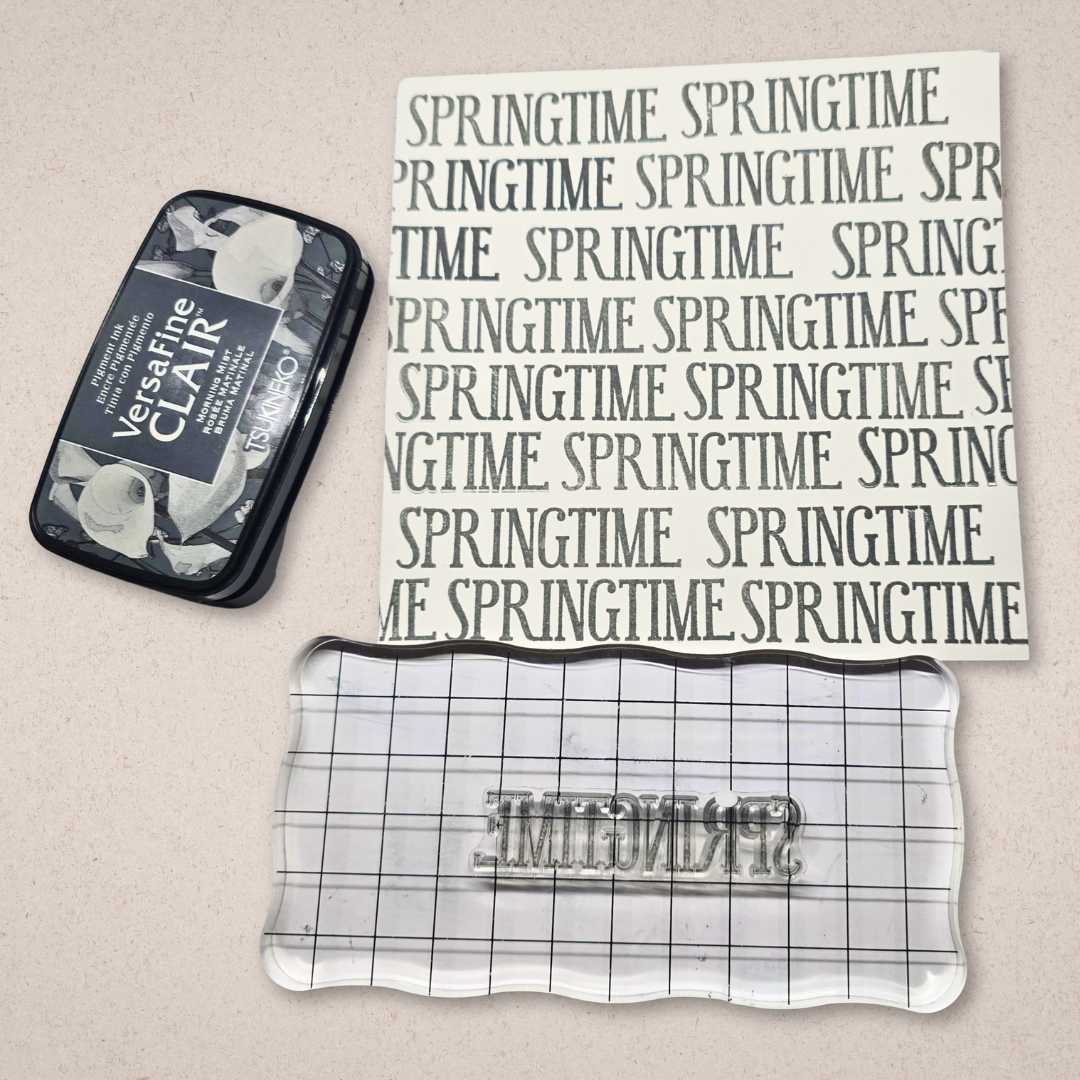
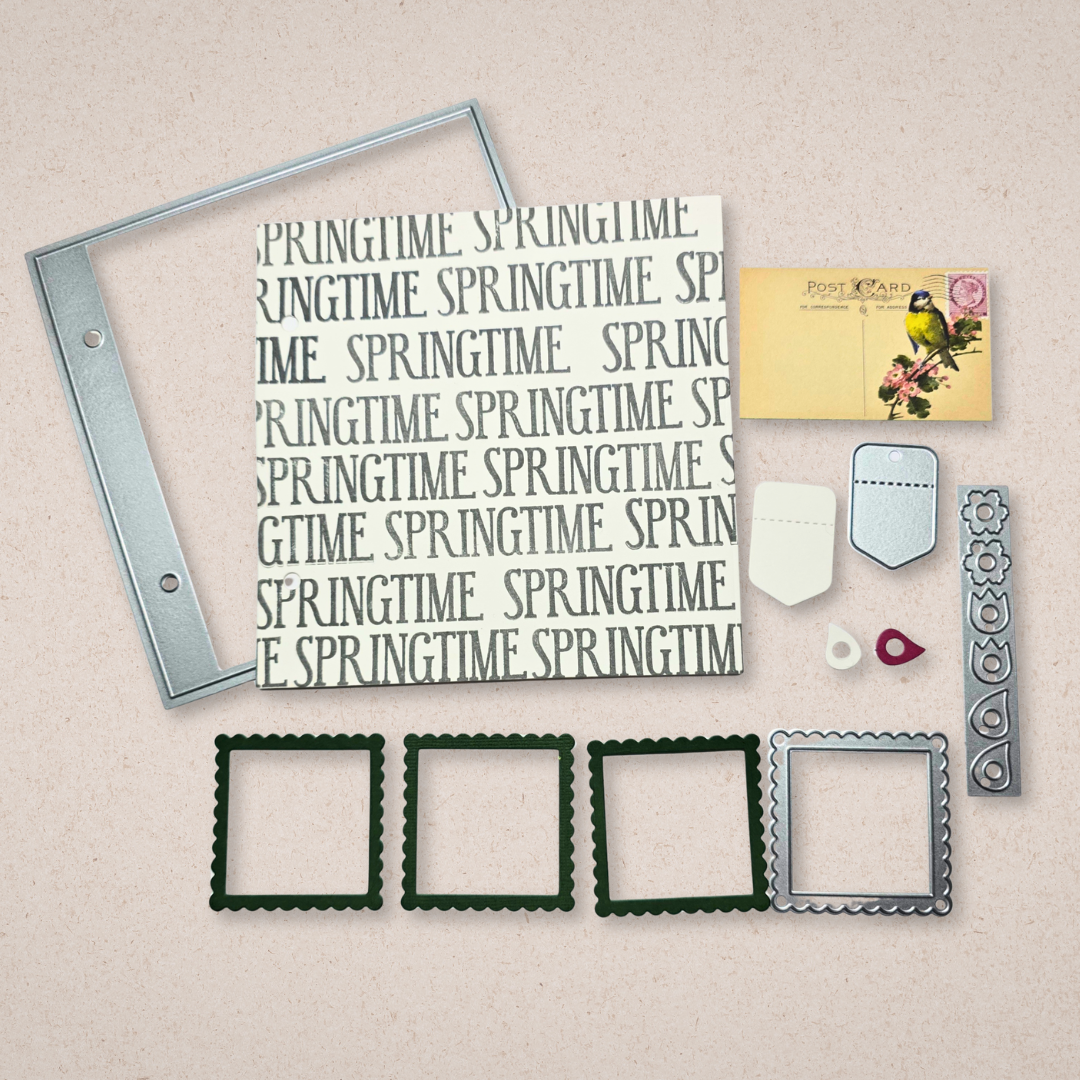
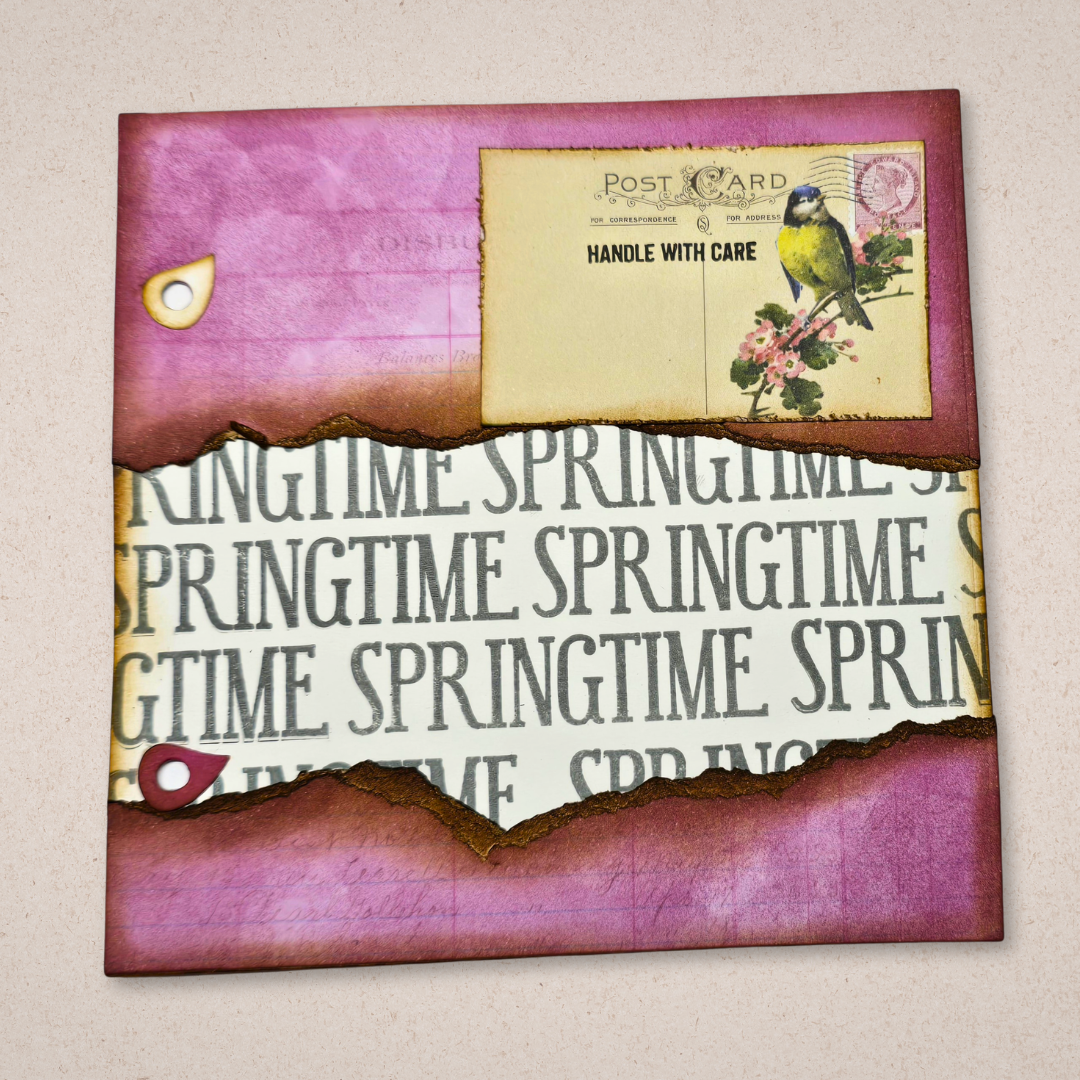
Step 1: Take a piece of paper a little bit bigger than the Square Binder page and stamp the word Springtime multiple times across the whole piece of paper.
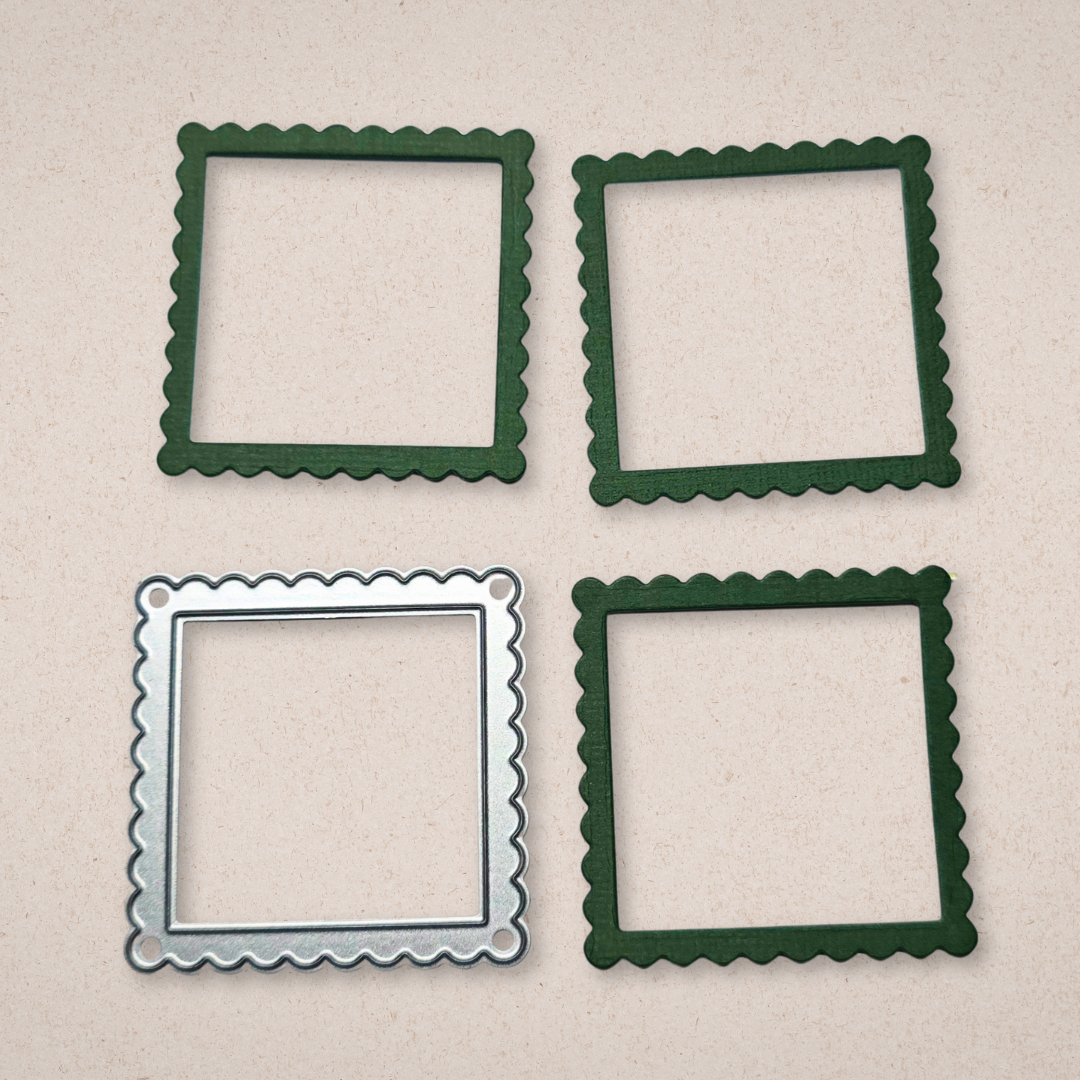
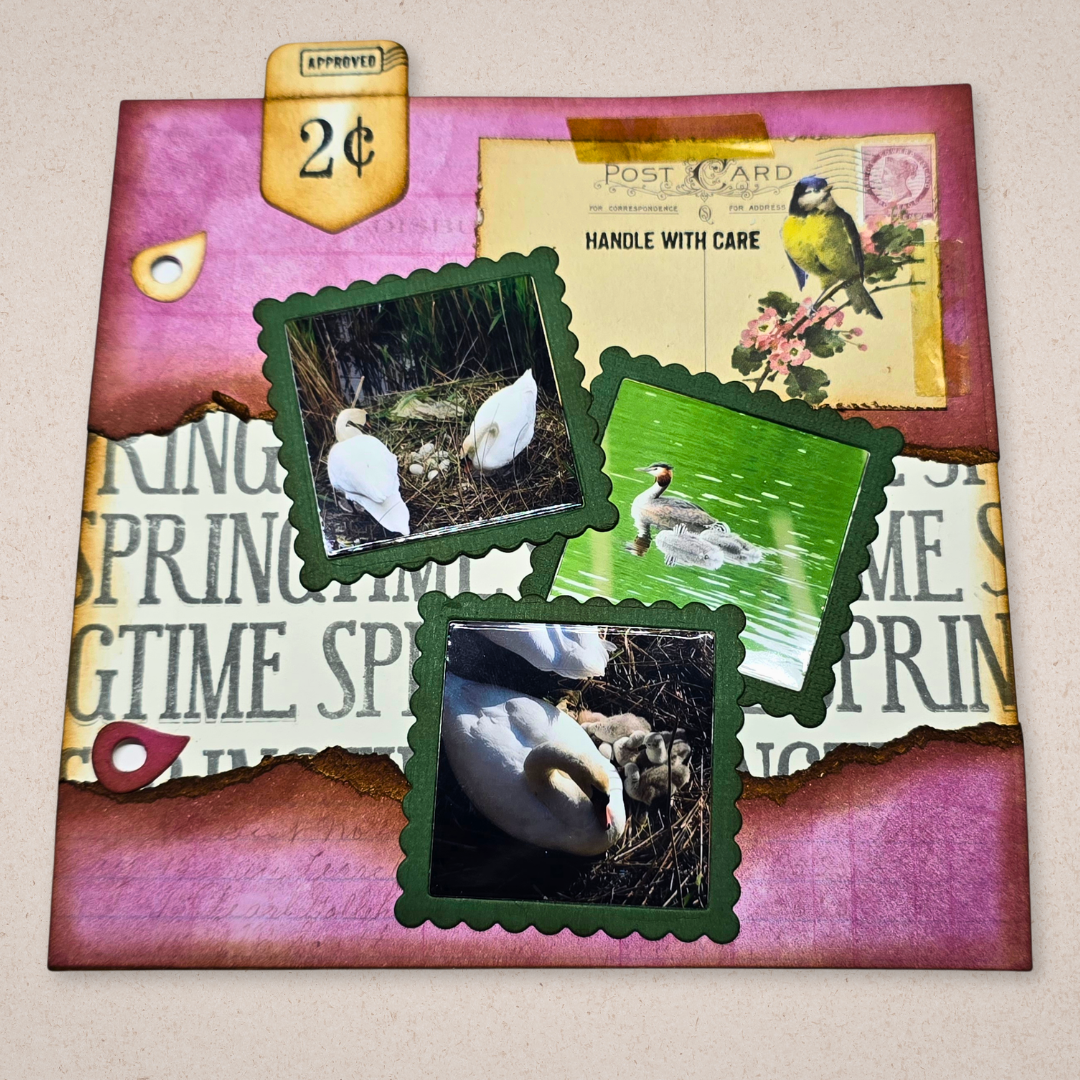
Step 2: While the ink is drying, cut some frames for the photos.
Step 3: After the ink is dry, die-cut the page and the other decorative elements to be used on this page; see the image below.
Step 4: For a vintage look, ink all the edges with Distress Ink. I like to use Vintage Photo for this, but there are lots of other colors that would be great for this.
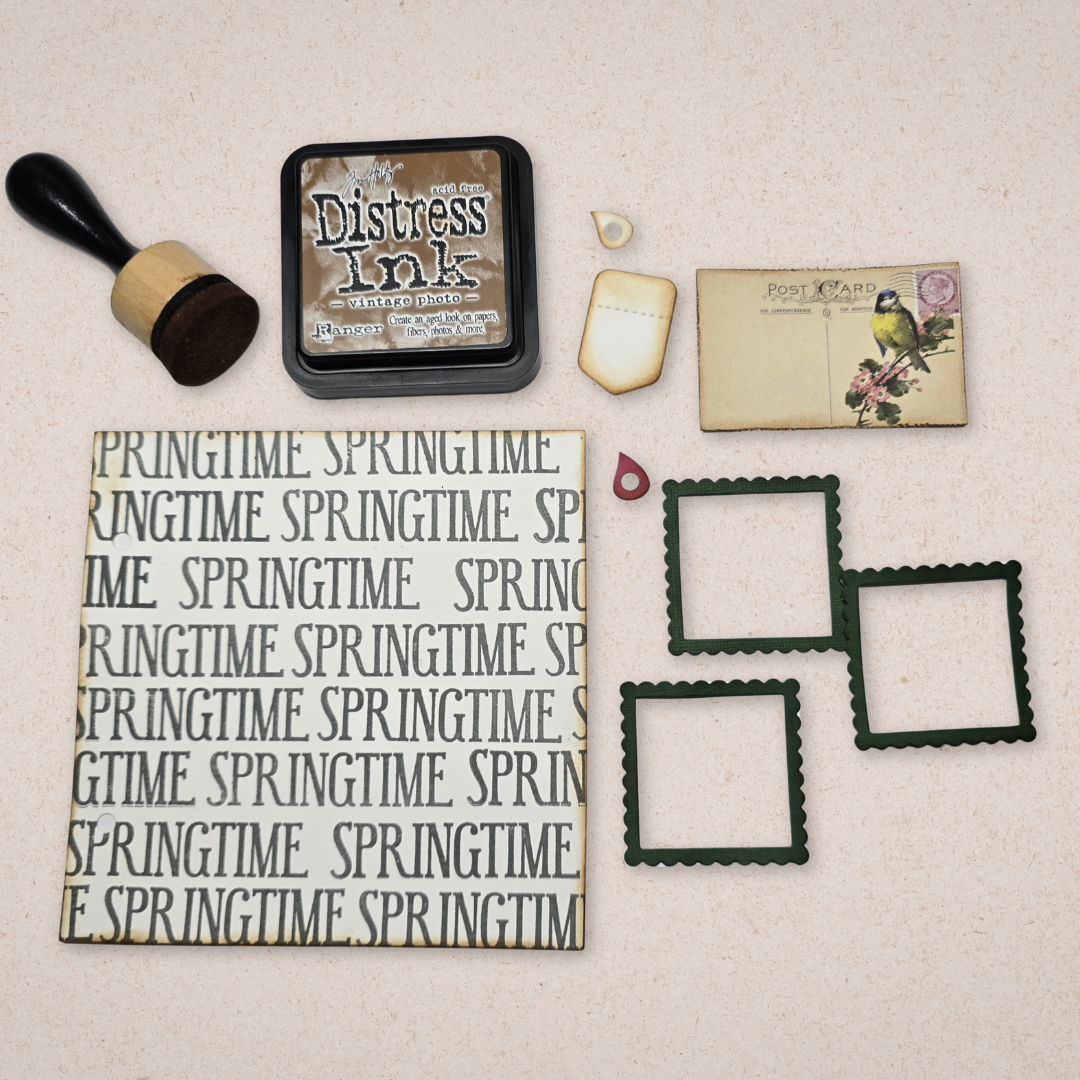
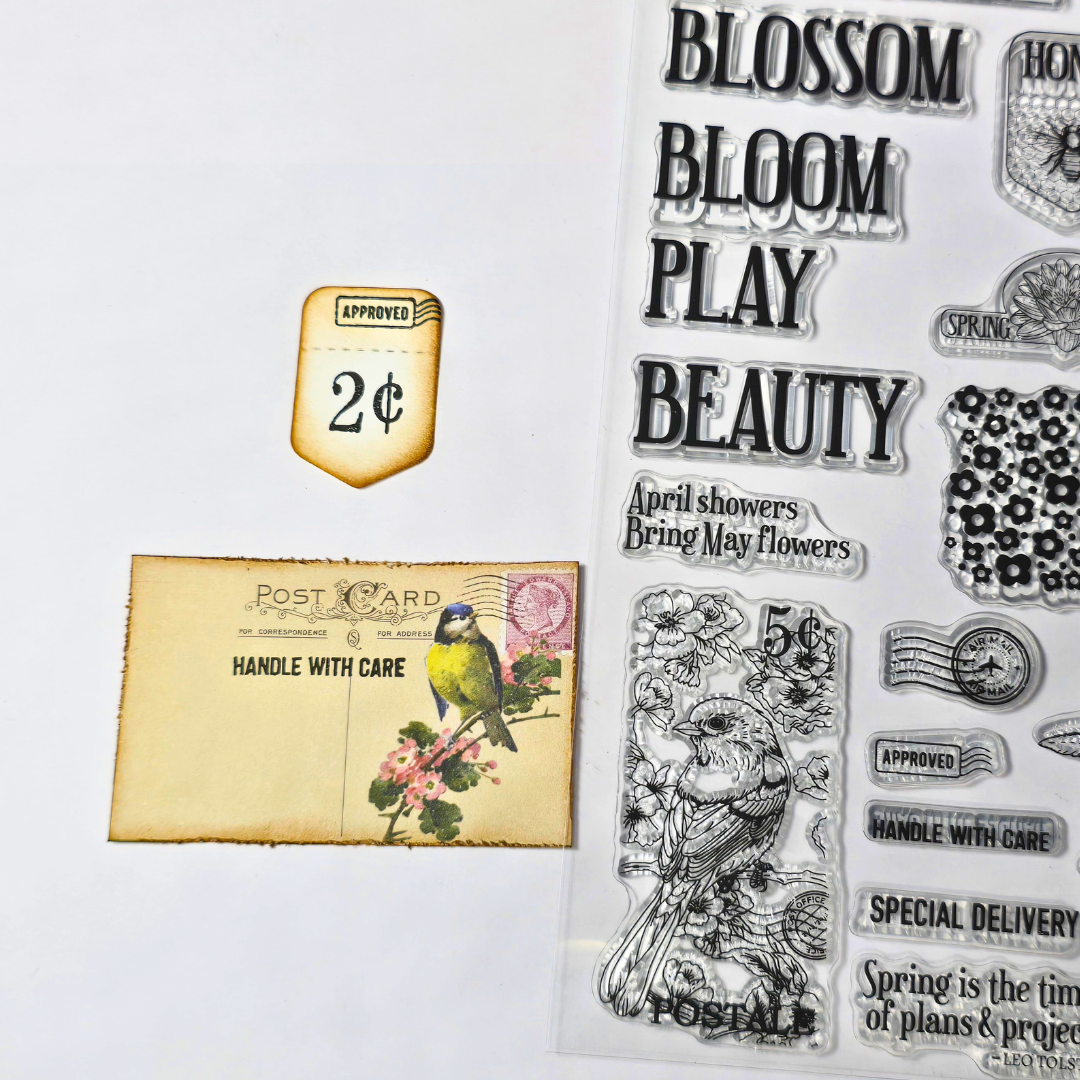
Step 5: To add extra interest to your finished page, stamp some fun decorative details on your die-cut elements.
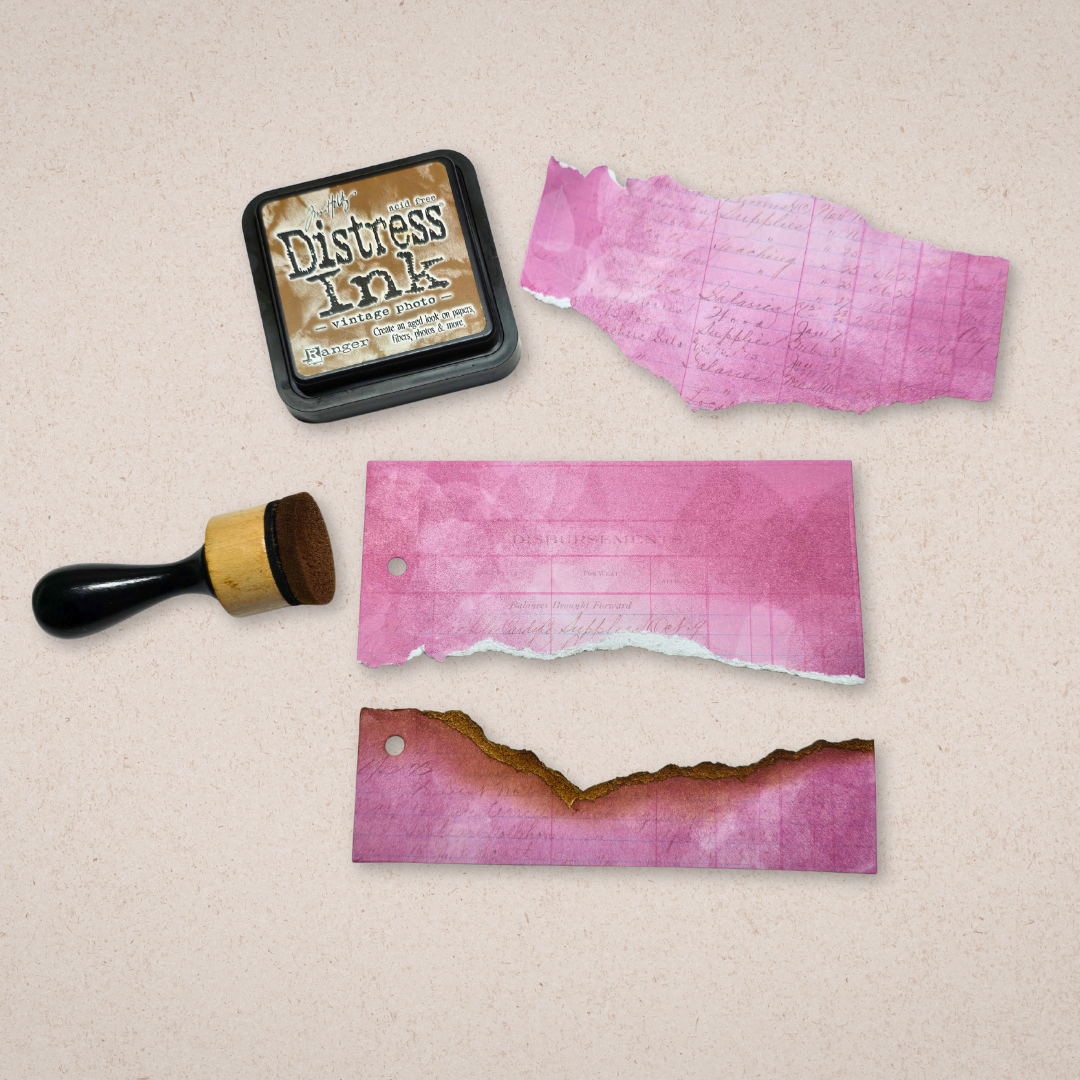
Step 6: Next, die-cut another square page from paper in the Spring Splendor paper pack, then tear it into 3 pieces. Ink the edges of those with Distress Ink.
Step 7: Glue 2 pieces of the pink paper onto your base page at the top and the bottom. Then glue your postcard and reinforcers in place.
Step 8: Now it’s time to add your pictures behind your frames, gluing them in place along with the tab we die-cut and stamped on. At this point, I also decided to add a little tape on the postcard.
I hope that you have been inspired to create a page in your memory binders and play around with the square layout.