Easy Spring Layout Using the Joys of Spring Special
Do you love to make spring-themed pages in your memory binders? Or maybe you’re looking for fresh new layout ideas? In this tutorial, you’ll learn how to make a page in your square memory-keeping binders that’s perfect for spring using the Joys of Spring Special from Everyday Memories. Once you’ve mastered this layout you’ll be able to use it again and again in all your binders.
Hi Rebecca here from the Netherlands. Today i’m going to make a project with the new Joys of Spring Special by Annette Green.
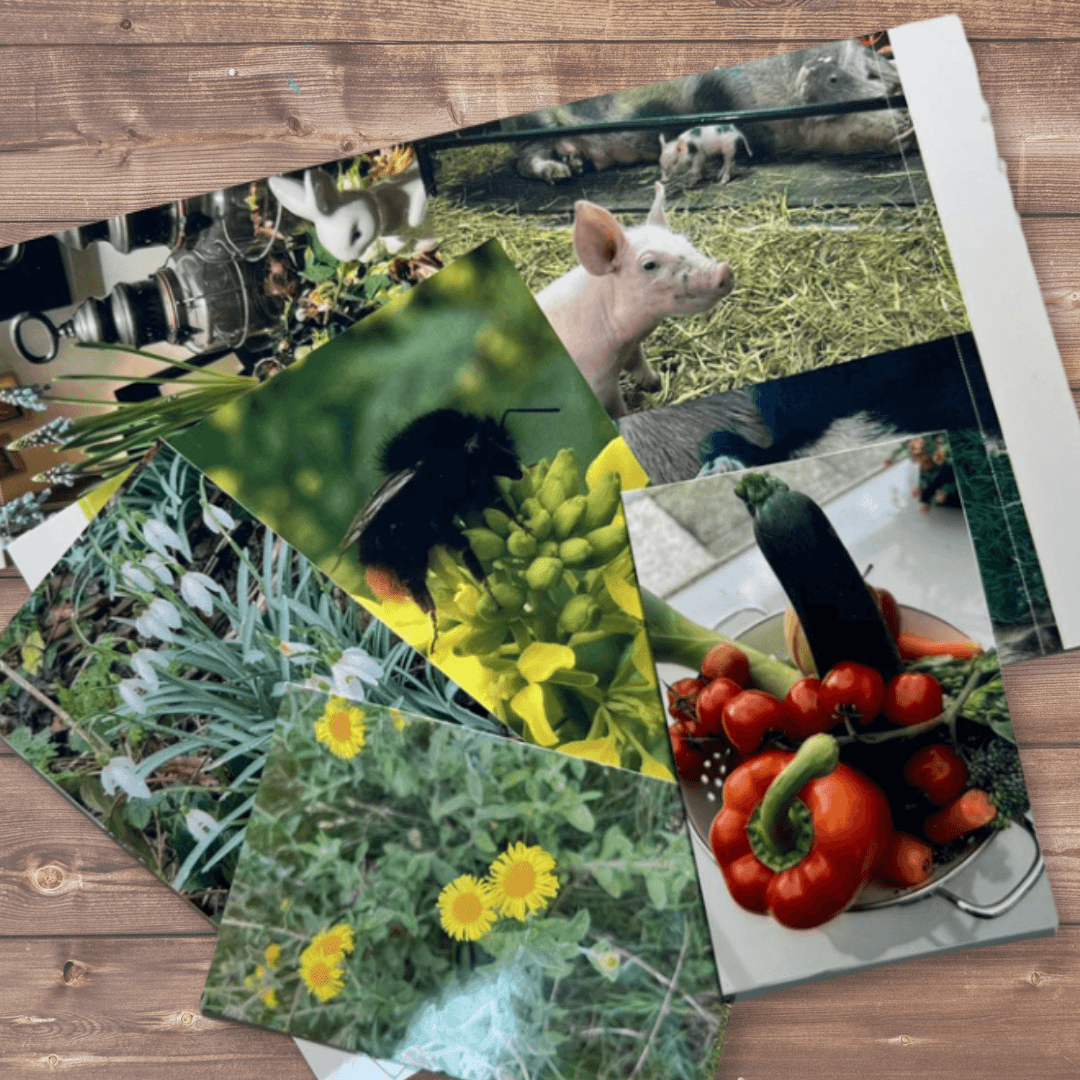
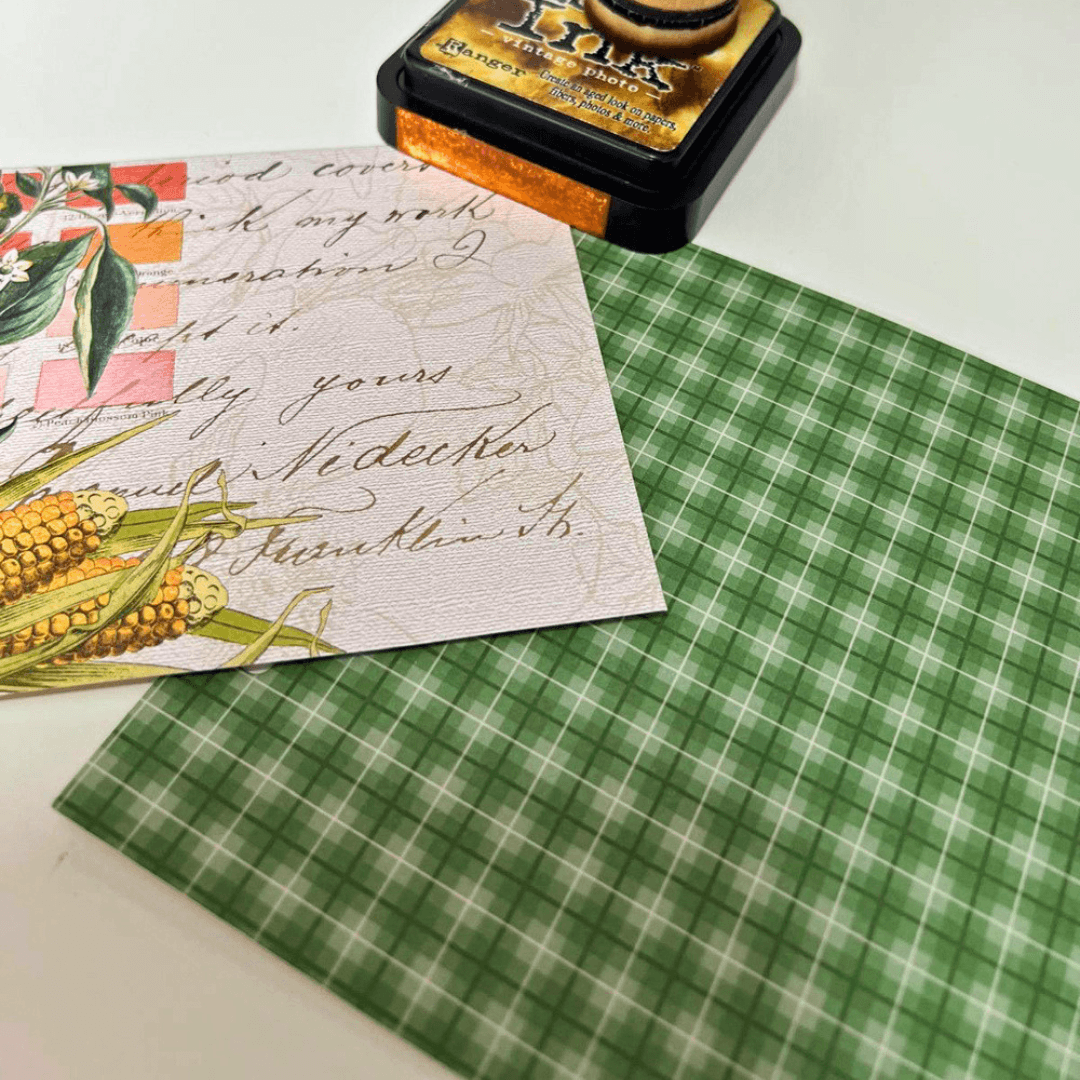
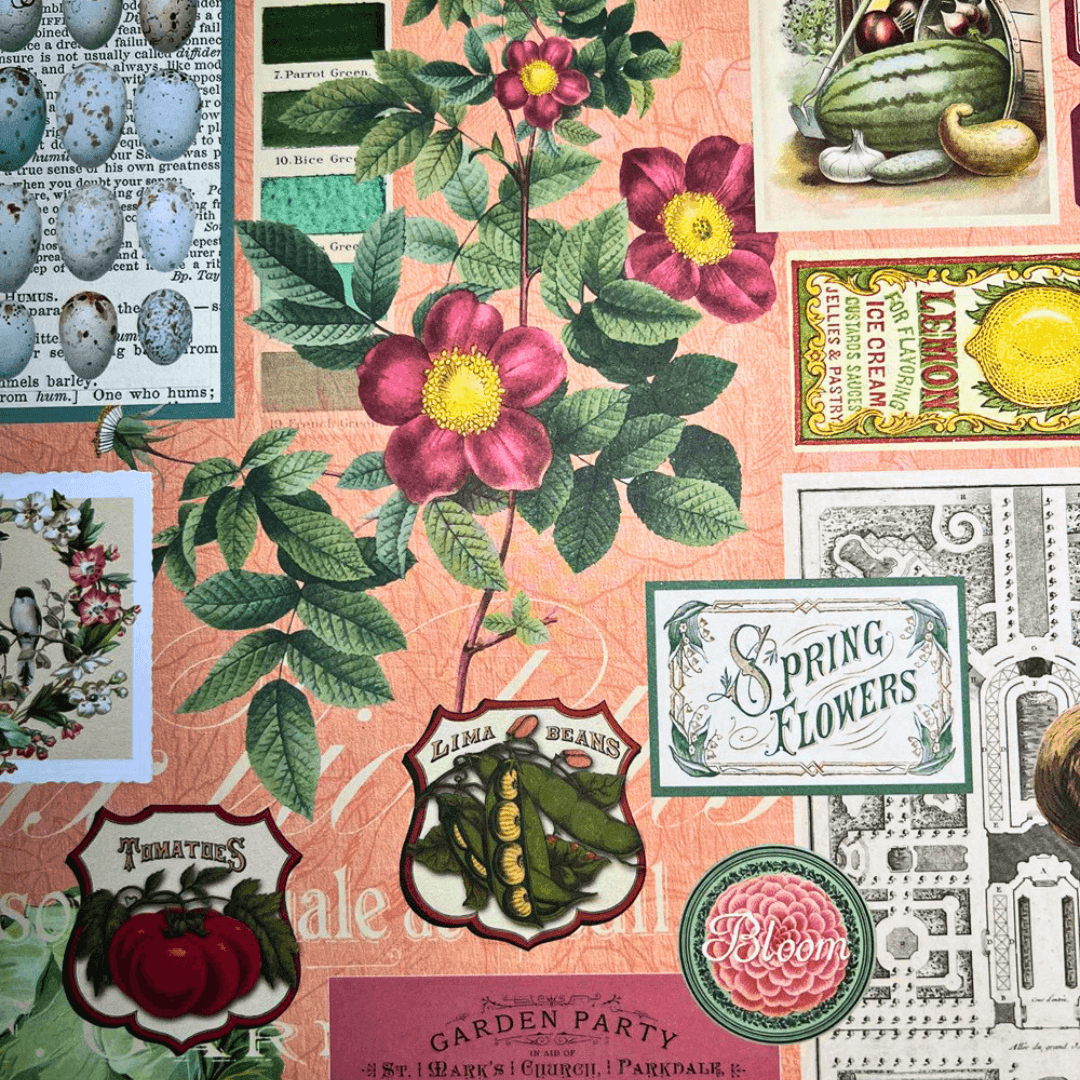
Step 1: Choose your favorite papers from the Spring Splendor paper pack and print your spring-related pictures.
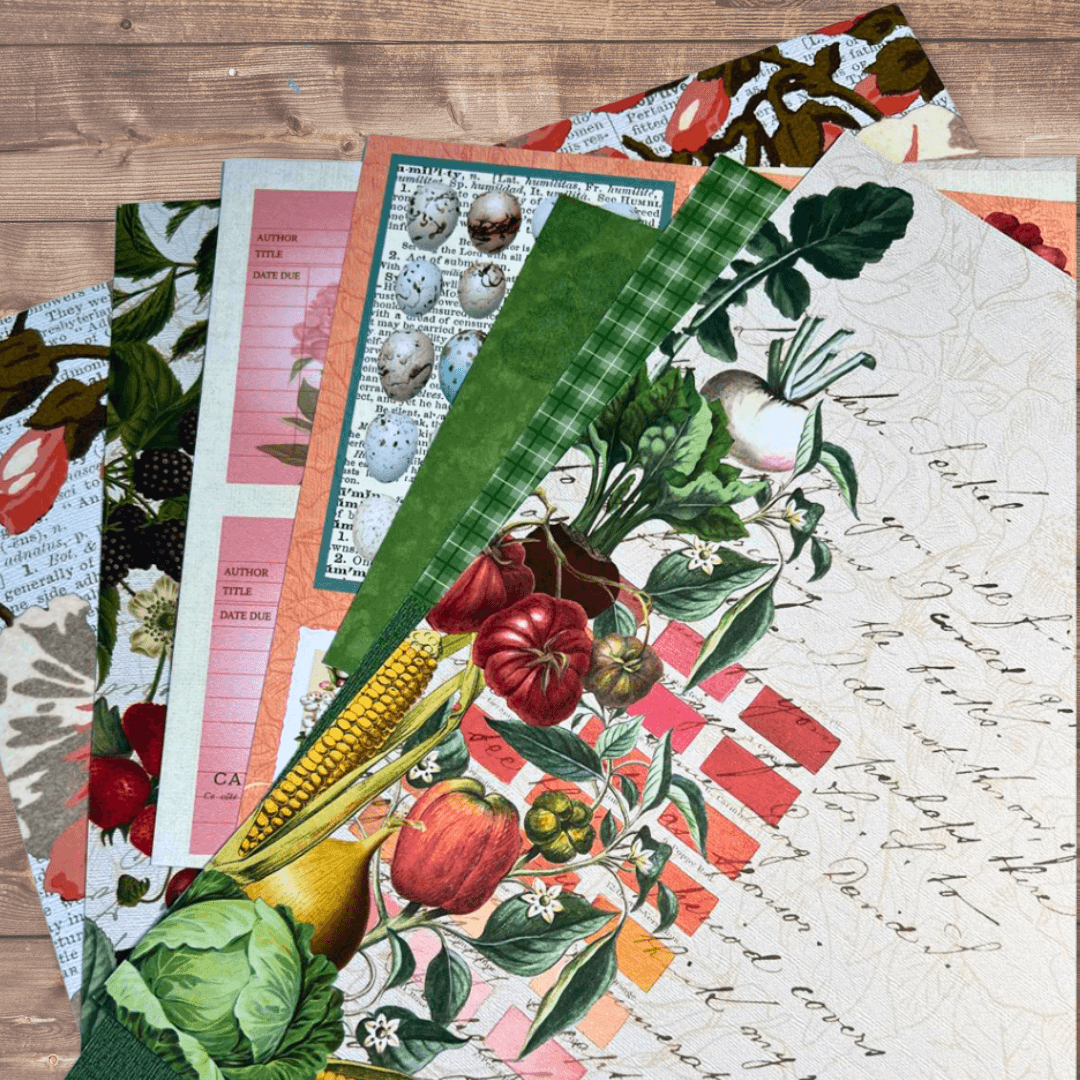
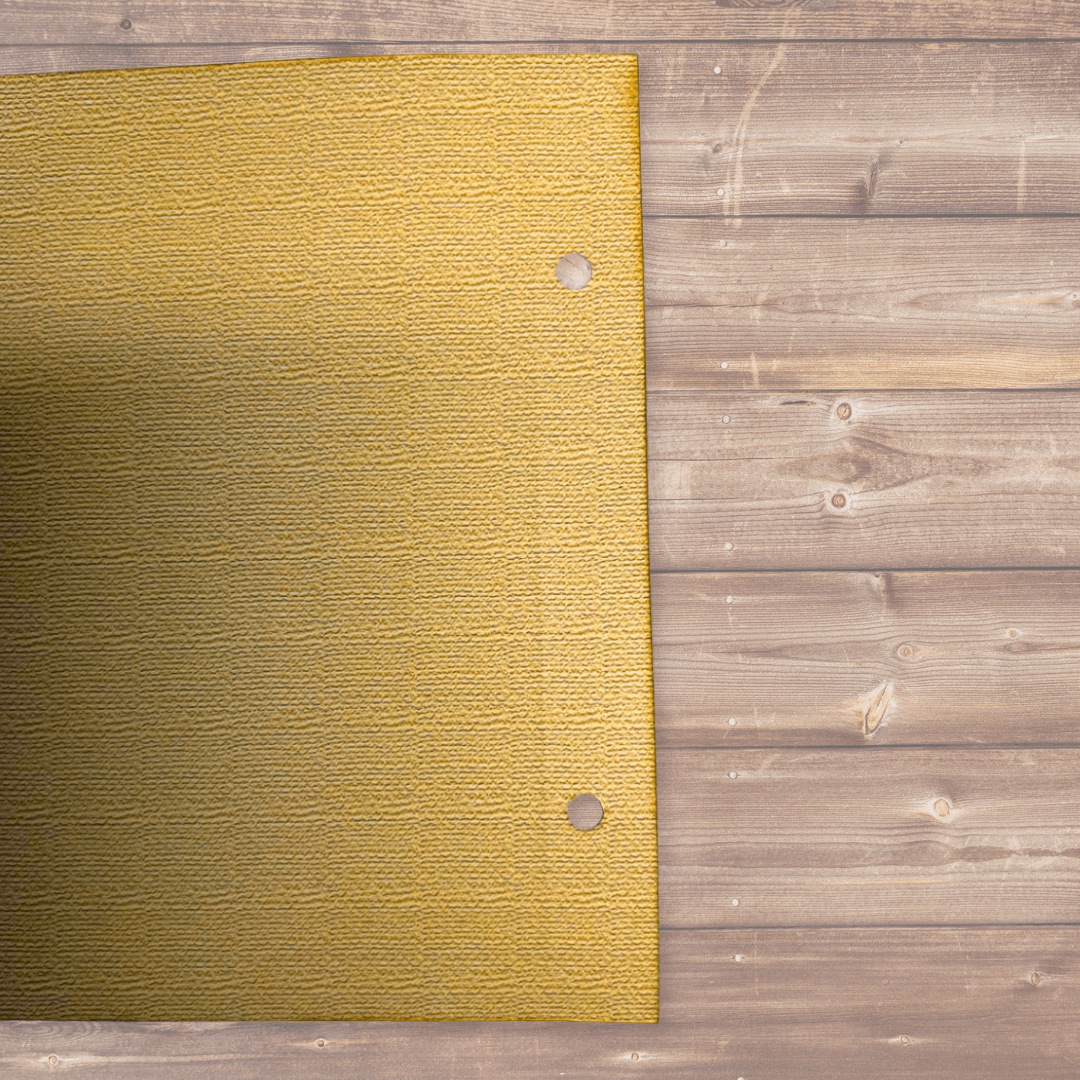
Step 2: Cut the base page. For this page, choose a paper from the pack that is already divided into four sections. So it fits perfectly, and you have little cutting waste.
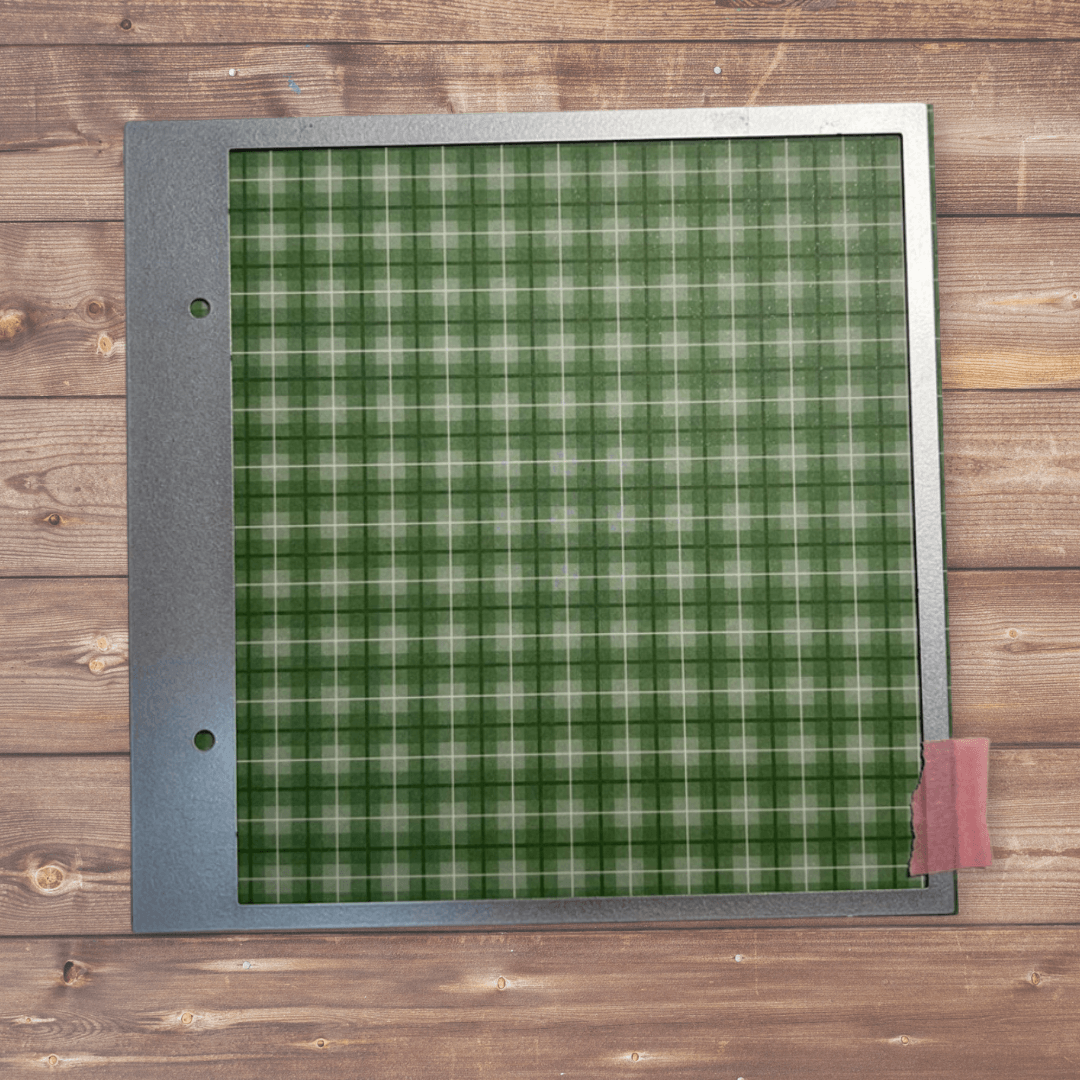

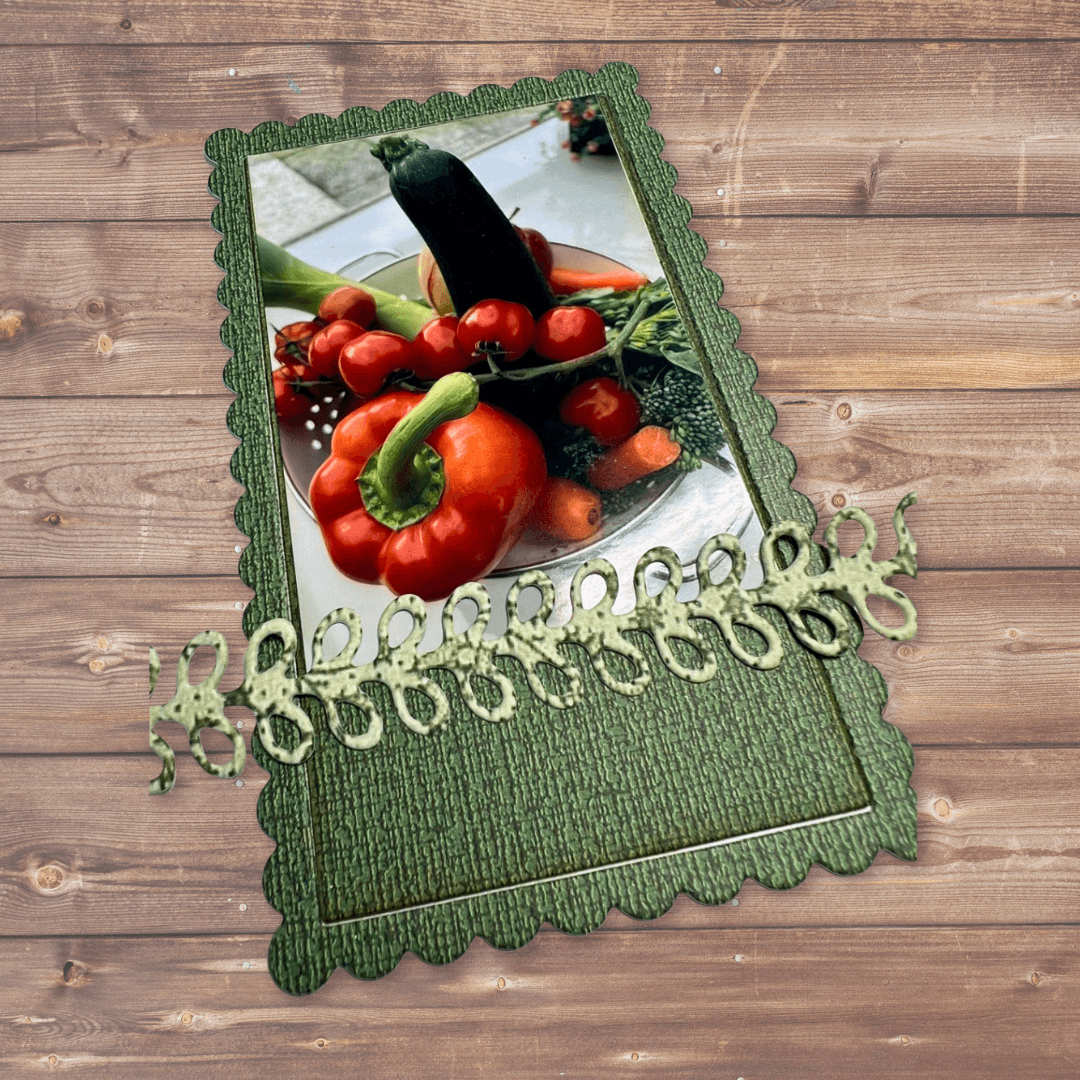
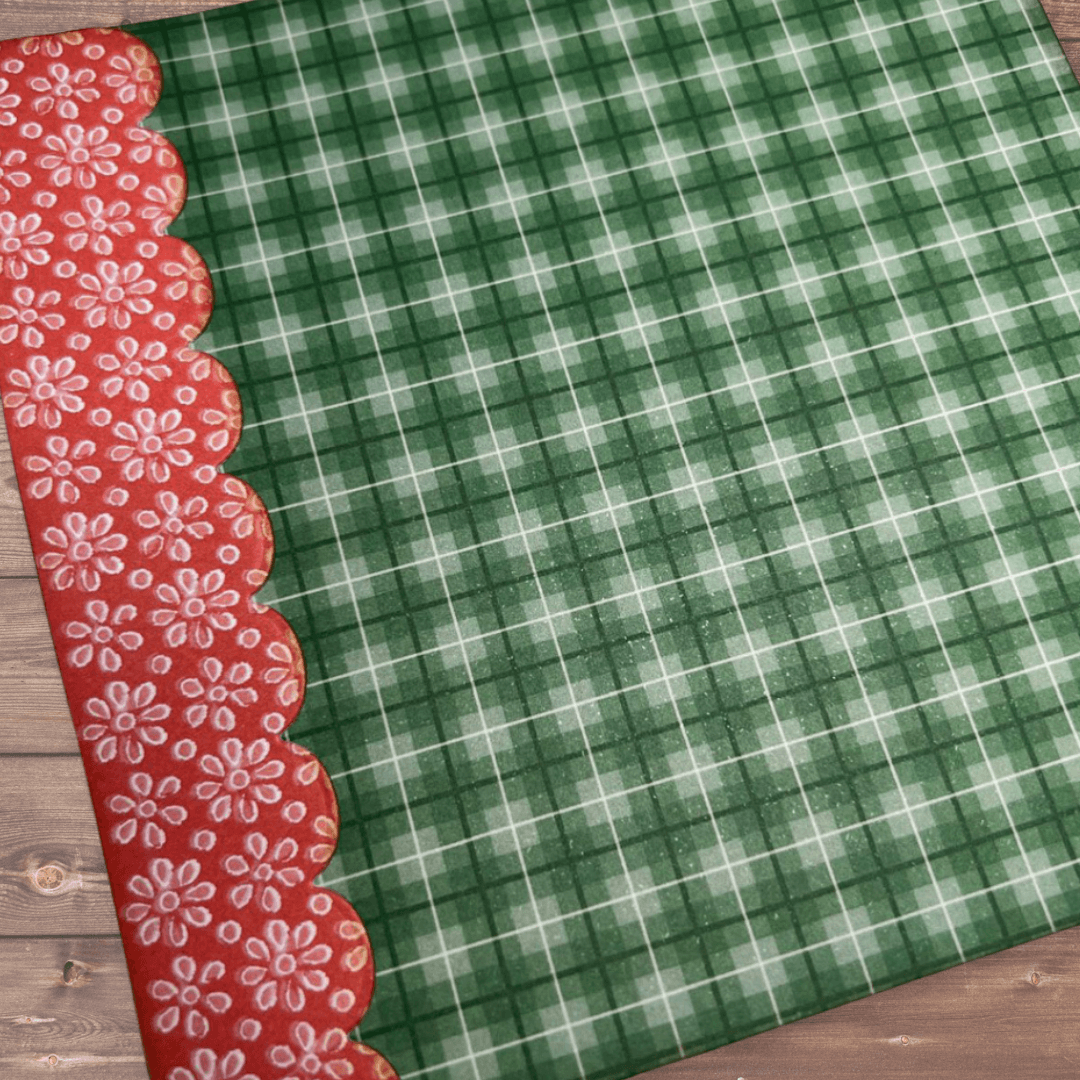
Step 3: Next, cut a piece of design paper, measuring 4.5 by 4.5 inches. Ink all the edges. I inked all the edges of all my pieces in this project.
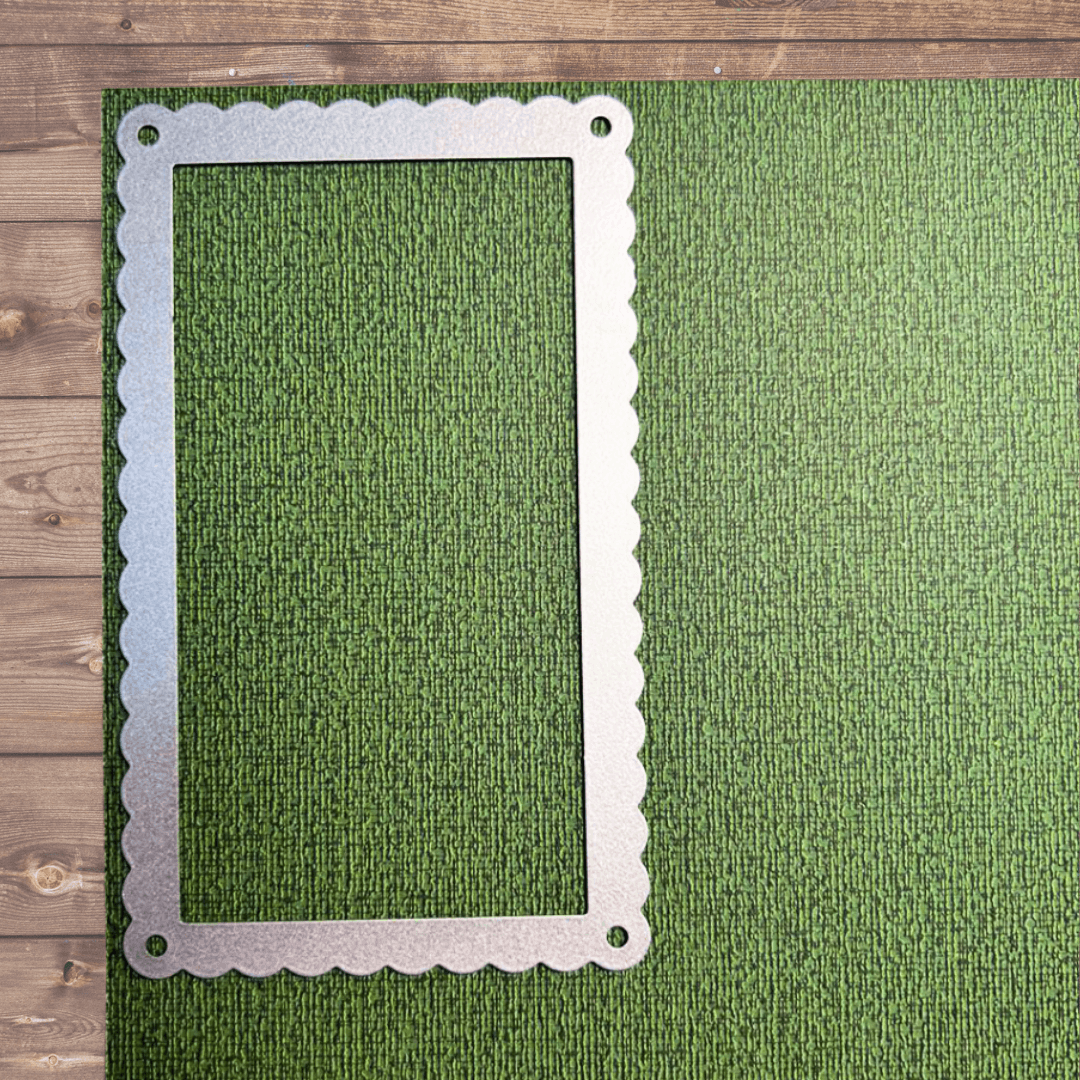
Step 4: Cut a frame for your picture. My picture is too small for this piece, but I like it with the green underneath.
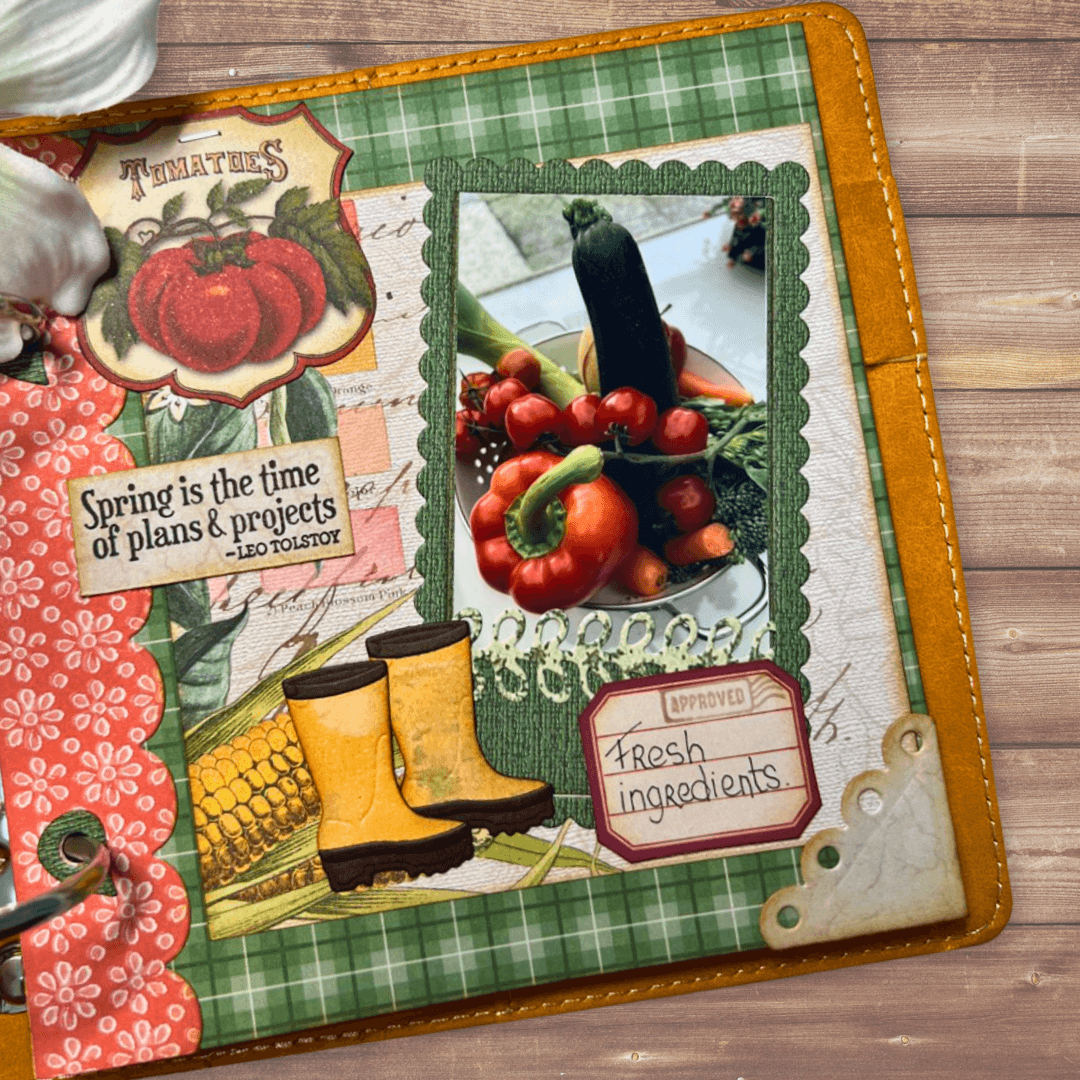
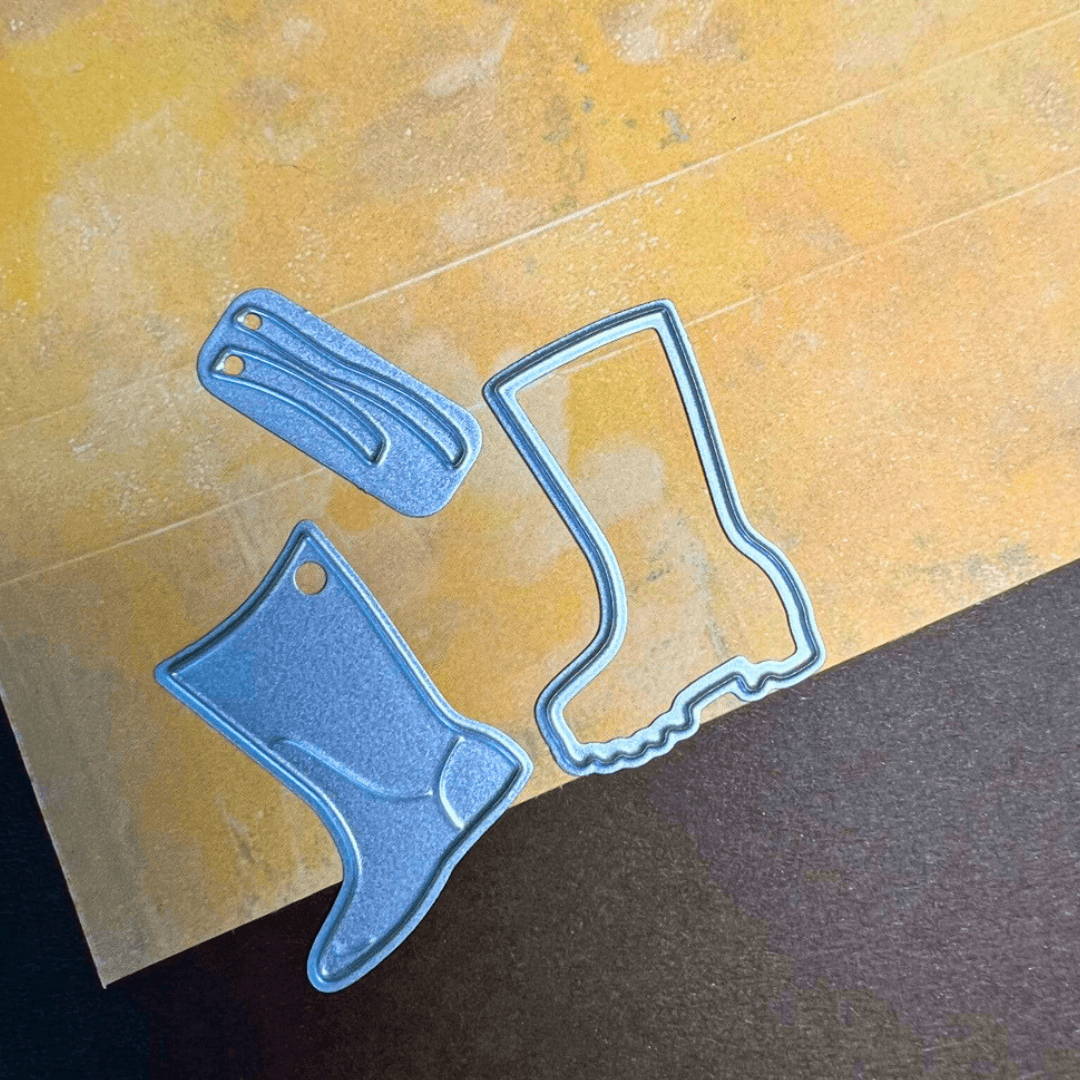
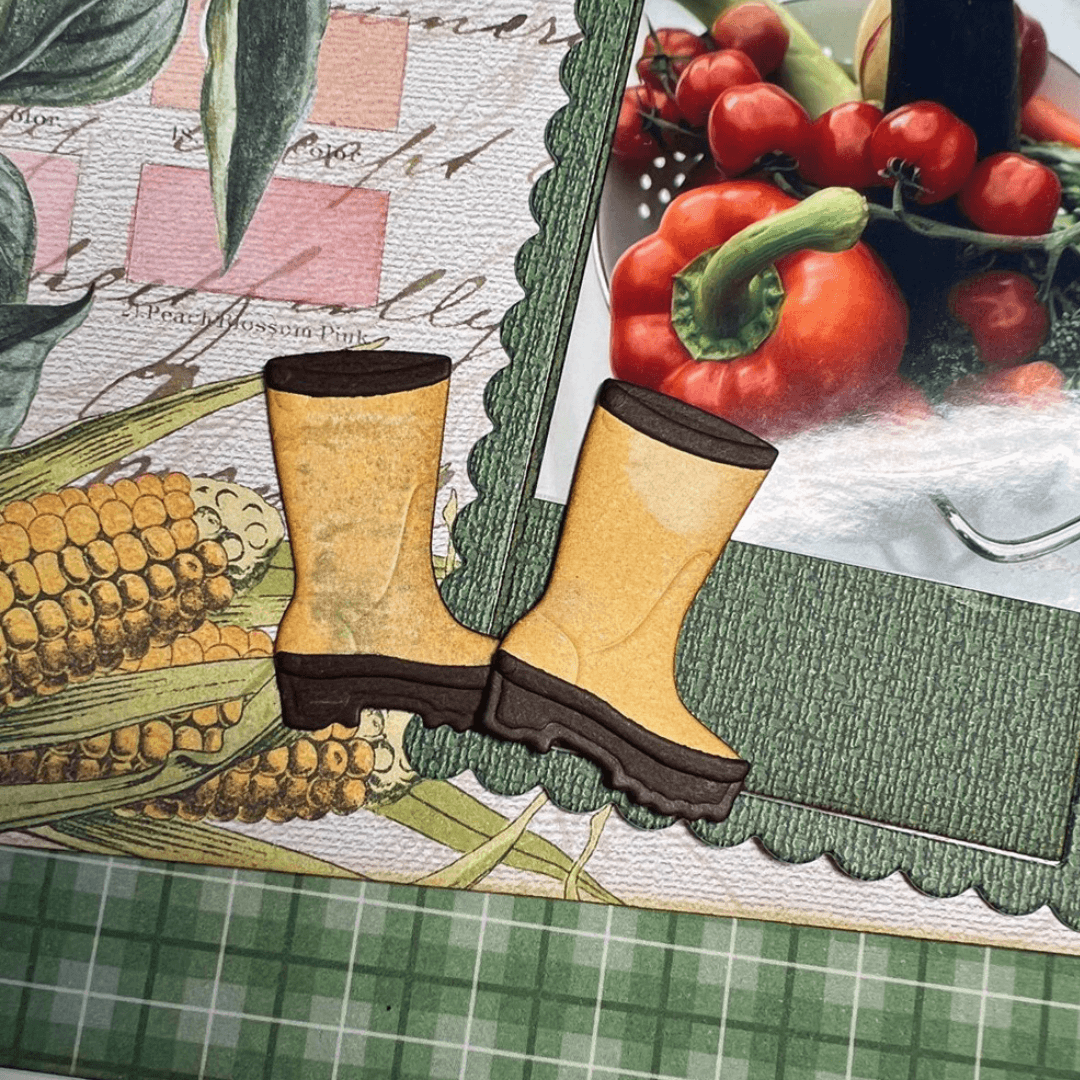
Step 5: Now it’s time to create the boot embellishment. Cut the pieces for the boots twice. I used yellow and brown card, but you can use whatever colors you like. Glue the pieces of the boots together.
Step 6: Fussy cut any elements you like from the embellishment page, and ink the edges if you like the look.
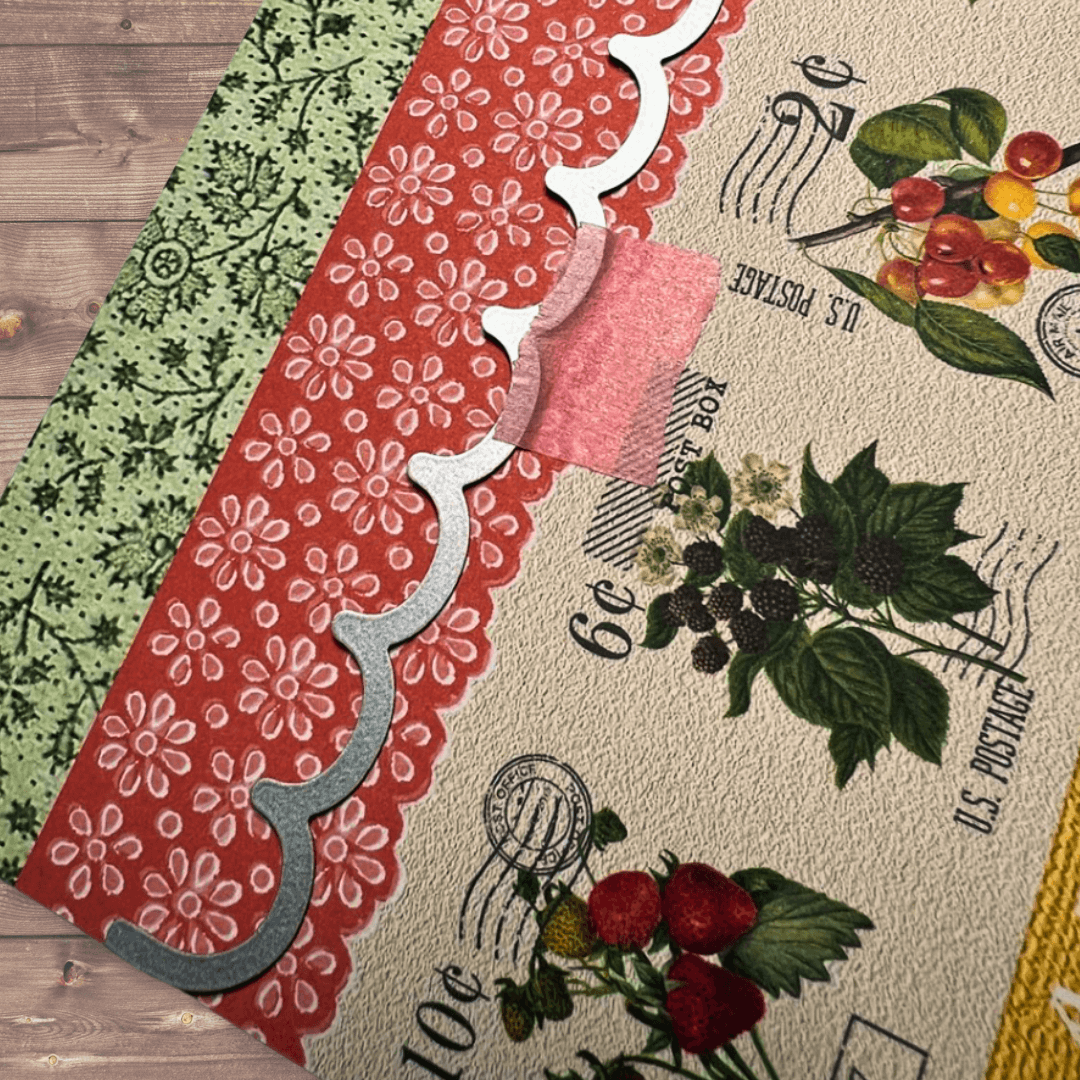
Step 7: Cut a border from a 1-inch strip of design paper and glue it on the left side of the base page. Make sure to punch the holes back through the page.
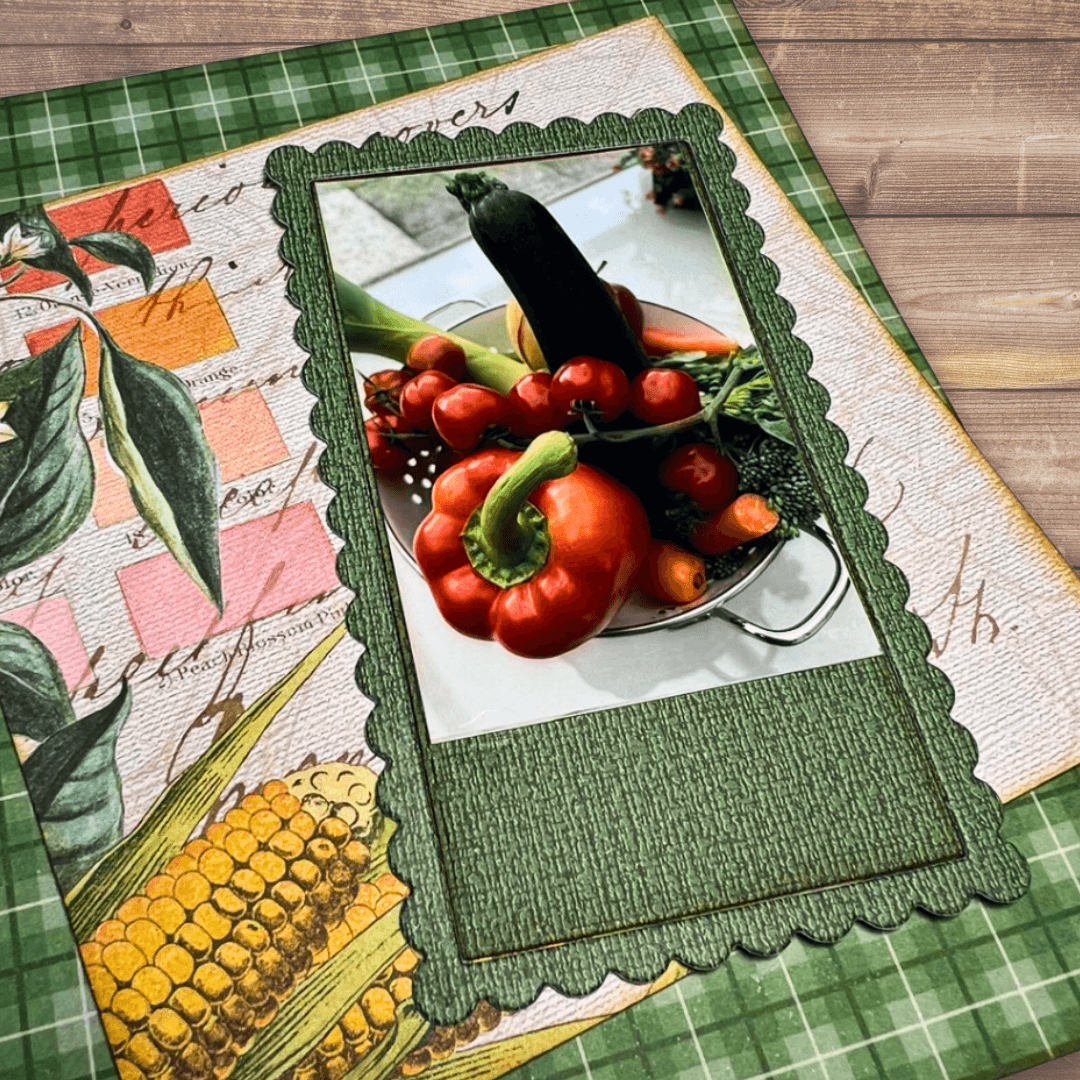
Step 8: Now that you have all your pieces, it’s time to glue everything together. I added extra embellishments as I went, including stamps, borders, the corner, and of course, a journaling card.