Easy Memory Keeping Layout with Decorative Pockets and Colorful Elements
Are you a crafter who loves memory-keeping and creating pages to document your hobbies and creative journey? Or maybe you're looking for layout inspiration? In this tutorial, you’ll learn a fun new layout for your memory binders, how to give pockets decorative edges, and a fun way to add color to your decorative elements. This is the perfect project for somebody new to memory keeping or for a seasoned memory keeper looking for new ideas.
Hello everyone! It’s Marga here, and today it’s my turn to share a fun tutorial with you all. I hope you love this page for your memory binders using the new Rest & Relaxation Collection.
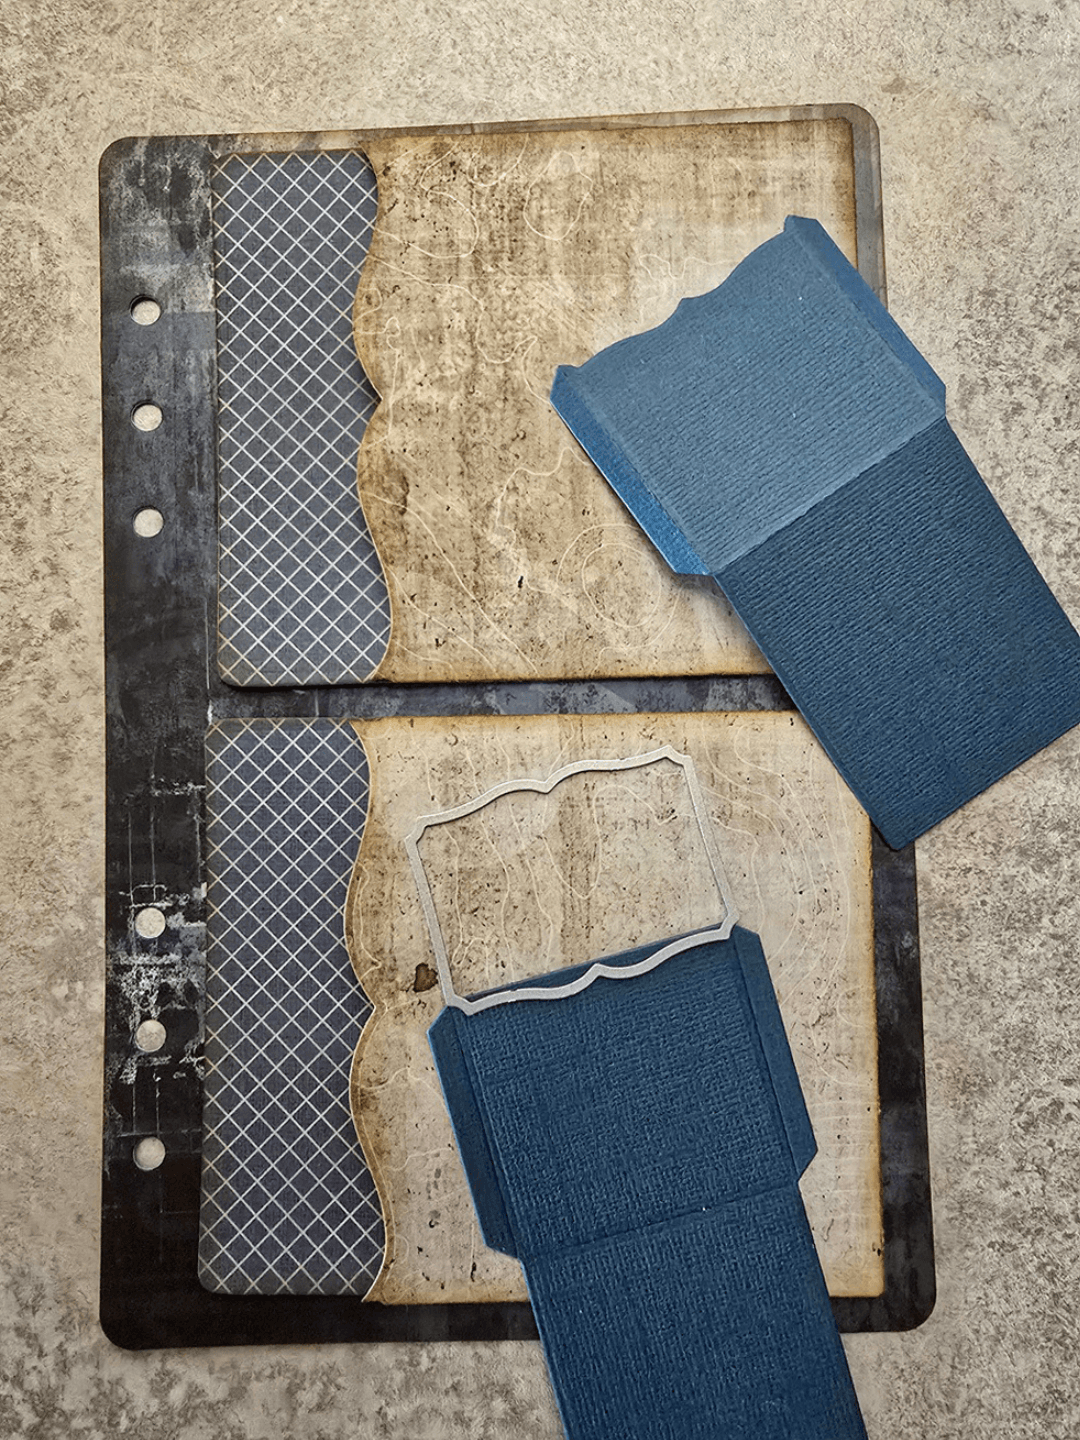
Step 1: Cut out a base page from the Rounded Travel Page set (2356) and die-cut two pockets from the Library Pockets & Accessories set (2358). Then change the edges on both pockets with a new edge die.
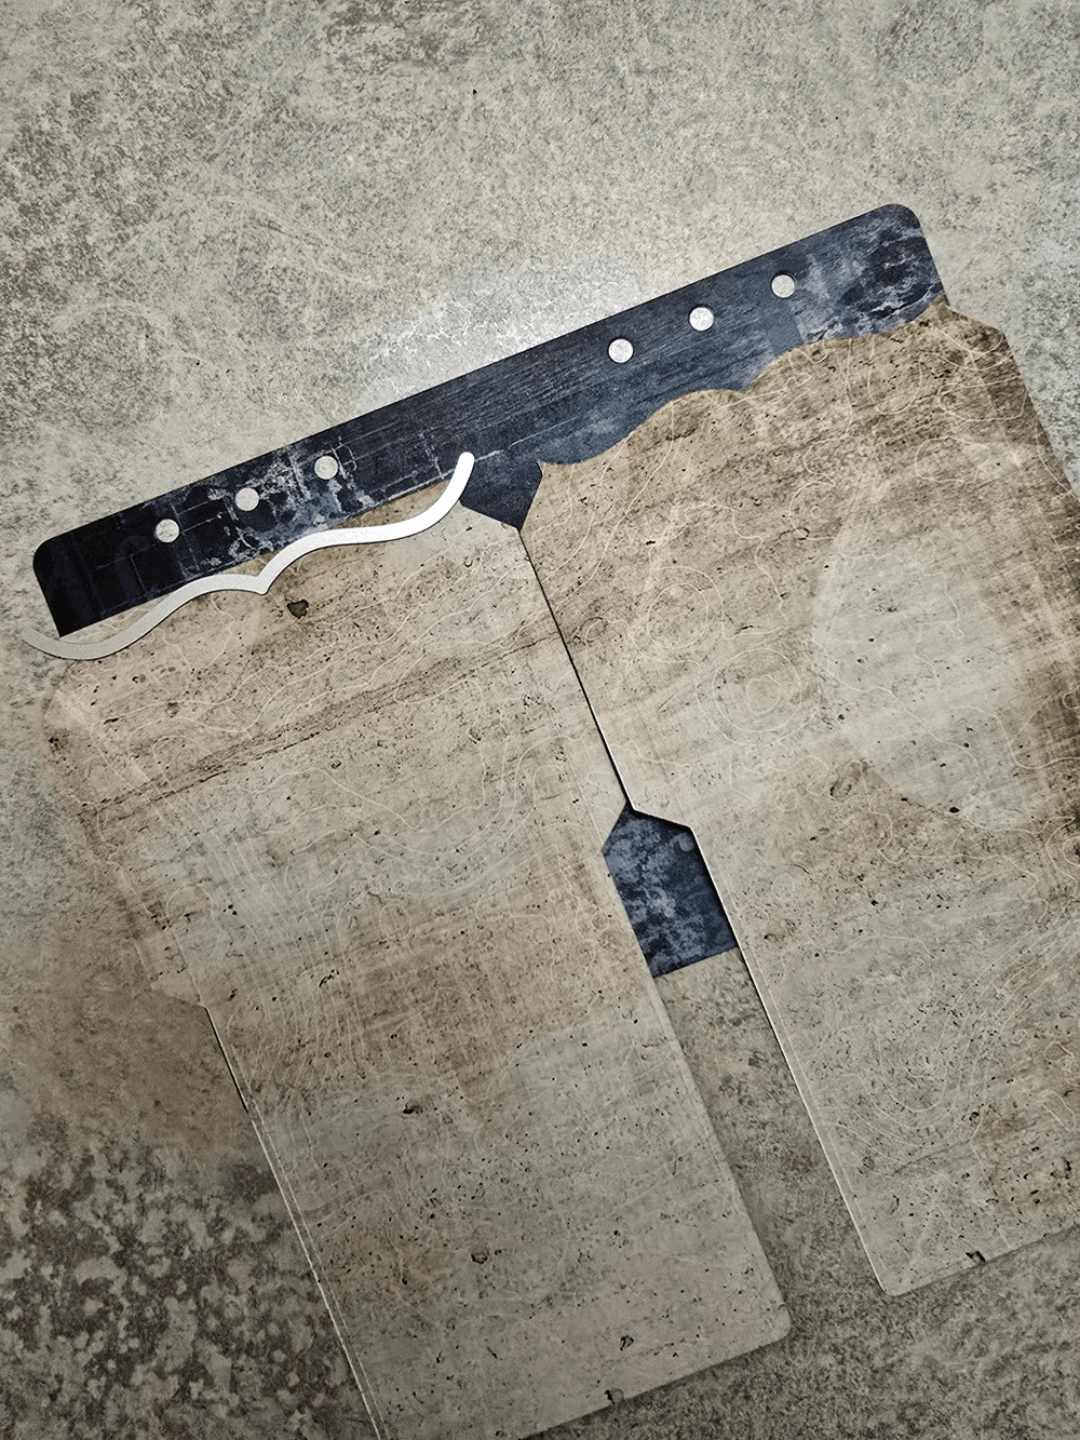
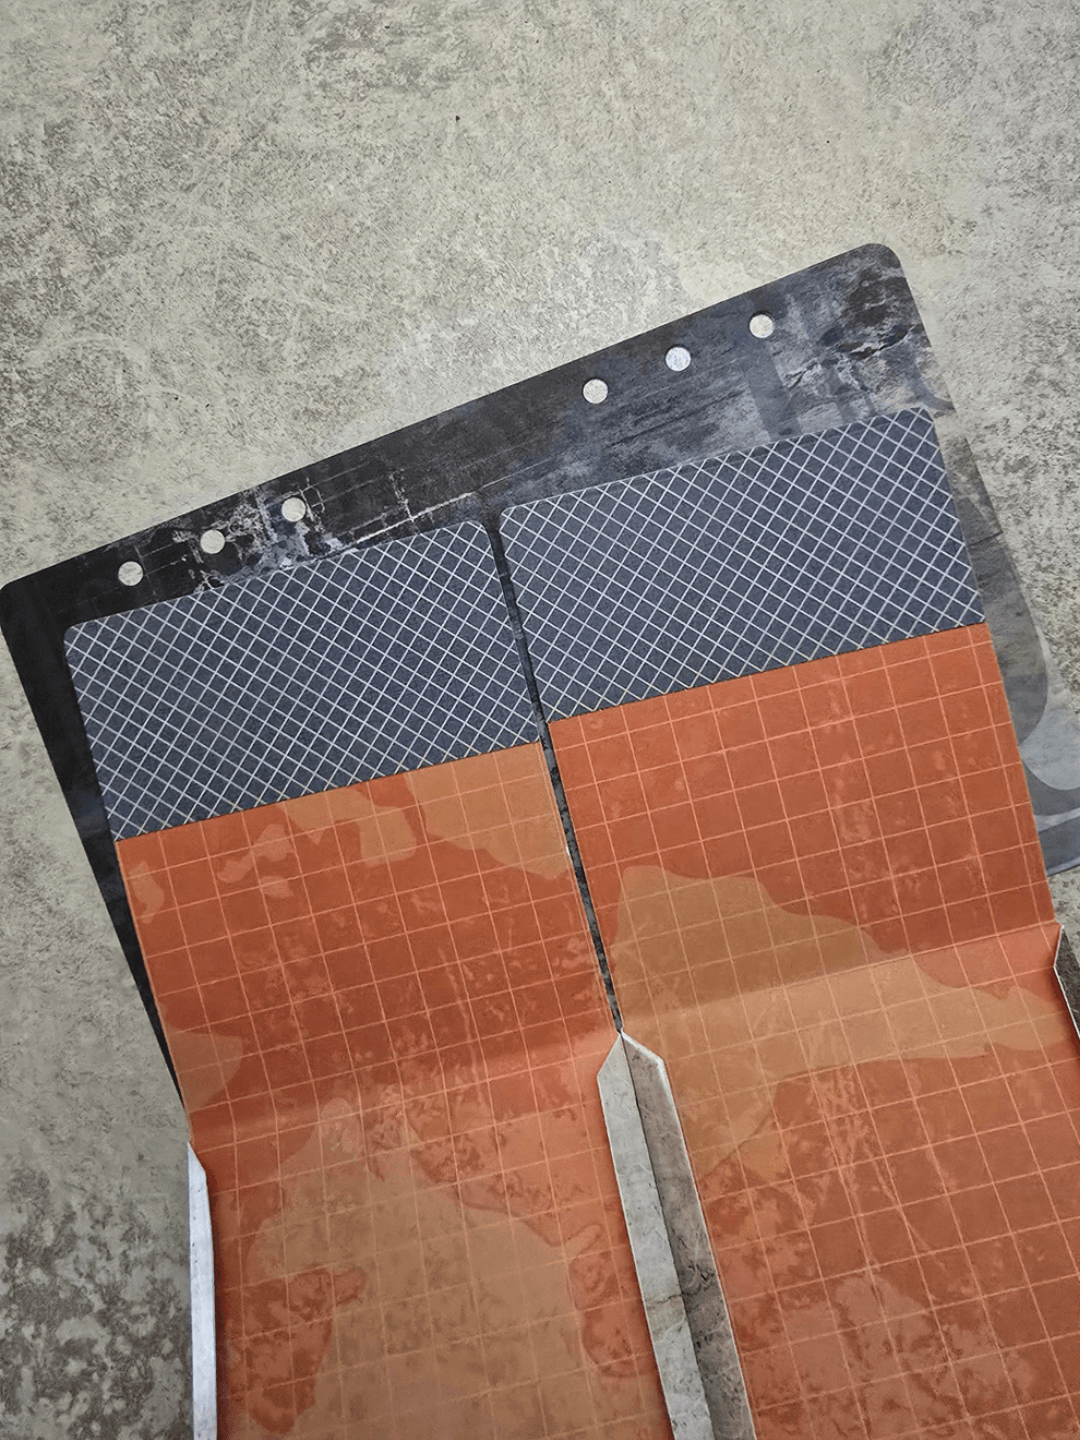
Step 2: I didn’t want to see the orange paper on this page, so to keep it within the blue-beige color range, I took a strip of new paper and punched a new piece for both pockets. This is an optional step; if you want the other color to show, leave it visible.
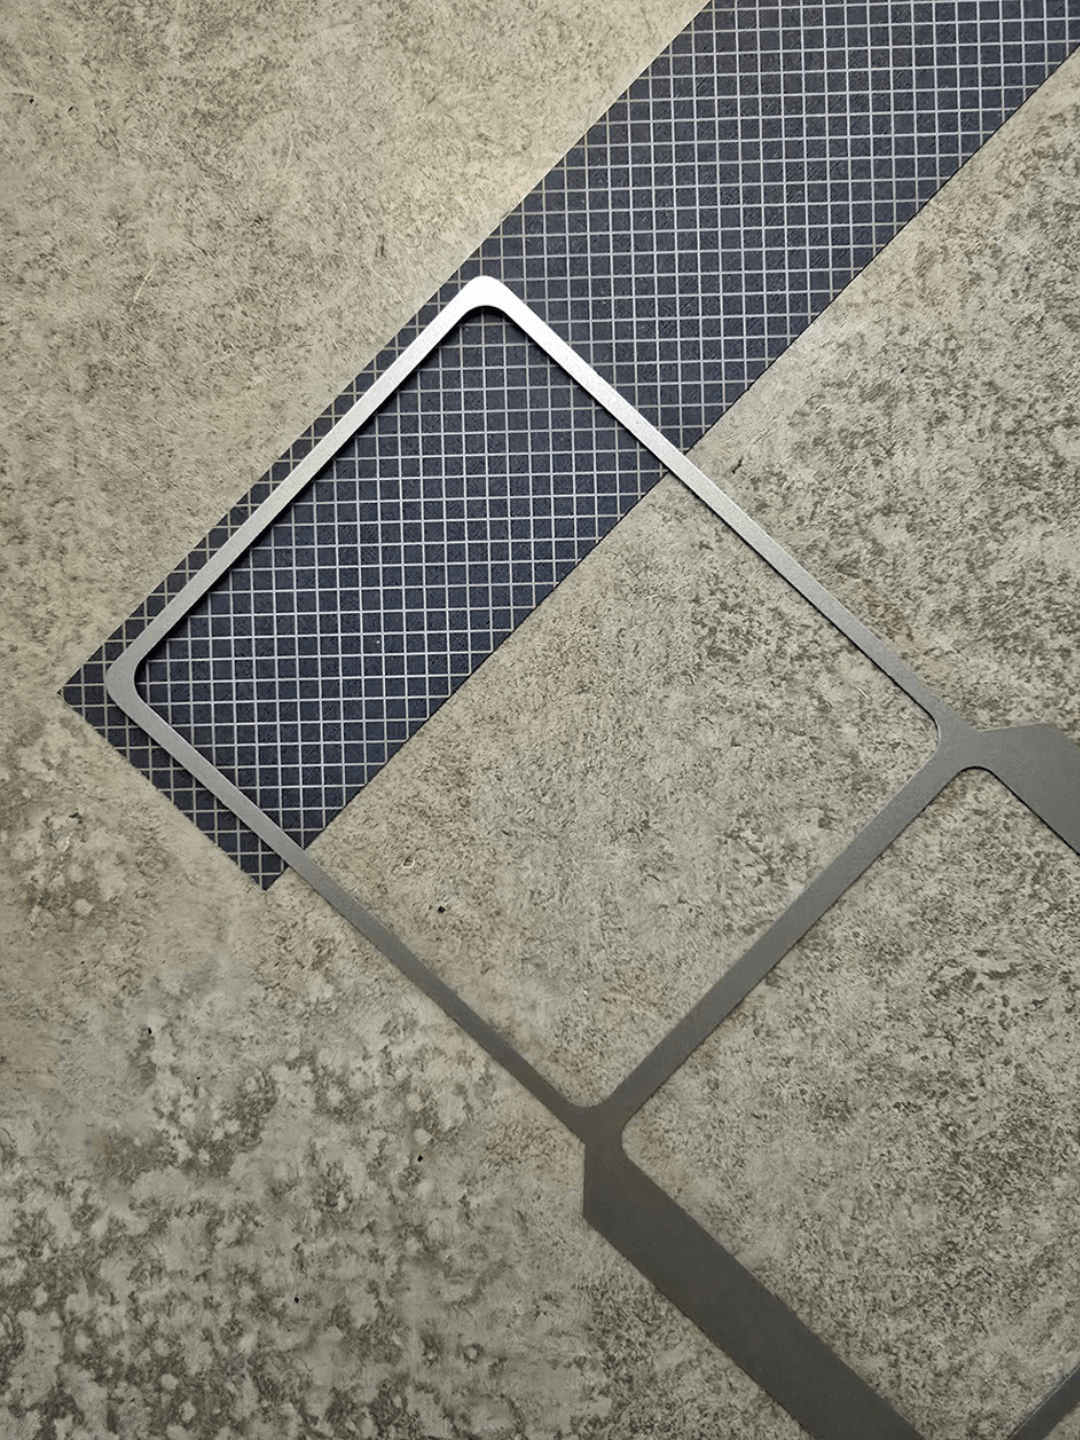
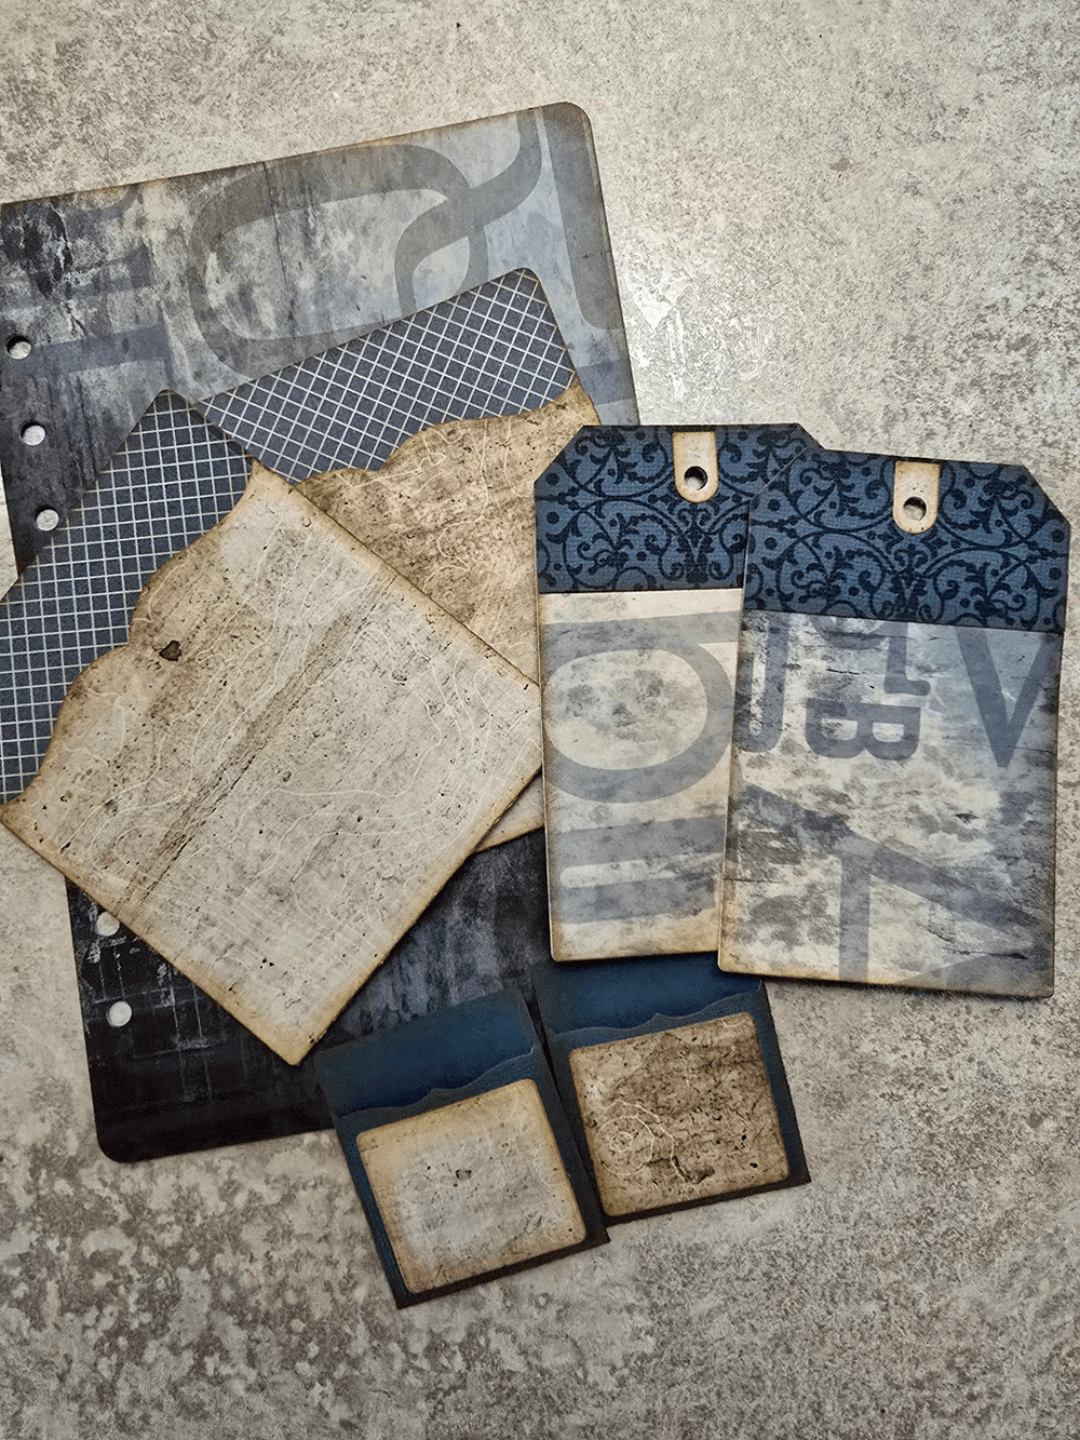
Step 3: I have also punched out two small pockets and did the same with them. Here, I didn't use an edge die, but the die intended for the book. This shows that you can often use the dies for purposes other than their intended use. So play with your dies by mixing them up; you don't have to stick to one set or collection.
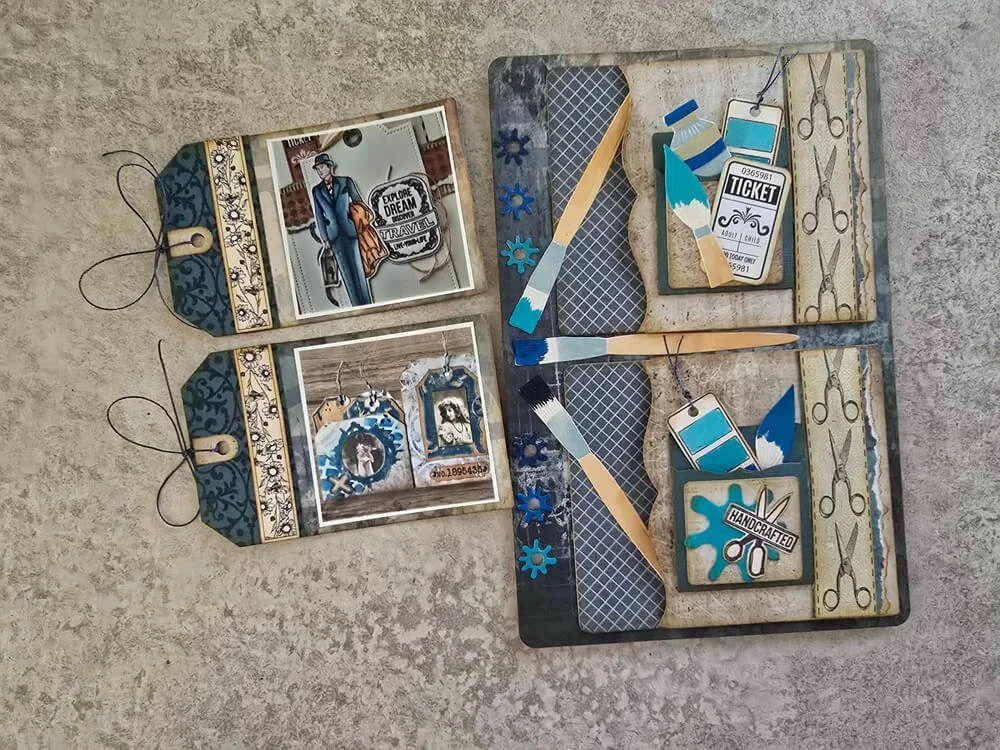
Step 4: Next, punch out two tags from two different sets. The Library pockets & accessories set (2358) for the bottom of the tag, and Layered tags (CS455) for the top part.
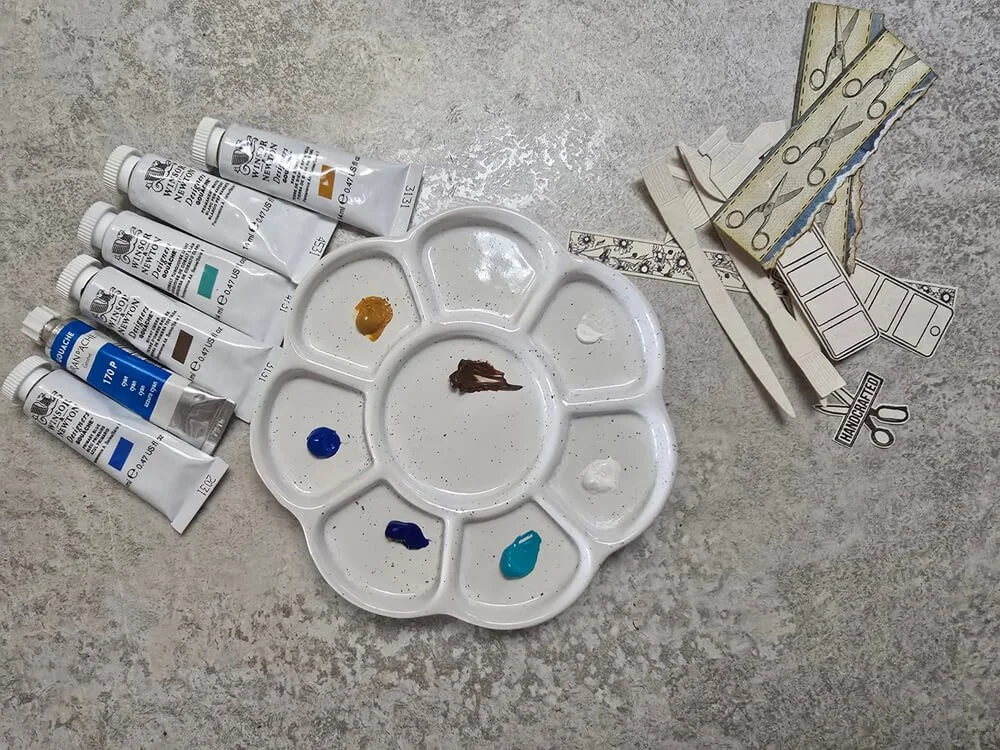
Step 5: Now it’s time to create the decorative elements. Die cut, stamp, and cut out all kinds of elements from beautiful papers.
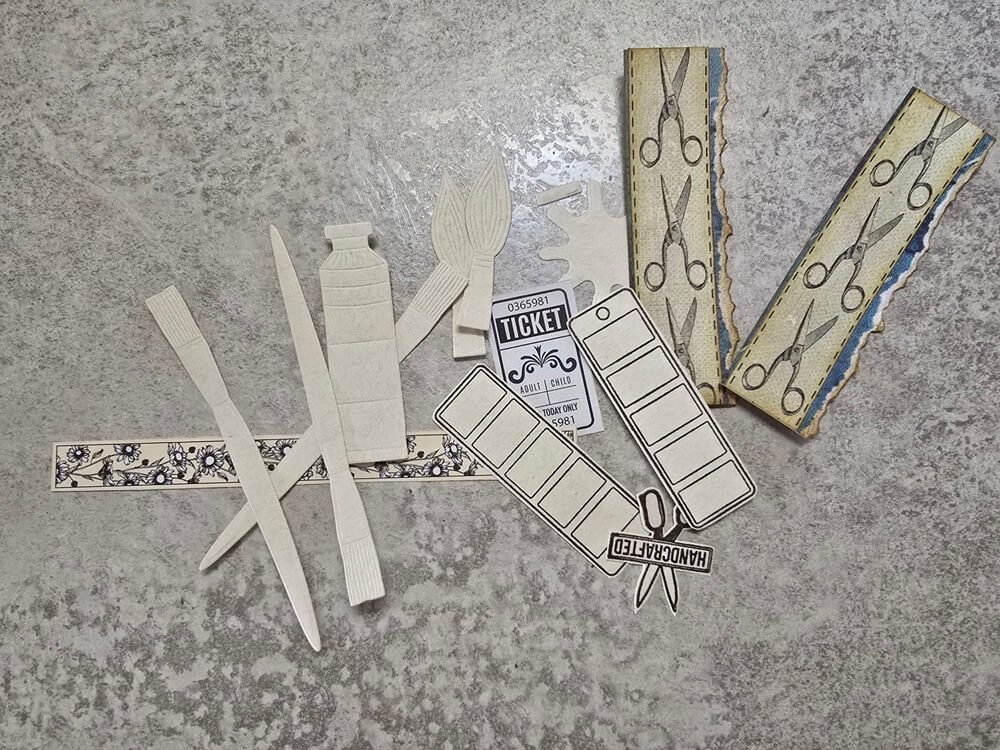
Step 6: Then, pick some shades of blue and brown gouache paints and start painting all your elements.
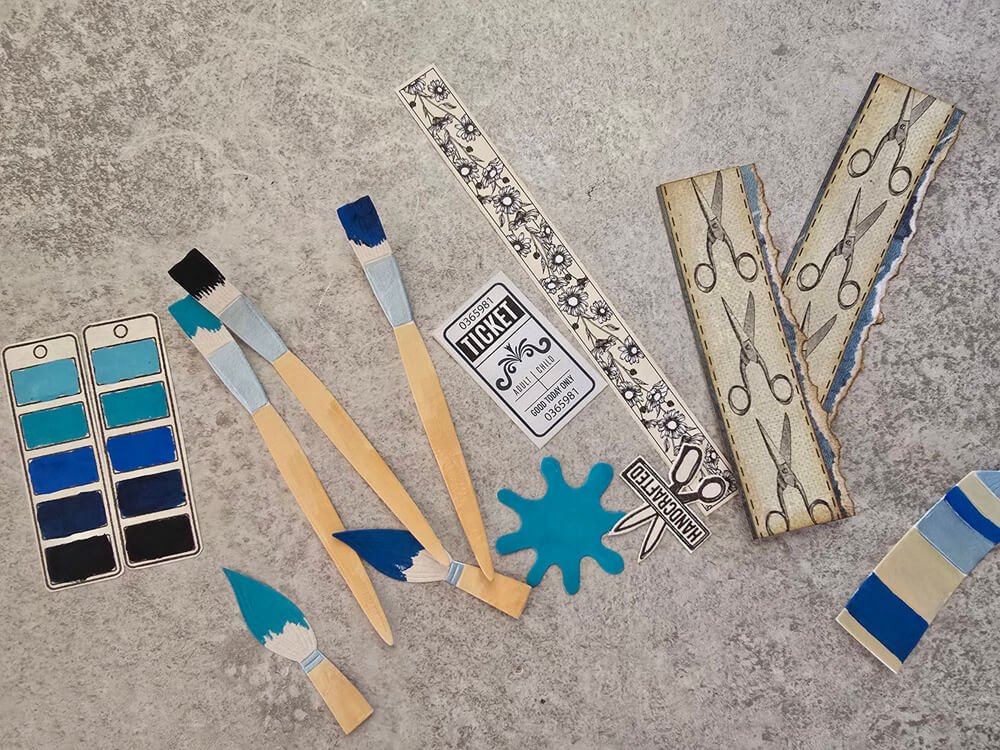
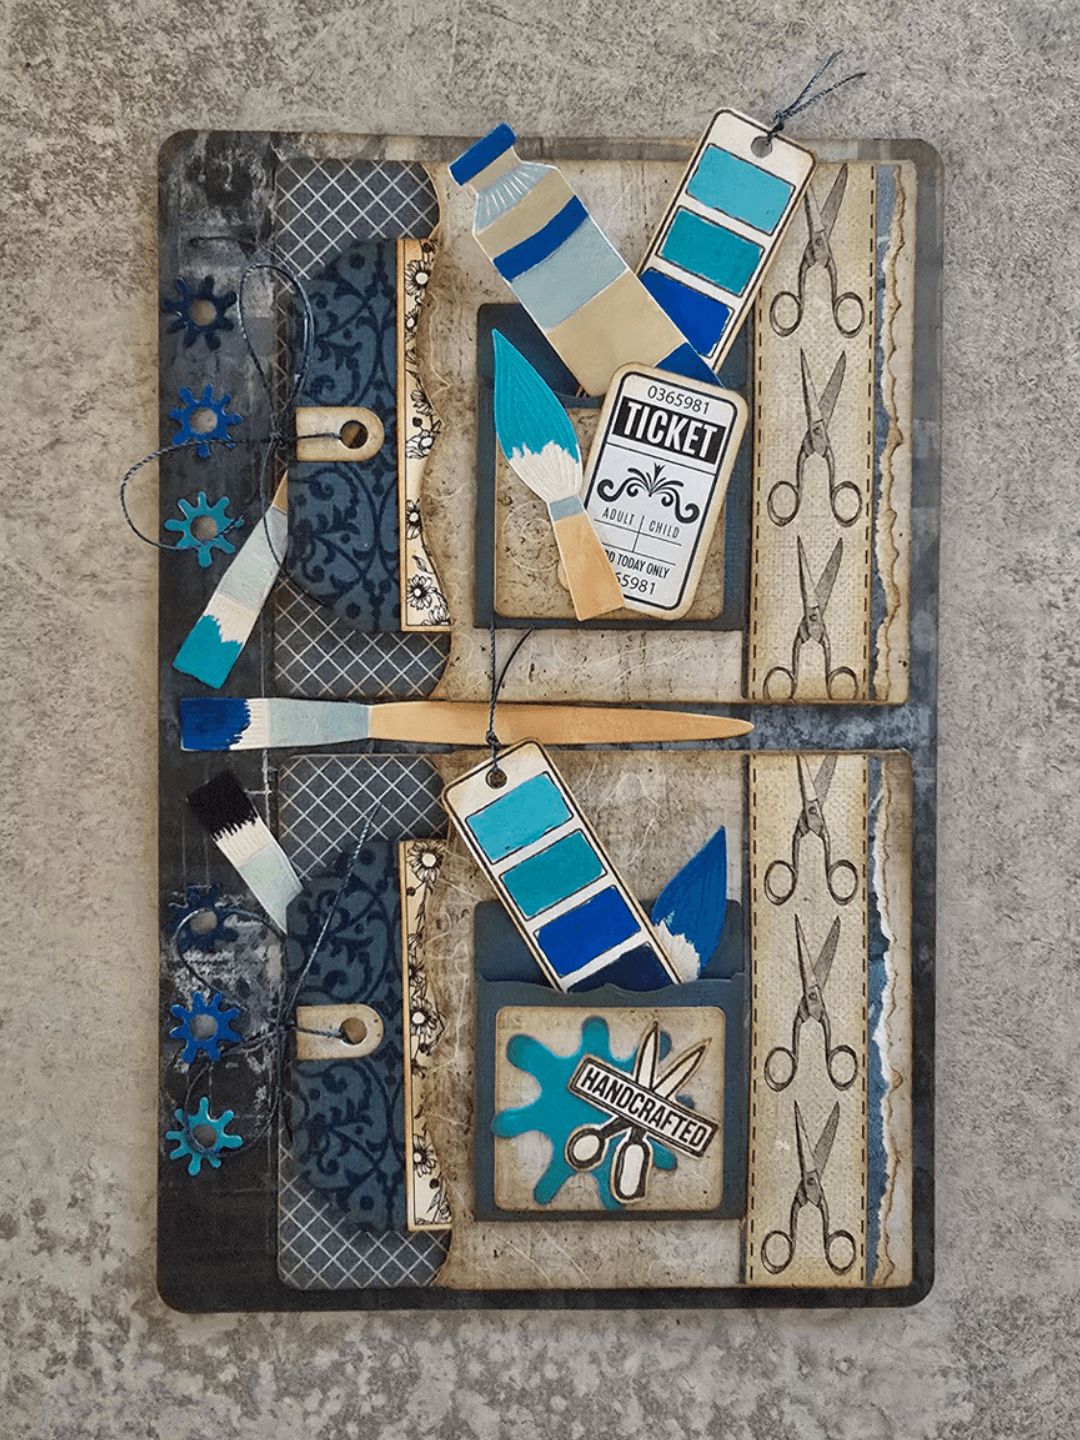
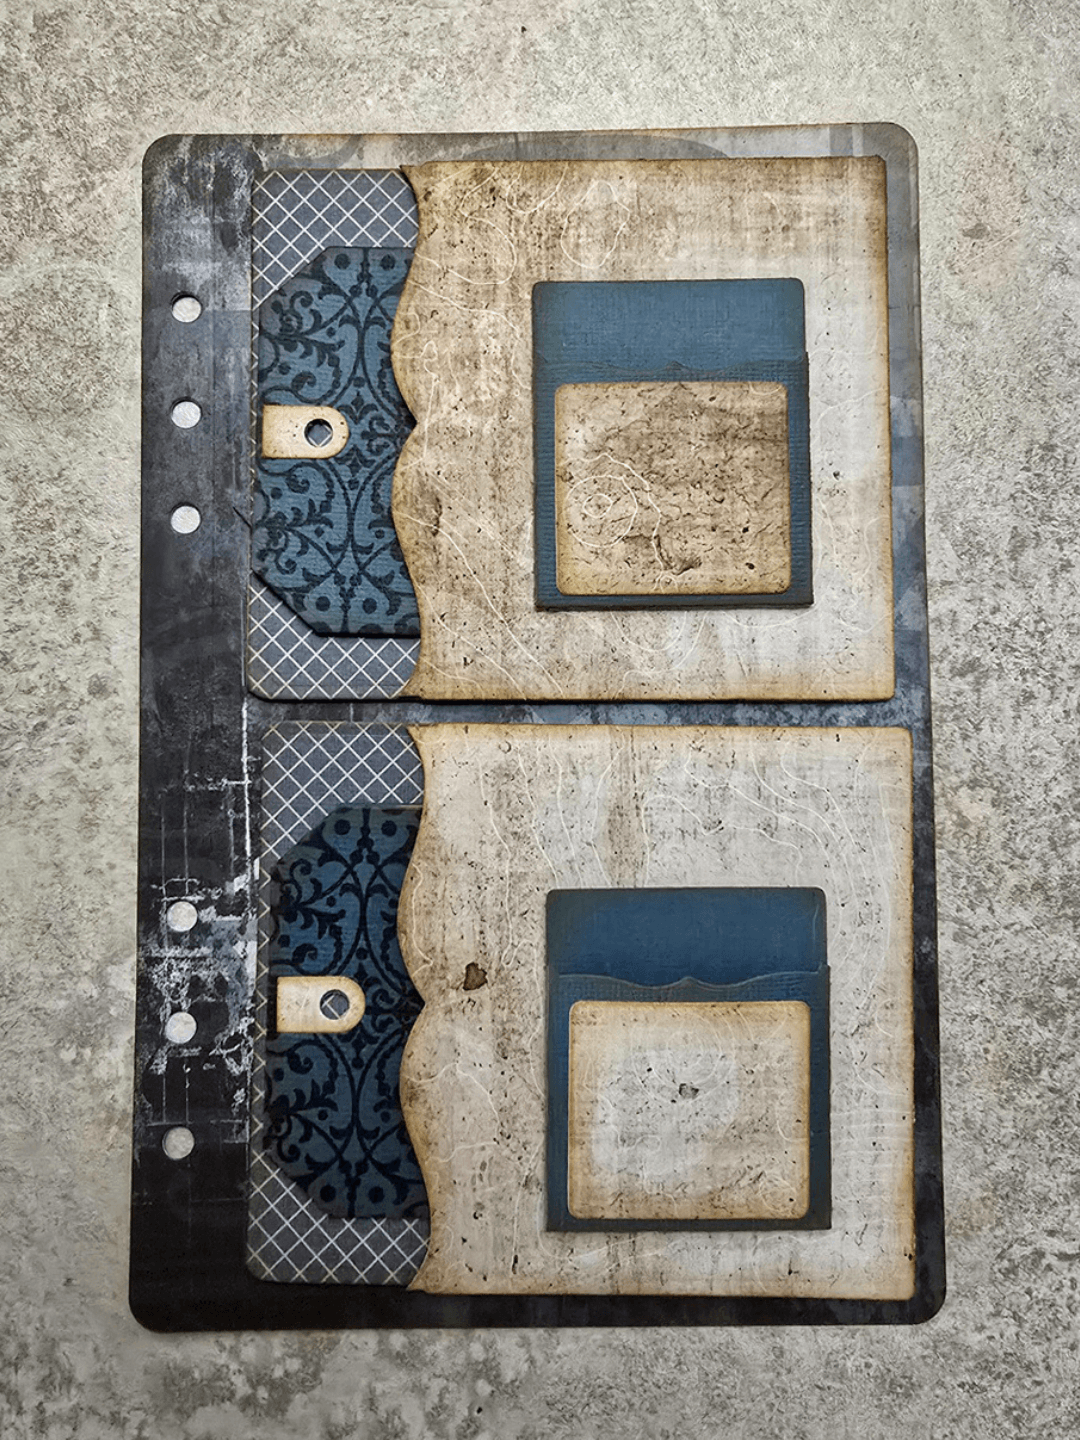
Step 7: When everything is dry, you can start playing with the elements, deciding where you want them to go. You can see in the photo below where I placed mine. I also printed and added some photos of my own projects to the tags, as they fit perfectly with this page.
Tip: Don't look at just one set of dies, but really look at several, and see how you can mix them together. You can often make really nice things if you mix dies
I hope you enjoyed it and that you will also have fun mixing with your dies and being creative.
Hugs, Marga
Make sure you share your projects with us in our Facebook Group HERE. We love to see what you create!
Never miss a tutorial and sign up for our emails today HERE.
Elizabeth Craft Designs Products Used: