
Transfer an image onto material the EZ way!
Do you love the vintage look or enjoy experimenting with new techniques? Or maybe you’ve always wanted to add unique textures and layers to your journals, but weren’t sure where to start? Join us and learn how to transfer images onto fabric, creating beautiful elements you can use in your own journal pages and covers. It’s a simple technique that adds depth and dimension to your projects, and one you’ll want to use again and again.

Hi everyone, little treasuresss here! Follow me as I show you how to transfer images to fabric and use it in your journals. Find yourself some glue, fabric, and an image, and let’s get started!
Step 1: Find yourself an image. You can transfer a lot, but there are some rules to follow. Because your image will be mirrored after transferring, text mostly isn’t an option, unless you mirror it first before transferring it. It’s also a good tip to look for a high contrast image. The results will be better that way. Take a look at the newest paperback, Backgrounds, Volume 3. You’ll see it contains so many gorgeous pictures of people that will work brilliantly for this technique.
You also have a lot of different fabrics. The finer the fabric, the crisper the image. The coarser the fabric, the blurrier the image, but it also gives it a more vintage look. So, it's a trial-and-error process to find out what you like most or that best fits the image.
For the glue, you also have some options. We’re looking for a white, water-based glue that dries transparent. I’ve used Mod Podge matte, but look at what you already have at home. Most white, water-based glues will do.
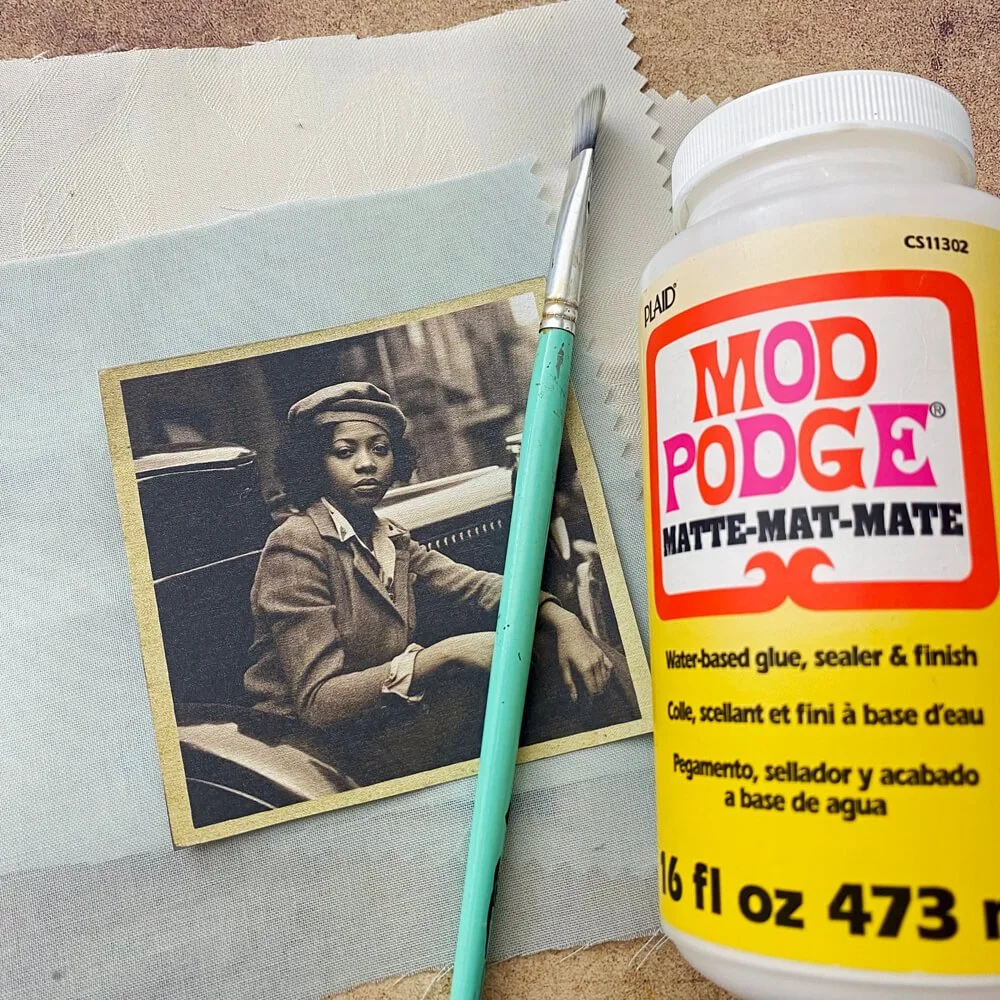
Step 2: Take a brush and apply a thin layer of glue to the front of the image. Also, apply a thin layer of glue to the surface of the fabric, where you would like the image transfer. Place the image face down on the wet fabric and gently, but firmly, smooth both sides with your fingers. Be sure there are no air bubbles left, because the image won’t transfer where bubbles are. To be sure, you can rub gently with a bone folder or brayer. Let it sit for a couple of hours to be sure all the glue is completely dry.
Step 3: After the glue dries completely, put your fabric in a bowl of water. Let it sit for a couple of seconds until the paper is soaked. Then lay the fabric down on a flat surface. Rub the top layer off with your fingers. Be gentle with this step, as rubbing too hard can rub the image off. Try to remove most of the paper from the centre outwards. If the paper doesn’t come off, let it soak a little longer. Do this step until you’re satisfied with the result and let it dry. Sometimes a haze remains after drying. There is a way to fix it. I put an extra thin layer of Mod Podge on top and let it dry again. The haze will disappear.


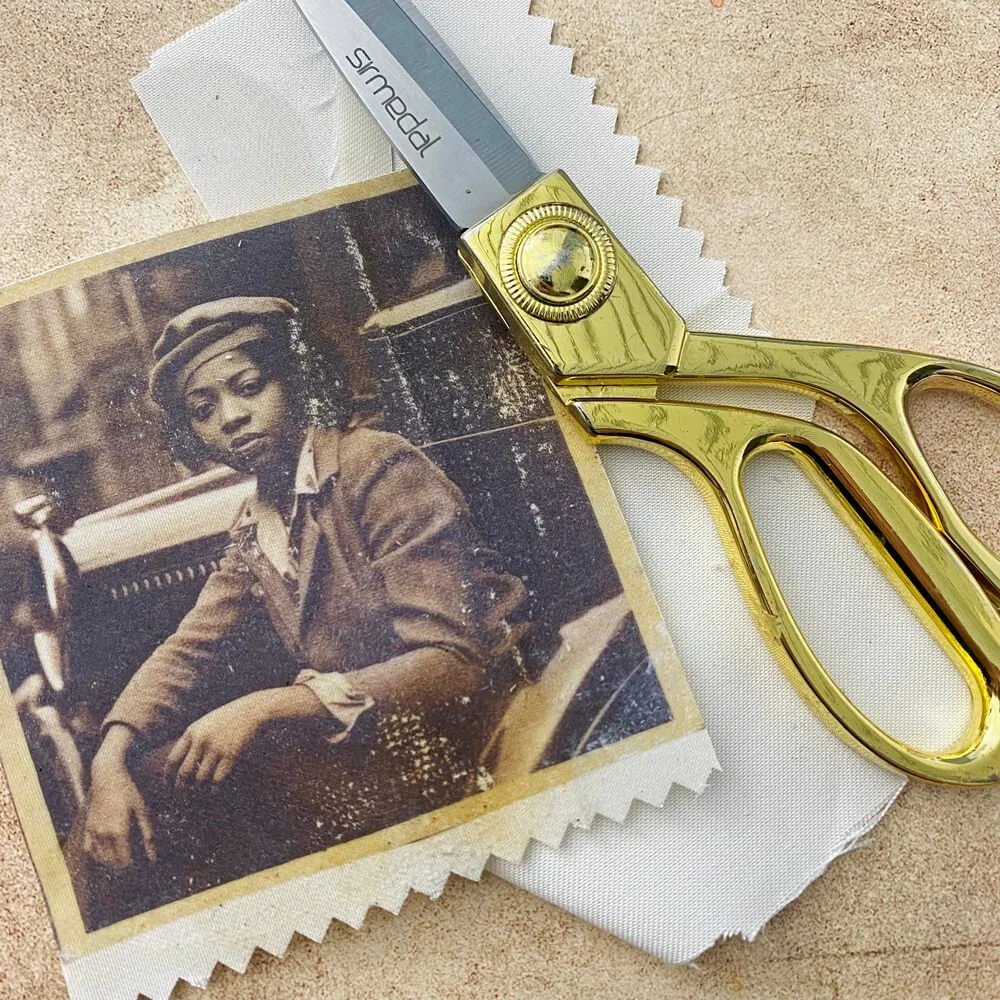
Step 4: Cut your fabric to size. I glued the picture up to the edge of the border. This means the whole piece of fabric is glued and hard. If you decide not to glue to the border, your fabric will still be soft on the edges, allowing the edges to be frayed. It’s optional and also a trial and error. There’s no right or wrong, but it all comes down to your preferences.
Step 5: This step is optional as well, but fun!. If you prefer a more vintage look, ink the edges, and add extra scratches by being a little rougher with the fabric. I did this and decorated it with some eyelets, some embroidery thread, and 2 tiny bells. This element is ready. We can put it aside for a bit and create the journal page.

Step 6: Create your journal page by cutting the base page from cardstock and the top layer from patterned paper from the Golden Season Collection. Decorate the pieces with stenciling. You can create a really interesting background with stencils that you can build on . For this project, I’ve used the stencils from Journal Stencils 9.


Step 7: For decoration, we need some leaves. The Golden Season stamp and die set features a nice variety of leaves. Cover some white cardstock with ink in colors that you like, and stamp the leaves on top with a darker color of your chosen inks. An option is to use some embossing powder to get a crunchy, old feeling. Then use the dies to cut them out.


Step 8: Now, let’s build our journal page. Start with the background and put the fabric on top. All the leaves need to be shaped a bit, to make them dimensional, and tuck them under the fabric. After arranging your main elements, find some extra bits and pieces to add extra details. I added a piece of dark fabric, some leftover embroidery thread, and from the paperback Backgrounds volume 3, a nice sentiment. When you are happy with the layout of your journal page, it's time to glue everything in place.


Other products needed: Glue, fabric, inks, and an image.