Create Shaped Decorative Cards For Spring
Have you always wanted to learn how to make shaped cards, but don’t know where to get started? Join design team member Kathy, and learn the EZ way of creating a beautiful shaped card PLUS how to embellish it with elegant 3D florals along with how to color a bunny! Creating a card that is perfect for any spring occasion!

Welcome Spring! Kathy here and I’m so excited to be up on the ECD blog today to share how I created my Spring/Easter shaped card!
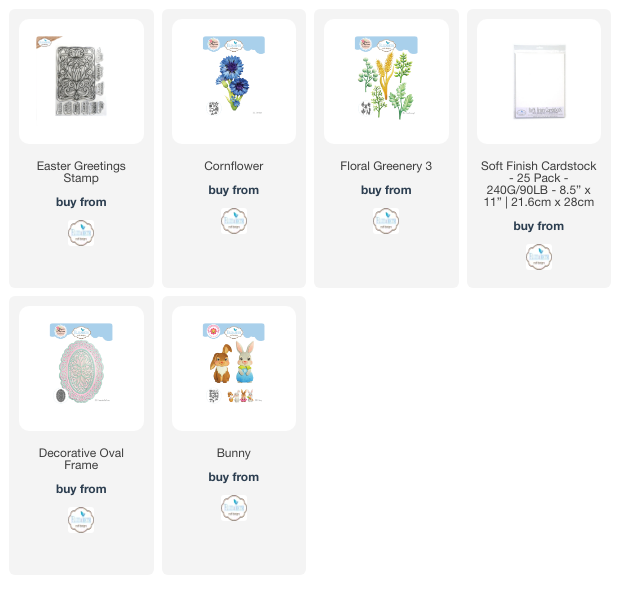
Step 1: Using the Decorative Oval Frame die set cut one of each of the following:
Using blue card, die cut the largest solid oval die.
Using white card, die cut the lacy decorative oval die.
Using purple card, die cut the smaller solid oval and the centre decorative oval dies together.
All layers are then adhered on top of each other. This creates the ‘front’ of the card.

Step 2: To create the rest of the ‘card’, I cut another large solid oval piece of white card using the same die as before for the ‘back’. I then created a ' hinge ' by taking a piece of white card and scoring it widthwise. After folding it at the score line, I attached the ‘hinge’ to both oval pieces of the card, creating the card base.

Step 3: Using Soft Finished Cardstock, I cut all the pieces needed to create the bunny and basket using the Bunny die set. Then I colored and blended the parts using Distress Inks.

I usually start blending with a base color I like, then edge with a darker color, sometimes doing it a couple of times.

Step 4: Glue all the Bunny pieces together. Creating the bunny from all the pieces is so rewarding… it’s so adorable!

Step 5: One of the best parts of Spring is to see flowers blooming! I cut a bunch of petals and leaves from the Cornflower die and Floral Greenery 3 die set. Now, just started coloring and blending the pieces with inks.

Step 6: Using a stylus, I slightly shaped the flowers before adhering the layers together to create a mini bouquet. I did minimal ‘shaping’ of the flower, but more shaping can certainly be done.

Step 7: Next, I layered and glued the leaf sprigs onto the card front, then popped up the floral bouquet with foam adhesive, placing the bouquet over the leaf sprigs.

Step 8: Mr. Bunny gets added next! With foam adhesive, the bunny and basket of carrots are popped up over the flowers.

Step 9: To finish, I stamped the sentiment from the Easter Greeting Stamp set on lilac cardstock and popped it onto the card with foam tape.