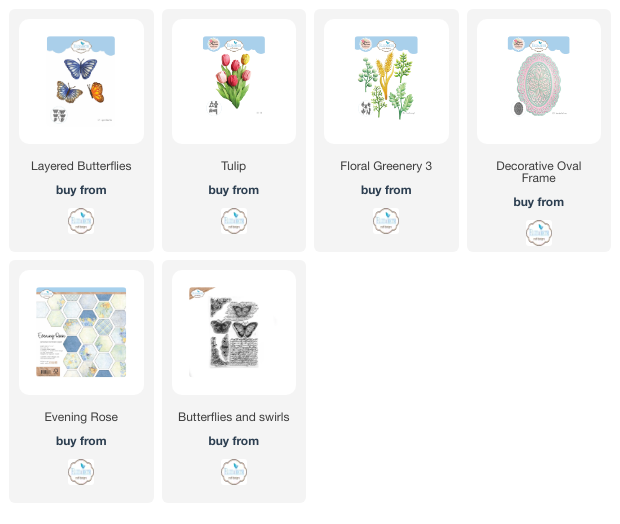
Create Elegant Cards using Decorative Dies
Create a card full of elegance and charm with the Decorative Oval Frame from the Spring Awakening Collection. This die adds intricate details, making it the perfect centerpiece for any handmade card. Join us and learn how to layer, embellish, and bring this design to life with simple yet effective techniques.

Hello everyone, Petra here with a beautiful card made with the gorgeous Decorative Oval Frame from the Spring Awakening Collection. Join me and learn how you can create this card too.
Step 1: From the Spring Awakening paper pad cut one piece of blue paper measuring 18 x 13cm, one dark blue piece measuring 18.5 x 13.5cm, and then cut one piece of Kraft cardstock from your crafty stash measuring 19 x 14cm. Next glue them on top of each other, so they form mat’s and layers on your card base.

Step 2: Die cut your Decorative Oval Frame from a piece of light patterned cardstock.
TOP TIP: Lay all three dies onto your paper and tape down in place to get the two die cut pieces in the picture below.
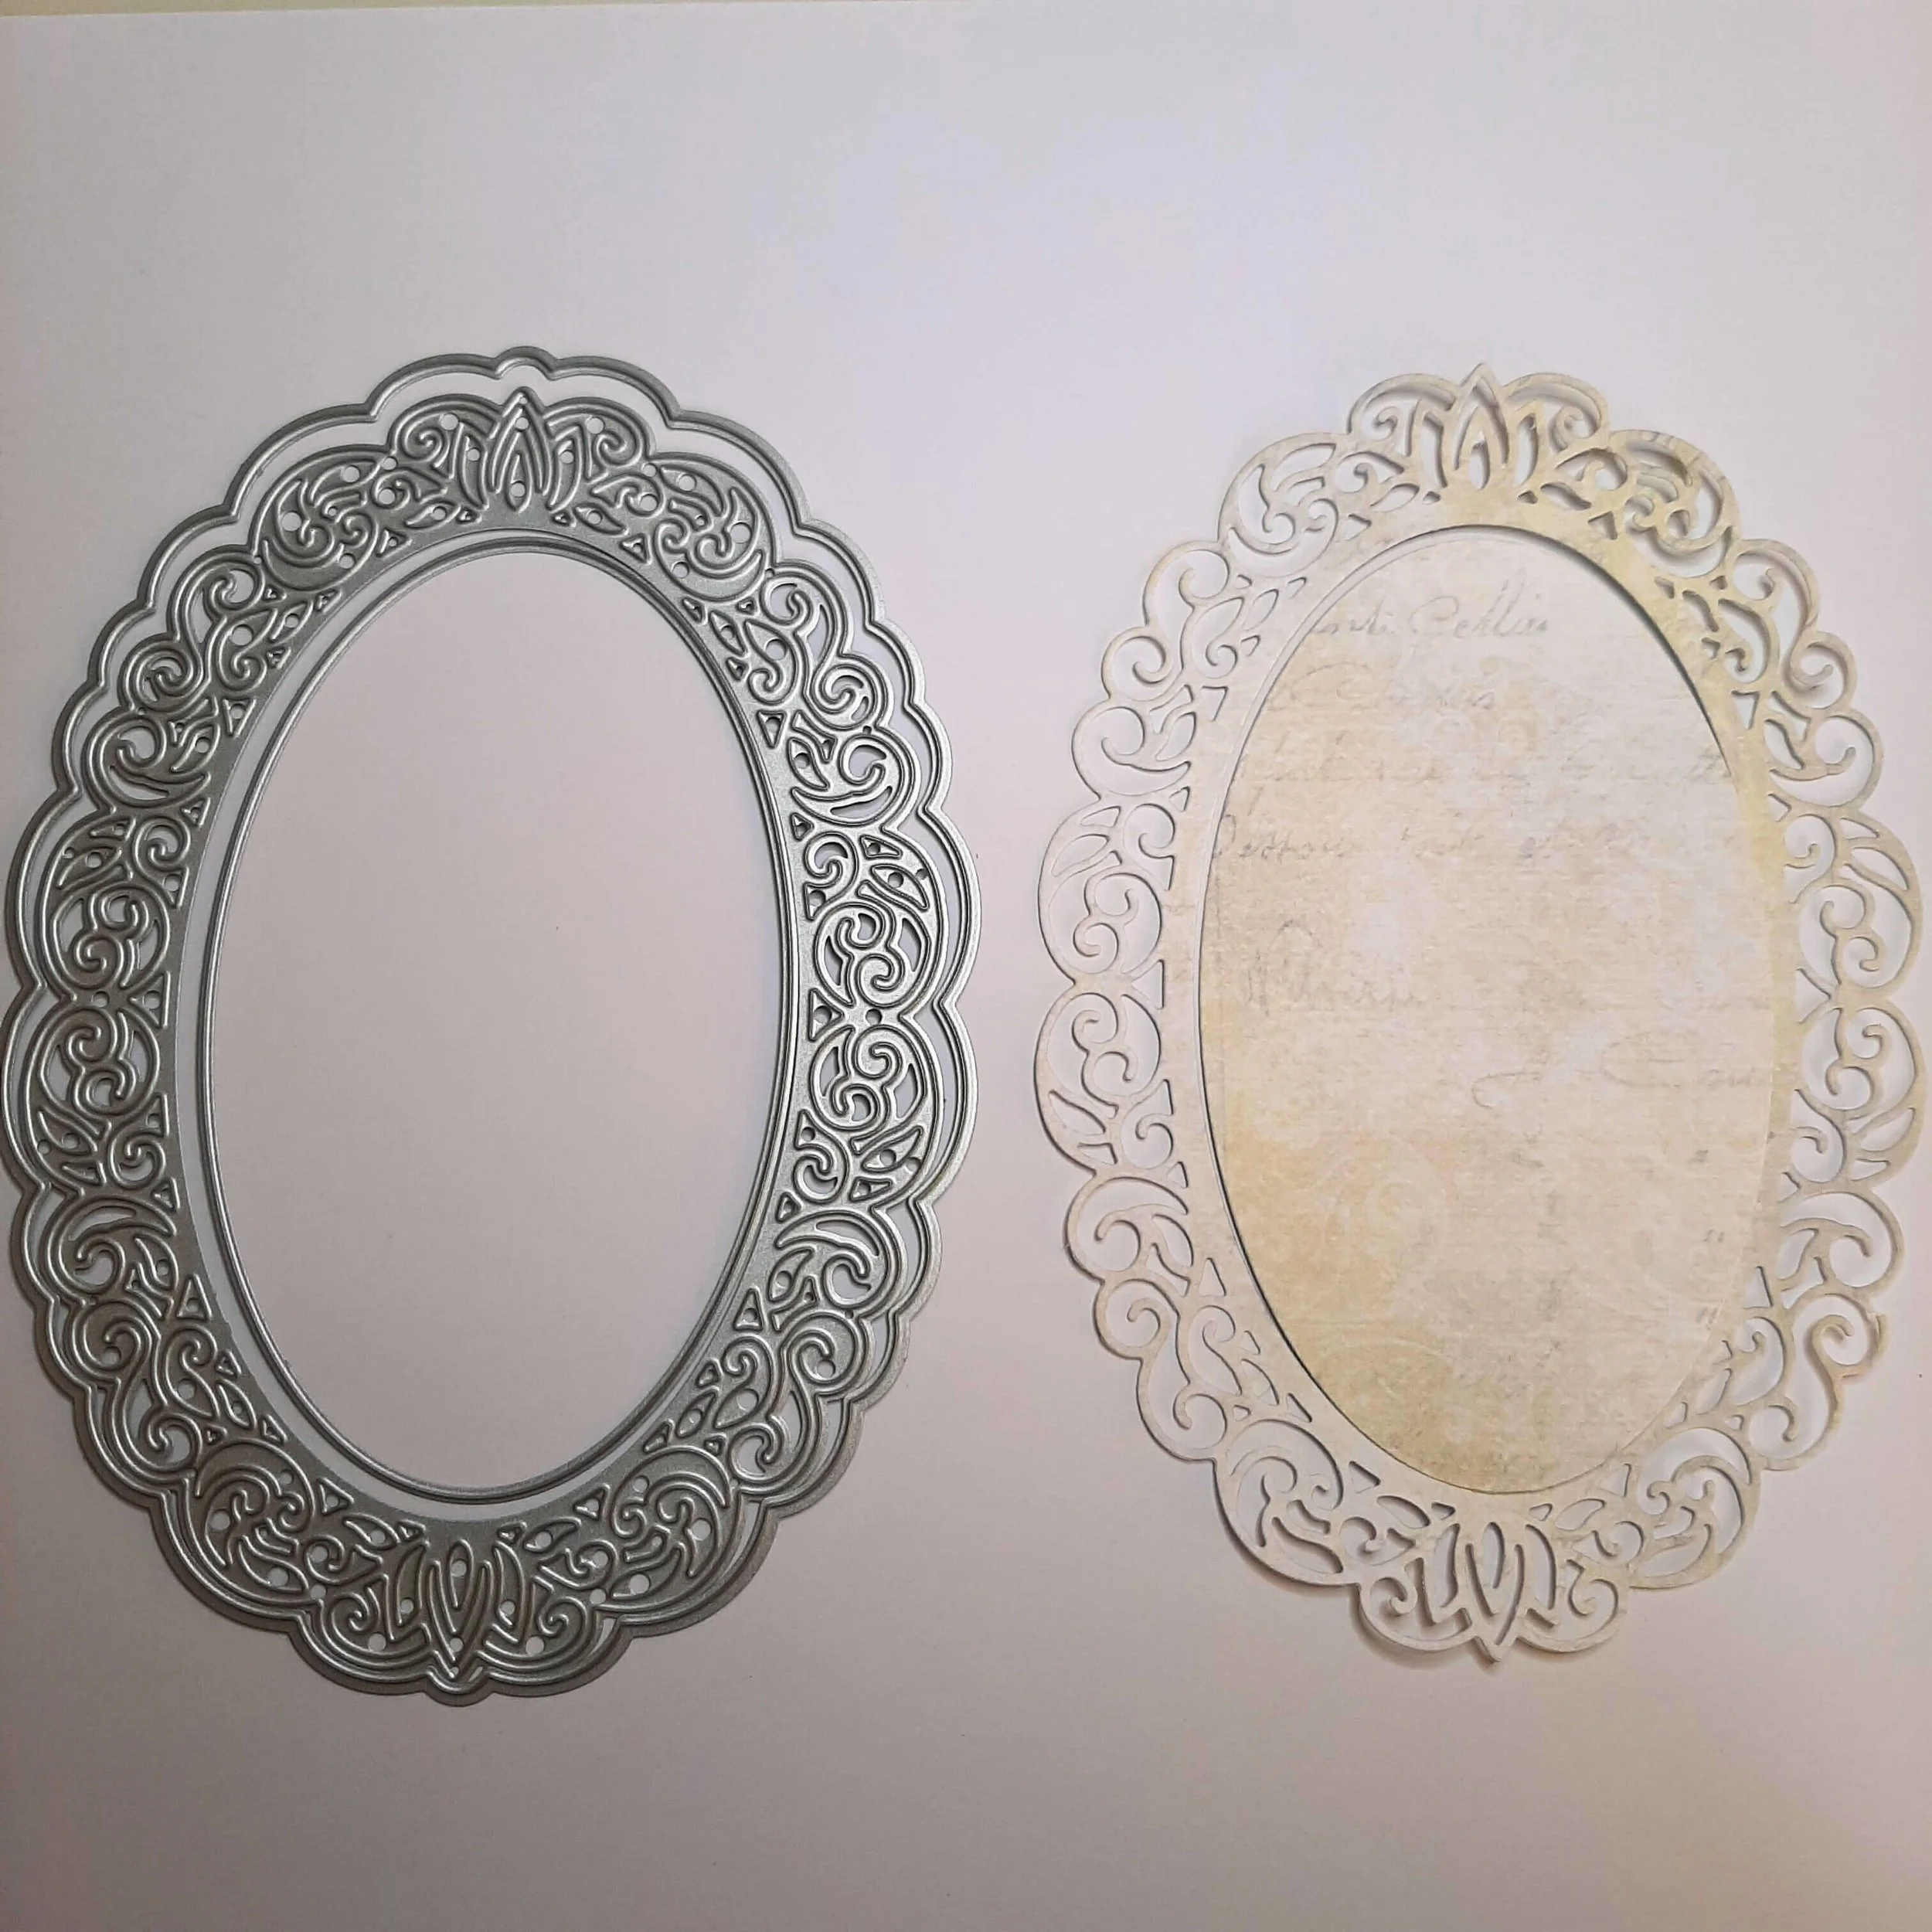
Step 3: Take the centre oval piece and stamp over the top with a text stamp using brown ink. Then distress the outer frame piece with Frayed Burlap Distress Ink. This step adds a fun element of interest to your project.

Step 4: Using the ‘Tulip’ die set, cut each flower and little leaves twice, and cut the big leaves once.
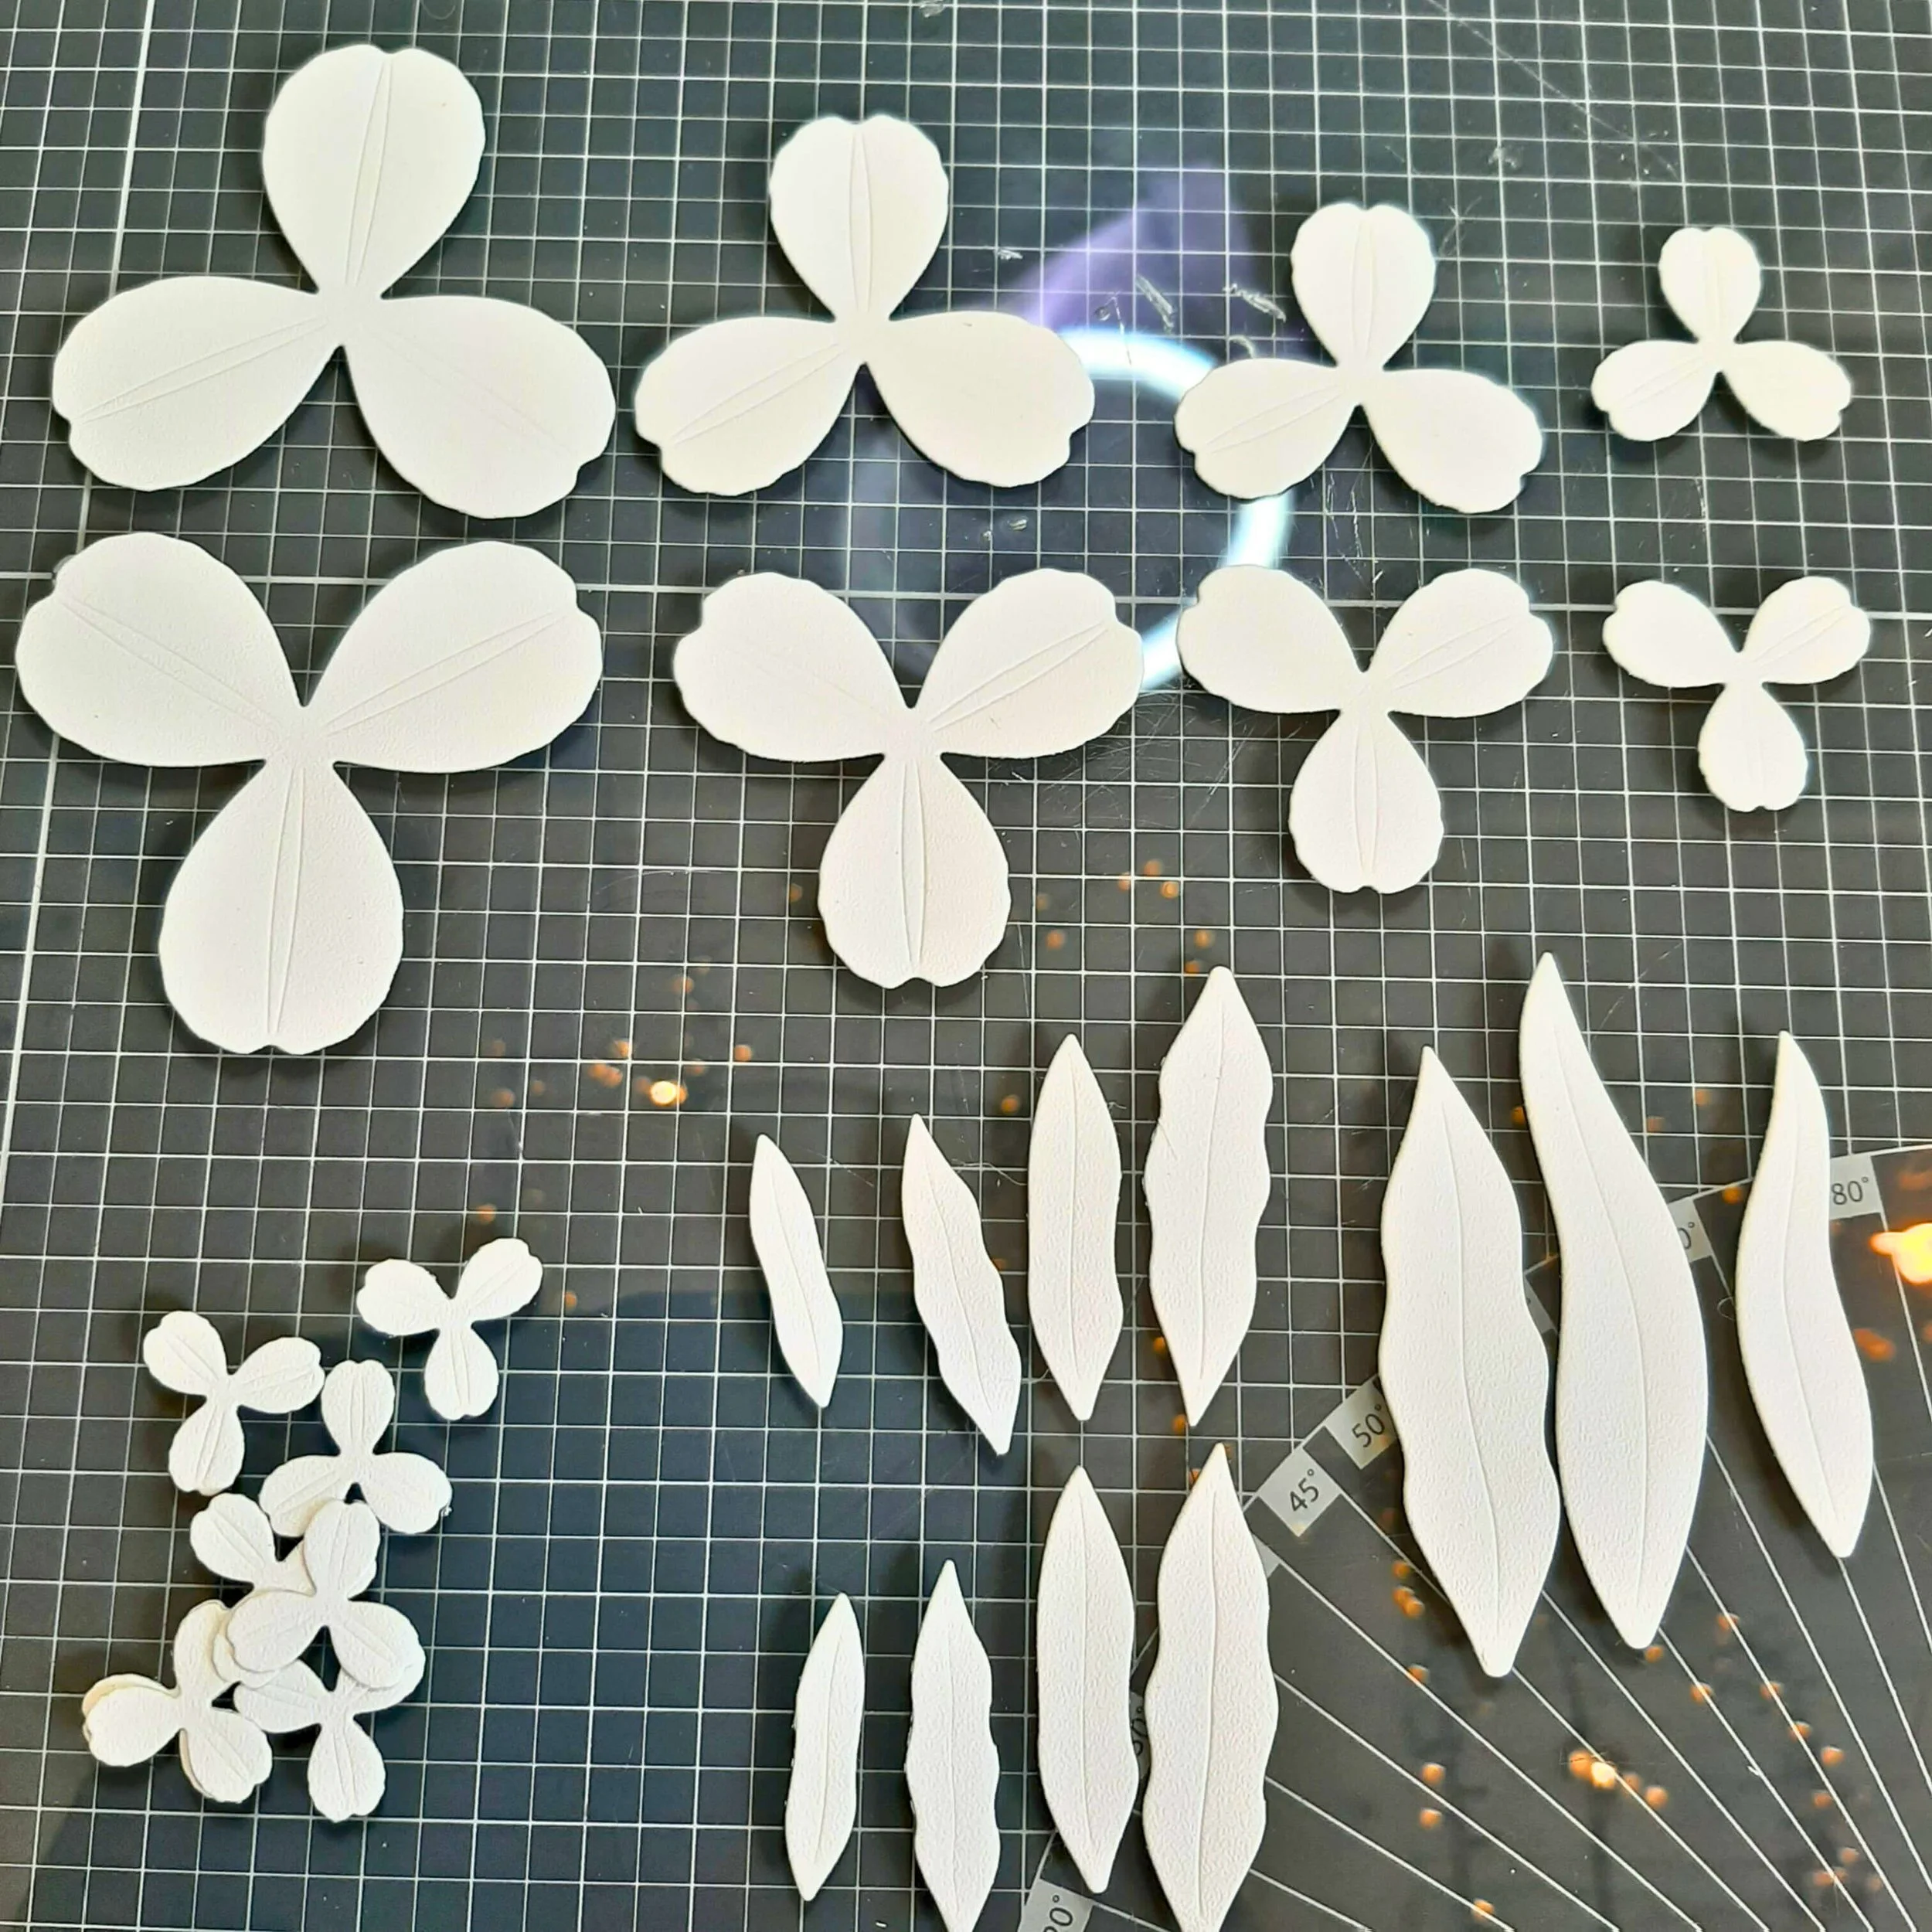
Step 5: Color your flowers with Faded Jeans Distress Ink and Frayed Burlap Distress Oxide, and then use Peeled Paint Distress Oxide to color the leaves.


Step 6: Using the Floral Greenery 3 die set, cut greenery your pieces out of Kraft cardstock and light brown cardstock along with Soft Finish Cardstock. Color the greenery cut from Soft finish cardstock using Forest Moss Distress Ink.

Step 7: Shape all your Flowers and Leaves and distress the edges with Frayed Burlap Distress Ink. Then, build the flowers, gluing each layer in place.

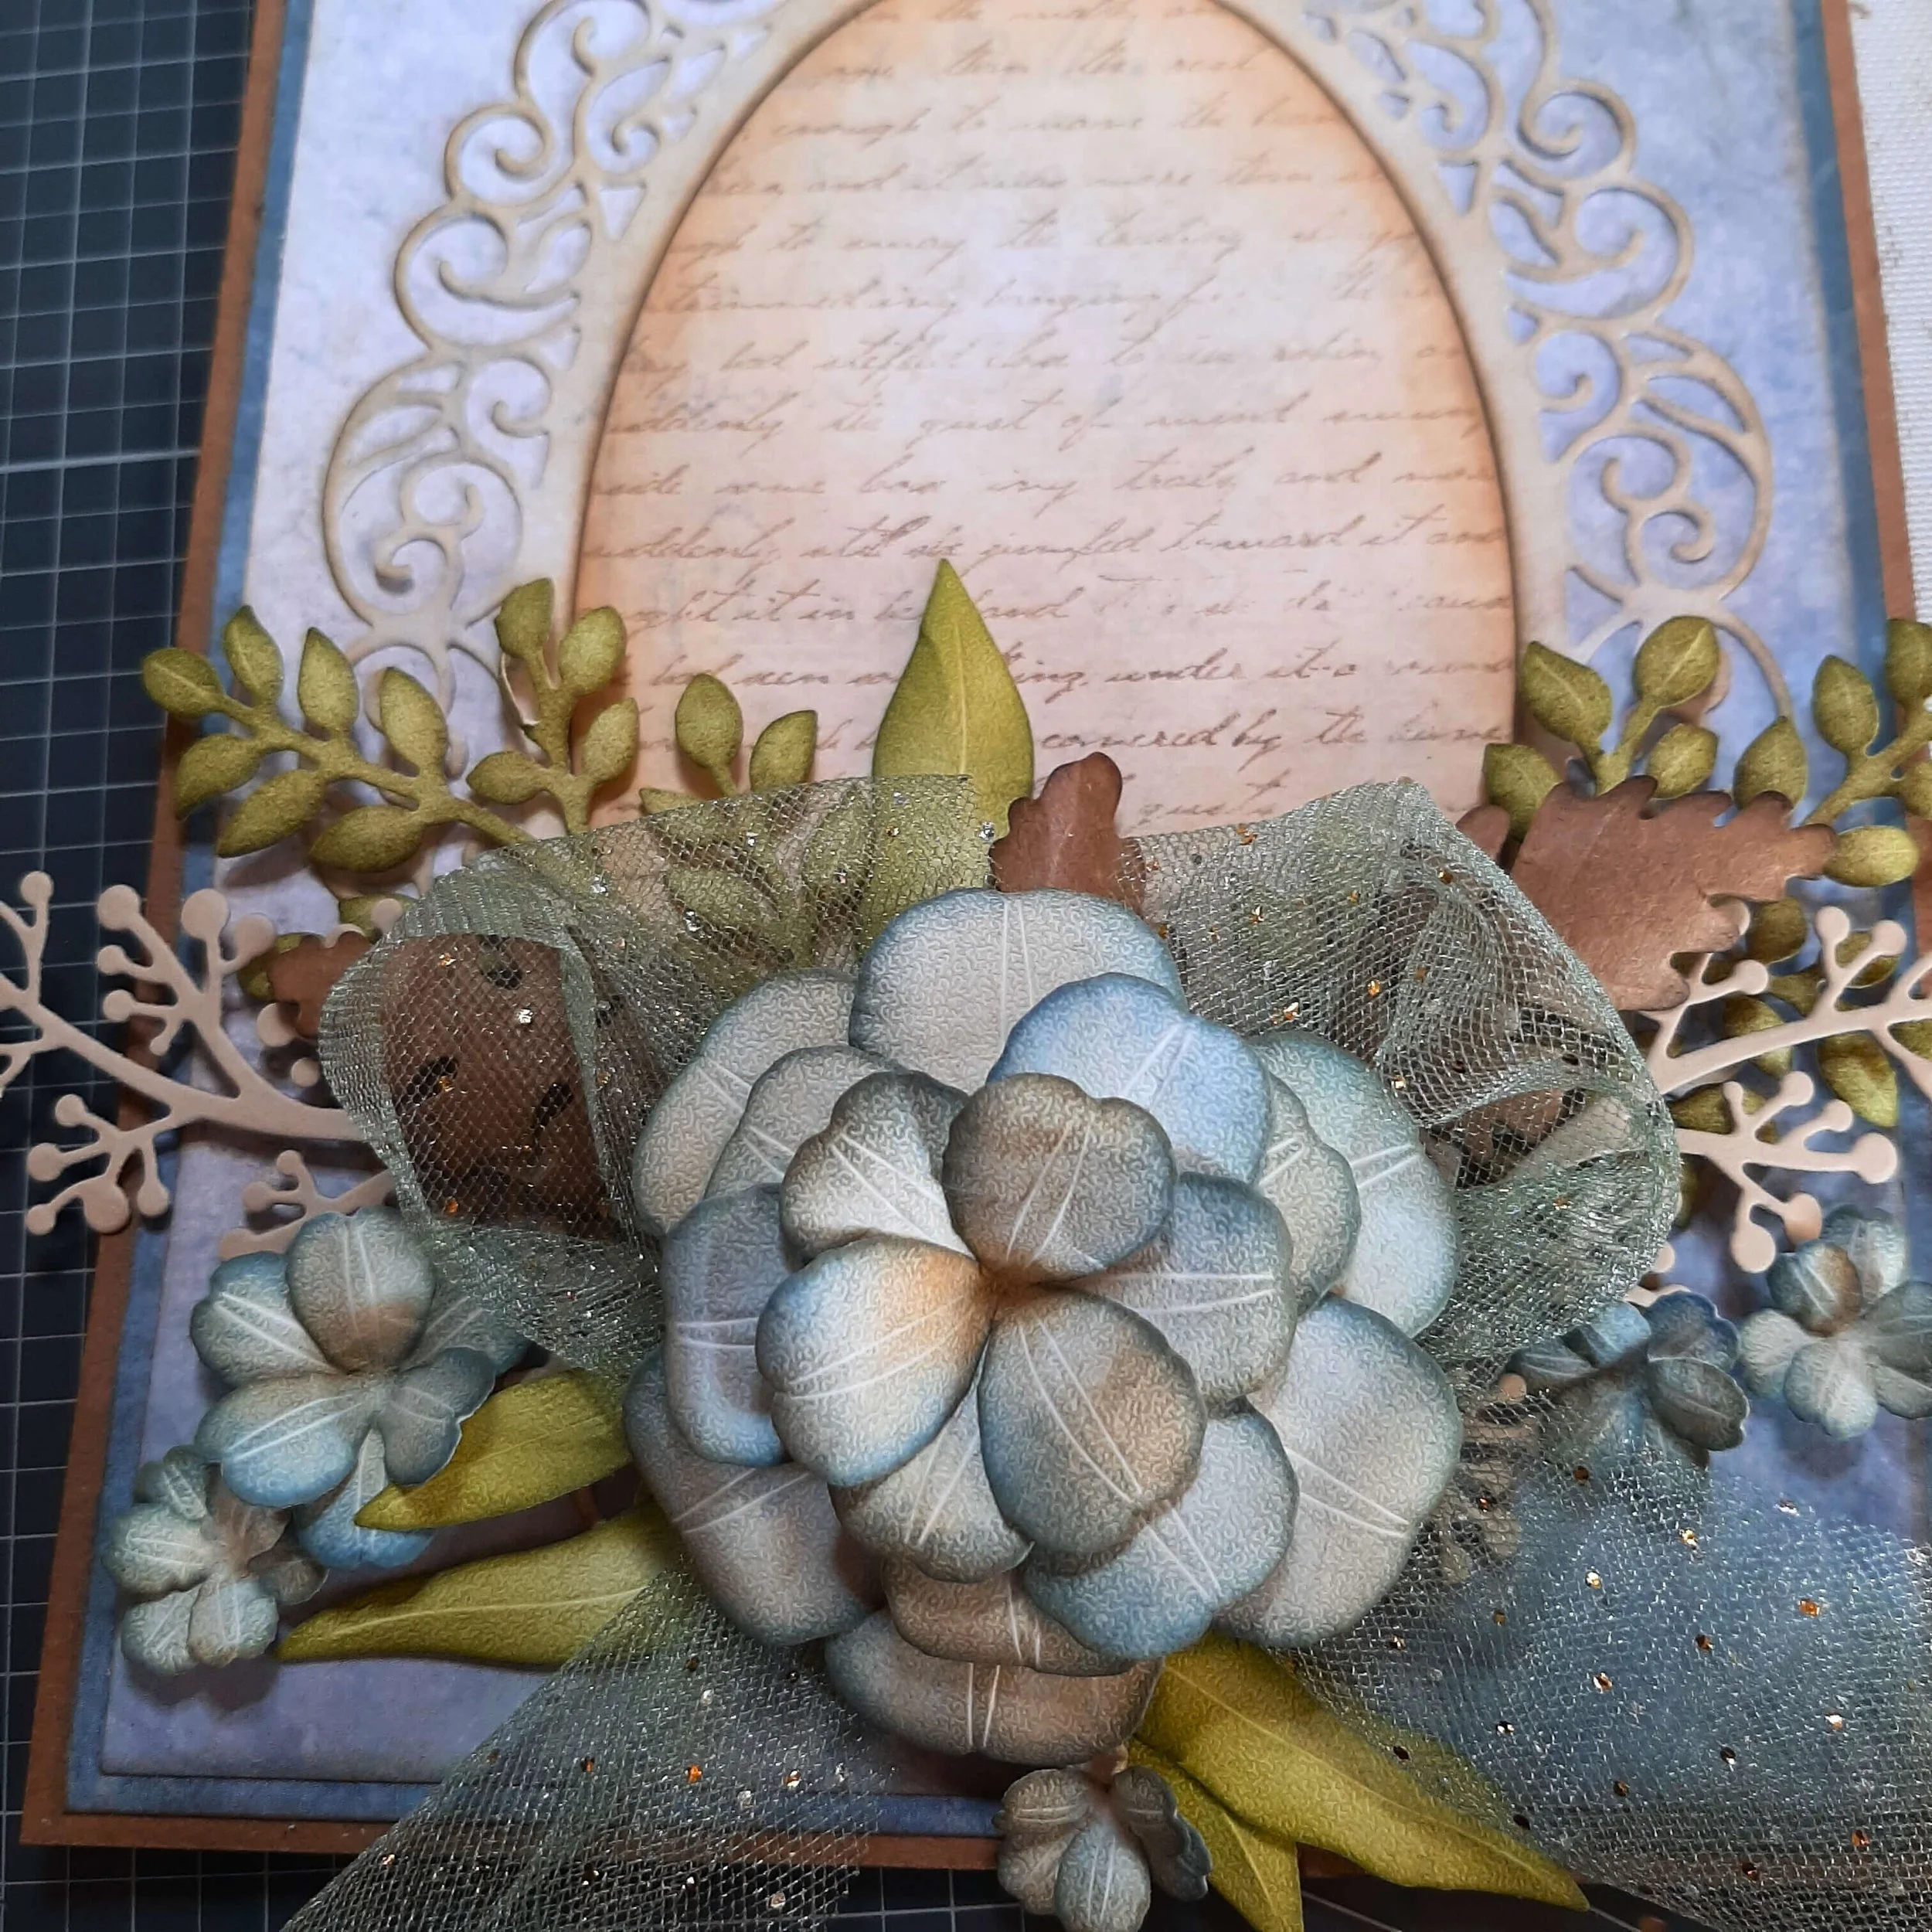
Step 8: Glue the Decorative Oval Frame onto the card you cut in Step 1. Then, glue your leaves in place on the frame. Next, take a piece of ribbon and make a bow. Glue the bow on the leaves, then add the big flower. Then, glue the little flowers around the big one.
Step 9: Using one of the layered butterflies, cut the body out of light brown cardstock and the other pieces out of dark blue and light blue cardstock and glue them together.
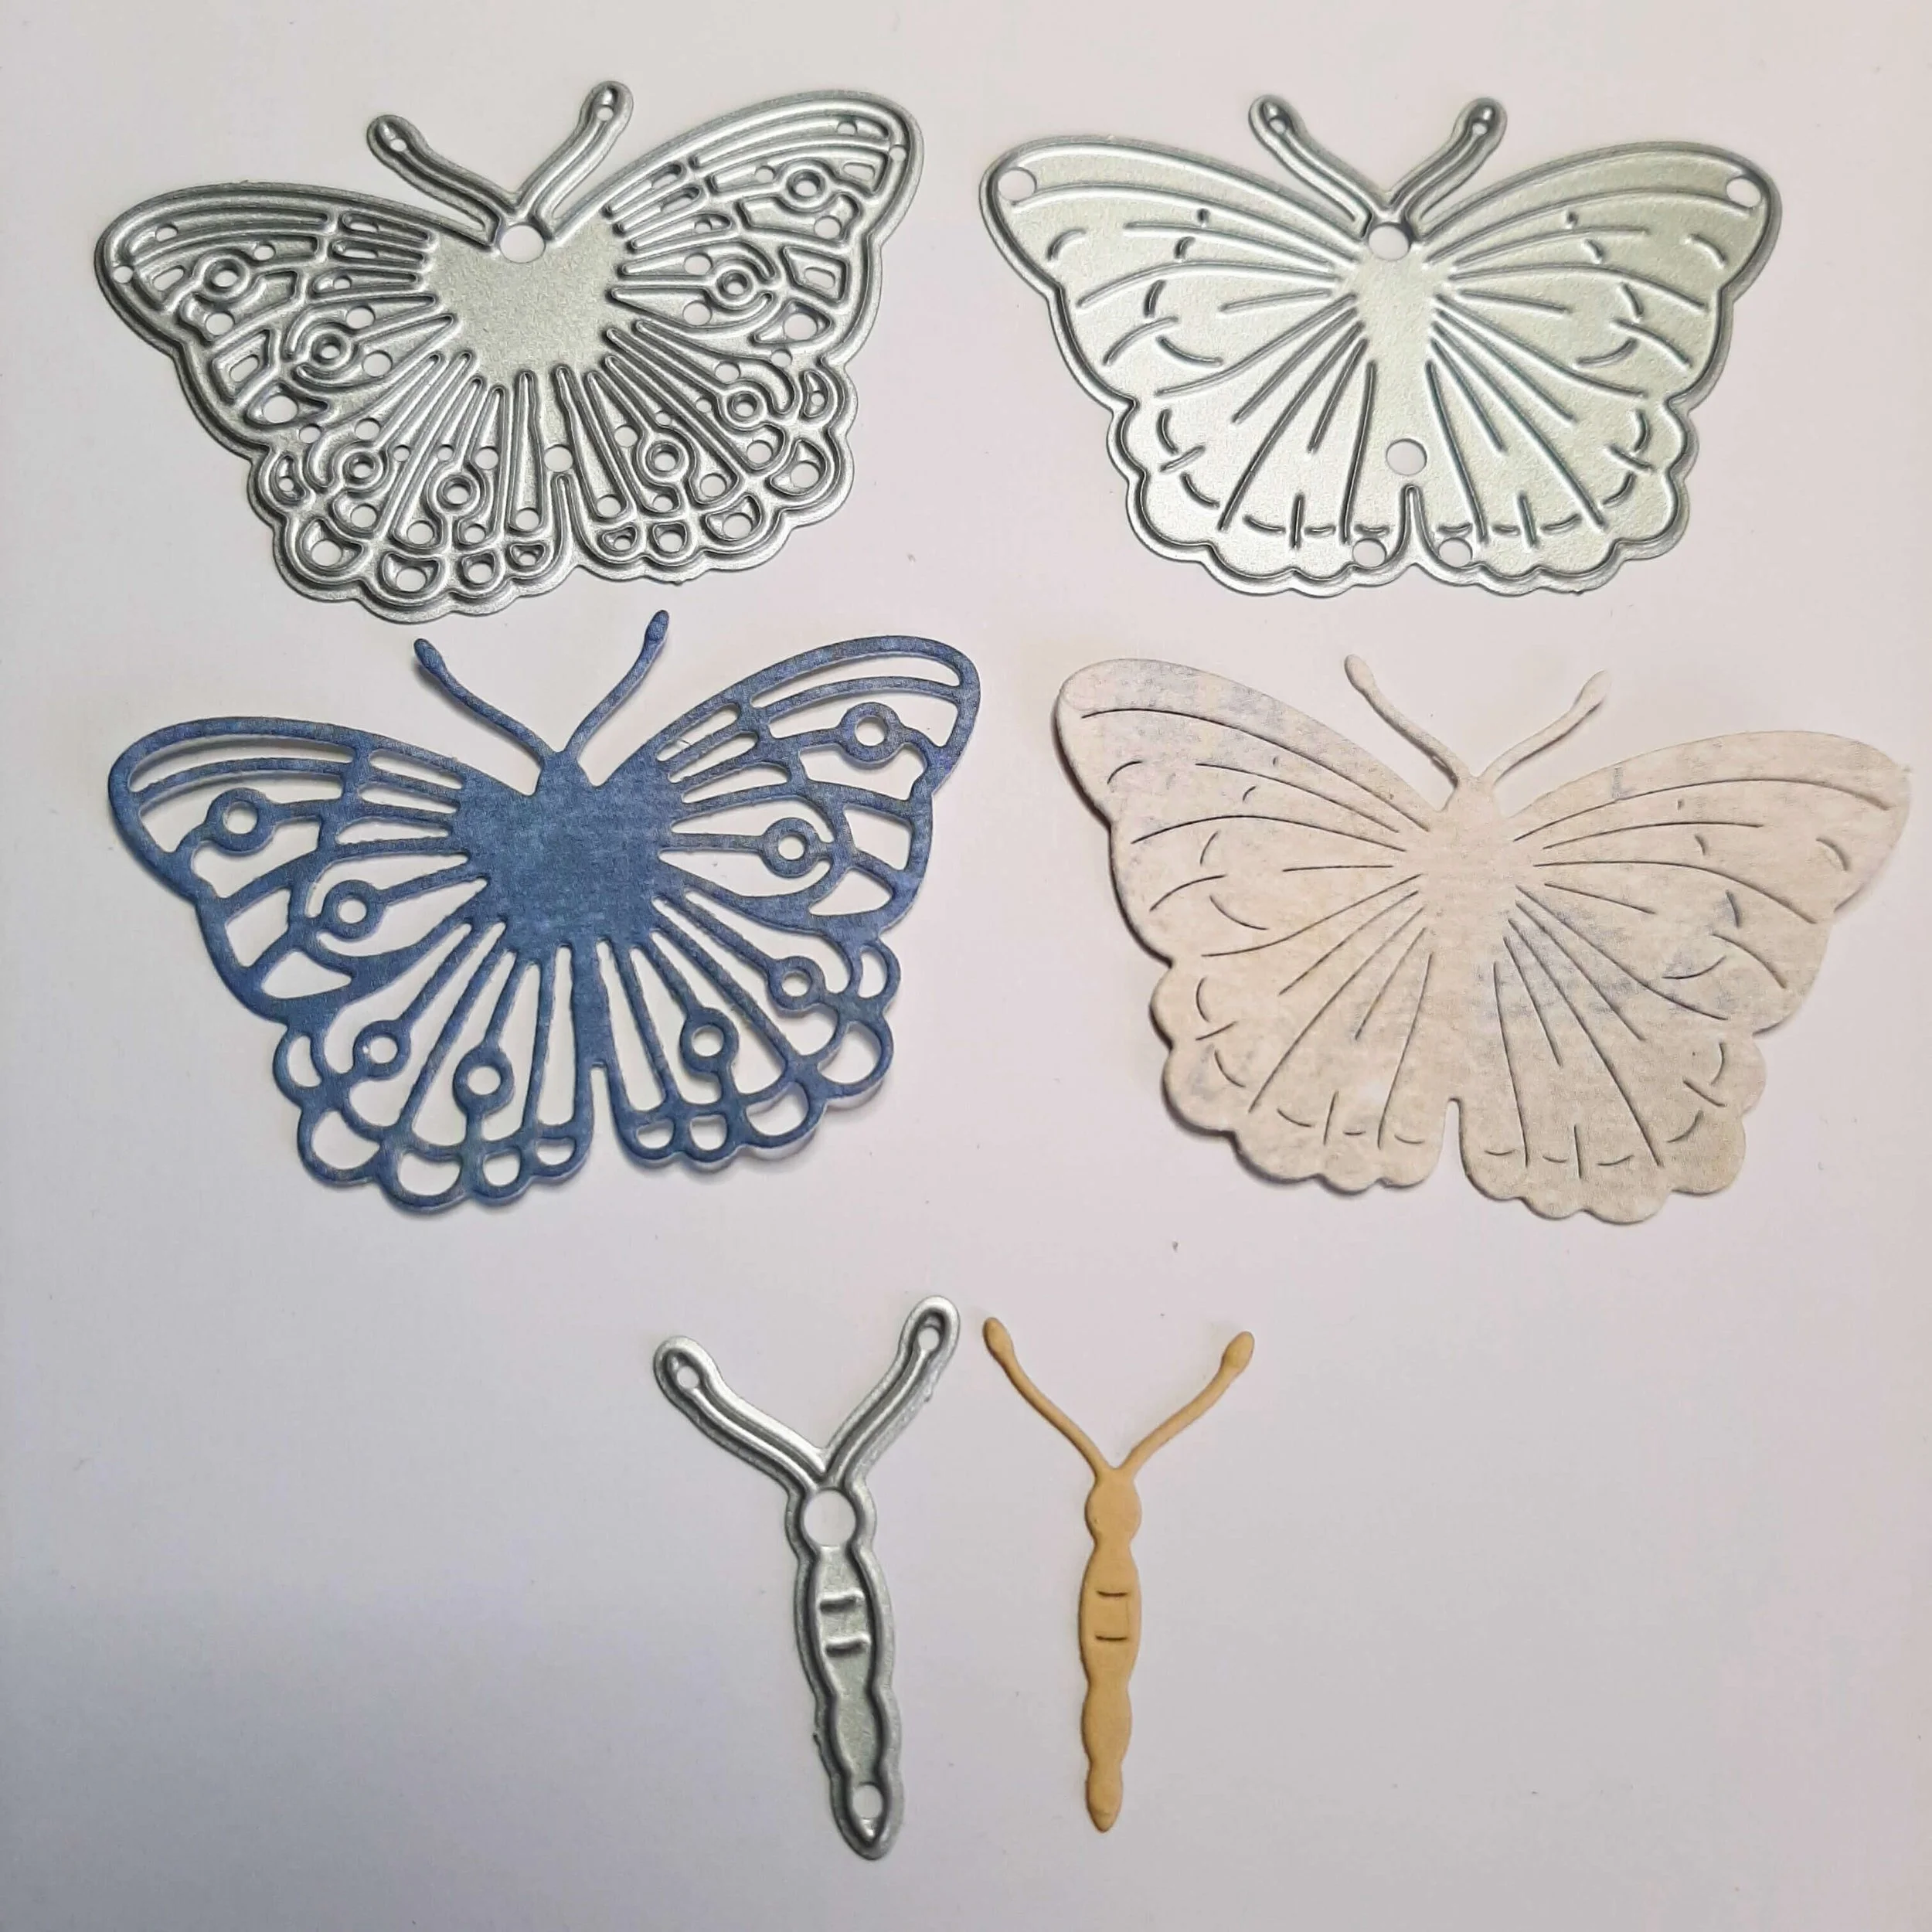
Step 10: To finish, glue the butterfly on the top of the frame and add some prills to your flowers. You could add some Stickles to your leaves for sparkle and interest.