
Create a Lovely Hummingbird Card
Are you a crafter that loves to create simple yet elegant card designs? Join us and learn the steps to creating your own beautiful project using the Sunny Day Collection from Everyday Elements. This card is perfect for nature lovers and those who enjoy pretty, handcrafted designs. Follow along with Diane to see how layering, die-cutting, and thoughtful embellishments come together to create a finished project your friends and family will love.

Hello, everyone. My name is Diane, and I’m here this week to share a card I made with a set of dies from the wonderful new ‘Sunny Days’ collection from Everyday Elements. If you know me, you know my love for birds and the one in Annette’s collection is no exception. So here are the steps to make a simple but lovely card!
Step 1: To make the card blank, take a 10” X 7” piece of white cardstock and fold it in half to make a 5” X 7” card. Then, cut all the mats and layers needed for the card.
You will need:
One 4 7/8” X 6 7/8” piece of royal blue cardstock.
One 4 ¾” X 6 ¾” piece of patterned cardstock from the Colorful Collective Paper Pack.
One 4” X 6” piece of royal blue cardstock.
One 3 ¾” X 5 ¾” piece of green cardstock from the Colorful Collective Paper Pack.

Step 2: On the 3 ¾” X 5 ¾” piece of green cardstock, stamp some leaves using the stamp from the “Large Nature” set, using a clear ink pad. This will give a tone-on-tone look. Then, emboss with clear embossing powder and heat tool before adhering each layer to the card base with some double-sided adhesive tape.

Step 3: Next create the layered hummingbird.
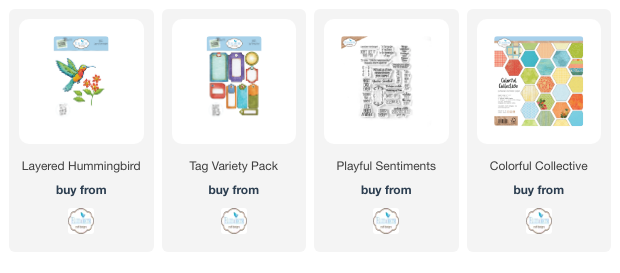
From the die set “Layered Hummingbird,” die cut the base of the bird using White Soft Finish Cardstock. Color the body and the head with Prize Ribbon Distress Oxide, and the beak with Peeled Paint Distress Oxide.
Then, die cut the head, body, and tail parts in the same green cardstock used on the mats and layers.
Die cut the wings overlay parts and the neck piece in the same patterned cardstock used on the card base.
Die cut the feet and eye in White Soft Finish Cardstock. Color the feet with Peeled Paint Distress Oxide and the iris with Prize Ribbon Distress Oxide. Put a black dot in the center or the blue iris.
Using liquid glue, adhere all the pieces on the base of the bird.


Step 4: From the die set “Tag variety Pack”, die cut a tag using a green piece of cardstock from the Collective Collection cardstock pack.
From the same set, die cut a hole reinforcement in the same patterned cardstock used for the card base.
Using the Prize Ribbon Distress Oxide pad, stamp the saying “Take time to enjoy the small stuff” from the stamp set “Playful Sentiments CS403”. Emboss with some clear powder and heat tool.
Distress the edges of the tag with some Peeled Paint Distress Oxide.
Glue the hole reinforcement on the tag.
Tie a bow using a white ribbon on the tag.

Step 5: Now, let’s assemble the card.
Put some 3D foam squares on the back of the tag and on the back of the bird.
Adhere the bird on the card and the tag under the bird feet.

Other products used:
Oxide Inks, double-sided adhesive tape, liquid glue, blue cardstock, black fine point marker, and white ribbon.