Create a Collage from Paper Scraps
Are you a crafter who likes to get the most from their designer papers, or are you looking for ideas to use those paper scraps you can’t throw away? Join us and learn how to create A4 sheets of collaged paper from scraps that can be die cut and used in all your projects.
Hello, it’s Ellen here. I love to show you ways to use your scraps, so you don’t need to throw away your leftover paper, even the smaller ones. We’re going to make lovely things for your planners with them.
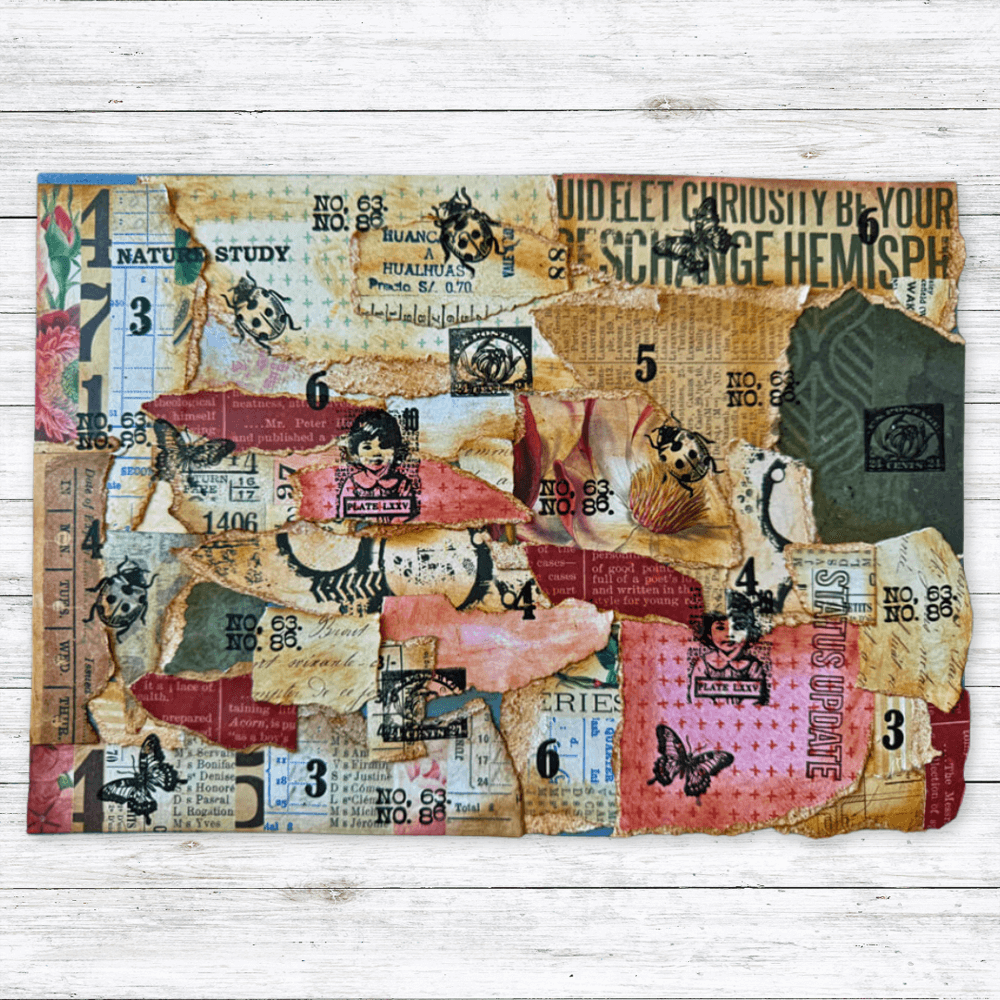
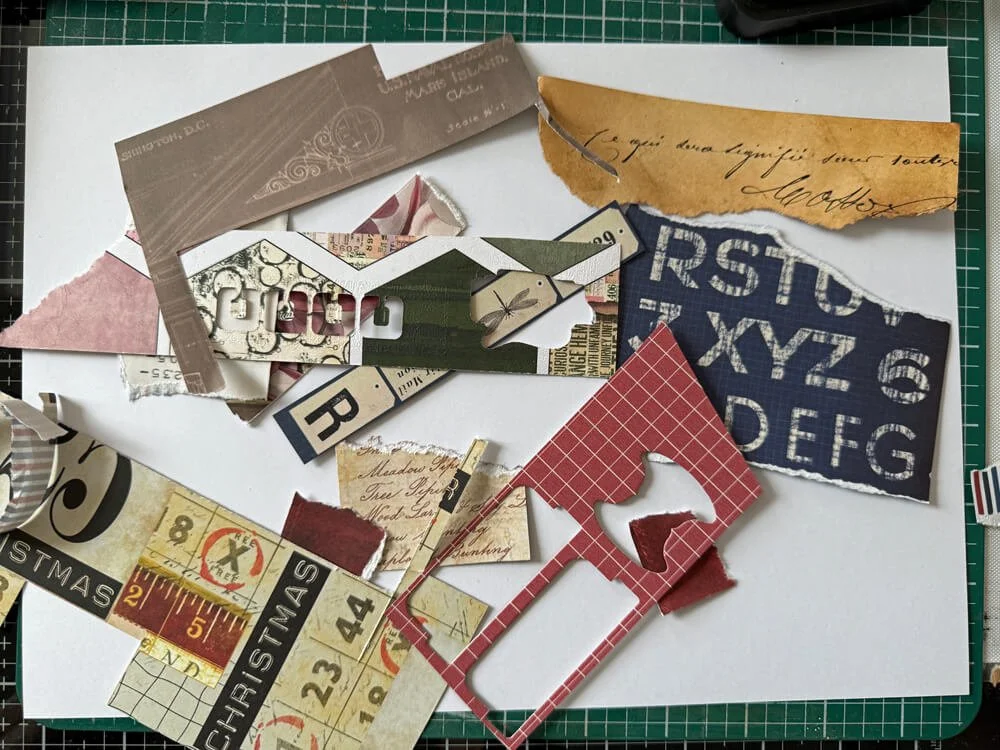
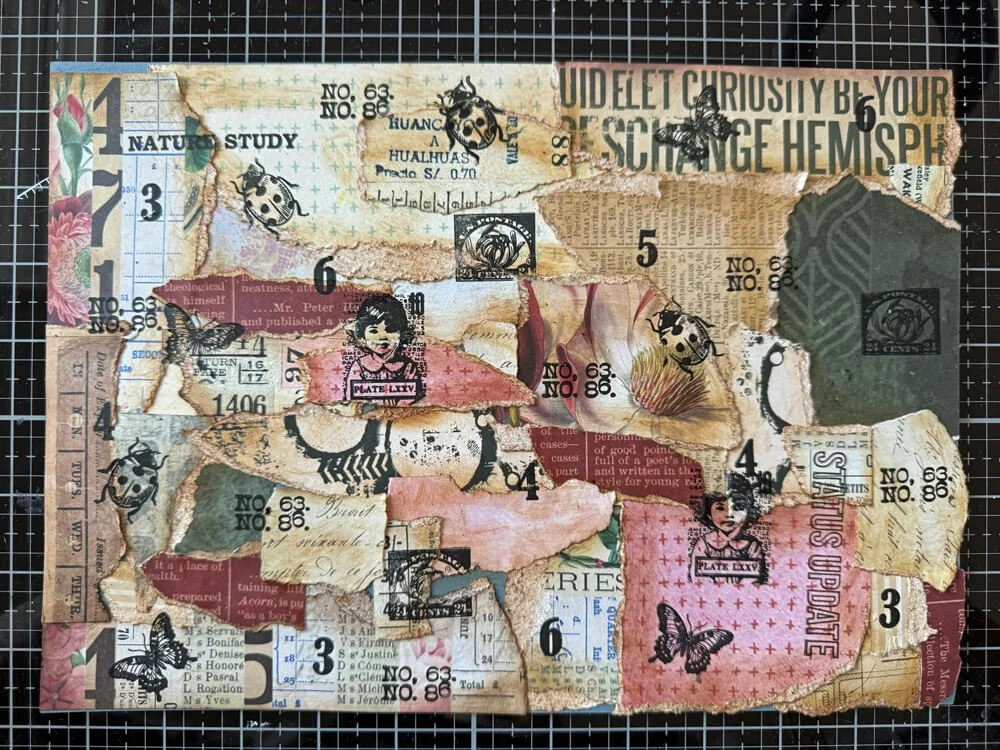
Step 1: Collect all your paper scraps and a sheet of A4 paper. I used both white and colored A4 sheets of paper. This will be your base, so use the color you want to show on the backside. Now you can make a collage from scraps, tear some into pieces, and distress the edges with ink and glue them onto the sheet of paper until the sheet is full. Having a variety of sizes, shapes, and textures will add interest to your collage.


Step 2: Now, take any small stamps you enjoy using and stamp over the top of your paper collage. Stamp full images or partially ones; it all adds extra interest. If you like, you can stamp onto the collage after you have die cut it.
Step 3: Next, choose the dies you like to use, and die cut them from your collage. Lay the dies out to get the most from your A4 sheet. It’s surprising how beautiful all the elements look once you’ve cut them.


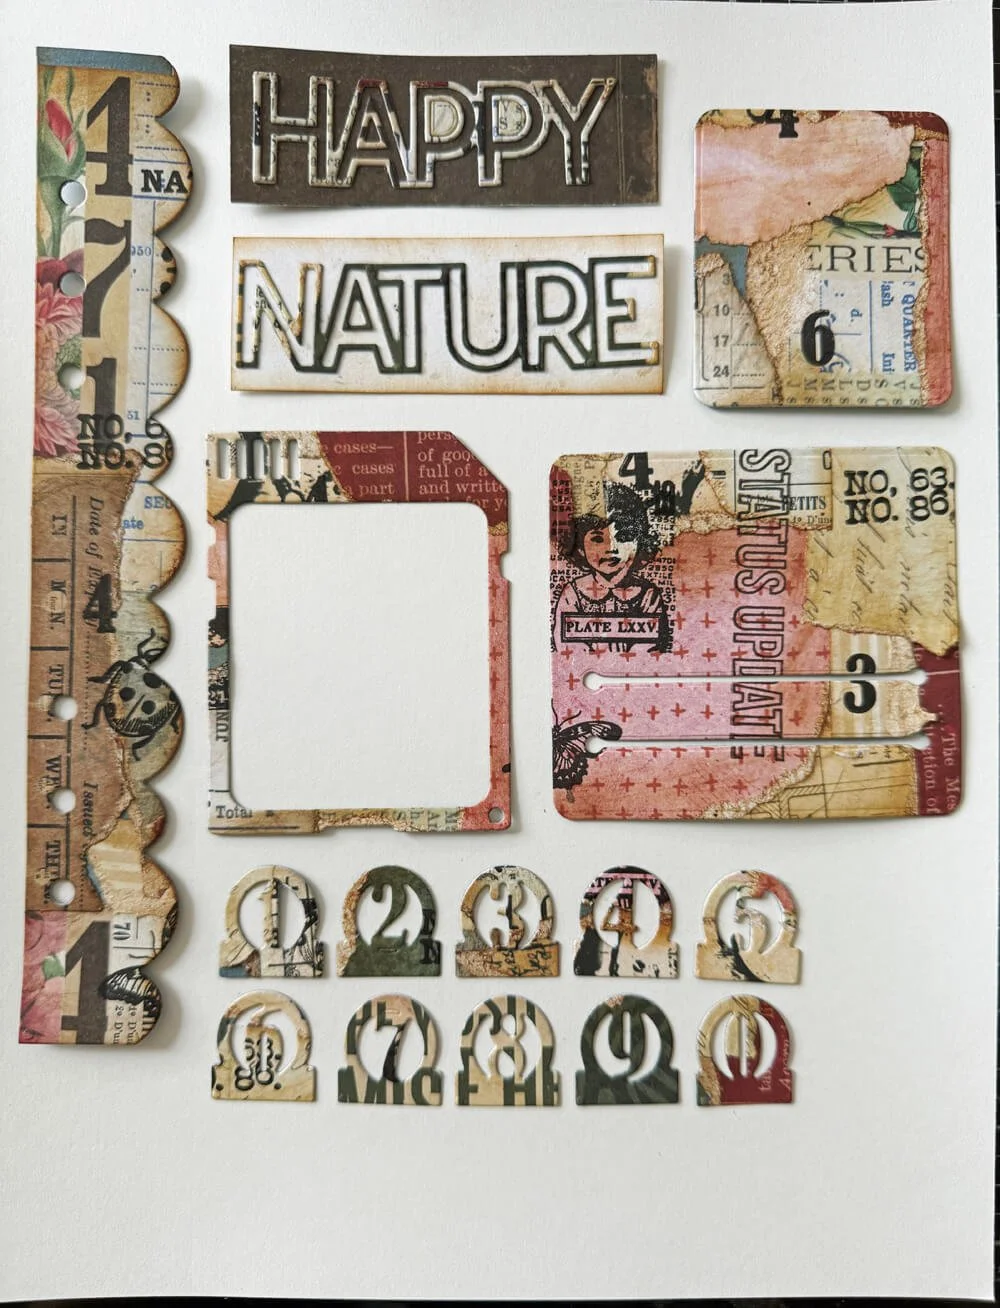
Step 4: You can use all these elements on your planner pages straight away, or you can store them to use on a later page or project.
Step 5: If you want to store them, just like I do, it’s nice to use the photo pocket pages. This way you can keep them in your planner so they are always nearby if you need them.


Now you never have to throw away beautiful little pieces of your designer paper; save them and use them again.
Make sure you share your projects with us in our Facebook Group HERE. We love to see what you create!
Never miss a tutorial and sign up for our emails today HERE.
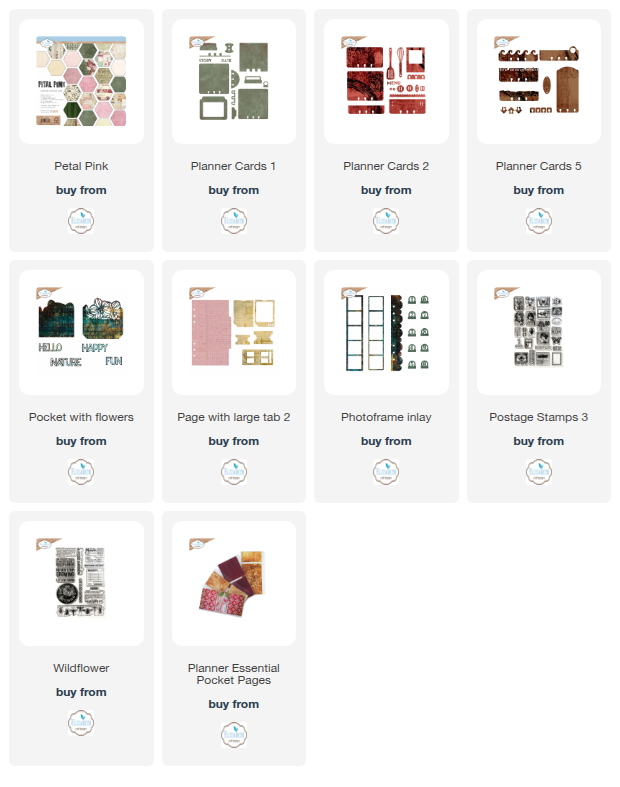
Elizabeth Craft Designs Products Used: