
Alter your Art Journal Covers with Easy Mixed Media Layers
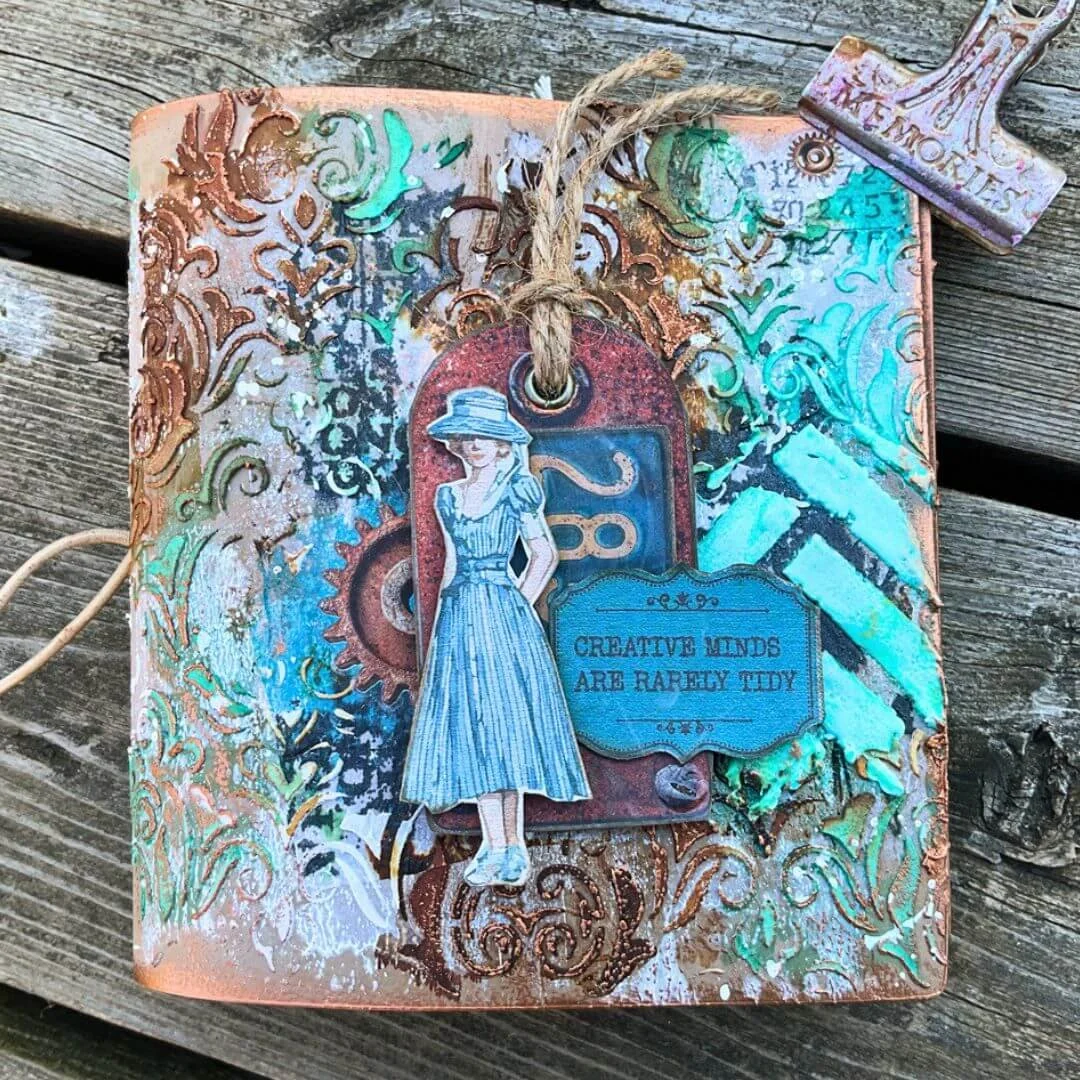
Do you love to alter your art journal covers? Or maybe you never have and really want to give it a try? In this tutorial, you’ll learn how to prime your art journal covers and layer a variety of media to create fun, grungy effects. Discover easy mixed-media techniques that use texture, color, and layers to create an altered art journal cover full of character.

I love decorating my journals – and I LOVE LAYERS. Here is a fun way to decorate your journal covers your way with so many techniques. I hope you enjoy it as much as I did!
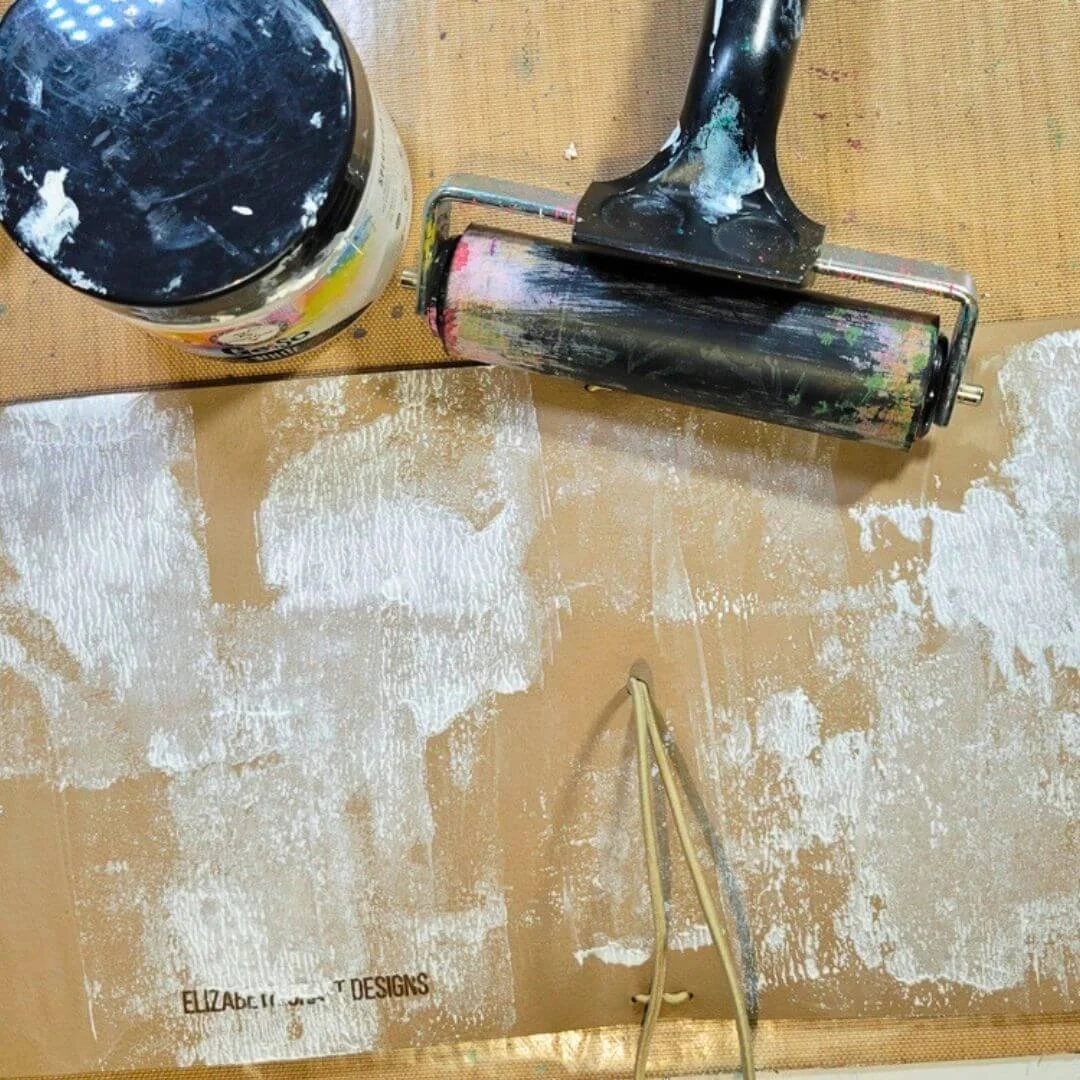
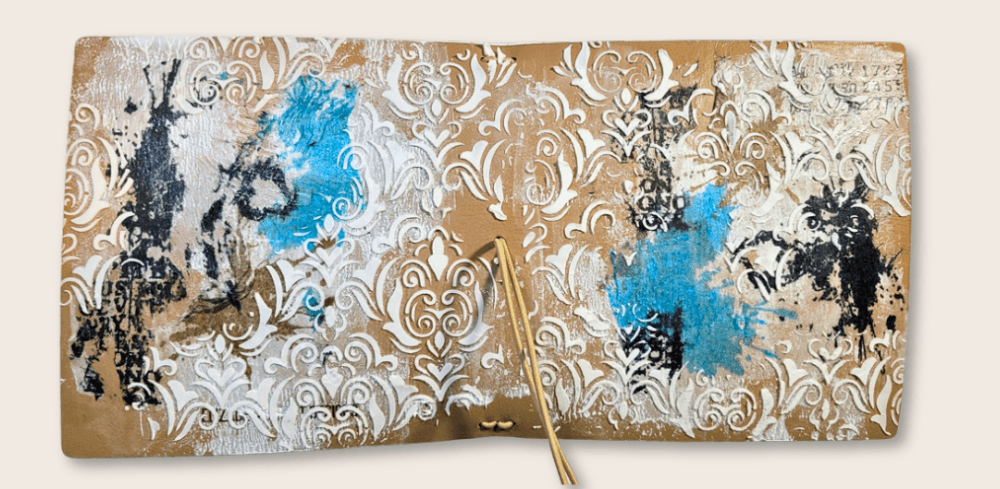
Step 1: Sparingly use your brayer to paint clear gesso over the front and back covers of your journal. Allow this to dry. This will act as a primer so that all of the mediums will hold onto the journal.
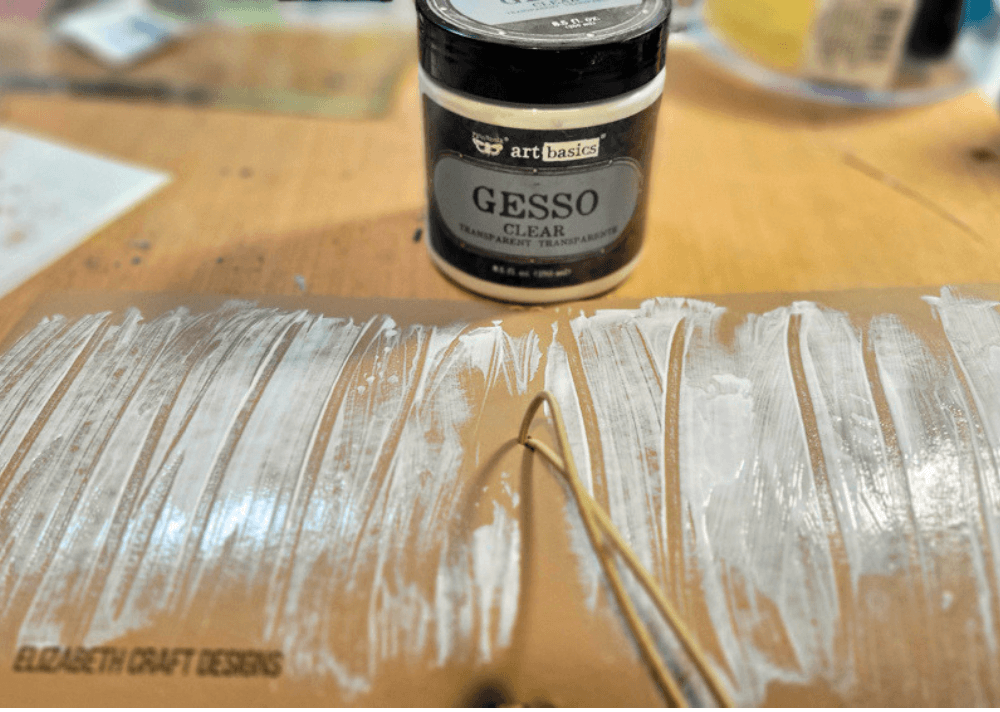
Step 2: Using your brayer, randomly lay white gesso on the journal covers. This will act as a primer and also set white space.
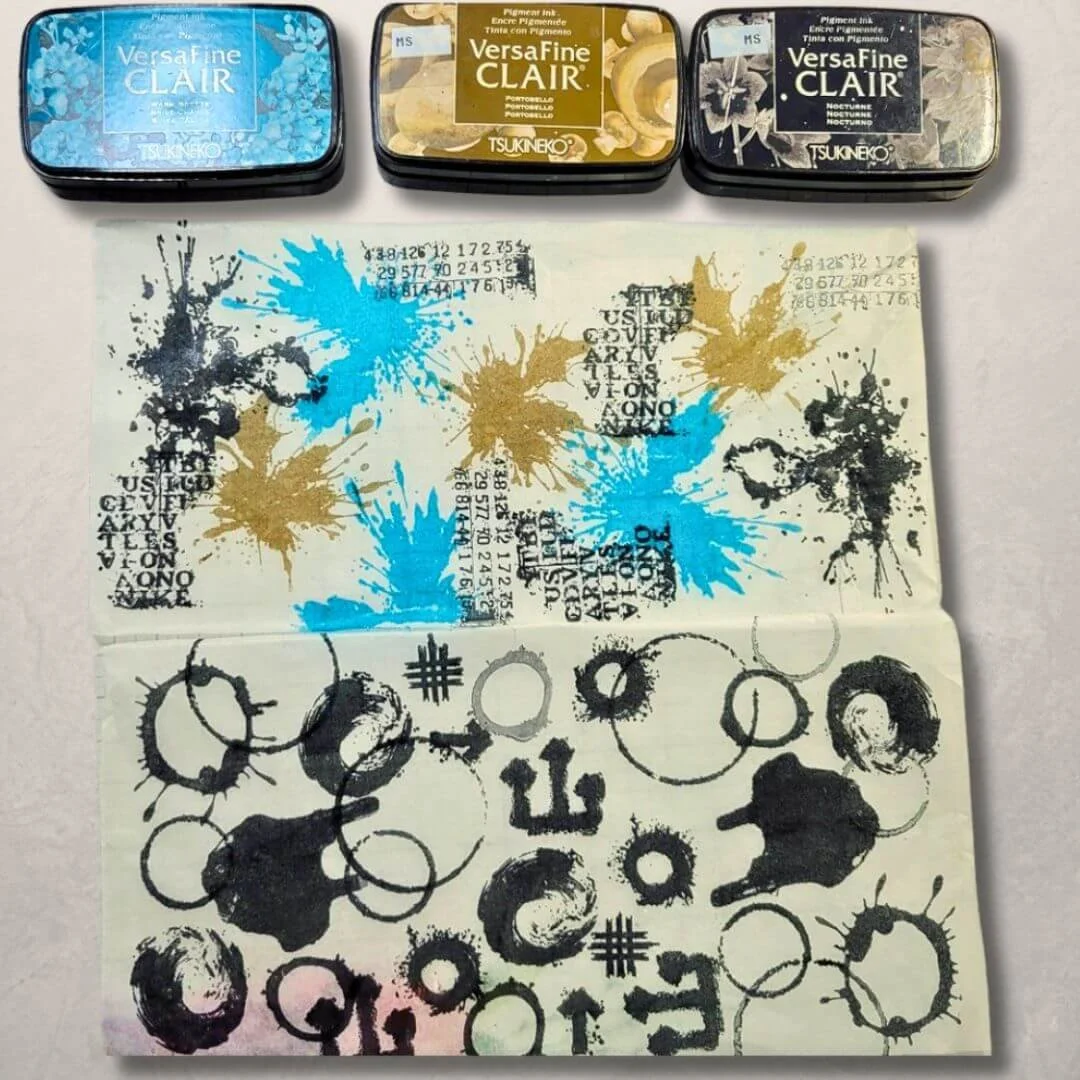
Step 3: Take your tissue paper and randomly stamp images on it. Use different color inks, stamp some images over the edges of the tissue paper, and overlap some of the images.
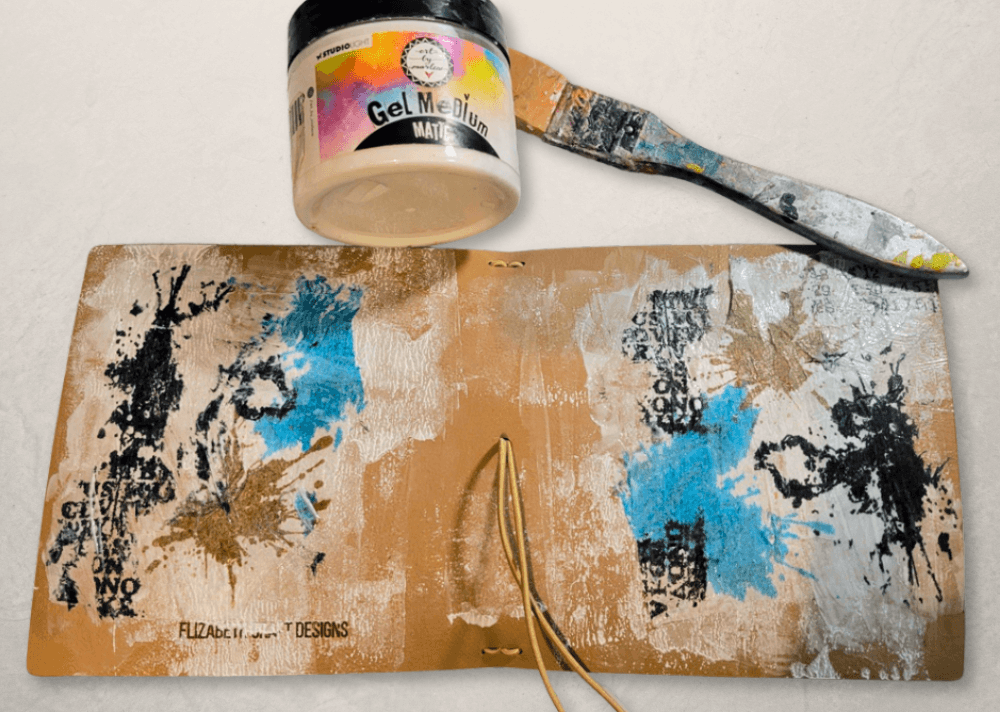
Step 4: Once your created collage paper is dry, tear it into several pieces. Using your matte gel medium and a paintbrush, apply a layer to your journal, then lay the stamped tissue paper on top and add more gel medium over it. Place the pieces in different areas of the journal; you don’t want to have them all in the same space. Allow this layer to dry completely.
Here’s a tip: The more gel medium, the less you will see the tissue paper edges.
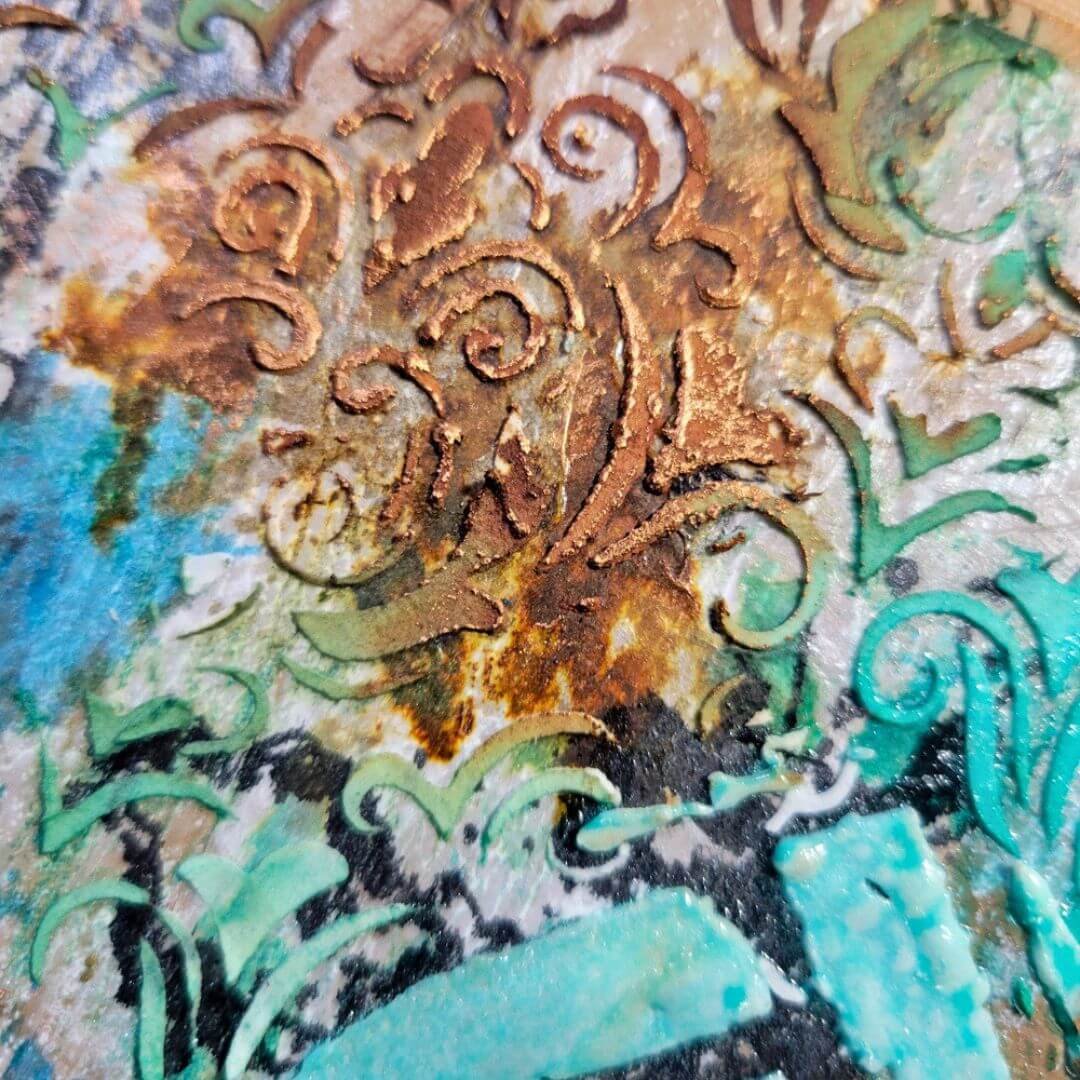
Step 5: Choose one of the stencils from set 11 and, using the palette knife, spread texture paste onto the journal. Do this in random places on the journal covers. Allow it to dry, and immediately clean your stencil!
Step 6: Water down some spray stain on a craft mat. Use a watercolor brush and paint over the dried texture paste. Allow to dry.
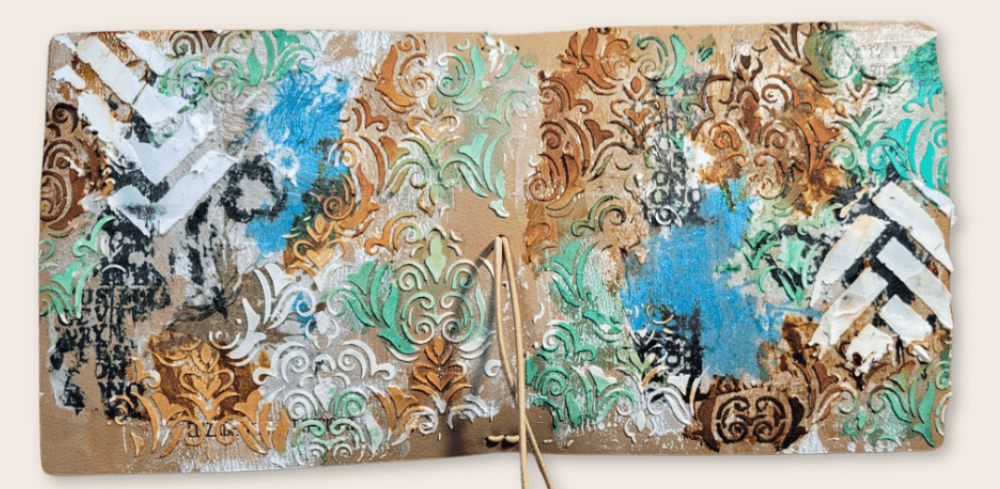
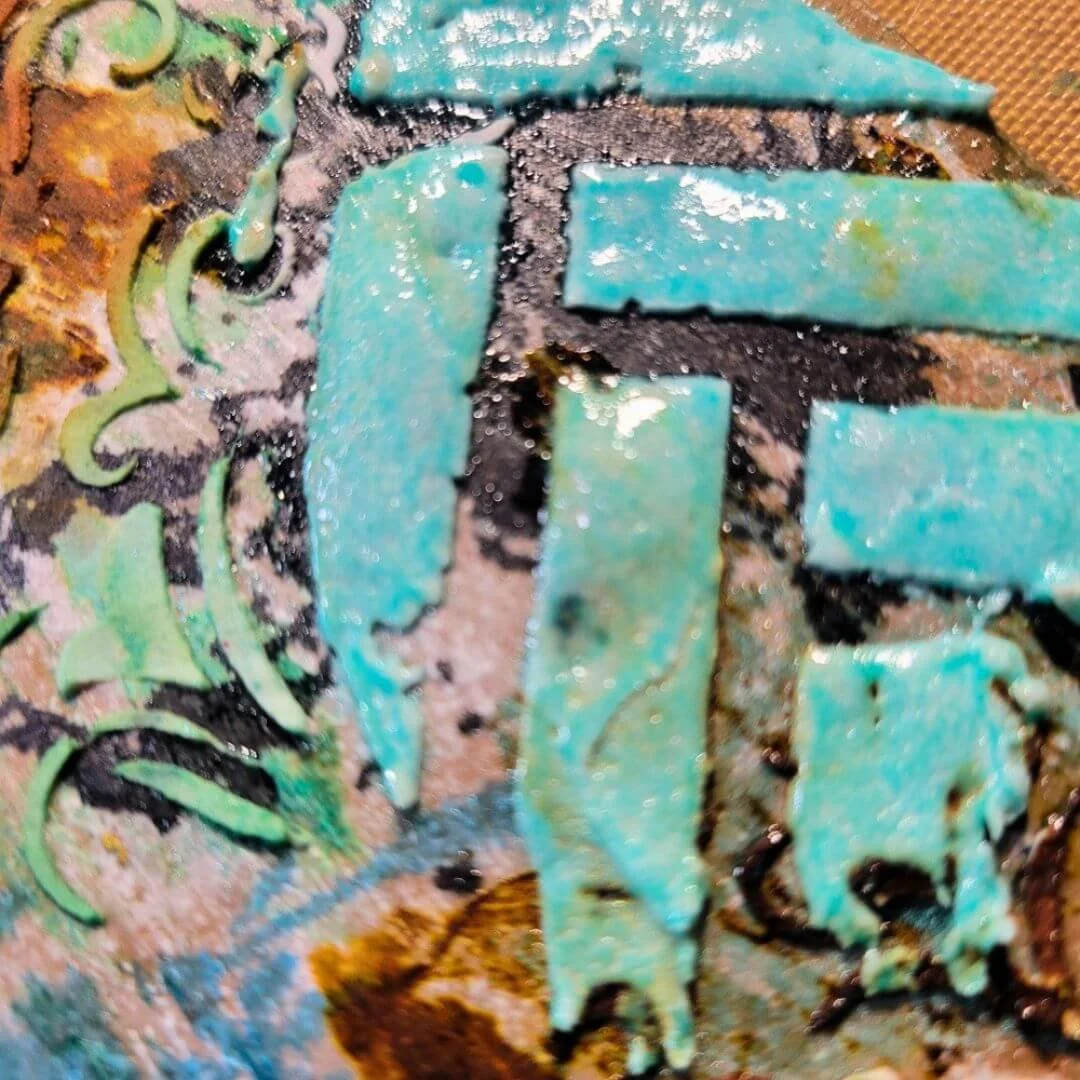
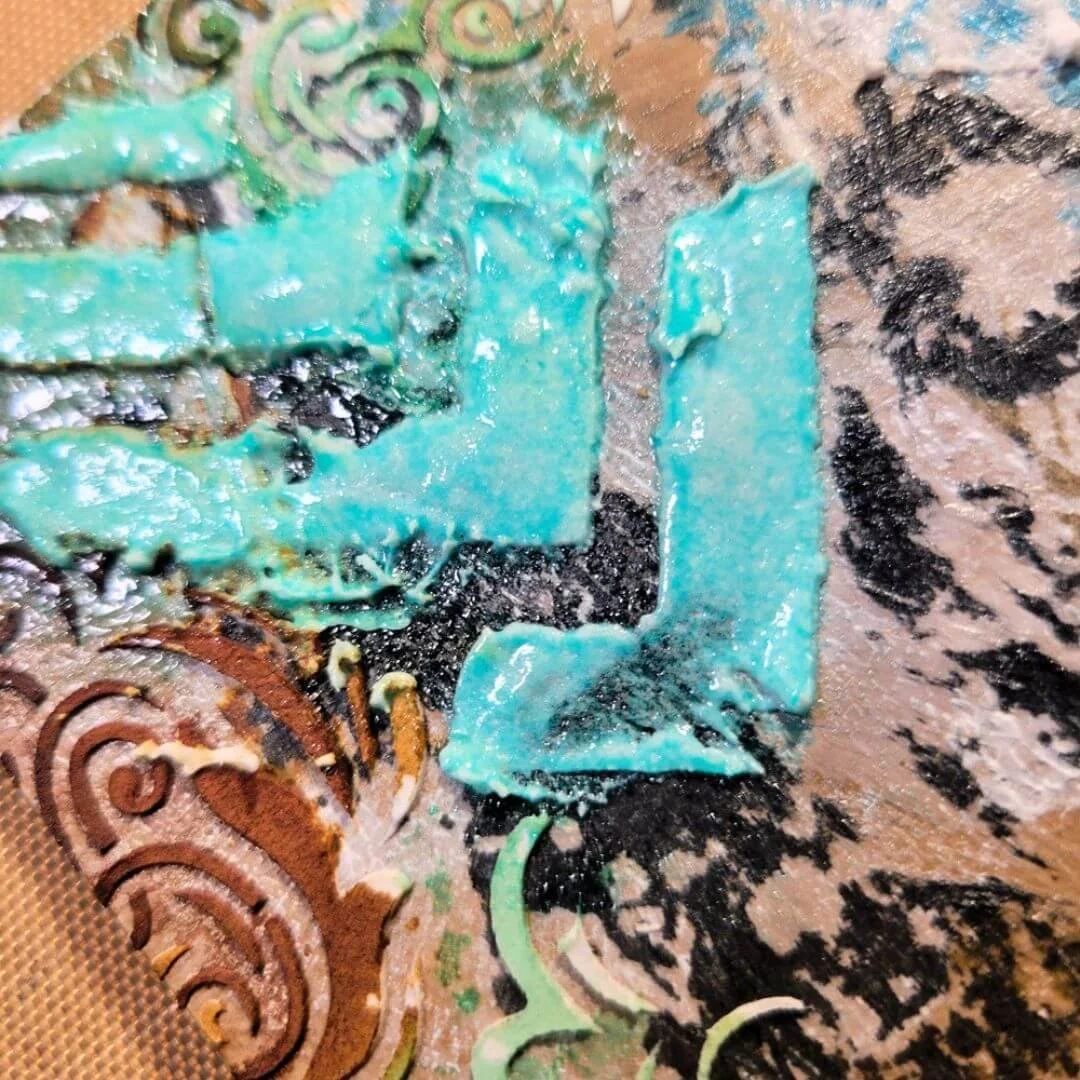
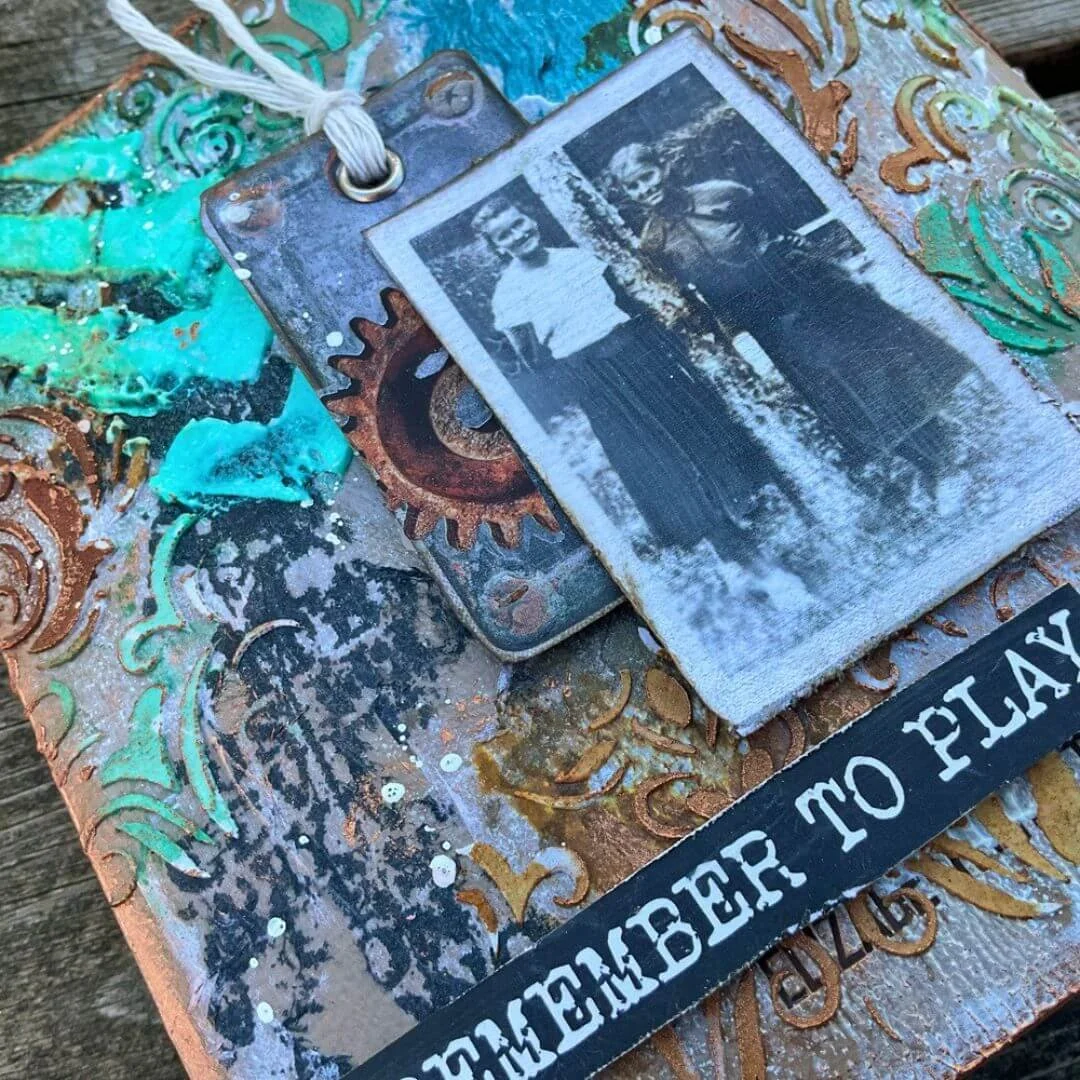
Step 7: Choose a different stencil from set 11 and add texture paste through it in other areas of your journal covers. Pour Embossing Glaze over the wet texture paste, dab off the excess, and heat the glaze and texture paste. Be sure to keep moving your heat tool and watch as the glaze and paste bubble up and turn awesome!
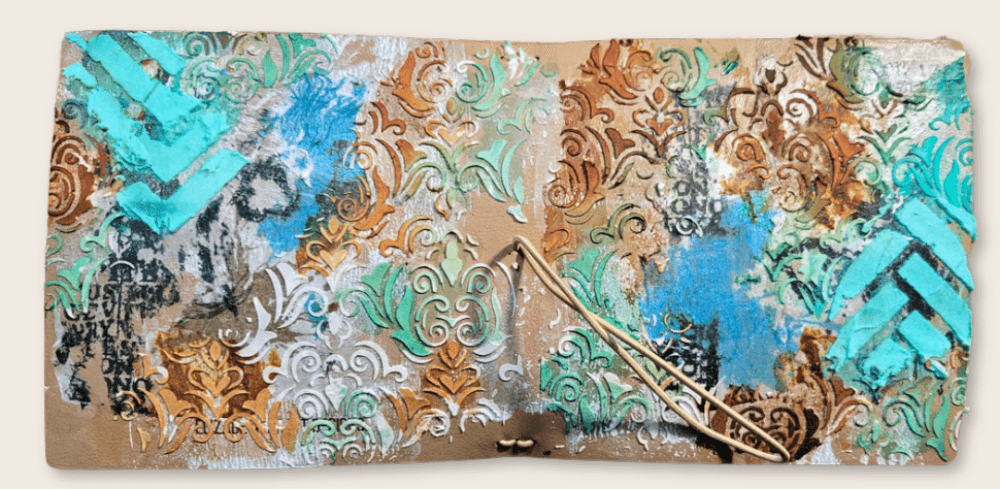
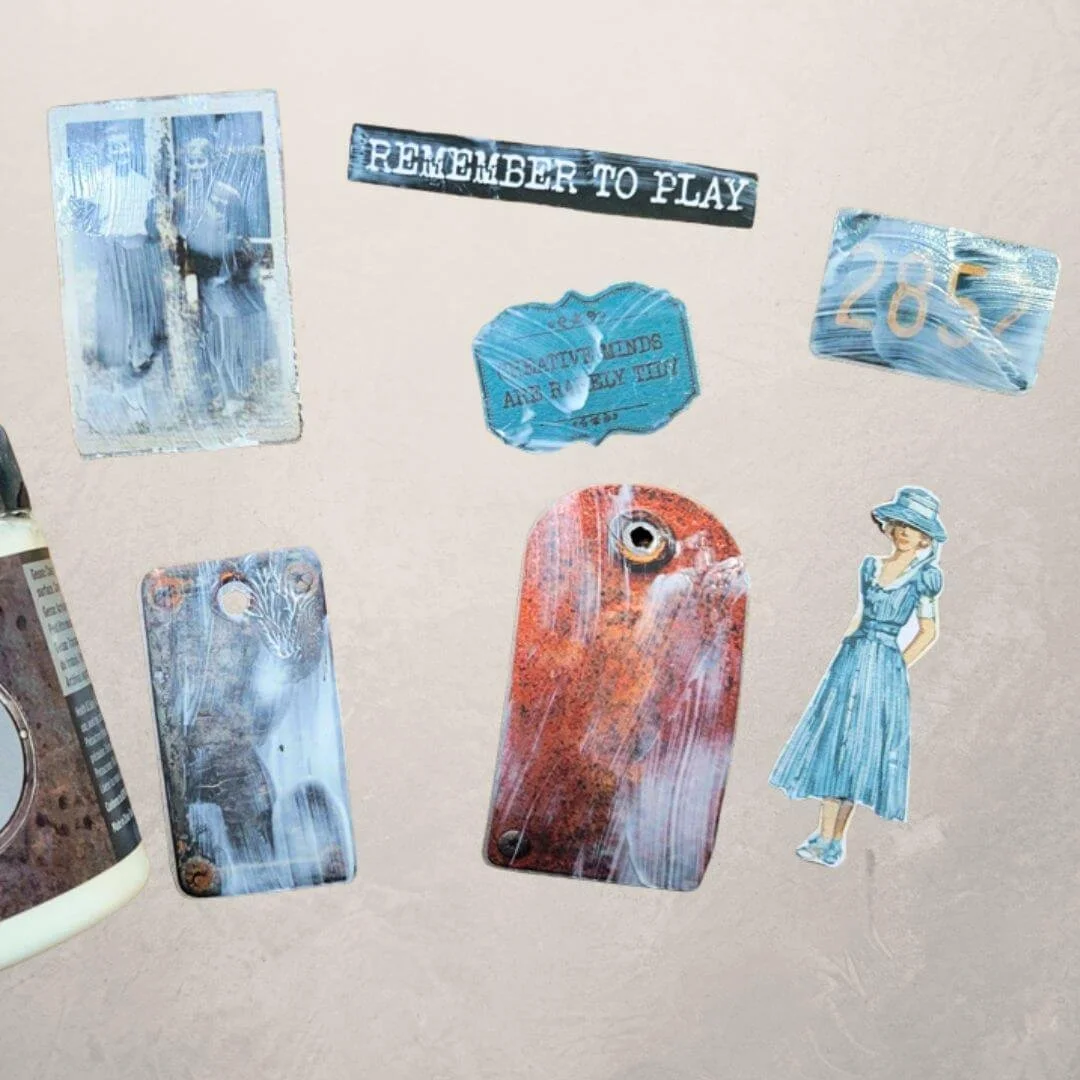
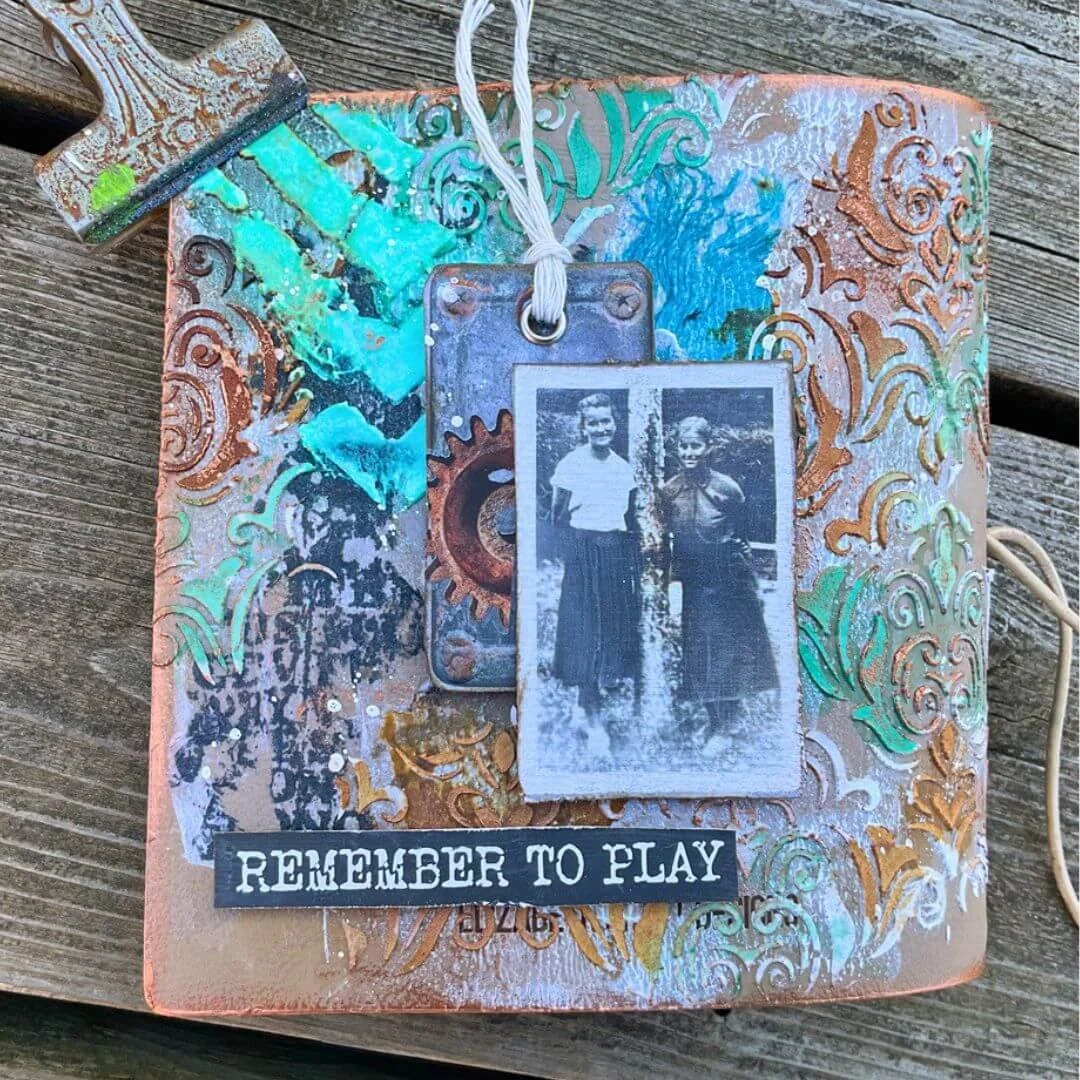
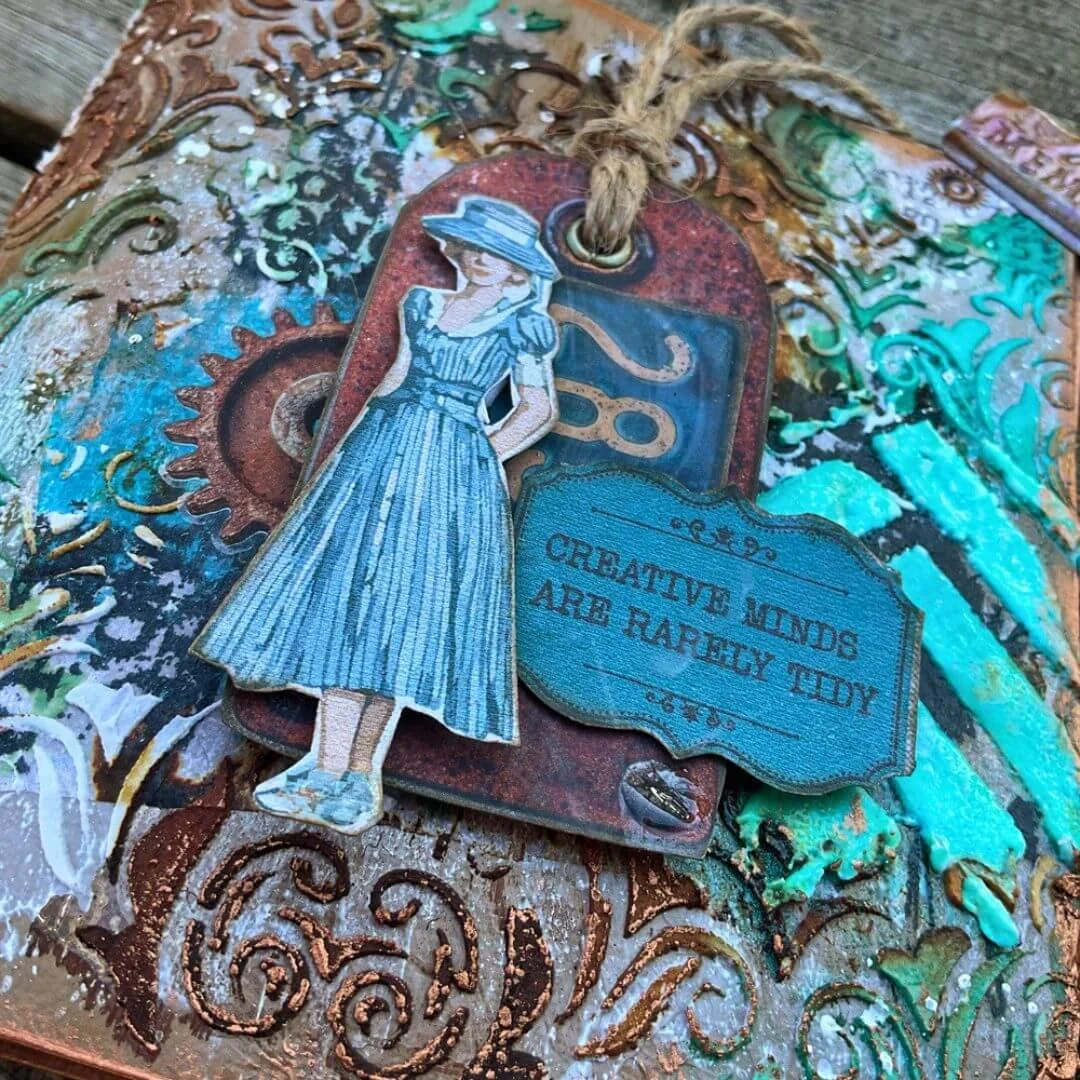
Step 8: From the Journal Ephemera 2 book, choose a few favorite ephemera pieces and cut them out. Add a clear coat of gesso over the ephemera pieces to ensure sturdiness. Allow the pieces to dry, then add Vintage Photo ink to the edges or distress them with your paper distress tool.
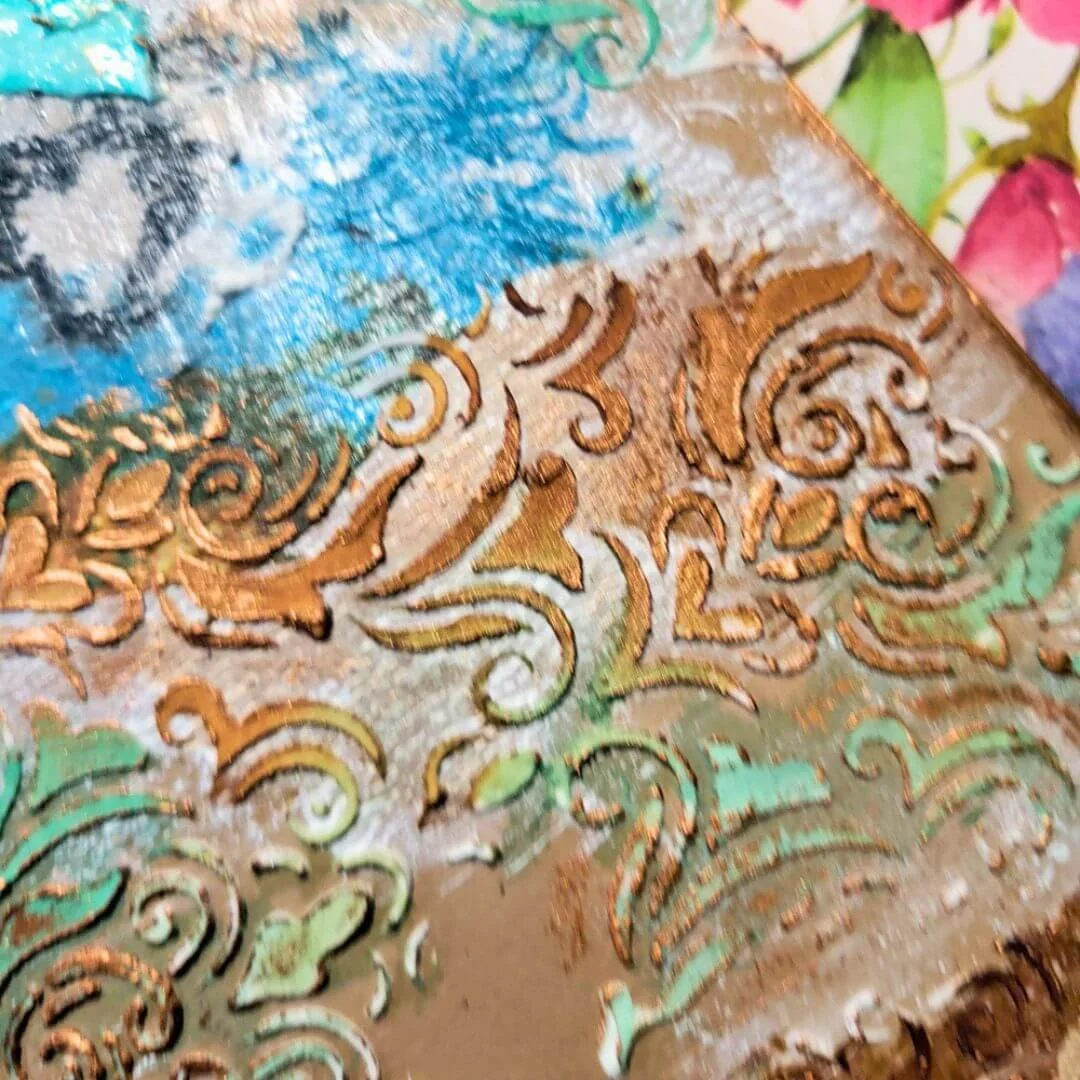
Step 9: Using a dauber, lay on luster wax to brush over the texture paste's raised edges, and also rub the wax along the edges of the whole journal. I did this to the inside and outside edges of the journal. You must allow this to dry, or the wax will rub off.

Step 10: Take your dried ephemera pieces and glue them onto the covers of the journal. I also used foam adhesive for layers. You can add eyelets, string, and ribbon for extra decorations. Then, to finish, splatter the covers randomly with the white gloss spray.
Other Products: Clear gesso, white gesso, opaque texture paste, matte gel medium, palette knife, Inks, stamping block, Distress Glaze, heat tool, Distress Stains, paper distress tool, adhesive, foam tape, brayer, paintbrushes, tissue paper, luster wax, and white gloss spray.