A Simple Handmade Gift with Paper Flowers
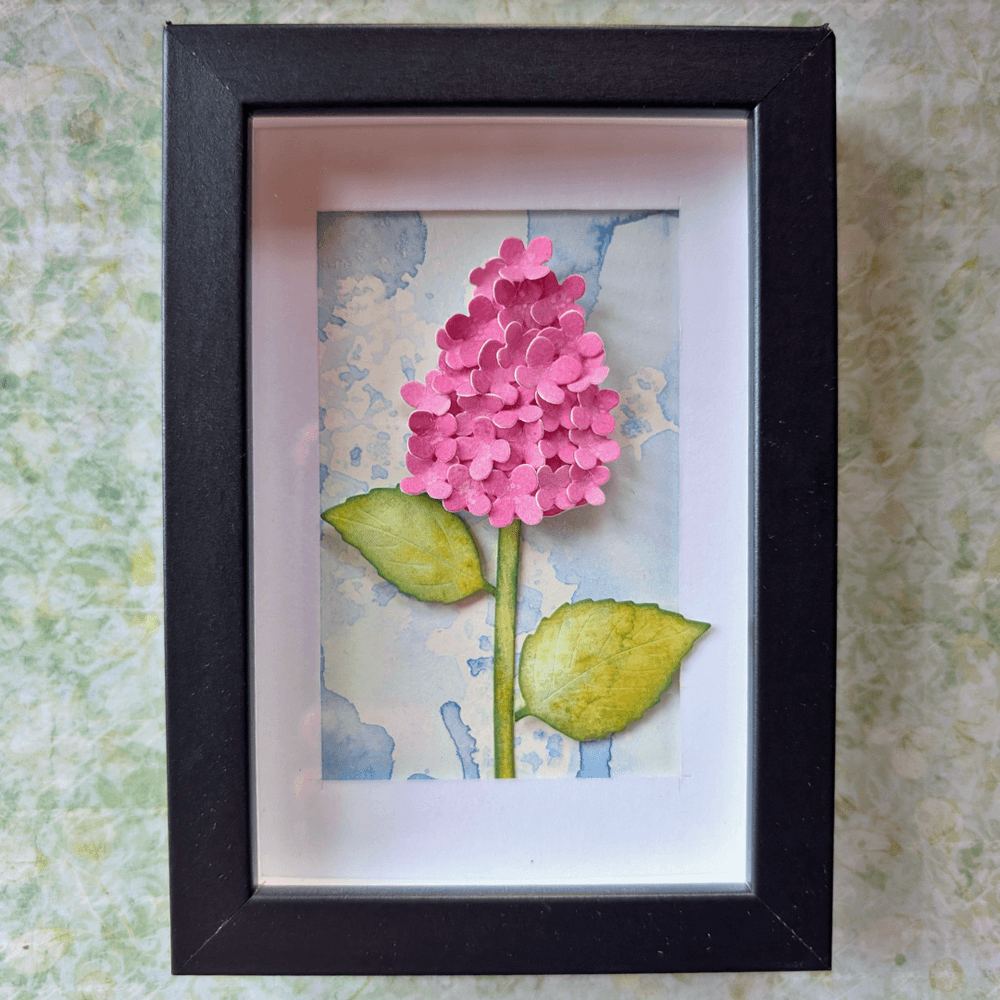
Do you love creating paper flowers? Or maybe you're looking for quick gift ideas for friends and family? In this tutorial, you’ll learn how to create a 3D paper flower in a frame. With a resit technique, using stencils and watercolors to create a background, plus steps for creating and coloring the Panicle Hydrangea.

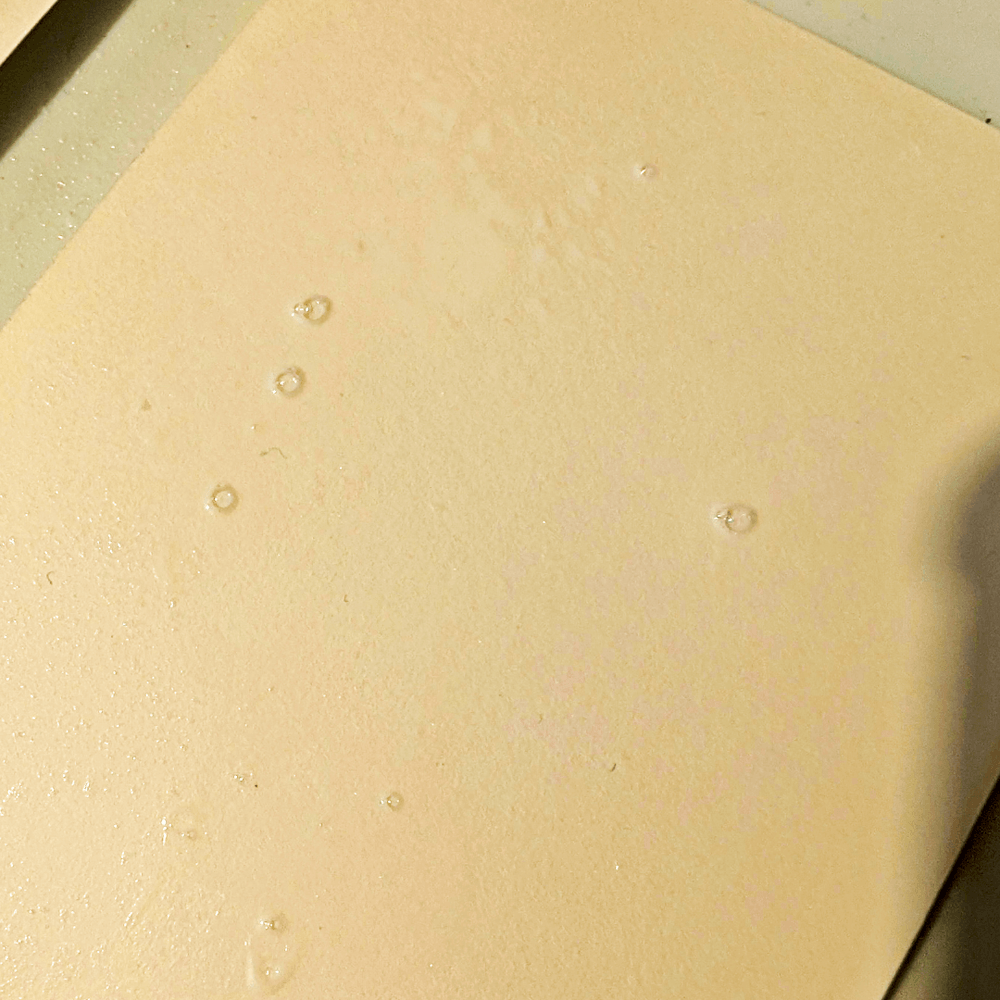
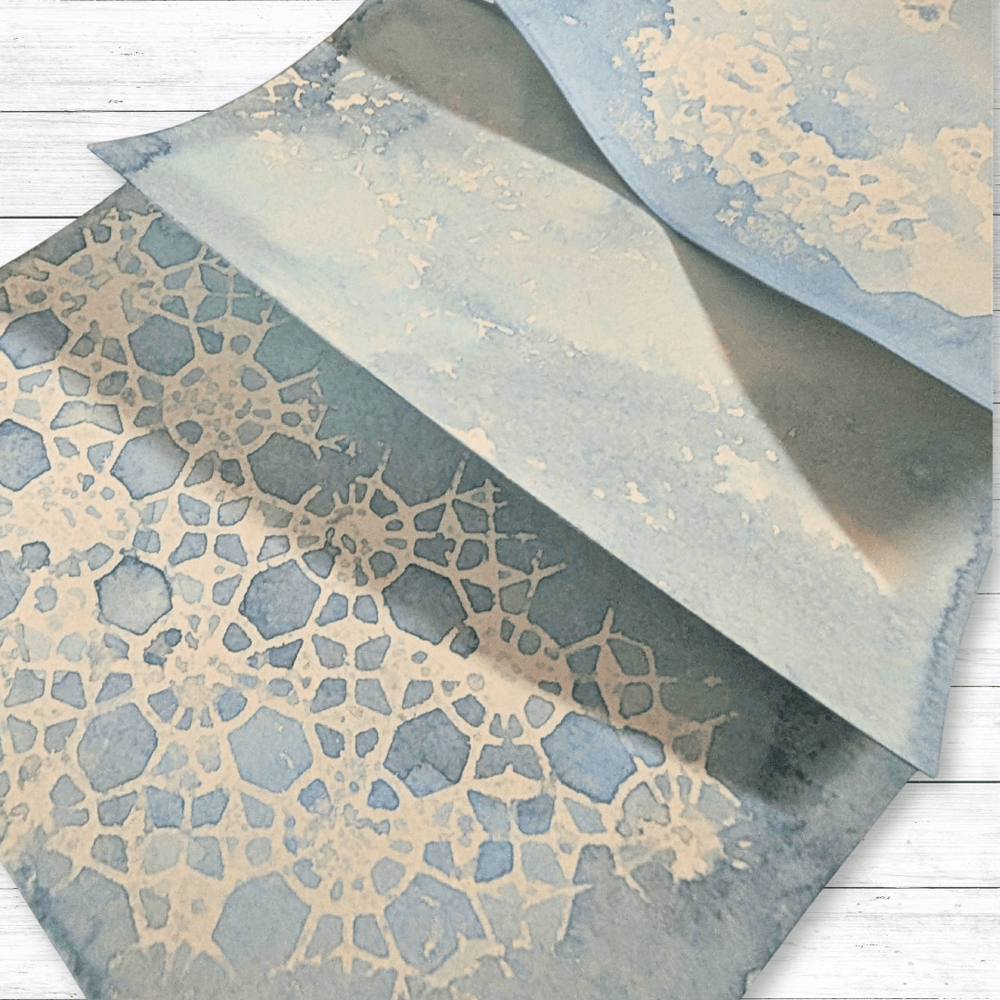
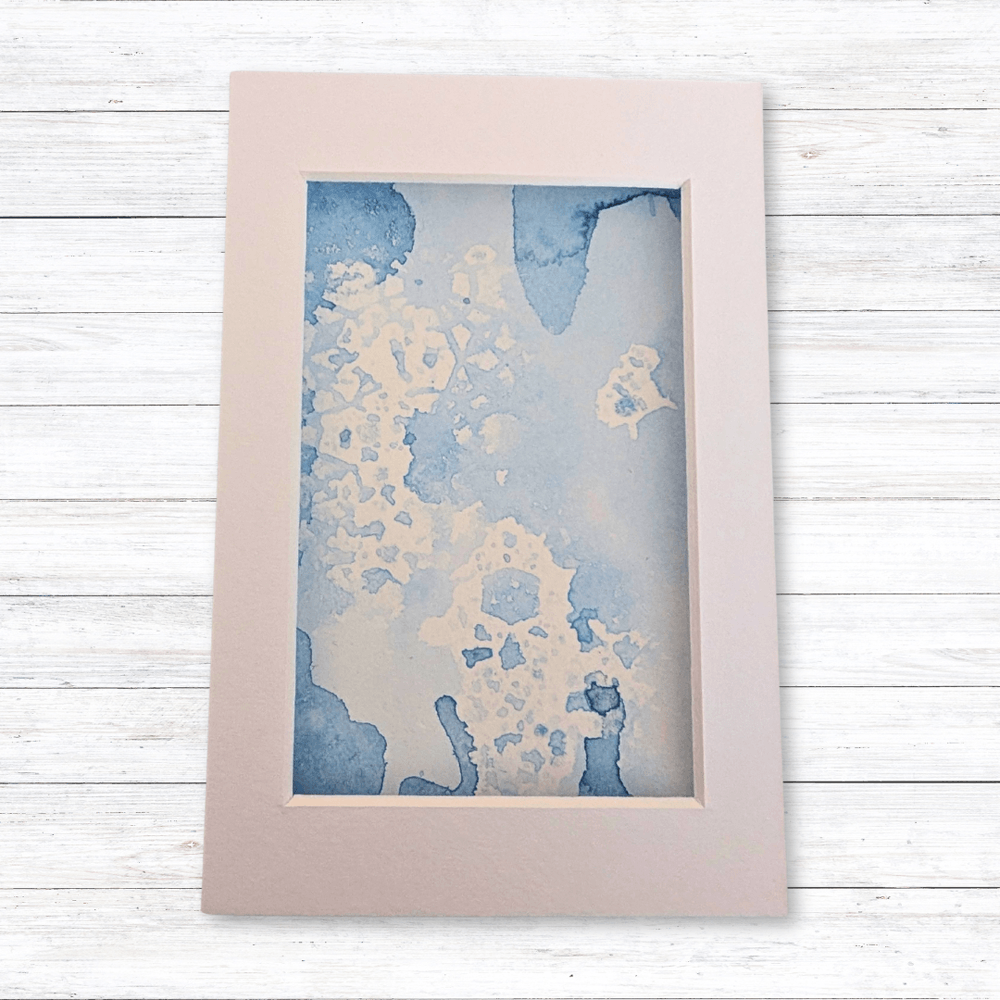
Step 1: Cut watercolor cardstock to fit the frame. To create the background, we are going to create a resist effect. First, apply your resist medium through a stencil. I used a resist spray, but there are lots of other ways to create a resist. You can use anything, wax- or oil-based, such as candles, crayons, and vaseline, if you have them to hand. The effects will vary depending on what you use, and you might need to allow for drying time if you use a wet medium, as I did.
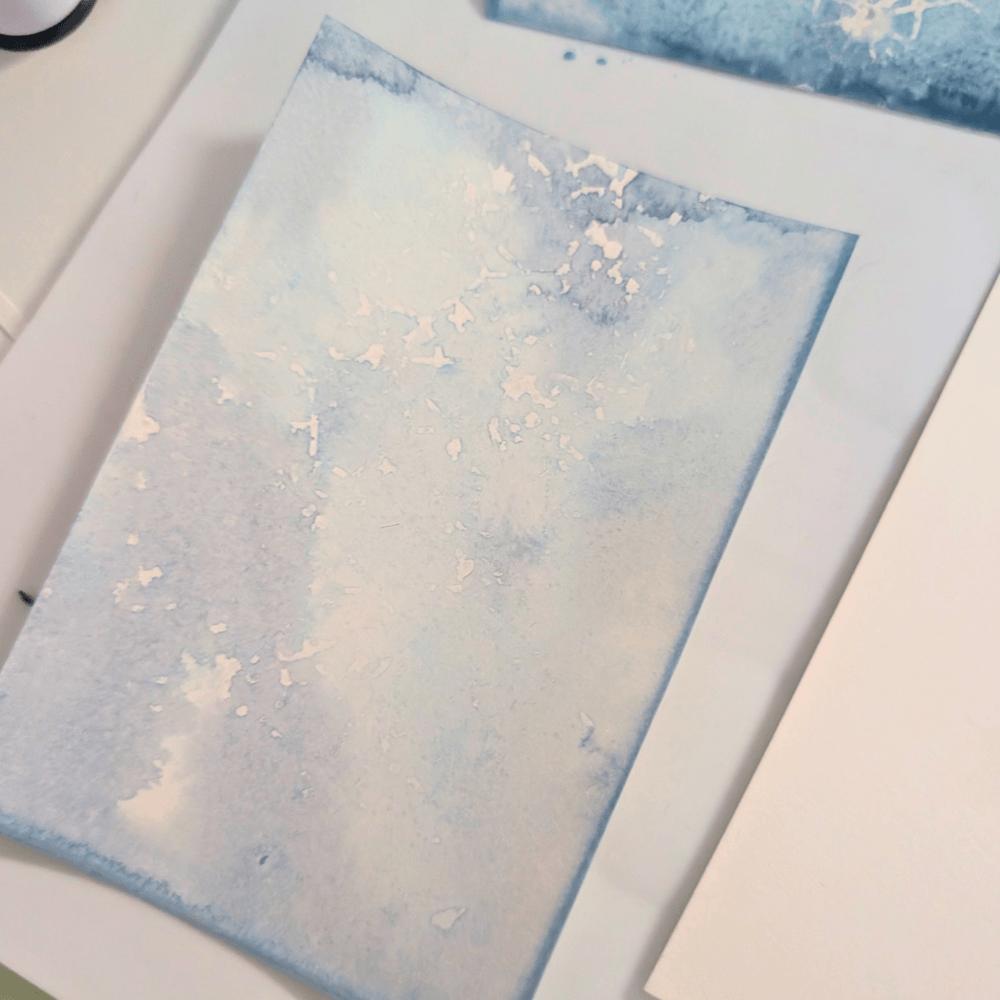
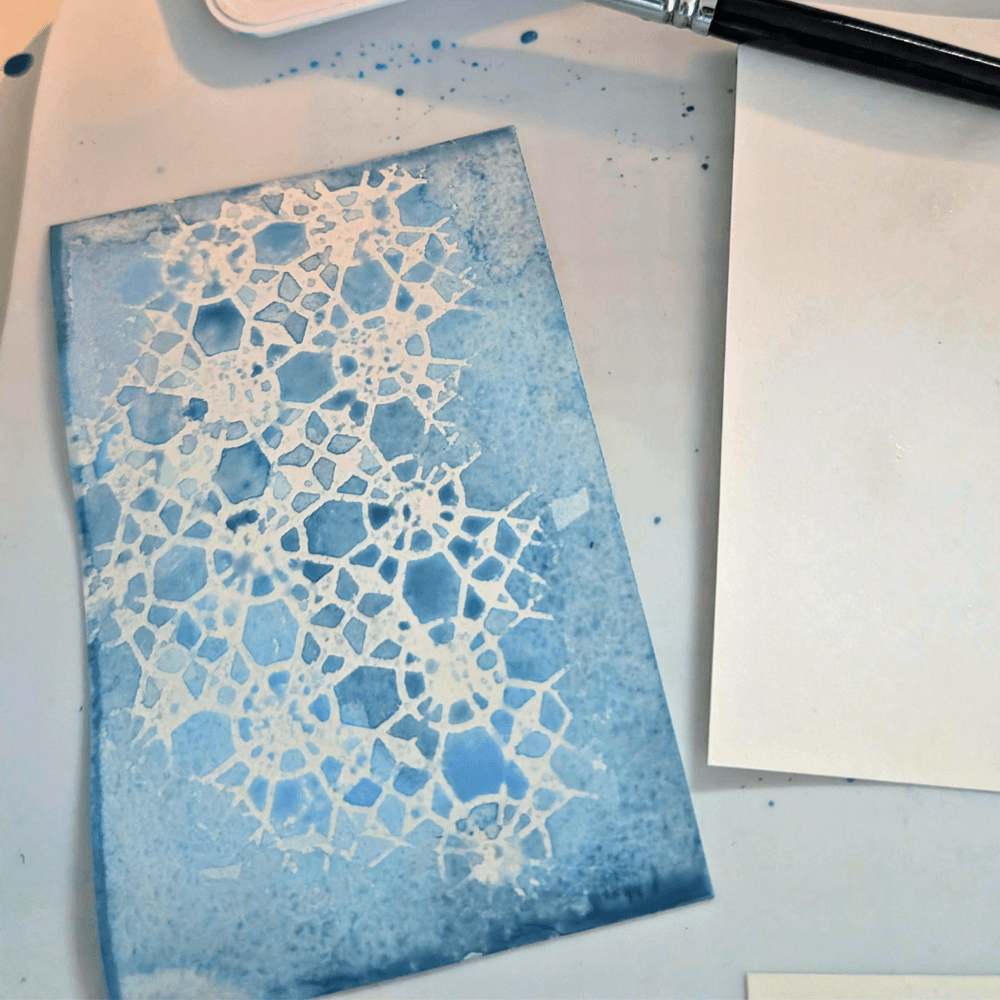
Step 2: Once your resist medium is set, activate your chosen watercolors by spraying them. Three shades of blue were used for these backgrounds to add color variation. Allow the colors to mix and blend together by applying them with generous amounts of water, drying between layers if needed. (Be careful not to reactivate your resist layer. You can also do this by smooshing Distress Ink on a non-stick mat and spraying it with water.
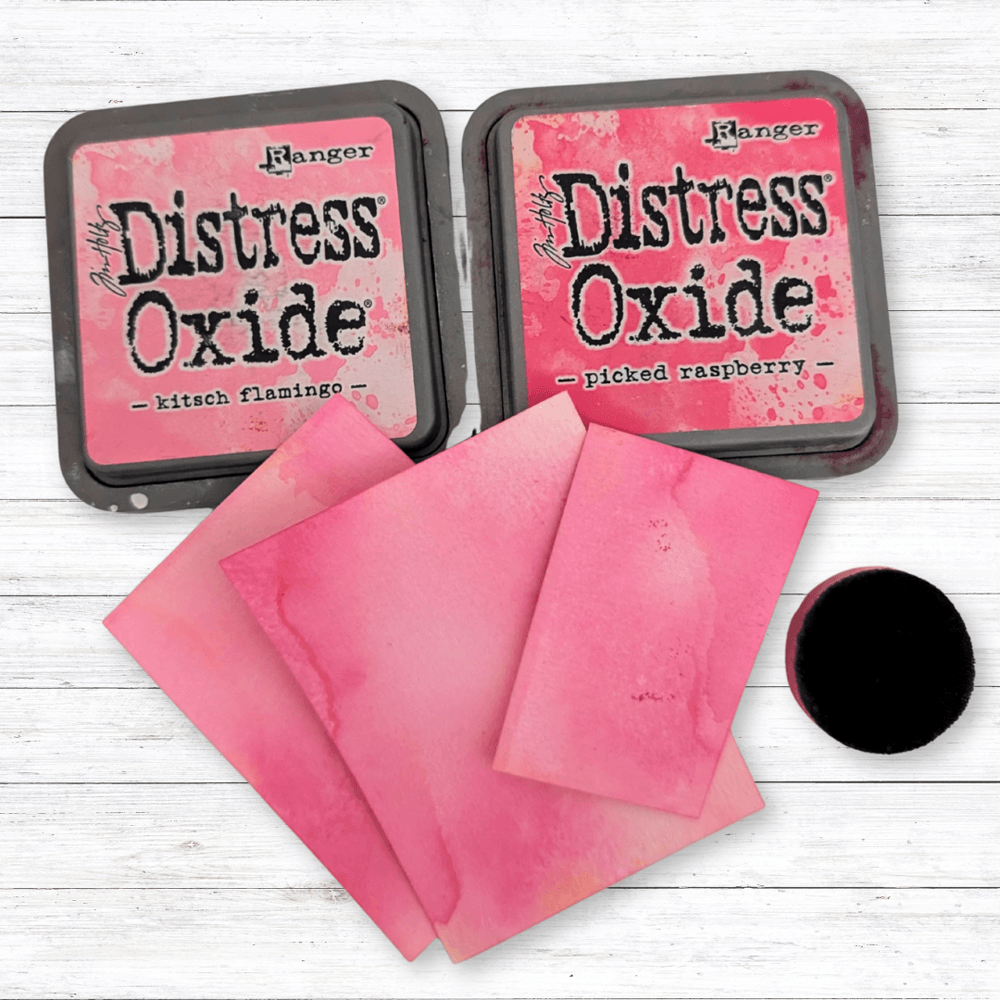
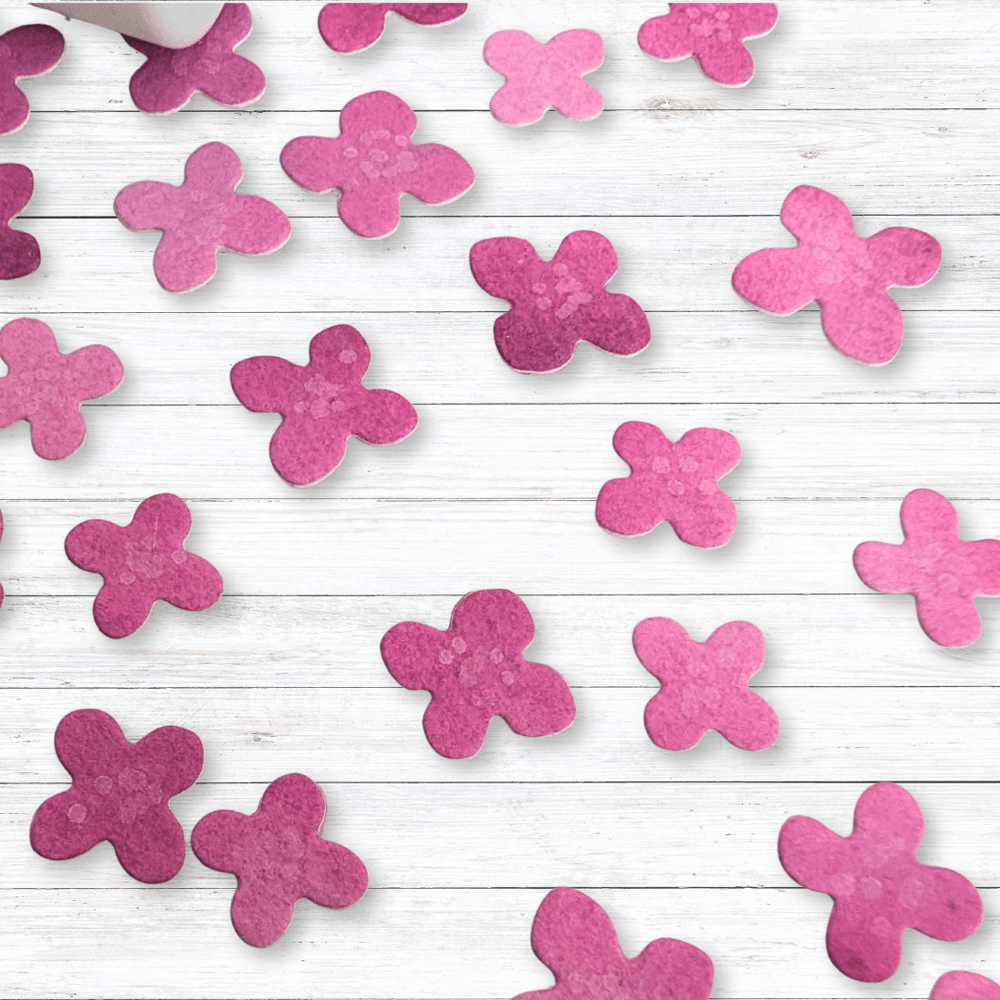
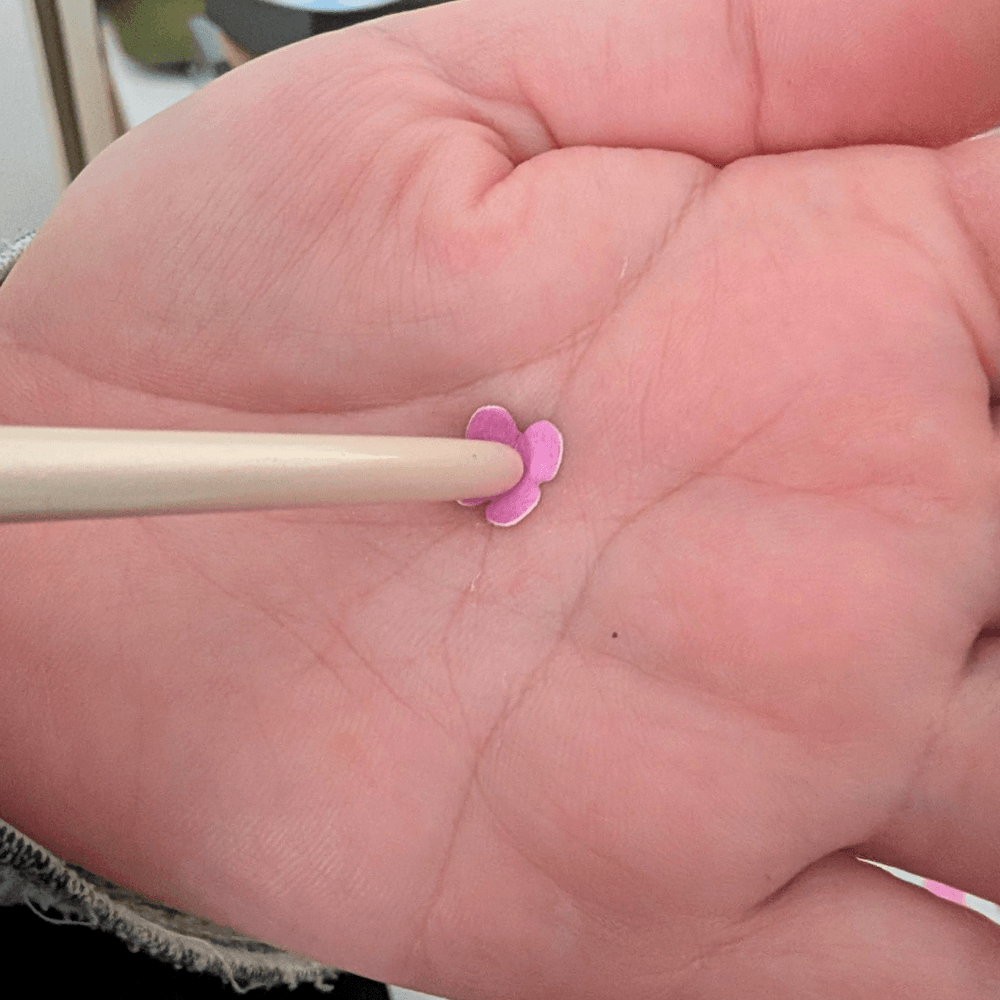
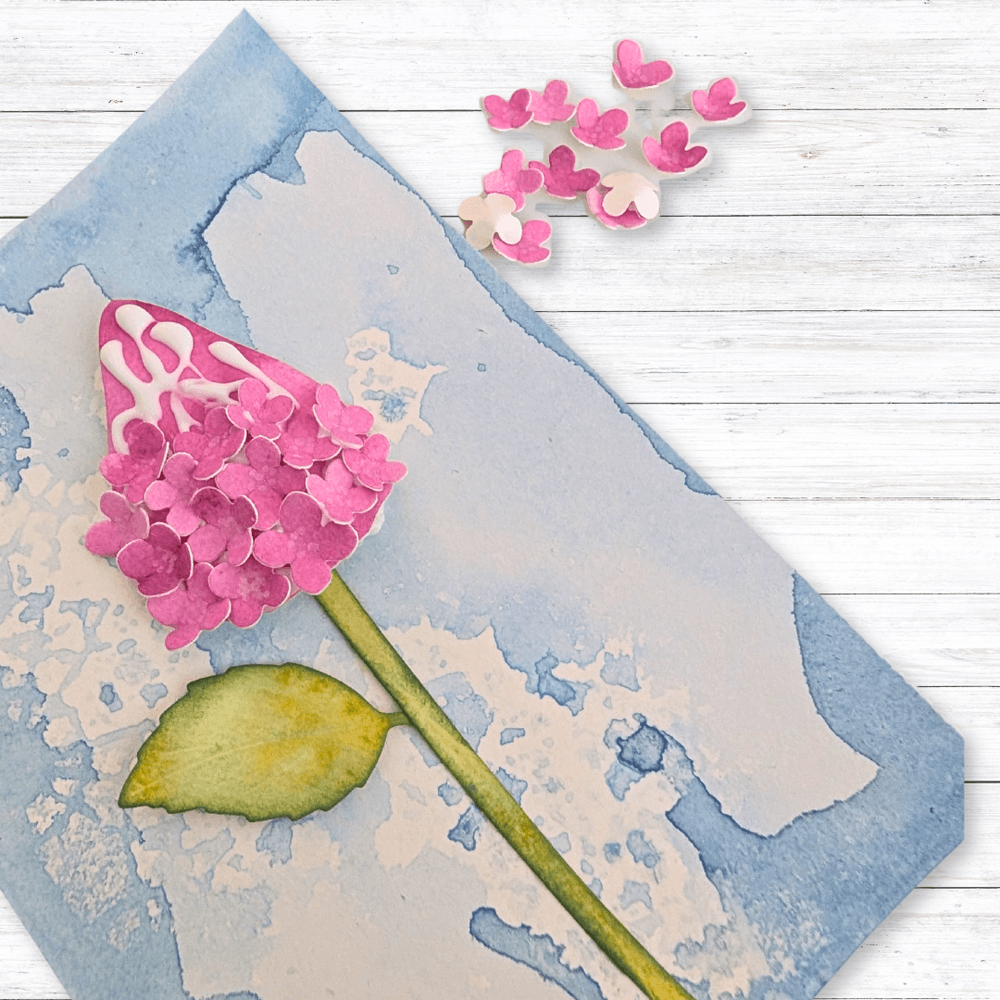
Step 3: To create the Panicle Hydrangea, apply at least two colors of Distress Ink to cardstock cut to the size of the die (this saves on waste), then spritz with a little water to blend the ink. Once dry, die cut and then add some dots or circles to the centers. A white paint pen was used in this project, but you could change the color for more contrast. Then give them a little shape, I used the end of a paint brush and my hand.
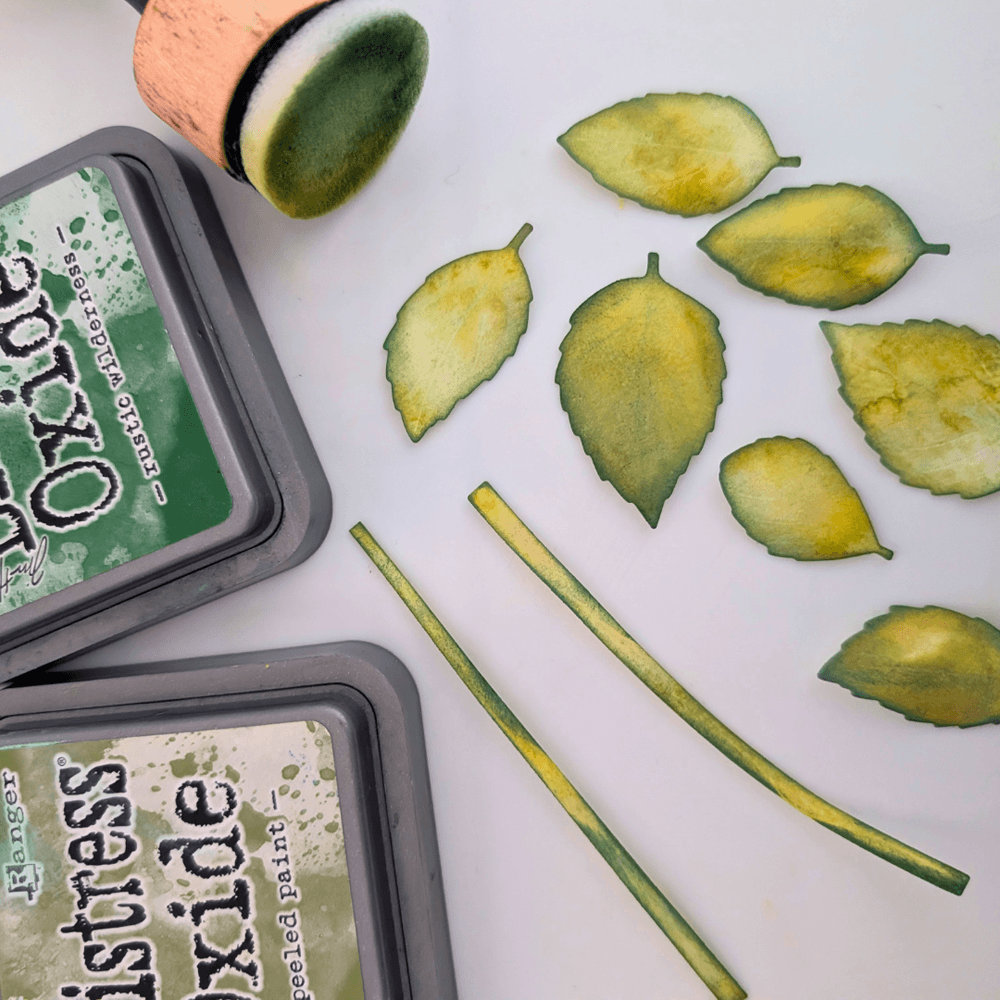
Step 4: Cut the stems and leaves for the flowers. I like to cut extra for options. Apply Distress Ink in the same way, using at least two colors and spritzing with water. Once dry, edge them with the darkest shade of ink you used to color the leaves.
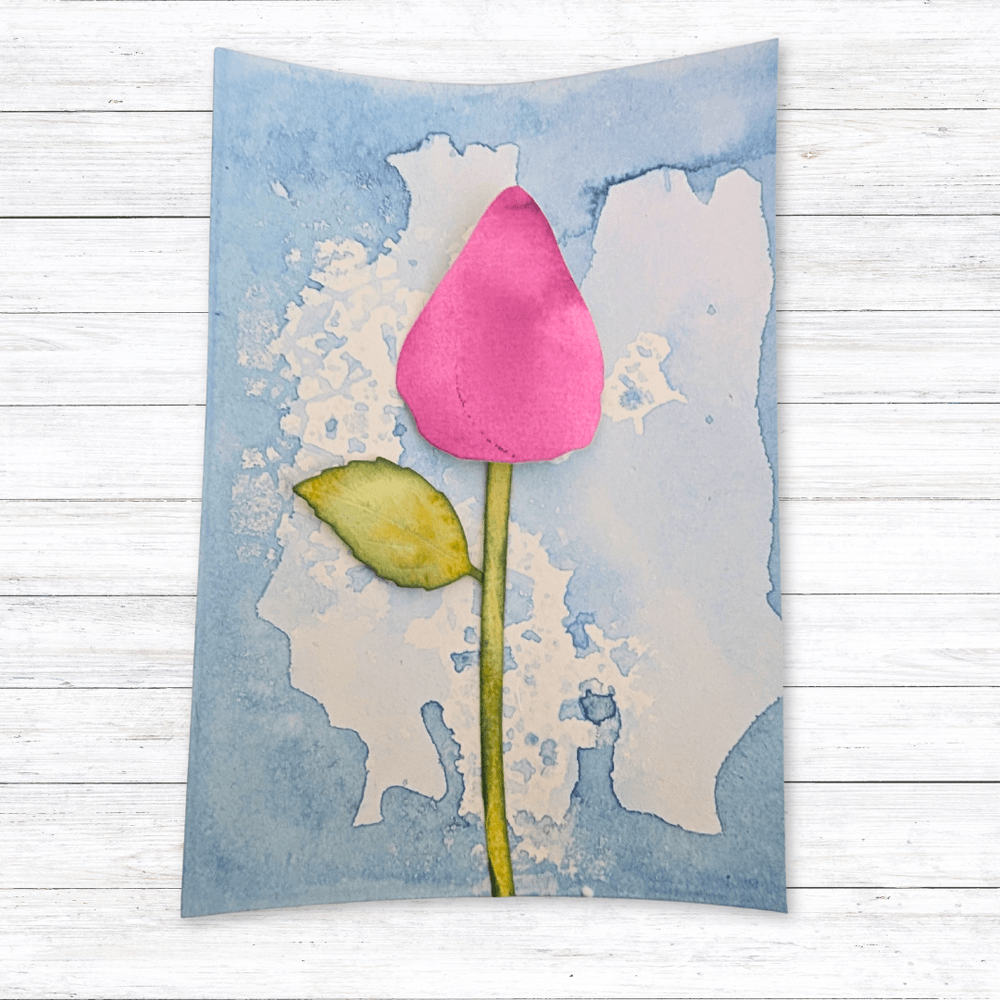
Step 5: Before gluing anything down, take the mount out of the frame and check everything fits inside it. Trim the background down and the stem of the flower as needed.

Step 6: Glue the stem and leaf or leaves in place. Shape the base of the Hydrangea into a slight curve, add some foam tape behind it, and attach it to the background. Now it’s time to add all those little flowers. I used tweezers for this and laid down a lot of wet glue at once. This way, I could add the flowers and move them around until I was happy.
Step 7: Pop your piece into the frame, and this fun little project is finished.
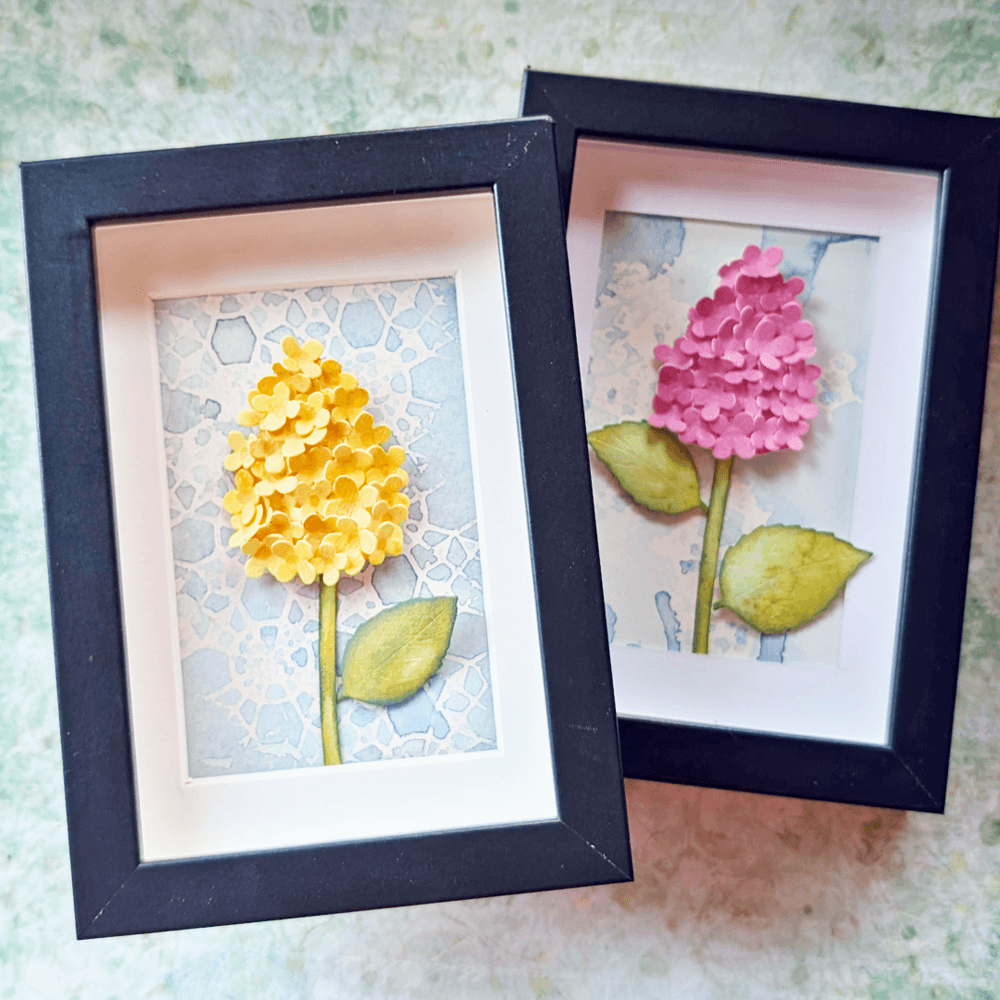
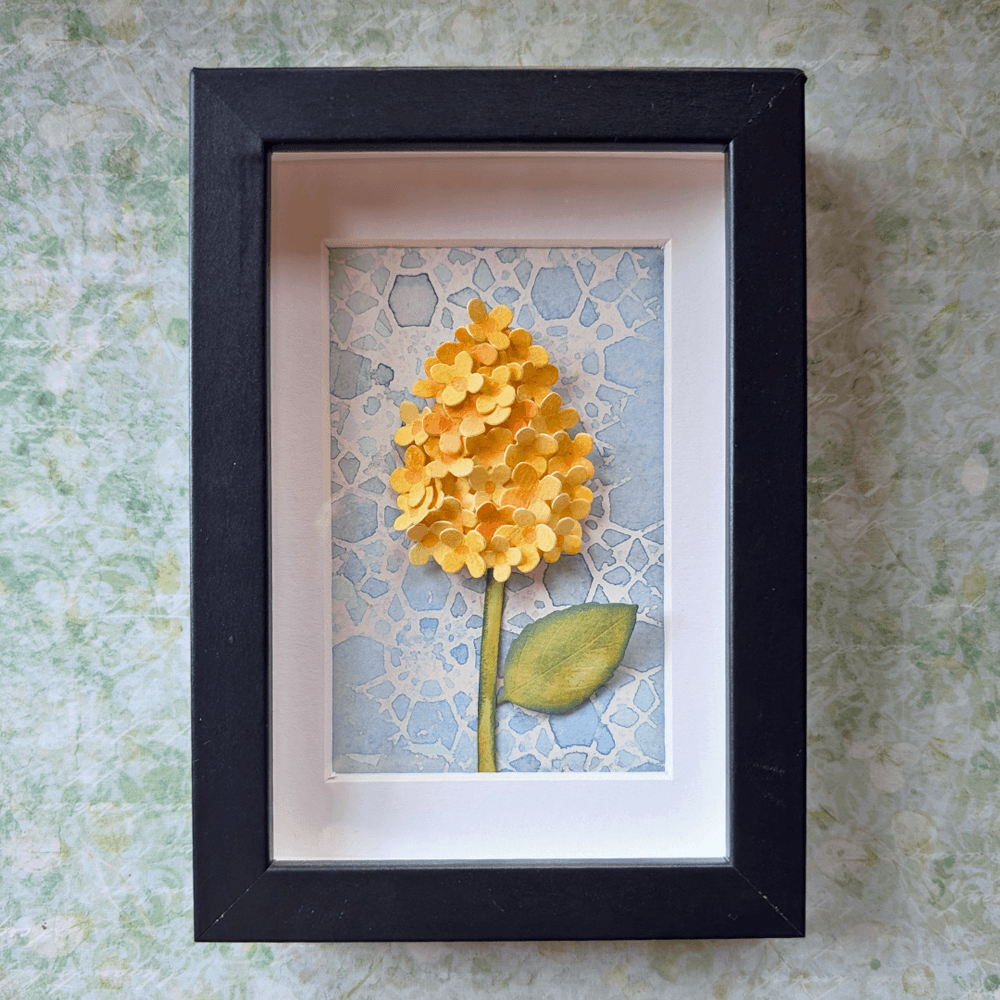
This is such a cute project to make as gifts or for decor in your home. Change out the colors on the backgrounds and the flowers, and you could display them all year long.
Make sure you share your projects with us in our Facebook Group HERE. We love to see what you create!
Never miss a tutorial and sign up for our emails today HERE.
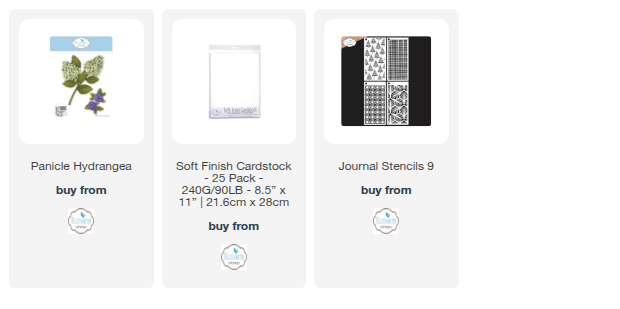
Elizabeth Craft Designs Products Used: